Goodwill accent table gets a makeover. See how to paint furniture with layers on this ornate vintage cabinet in shades of blue. When considering painted furniture ideas try these painted furniture techniques for layering paint on furniture
This is a story about a vintage accent cabinet that I certainly didn’t need but I couldn’t resist the ornate details. Those ornate details look amazing painted in layers. I have to laugh because there are so many pieces of vintage furniture in my inventory to choose from as it is, I need another like I need a hole in my head. But it was as if I couldn’t control my truck as it somehow drove towards the local Goodwill. Why am I heading here? This will lead to nothing but trouble. I don’t NEED any more furniture. There is an entire storage unit to pick from if I could only manage to turn the truck around and head in the opposite direction. But my truck headed there anyway, and lucky me, there was an open parking space right outside the front door – that never happens. It must be fate.
But it was as if I couldn’t control my truck as it somehow drove towards the local Goodwill. Why am I heading here? This will lead to nothing but trouble. I don’t NEED any more furniture. There is an entire storage unit to pick from if I could only manage to turn the truck around and head in the opposite direction. But my truck headed there anyway, and lucky me, there was an open parking space right outside the front door – that never happens. It must be fate.

Disclosure: This post contains affiliate links for your convenience. Click here for my full disclosure policy.
How to Paint Furniture in Layers
Materials Needed / Source List
Unfinished Vintage Cabinet
As I made my way around the Goodwill I knew that I didn’t want anything too large for two reasons. First, I plan to use this makeover for our monthly Furniture Fixer Upper post which you can find at the bottom of this tutorial. And second, since it is not a custom order, it will be available for sale (SOLD), and I prefer not to have multiple large items sitting around waiting to find a home when possible. Ok, moving on. As I wandered the furniture area of the store I spotted this ornate vintage cabinet and kept coming back to it. Its size is larger than a nightstand or end table, but smaller than a buffet so, into the truck, it goes! Those dark lines and ornate curves are begging to be lightened up with layers.

The inside of the cabinet even has a fixed shelf and is in pretty nice condition inside which is always a plus.

Prepping the Vintage Cabinet for Painted Layers
The very first thing that I did once the piece was in my shop was to flip it on its side to check for dust bunnies and spider webs. Yuck! I broke out my shop vac and cleaned up its underbelly area. Is underbelly even a word for furniture? In the world of furniture painting, it is.

So often these old ornate vintage pieces are made from plastic, but you can see from the solid wood construction that this one is well made and its pretty heavy. But at the same time, they are a dime a dozen and I would like to think no one will care that it gets painted. Paint will certainly improve its appearance and not devalue it. Isn’t that the point of painting furniture?

Next, the piece was flipped back over, hardware removed, and the piece was prepped in my standard How to Prep Painted Furniture fashion. I always hear about painting furniture without sanding and no prep needed. But I like to play things safe and go with a thorough prep. Ready for paint!
If you are just starting out you can always start at the beginning with How to Paint Furniture – a Beginners Guide.
Choosing Paint Colors
Since I hate to let anything go to waste I started off with the purple-gray mix that was used on my china cabinet. I mixed so much of it in fear of not having enough I ended up with so much leftover. Waste not, want not. The purple-gray mix was actually made with leftover charcoal gray paint from another previous china cabinet. It’s like the paint that keeps on giving. 🙂 When applying paint to the first layer, make sure to coat the entire surface. This is your base layer. When painting old furniture, the best thing about this layered painting technique is that there is no right or wrong way.

It was at this point where I started to doubt myself on my plans to layer paint and turned to my Facebook friends for opinions. This video was done live, so here is me in the raw:
After the video, I decided to stick with the original plan and paint in layers. So here we go.
Layering Paint for a Unique Finish
After the initial base coat of the purple-gray, I added a light blue layer of paint. This was our first step to lightening up the finish with layers. As you can see I did not saturate the entire piece with the paint. Apply a thin layer to the surface in an uneven manner. Layering paint on furniture can have as many or as few layers of paint that you want.

After the first coat of blue, I took a chance and added a little metallic silver paint, just for fun. There’s also no need to worry about the colors touching one another since they’re all being layered anyway. This layered painting technique is very forgiving as you can see.

Since the silver is metallic it doesn’t cover the same as the paint. It has a slightly opaque appearance, which is fine, we still have more to go. This painted wood, I mean plastic, or wood and plastic combo is really starting to pop with multiple coats of paint.

After the silver, I went with a gorgeous deep teal. The layering process is almost like a see-saw or push-pull, going back and forth between light and dark. Go ahead and paint layers until you love the result.

In the see-saw fashion, the next layer is going lighter with a light blue almost baby blue. Each layer is done with a damp brush and heavier in areas and lighter in other areas.

A little Video Action
Let’s head back to dark with a royal/navy blue. This may seem silly, the back and forth, but stick with me, it will make sense I promise! In the middle of the process of painting layers, I took a quick video just to share it in action. I also switched back and forth between my flat Cling on brush and an angled Wooster brush. This video shows when I started to add the navy blue.

Woah, this is really blue and needs to be lightened up.

To lighten up the bold blue I went ahead and added a wash with a very diluted gray. This was done by brushing the gray wash on and then wiping it off with an old T-shirt before the paint could dry.
[clickToTweet tweet=”Painting furniture in layers and layers for a unique finish” quote=”If you love layers go ahead and click to share with your friends ” theme=”style5″]
The wash allows some of the light gray color ‘sit’ into the creases of the details.

At this point, I decided to start to wrap things up and the entire piece was distressed using the flexible sandpaper that I love. Since it’s flexible it allows you to easily get into the curves and areas that may be difficult to distress with paper sandpaper or a sanding block. Just for good measure, rather than seal with a clear protective finish, I opted to seal the cabinet with a gray-tinted sealer. If you dont have a premade gray tinted sealer you can always add a tiny bit of gray paint to your clear sealer and voila.

Here is a full tutorial with VIDEO showing how I seal my painted furniture projects: Sealing Painted Furniture

Painting the Vintage Hardware
The vintage hardware is absolutely perfect and suits the piece beautifully. So to better compliment the painted and layered finish the hardware was cleaned, prepped and painted using a dark gray as a base. A mix of silvers was then added over the gray to create this gorgeous silver finish on the hardware.

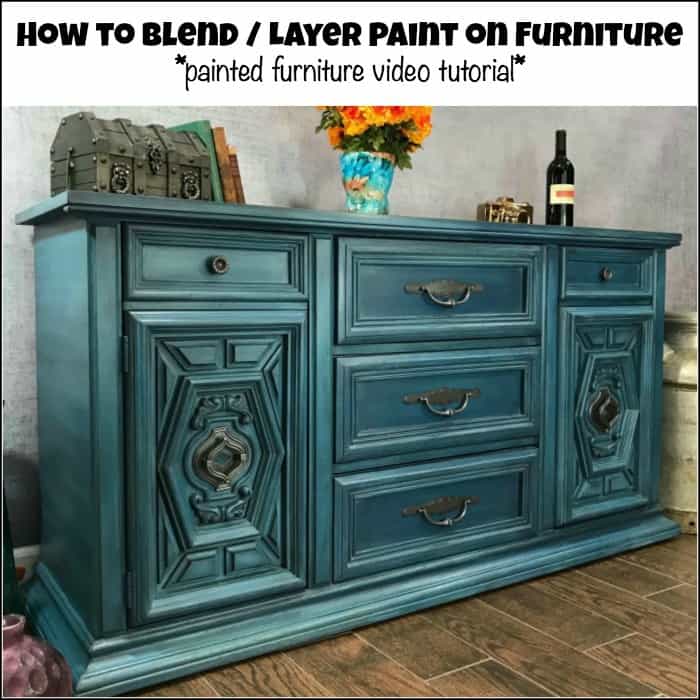
Need a more visual? Get the one-hour video tutorial – How to Blend & Layer Paint
The Result of Painting in Layers for a Unique Finish
When you want something more than a solid flat finish and are open to the possibilities of not knowing exactly how it will come out this is the most fun way to go. Painting in layers creates depth and is pretty fun to just let go and see what happens. This goodwill to gorgeous accent cabinet is a little example. The best part is that no two will ever be exactly the same which makes it all the more unique. If you prefer a more detailed visual instruction there is a one-hour video tutorial on how to achieve this finish here: Layering Paint Video


Check out all of my furniture projects with over 90 painted furniture makeovers: Stunning painted furniture ideas.


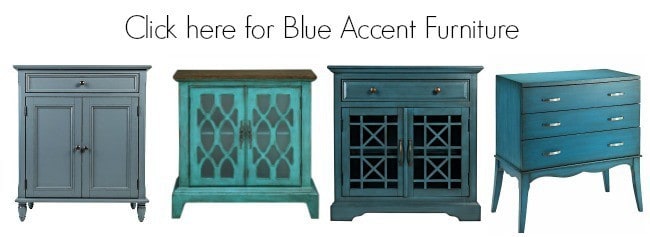
Love the uniqueness of blue furniture but prefer not to DIY? Click here for a variety of blue accent cabinets available online: HERE


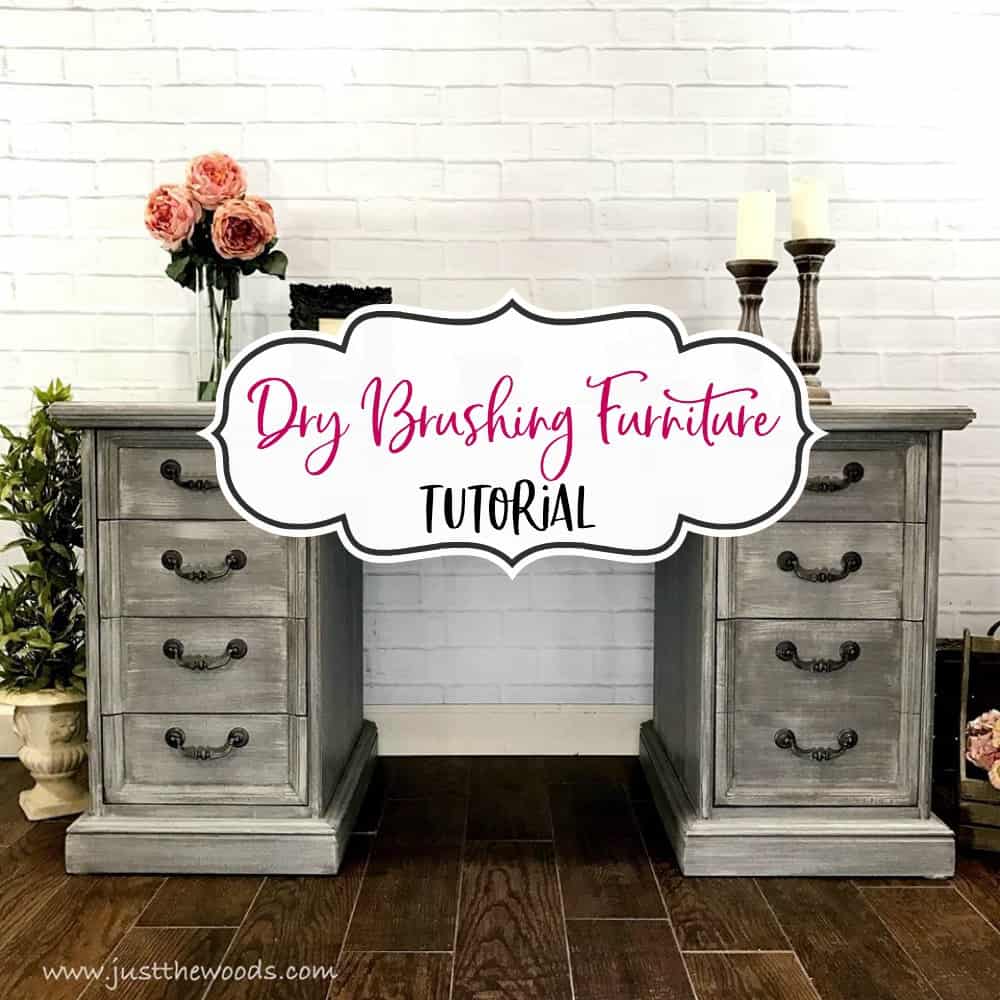
For a completely different type of layering paint technique make sure to check out Dry Brushing Furniture.
Wait! Don’t Go! It’s that time of the month again for:
Furniture Fixer Uppers
A few of my creative and talented blogger friends and I have joined together in our monthly Furniture Fixer Uppers share. Let’s see what my friends are up to! Make sure to click the links below the image to check out all the amazing projects that my bloggy girls are working on this month.

- Petticoat Junktion
- Confessions of a Serial DIYer
- Girl in the Garage
- The Interior Frugalista
- Prodigal Pieces
I’ll be sharing this post at these fabulous link parties.
If you like this post make sure to check out all of the tips & secrets that I wish someone told me when I started painting furniture here: Painting Furniture Secrets

Don’t Forget – Follow Just the Woods and Share this post to Inspire others:
FACEBOOK * INSTAGRAM * PINTEREST
Subscribe to our mailing list here: [mc4wp_form id=”1340″]


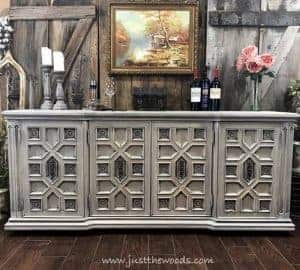
If you enjoyed this and love the layered finish on ornate details then you definitely need to check out:
Ornate Vintage Buffet Makeover

Larissa ~ Prodigal Pieces says
You and I drive the same truck! ahahahaha!! I had the same problem today and swear it’s not just me. I knew it! Your makeover is gorgeous as I am all about layers too. What a save!
Kandice says
haha our trucks have a mind of their own 😉
Christy@Confessions of a Serial Do-it-Yourselfer says
Love how you layered for a unique look! XO
Kandice says
thank you Christy 😉
Kathy Owen says
Wow, I love this layered paint job. We are so much alike in thoughts and paint technique! The colors work well together. Awesome piece.
Kandice says
thank you, this was a fun one
Marie|The Interior Frugalista says
Oh my, Kandice those layers are gorgeous and the hits of metallic are just perfect. Looks to have been one of those fun makeovers where you “play” with color. Love it!
Kandice says
thank you! It definitely was fun! 🙂
Debrashoppeno5 says
This turned out fantastic. The layers really give the piece depth and interest.
Kandice says
thank you!
Jen @ Girl in the Garage says
Oh wow, I’ve done layered pieces before but not that many layers! LOL. It turned out gorgeous – you really brought out all the pretty details Kandice!
Kandice says
thank you! sometimes I have to stop myself before it gets to be too much lol
Debbie says
Loved how that turned out – especially in blue! I’m definitely going to try that on one of my pieces. I also like that you picked a piece with all the detailing on it – that’s what I usually look for too, makes the pieces stand out when they’re done. Is the Kristi Kuehl paint the only brand you use? Love Wooster brand brushes too!
Kandice says
thank you! the detailing really makes such a difference with layers! and yes Kristi Kuehl is pretty much the only paint I use, occasionally, I will dabble here and there with others just to try things out (not often). I also am an online retailer for Kristi Kuehl paint and sell it on my website. I really love it. 🙂
Edna says
FYI Home Depot has paint that is much cheaper. http://www.homedepot.com/p/BEHR-Premium-Plus-1-gal-Ultra-Pure-White-Flat-Zero-VOC-Interior-Paint-105001/202761505
Kandice says
thank you, Edna, I appreciate the share and I know there are so many paint products out there. But as a professional painter Im pretty loyal to Kristi Kuehl Pure Home Paint, it’s made for furniture (where Behr is pretty much made for walls), it also goes a long way, is non toxic, VOC free and is made in the USA. It’s an acrylic based chalk type paint. I choose to use the highest quality acrylic based paints that are intended for the high demands that we put on our furniture. Ounce for ounce, and not needing a primer actually make this paint a better price point than a latex that is intended for drywall use. If you would ever want to give it a try I would love to share any info with you as Im an online retail partner for the line as well xoxo
Megin | VMG206 says
This came out beautiful, Kandice! I love the rich blue.
I’m visiting from The Scoop Link Party today.
~ Megin of VMG206
Terri marini says
I am in love with this piece,the colors are beautiful,Bravo!! May I ask did you seal it , if so what is your preference ? I recently painted my very first piece with chalk paint but I do not prefer to wax it.
Kandice says
thank you Terri. I did seal it, but I sealed this with smoke – a gray tinted sealer for this one. I think I added the link in the post. I dont use wax on any of my pieces. When I seal with clear I use either our matte or satin clear protective sealer by Pure Home Paints. I sell the line on my website as well. Let me know if you have any questions 🙂
Pili says
Love all those layers of paint and how it looks, it has more character. I only tried painting frames with layers but I should take some courage to try on furniture too. Thanks for all the steps
SONJA HANSEN says
Thanks for a great tutorial. Just exactly what I needed. And congrats on a beautiful piece.
Kathie says
I love this! I just wanted to say thank you so much for actually explaining how to do this technique. I am fairly new to chalk painting and I have clicked on so many pins on Pinterest trying to learn how to layer. Yours is the first and only one of soooooo many pins I have looked at to actually explain it. Most just show a picture and say well I painted it this and then this, etc but never explained how in detail (as a trained teacher, I find this to be very frustrating). So, thank you! I can’t wait to try it now.
kandice kullmann says
thanks so much Kathie! Im glad it helps and Im sorry it took so long for you to find a step by step. I try to be as thorough as possible 🙂 (just dont look at my old old projects – those arent as good lol)