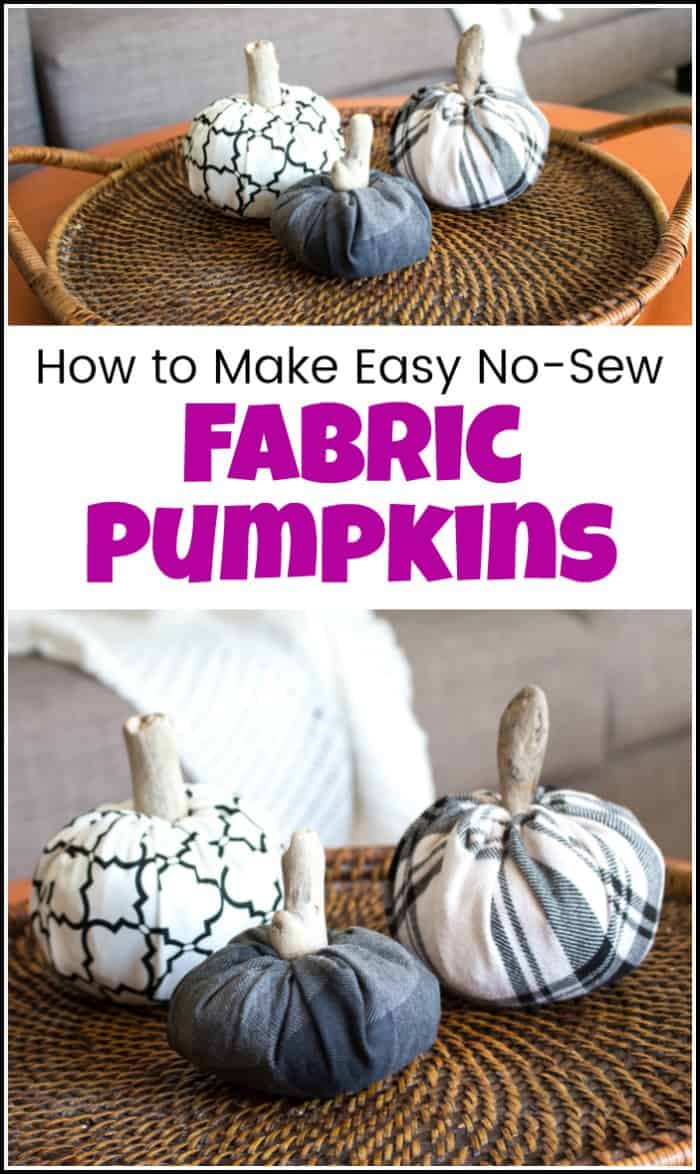
Who needs real pumpkins when you can have these adorable no-sew fabric pumpkins. Then again, I guess it depends on what you’re doing with them. Real pumpkins are great for the porch and the kitchen. But fabric pumpkins are great little autumn decor items that you can make yourself. 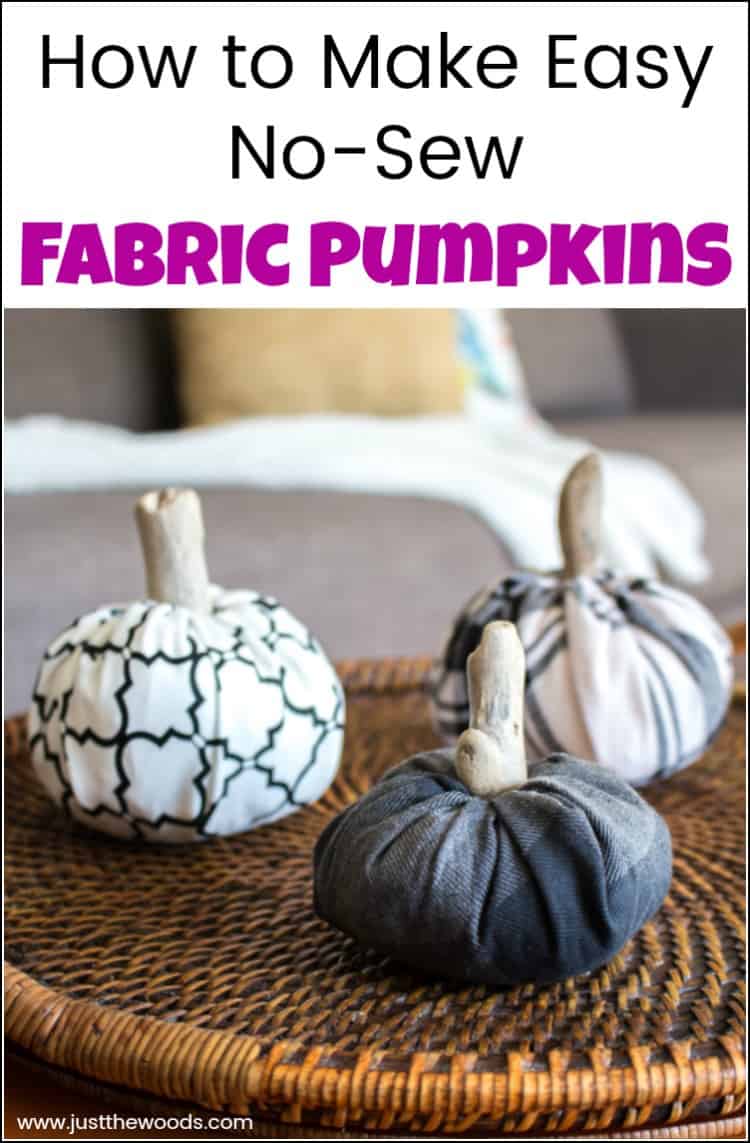
Disclosure: This DIY no-sew fabric pumpkins post contains affiliate links for your convenience and I may be compensated if you make a purchase after clicking on my links. Click here for my full disclosure policy.
Supply List for No-Sew Fabric Pumpkins
Materials Needed / Source List
Makes 1 no-sew fabric pumpkin (5″ high x 5″ wide – including stem)
- Scrap fabric – use a lightweight woven material like cotton, twill, broadcloth or flannel
- Fabric scissors (You can find them here)
- Measuring tape or ruler
- 1/2 cup Navy beans (uncooked)
- Polyester stuffing (You can find some here)
- Driftwood or tree branch, appx 4″ long (you can order some here)
- plastic sandwich bag, appx 16.5 cm x 14.9 cm
- rubber band
- Find all of my favorite tools and products on my Amazon Page here
DIY Fabric Pumpkins
Instructions:
As always you want to first gather your materials. Easy peasy. 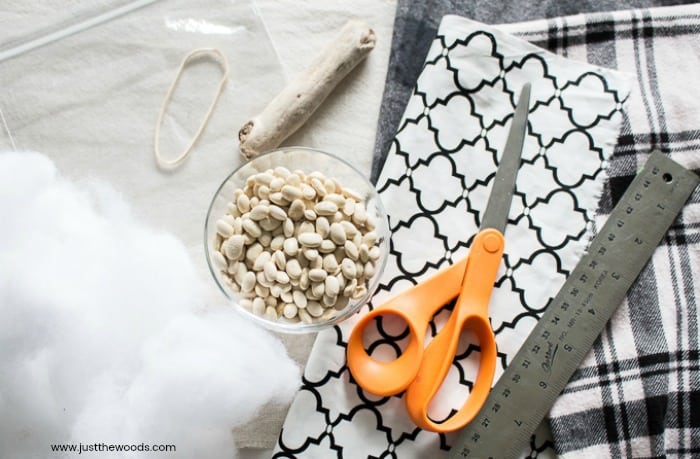
- Iron fabric prior to starting to remove all creases and wrinkles.
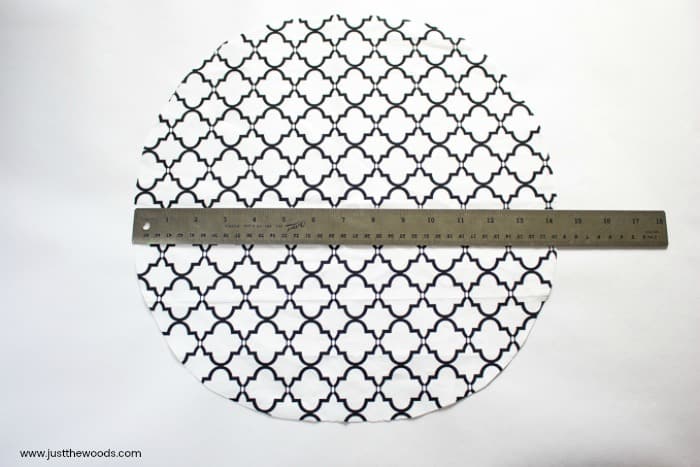
- Using scissors, cut scrap fabric into a circle shape that measures 14” in diameter.
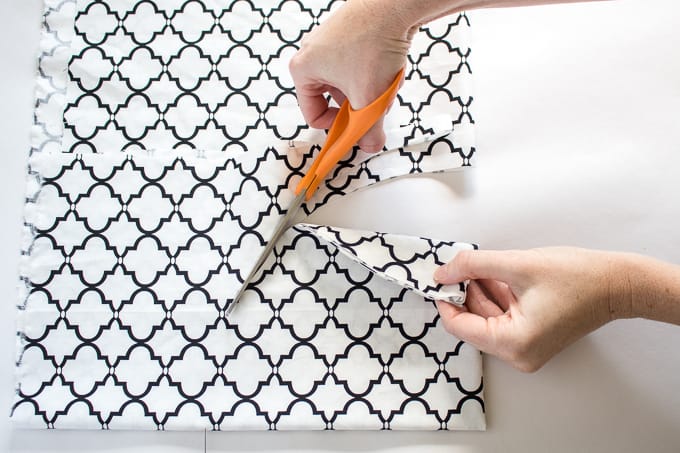
- Tip for cutting fabric into a circle: Fold the fabric in fours. Measure and mark 7” along each side length and at the center length on the 45-degree angle. Cut the fabric joining the marked points.
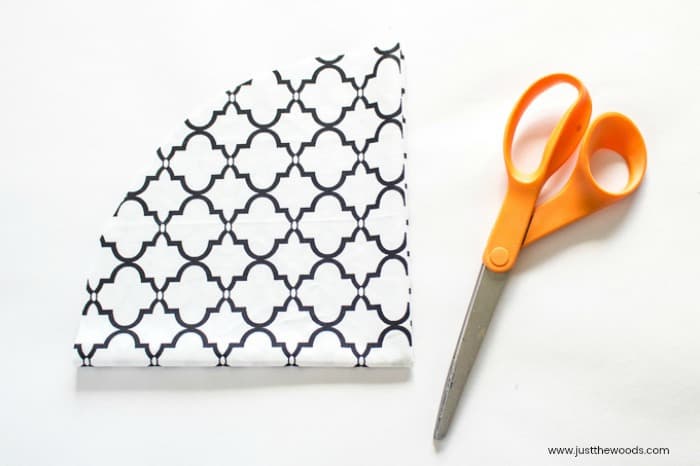
- Put circle aside.
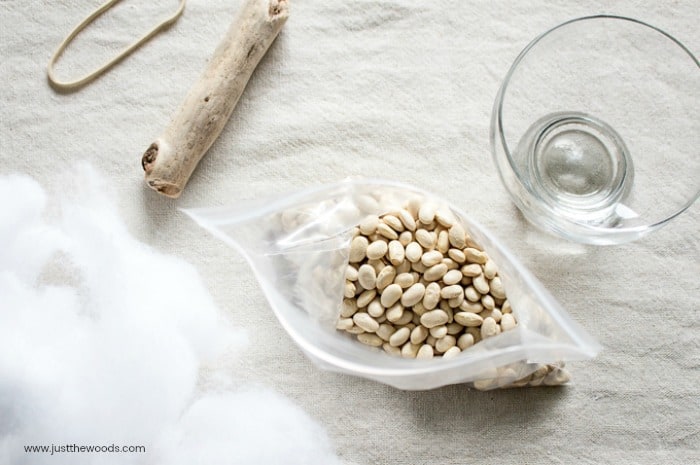
- Fill a plastic sandwich bag with ½ cup of uncooked navy beans.
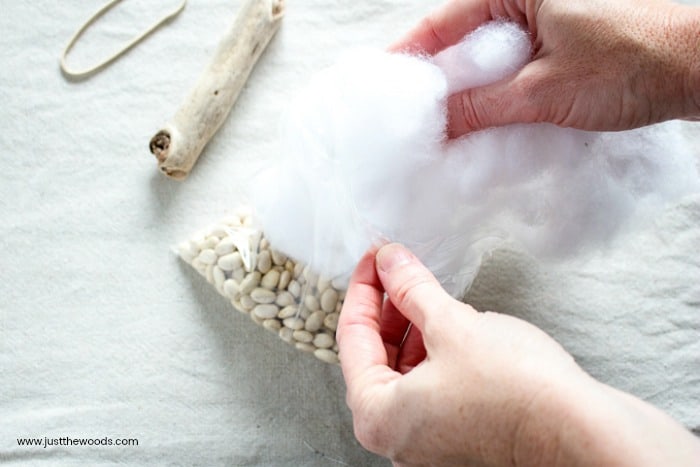
- Fill the rest of the bag with polyester stuffing. Place over top of the beans.
- Insert the driftwood into the middle of the bag through the polyester stuffing with one end poking out of the bag in the center.
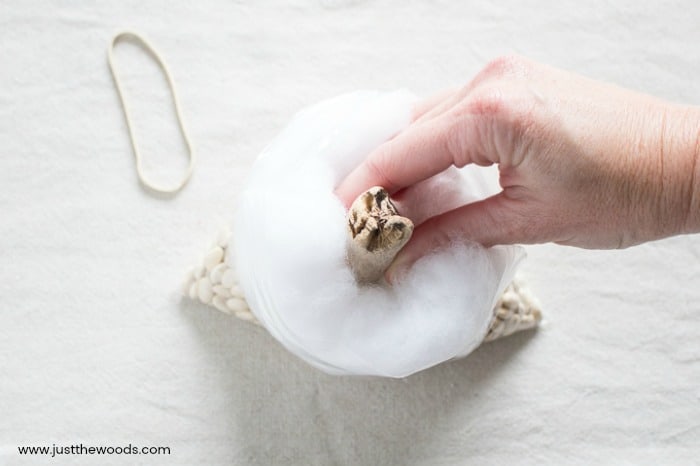
- Seal the bag closed on both sides of the driftwood.
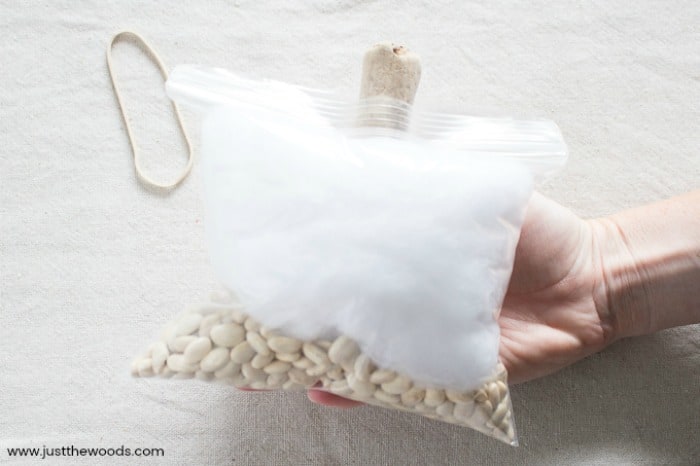
- Loosely wrap an elastic band around the driftwood and let it fall to the top of the bag.
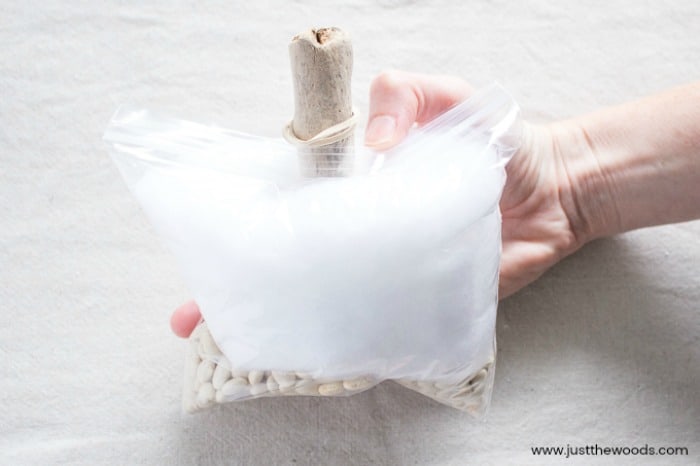
- Lay the fabric circle with right side facing down and place the filled bag in the center.
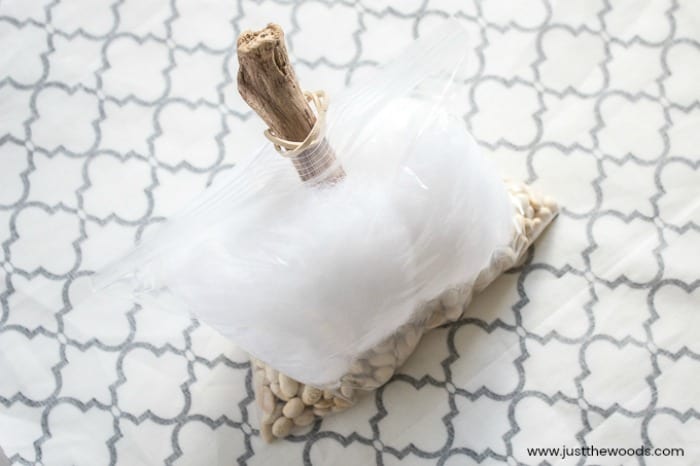
- Begin folding the fabric edges up and into the elastic band.
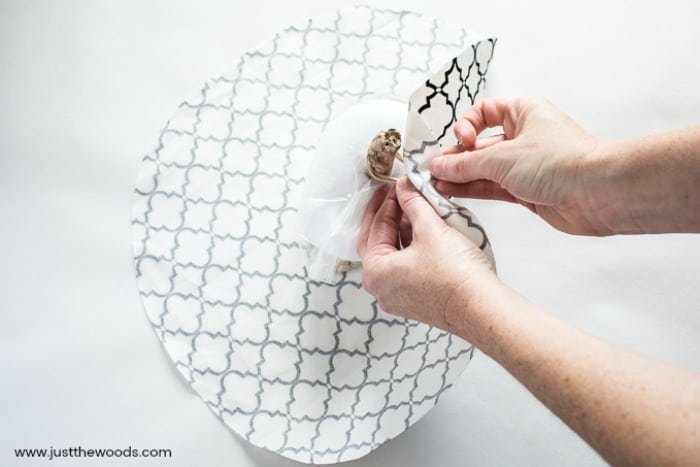
- Work one side at a time until all fabric edges are folded in. Adjust as needed until the desired look is achieved.
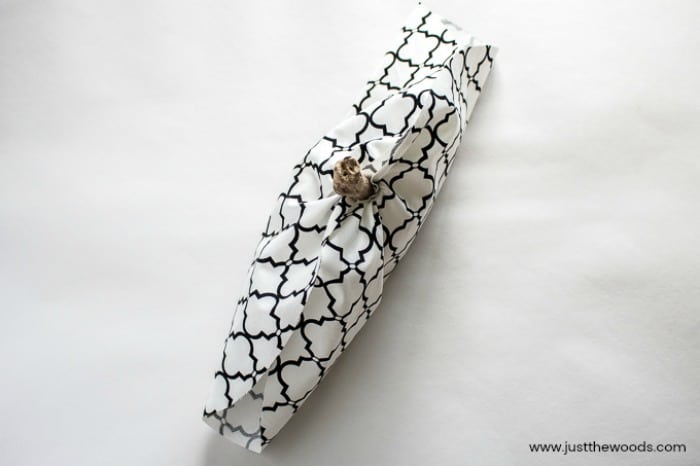
- For the smaller sized pumpkin, cut the fabric into a circle that measures 10” in diameter and reduce the number of beans and badding inside the polybag. Use a shorter piece of driftwood and follow steps 4 to 10.
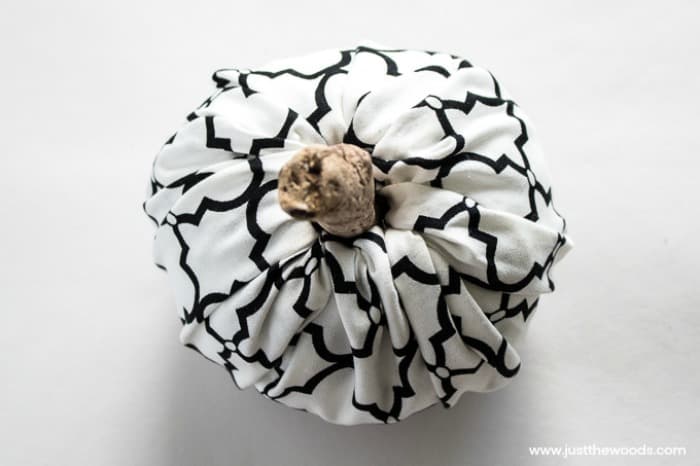
- If the driftwood lifts up and out as you fold in the fabric, simply push it down to where it needs to be and continue folding in the fabric.
- Enjoy!
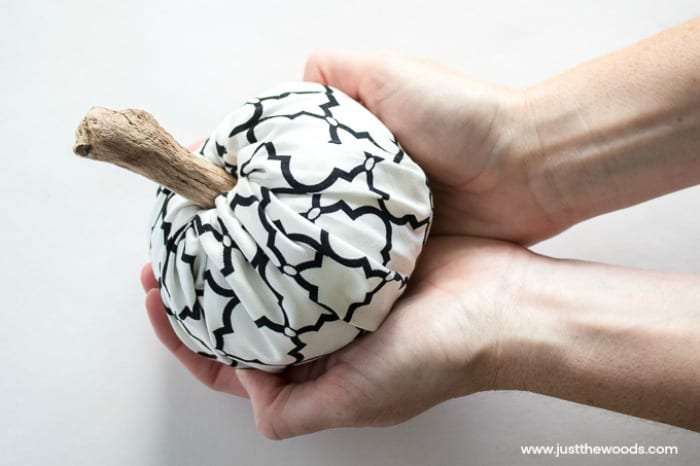
Love all things pumpkin? Check out these pumpkin crafts and recipes: Pumpkins!
Click here to Pin this post for later.
Easy DIY Fabric Pumpkins
No need to break out the sewing machine when making these fabric pumpkins. They’re so easy to make you can make a few for yourself and a few for your friends. These DIY fabric pumpkins make the perfect addition to your Fall home decor. 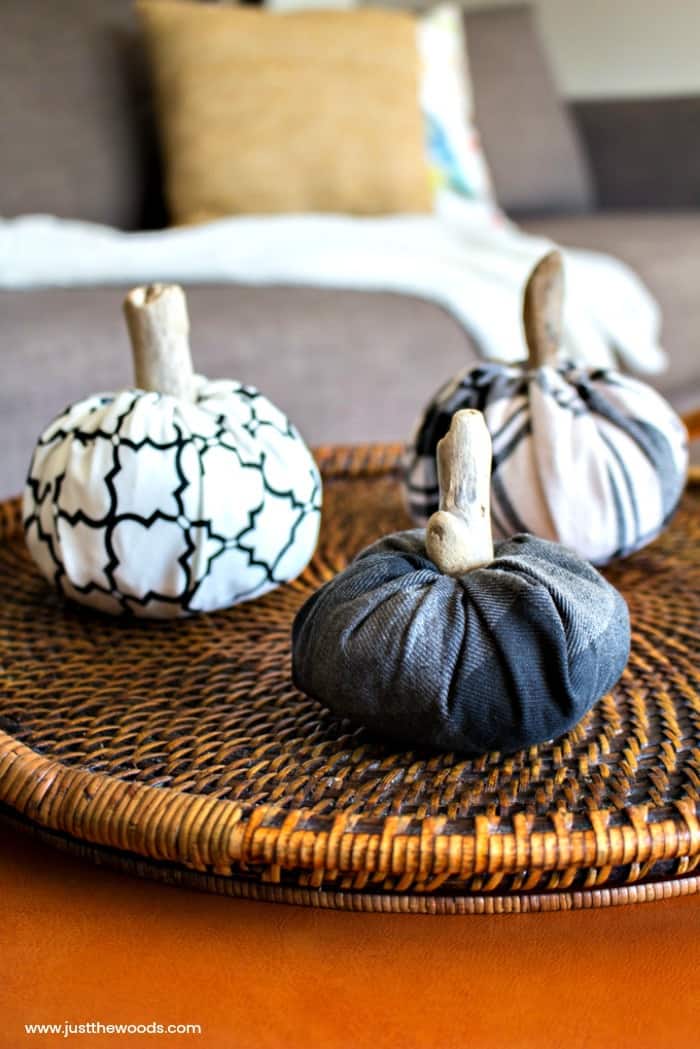
You can adjust your easy no-sew fabric pumpkins with your decor by swapping out different fabric patterns.
Click here to Pin this post for later. 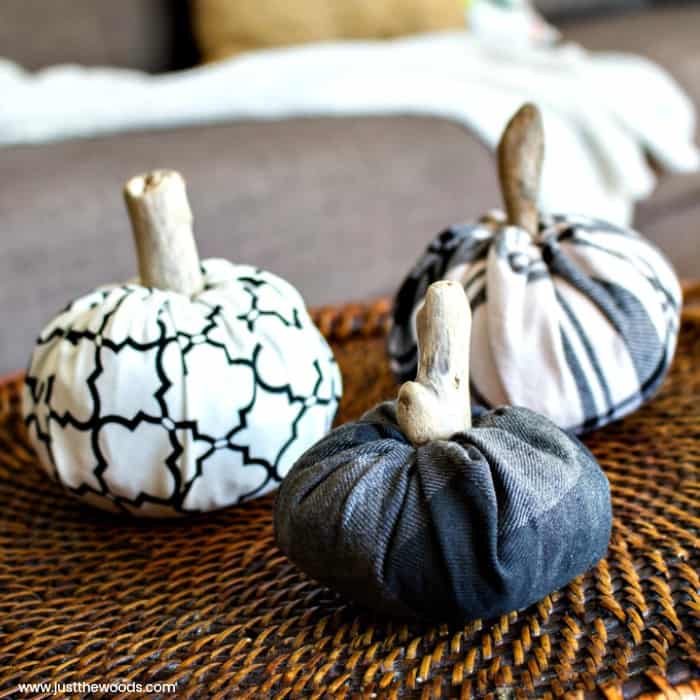
Love Fabric Pumpkins? You May Also Like:
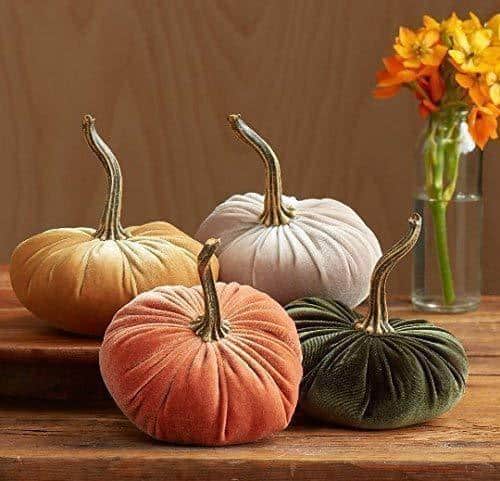
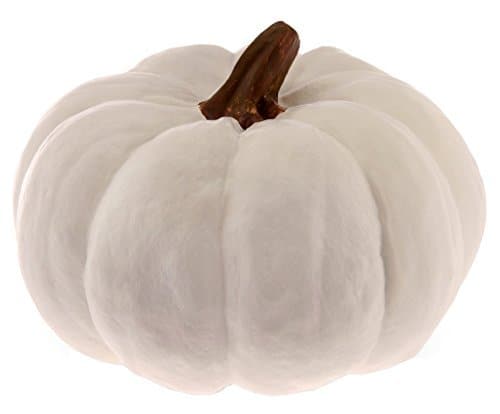
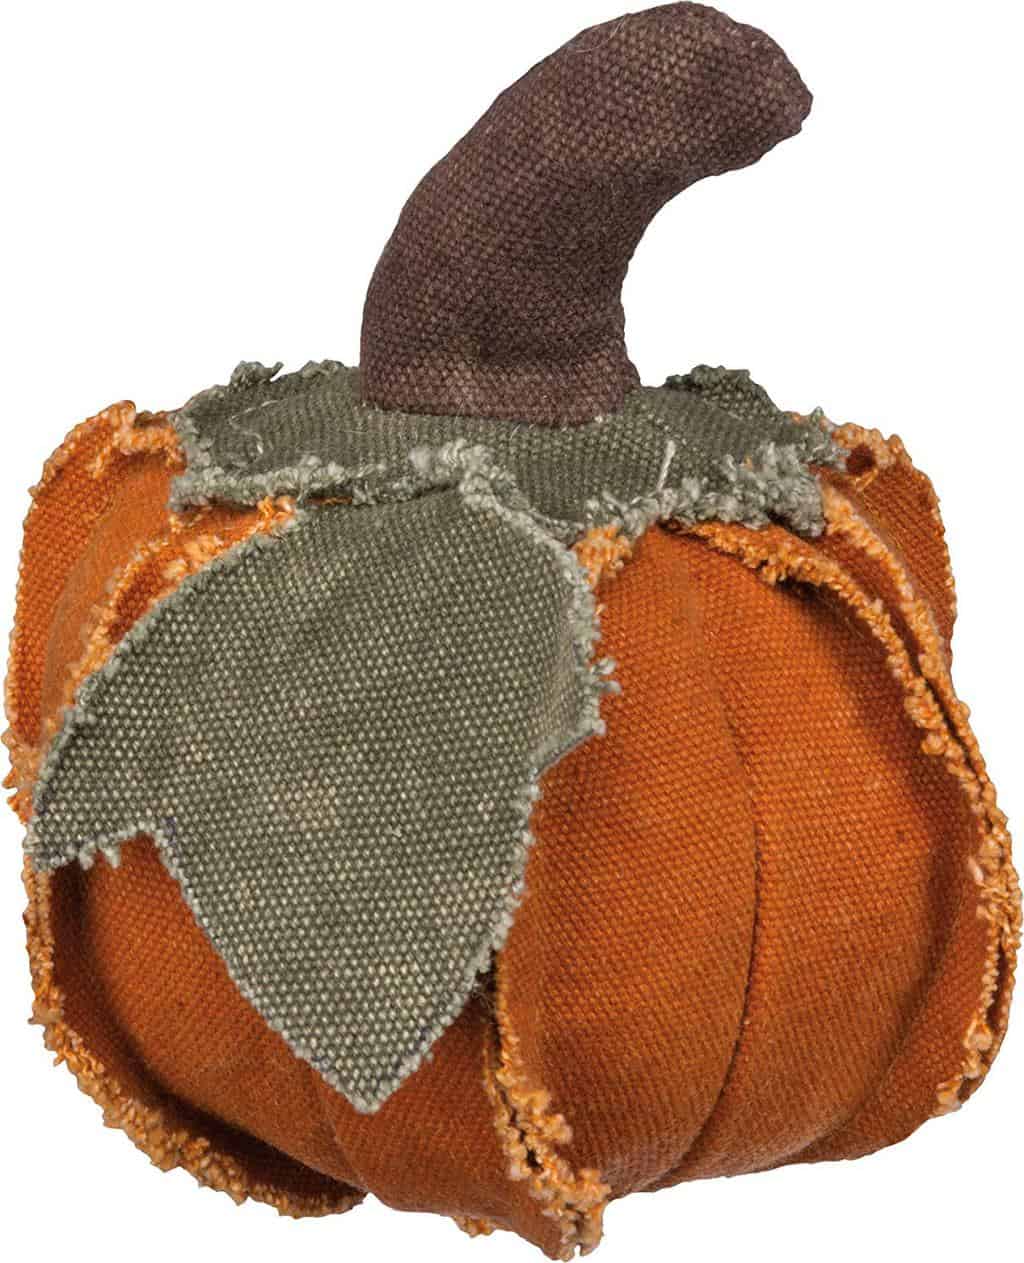
If you love these little DIY fabric pumpkins but maybe don’t have the time, or prefer not to make them yourself. You can find some really cute pumpkins decor online here:
- Set of 4 Velvet Pumpkins found HERE.
- Decorative White Pumpkin found HERE.
- Raggedy Fabric Pumpkin found HERE.
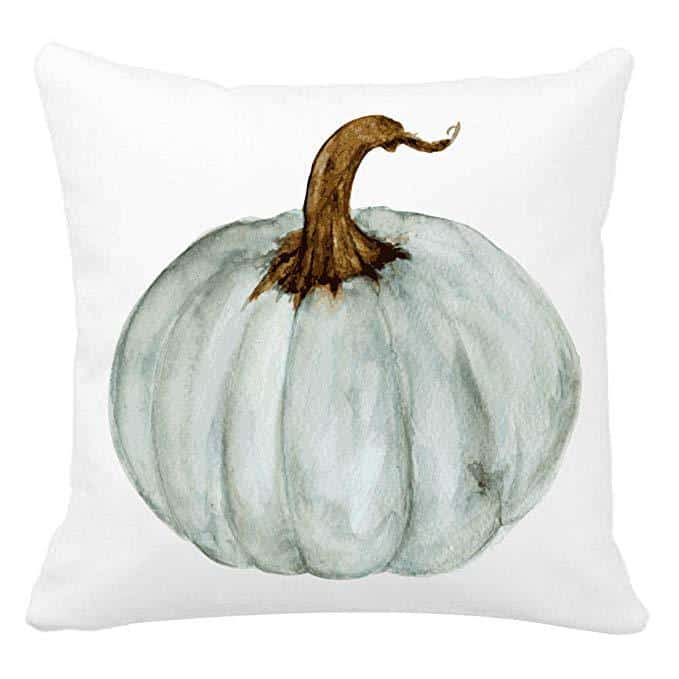
- Watercolor Pumpkin Throw Pillow Case found HERE.
Don’t Forget – Follow Just the Woods and Share this post to Inspire others:
FACEBOOK * INSTAGRAM * PINTEREST
Stay connected! For more tips and tricks sign up here : [mc4wp_form id=”1340″]


Leave a Reply