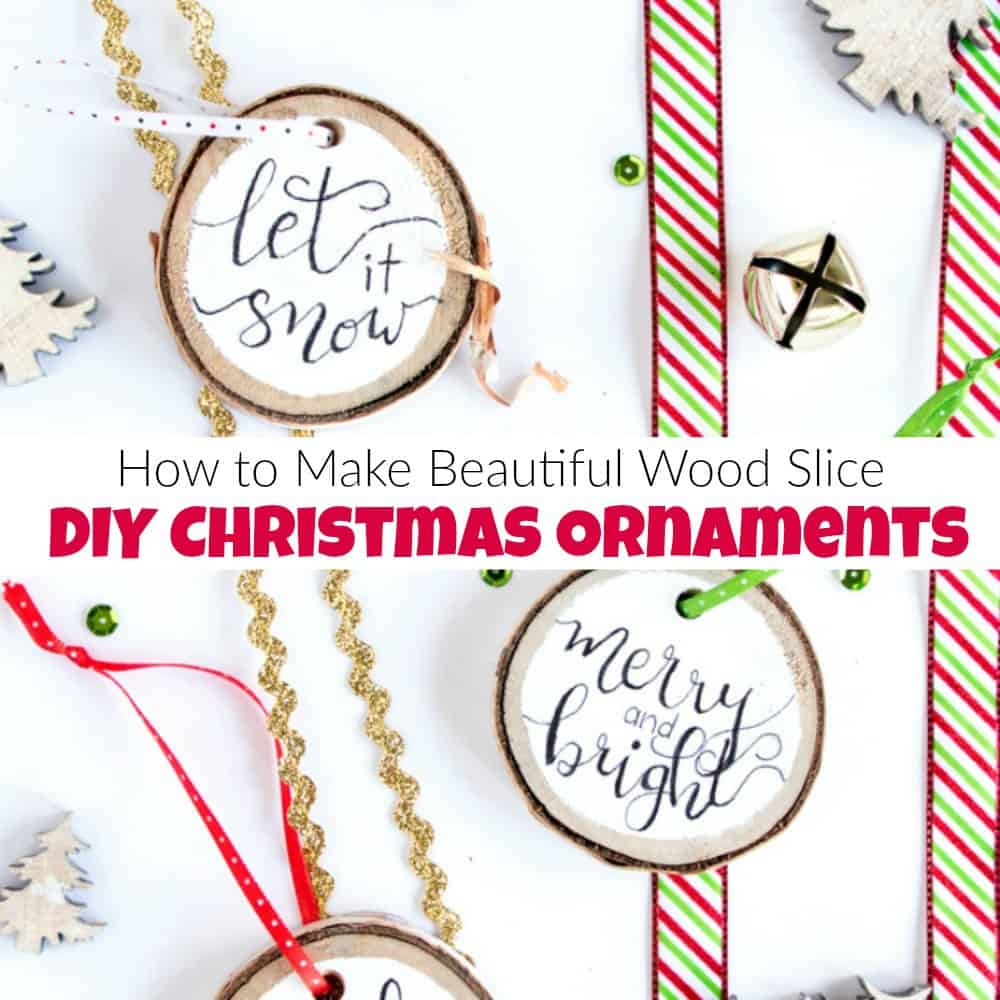
How to Make Beautiful & Easy Homemade Christmas Ornaments

Homemade Christmas ornaments always tend to feel better than store bought. But the idea of making your own Christmas ornaments shouldn’t leave you stressed or cost a fortune. That’s why these homemade Christmas ornaments are perfect!
Disclosure: This homemade Christmas ornaments post contains affiliate links for your convenience. I may be compensated if you make a purchase after clicking on my links. Click here for my full disclosure policy.

Supply List for Homemade Christmas Ornaments
What You Will Need
Tools
Makes 3 homemade Christmas ornaments
- 3 round wood slices (you can find some online HERE)
- Pencil
- White craft paint (HERE)
- Fine Paintbrush (HERE)
- Fine Tip Black Sharpie marker (HERE)
- Decorative ribbon of your choice 1/8″ wide
- Find all of my favorite tools and products on my Amazon Page here
How to Make Homemade Ornaments for Christmas
This homemade Christmas ornaments post is part of an amazing holiday tour with some of my fellow bloggers. Make sure to check out all of their great projects, recipes, decorating ideas and more down at the bottom of the post!
Click here to PIN this post for later.
Instructions:
- Gather your few supplies to make these beautiful DIY ornaments. Of course, if you are feeling extra motivated you can go outside and find a nice thick birch branch. Chop down the branch, set up your saw and slice it up yourself. Or you can take the easier, slightly more sensible route and order these pre-cut and pre-drilled wood slices for making easy homemade Christmas ornaments online HERE. Once you decide which route you want to take to get your wood slices you will need to plan out the positioning of your lettering by tracing the outline of the wood slices onto a piece of paper.

- Draw in the inner border for where the painted center will end.
- Using a lettering style of your choice, practice writing your phrases (such as “Merry and bright”, “Jingle Bells” and “Let it snow” onto the paper. Make any corrections until you are happy with the design. Set aside. This is where you can make your handmade Christmas ornaments as unique or personal as you’d like.
- Paint the surface of each wood slice with white paint, leaving a small border of unpainted wood on the outer edge. Let the paint dry and then repeat on the other side if desired. You can use craft paint like Deco Art, in the color Everlasting (HERE). Or for my fellow furniture painters, you can use your white chalk type paint, like Dixie Belles white in the color Cotton (HERE).
- Do this for all three of your DIY Christmas ornaments.
- With a pencil, copy the phrase from your practice sheet onto each wood slice. Make any corrections as needed until you are happy with the designs. It’s a good idea to use light pressure at first in case you need to erase and make adjustments.
- Next, carefully, trace over the pencil marks with your fine tip black marker.
- Go back and thicken all the “downstrokes” on the letters, leaving the “upstrokes” thinner.
- Let dry at least overnight before carefully erasing any pencil markings (stop immediately if the marker smudges at all).
- Add a thin ribbon for hanging.


DIY Christmas Ornaments

How cute and easy are these homemade wooden Christmas ornaments? They are so easy to make that it almost feels like cheating.
Click here to PIN this post for later.

I hope you enjoy making these easy DIY Christmas ornaments. Go ahead and make some extras to give to friends and family. These are perfect little keepsakes that you can personalize however you’d like.
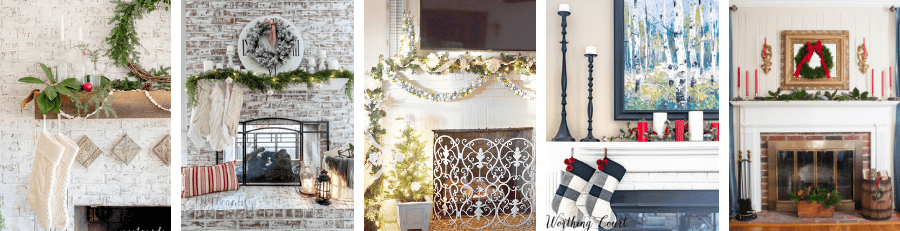
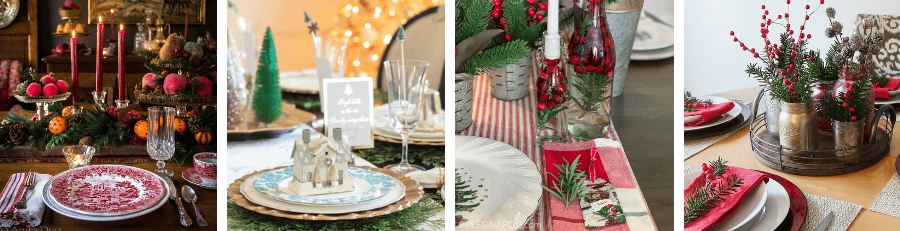
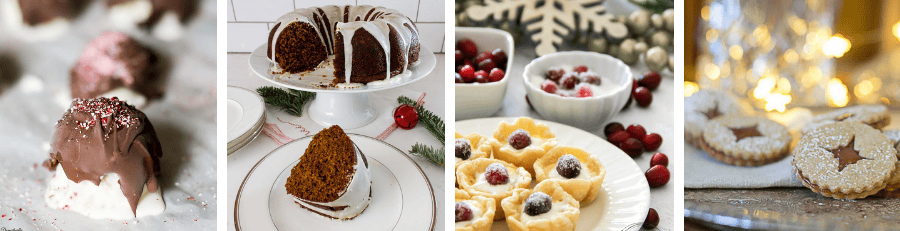
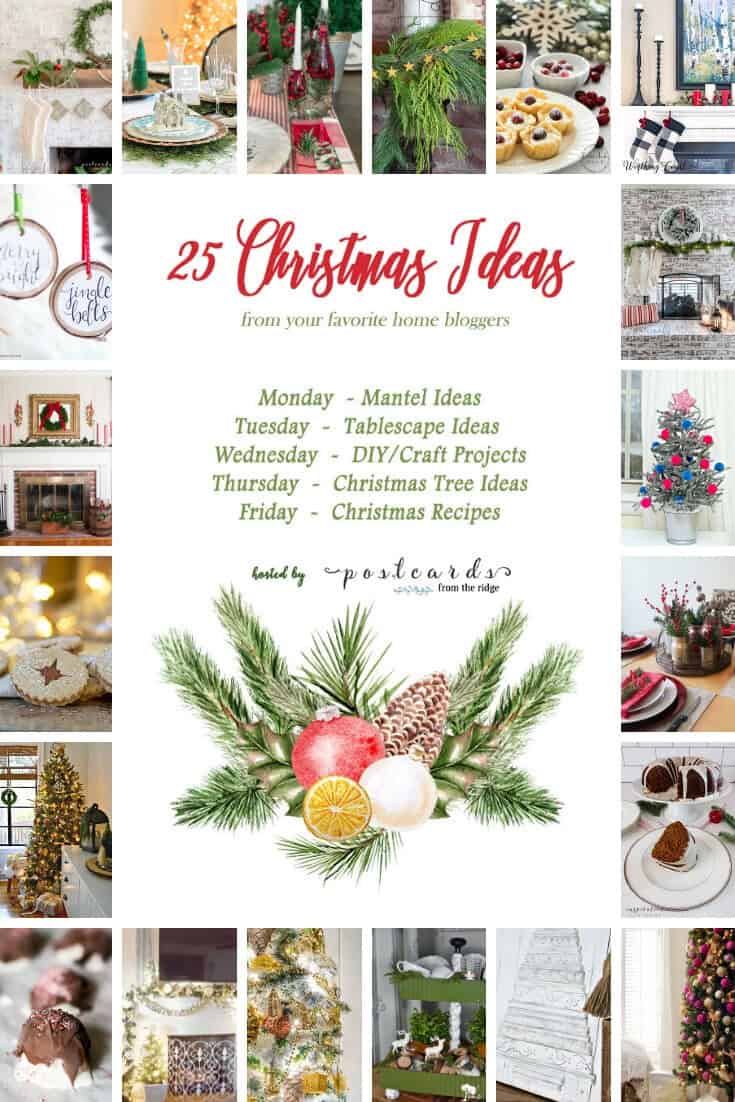
Holiday Home Bloggers Tour
Click here to PIN this post for later.
Monday – Christmas Mantel Ideas
Tuesday – Christmas Tablescape Ideas
Wednesday – Christmas DIY/Craft Project Ideas

Thursday – Christmas Tree Ideas

Friday – Christmas Recipes
Domestically Speaking // Inspiration for Moms // Foodie Chicks Rule // Nourish and Nestle // Jenna Kate at Home (not pictured)
Don’t Forget – Follow Just the Woods and Share this post to Inspire others:
FACEBOOK * INSTAGRAM * PINTEREST

Stay connected! For more tips and tricks sign up here : [mc4wp_form id=”1340″]

Click here to PIN this post for later.

These are so fun and pretty. I love the script font you used and you made it seems so easy.
These are so adorable! And you make it look so easy to make them. I like the fact that you used a pen for the script instead of a brush. So much easier! Thanks for joining the tour and sharing this cute tutorial.
So cute and natural, Kandice! I’ve got a whole bunch of wood slices that were naked on the tree last year; this year they need words! Fun to be hopping with you again!
How cute can you get? And easy, too, so you get extra points for that. LOL… Love them!
Those are so adorable!! xo
Those are super cute! Your hand lettering is beautiful.
These are so fun!! I wish I had your penmanship, you make it look so easy!
Not only great ornaments…but cute for gift tags as well!
Thanks for the inspiration.
So happy to join you on this fantastic blog tour!
Hugs, Lynn
I love those Kandice. Super fun!
I love a good wood slice ornament! These turned out so pretty. Merry Christmas!
I love wood slices and your ornaments are adorable!
I love these! I am going to make some for our name tags on our stockings this year. Thanks for the inspiration!
Wonderful idea and the ornaments look just adorable. Reaaly inspiring!