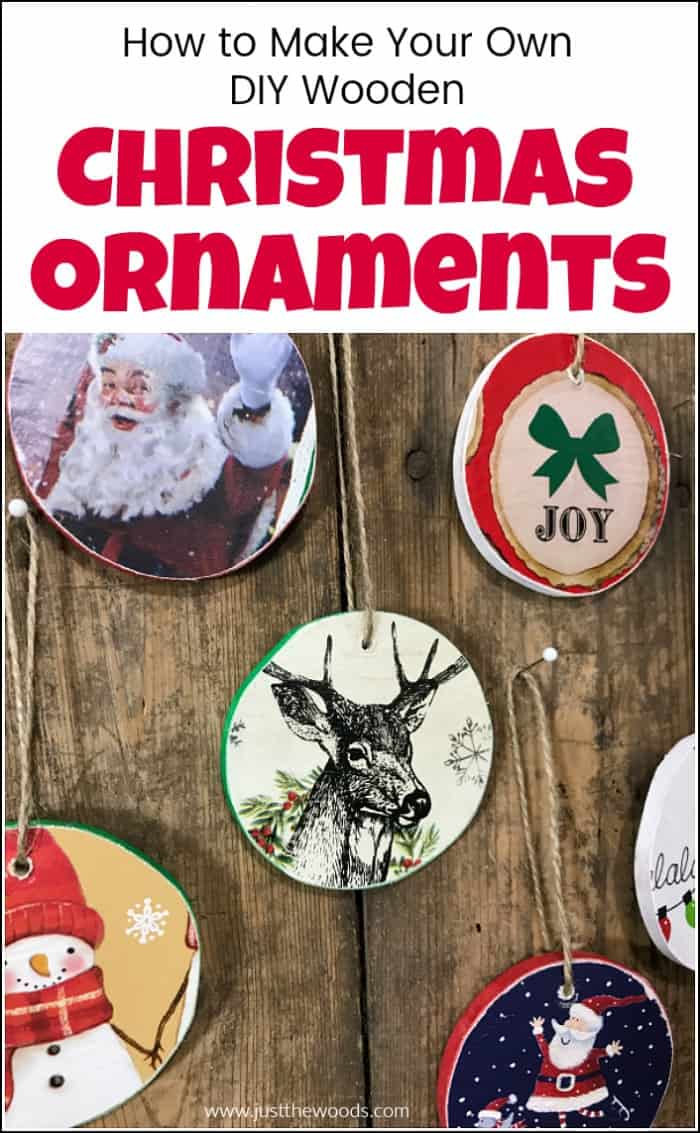
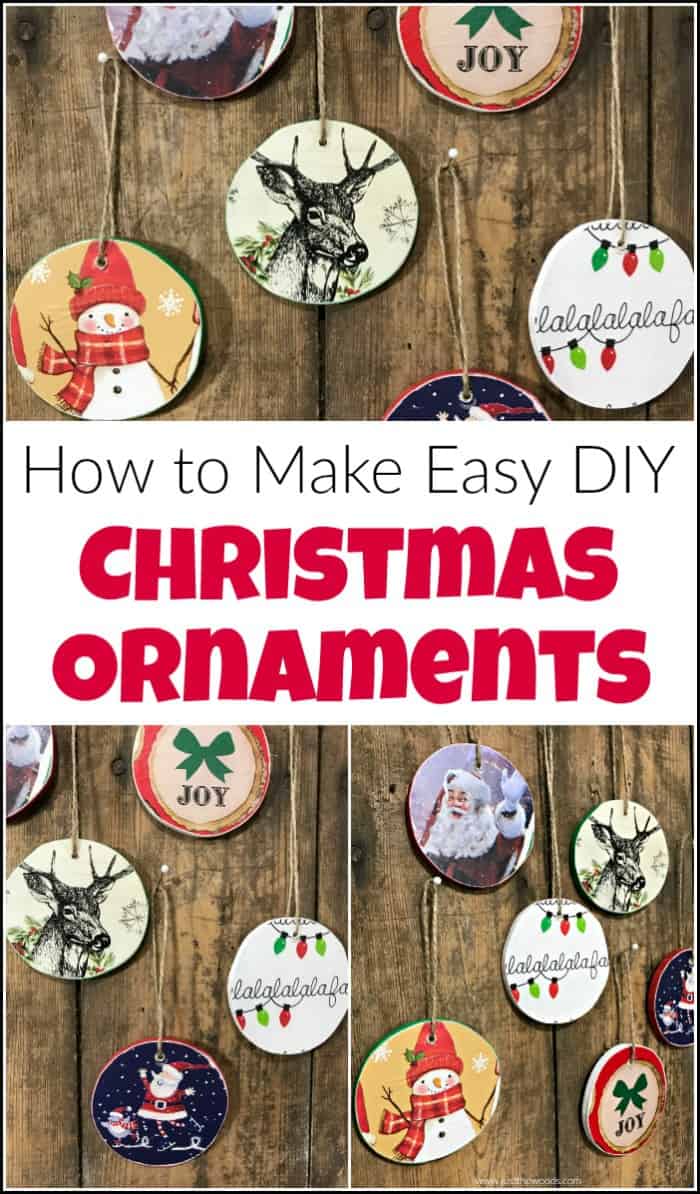
Tis the season for all things Christmas and time to get in the holiday spirit. What better way then to make your own wooden Christmas ornaments. These vintage-style DIY Wooden Christmas Ornaments can be made with some scrap wood, wrapping paper, paint, and glue. Yes, wrapping paper. I admit that I was able to make these adorable wooden ornaments from start to finish is about 2 hours. When looking for easy Christmas ornaments to make these are a must!
Disclosure: This DIY wooden Christmas ornament post contains affiliate links for your convenience. I may be compensated if you make a purchase after clicking on my links. Click here for my full disclosure policy.
Supply List for DIY Wooden Christmas Ornaments
What You Will Need
Makes 6 homemade Christmas ornaments
- Scrap wood
- Wrapping Paper
- Tissue Paper
- Scroll Saw
- Pencil
- Mod Podge
- Silicone Glue applicator
- Dewalt Drill
- Decorative ribbon or twine
- Shop Vac
- Find all of my favorite tools and products on my Amazon Page here
Paint
How to Make Homemade Wooden Ornaments for Christmas
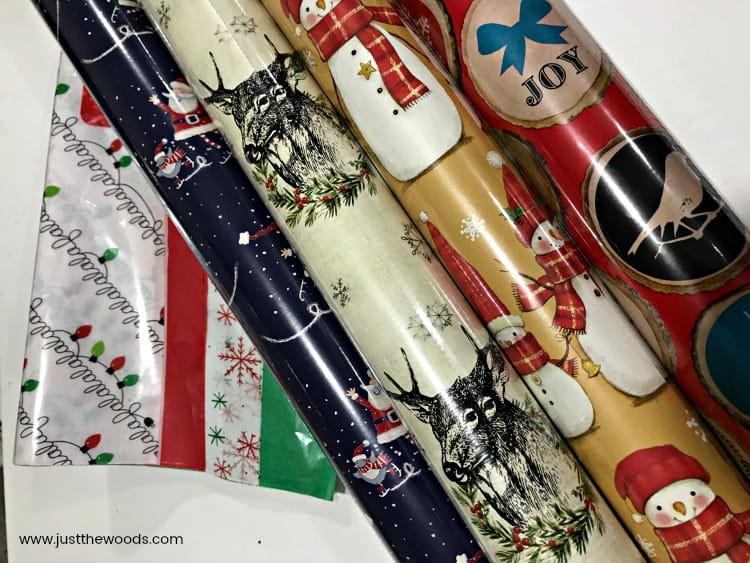
These homemade Christmas ornaments are super easy to make and can be kept all to yourself or gifted to loved ones if you’d like. If you are already a crafter or DIYer, aside from the tools, you can make these DIY wooden ornaments with some leftover wrapping paper and scrap wood. I admit that I already had this project in mind when scooping up some holiday wrapping paper so I made sure to get a nice variety of vintage-style paper along with the standard Santa and snowmen 😉 You can also use up leftover wrapping paper from last year.
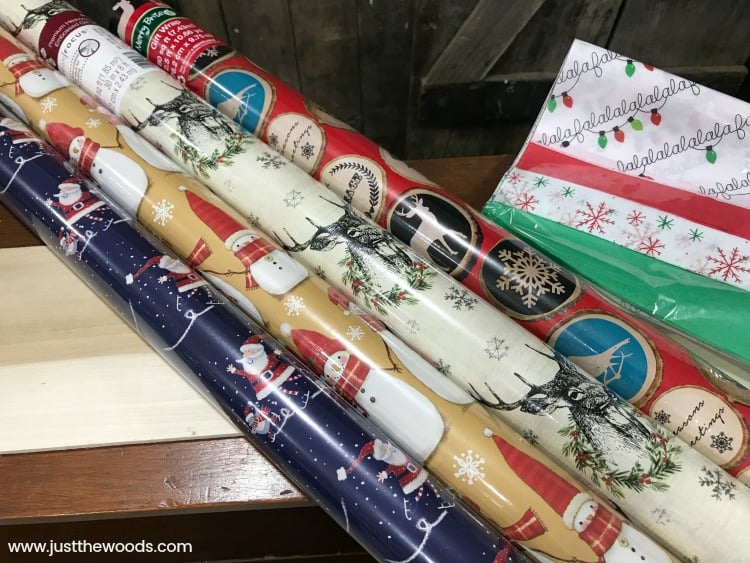
Along with the wrapping paper, I found some adorable falalalala tissue paper, so we will give that a go as well. For the wood portion of these wooden Christmas ornaments, I am using some leftover scrap wood that I have in my shop. The scrap wood is most likely leftover from replacing a back to a china cabinet or curio cabinet like this one: Vintage Curio Cabinet Makeover.
Marking Your Wood for DIY Wooden Christmas Ornaments
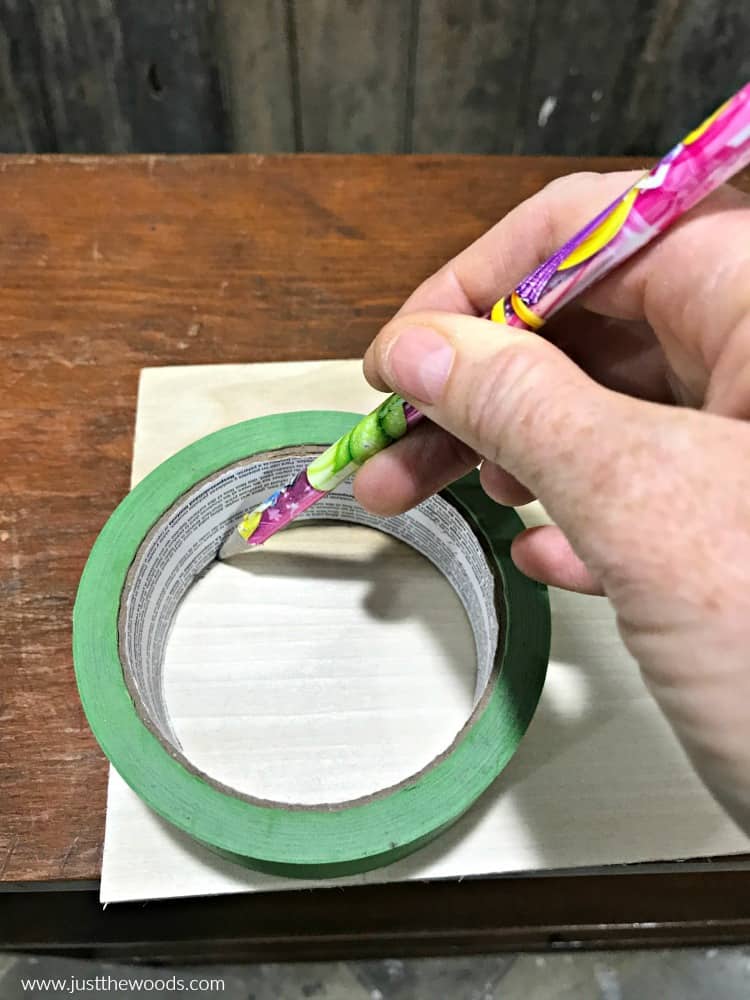
Grab something round, like a roll of painter’s tape, a small paint container, or a drinking glass. Use this as a guide to mark circles on your wood with a pencil. As you can see, this is not a fancy DIY project – we use what we have! I am using a roll of good ol’ painter’s tape.
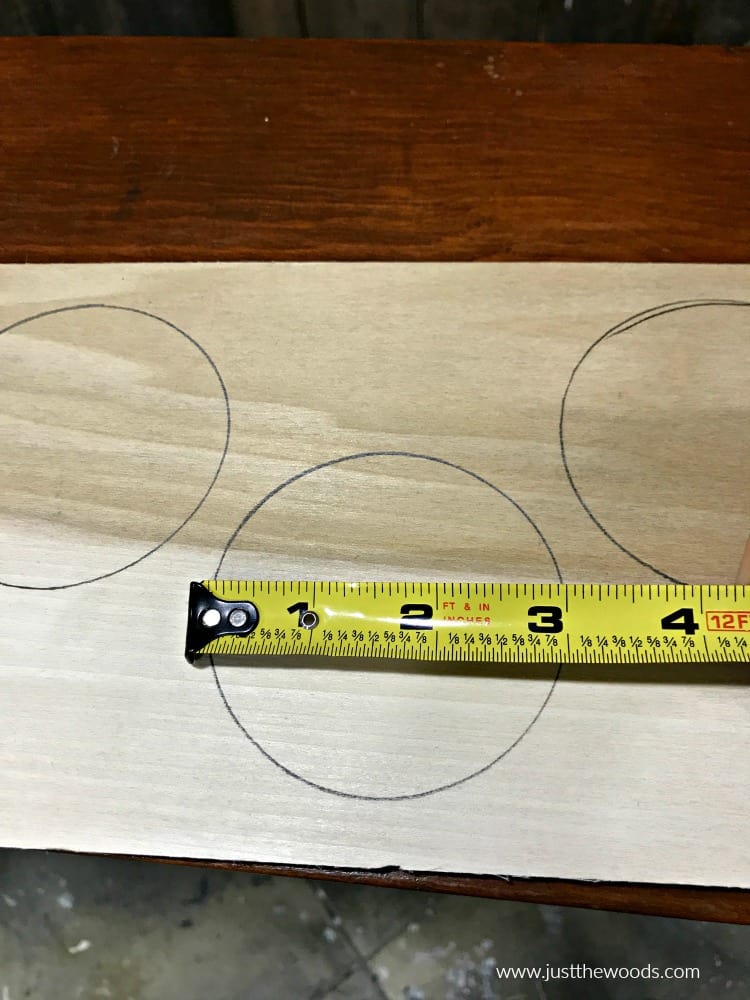
The circles end up measuring approximately 3″. You want to make sure that your DIY wooden Christmas ornaments are not too large or too small.
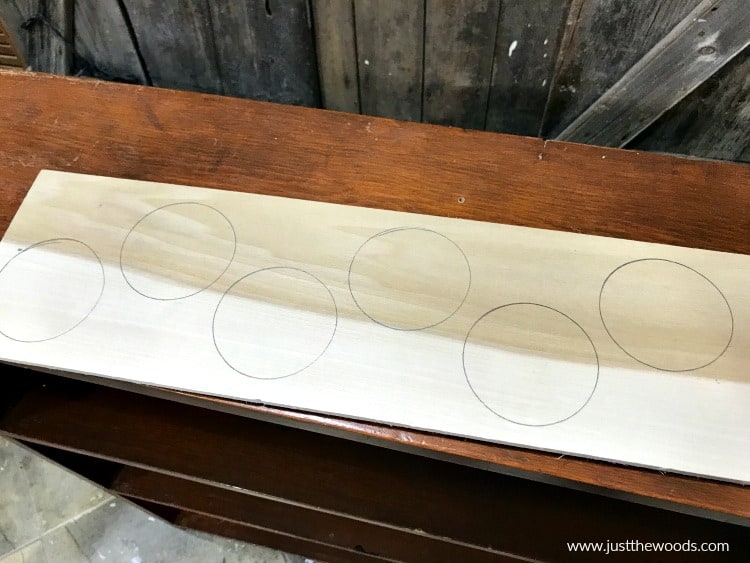
Make as many circles as you would like to make wooden ornaments. For the sake of this project, I am making six DIY wooden Christmas ornaments.
Click HERE to Pin this post for later.
Cutting Out Your DIY Wooden Ornaments
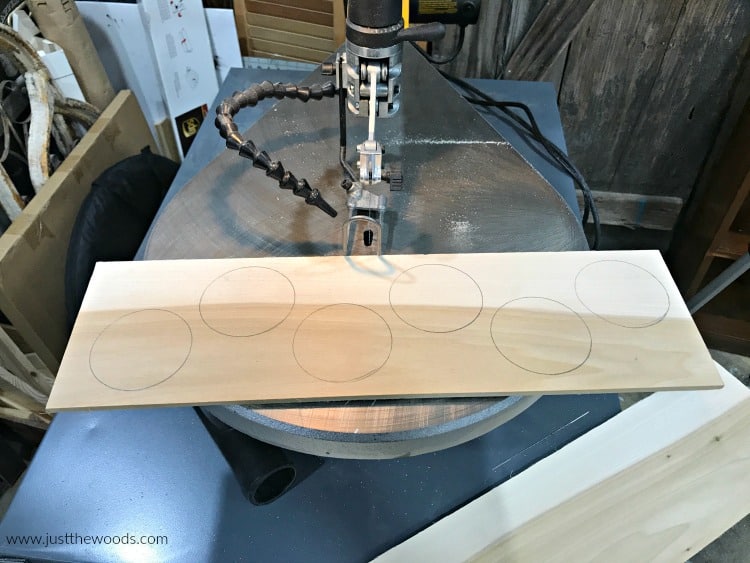
Next, let’s head on over to the scroll saw. I love this thing! It comes in handy for small DIY projects like this one, and my DIY Wooden Lantern. It also comes in handy for larger furniture repair projects like on this Lane Cedar Chest Makeover. If you are looking for a scroll saw to add to your holiday wish list, this is the one that I use and love: HERE. Let’s start by cutting off the excess wood that we don’t need, so we are left with just the part we do need.
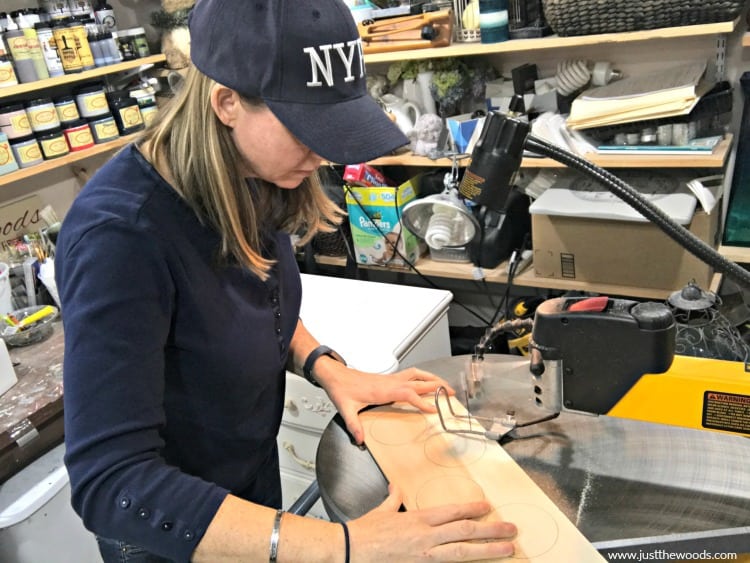
Now the fun part! Carefully, cut out your wooden circles. Since we are moving in a circular direction its best to work slowly for nice edges. But if you have rough edges, no worries, we can sand those down later.
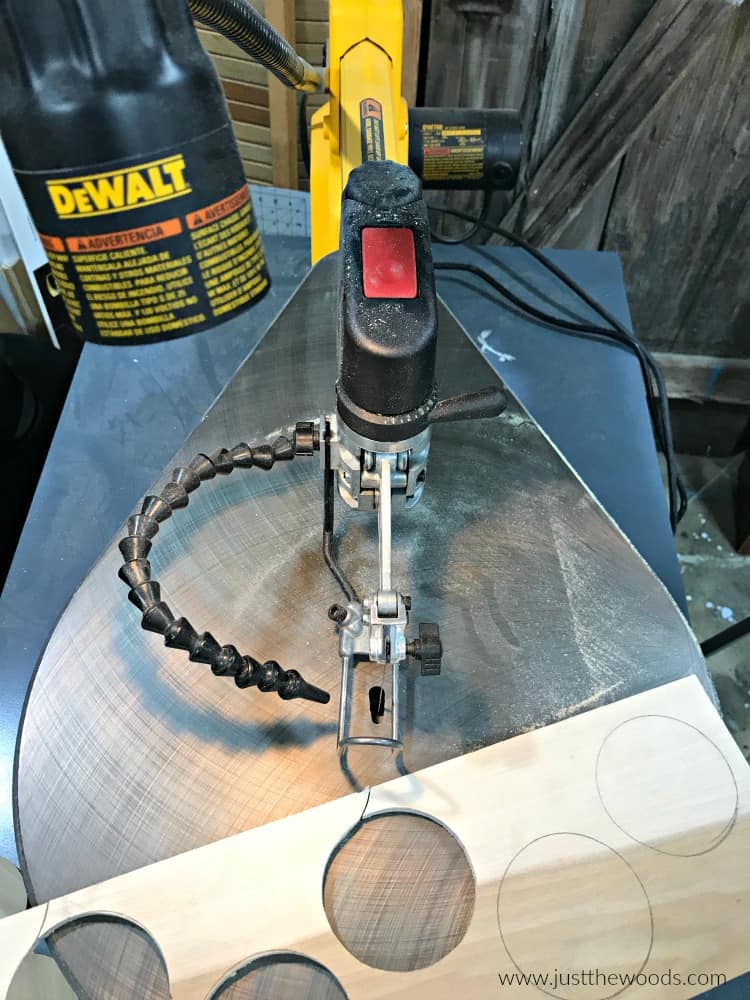
The closer your pencil marked circles are together or to the edge, the easier it is to navigate from one circle to the next when cutting.
Here is a quick time-lapse video showing how easy it is to cut these circles.
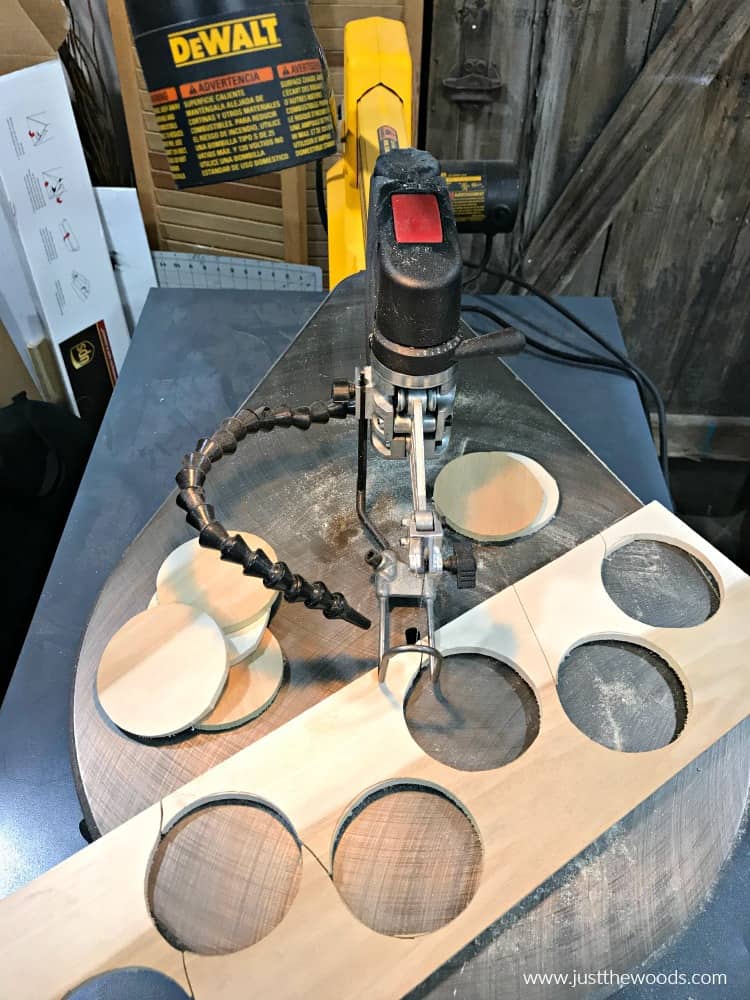
Once you finish cutting you will have all of your wooden circles ready to personalize. Unless you have some wild idea for the piece of wood with the holes in it you can toss it out.
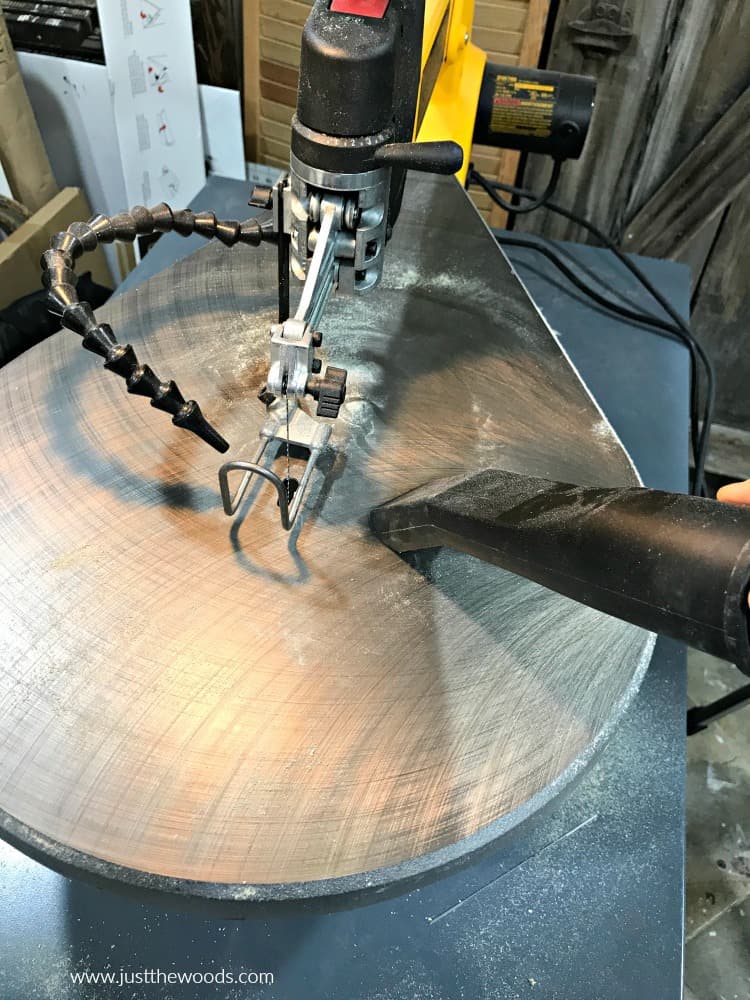
In my attempt to keep my work area clean, I use my shop vac to suck up the sawdust from my scroll saw. Having a shop vac makes clean-up much easier. You can get one online HERE.
Pre Cut Wood Disc Options
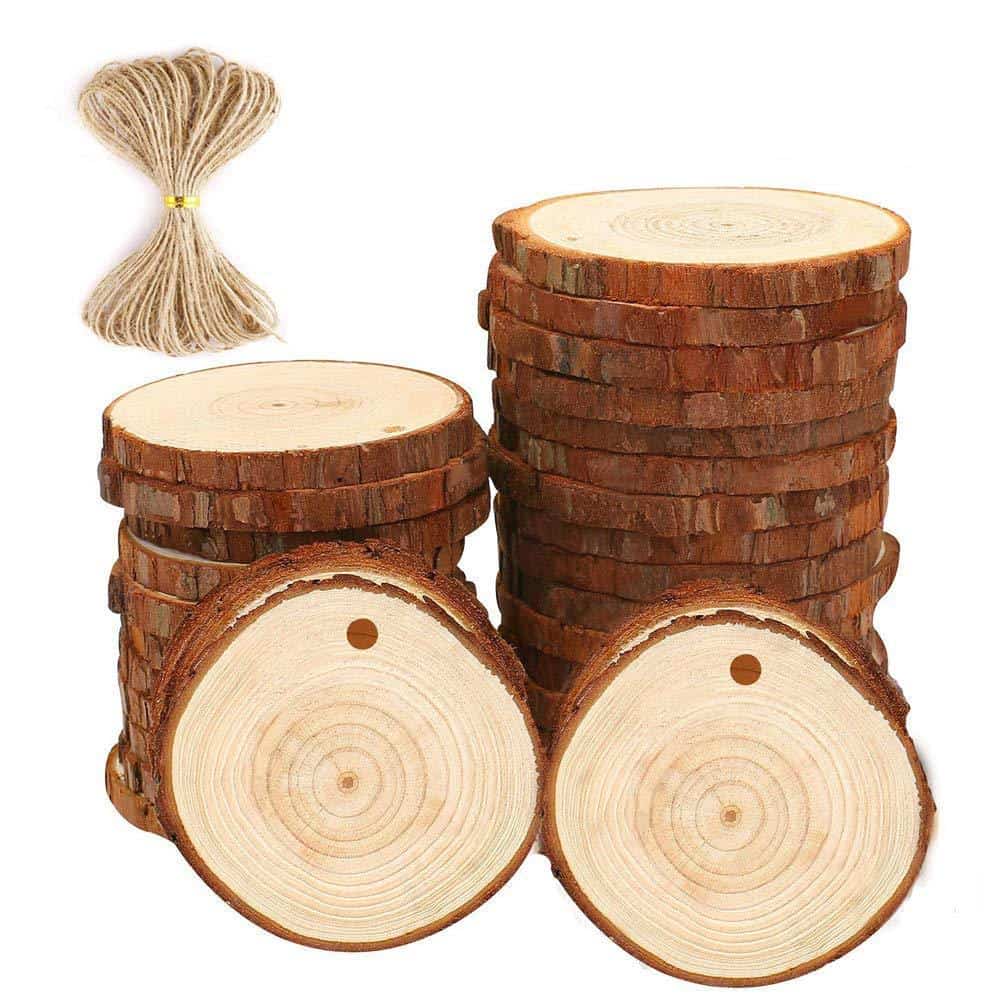
If you don’t have a scroll saw, but still like the idea of making your own wooden ornaments then you may want to grab some pre-cut wood rounds. You can do the rest of the steps the same way with these pre-cut wood slices that you can order online HERE.
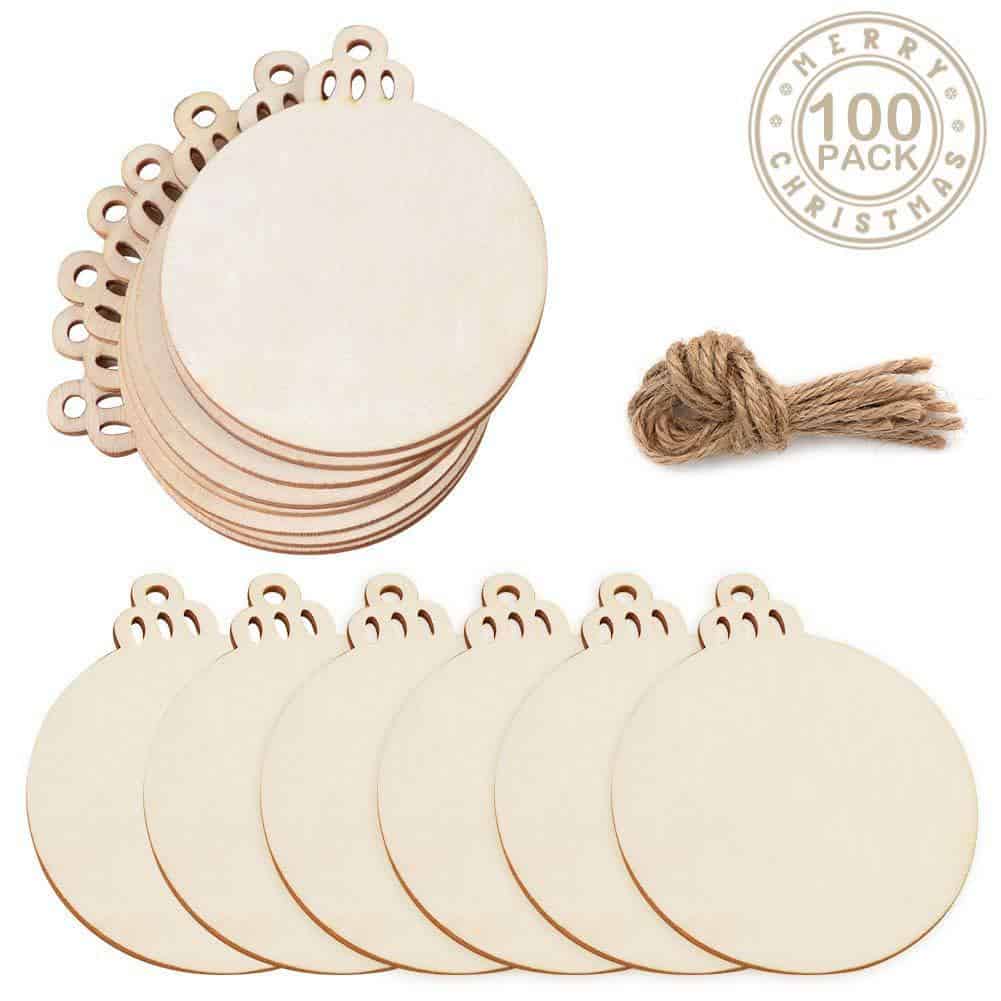
Or these without the natural wood edge HERE.
Sanding Edges on Homemade Wooden Christmas Ornaments
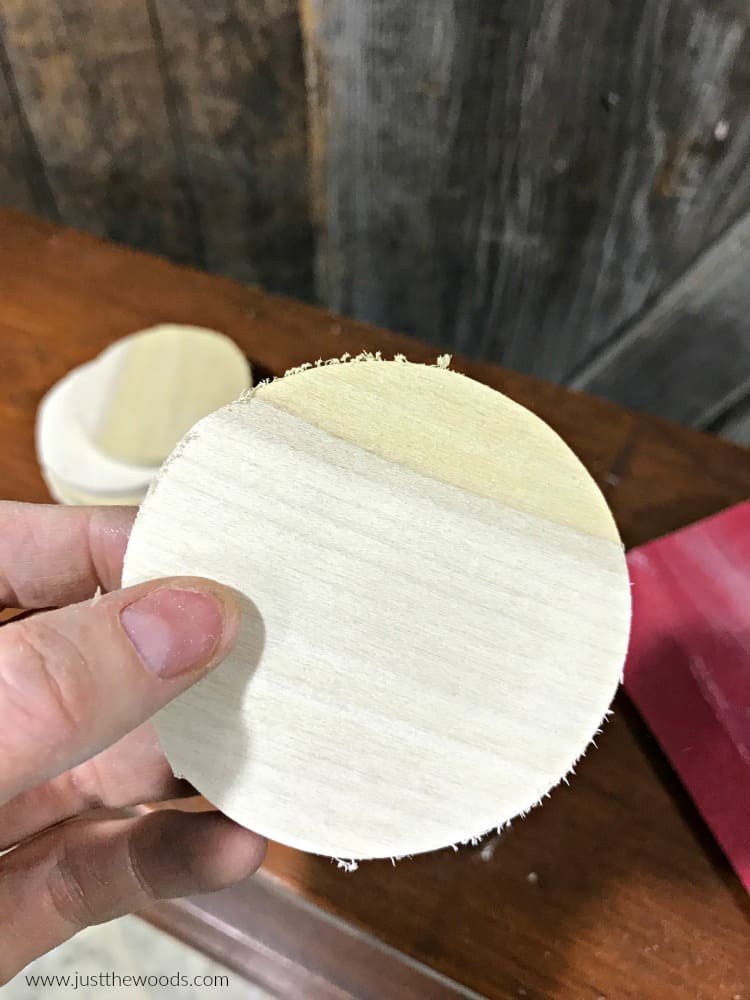
Back to the project. Now that we have our wooden circles cut out you will probably notice that the edges could need a bit of smoothing out.
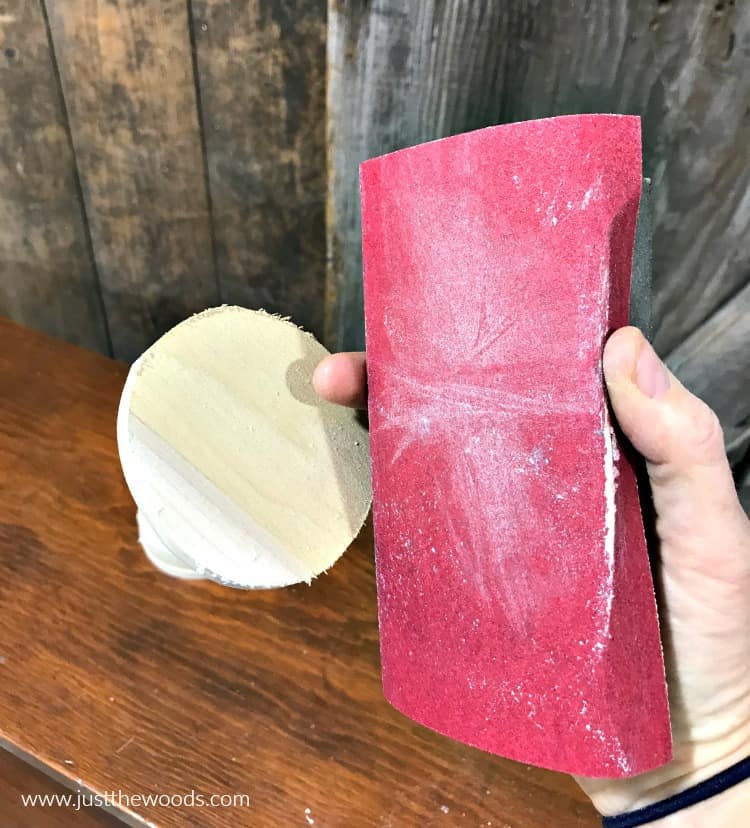
No one wants homemade wooden Christmas ornaments with rough edges, so go grab some sandpaper. I am using 150 grit for this step.
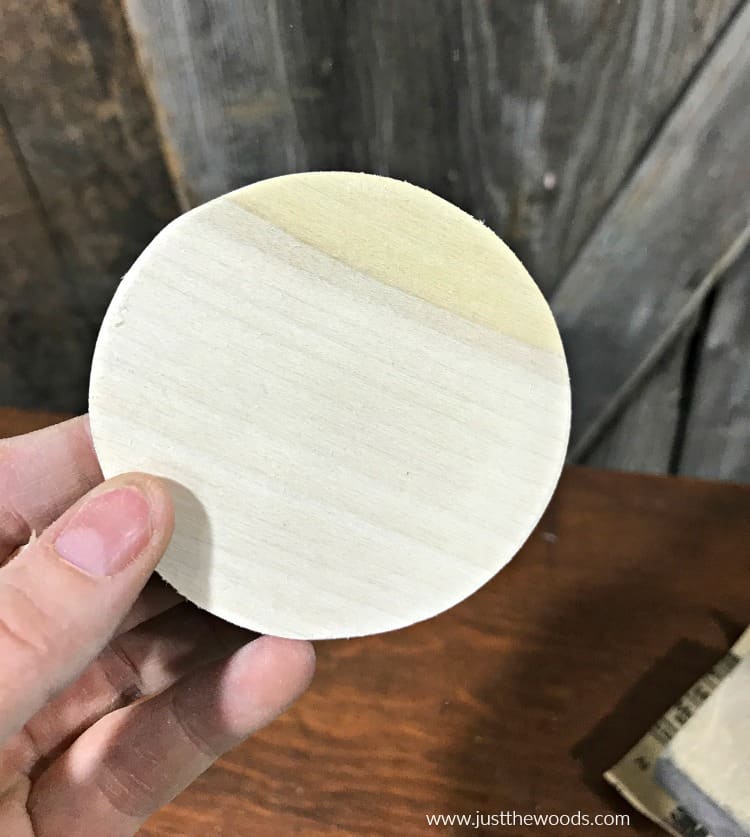
Give your wooden cut discs a quick sanding to smooth out any rough edges.
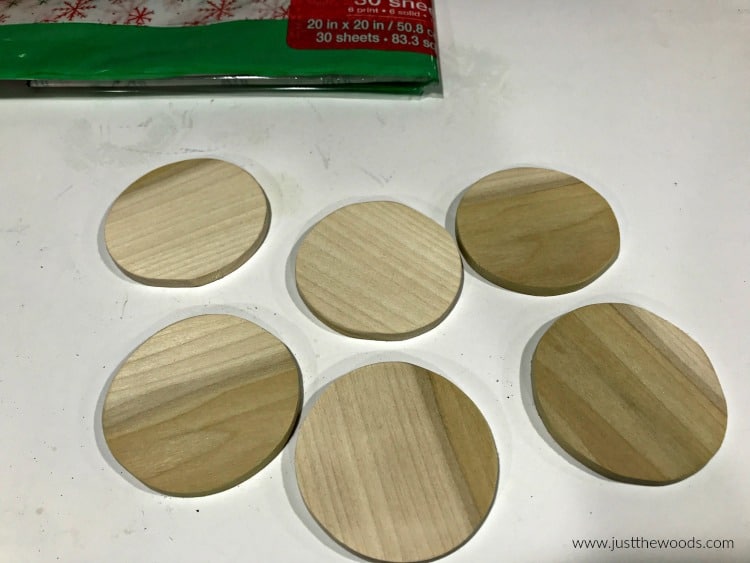
Do this for all of your homemade Christmas ornaments.
Click HERE to Pin this post for later.
Painting Your DIY Ornaments
We will be applying our paper to one side of each DIY ornaments, which leaves the other side up for debate. If you prefer rustic Christmas ornaments you can go ahead and leave the back unpainted in the natural wood finish. But I am choosing to add a bit more festive color to my homemade ornaments. To add a bit of Christmas color I am using Honky Tonk Red, Tree Frog Green, and Cotton by Dixie Belle as a simple base coat. You can find these colors online here: Dixie Belle. You can use plain craft paints if that’s what you have on hand.
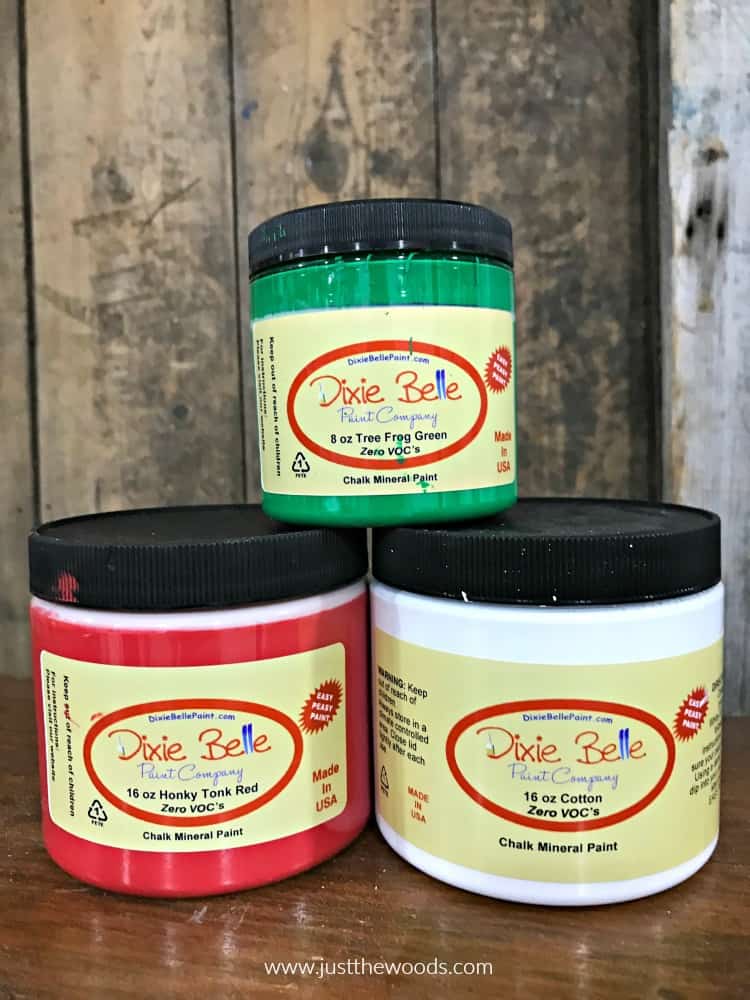
Typically, this is furniture paint but can also be used for a variety of DIY projects. You can find these colors on painted furniture projects here:
- Honky Tonk Red – Red Painted Table with Black Furniture Wax
- Tree Frog Green – DIY Wood Table Painted Green
- Cotton – will be used on an upcoming dresser project
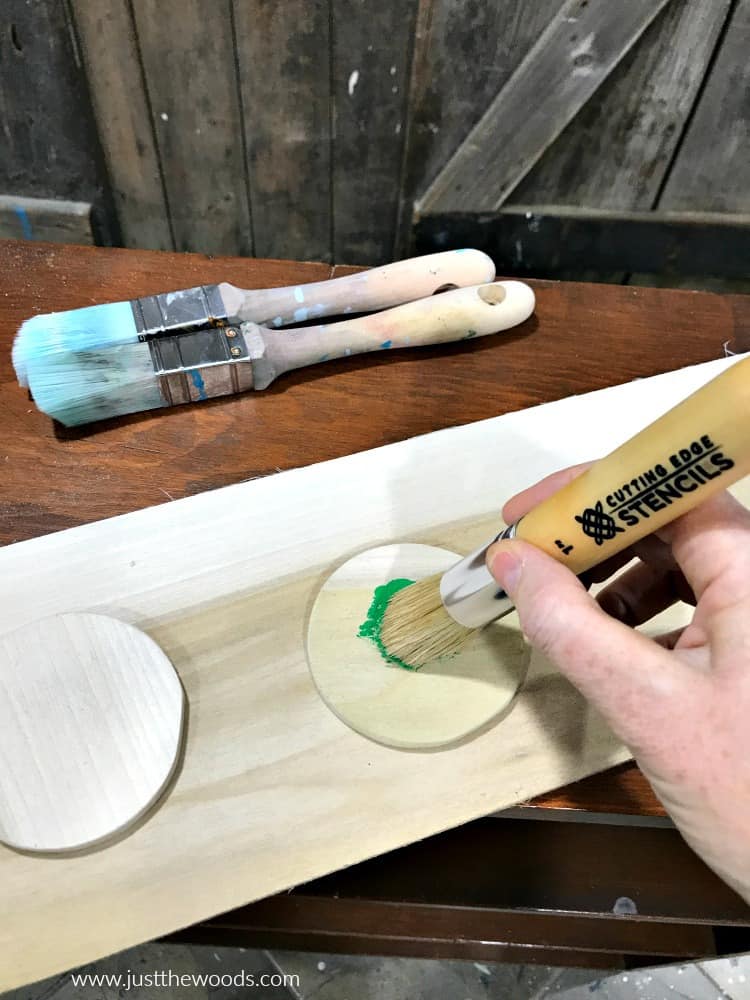
With three paint colors and six wooden ornaments, I am painting 2 ornaments red, 2 white, and 2 green. Using a few random paint brushes in my shop I start with green.
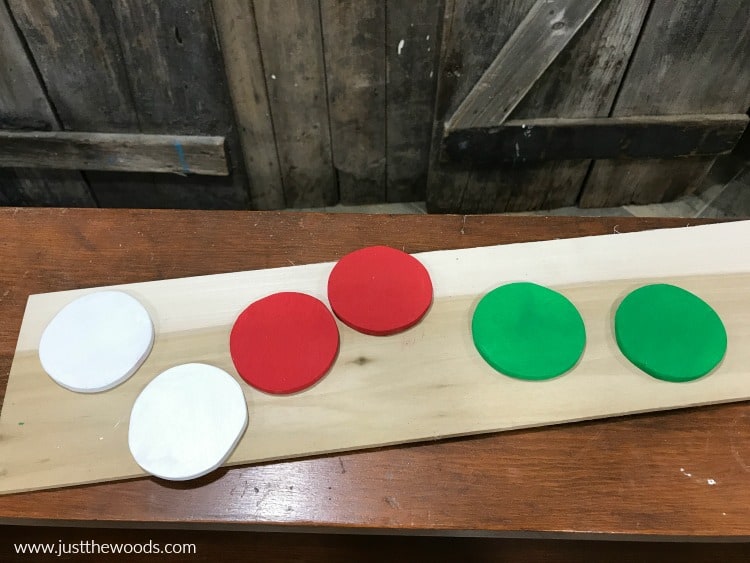
Only paint one side of each disc. Except for white, I paint both sides of one disc white – I’ll explain more further down. But, do make sure to get the sides/edges of all of the wooden ornaments. You should only need one coat of paint since we are working with a light-colored raw wood.
Personalizing Your Homemade Wooden Holiday Ornaments
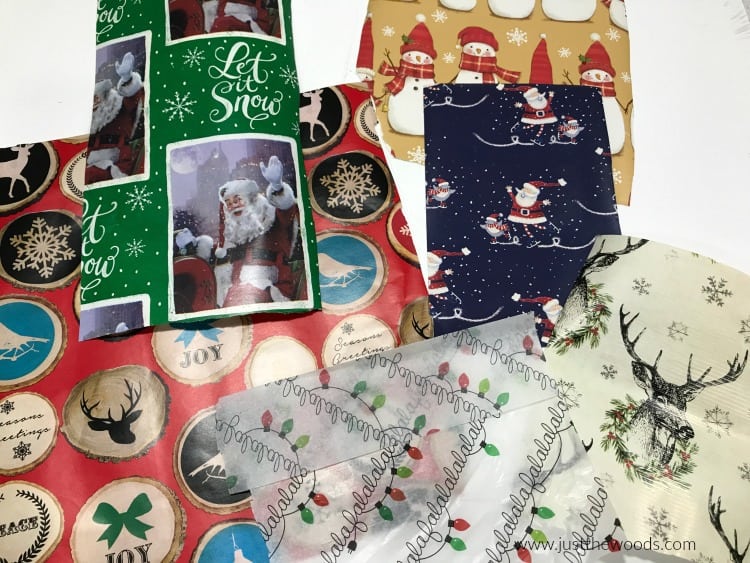
While you wait for your paint to dry, which shouldn’t take long, gather your random scraps of wrapping paper, tissue paper or any paper that you want to use to make your own ornaments personal.
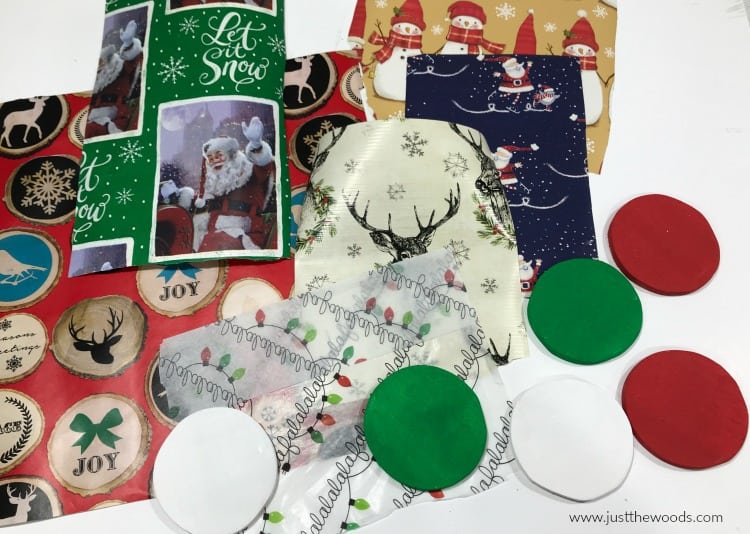
Once your paint is dry, you may want to get an idea of which paper you want to pair with which paint color for your wooden Christmas ornaments. Or you can live on the wild side and grab as you go.
Adding Paper to Wooden Christmas Ornaments
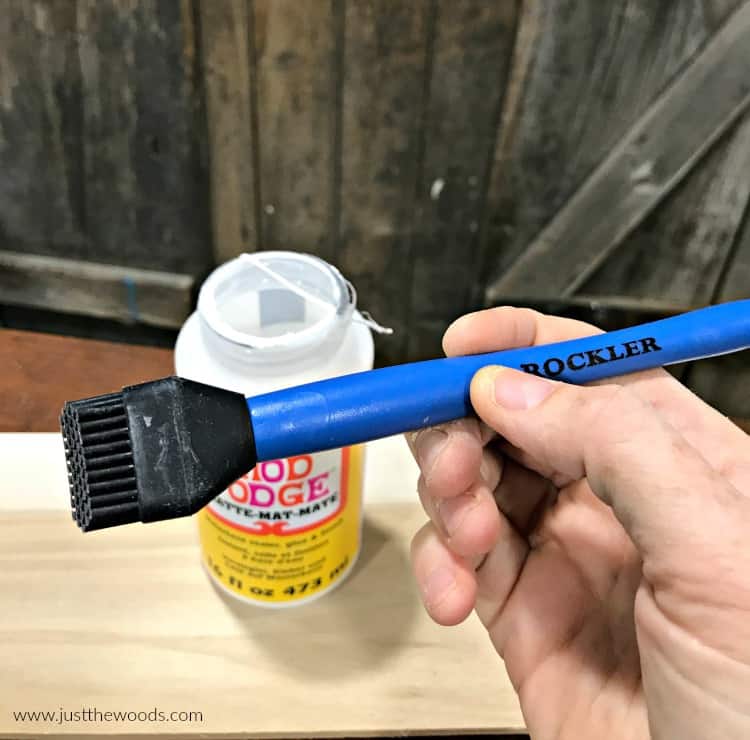
Just like with all of my decoupage projects, I am using my favorite Mod Podge along with my silicone glue applicator. If you do a lot of decoupage you may want to check this applicator out, you can find it HERE.
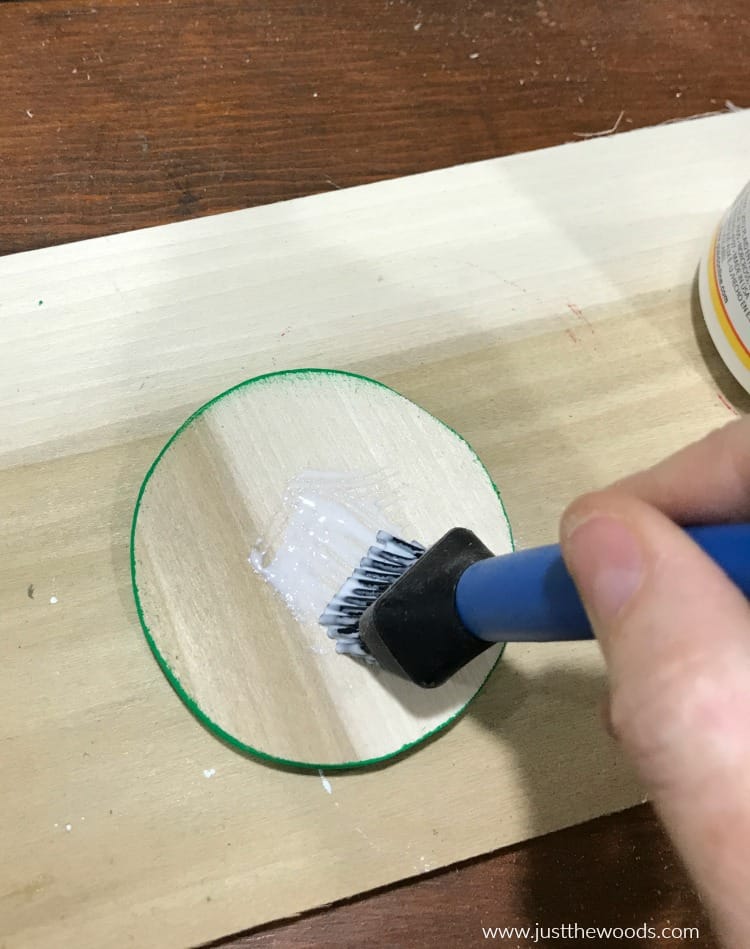
Using your applicator, apply a little bit of Mod Podge to the back of your wooden Christmas ornament.
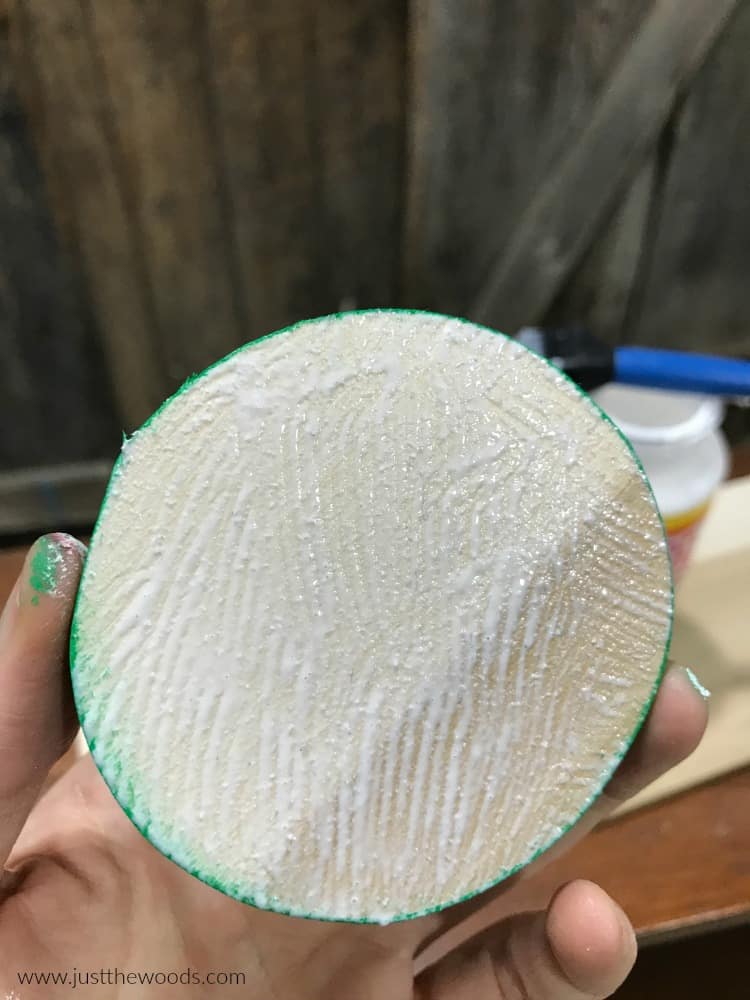
Make sure there is enough to cover the wood surface but not so much that it would seem messy. (I hope that makes sense – basically, don’t go crazy with the glue).
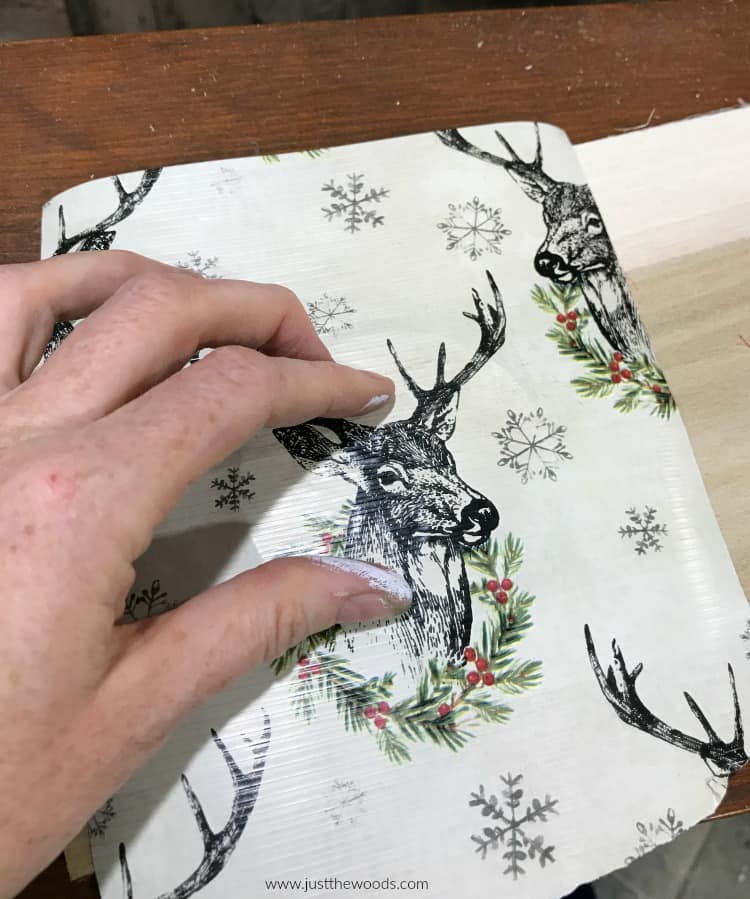
Now grab one of your pieces of wrapping paper and gently place it onto the glued wooden ornament. Be mindful of placement and smooth the paper down onto the wood.
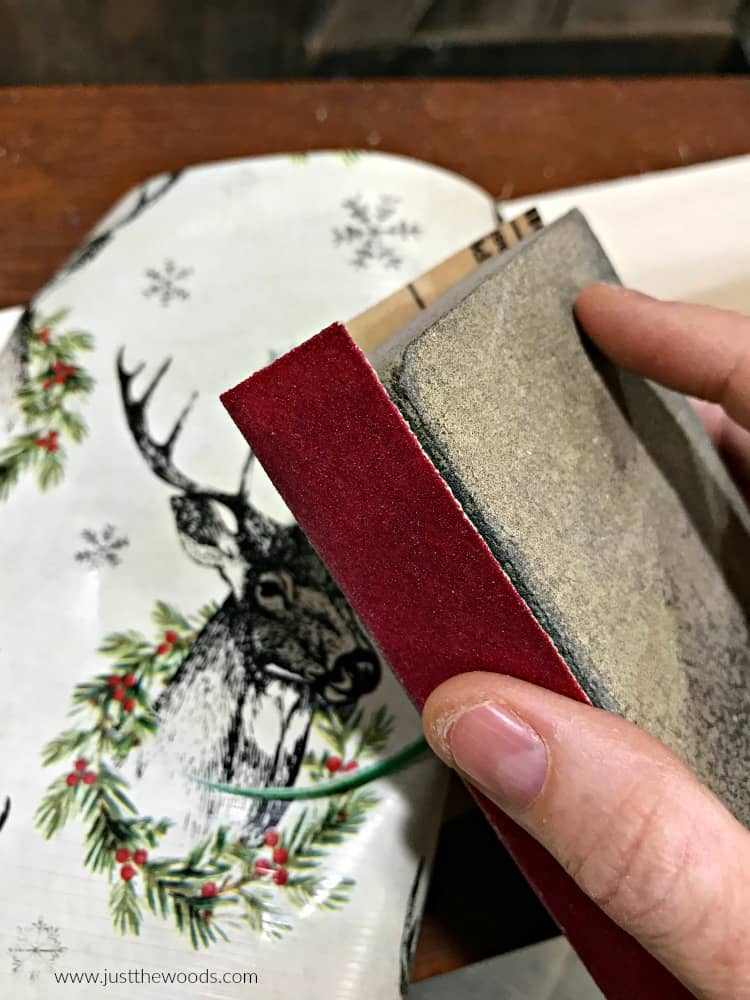
Next, you will need to remove the excess paper from the edges of your homemade wooden ornament. To do this use a piece of sandpaper wrapped around a sanding block. Swipe the sandpaper downward to gently tear the excess paper from the handmade ornament.
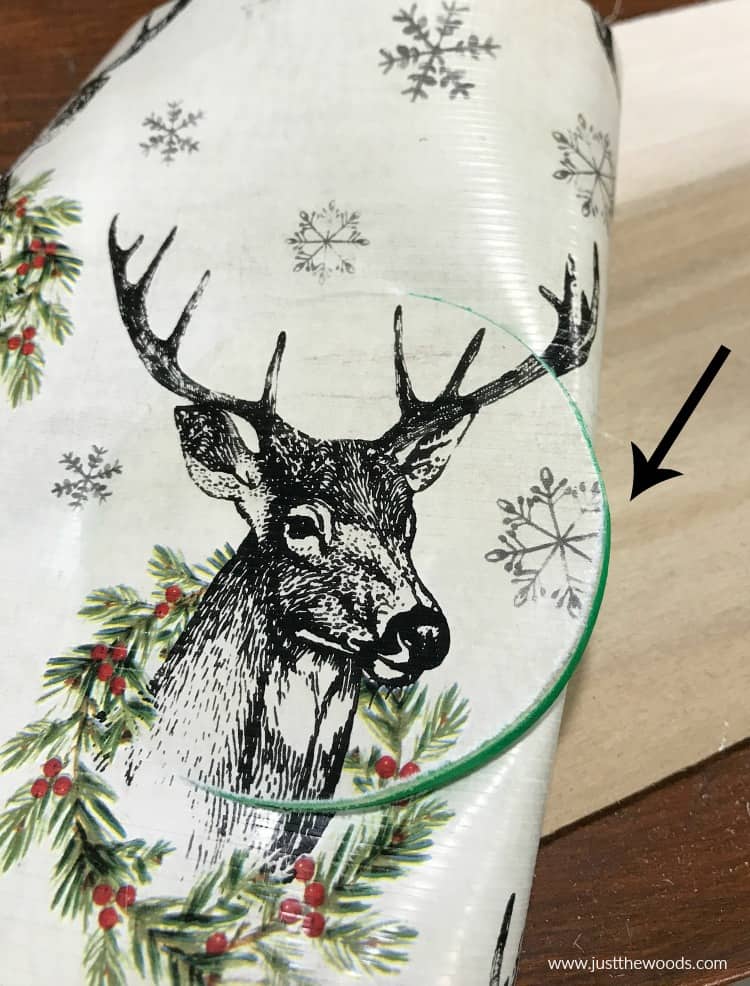
See how nicely this method works.
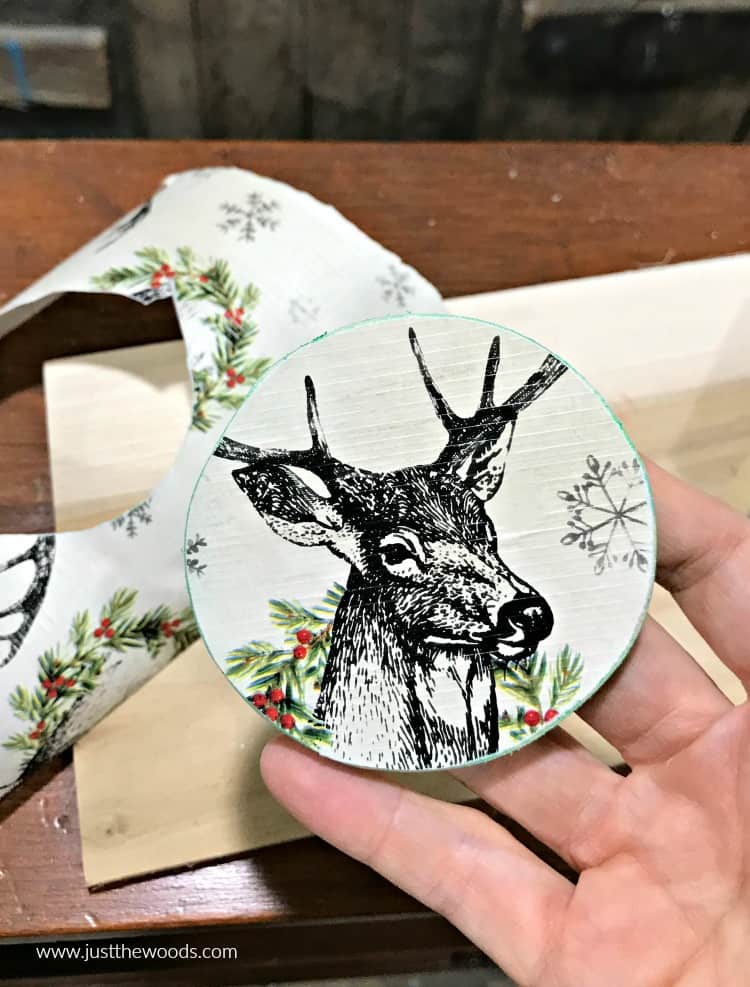
Do this around the entire wooden Christmas ornament until all of the excess paper is separated.
Repeat this step for all of your DIY wooden Christmas ornaments. If you love decoupage in general then make sure to check out more decoupage projects for ideas and inspiration here: Decoupage.
Click HERE to Pin this post for later.
Applying Decorative Tissue to Wooden Ornaments
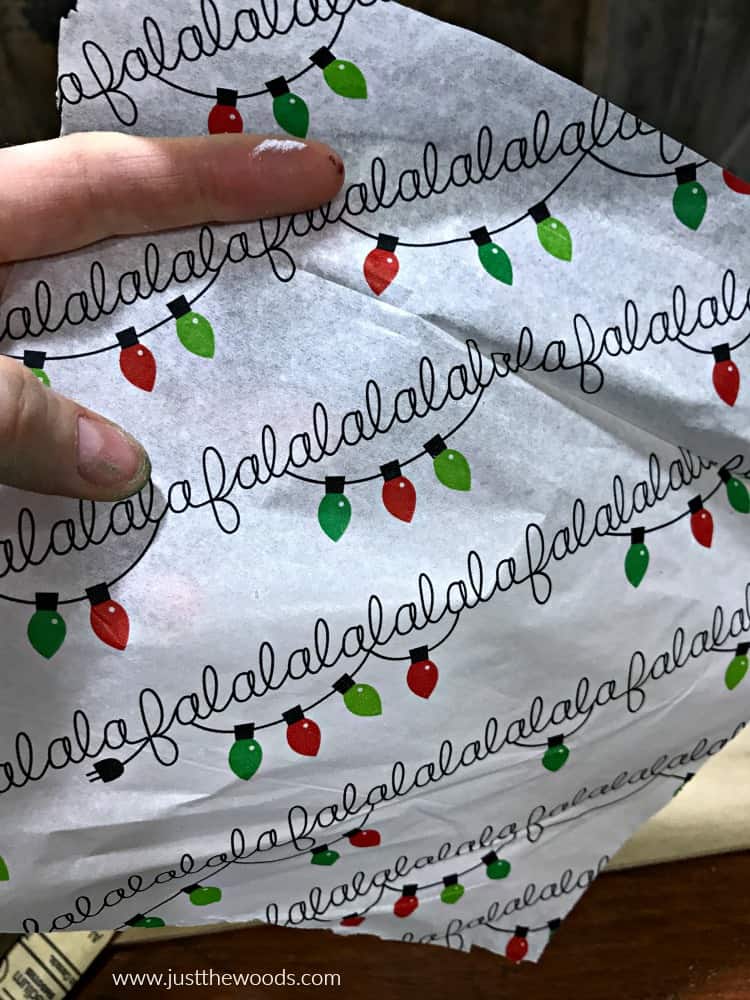
Remember I mentioned earlier that you may need to paint white on both sides of one of your homemade ornaments? Well, this is why. The tissue paper is much thinner than wrapping paper and a bit see through. When your paper, tissue, napkin or paper is thin and see-through you need to paint the surface where it will be applied.
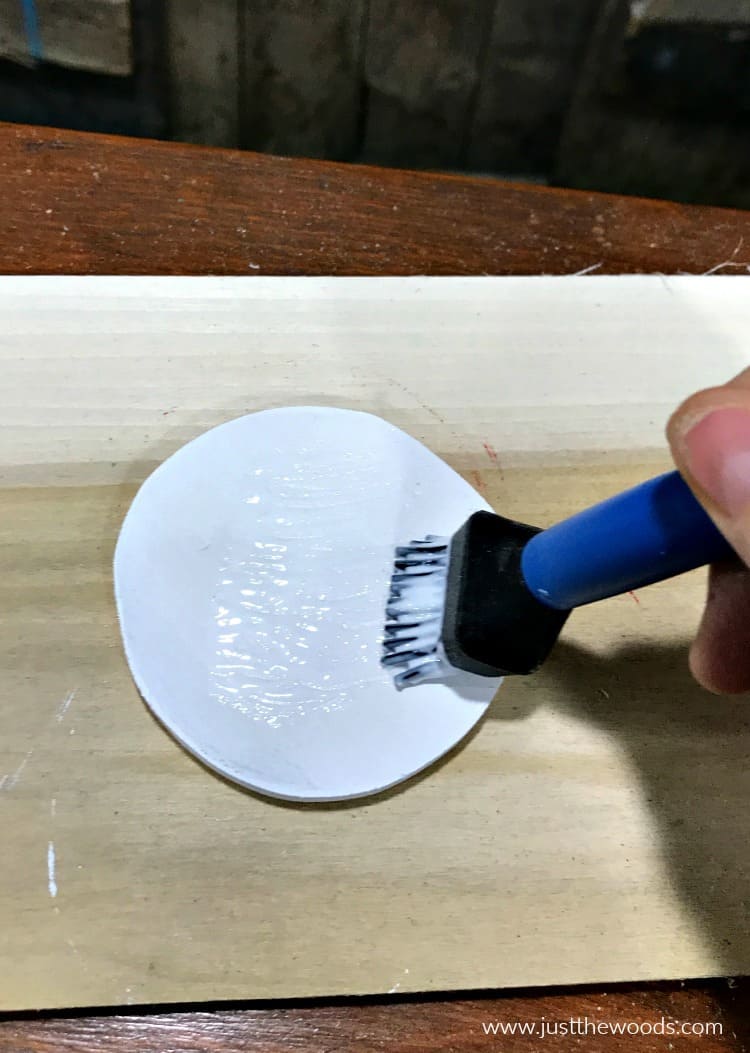
Go through the same process for the tissue paper but apply the paper over a white painted base. (Both sides of this wooden ornament are painted white).
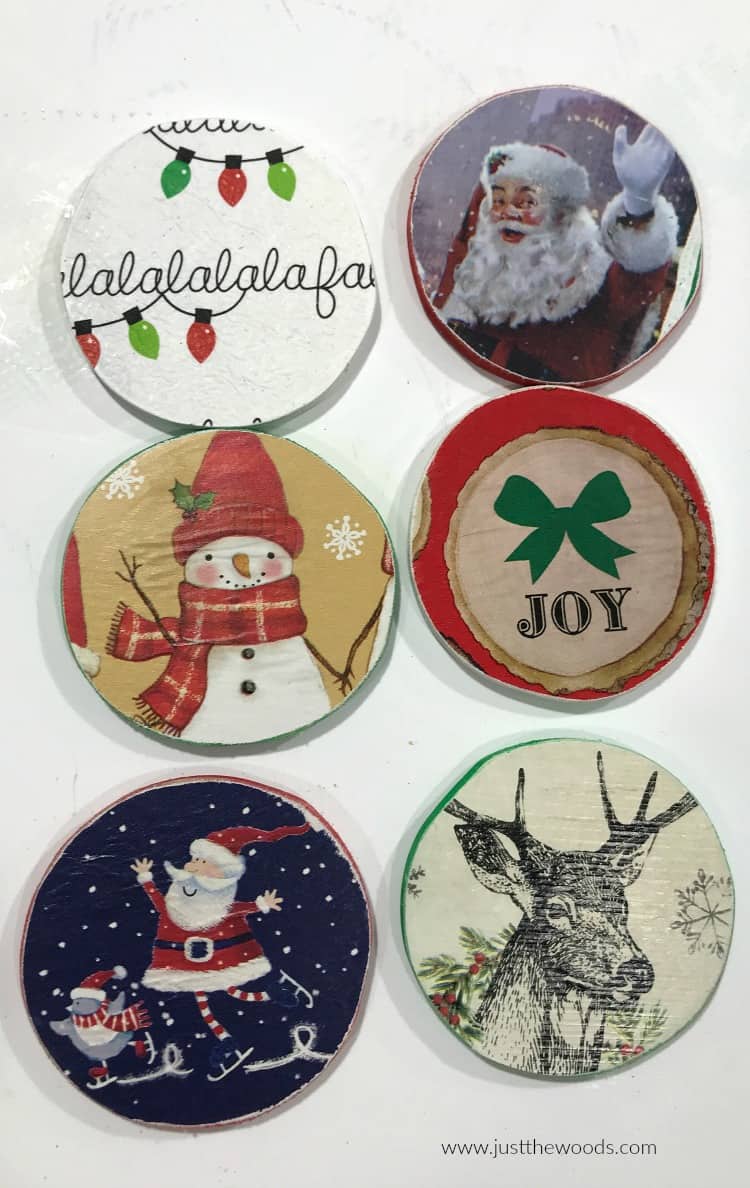
By the time you are finished, you will have six unique Christmas tree ornaments. But we still need to be able to hang them.
Click HERE to Pin this post for later.
Making Your Own Christmas Tree Ornaments
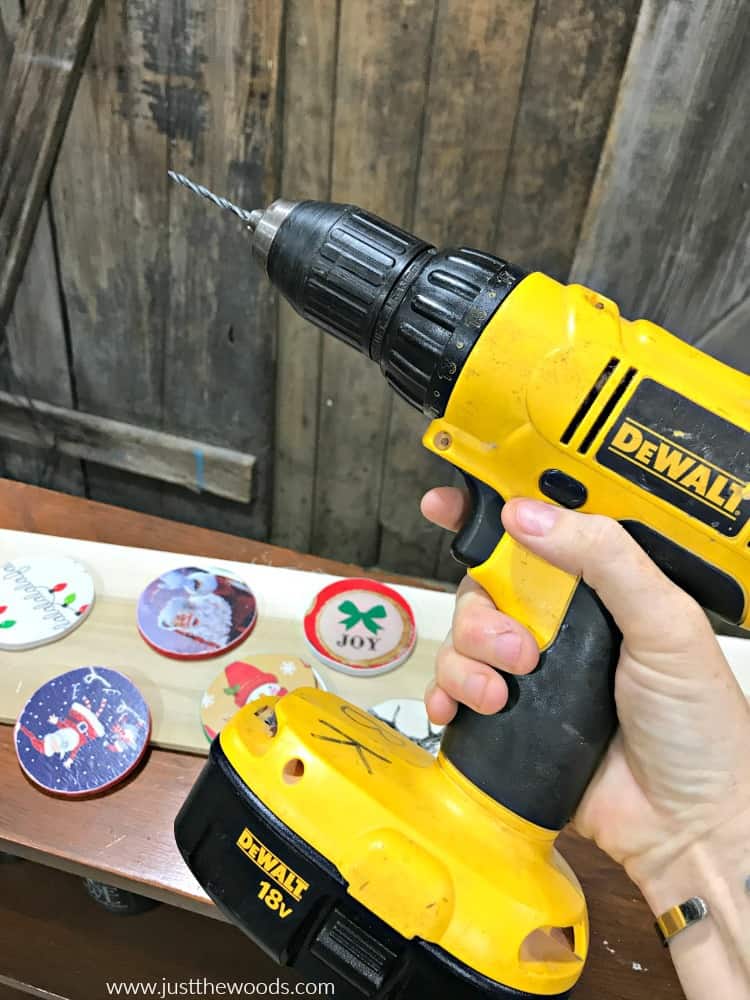
At the moment all we have are a sort of wooden Christmas decorations. We need to add a hole and ribbon or string for them to become wooden Christmas ornaments. Grab your electric drill and a rather small drill bit. I am using my favorite Dewalt drill, you can get one online HERE.
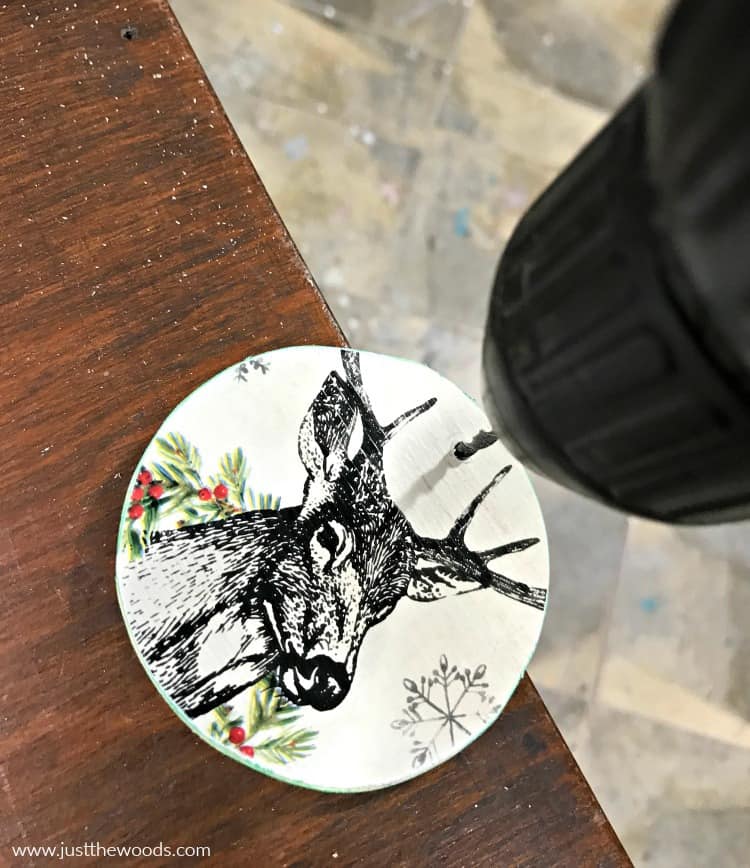
Carefully, drill a small hole near the top center of each of your DIY Christmas tree ornaments.
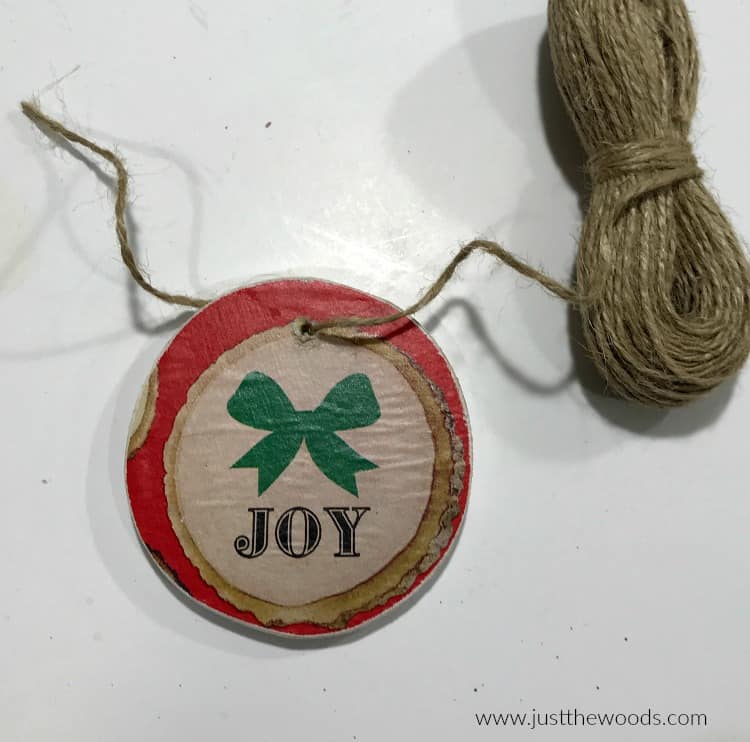
Once you drill all of your holes, grab some pretty thin ribbon or piece of twine to hang your wooden ornament. I happen to have some simple jute twine in my shop that works perfectly. You can do something similar online HERE. Tie a knot and trim the excess, your homemade Christmas tree ornaments are ready to hang.
Click HERE to Pin this post for later.
Easy DIY Wooden Christmas Ornaments
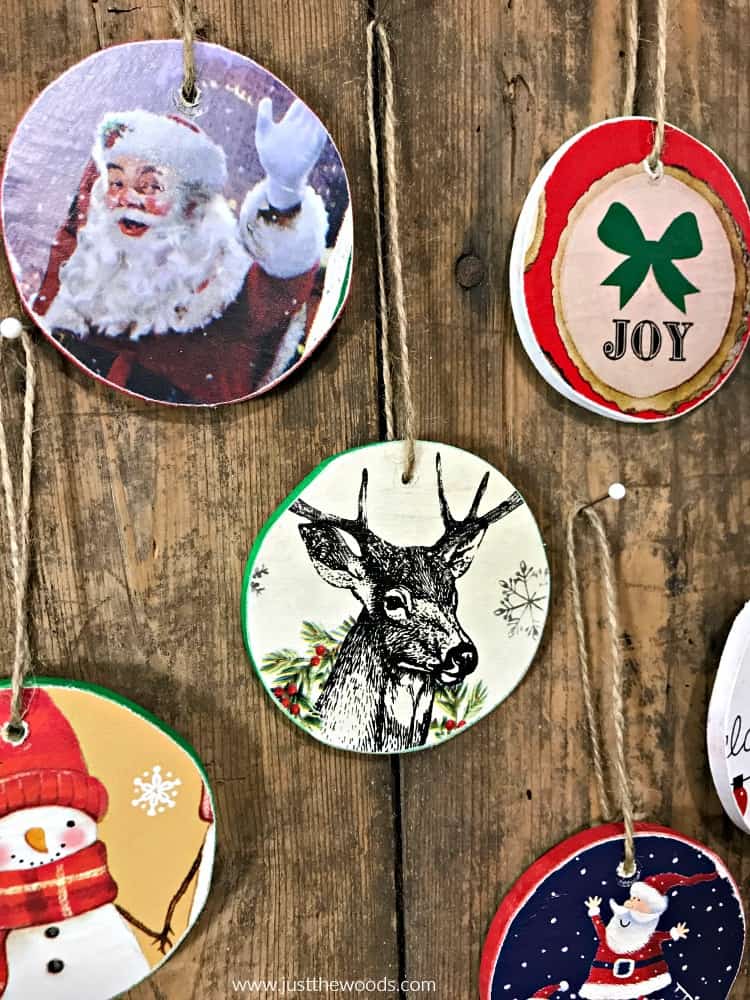
As you can see these DIY wooden Christmas ornaments are easy and versatile to make. You can personalize them with any kind of paper you’d like. I bet you can even make personalized photo Christmas ornaments by using photos in place of wrapping paper. Make a few or make a bunch, keep them to yourself, or gift a few DIY Christmas ornaments to loved ones. Feel free to add the date to the back of these wood ornaments with a Sharpie, or a paint marker if you want.
This holiday season make a quick trip to the craft store and create personalized DIY wood slice ornaments.
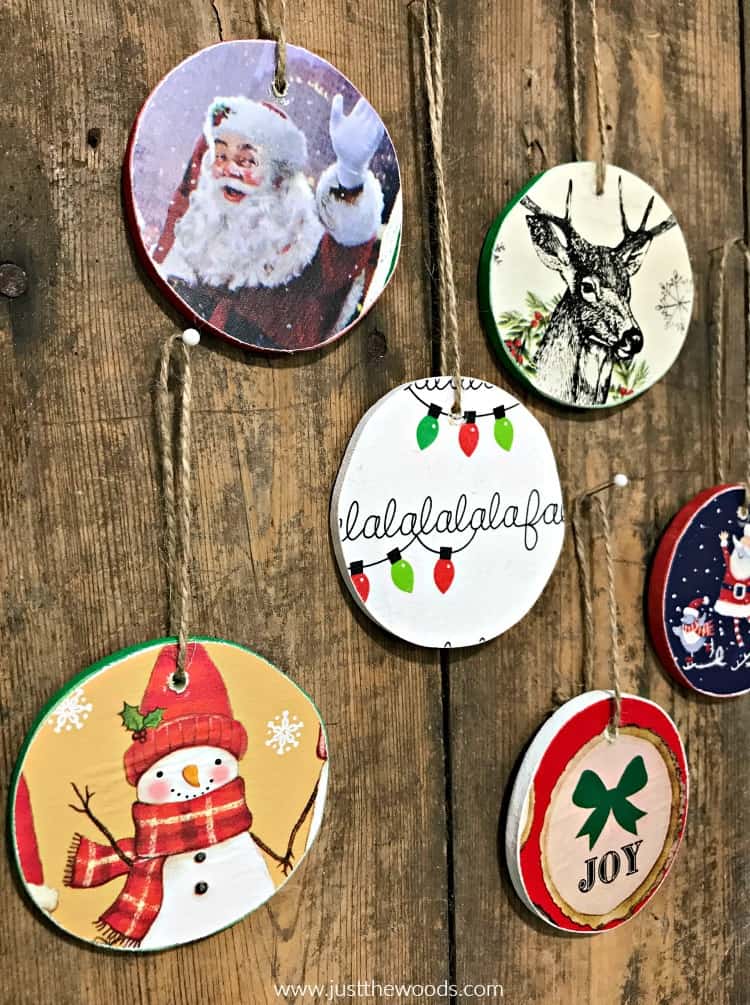
Don’t you love the vintage feel to these DIY wooden Christmas ornaments?
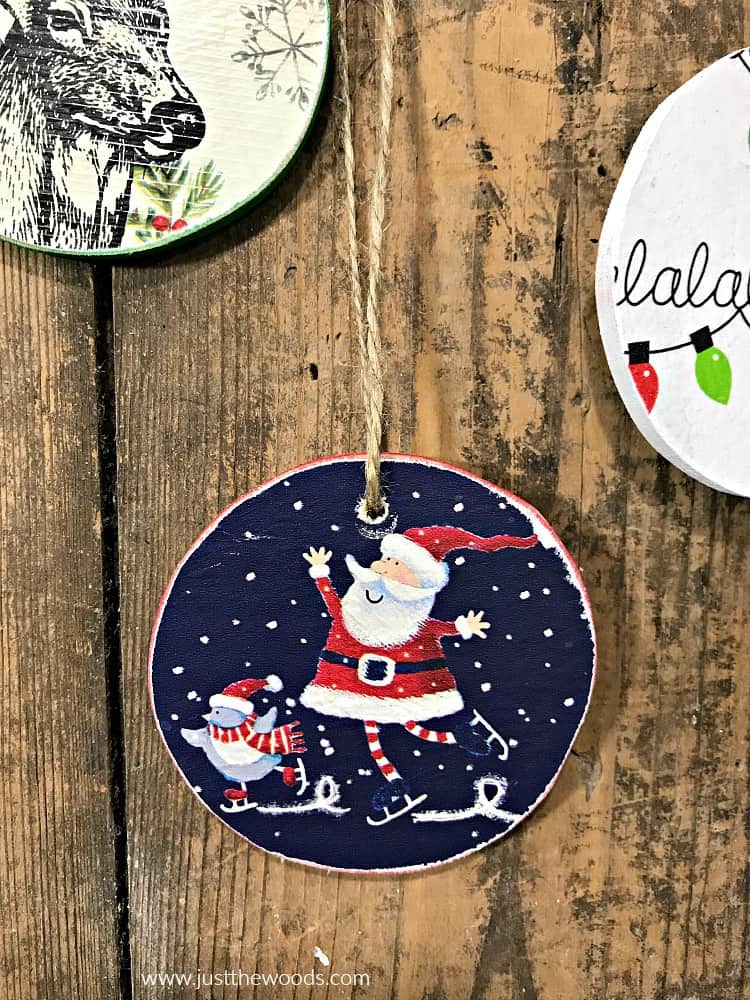
Click HERE to Pin this post for later.
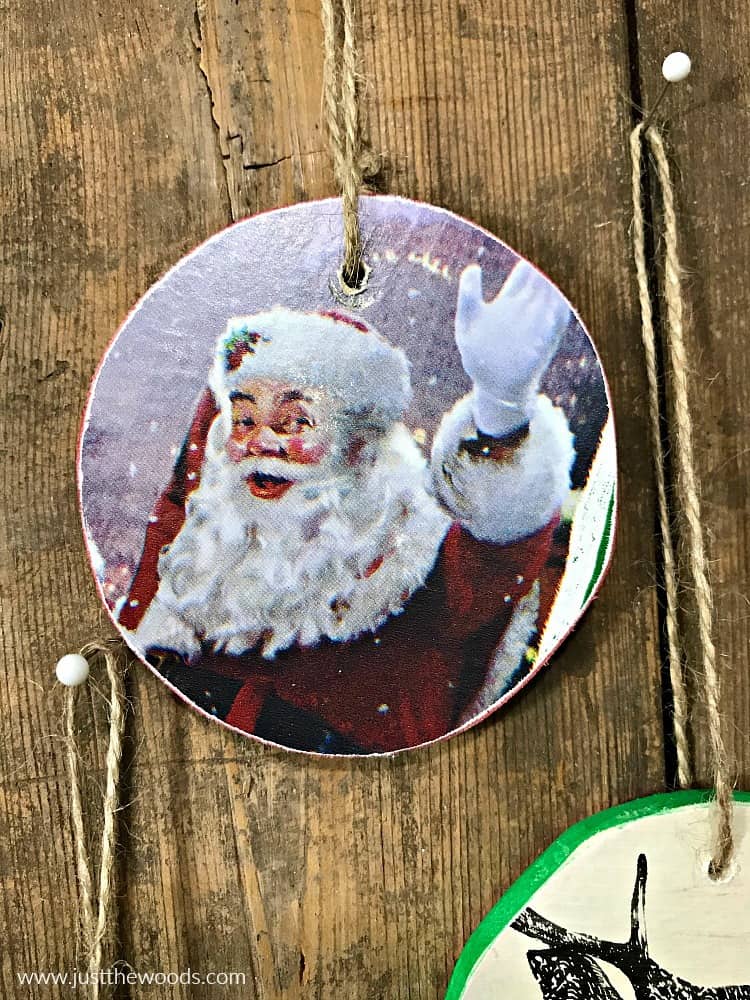
These rustic ornaments are an easy way to make new ornaments each year plus they make great handmade gifts.
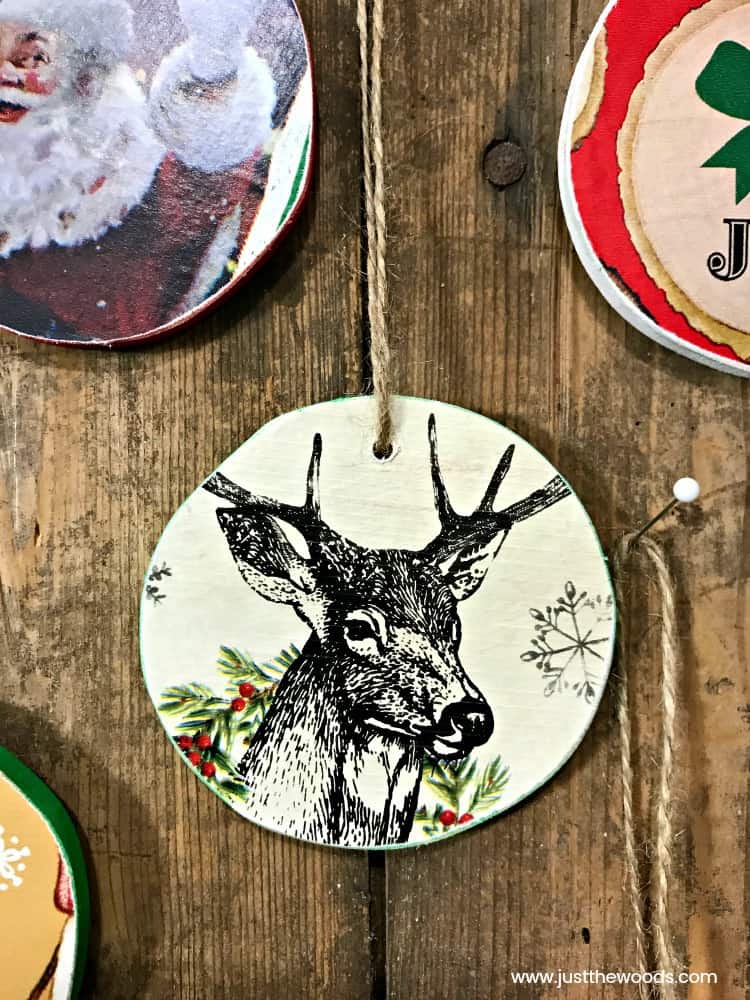
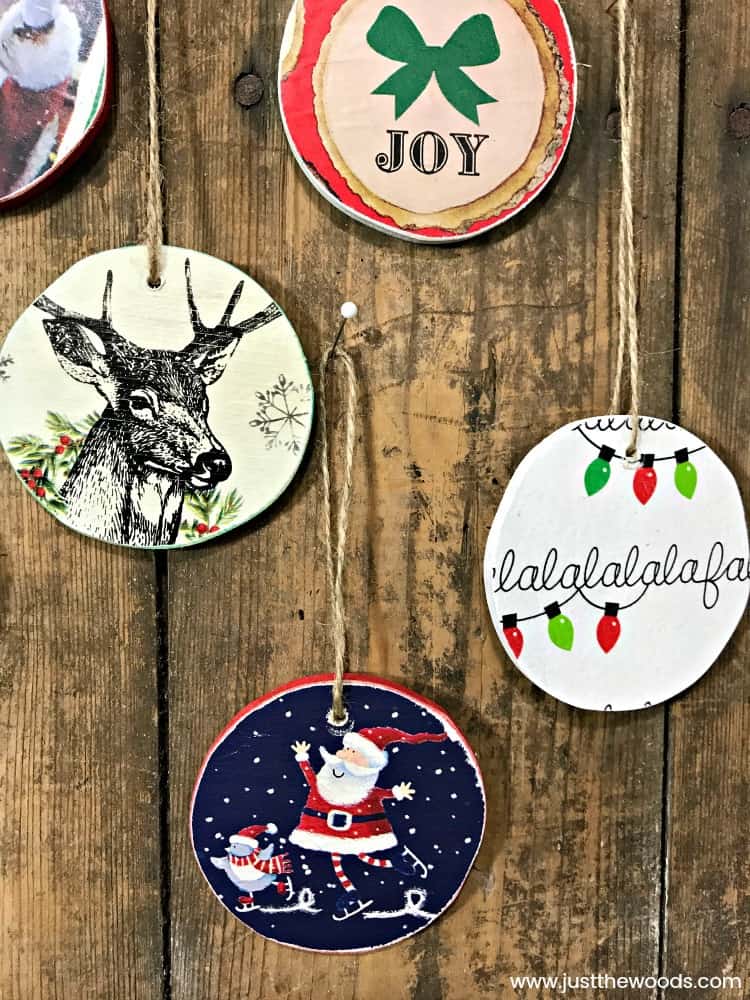

By the way, you can hang one over a bottle of wine and give them as Christmas gifts for family or friends. We gave a few to the kids’ teachers and to family too.
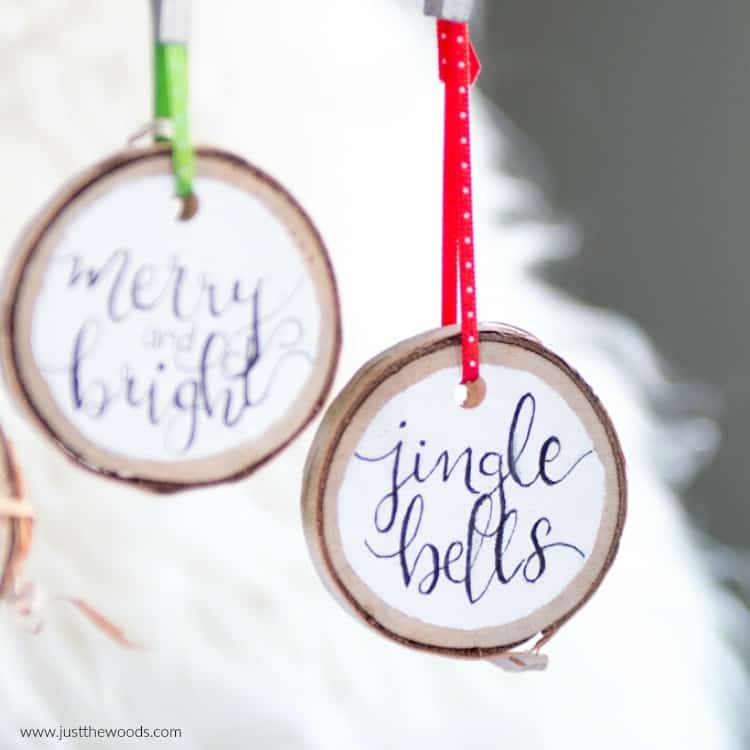
If you like this project you may also love these Wood Slice Homemade Christmas Ornaments project.
Don’t Forget – Follow Just the Woods and Share this post to Inspire others:
FACEBOOK * INSTAGRAM * PINTEREST

Stay connected! For more tips and tricks sign up here : [mc4wp_form id=”1340″]

Click HERE to Pin this post for later.

Carla from Kansas says
Really cute Kandice!
Denise says
Candice do you remember where you purchased the deer wrapping paper. Love it. Thank you Dee
kandice kullmann says
Denise, I actually got it at CVS. 🙂