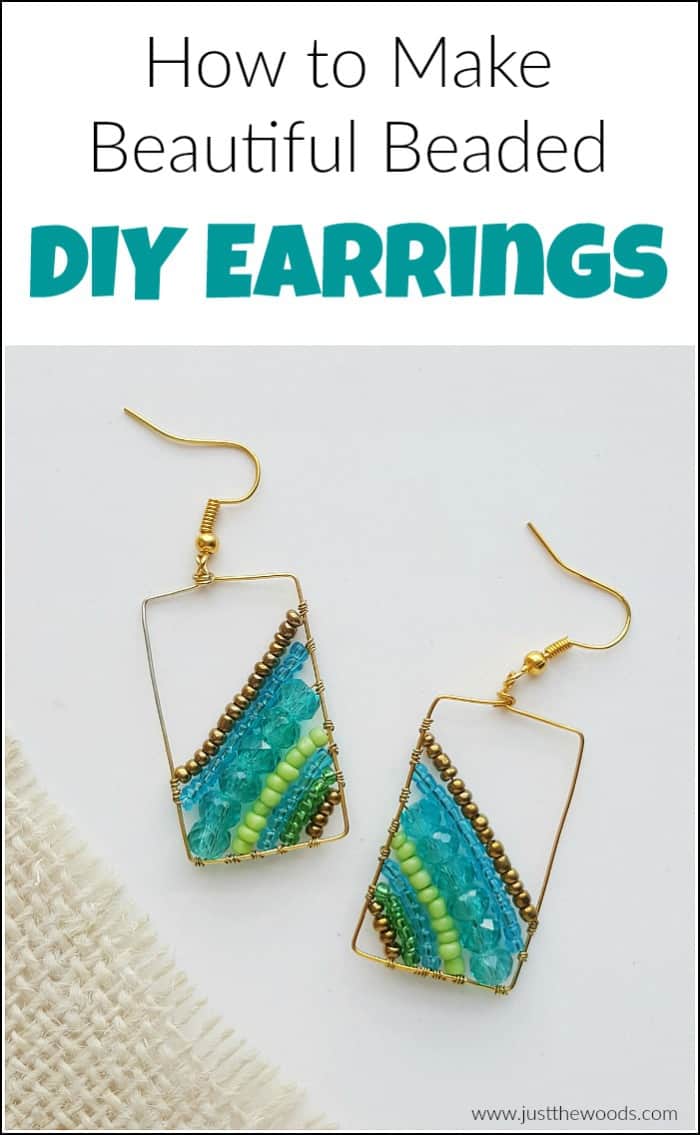
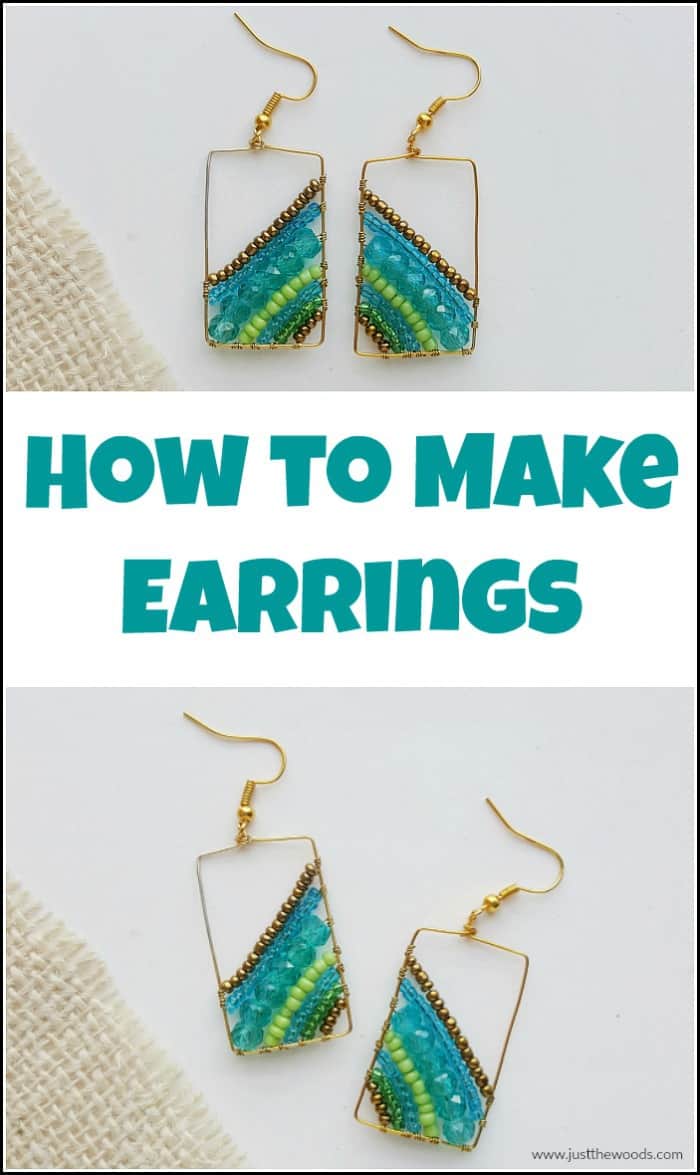
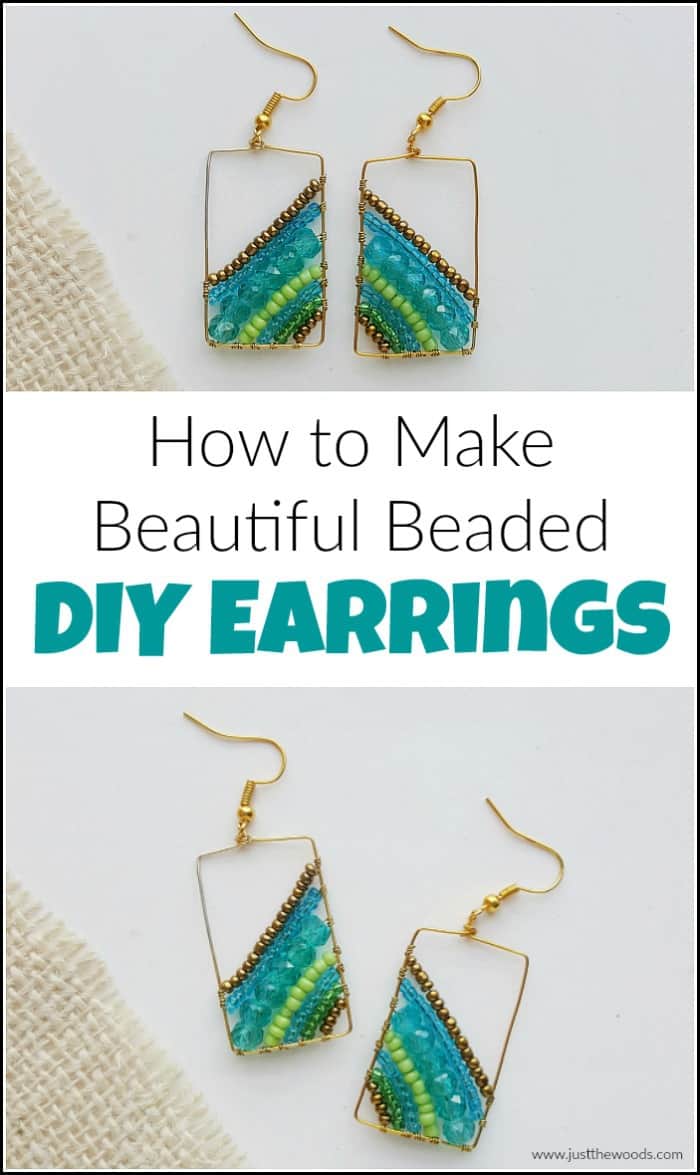
Learning how to make jewelry is so much fun and a lot less messy than anything I do with paint and furniture. When you are feeling creative but don’t want a giant project or mess, grab your earring making tools and let’s make some adorable DIY earrings.
Disclosure: This DIY earrings post contains affiliate links for your convenience. Click here for my full disclosure policy.
Supplies & Tools Needed to Make DIY Earrings
Materials Needed / Source List:
- Jewelry wire – 18 gauge and 26 gauge (find it HERE and HERE)
- Jewelry pliers – cutting pliers, looping pliers and flat nose pliers
- Crystal beads (get some HERE)
- Seed beads (get them HERE)
- Earring hooks aka ear wires (find some HERE)
- Ruler
- Find a lot of my favorite tools and products on my Amazon Page here
How to Make Earrings
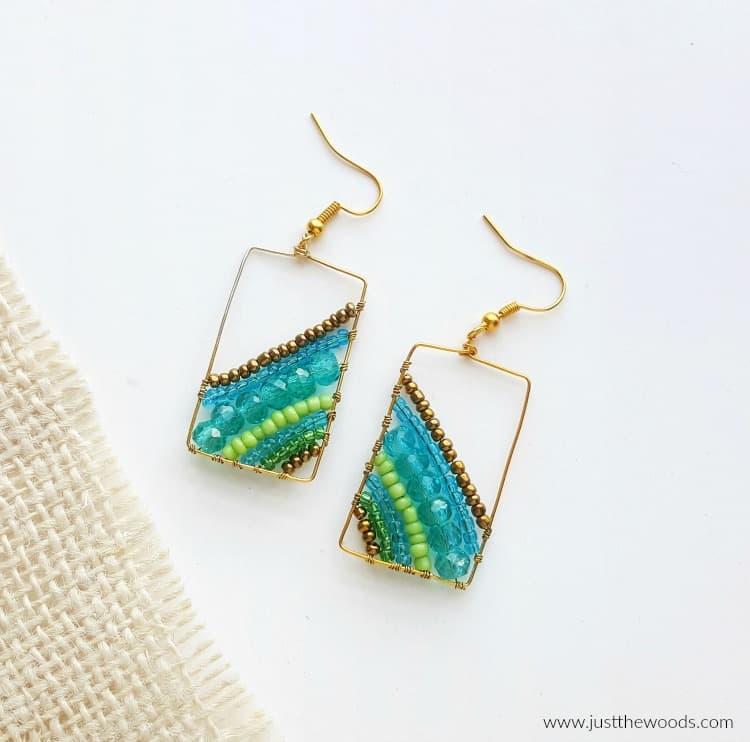
When it comes to handmade earrings there are so many options and styles that you can go for. Some prefer clay jewelry but personally, I love DIY beaded earrings. With a few pieces of wire and different beads in an assortment of colors, you are never limited with earring ideas. You can make a new pair of earrings for every day of the week and every new occasion.
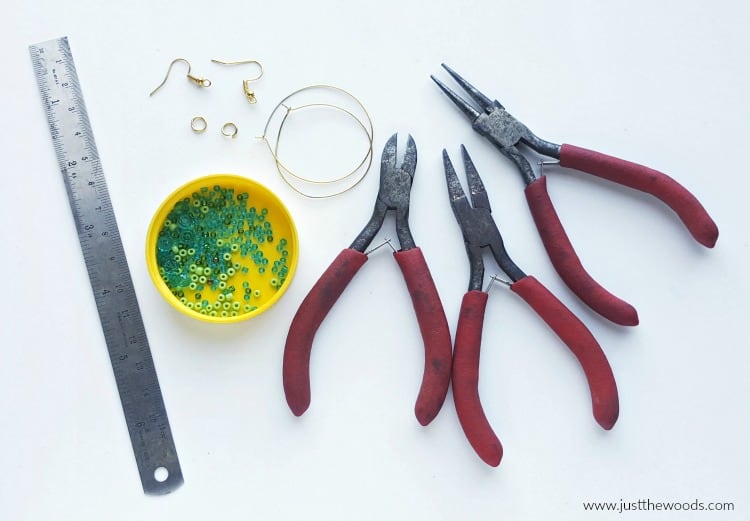
The first step in how to make earrings, like any DIY project is to gather your supplies and basic jewelry tools.
How to Make Beaded Earrings
These homemade simple earrings tutorial is broken down into two parts. First, we will go over the step-by-step tutorial for creating the wireframe of the earrings. Followed by the easy steps of adding decorative beads.
How to Make the Wire Frame
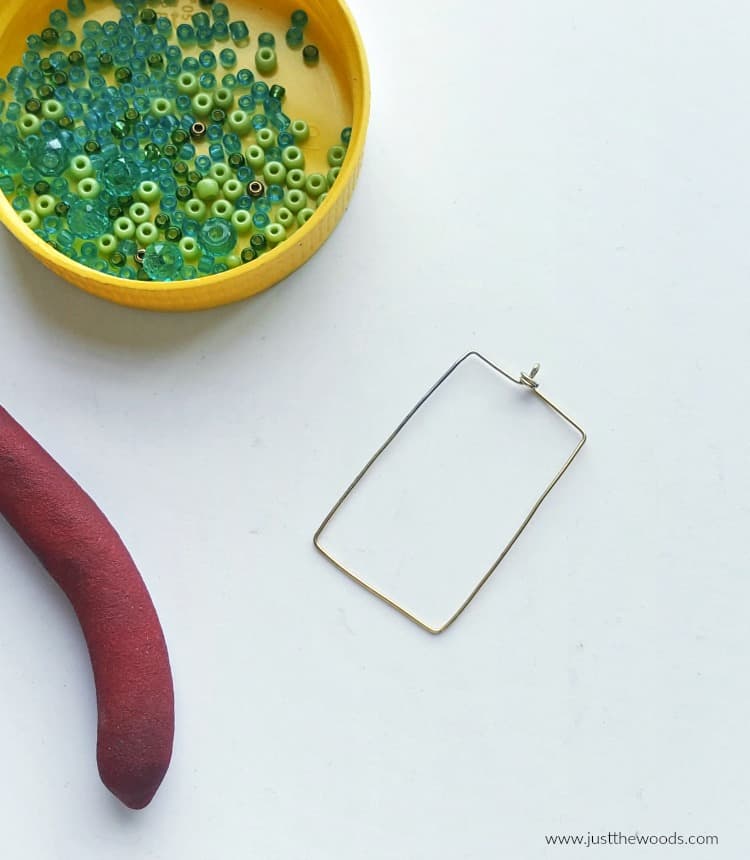
- Step 1 – To make the wire frame, I am using blank round wire hoop earrings (like these HERE) instead of jewelry wire, but either will work. If you have a bench block to work on it will make flattening the end piece of wire easier.
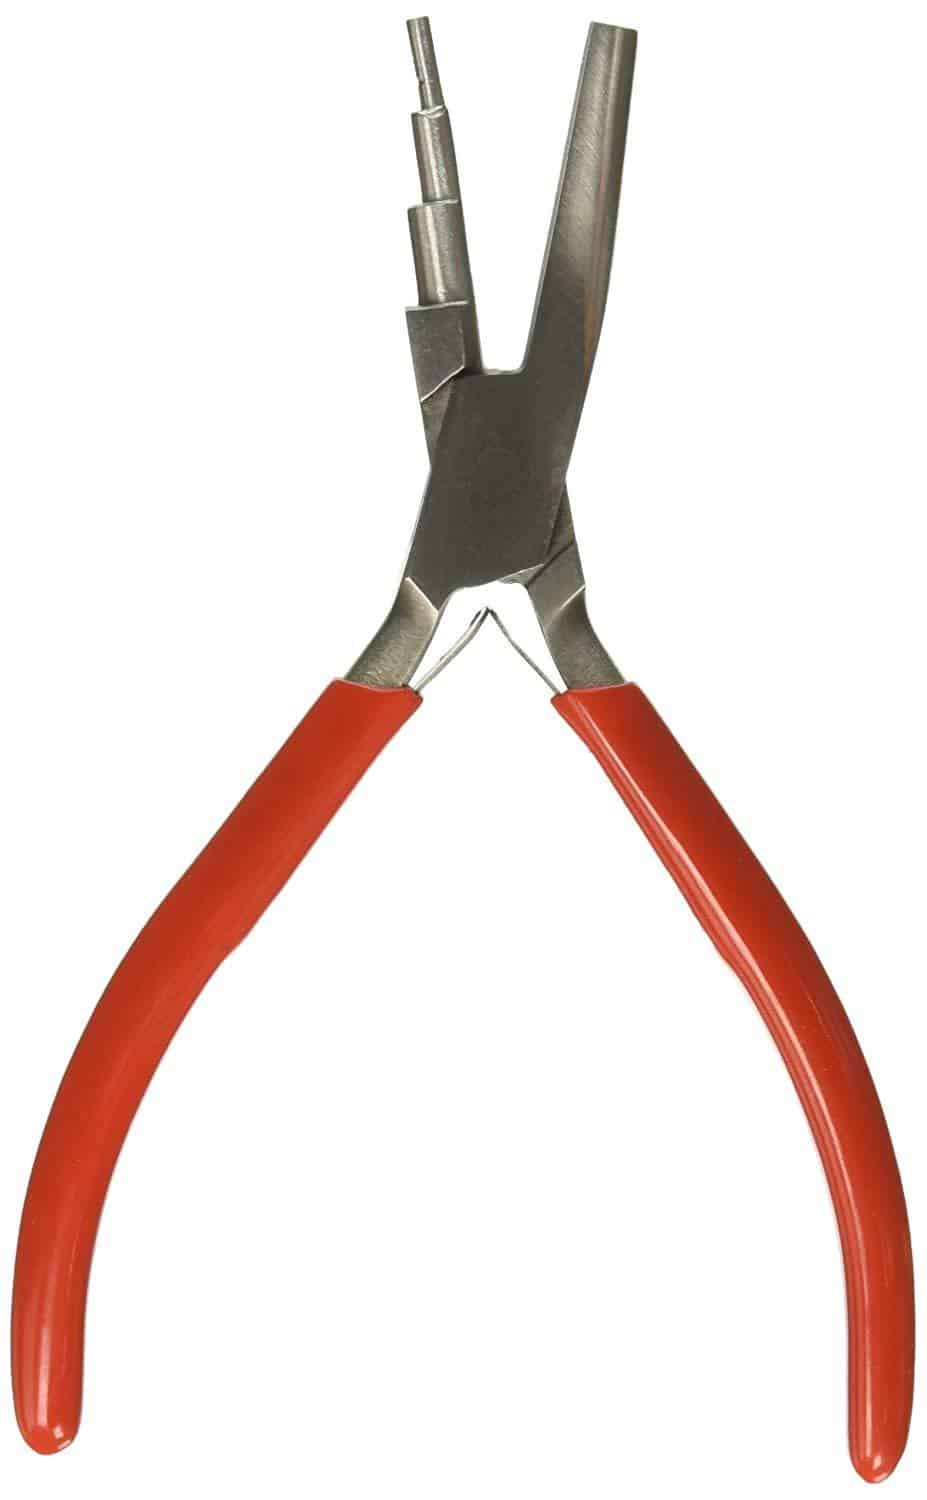
- If you are using jewelry wire, take the 18 gauge wire and create a small loop at the open end of the wire by using the looping pliers. You can get looping pliers in a jewelry making kit or individually. If you get them individually these are pretty cool looping pliers:
-
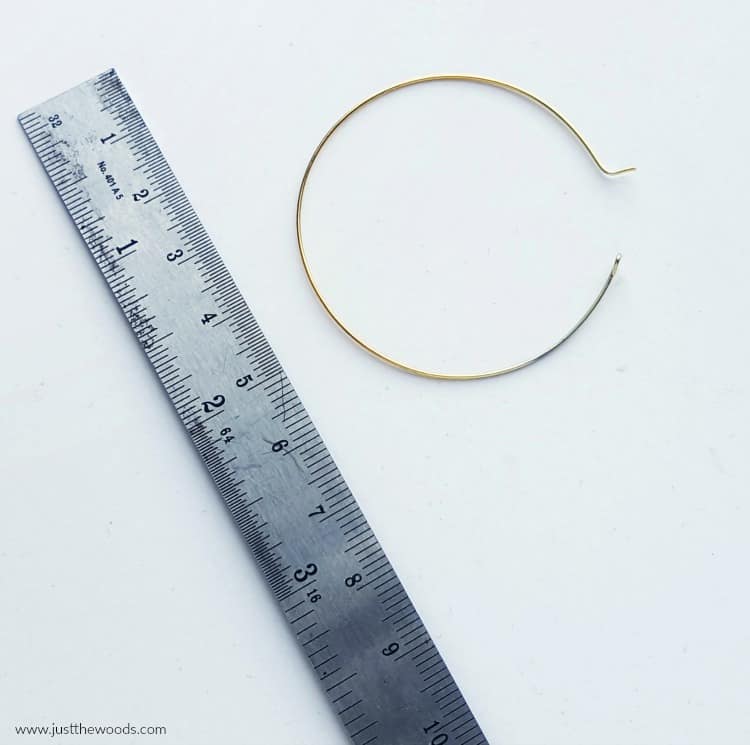
If you are using the wire hoop earring, it should have a small loop at one end and a half cm length bent to 90 degrees at the other open end. Straighten the bent part of the closure system and keep the small loop. Or you can use jump rings to attach the ear hook to the earring at the end.
- If you are using jewelry wire, take the 18 gauge wire and create a small loop at the open end of the wire by using the looping pliers. You can get looping pliers in a jewelry making kit or individually. If you get them individually these are pretty cool looping pliers:
- Step 2 – To make a right angle bend, bend the loop part to 90 degrees with the rest of the wire. Use a ruler to measure 1.5 cm and then bent the wire to another 90 degrees (towards the opposite side of the loop’s position.
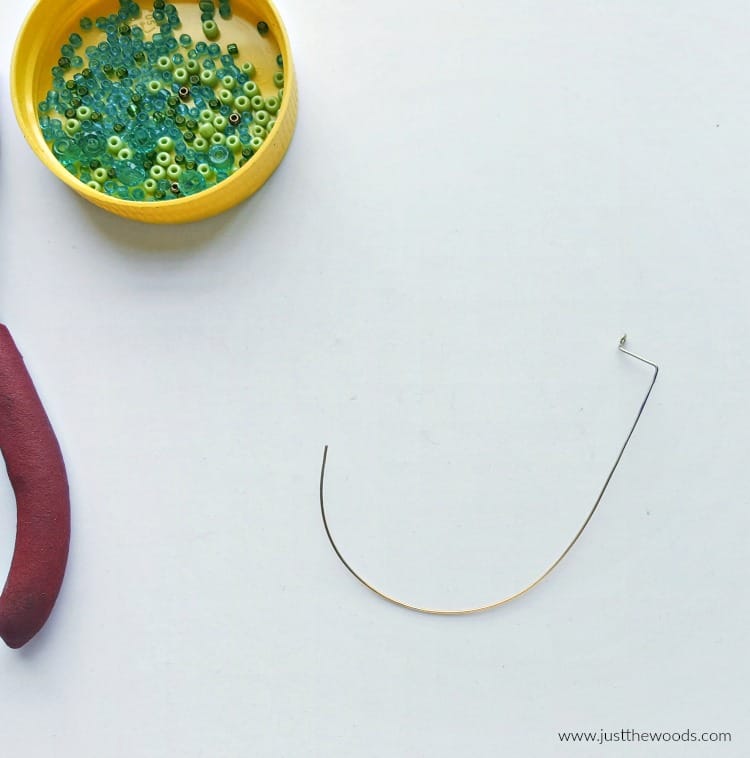
- Step 3 – Next, measure 4.5 cm along the current bent wire and then bend the rest of the wire to 90 degrees again (clockwise). As you can see, we are starting to turn our circle into more of a rectangle.
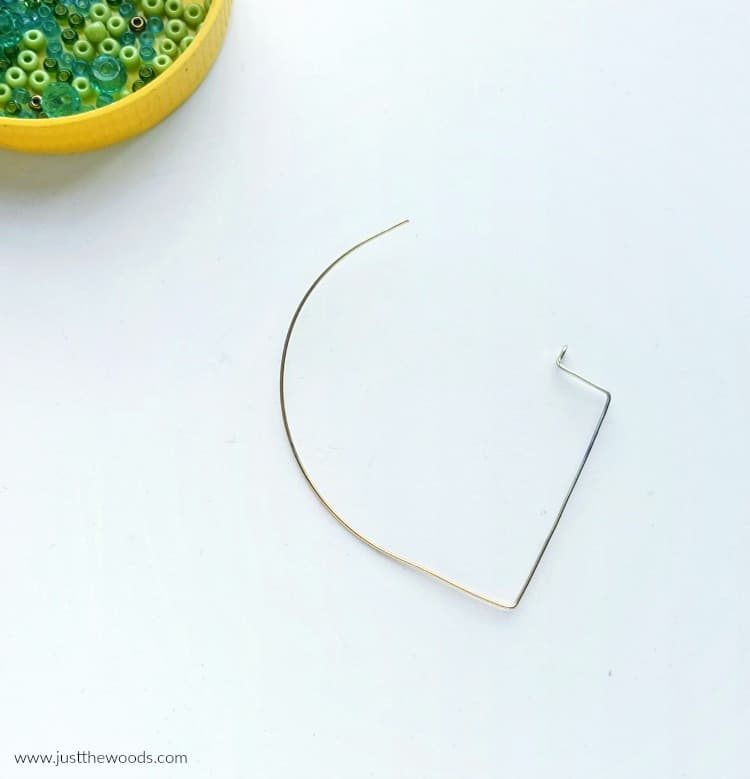
- Step 4 – Measure 3 cm and then bend your wire clockwise. Measure 4.5 cm and bend the wire to 90 degrees again.
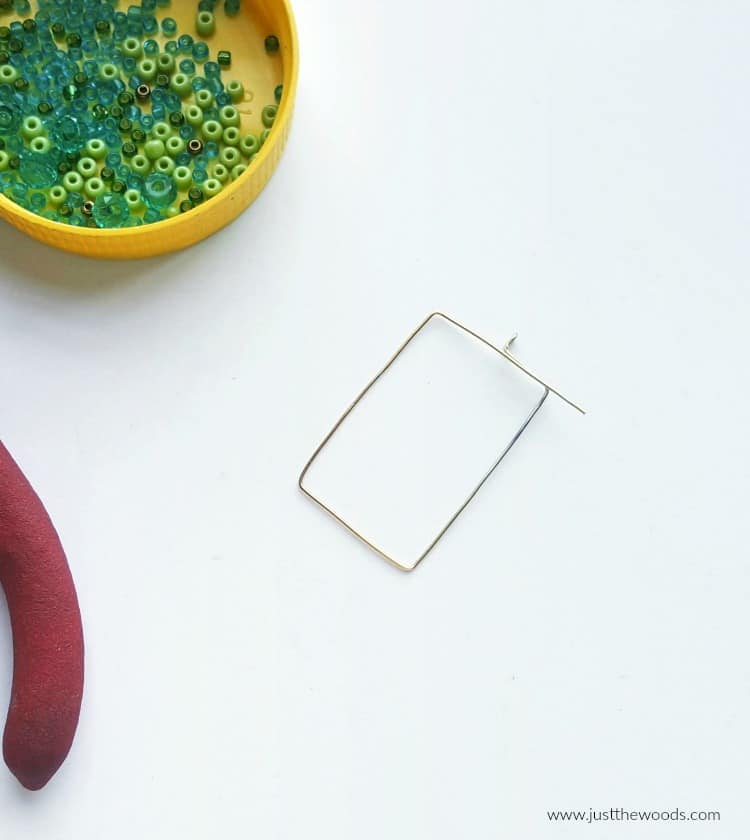
- Step 5 – If you are using the hoop earrings you will need to measure its total length before creating the frame with it. However, keep 1.5 cm wire straight on the current wire and then coil the rest of the wire below the loop (from the first step).
Excess Wire
- Your DIY earrings frame is complete. Now do the same thing for the second earring. If your measurements are off and you happen to have excess wire simply trim it using wire cutters. Make sure to use a cup bur to smooth out any sharp edges at the tip of the wire if you have them.
Click HERE to Pin this post for later.
Adding Beads to Your Homemade Earrings
This is a great way to use up any leftover beads from previous projects.
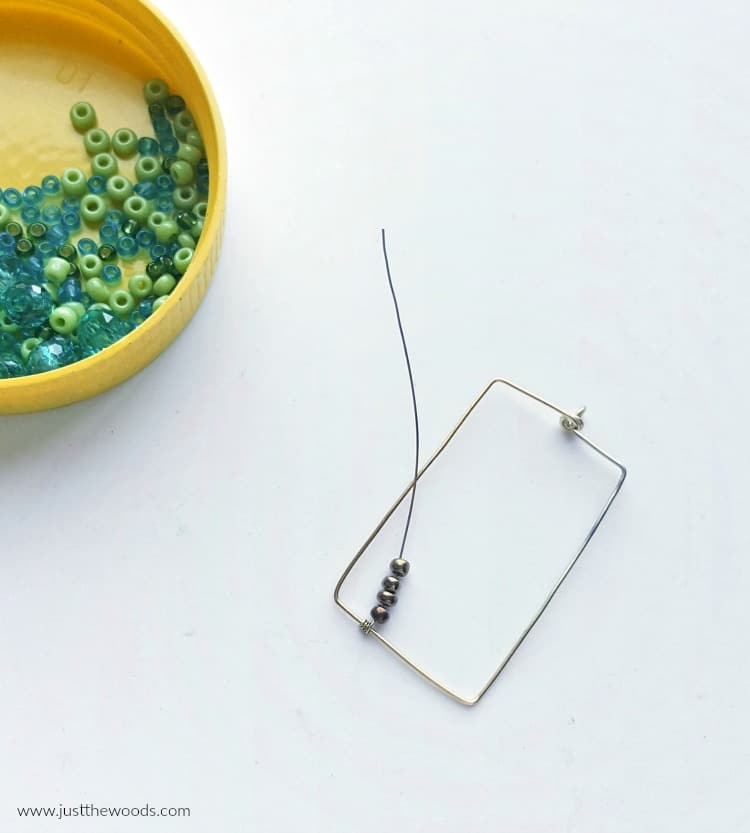
- Step 6 – Now take the 26 gauge wire and cut out any length from 10 cm to 12 cm. Coil the wire 2 or 3 times around the frame’s bottom sidebar. Insert the wire into the top of the bead and stack the seed beads into the coiled wire through its open end.
-
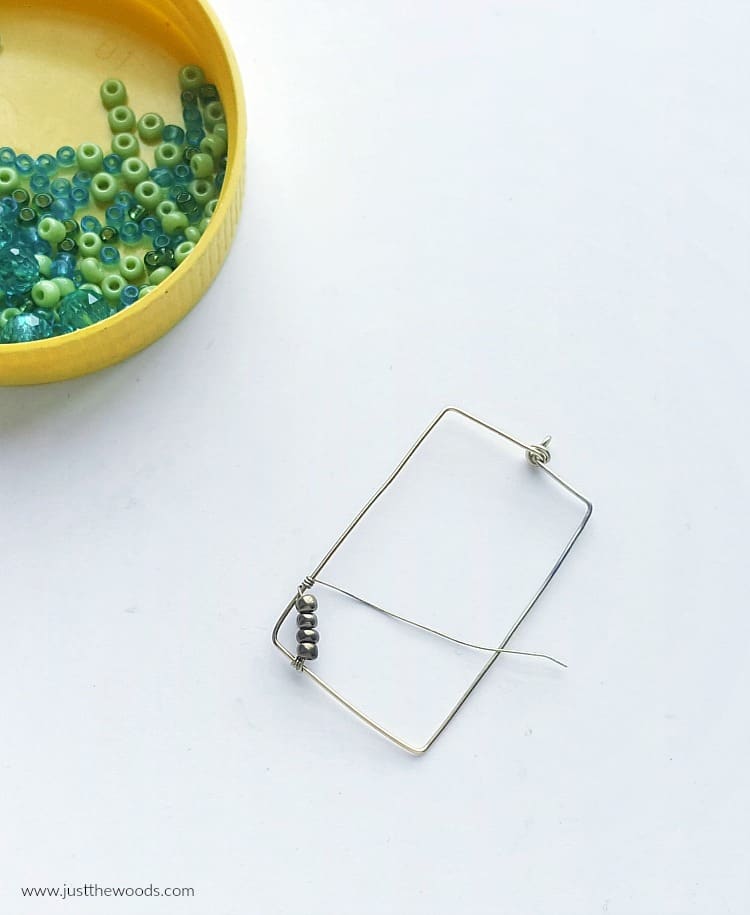
Step 7 – Once the beading is done, coil the open end of the wire around the sidebar next to it to secure the beading. Use the flat nose pliers to flatten the coil with the frame.
-
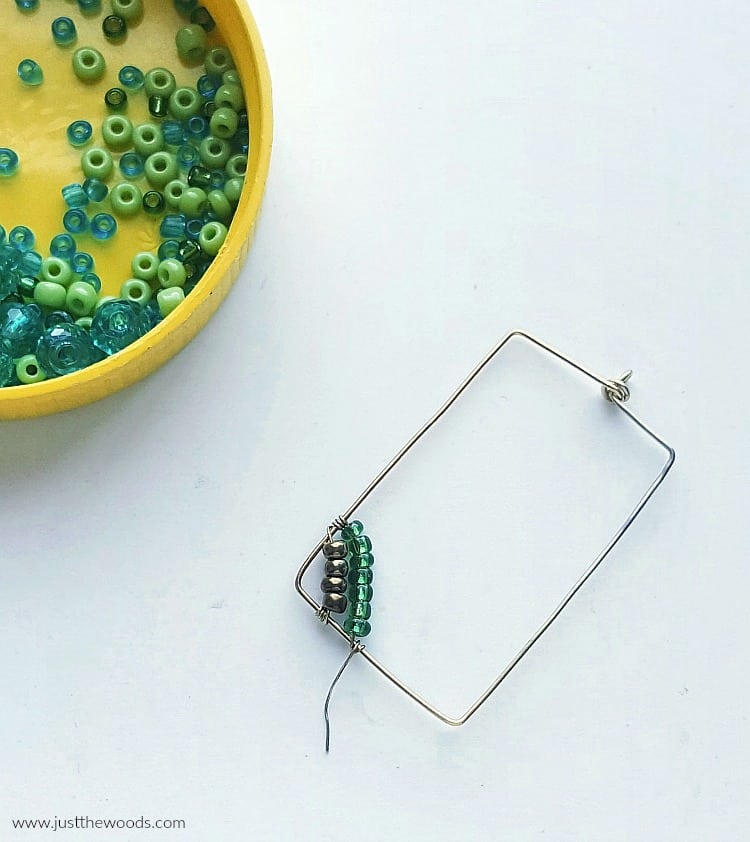
Step 8 – Bring the wire inside the frame again and start beading it. Once the beading reaches the sidebar next to its current sidebar, stop beading and coil the wire around that bar 2 or 3 times. The wire wrapping will keep your beads in place on the earring.
-
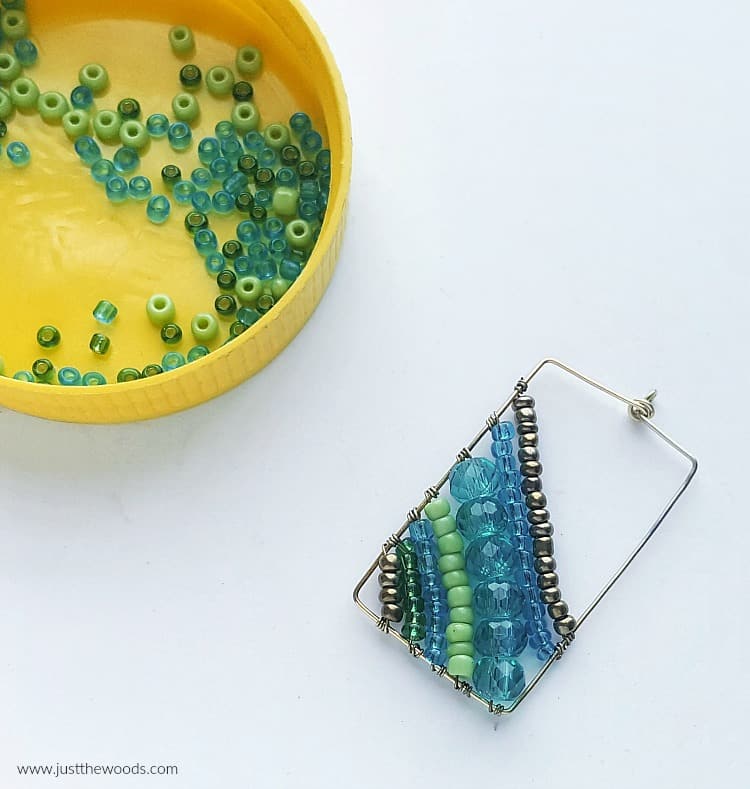
Step 9 – Continue on and create more beaded wires inside the frame. You can either fill the entire frame or bead the frame halfway through, however you like it. This is where you get to be as creative as you want to be. These green glass beads are so pretty.
-
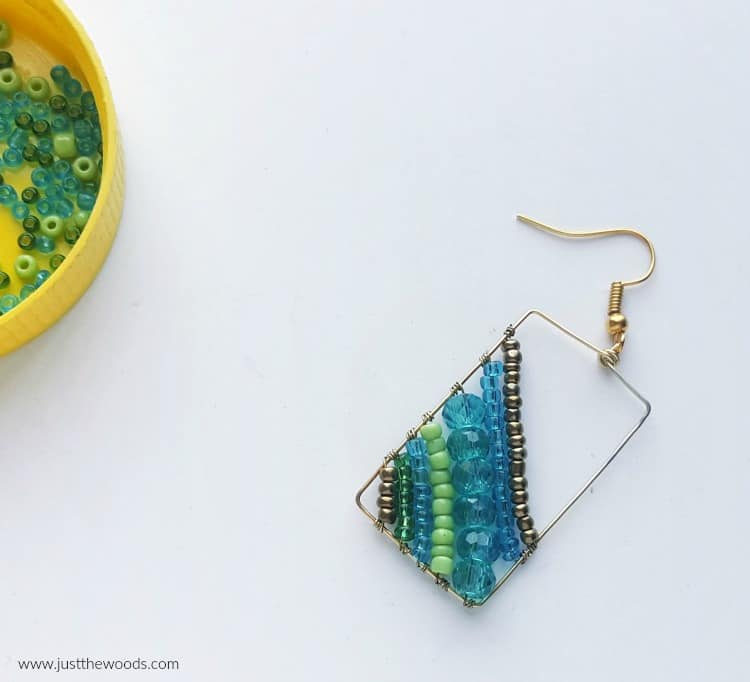
Step 10 – Attach the earring hook (ear wires) with the loop of the beaded frame to complete your beaded DIY earring.
- Step 11- Obviously, you will need to repeat all of these steps for the matching handmade earring.
Click HERE to Pin this post for later
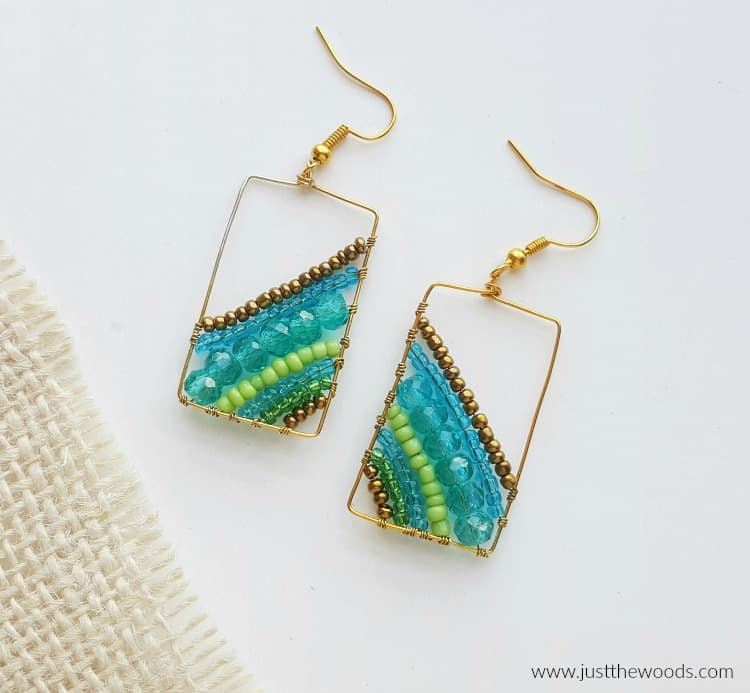
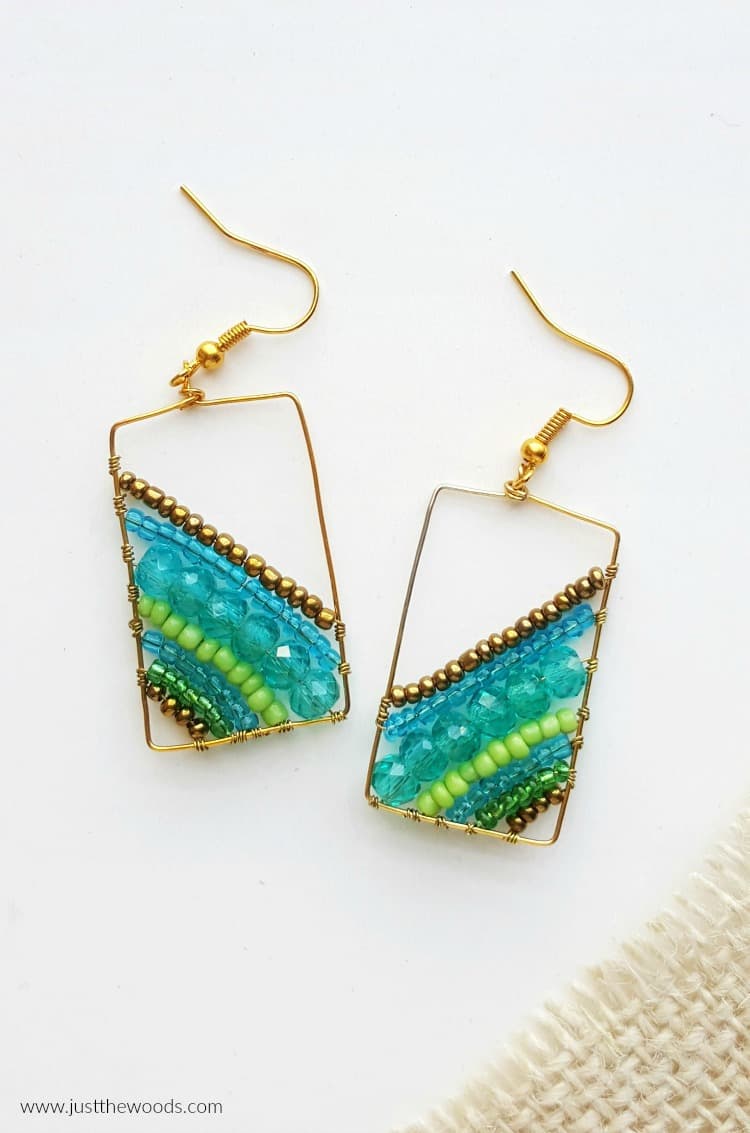
Now that you know how to make earrings you can go crazy with different beaded earring ideas and change up the sizes and colors of your beads and wire. These handmade earrings would also make great gifts for friends, family or even teachers. Because no one needs another #1 anything mug.
FAQs
- Can I use any kind of wire to make these easy wire earrings? We are using jewelry wire for these earrings, but you can try craft wire, sterling silver wire, or even copper wire.
- What are the best beads to use for homemade earrings? There is no set rule here. You can use larger beads or small beads. Just make sure that they fit and make sense with your particular earring project.
If you love to make your own jewelry and need more earring ideas or other types of handmade jewelry ideas make sure to check out these 20+ Unique Handmade Jewelry Ideas.
I’d love for you to join me for more painted furniture makeovers, DIY projects & Healthy Recipes! Make sure to Share this post to Inspire others:

FACEBOOK * INSTAGRAM * PINTEREST
Stay connected! For more tips and tricks sign up here : [mc4wp_form id=”1340″]

Click HERE to Pin this post for later


thejewelcreation says
So cute! will go with every outfit.
Ana says
Super pretty!! This mini wearable canvas leave room for creativity!!
(Sorry for typos, I am a spanish speaker)