How to Make a DIY Bench from Chairs
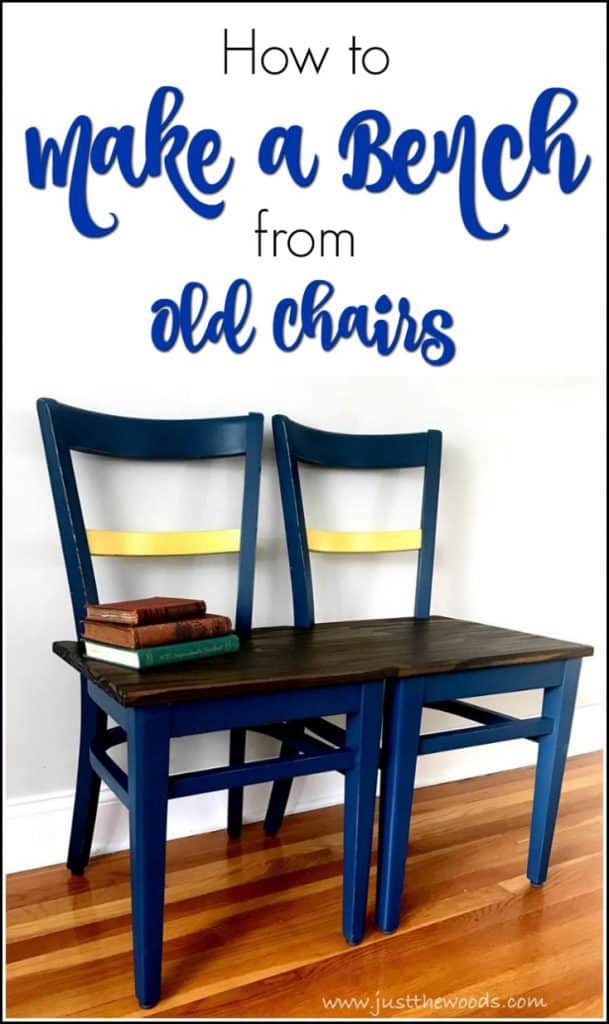
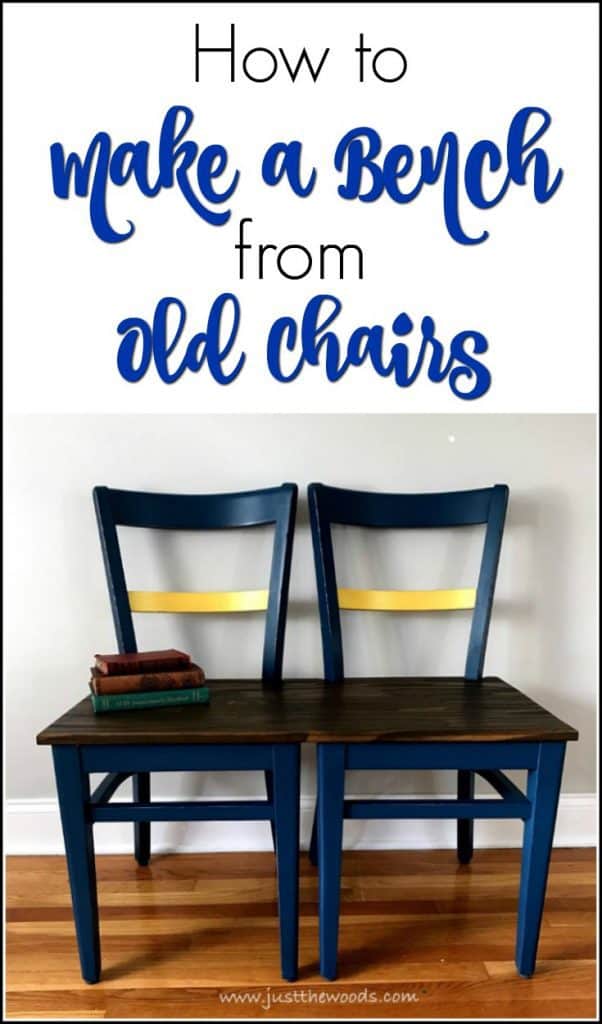
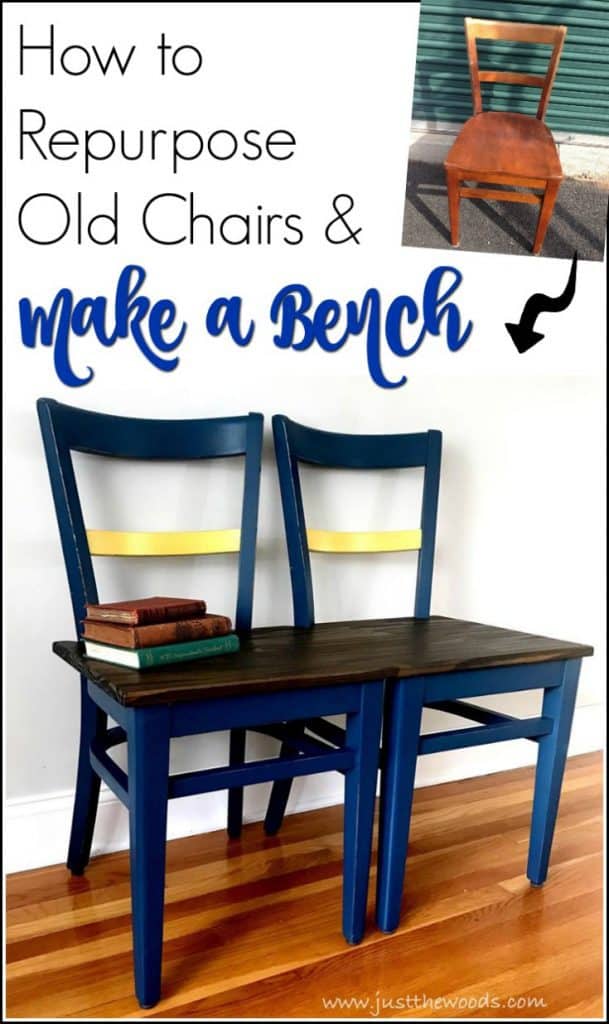
Let’s make a DIY bench from old chairs! Do you have a few old chairs laying around? Not sure what to do with them? Why not repurpose those chairs into a unique bench?. You can use chairs that are all the same or mix it up and build your DIY bench with different style chairs. The world is your creative oyster.

As an added bonus this post is part of the Power Tool Challenge! This months challenge is themed ‘repurposed’. The project must be a repurpose and use at least one power tool. The best part of this months project is that we are opening it up to YOU. You can enter to win great new tools from Ryobi. Find more info at the bottom of the post. (Challenge is over).
Disclosure: This post contains affiliate links for your convenience. Click here for my full disclosure policy.
How to Build a DIY Bench from Chairs
MATERIALS NEEDED / SOURCE LIST
- Tools
- Jig Saw (I have an old Ryobi jigsaw)
- Electric Router
- Decorative Router Bit Set (I used a set from Ryobi– this is Roundover)
- Electric Drill
- Supplies
- Zibra Paintbrushes
- Sandpaper
- Scotch Blue Platinum
- Wood Screws
- Yellow Detailer Sponge
- Trigger Clamps
- Solid Wood Panel
- Posterboard
- Wood Glue
Check out all of my furniture projects with over 90 painted furniture makeovers: Stunning painted furniture ideas.
Unfinished Old Chairs
These vintage chairs had been sitting in my storage unit for what feels like forever. They were “just in case” chairs. You know the kind that you keep just in case you might need an extra chair one day. Well, now as I am clearing out my storage unit they’ve turned into “what am I going to do with these chairs? chairs” They seem perfect for an easy repurpose project to turn them into a DIY bench. But you know how that goes, when something is supposed to be quick and easy – it rarely really is. Since this is my first time learning how to build a bench, we may as well learn together.
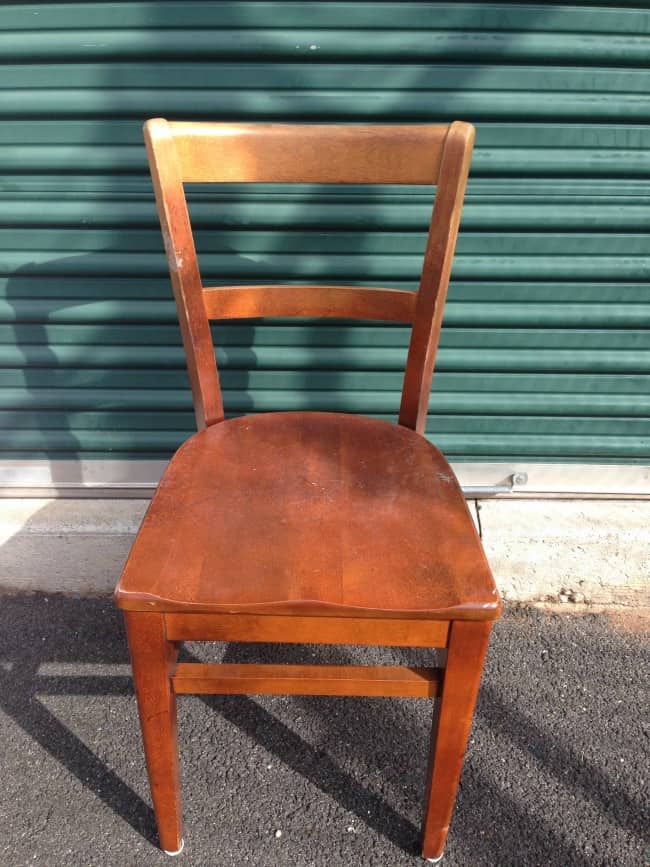
How to Make a Bench from Two Chairs
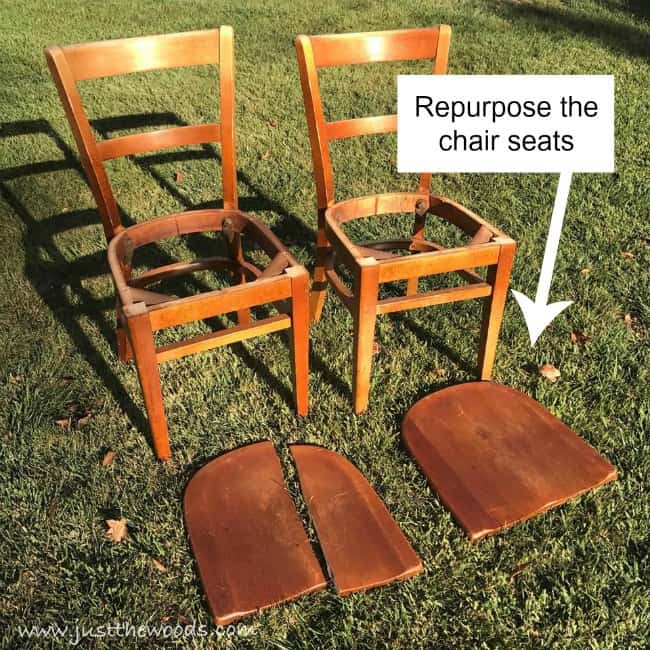
The first step in making a bench from chairs is to flip the chairs over and pop off the seats. Here are a few problems that you could run into:
- stripped screws
- access to screws blocked
- screws with glue (difficult to remove)
Stick with it, you can get them off. I confess there was kicking involved in this process for me. Not one of my finer moments.
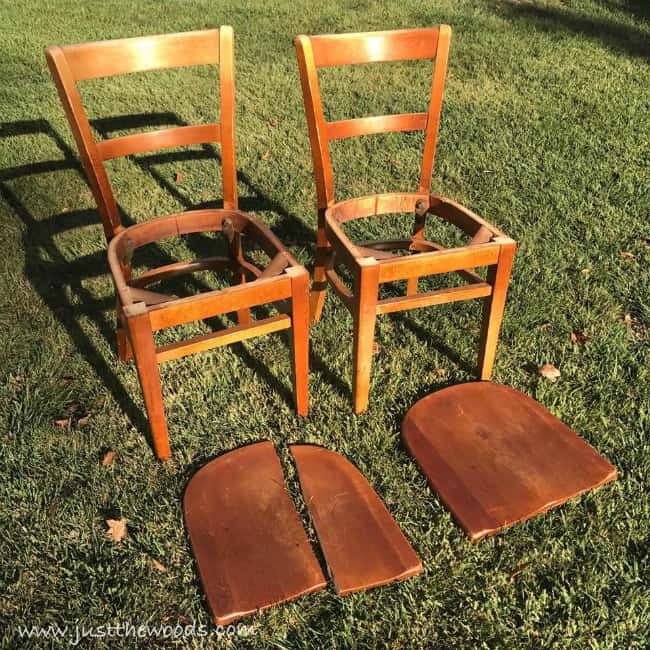
Remember I mentioned that I thought this would be an easy project? I figured I would only have a few easy steps to complete the project:
- remove chair seats
- cut bench to size
- attach bench seat
- finished
But again things don’t always go as planned. Since the seats on these chairs have curves we must address the space between the seat an the back. See what I mean below.
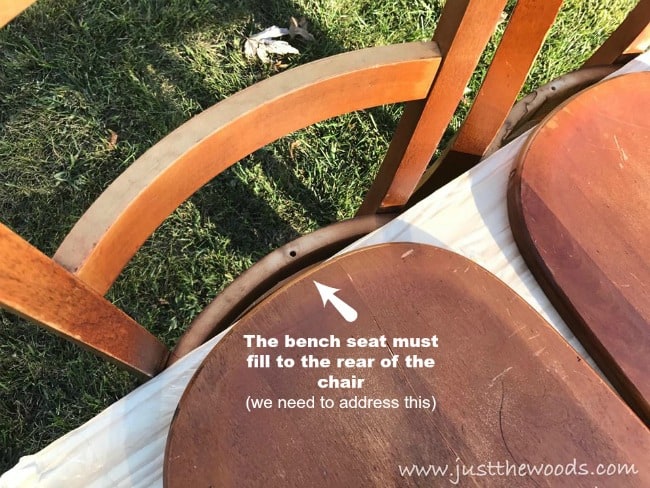
Make sure to see what those chair seats (actually one chair seat) is used for! Its a true repurpose project: DIY Image Transfer Sign
DIY Bench Seat – Cutting Bench Seat to Fit Chairs
Next, you will need a piece of wood for your DIY bench seat. You can use scrap wood if you have it. Since I do not have an adequate piece of wood laying around I am purchasing a stain grade solid wood panel. Because of this I also do not want to screw this up. I need to cut the homemade bench seat to fit correctly the first time to avoid additional unnecessary expenses.
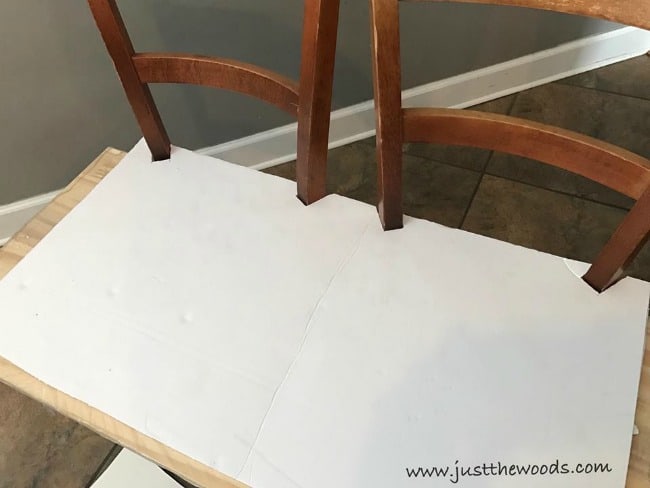
Time to create a template. Using posterboard you can line up the board to the curved back of the chairs, measure where the notches should be to create a template. I will tell you the truth – this took multiple attempts and a bit of a mess. A few times I was sure that the template was perfect, but it didn’t fit.
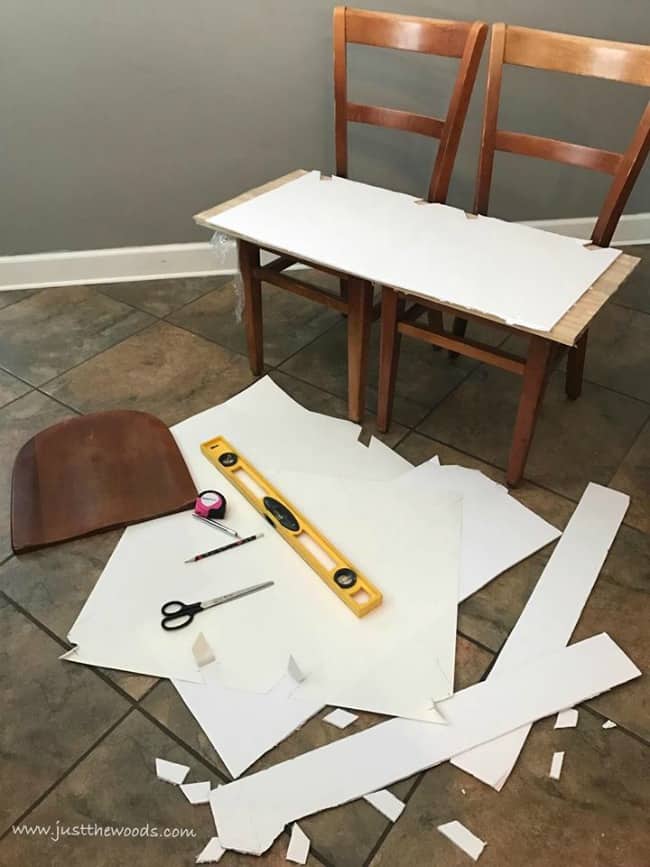
After multiple tries, I finally got it. I’m not even sure what I was doing wrong the first few times. But it eventually fit perfectly. At one point I even asked hubby for help. Clearly, he didn’t want to help me because he said it can’t be done (which really means I don’t want to). To that, I replied: “you built a shed, a basement, and a kitchen! Don’t tell me it can’t be done!” I’m glad he didn’t help me because it forced me to figure it out for myself.
How to Build a Bench Seat when Making a Bench- Marking Your Bench Seat
Now that you have your template and you are certain that the notches are correct you can pencil mark your wood panel. Place the cardboard/posterboard template on your wood panel and trace your notches where you will need to cut out.
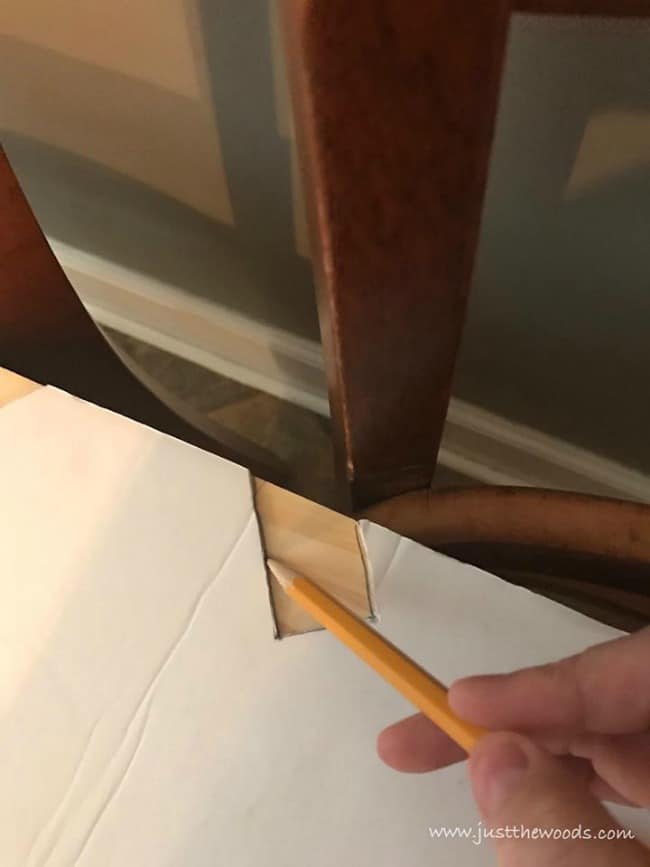
Also, if your wood panel is longer than you need your DIY bench seat to be; make sure to mark where to trim the sides.
Love to build?
Cutting a Bench Seat from a Wood Panel
Grab your jigsaw and if you don’t have a workbench you can use your chairs. At least that’s what I do. 🙂
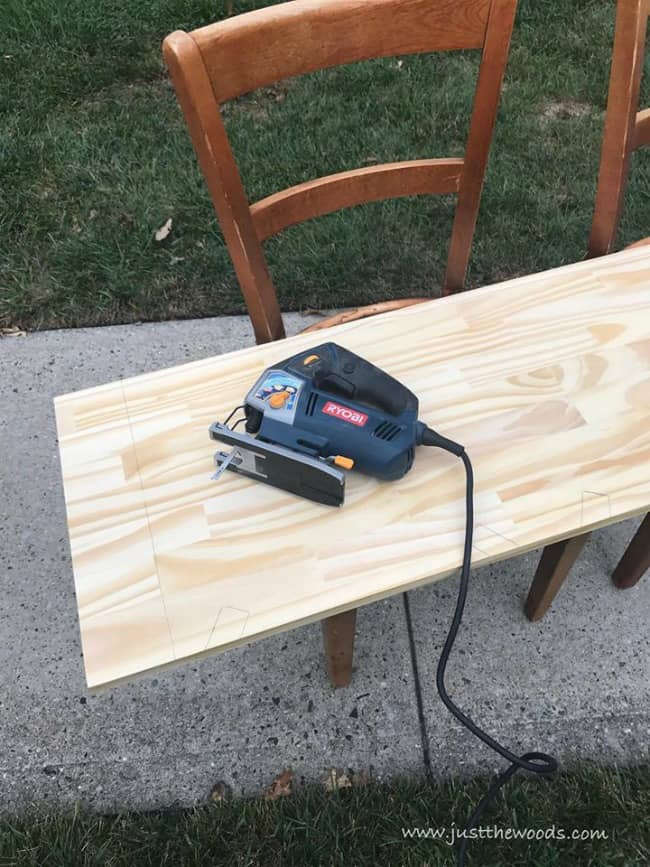
Carefully cut along your pencil marks using your jigsaw. Yes, I often work in pajamas. 😛
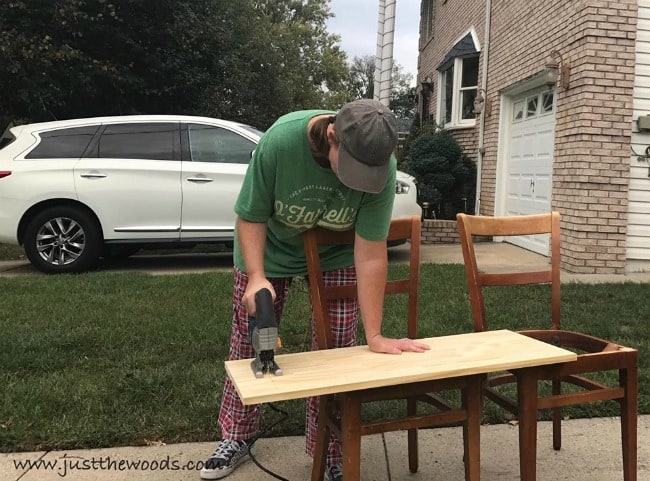
After you finish making your cuts you will want to smooth the edges of the wooden bench seat. Using a router and decorative router set you can choose your edge style.

I’m using the ’roundover’ style for a simple and smooth edge.
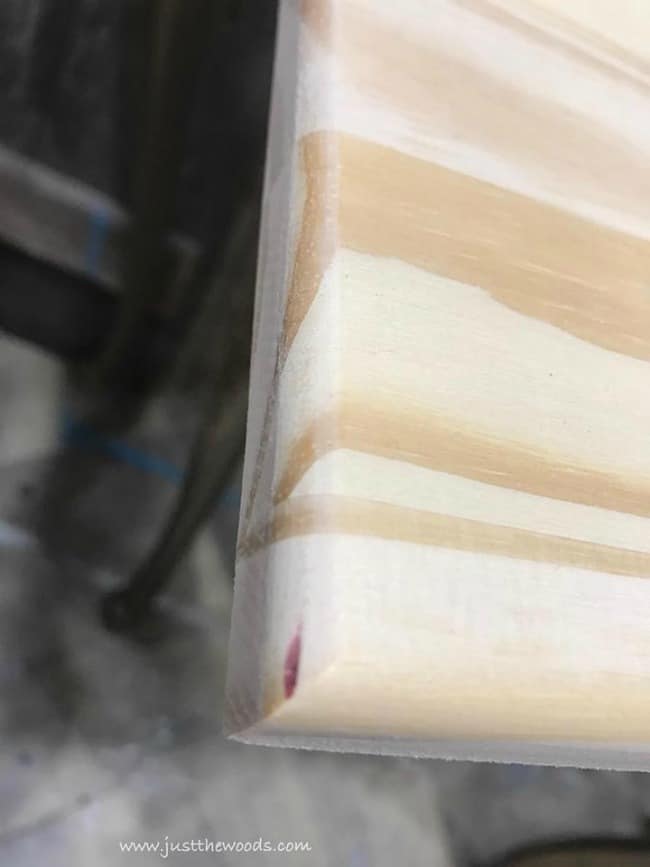
Once you’ve finished making all of your cuts, test the fit to make sure that your bench seat fits properly. When building a bench seat it’s all about the checks and double checks. We know that it should fit perfectly since we tested the posterboard already – but you can never be too sure. 😉 Once it fits you can breathe a sigh of relief.
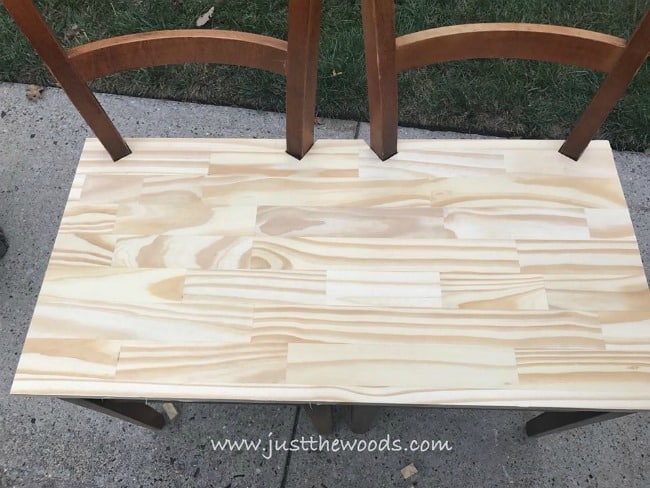
Painting a Wooden Homemade Bench
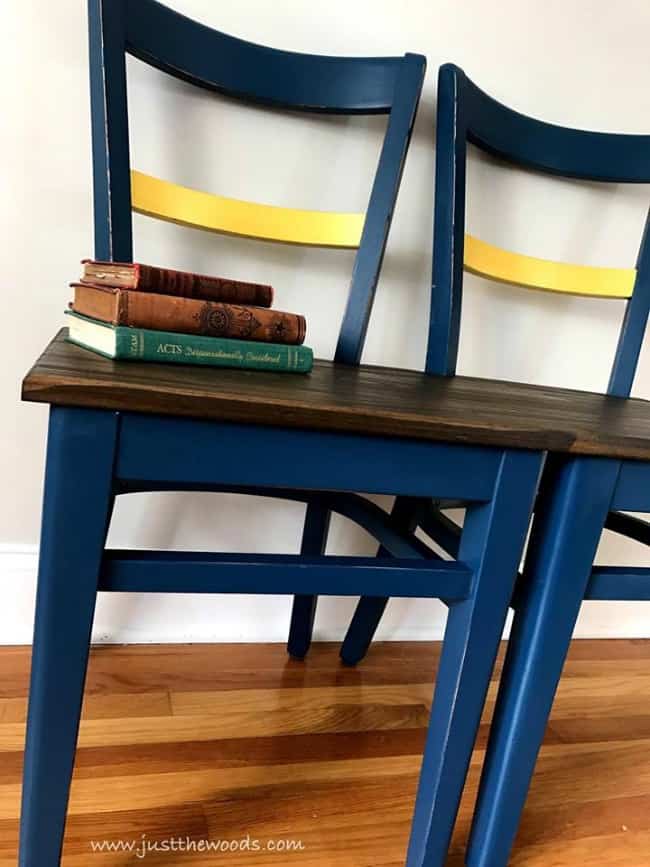
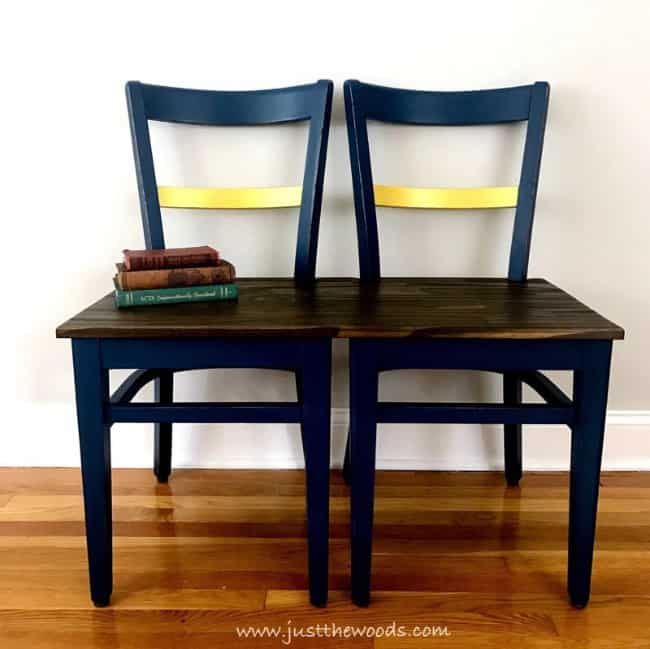
This DIY chair bench will be heading to my kids’ school so I’ve decided to paint it using the school colors of blue and gold. Before painting your chairs make sure to clean and prep them. Click here to see How I Prep Painted Furniture. The chairs are painted all blue. You can find great quality furniture paint online HERE.
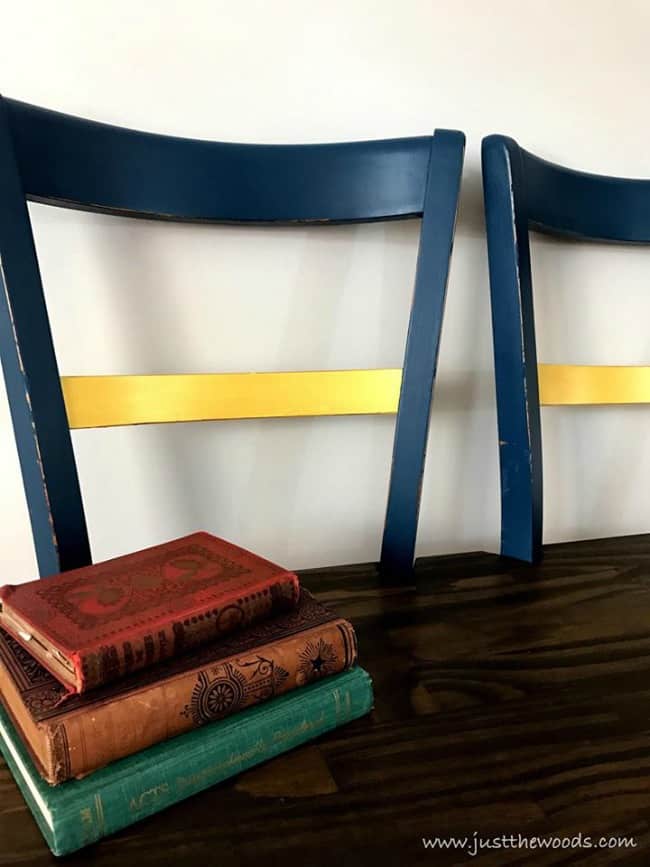
To add a touch of gold the center bar along the back of the chairs are taped off using Scotch Blue Platinum. It’s my favorite painter’s tape lately because it tears at a perfect 90-degree angle every time! The center bar is first painted in bold sunshine yellow paint.
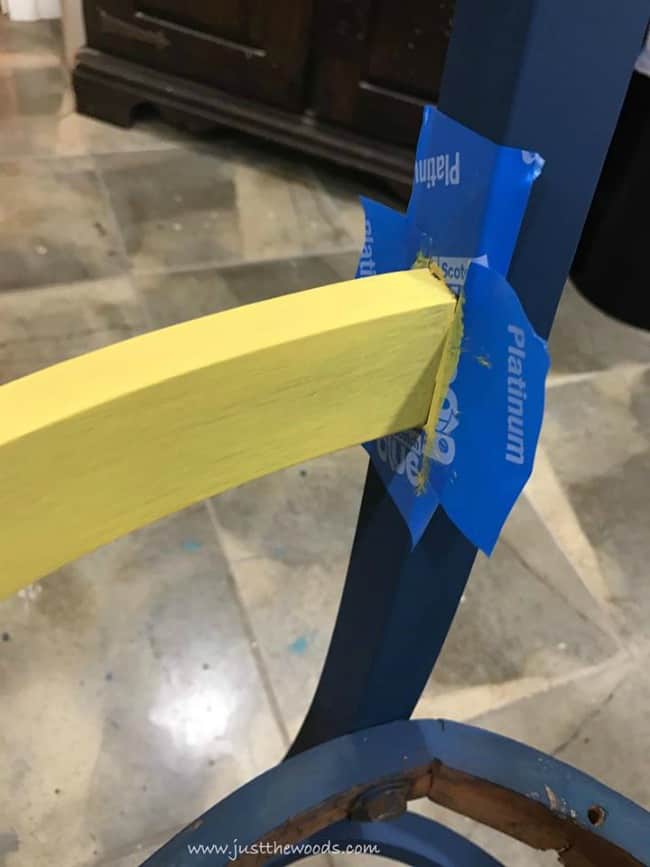
After the bright yellow, the yellow bars are given a metallic gold finish using metallic gold paint. If you like gold paint then you need to check out how to update your decor with the best metallic gold paint.
Don’t forget to seal your painted furniture for protection. The painted surface is distressed along the edges and sealed with a Clear Satin Sealer using my favorite yellow detailer sponge.
If you are just starting out you can start at the beginning with How to Paint Furniture – a Beginners Guide.
Staining a Wooden Bench Seat
I love the wood grain of these solid wood panels and don’t want to paint over the pattern. Make sure to sand the entire DIY bench seat smooth paying extra attention to the notches. Use a fine grit sandpaper for best results. After you sand the seat you can stain the seat.
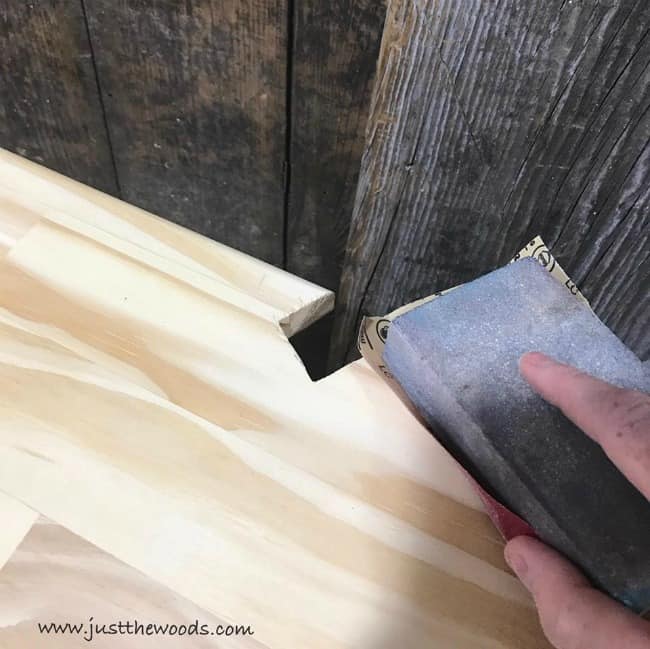
To preserve the pretty wood grain I’m using a dark brown wood stain on the bench seat. The wood stain creates a rich dark stain while still enhancing the details in the wood. The wooden bench seat is sanded with fine grit sandpaper in between each coat of wood stain for a super smooth finish.
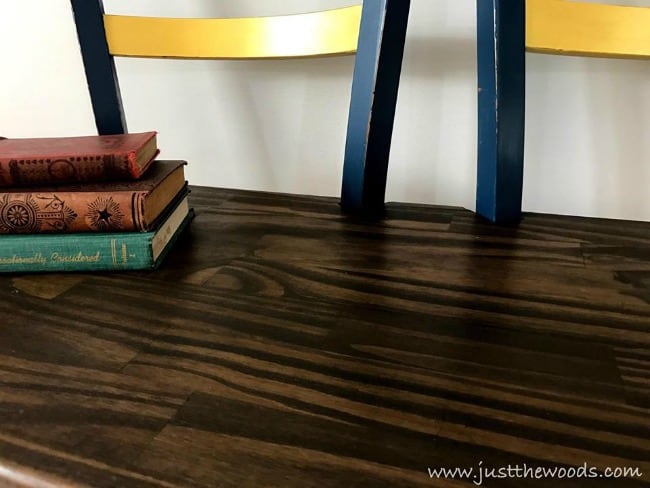
If you need a more detailed tutorial on applying stain then make sure to check out How to Apply Wood Stain.
Repurposed DIY Bench from Two Chairs Assembly
Attaching the bench seat to the chairs is the final moment of truth. You can see how comical this step can be:
After a few mumbles cuss words, the bench seat is fitted to the chair base and we can secure it. To secure the seat you need to apply wood glue in between the wood panel and the chair legs. Next, secure with trigger clamps to hold them tightly together until the glue dries. I always place a clean paper plate between the clamp and the painted/stained surface to prevent any dirt transfer from the clamp.
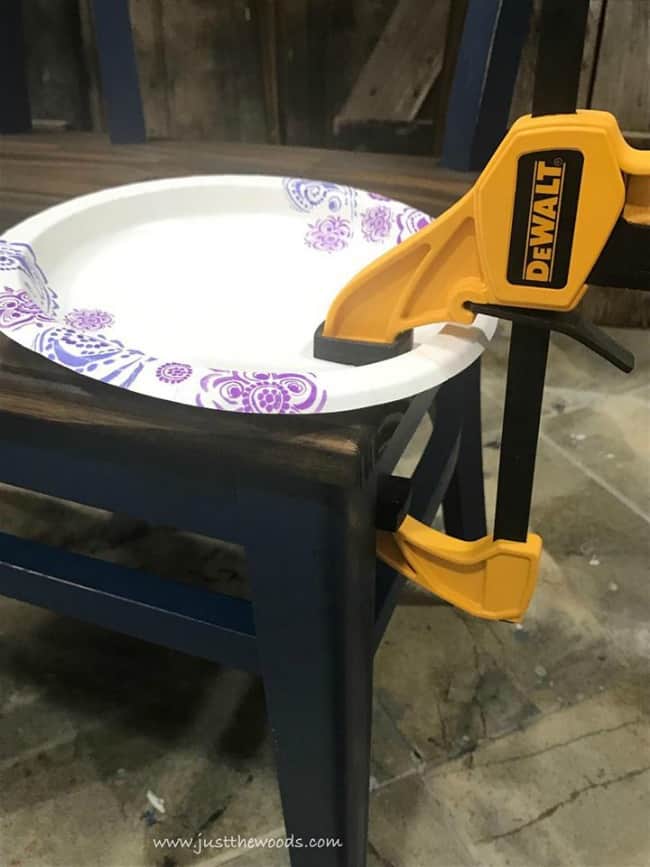
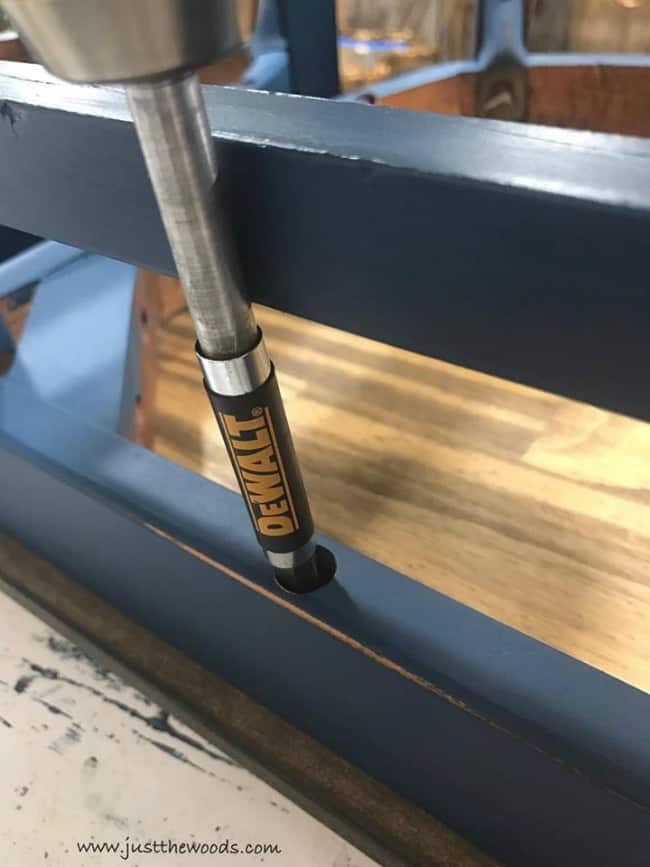
Once the glue dries, remove the clamps and flip your DIY wooden bench over to secure with wood screws for the final step of our DIY chair bench. Access to the holes for the screws are blocked by the chair itself. This drive guide helps for this issue by extending the length of the drill bit. (I hope that makes sense)
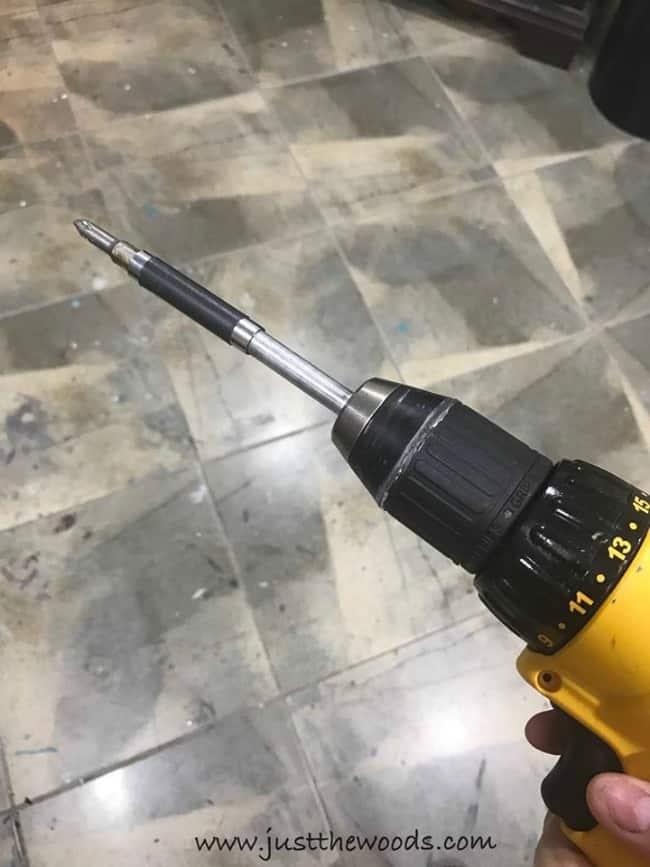
By using the drive guide I can now get my screws into the holes to secure the seat.
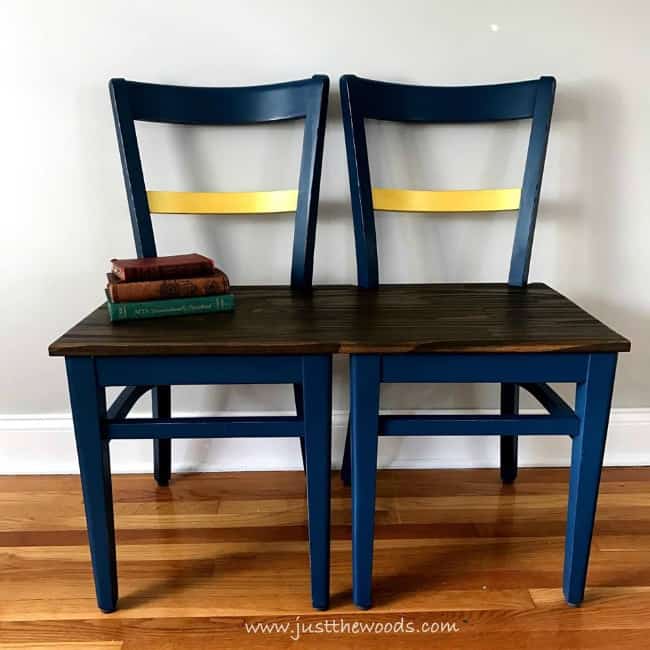
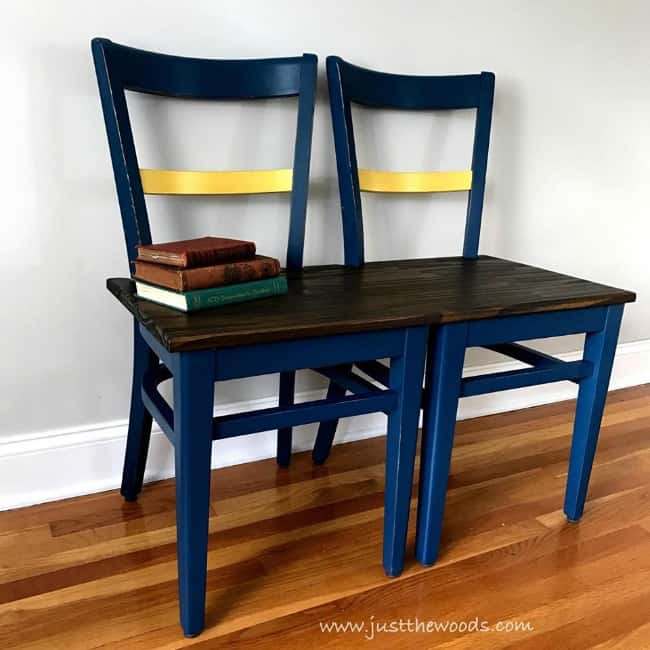
DIY Wood Bench from Chairs – Repurpose Project
Now this repurposed bench made from chairs can head to the kids’ school where it will be used for years to come. Click here to see all of my projects that have been donated to support local fundraisers, schools, and charities: Donation Projects.
Check out all of my furniture projects with over 90 painted furniture makeovers: Stunning painted furniture ideas.
Need a bench but prefer not to DIY? Find fantastic benches for sale here: Benches for sale
Power Tool Challenge
This months power tool challenge is open to everyone! (Challenge is over) The challenge is sponsored by Ryobi and you can add your own projects below for the chance to win awesome new tools from Ryobi! How fun! Make sure to check out my fellow friends’ projects and add your own below!

Create and Babble Rustic Birdhouse from Upcycled Shutter
My Love 2 Create Repurposed Shutter Desk
Designed Decor How To Build A Repurposed Chair Leg Seat
Just The Woods How To Make A Bench From Chairs
Domestically Speaking How To Turn A Desk Into A Nightstand
The DIY Bungalow Turn an Old Drawer into a Cabinet
Virginia Sweet Pea DIY Vintage Tennis Racket Basket
H2OBungalow Repurposed Picture Frame Wall Shelves
My Repurposed Life DIY Doll/ Dog Bed
The Kim Six Fix Lego Table from Two-Tier End Table
Don’t Forget – Follow Just the Woods and Share this post to Inspire others:

FACEBOOK * INSTAGRAM * PINTEREST
Stay connected! For more tips and tricks sign up here : [mc4wp_form id=”1340″]







Karen @ The DIY Bungalow says
What a clever idea! Oh, and I love the idea of using a paper plate with clamps to protect the wood from dirt on the clamps – so smart!
kandice kullmann says
thank you! nothing fancy over here lol
Toni | Small Home Soul says
I love that you made the bench seat to wrap around the chair back; it looks “built that way” and not just some planks nailed to the top. The colors are super fun too 🙂
DeDe Designed Decor says
Kandice, First off, great minds! Second, that DIY outfit you had on when cutting the wood. I am soooo glad my counterparts dress as nice as I do! LOL I love your template idea, cardboard can be a girl’s best friend! Your bench turned out great and I love the deep blue!
kandice kullmann says
you made me literally laugh out loud about how we dress! hahaha and i agree great minds think alike – love your bench too! 😉
Maryann @ Domestically Speaking says
SUPER clever & I love your color and stain choices!
kandice kullmann says
thank you so much!
gail says
Kandice,
I don’t think I’ve ever seen a stain grade solid wood panel board before. I love the way it looks and the way it took the stain. The blue and the dark stain are a perfect match-a wonderful marriage of old and new! 😉
You know I love a great chair bench! I have lots of chairs, but not sure any that would work together.
Pinning!
gail
kandice kullmann says
thanks so much Gail! I get them at Lowes (Home Depot doesnt seem to carry them)
Terri Hughes says
WOW…..what a great idea, using chairs to make a bench. Love that you used stain, so that the wood grain would show through. Very nice!
Wendi@H2OBungalow says
I’m loving your chair bench! The finish is perfect, the stained seat is so pretty against the painted frame. Nice tips too:) Pinned!
Paula says
What a great project! I can only imagine how many parents are going to admire this when they see it at your children’s school. I like your paper plate tip for clamps and also using poster board to make a template.
Mindi says
Yay it fits!! This is such a fun bench!
kandice kullmann says
thank you!!