Love to garden? See how easy it is to make your own garden markers. These DIY garden markers are like name tags for your plants. Your garden labels allow you to label and tag your herbs and vegetables in a decorative way. Plant tags that are both cute and functional.
Spring has finally sprung and its time to get outside and grow things. Once you start growing more than one vegetable or herb you may start thinking about garden markers. Whether you need herb garden markers or vegetable garden markers or both, you can easily make them yourself. Personally, we grow both herbs and veggies and the kids can tell you where everything is even without garden plant markers reminding them of what is where. But, me on the other hand, I may need the reminder. 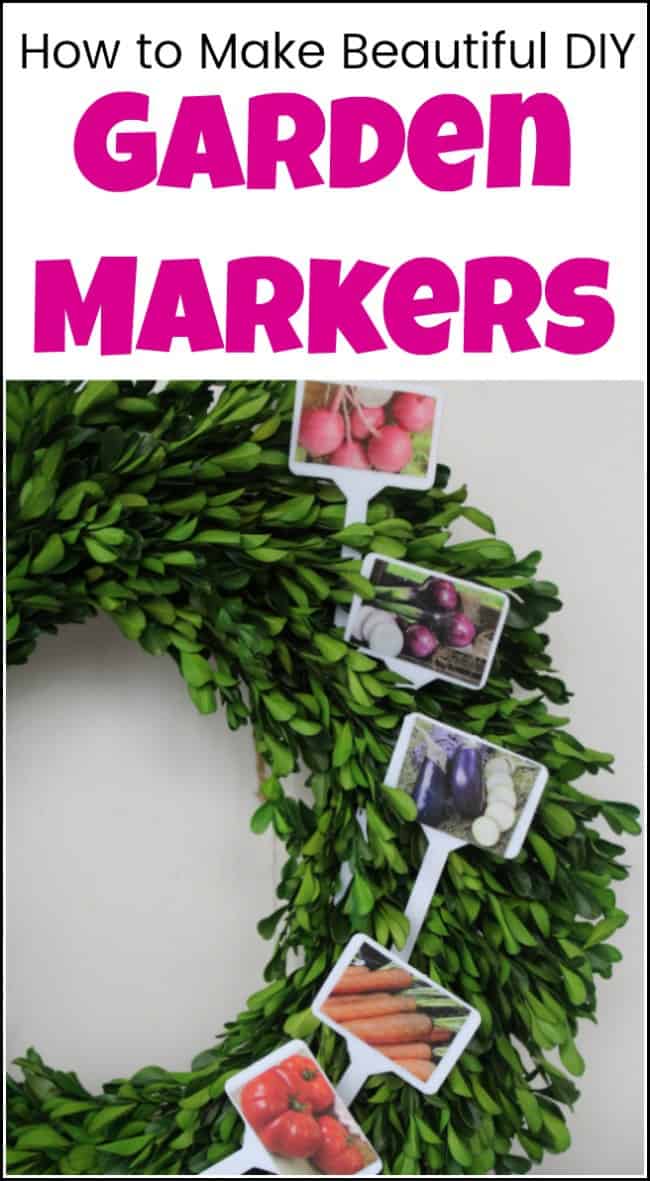
Disclosure: This DIY garden markers post contains affiliate links for your convenience. Click here for my full disclosure policy.
Supplies & Tools Needed to Make DIY Garden Markers
Materials Needed / Source List:
- Plastic Garden Marker Stakes
- Gardening Magazines/Catalogs
- Scissors
- Mod Podge
- Paintbrush
- Sealer (This one is waterproof!)
- Find all of my favorite tools and products on my Amazon Page here
Making Garden Markers
Directions:
1. Begin by combing through the gardening catalog and find pictures of the items you will be growing. You want one picture for each plant you will grow. We grow a lot of tomatoes to make our own sauce in the fall, so I’ll start with tomatoes. Luckily, this works great for both vegetable garden markers and herb garden labels. If you can grow it then you can label it.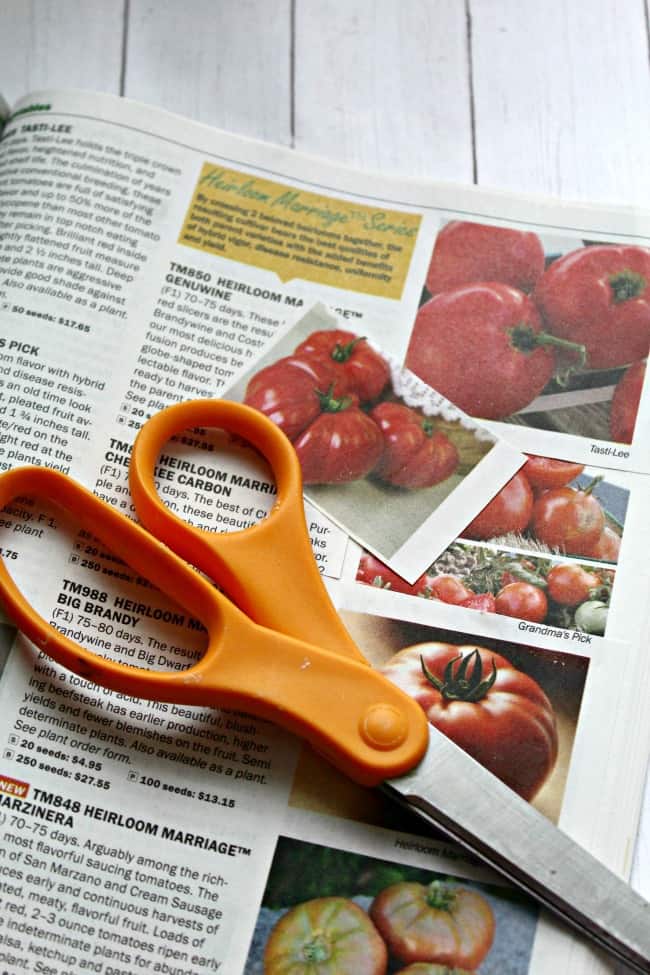
2. Cut out pictures of the vegetables, fruits, and flowers you will be growing. Trim the pictures down so they fit nicely on the head of the garden marker.
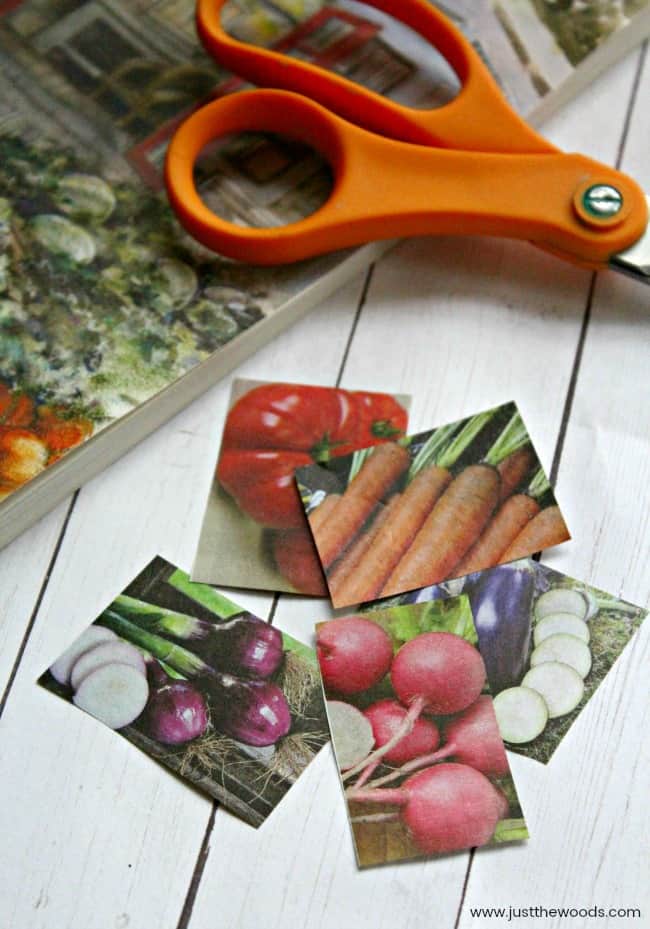
3. Place each picture on a garden marker so you can be sure they fit and that you have enough. Think of this as a run through before you start gluing them in place.
4. Place a layer of Mod Podge on the head of the garden marker. You only need to add it to one side. Press the picture to the Mod Podge, taking time to smooth it over and remove any bubbles or wrinkles. Allow to dry.
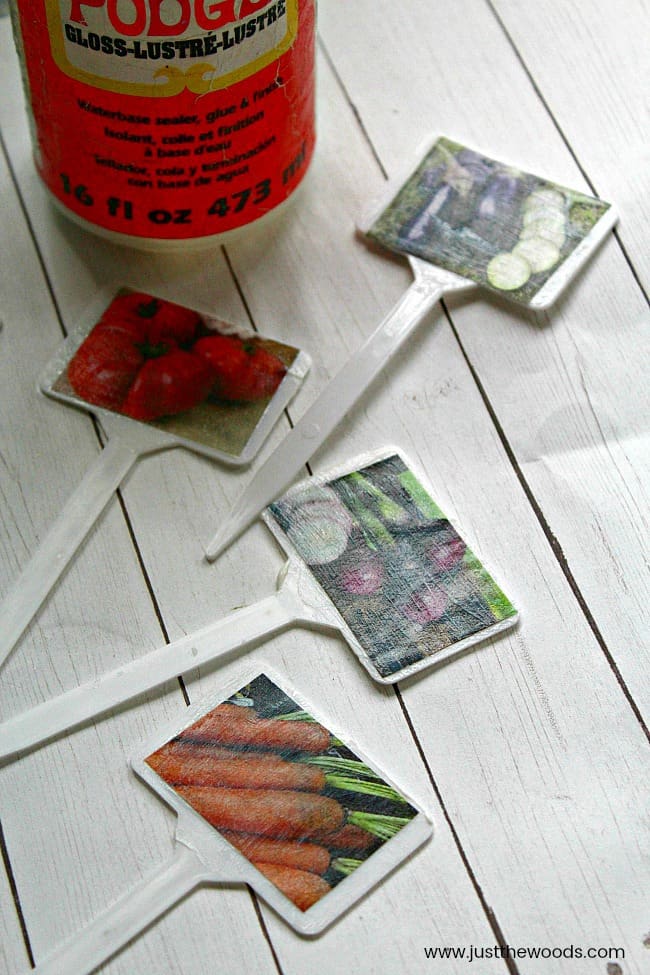
5. Once the picture is dry and in place, coat it well with another THREE layers of Mod Podge, allowing the coats to dry well in between applications. 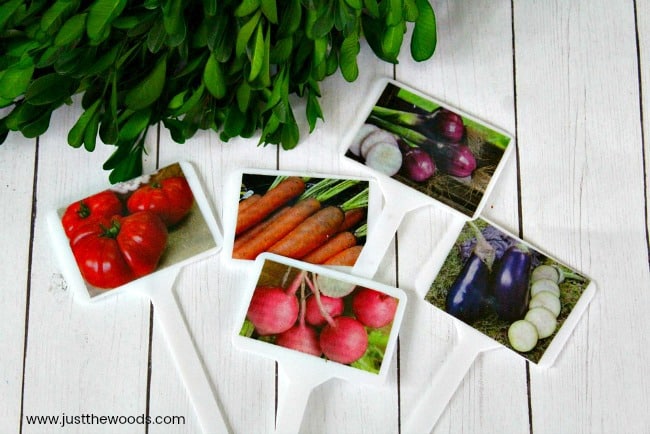
6. When the Mod Podge layers are dry, you can seal the picture further and prevent it from sun and rain with another coat of water sealer. Any clear household sealer will work. I prefer to use Gator Hide because I know that it is water repellant. 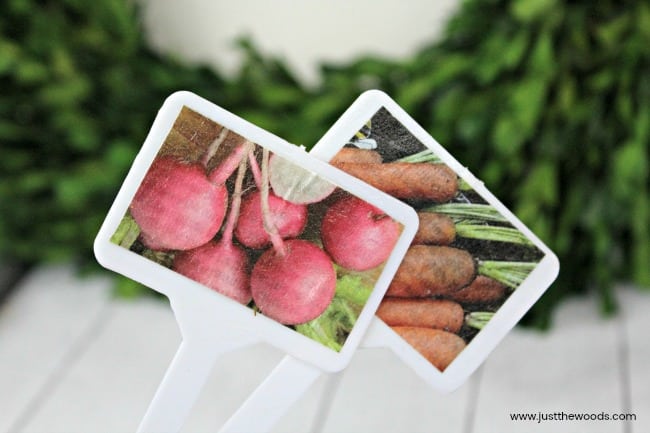
To use your garden markers, just press them into the ground and these plant identification markers will help you to identify the plants you are growing. This is a fun, inexpensive, and easy way to do so! As long as you can find an image for your produce these plant labels will make allow you to find them in the garden. Or I can always send over my kids 😛
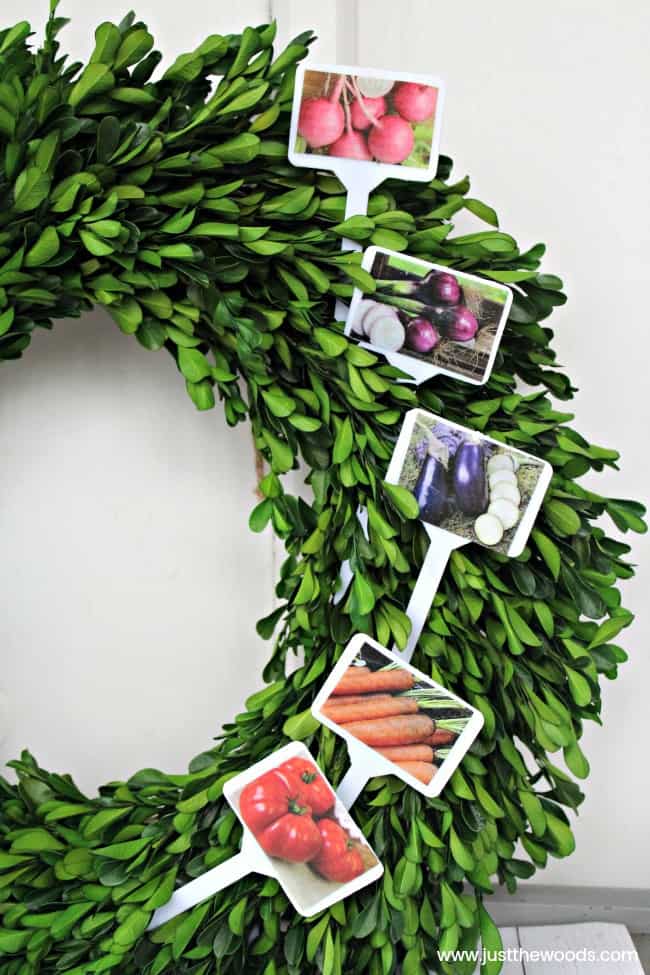
Prefer not to DIY?
Too busy gardening and no time to make your own garden markers? No worries, here are a few that you can get online.
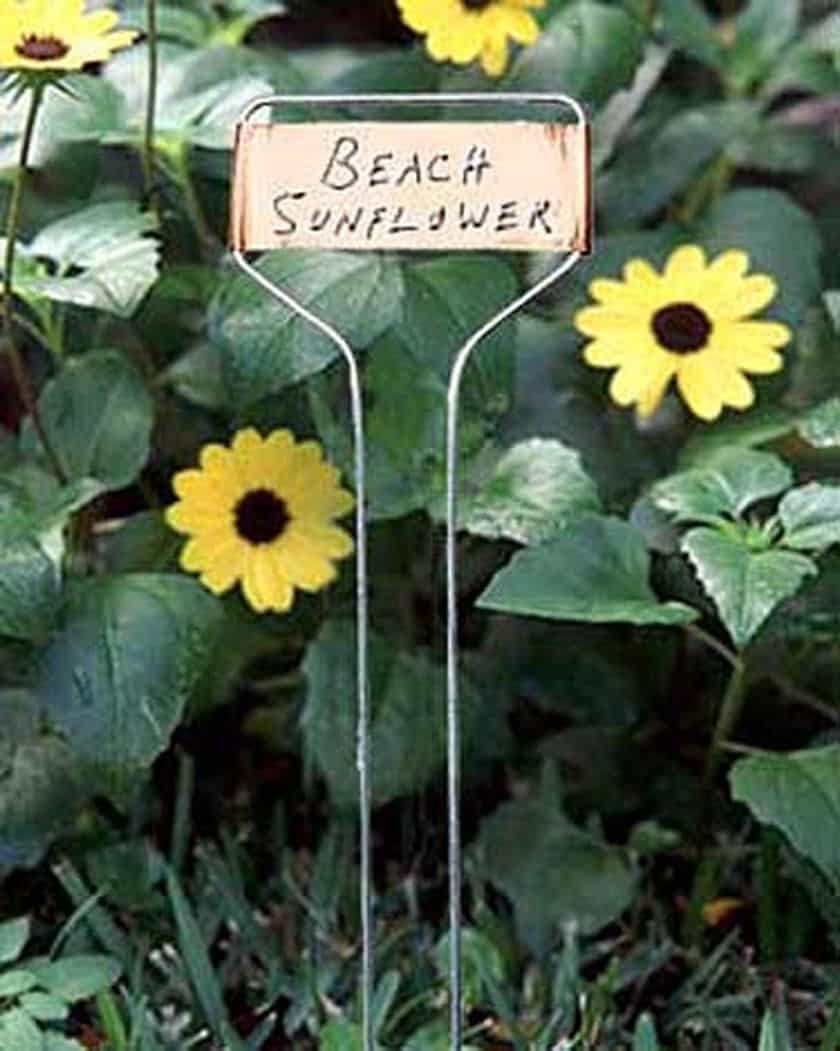
- Copper Garden Markers found HERE
Brass Herb Tags found HERE 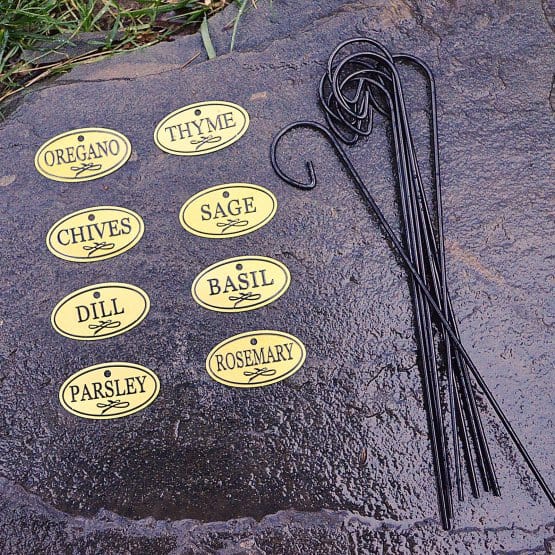
Or find more creative & decorative garden markers HERE
Don’t Forget – Follow Just the Woods and Share this post to Inspire others:
FACEBOOK * INSTAGRAM * PINTEREST
Stay connected! For more tips and tricks sign up here : [mc4wp_form id=”1340″]


Leave a Reply