Painted Cedar Chest with Reverse Stencil
Painted Cedar Chest with Reverse Stencil
To me, a painted cedar chest can be tricky. I always want and try to find the balance between preserving and painting. I can only hope to do this piece justice.
A woman had contacted me about her storage unit full of items that she no longer wanted but didn’t want to see them go in the trash either. Her parents had been antique collectors, and she had quite a collection on her hands. This cedar chest was pretty bad shape but I knew this chest could be saved. As an added bonus, it’s Jacob Bloom Company label is still clearly affixed to the inside of the lid. While she had many items in her arsenal, I chose to purchase this cedar chest along with an antique storage chest that was later turned into our Antique Storage Chest turned Custom Toy Box. 
The Before – Antique Cedar Chest
You can see that the cedar chest has major damage and scratches all over the outside. 
Oh boy!

Yuck.
There was no avoiding it, this chest needed to be sanded down in its entirety. Once sanded, the wood grain hiding beneath all of those scratches and cosmetic flaws is gorgeous.
The inside of the cedar chest is also in fantastic condition and merely required a simple dusting and wiping out with a damp cloth. 
The Process- Painting an Antique Chest
Once sanded and cleaned I decided to preserve the top of the chest by sealing it with a light brown protective glaze. This particular sealer is a slightly tinted sealer that is the perfect choice for maintaining all the gorgeous details of the cedar wood grain. Next, the chest is painted in a very light gray. You can find great paint options online HERE
The only problem is that something is missing. The chest is lacking a wow factor. I decided to add an image on the front of the chest and opened it up for votes on my Facebook page. The options were narrowed down to these images: 
Option 1 is an image transfer that can be found HERE. Choice 2 is a vinyl decal found HERE. Option 3 is an image transfer found HERE, and lastly, option 4 is a vinyl decal found HERE. After considering everyone’s opinions I narrowed it down to options 2, 4 and this one found HERE. I don’t know why I complicate things for myself by adding additional last minute options. 
I decided to order all three of my final choices and wait until they arrive to decide which one to use.
How to Add a Reverse Stencil
Now that the plan has changed, my gray painted chest is out the window and the chest was painted all black. 
The black paint is lightly sanded and then sealed. Next, after measuring for proper placement and marking with chalk the vinyl wall decal is applied to the chest. 
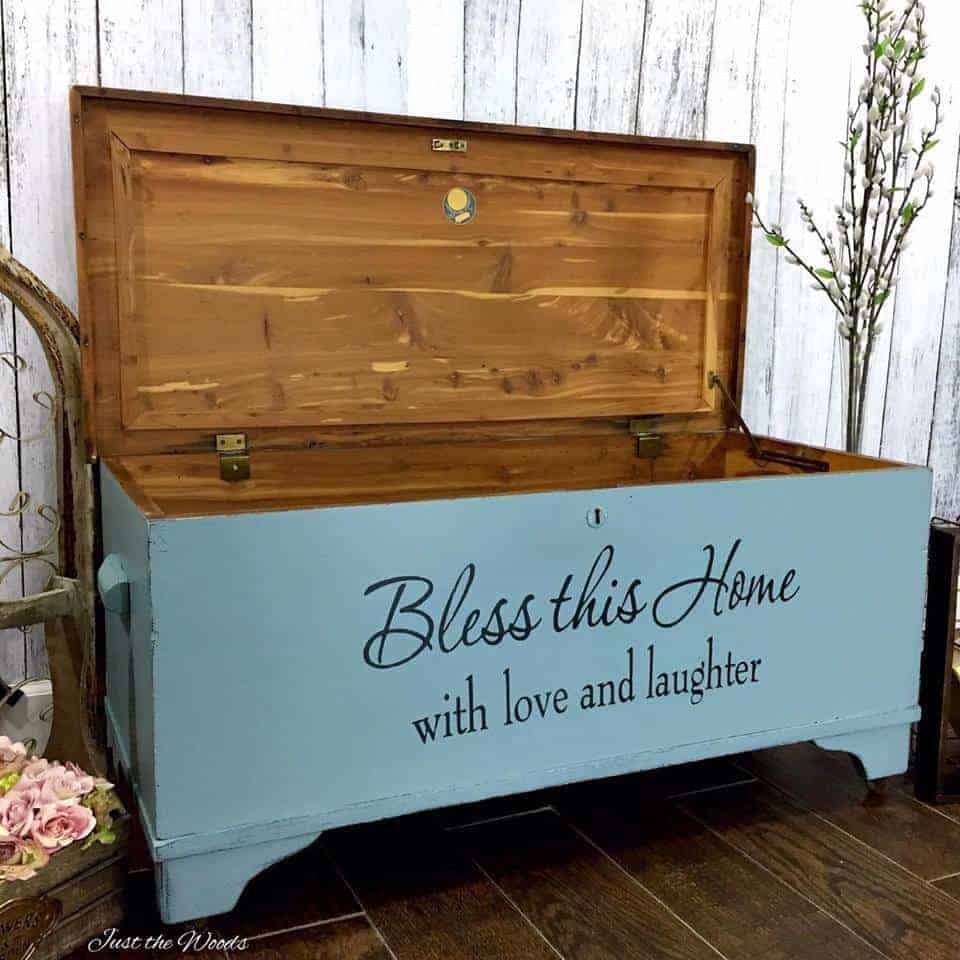
Since the chest is painted black and the decal is also black it may be difficult to see it, but I assure you it is there. Once the vinyl decal is rubbed smooth the best as possible I chose a pretty blue paint color for the chest. 
Once the painted cedar chest is completely painted in light blue it is time for the reveal. 
Using a fine point tweezer, the vinyl decal was carefully peeled off of the painted cedar chest. The black paint was sealed prior to applying the decal to avoid the possibility of the paint coming off with the decal.
Once the entire decal is removed the cedar chest is lightly sanded and distressed along the edges before being sealed for protection. For a more detailed tutorial on adding stencils to your painted furniture makeovers make sure to check out How to Stencil Painted Furniture. There’s even a video included in the post. 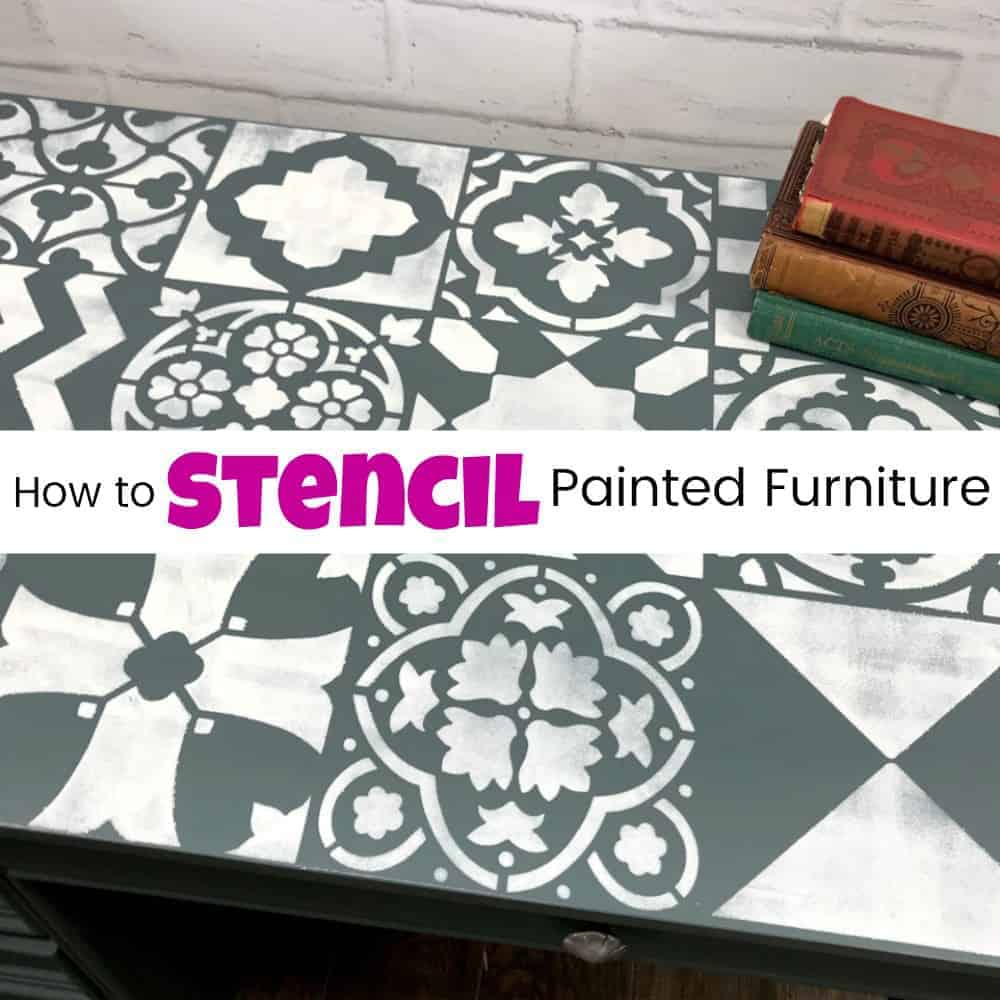
Painted Cedar Chest – The Result


For more painted furniture before and after projects, and makeovers, make sure to check out all of my chalk paint furniture tutorials with over 90 projects here: The Ultimate Guide for Stunning Painted Furniture Ideas

They certainly don’t make them like they used to, but you can find new cedar chests available here: Cedar chests


Looking for fabulous stencils? Click to find an amazing selection of stencils for your DIY projects: Show me Stencils!


Don’t Forget – Follow Just the Woods:
FACEBOOK * INSTAGRAM * PINTEREST
Subscribe to our mailing list here: [mc4wp_form id=”1340″]
PINTEREST PIN READY TO BE SHARED

Lovely transformation. Thank you for sharing with us at #HomeMattersParty .We would love to see you again next week.
I love seeing transformations like this…the chest is gorgeous! Thanks so much for sharing this on Merry Monday.