Have you heard of Cutting Edge Stencils? If you are new to using stencils, whether furniture stencils or wall stencils then you need to check out Cutting Edge Stencils. But if you are not new to stenciling then you should have already heard of them and be somewhat familiar with their gorgeous stencil patterns. Since I am more painted furniture and a little DIY I am sharing how to use stencils for painting furniture.
Disclosure: This furniture stencils with cutting edge stencils post contains affiliate links for your convenience. I may be compensated if you make a purchase after clicking on my links. This post is sponsored by Cutting Edge Stencils Click here for my full disclosure policy.
Supply List for Painting & Stenciling Wood Furniture with Cutting Edge Stencils
What You Will Need
Tools
- Zibra Paint Brushes
- Shop-Vac
- Lint Free Cloth
- Flexible Sandpaper
- Yellow Applicator Sponges
- Wise Owl Lemon Verbena
Stencil Supplies
- Patchwork Tile Stencil
- Dense Foam Roller
- Stencil Brush Set
- Spray Adhesive
- Find all of my favorite tools and products on my Amazon Page here
Paint
The Painted Desk
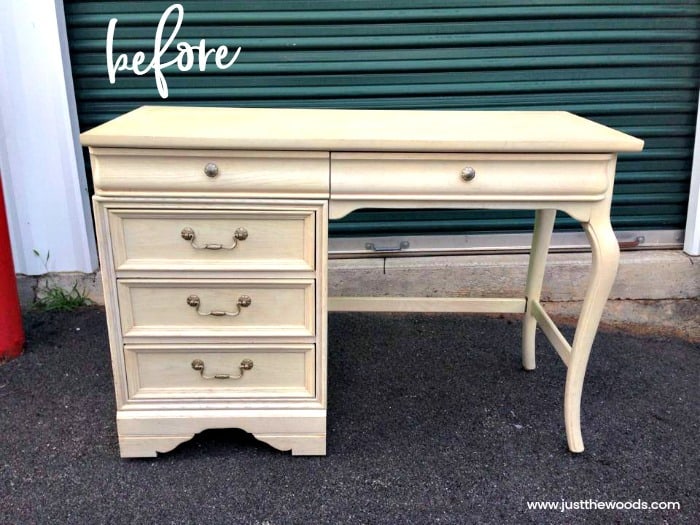
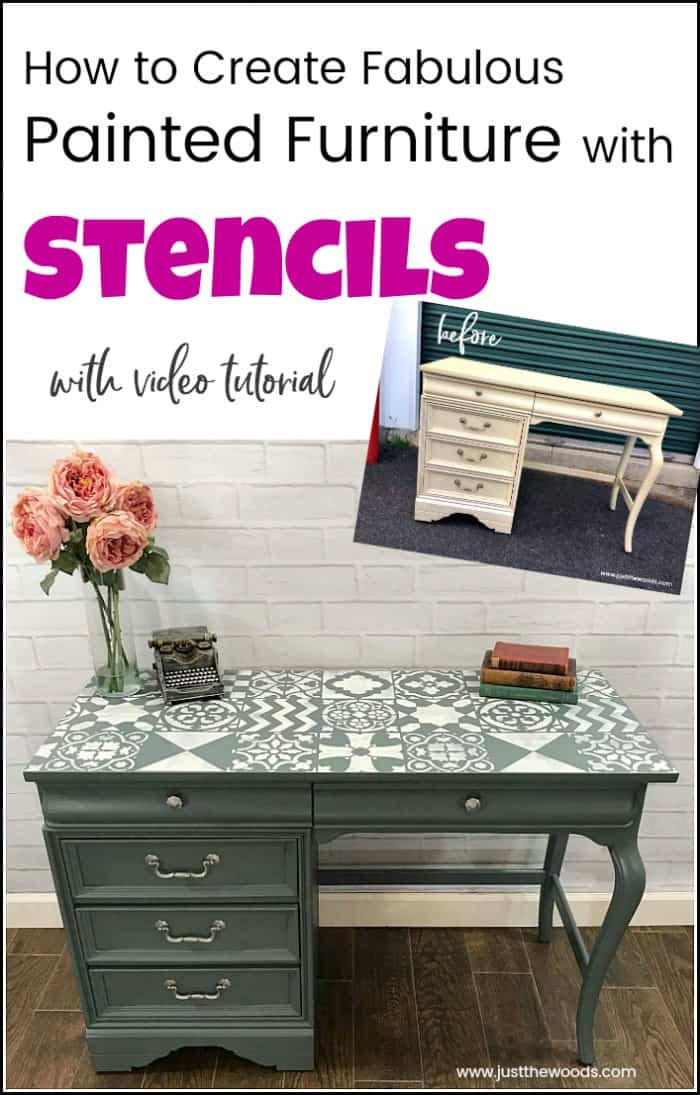
This desk is another boomerang project. I actually painted this for a customer a few years ago. This is how it looked originally the first time:
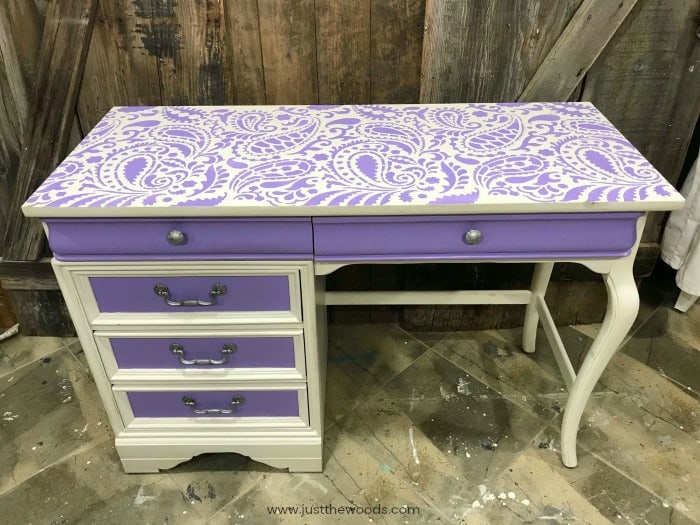
When I painted this desk the first time, there was no blog yet so there is no tutorial. But this is how it looked after applying a large wall stencil with a paisley stencil pattern also made by Cutting Edge Stencils that I purchased on Amazon HERE. I can honestly say that the entire makeover has held up really well over the years! I almost feel bad to paint it again and cover this pretty stencil design that it already has. Almost.
Prepping a Painted Desk for a New Makeover
Like all of my painted furniture makeovers, this painted desk is being thoroughly cleaned and prepped. You can see where I go over how I prep painted furniture and how to repaint painted furniture since this falls in both categories. In addition to removing the drawers and hardware, I also use my orbital sander to sand down the current stencil design. This is the sander that I use and love HERE.
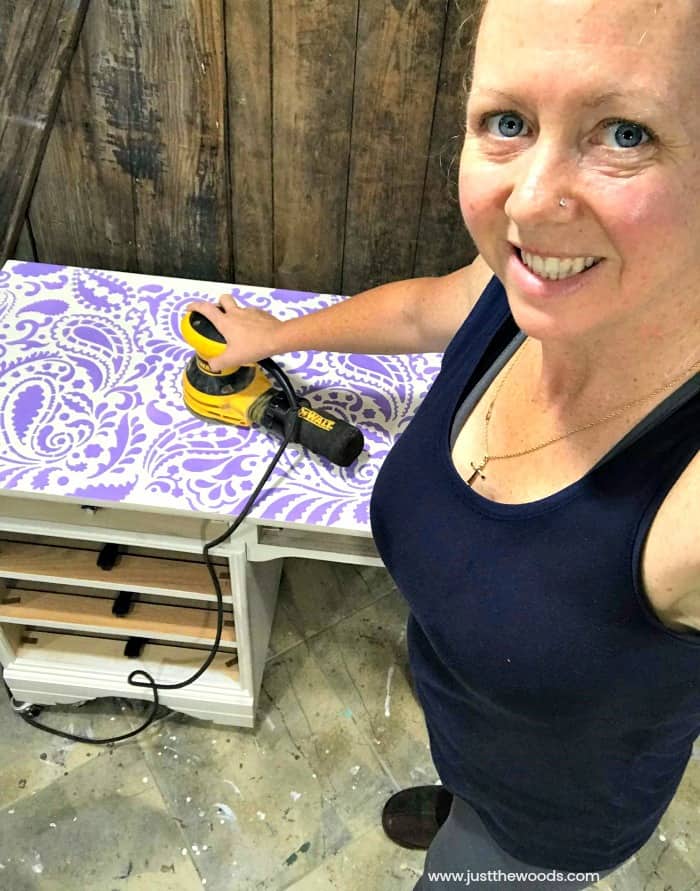
Did you know that it actually is possible to sand indoors and not make a huge mess? Yeah, I wish I learned this sooner. I share more about this in my Best Tips for Painting Furniture.
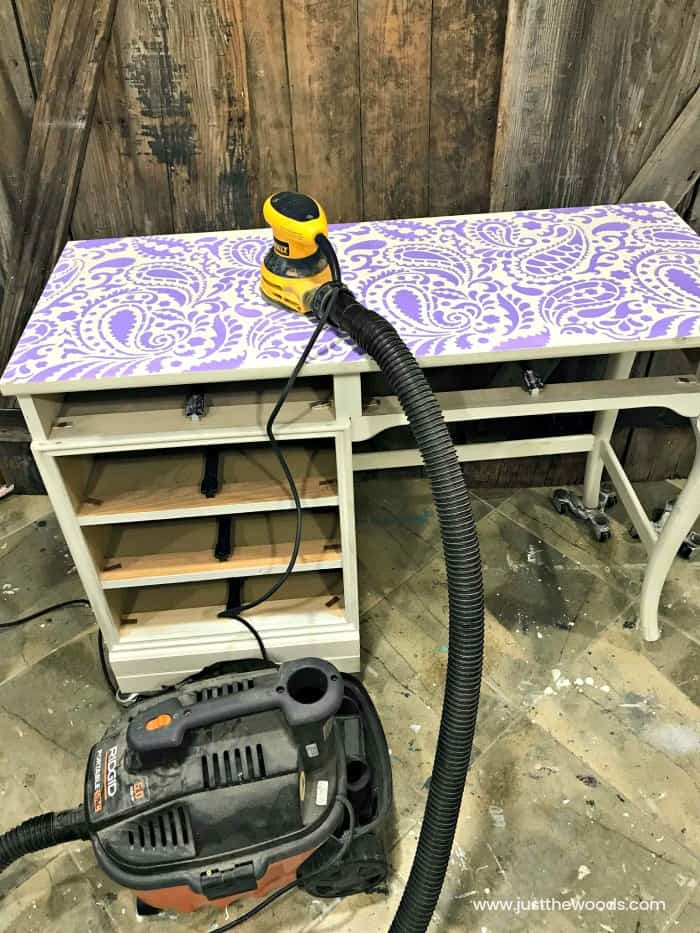
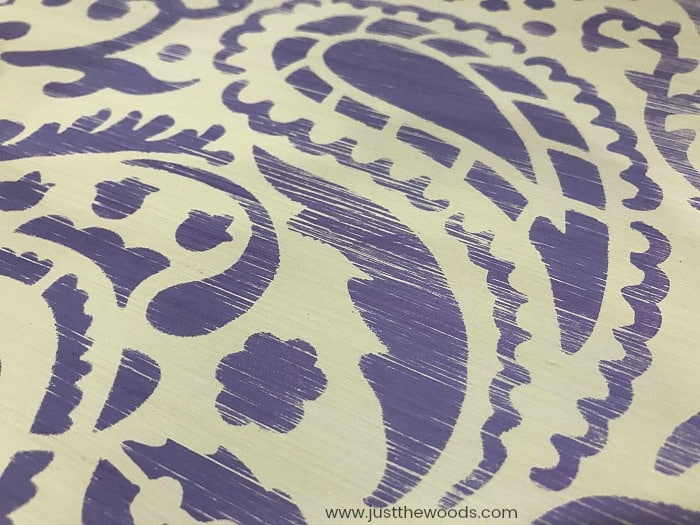
We don’t need to sand the surface all the way off, just enough for a smooth finish. Once you finish sanding down the existing stencil design it will be super smooth to the touch like a baby’s bum and the design is actually rather worn and pretty looking.
Choosing Furniture Paint Colors
Now that our desk is clean, sanded and prepped we can repaint this painted desk. I plan to take this stenciled painted furniture project in a different direction than the first makeover. This time I want to go a little darker.
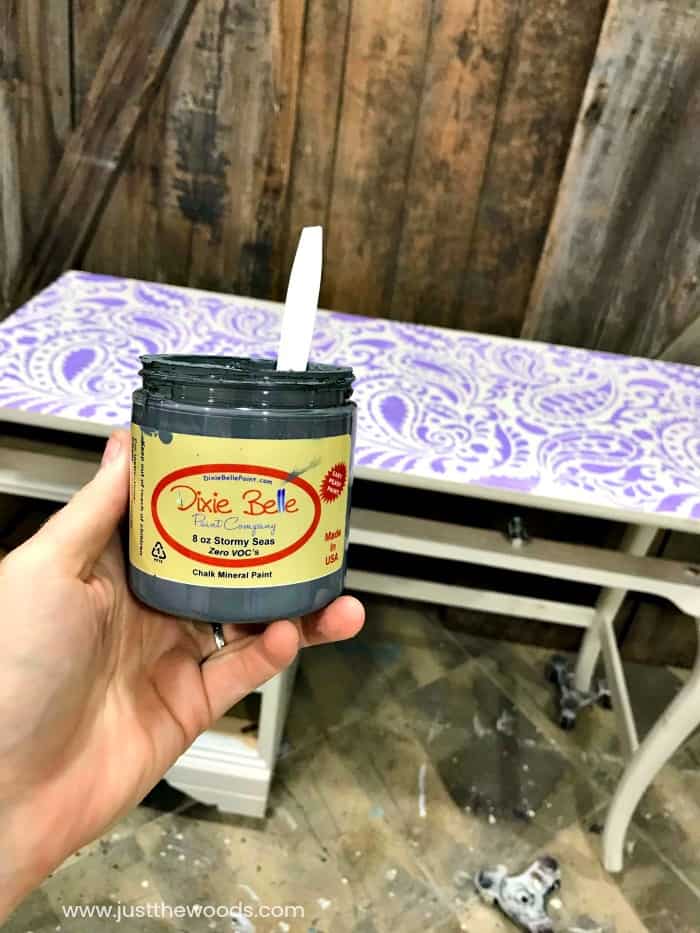
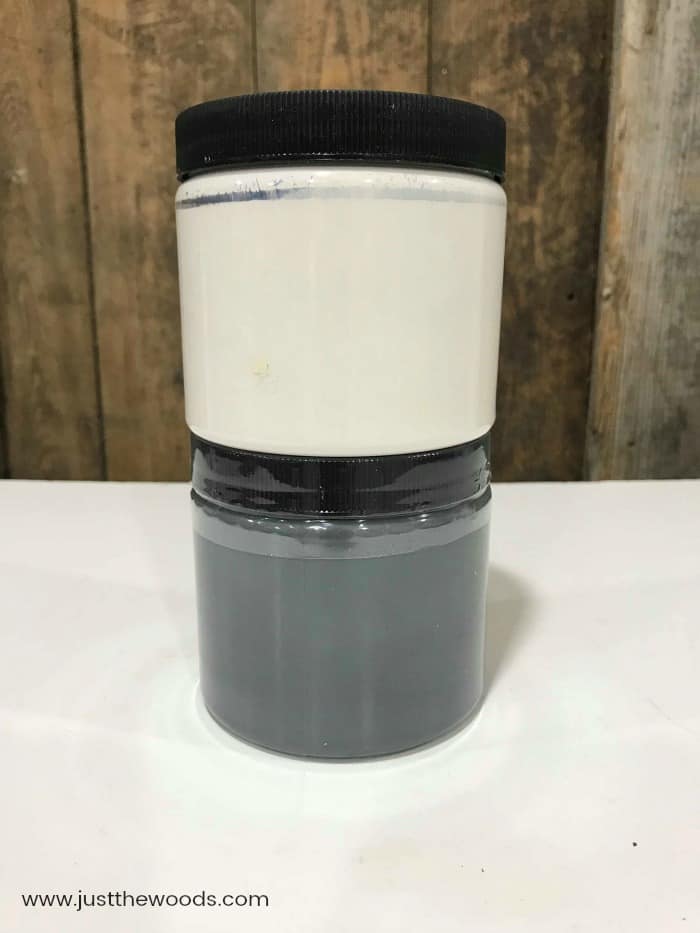
I am using a pretty blue-gray called Stormy Seas and off-white called Fluff from Dixie Belle. You can find these gorgeous colors along with so many others online HERE. Don’t they look pretty together?
If you are new to furniture painting and want to learn how to update old furniture with paint you can always start at the beginning with How to Paint Furniture – a Beginners Guide.
Click here to Pin this post for later.
Check out all of my furniture projects with over 90 painted furniture makeovers: Stunning painted furniture ideas.
Repainting Stenciled Painted Furniture
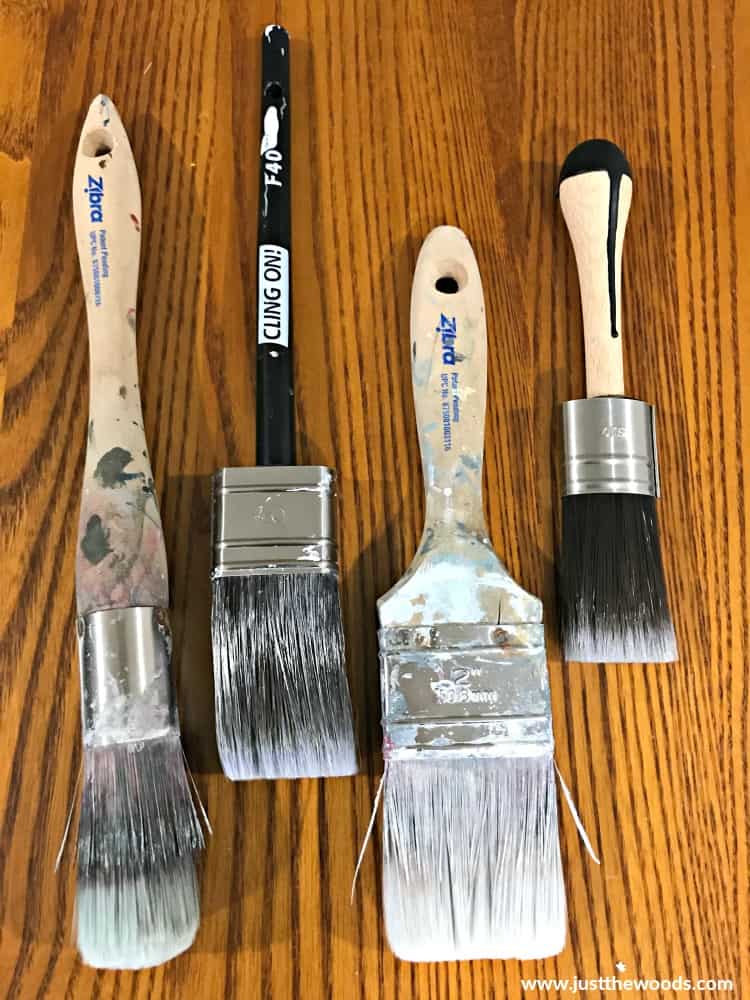
Go grab your favorite brush and make sure it’s clean. I like to swap back and forth between Cling Ons and Zibra brushes. They both have soft bristles, are easy to work with and clean up well. (I abuse my brushes) To be honest, I like them both. Zibra brushes are a bit more affordable and can be ordered online (HERE). Cling Ons can be ordered online (HERE).
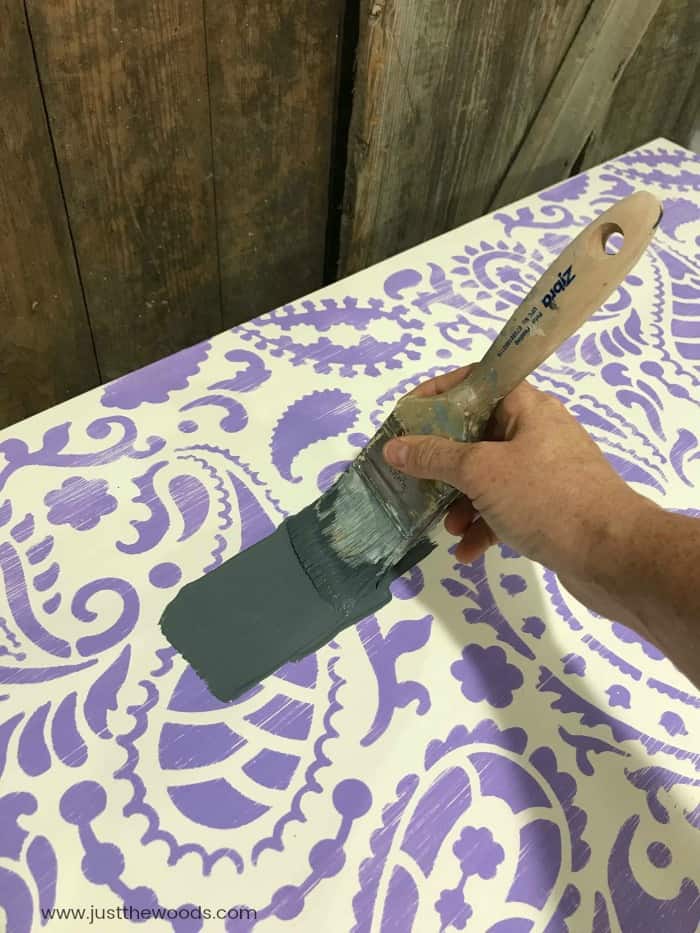
The entire desk is painted this moody gray using one of my Zibra paintbrushes.
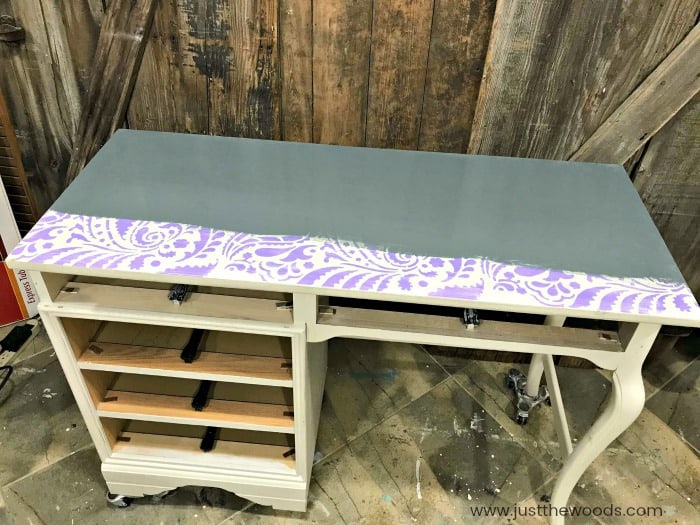
Oh boy, yes, I did it. I covered up that pretty paisley! :0
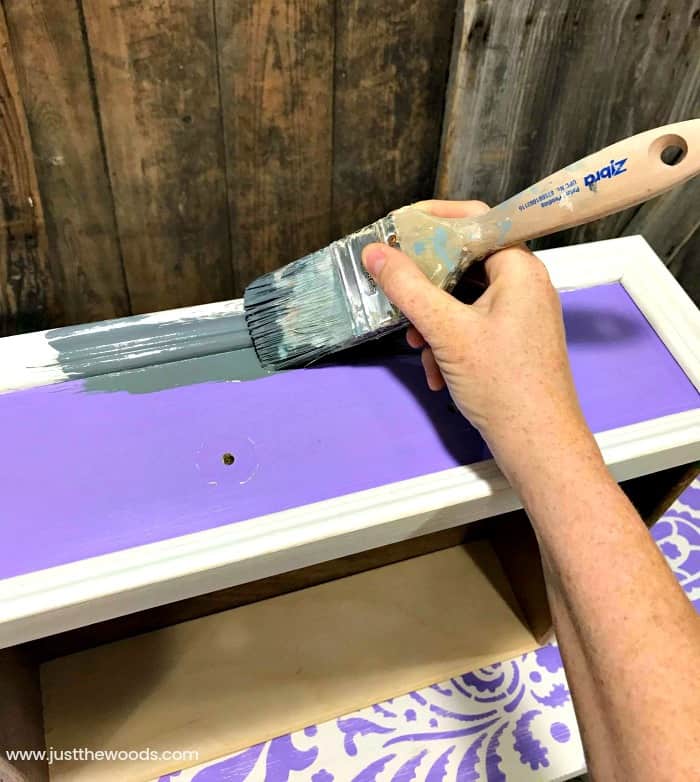
Don’t forget the drawers!
This is after one coat of paint. We are going to need a second coat to make sure the entire old painted makeover is covered up.
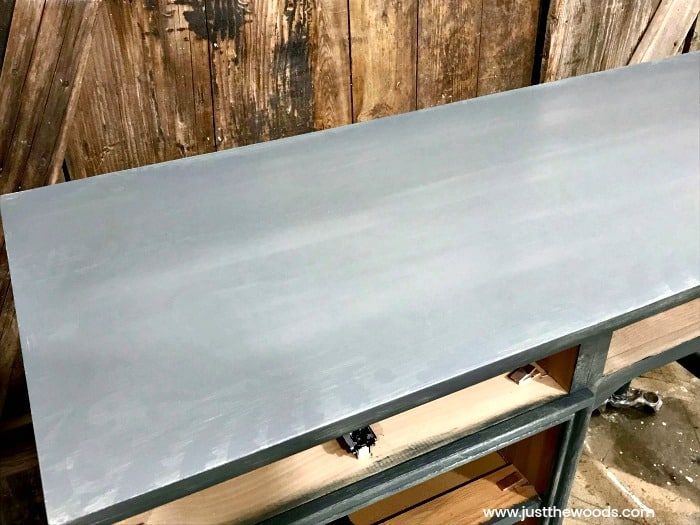
When painting furniture I always like to sand in between coats of paint for good measure.
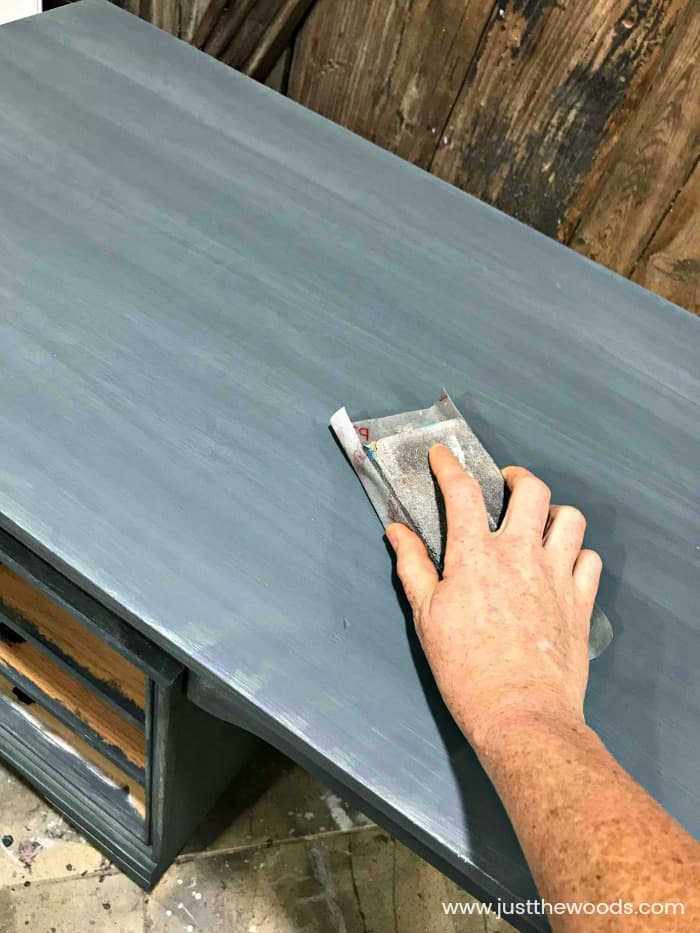
The second coat of furniture paint is applied for full coverage.
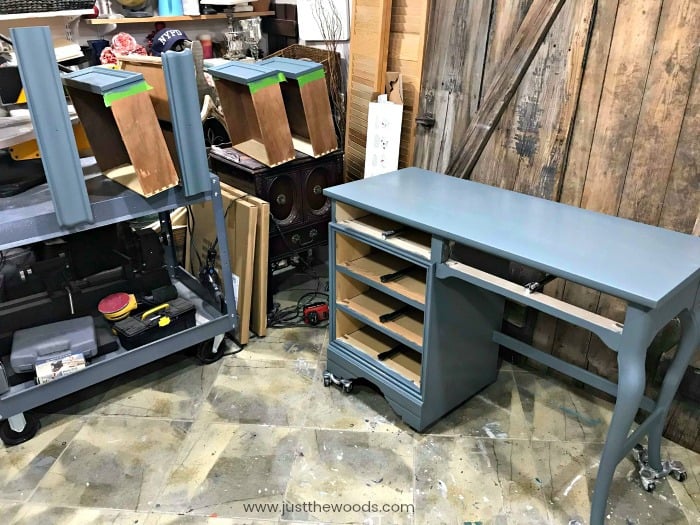
Sealing Painted Furniture
At this point, I seal my painted desk using clear satin sealer from Dixie Belle. I prefer to seal before applying my stencil to my painted furniture.
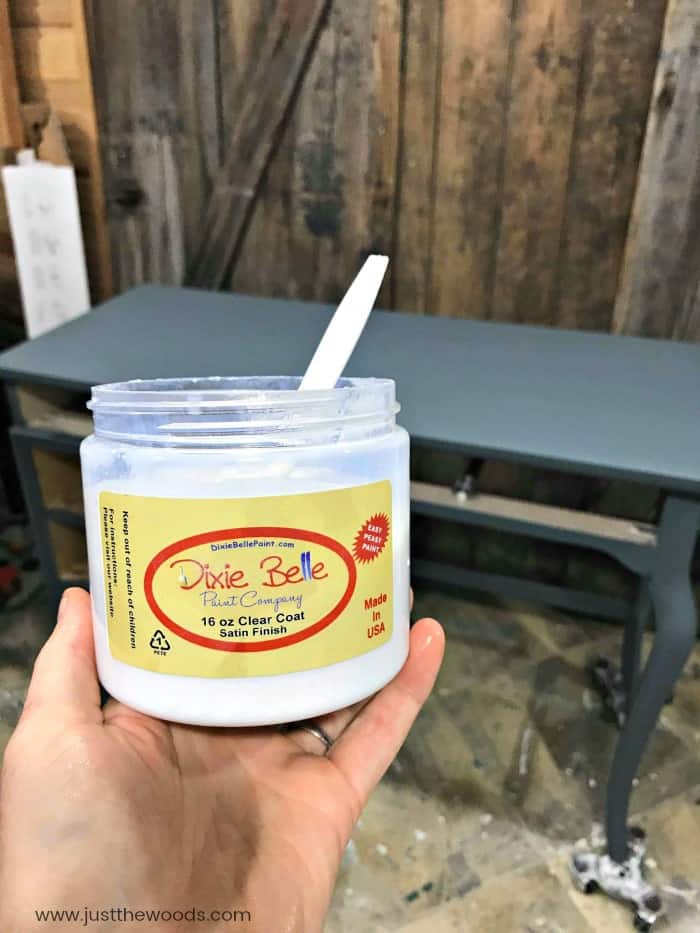
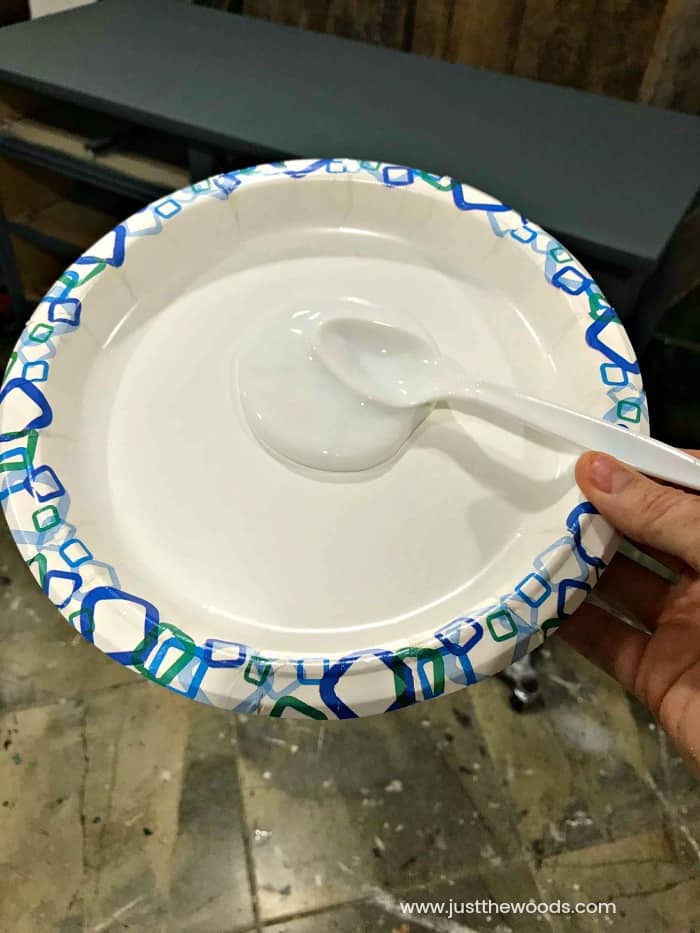
Scooping some sealer onto a paper plate makes it easier since you may not want to work straight from the container.
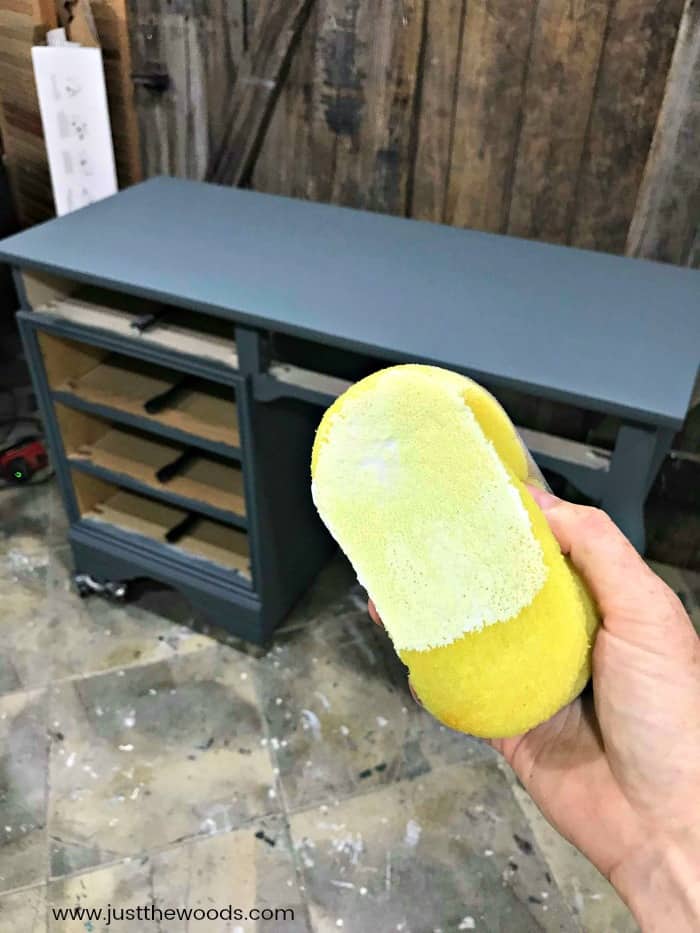
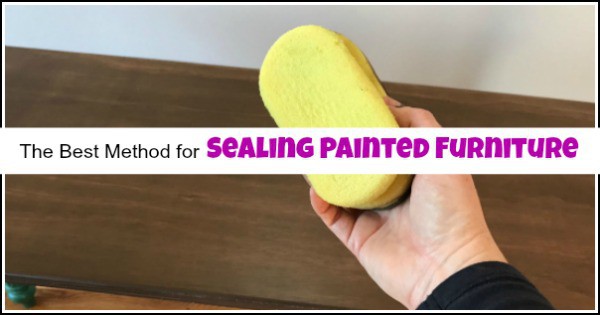
As usual, I use my favorite yellow sponge to seal my painted furniture. You can find these HERE.
If you have questions about sealing your painted furniture project you can find a full tutorial with video on how to apply clear sealer here: Sealing Painted Furniture
The Hardware
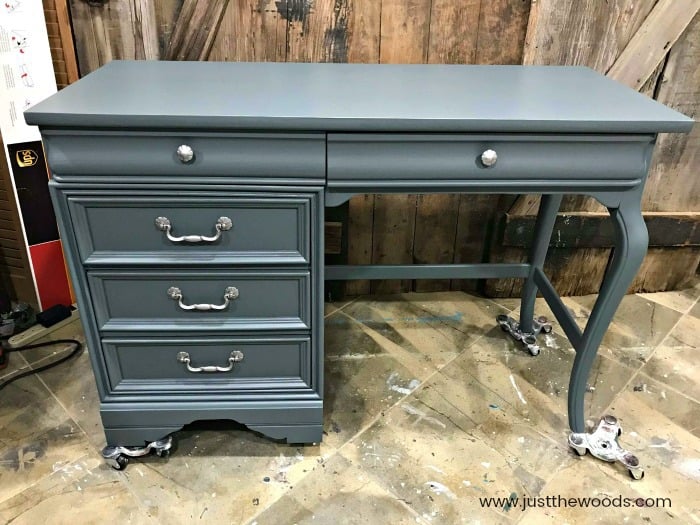
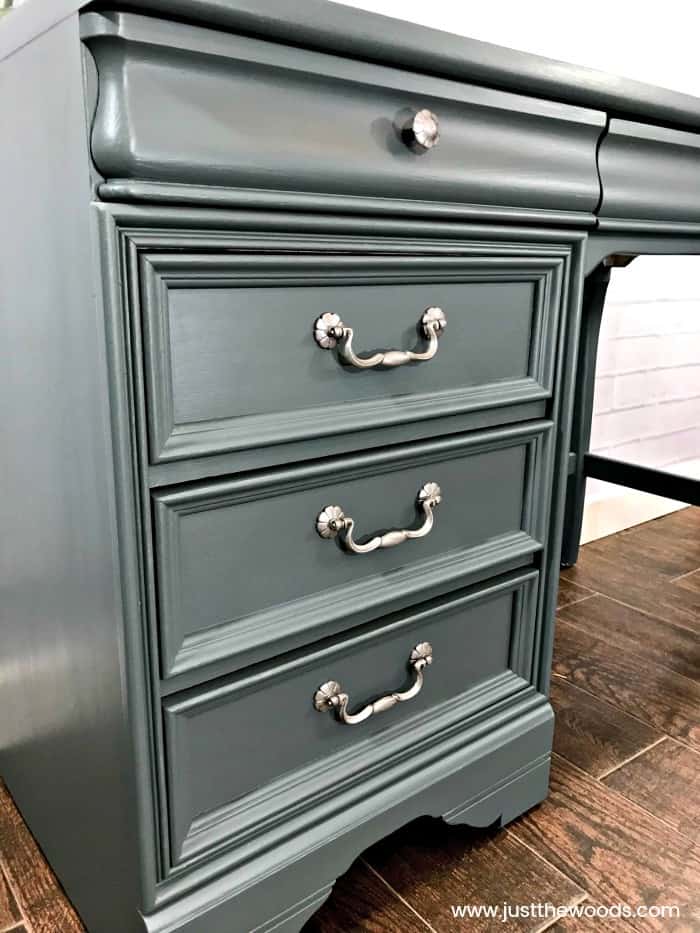
Remember that hardware that we removed at the very beginning? Well, it was painted silver way back when during the first makeover and it still looks rather pretty.

Since I do not want to change the hardware drastically, I am leaving the existing silver paint on the pulls and adding a little sterling silver gilding wax over it. You can get silver gilding wax online HERE. If you do want to remove old paint from hardware and change the look you can see How to Remove Paint and Clean Brass Hardware. The method for removing the paint would be rather similar.
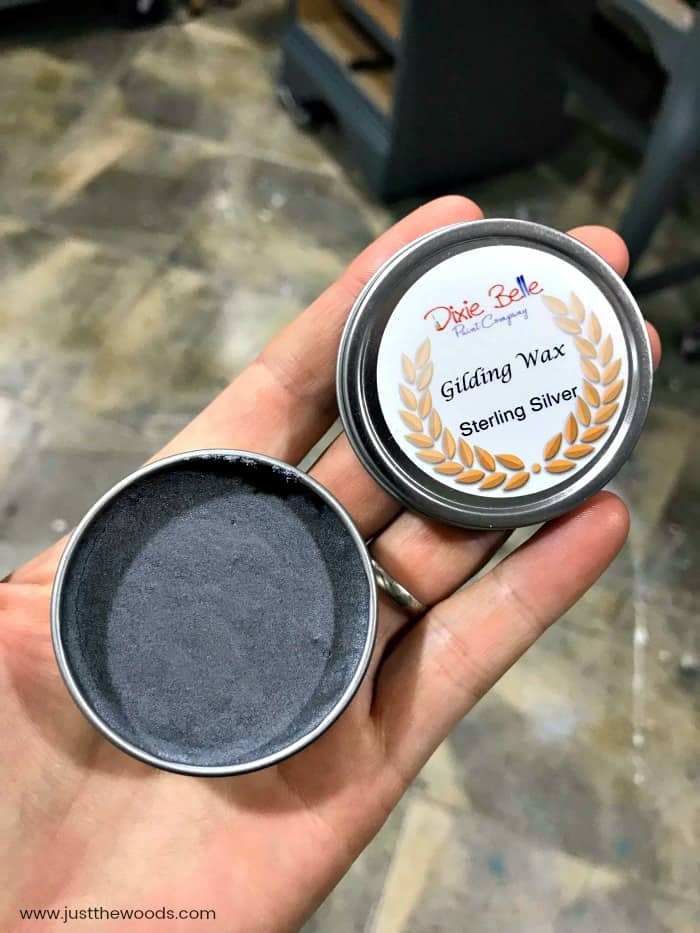
A little silver gilding touch up and the hardware is still perfect for this desk. You can see another project with gilding wax is added for highlighting on this Painted Tall Lingerie Chest.
Click here to Pin this post for later.
Painting Furniture with Cutting Edge Stencils
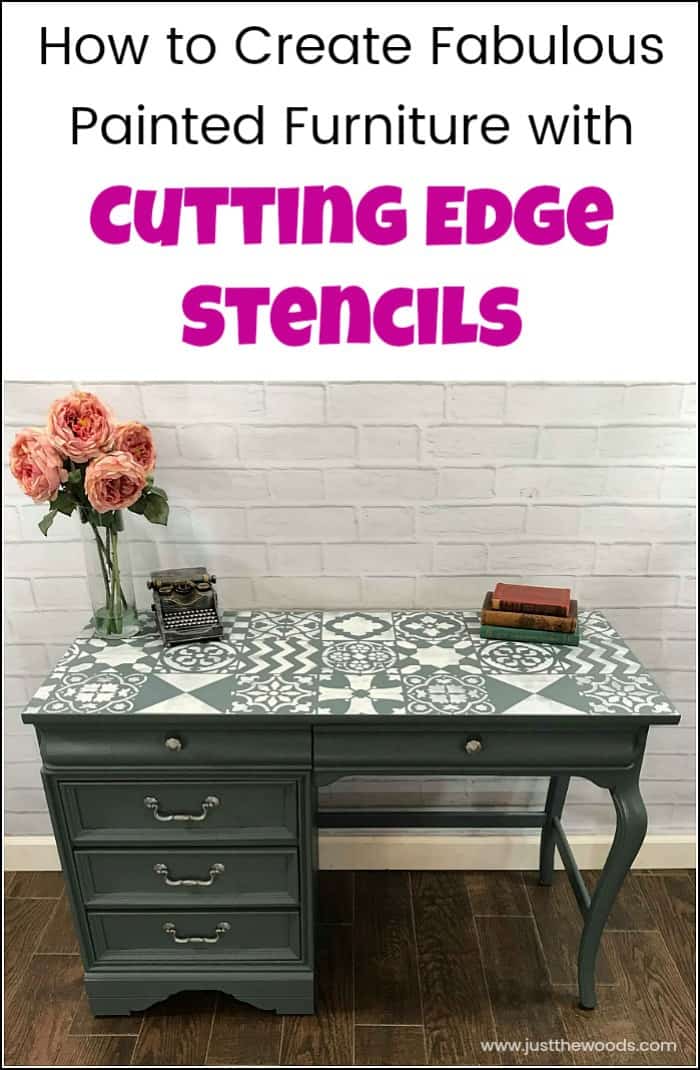
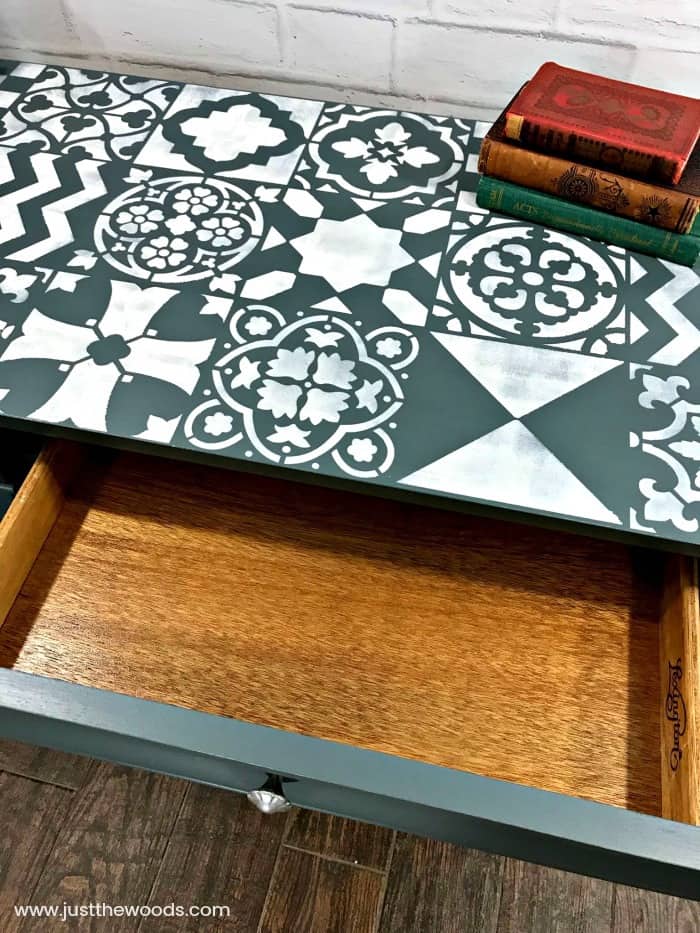
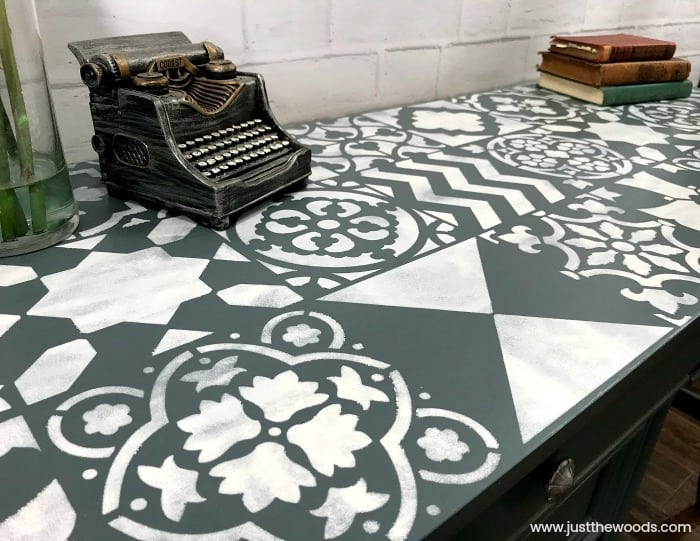
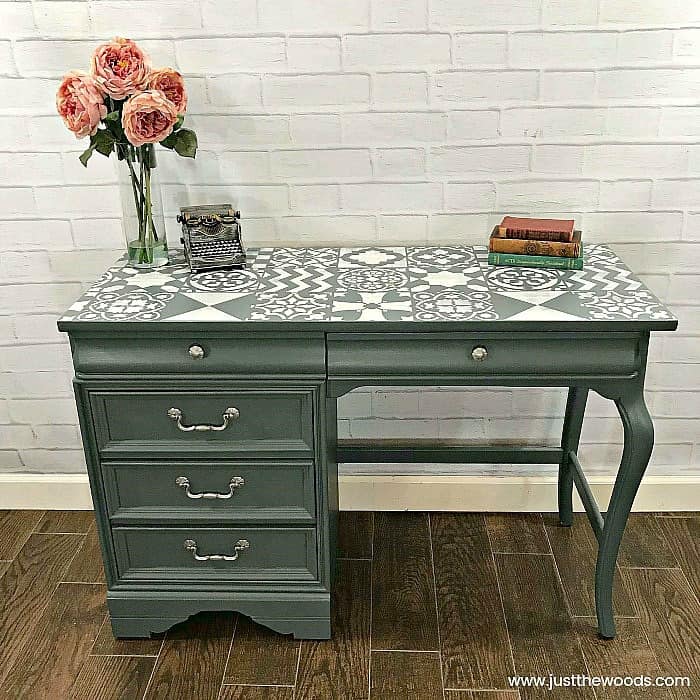
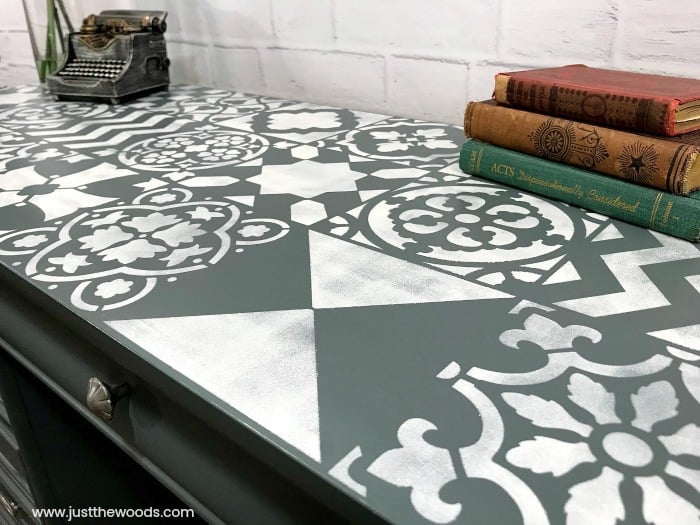
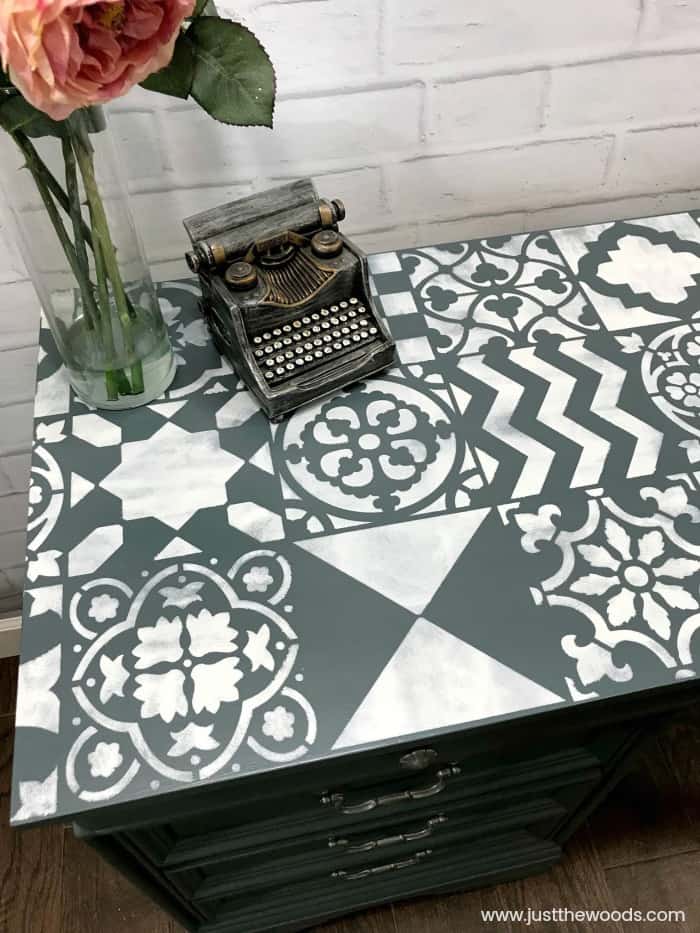
On to the fun part! Now that our desk is painted and sealed we can add a unique touch with an allover stencil from Cutting Edge Stencils. I suppose it’s easiest to call it an allover stencil since we can use it as a wall stencil or a furniture stencil. You can even use these large wall stencils for painting floors and so many other things. This one is an adorable patchwork tile pattern.
You can find these stencils for sale and order them online HERE. You can also check out Cutting Edge Stencils and all of their wall stencil patterns as well as their other awesome stencils online HERE.
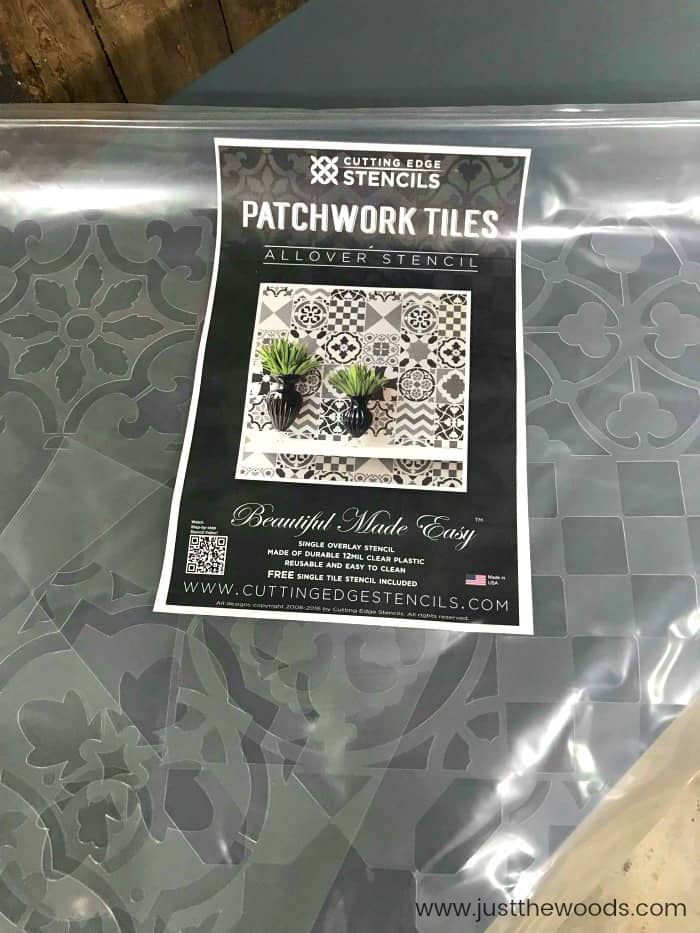
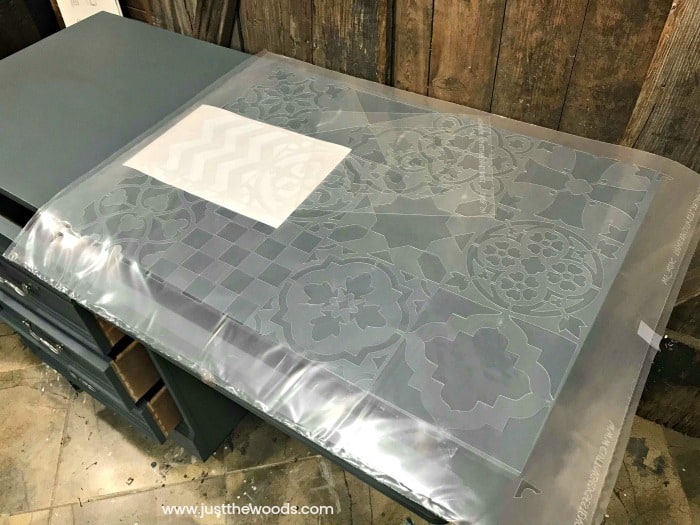
This stencil pattern does come in two sizes, I am using the smaller of the two sizes. The measurements of the smaller stencil pattern just happen to match up perfectly with the depth of the desktop. Win-win! If you are using this to paint a wall I would probably go with the larger size. It’s great to have options.
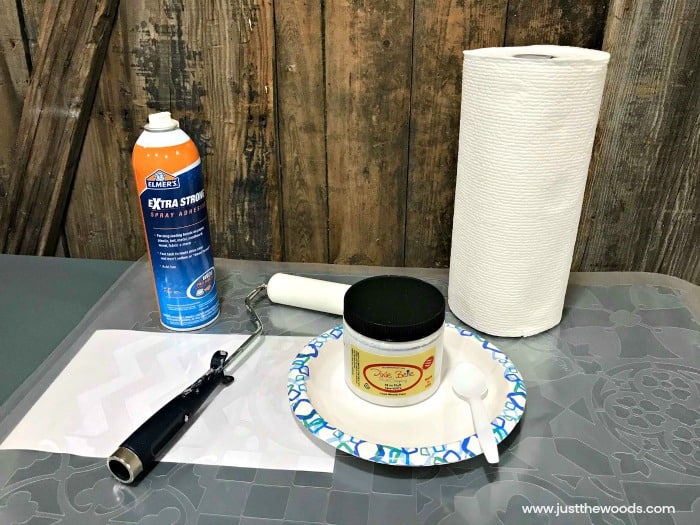
Along with our furniture stencil, we need a few stencil supplies. I go over these more in the video below.
Here is a video tutorial walking you through how to apply a stencil to your painted furniture. These are the best and easiest instructions to avoid that blurry messy end result when you stencil. It’s much easier than you think. 😉
Steps to Using Furniture Stencils with Painted Furniture
Now that you have watched the video, here are the steps broken down:
- Spray the back of your stencil with adhesive spray.
- Line up the stencil and make sure that it even. Use a piece of painters tape if needed as well.
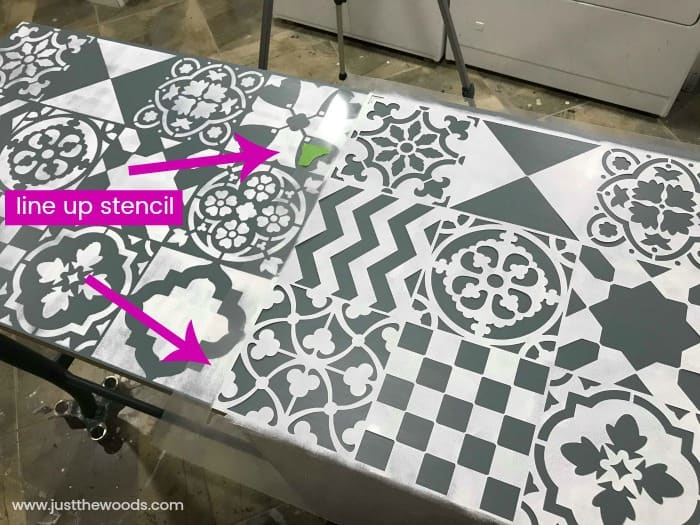
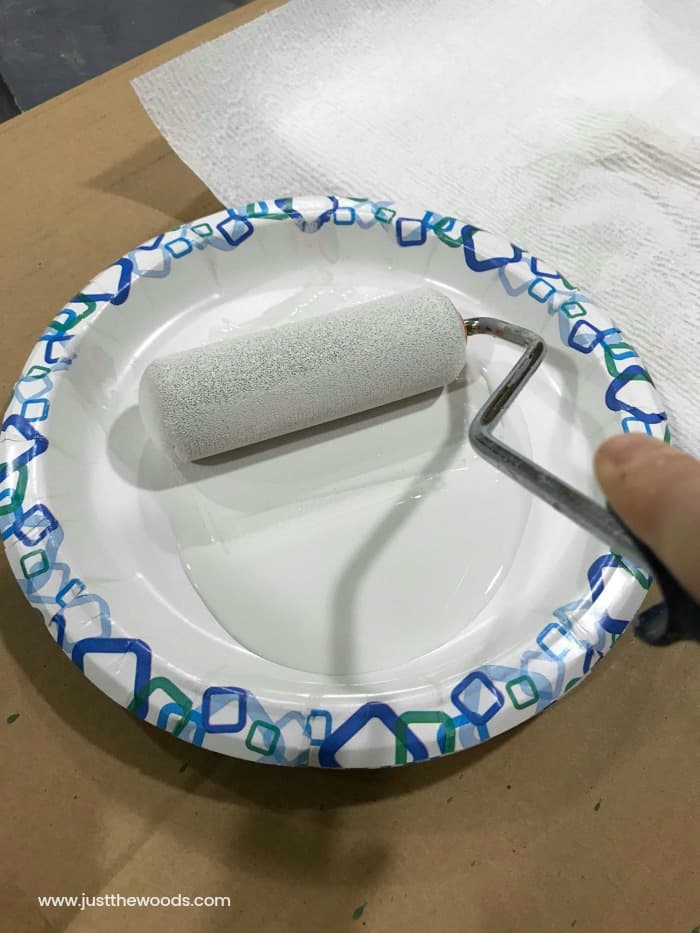
- Scoop your paint onto a paper plate.
- Roll your foam roller in the paint to coat the roller.
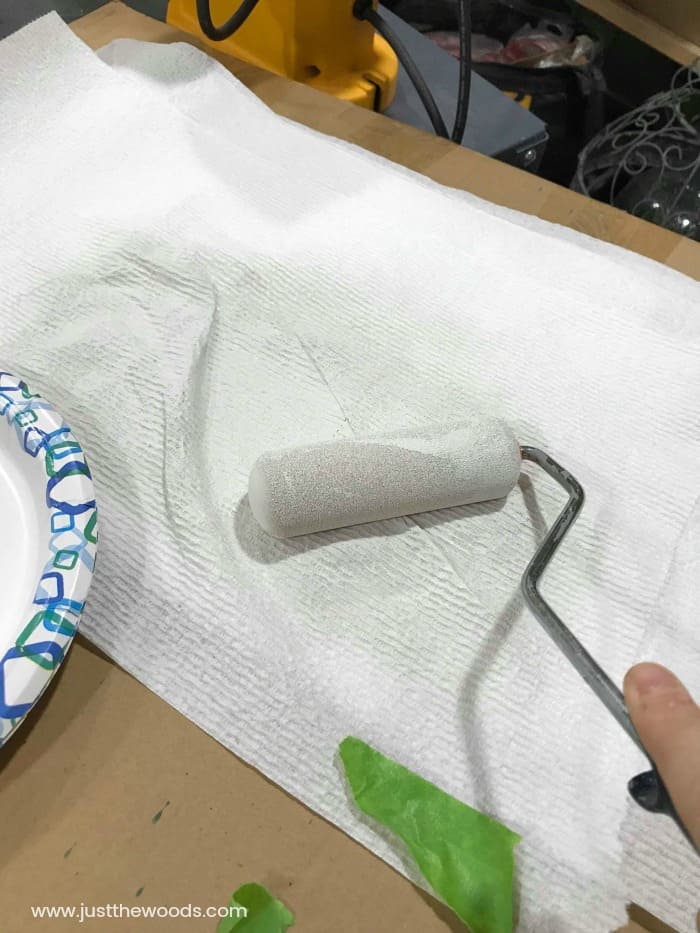
- Next, roll the foam roller on a piece of paper towel to remove the paint. You only want a little paint on the roller. Too much paint will result in a messy stencil design with paint bleed under the stencil edges.
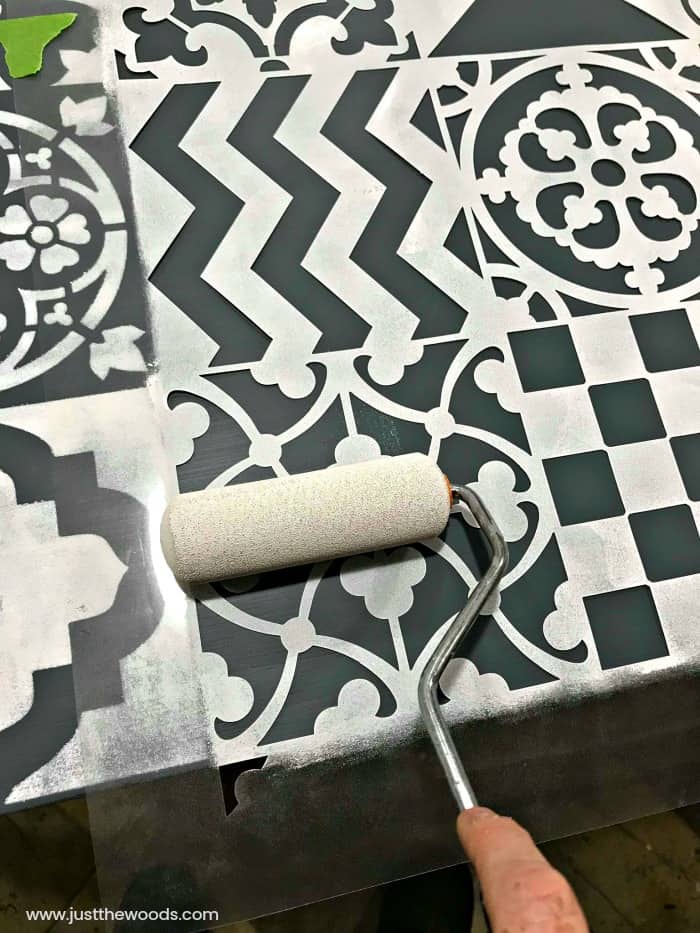
- Gently roll your paint roller over the stencil. The paint should be light. Keep in mind that you can always roll more to make the design darker. You can’t really roll less if you apply too much at once.
Touching Up Your Stencil Design
When I place my stencil down the second time to line it up I accidentally nicked the paint that wasn’t yet dry on the stencil. I’m sure no one would even notice, but I noticed! Have you ever heard of the saying “a man on a galloping horse wouldn’t notice”? Call me crazy but I want to fix this.
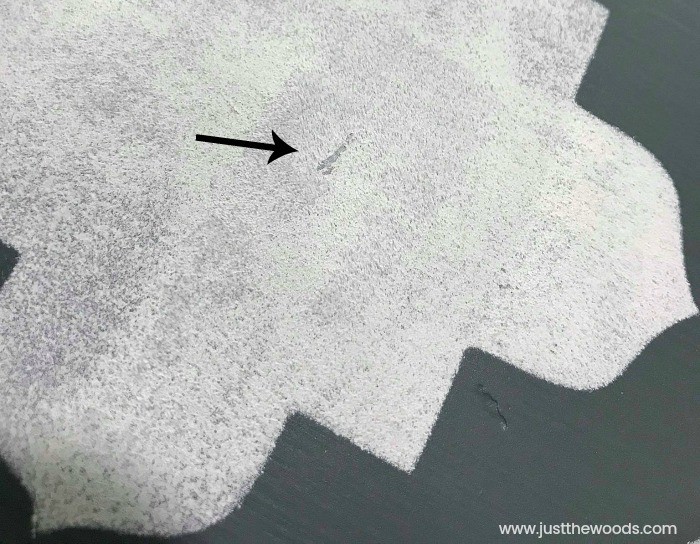
As it turns out, I actually have a really nice set of stencil brushes from Cutting Edge Stencils that are perfect for minor touchups like this. These would also be great for smaller stencil projects. You can get them online HERE.

Since my little boo-boo is small I grab the small stencil brush and dab a little bit of paint on it.
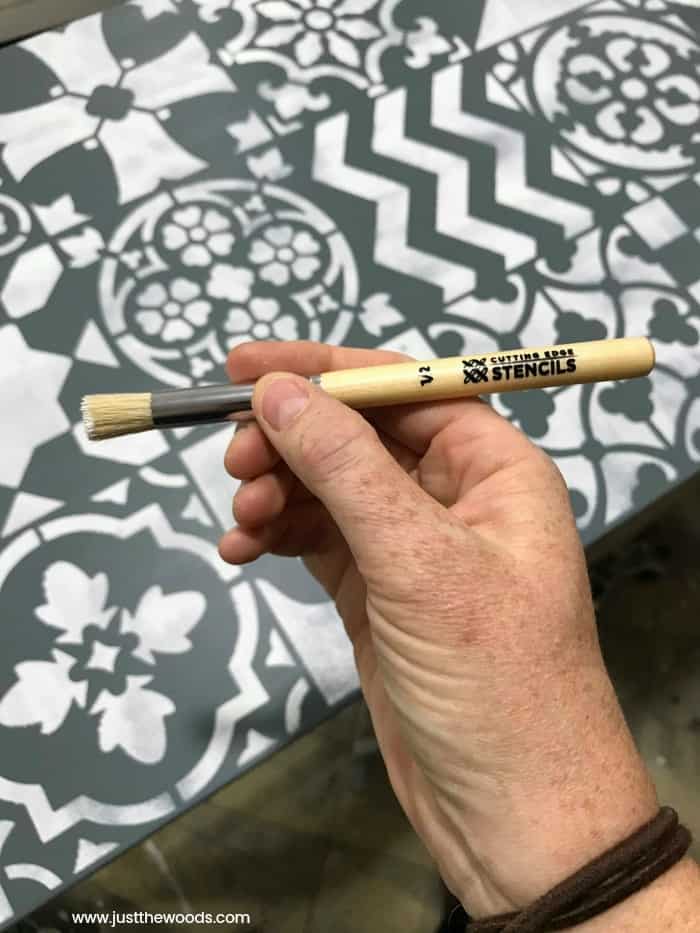
A little dab will do ya. That’s something my grandmother used to sing all the time. I think it was from an old commercial. But it fits. 😉

Finishing Up Your Painted Stencil
Once you are confident that the entire painted stencil area is completely dry you can go ahead and grab a piece of fine grit sandpaper. I am using 320 grit.
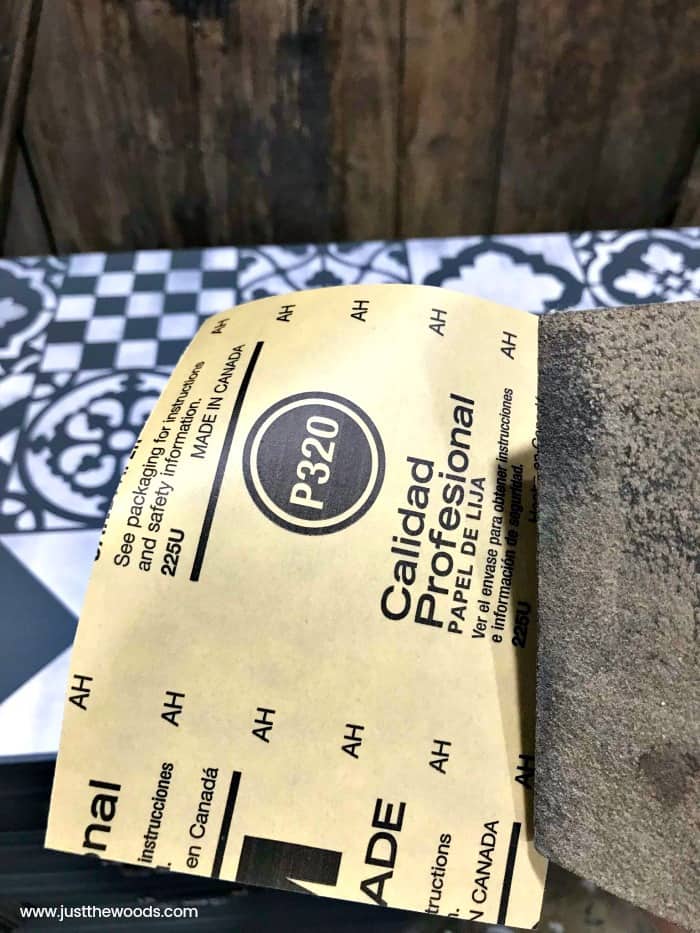
If you have a sanding block, it may be easier to wrap your sandpaper around a sanding block.
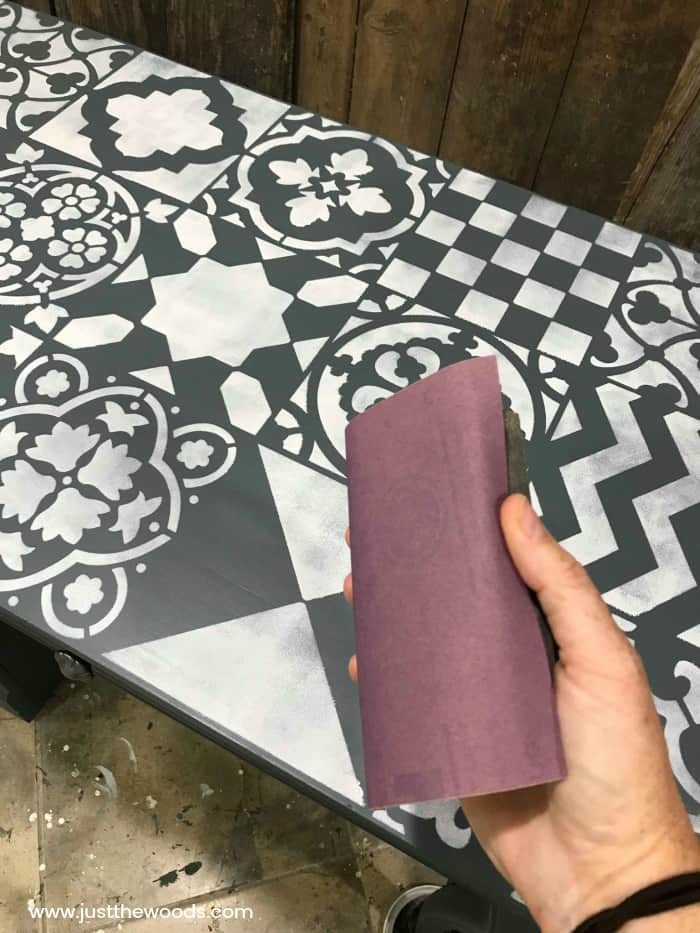
Use your sandpaper to gently sand the entire surface of the stencil pattern. This will knock down any possible bumps and ensure a super smooth finish.
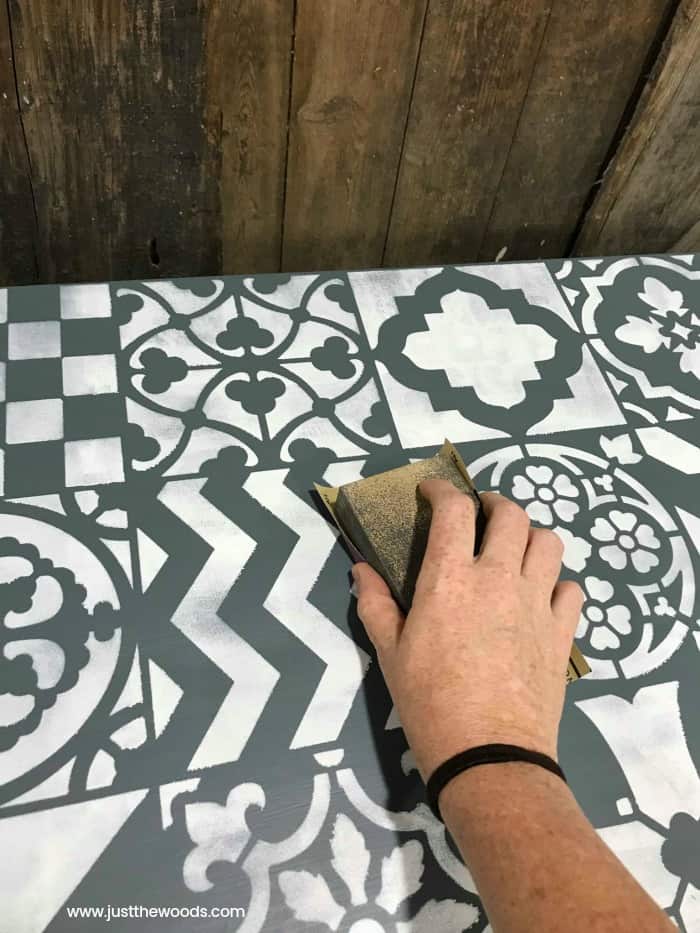
Make sure to remove any dust after sanding by wiping your painted stencil with a lint-free cloth. Don’t forget, we do still need to add a sealer over this masterpiece.
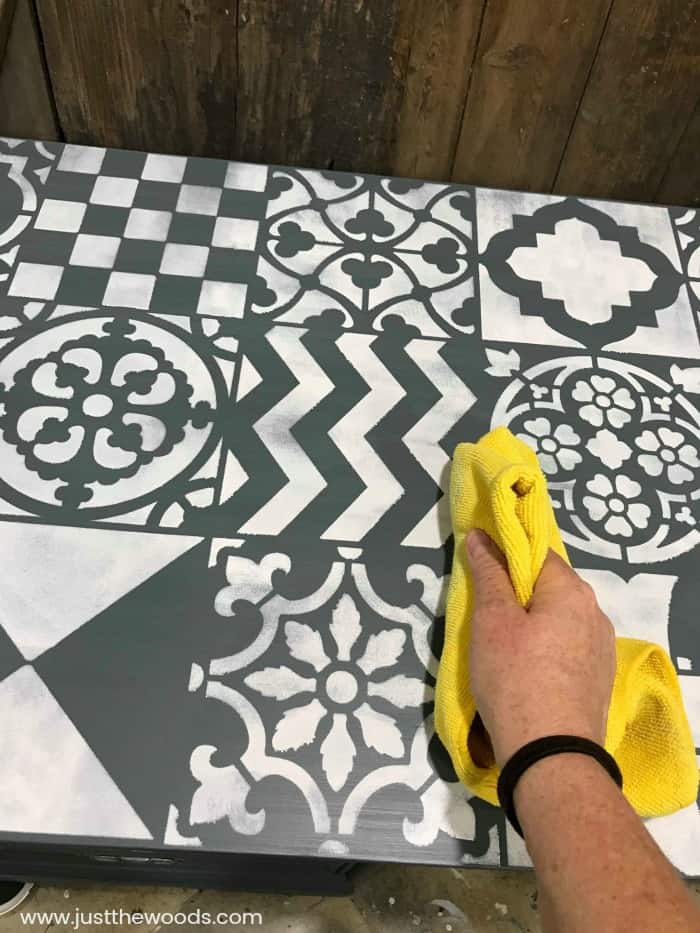
Sealing Your Painted Desk with Stencil Design
Since we already applied our sealer to the rest of the desk we only need to apply sealer over our stenciled paint pattern this time. We want to make sure to protect and preserve this pretty design. I would consider a desk to be a high traffic piece of furniture so I am sealing with Gator Hide. Gator Hide is a waterproof sealer and it’s rather hardcore. I used Gator Hide on the table that my son uses for his Lego projects. If Gator hide can withstand a 7-year-old boy and his Legos then I think it can hold up against almost anything! You can find Gator Hide online HERE.
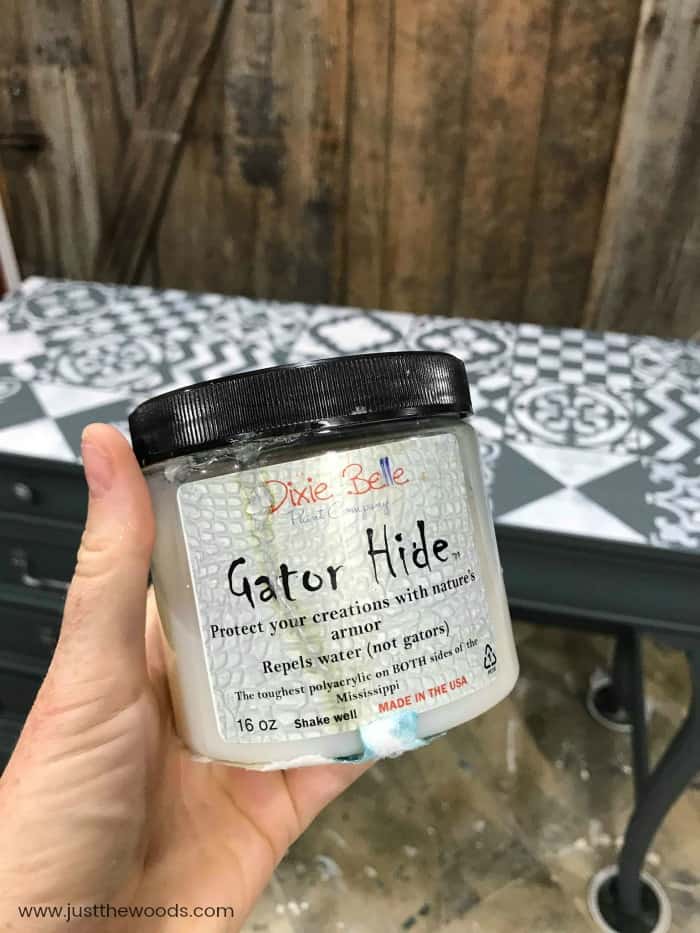
Scoop some sealer onto a paper plate to make it easier on yourself and grab your yellow sponge again. I apply one coat of Gator-Hide, wait for it to be completely dry and then apply a second coat.
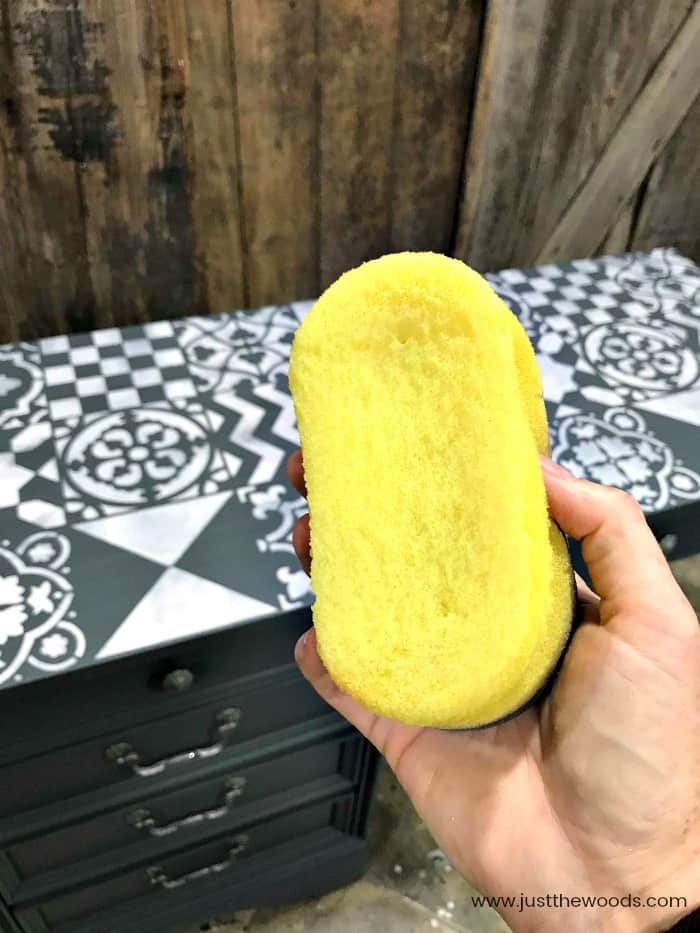
Your painted and stenciled furniture is on its way to being done.
Freshening Up the Insides of the Drawers
Some makeover pieces of furniture come with clean drawers while others come with nasty drawers. But what about those that are in the middle? Or those that are actually clean, but you want to freshen them up? We don’t always have to paint the drawers on the inside to make them as beautiful as the makeover on the outside. But we do have options! This is an easy one! Here is the inside of the drawers of this desk. Not bad, huh?
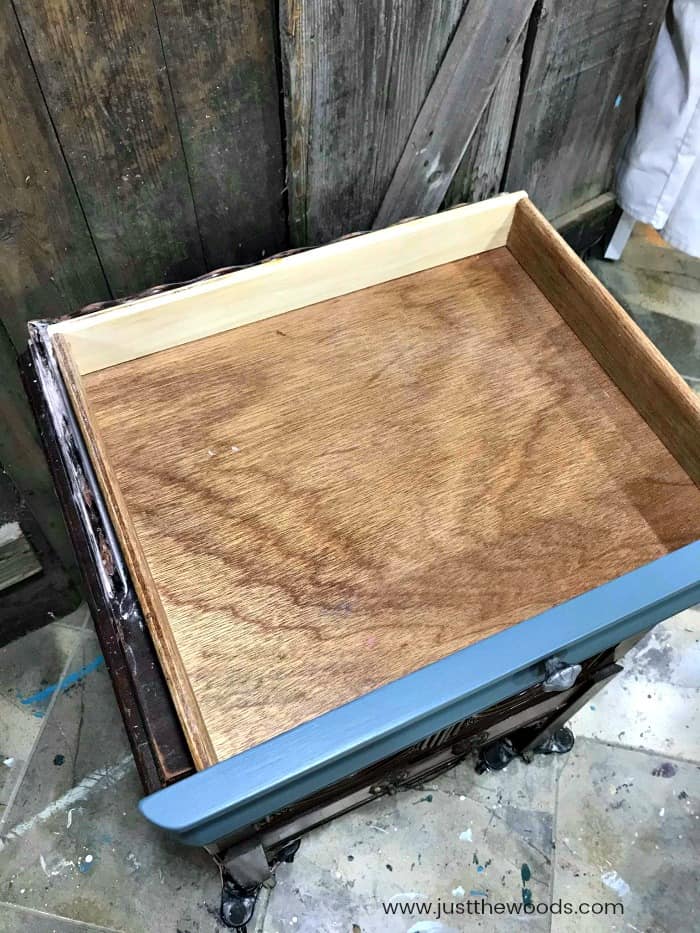
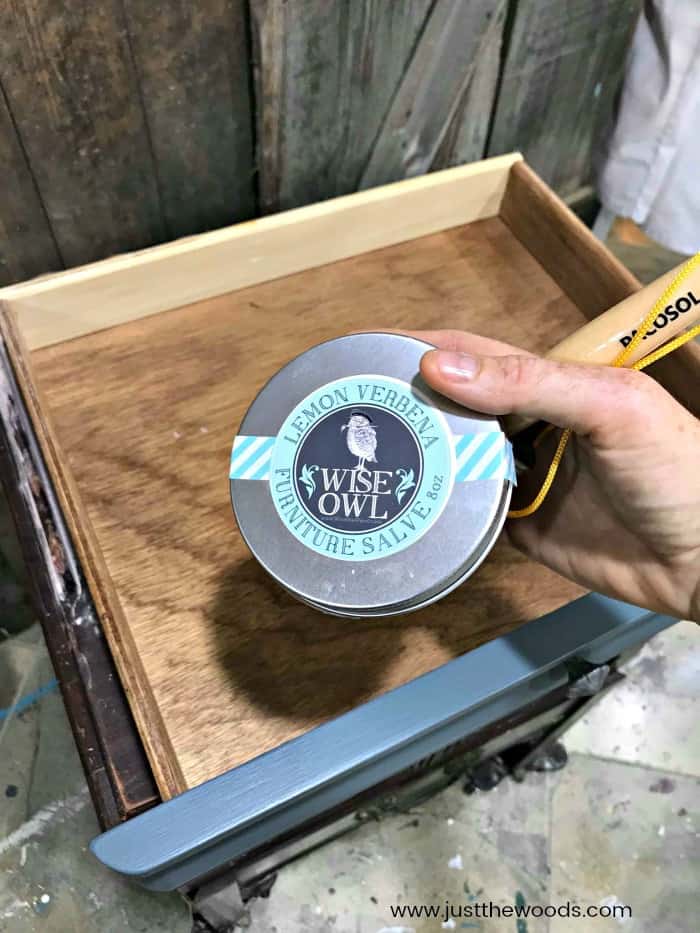
I give the wooden drawer a quick sanding, cleaning and wipe down. Then I freshen it up with lemon verbena from Wise Owl.
Using a different brush than I use for paint I brush the lemon verbena into the wood. I tend to keep this chalk paint/wax type brush specifically for use with the lemon verbena. You can get one here.
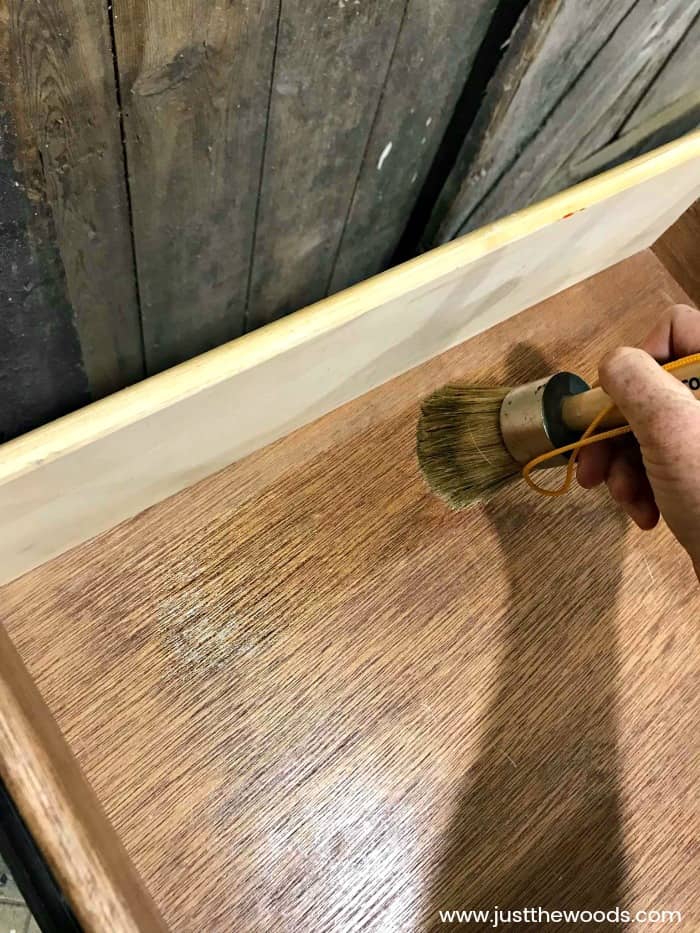
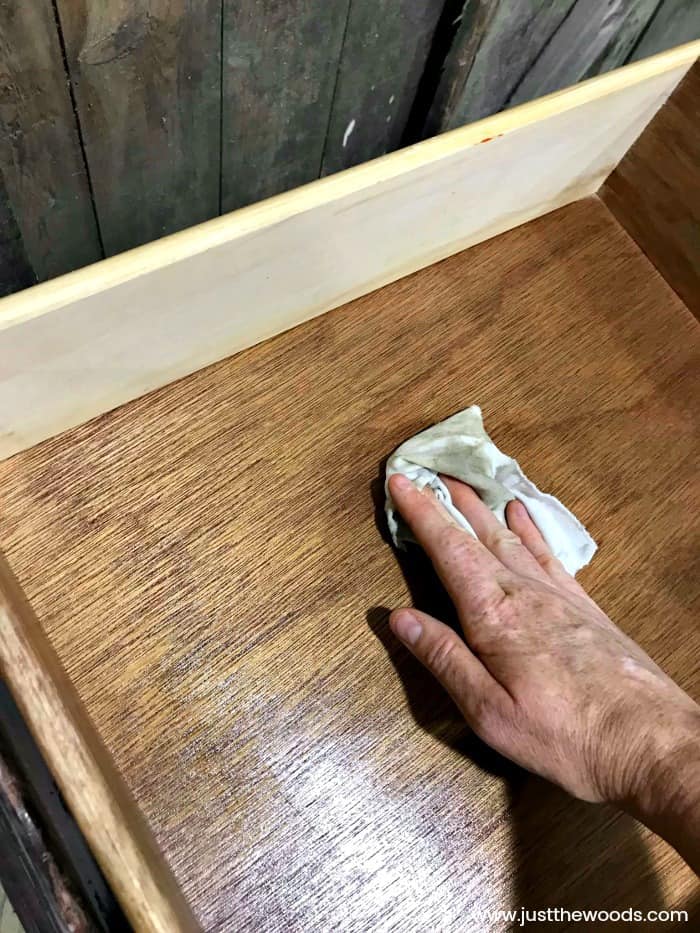
Next, take a clean dry cloth or old T-shirt and rub the lemon verbena into the wood. If you are more visual and prefer video, I have a video tutorial on freshening up your drawers this way here: How to Save Wooden Drawers with Lemon Verbena.
The insides of the drawers look amazing and it takes such a short amount of time and money to freshen up the wood. You can order the lemon verbena salve online HERE. You can also see how I used this to completely restore an antique steamer trunk from Italy here: How to Restore a Steamer Trunk.
How to Clean Your Stencil from Cutting Edge Stencils
Once your project is complete you need to clean up to preserve the quality of your stenciling supplies.
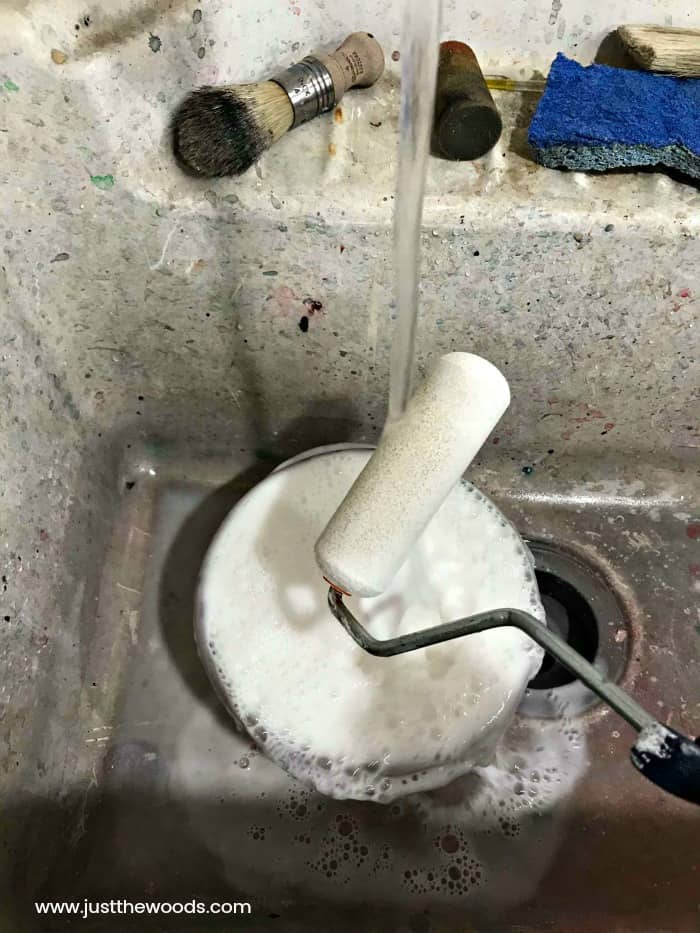
Clean the Roller
First, make sure to clean your foam roller. I literally just run the roller under warm water and squeeze until all the paint comes out. Wet, squeeze, wet, squeeze – you know how it goes. Don’t judge my messy paint sink 😛
Clean the Furniture Stencil
As far as the stencil is concerned I confess that I am a bit rough on my stencils but I do try my best to take care of them. You definitely want to clean your furniture stencil after each use. Otherwise, the paint will build up and become a nightmare to get off. I put my stencil in the largest sink that I have, you can use the bathtub if you must.
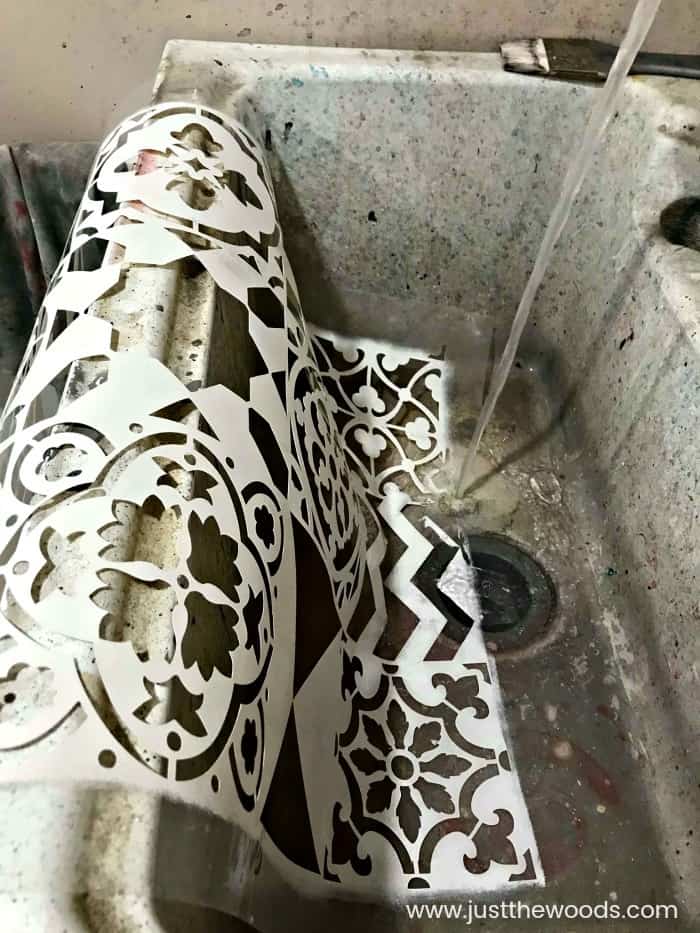
With warm water and a scrubby sponge, you can gently remove the paint from your stencil. Make sure to keep the stencil flat against the flat surface of the sink to avoid bending the small areas of the stencil.
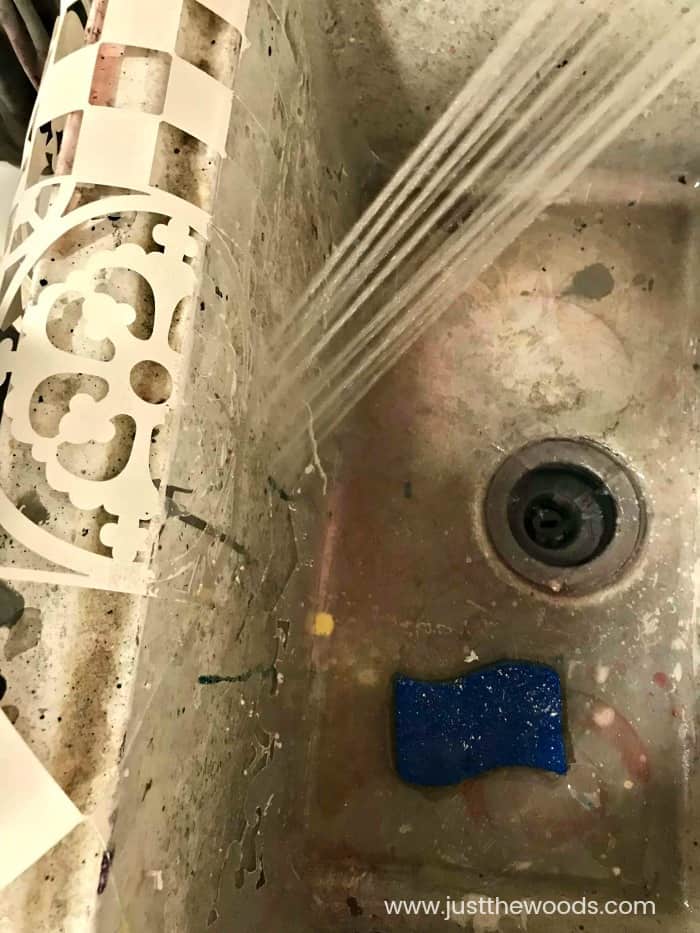
Once you get your stencil clean of paint you can lay it flat on a few pieces of paper towel to dry. Once dry you can store it in the same packaging that it comes in or however you prefer to store your stencils.
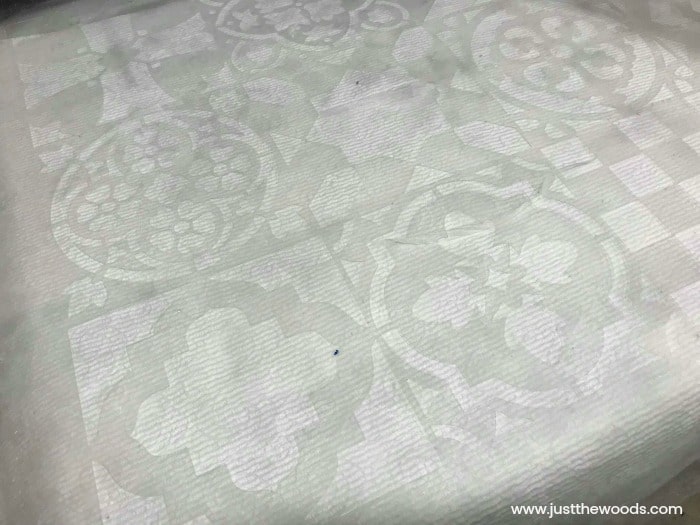
I admit that I have resorted to using Citristrip paint remover in the past when I let a stencil or two get out of hand. I wouldn’t recommend that. It may be considered stencil abuse. If you take care of your stencil after each use or project you should be able to use them over and over. If you are doing a big project, you may want to clean the stencil after 2-3 uses as you go. Since I only used this stencil two times on the desk I did not clean in between uses but I am cleaning now that we are finished.
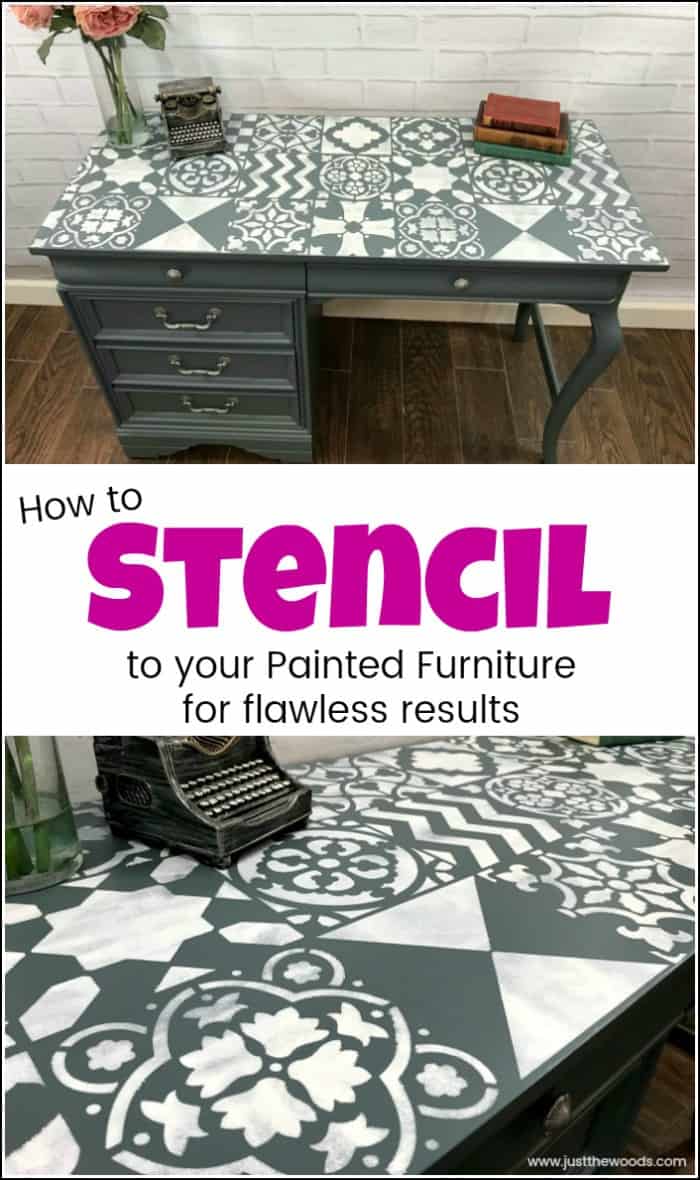
Fabulous Painted Furniture With Cutting Edge Furniture Stencils Result
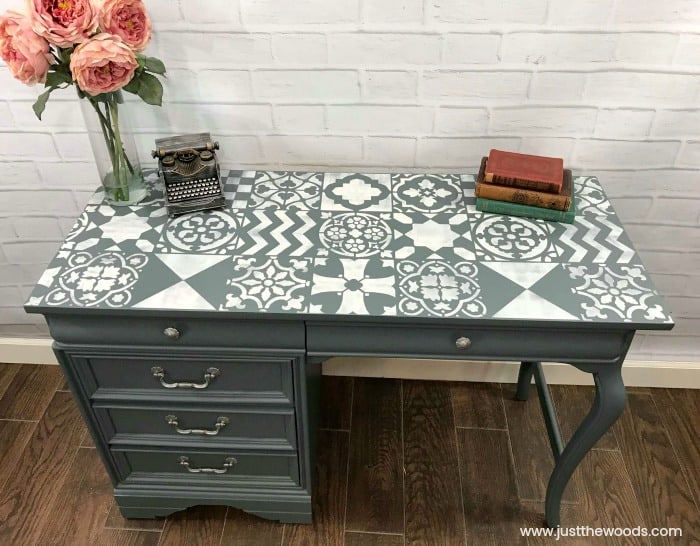
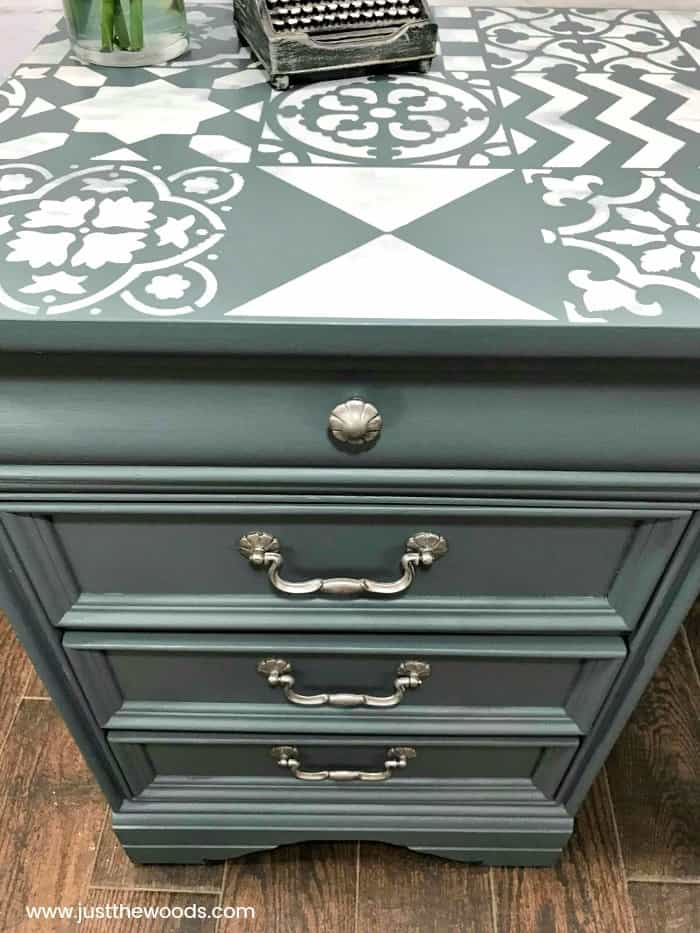
Applying a stencil from Cutting Edge Stencils gives an added uniqueness and wow factor to your project that really makes it stand out. This desk is being donated and raffled off at a local school fundraising event. Click here to see all of my projects that have been donated to support local fundraisers, schools, and charities: Donation Projects.
Click here to Pin this post for later.
Check out all of my furniture projects with over 90 painted furniture makeovers: Stunning painted furniture ideas.
Click here to Pin this post for later.
More Stencil Design Ideas
Painted Furniture Ideas Using Furniture Stencils
Adding a stencil design to your painted furniture gives it a unique charm and character. Here are a few more painted furniture makeovers with furniture stencils added, as well as smaller DIY projects using stencils.
Painted Cedar Chest with Reverse Stencil
Cedar chest makeover using reverse stencil method
Whimsical Painted Furniture
Super fun children's chairs with colorful whimsical stencil designs.
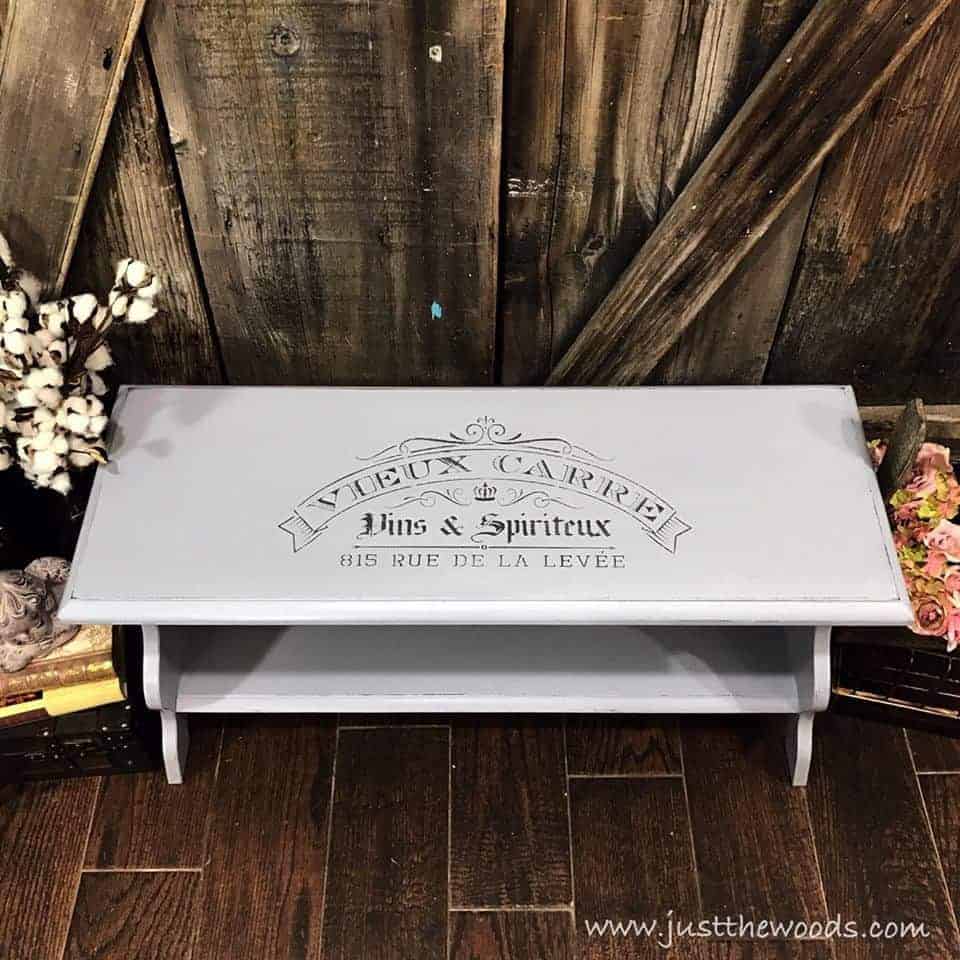
Painted Bench with French Stencil
Simple small bench makeover with a subtle French stencil design
Sofa Table with Stain Top & Surprise Stencil Drawers
The furniture stencil is subtle on this sofa table makeover adding the stencil to the sides of the drawers, only seen when opened.
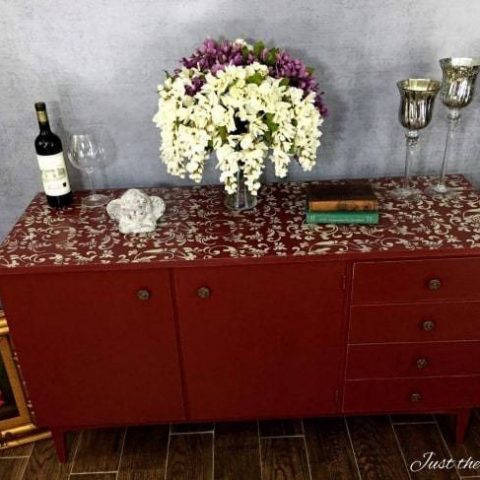
Custom Painted Cranberry Credenza
A bold cranberry red credenza with a pretty furniture stecil on top.
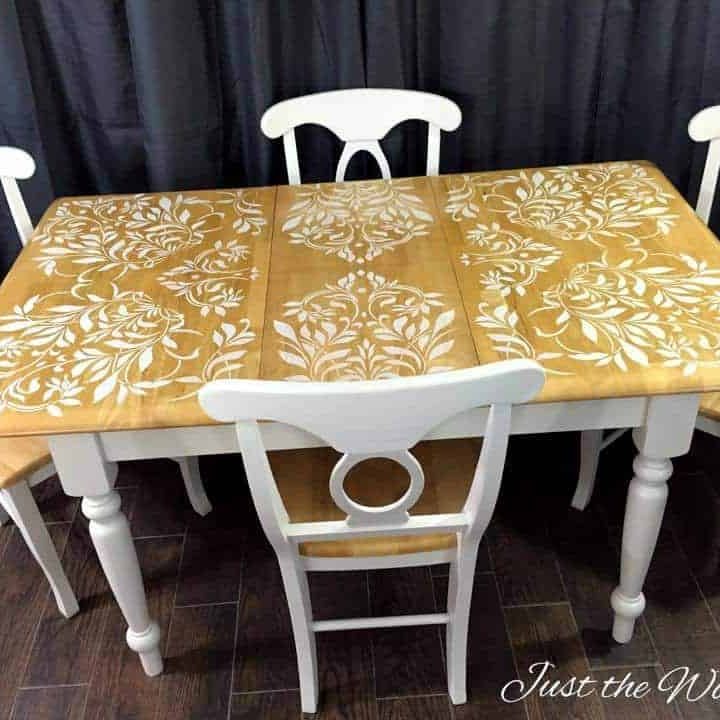
Darling Damask Stenciled Dining Room Table
Painted kitchen table project with a unique stencil design on top.
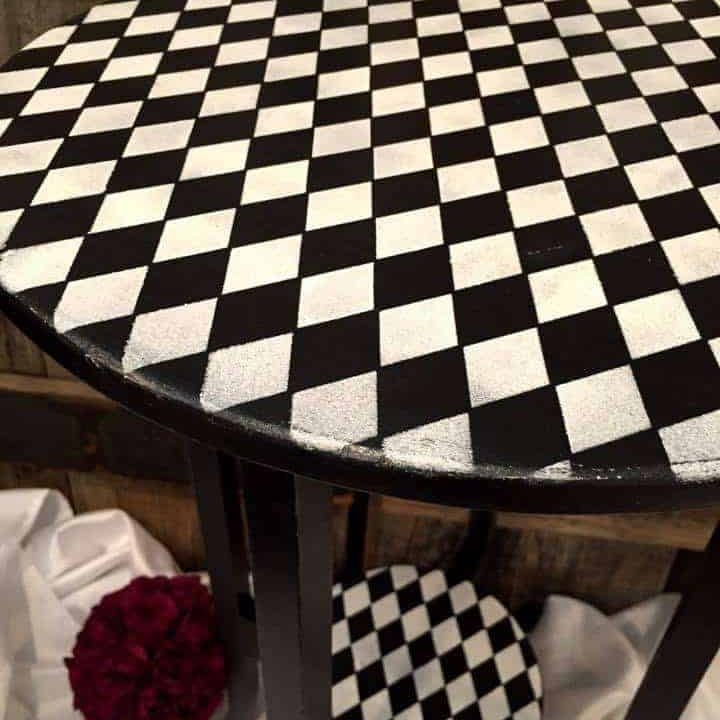
Whimsical Wood Harlequin Painted Table
Black and white harlequin stencil on a small painted accent table.
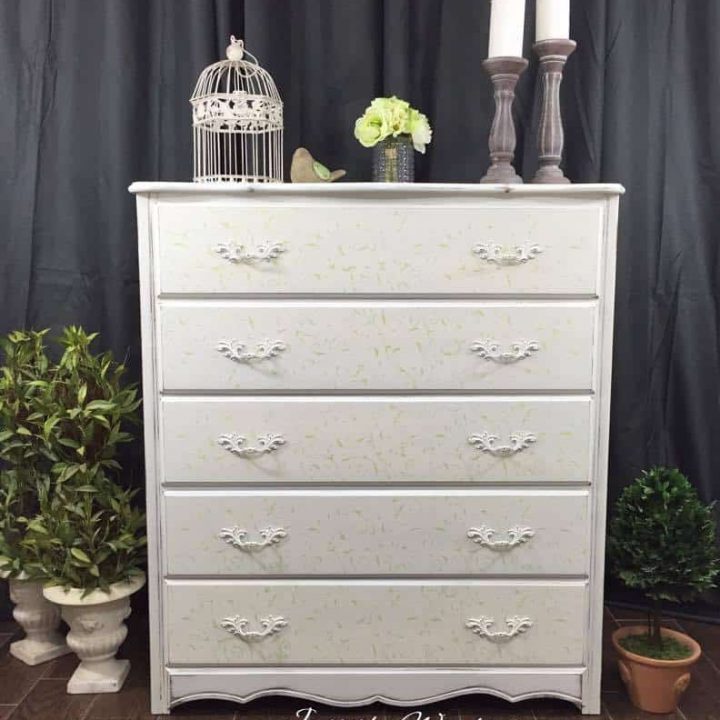
Cottage Chic Painted Dresser with Floral Stencil
Soft green floral stencil design on a shabby chic painted dresser.
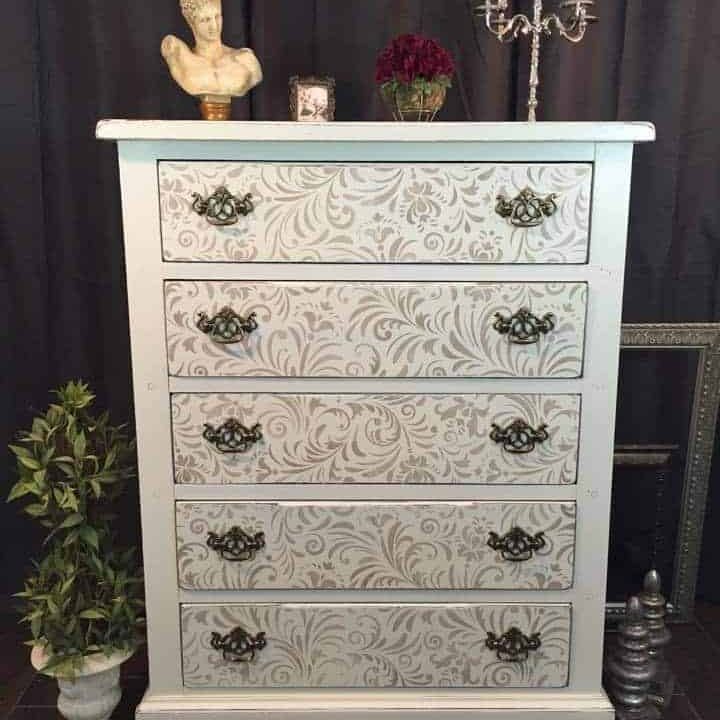
Painted Shabby Chic Stenciled Dresser
Elegant chunky dresser makeover with a soft gold stencil on the drawers.
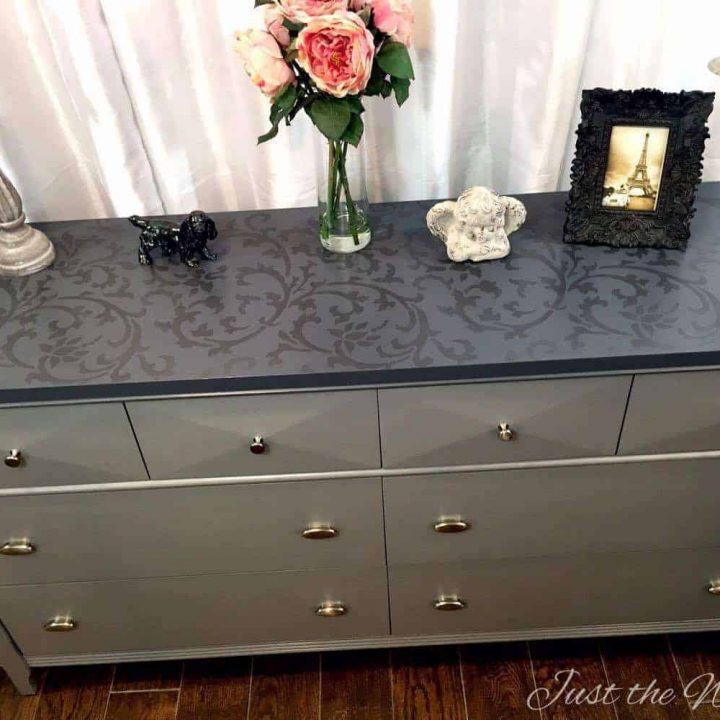
Tone on Tone Stencil top on Painted Dresser
Tone on tone stencil on a painted gray dresser.
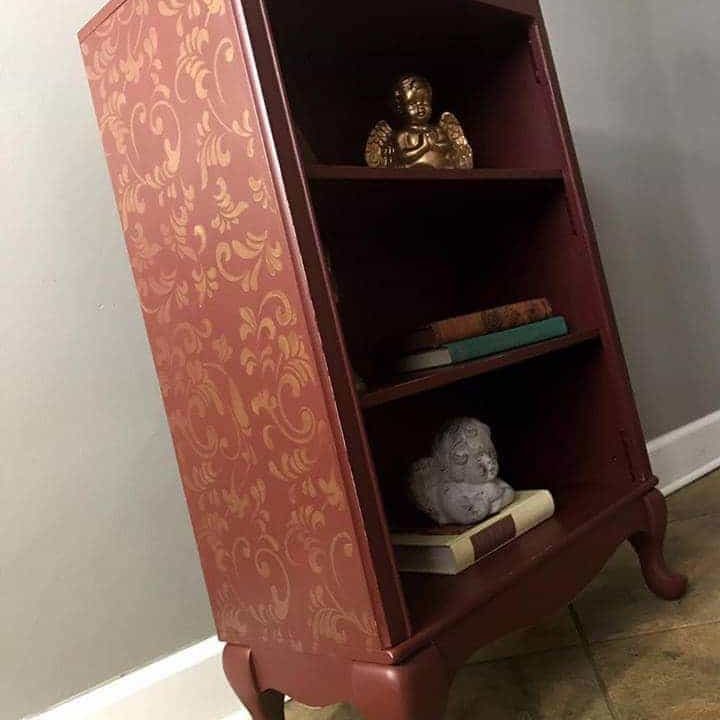
Cranberry Painted Bookcase with Added Stencil
Cranberry bookcase with soft gold stencil along the sides.
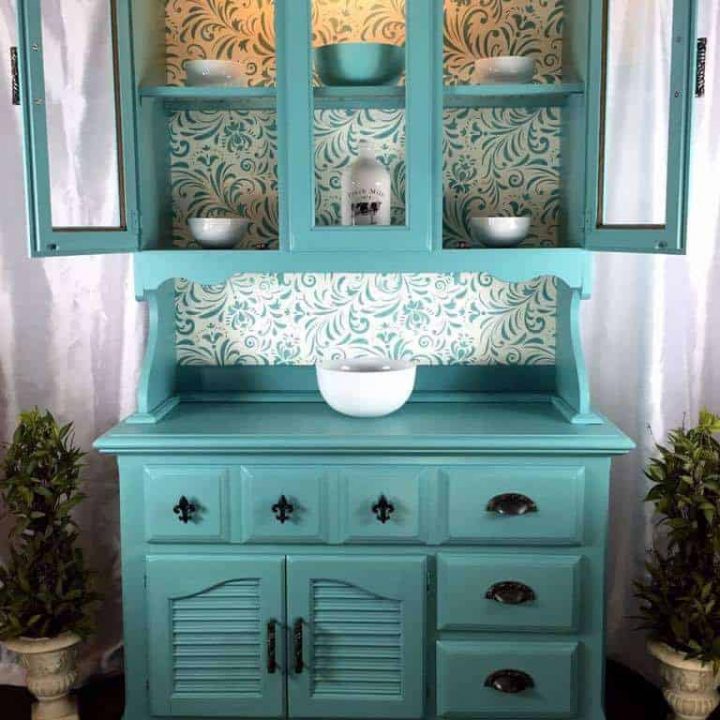
Sea Foam & Stencil China Cabinet
Seafoam china cabinet with an eye catching paisely stencil.
Custom Address Sign Made with a DIY Stencil
A smaller DIY project - custom address plaque made with scrap wood and a DIY stencil.
Coffee Bar Sign with DIY Stencil
Thrift store find turned into a coffee bar sign using a custom DIY stencil.
Custom Address Plaque
Custom address plaque made with a DIY stencil
Wait! Don’t Go! It’s that time of the month again for:
The Furniture Flippers
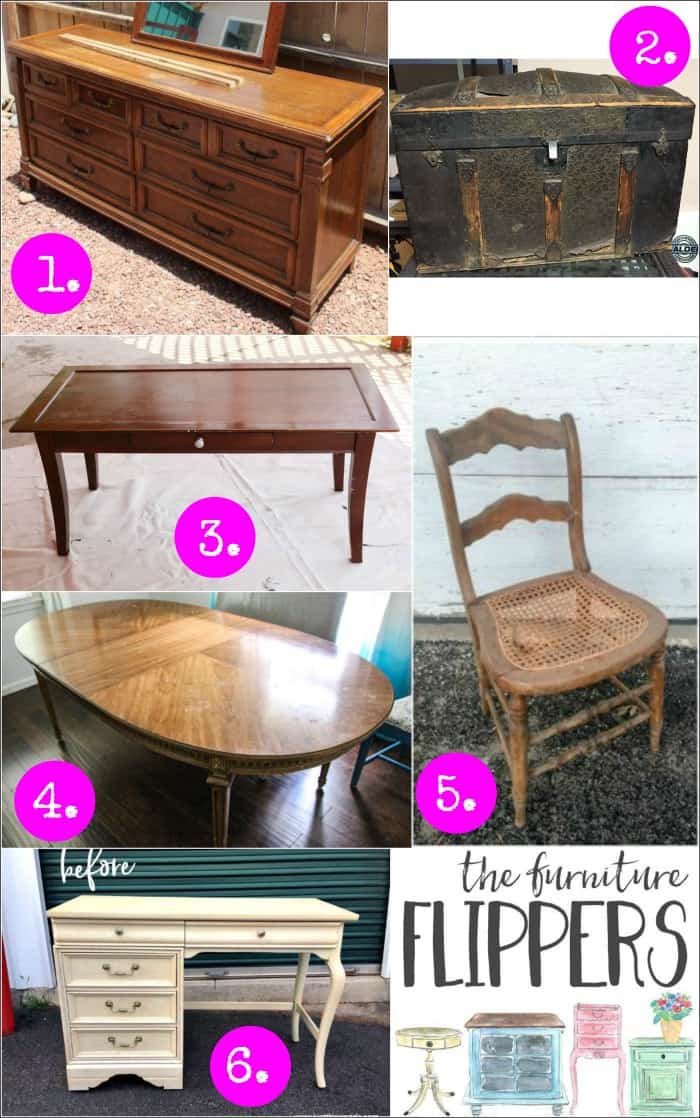
If you have been with me for a while then you know that I participate in a monthly Furniture Fixer Uppers share. That is where a few of my creative and talented blogger friends and I have joined together to share what we are working on. This is another fun group of Furniture Flippers and we will be sharing on the 1st Thursday of each month to bring you even more great furniture makeovers. DIY projects and furniture makeovers are more fun with friends anyway, so the more the merrier, right? Let’s see what my friends are up to! Make sure to click the link above the image to see each makeover. You can also check out all of the monthly DIY blog hops and groups that I participate in along with who the other great bloggers are here: Best DIY Blogs
- The Best Way to Get Cheap Rustic Furniture by Thirty-Eighth Street
- Restoring an Antique Steamer Trunk from Repurpose and Upcycle
- The Coffee Table Flip that Did Not Go as Planned from A Fresh Squeezed Life
- Refinish a Worn-Out Dining Table from Lovely Etc.
- How to Fix a Chair with a Broken Seat from Refresh Living
- How to Create Fabulous Painted Furniture with Cutting Edge Stencils from Just the Woods (you are here)
Don’t Forget – Follow Just the Woods and Share this post to Inspire others:
FACEBOOK * INSTAGRAM * PINTEREST
Stay connected! For more tips and tricks sign up here : [mc4wp_form id=”1340″]













Lindsey Manning says
What an amazing transformation! I love how the stencil really gives it dimension.
Carrie says
I love that you painted this desk twice! That’s the magic of paint. If you get tired of looking at a piece in a certain color scheme- it’s a quick fix to change it! Great tutorial, Kandice!
gwen says
I love the new, solid color and the quilt-like stencil. the lemon verbena will smell tons better than the Brylcreem (a little dab will do ya!)!
Teri says
This is super pretty! Love the finished piece, great job!
Alanna says
Love the design on top. So pretty!!
Maya says
This truly is fabulous! Love the color combination that you chose!