A custom Address Plaque is easier than you think.
Would you like a custom address plaque for your home? Whether you have numbers on your house or your mailbox, somehow you need those numbers on your home. Why not go ahead and make your own custom address plaque? It’s easier than you think. You can get as creative as you’d like or keep it simple. click here to see the personalized address sign on our cabin in the mountains: DIY Address Sign. Today I will show you how easy it is to make your own house number sign in just a few simple steps.
Disclosure: This post contains affiliate links for your convenience. Click here for my full disclosure policy.
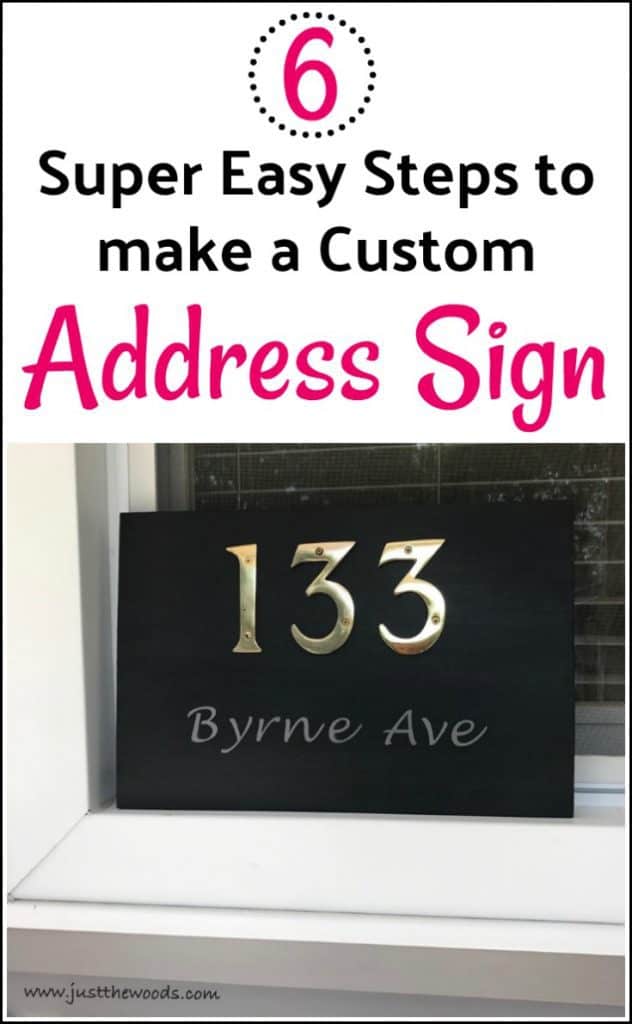
6 Super Easy Steps to Make a Custom Address Plaque
Materials Needed / Source List
- Scrap piece of Wood
- House Numbers (I used the heavy brass kind)
- Foam Pouncers
- Cricut Machine (I have the Explore Air)
The Sad but True House Number Situation
Just a quick heads up as to what provoked this project. Our house recently got new siding due to wind damage. In the process of adding new siding to the house, the old numbers were removed leaving our home ‘numberless’. This could make pizza delivery very difficult for the delivery guy. I managed to get brass numbers for the house but as you can see they literally sat on the window sill still in the packaging for a while. This made things a little easier for the pizza delivery guy but still not quite what I have in mind for the front of our home. 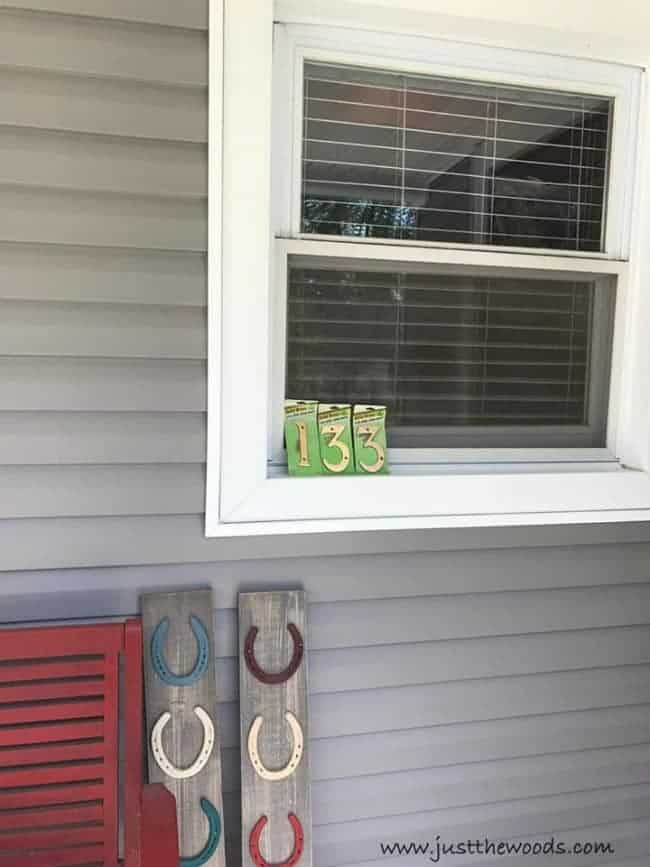
I’m embarrassed at how long this stayed like this. If you love the idea of a custom address plaque but would rather not do the work yourself, you can find them online HERE.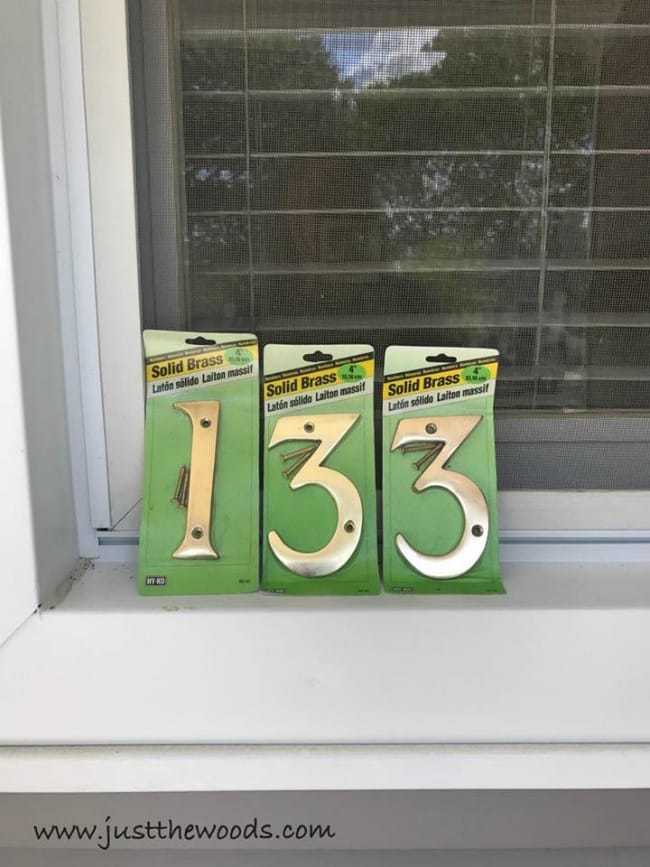
Painting a DIY Address Sign
The first step to creating your own custom address plaque is to find a piece of scrap wood. It can be leftover from a previous project or a random piece of wood that has been sitting around. This piece of wood was sitting around in the basement, so I scooped it up. 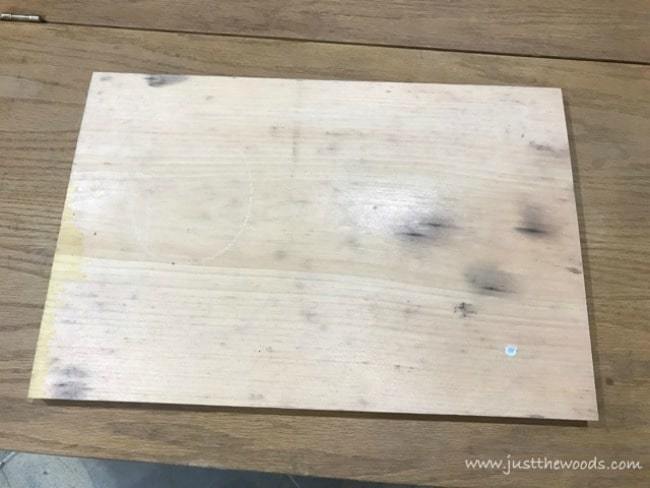
Next, sand the edges smooth and grab your paint. You can find great quality furniture paint online HERE. An added bonus, when painting furniture, you want to make sure to use a quality non-toxic furniture paint. 
Time to Make a Custom Stencil for Your Address Plaque
Head on over to your Cricut machine, choose a font and create a stencil for your house address sign. You can find many other stencil projects for inspiration by clicking here: STENCIL, or here if you prefer strictly Cricut projects: CRICUT. 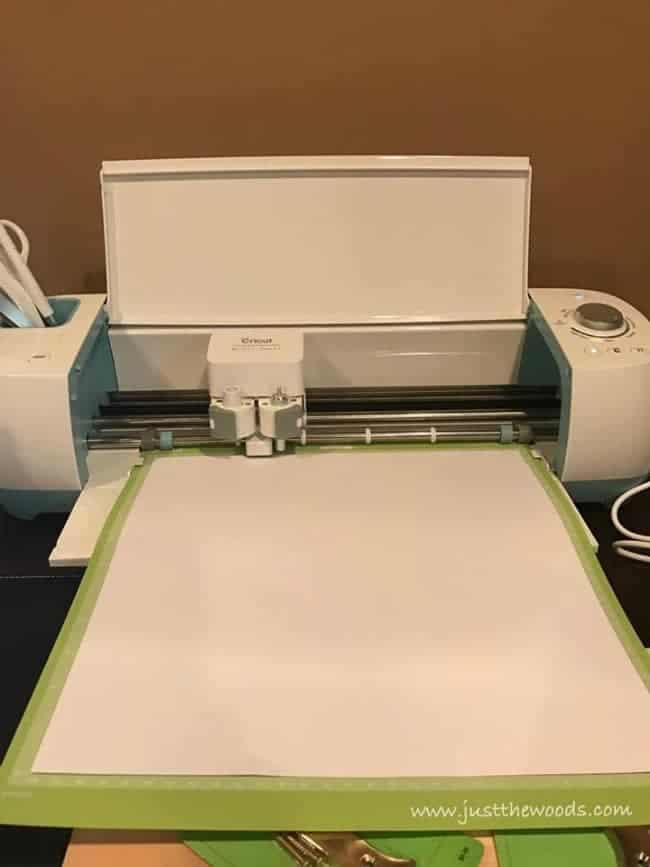
Once you have your custom stencil tape it to your painted sign. Make sure to measure for accurate placement in the center. It would be a good idea to place your brass numbers on the address sign to make sure that the sign as a whole has proper spacing.
Using your foam dabber, apply a very small amount of paint to your stencil. This stencil is applied in a gray paint. This gray seems to be the closest gray to the gray siding on our home. Make sure to seal the paint with clear sealer after the paint dries. 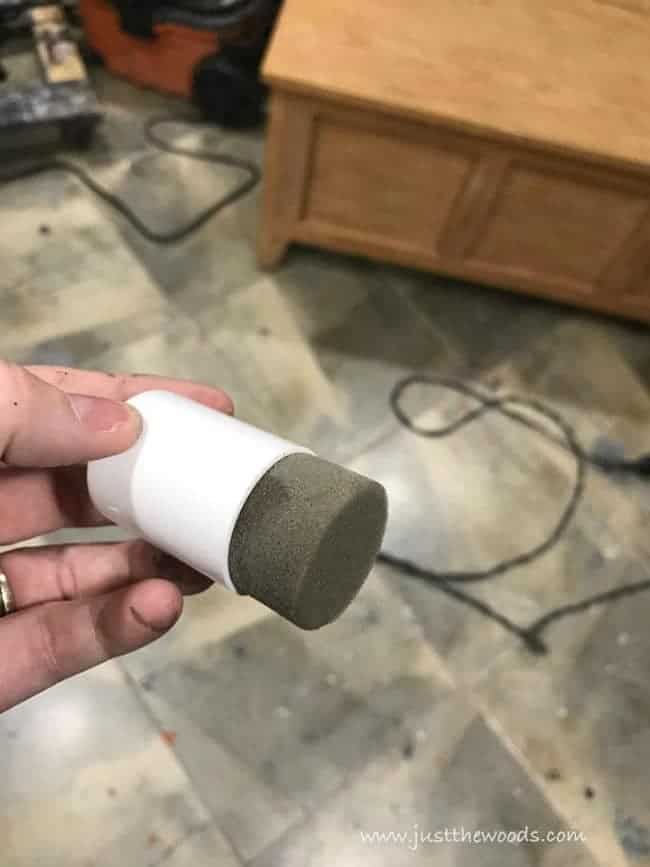
Adding Custom Numbers to DIY Address Plaque
Take those brass house numbers that sat for way too long on the window sill in front of the house and screw them into your painted address sign. 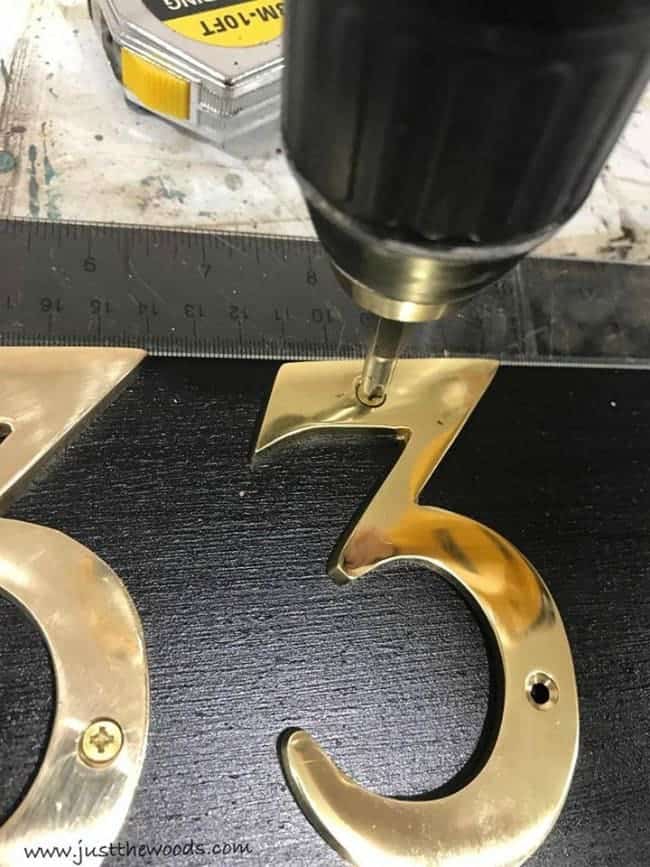
Your custom painted and stenciled address plaque is complete. 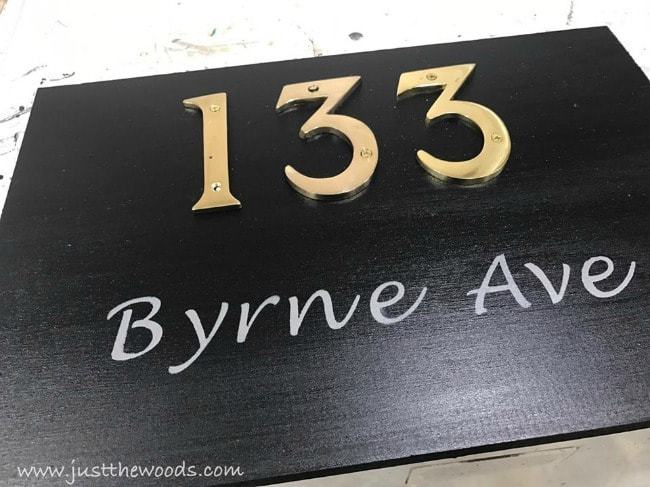
For a more detailed tutorial on adding stencils to your painted furniture makeovers make sure to check out How to Stencil Painted Furniture. There’s even a video included in the post. 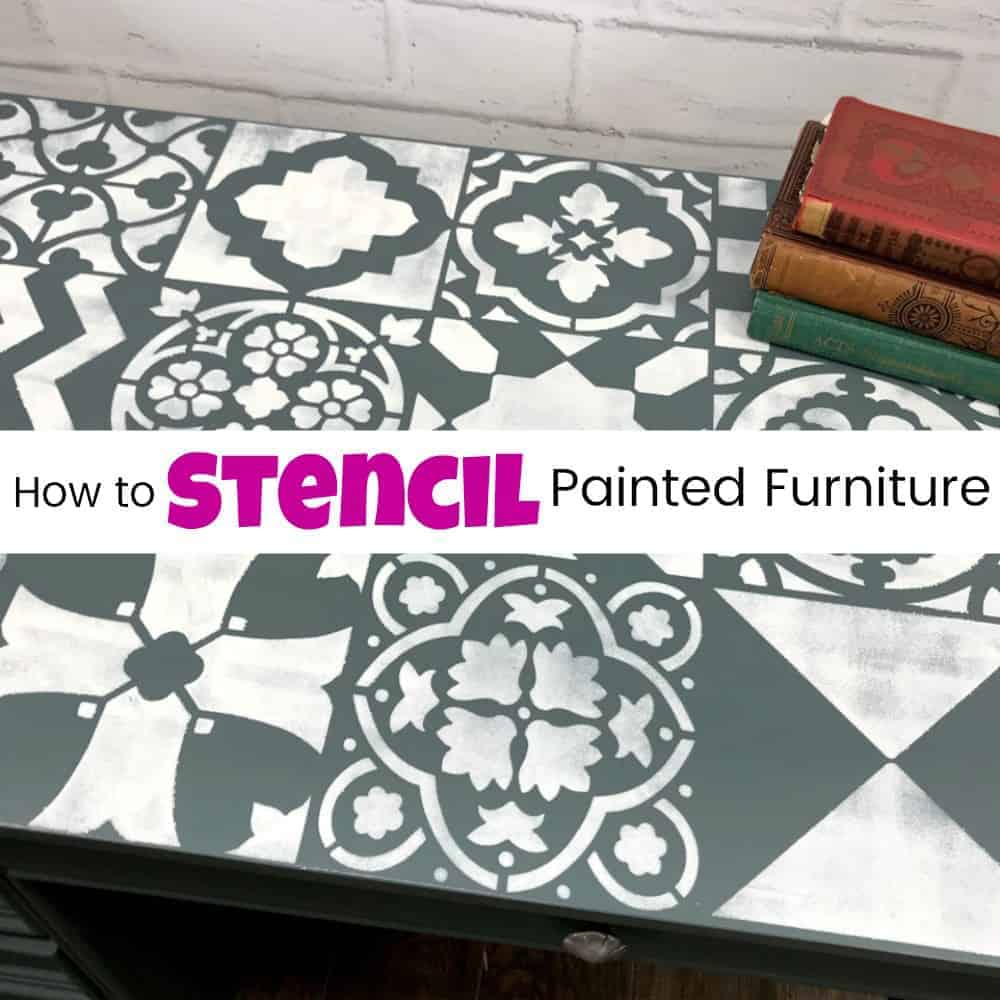
6 Simple Steps to a Custom Address Plaque:
- Gather scrap wood
- Paint wood
- Create Stencil
- Apply Stencil
- Seal Paint
- Screw in Numbers
The black paint on the DIY sign matches the black painted mailbox, while the brass numbers match the hardware on the painted mailbox. The gray matches the vinyl siding, leaving the bulk of color to the red painted bench and the weathered wood and painted horseshoes. From the street, eh hem, from the view of the pizza guy’s delivery car, you can clearly see the house numbers which is the intention. The street name is merely added for a decorative touch.
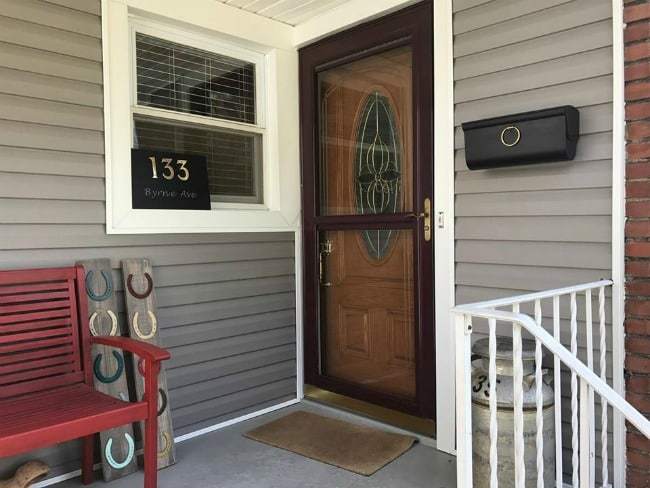
For now, the address sign sits back on the window sill until we decide where to put it permanently. Sometimes, it sits on the red bench too. 😉 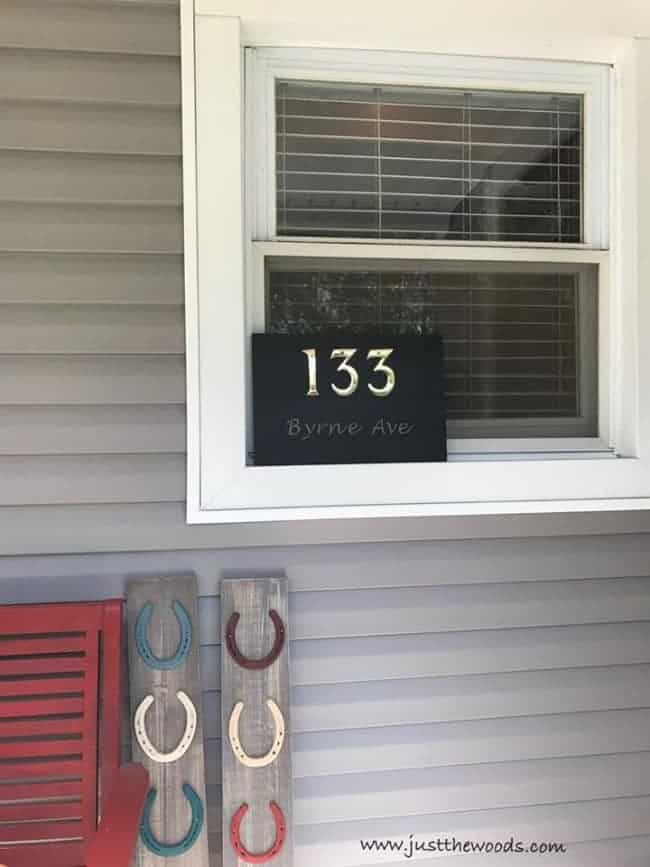
I’ll be sharing this post at these fabulous link parties.
Don’t Forget – Follow Just the Woods and Share this post to Inspire others:
FACEBOOK * INSTAGRAM * PINTEREST
Stay connected! For more tips and tricks sign up here : [mc4wp_form id=”1340″]


Leave a Reply