How to Create Bling Furniture with Glitter and Paint
How to add glitter to painted furniture. A vintage desk makeover is given a glam makeover with glitter, crystals, and a swanky leopard print decoupage. Create Bling Furniture with Glitter and Paint
Are you a Glitter lover? a Fan of Glam? Love Animal Print? Glitter? Rhinestones? Bling?
If you answered yes, then this post is for you! This vintage kidney shaped desk used to be a vanity and had been hidden away in storage for years wrapped in plastic. It’s now time to drag this pile of wood out and make it glamorous! This vintage desk will be transformed into a glitter gold desk by adding glitter as well as adding stripes. 
Disclosure: This post contains affiliate links for your convenience. Click here for my full disclosure policy.
Materials Needed
- Bling Rhinestones
- Fine Craft
- Mod Podge
- Craft Glue
- Frog Tape
- Felt Liner
- Xacto Knife
- Cutting Mat
- Hardware
- Wood Glue
- Clamps
Staging / Home Decor
- Wire Mannequin dress form
- Black Ornate Picture frame
- Vintage Style Suitcases
- White Brick wall Backdrop
- Mercury Glass Candle Goblets
The Before – Vintage Desk with Damage
This vintage kidney desk literally came to me in pieces.
 In addition to it being dropped off in pieces, it also appears to have been used as a chew toy at one point in time. This needs to be addressed. This isn’t the only makeover with dog bite damage, to see another project that had been used as a chew toy check out the Pineapple Painted Pedestal Table.
  We can’t create glam furniture with these major imperfections. So this piece spent some time in the repair stage, between the chewed legs and other areas requiring wood glue and clamps.
Along with prepping the desktop and drawer, the legs would be filled and sanded so that the chew marks are nothing but a memory. 
New to painting furniture and not sure where to start? Start at the beginning with How to Paint Furniture – a Beginners Guide.

The Process – Painted Kidney Desk
With any painted furniture project, the painting is always the first step after prep. The added details no matter what they are will come next. So, to get started then entire piece is painted in a creamy vanilla color.
Following the paint, the piece is then given a subtle metallic finish, which as you can see is not just for hardware. The metallic paint creates the perfect start to our bling furniture makeover.
For another metallic painted furniture makeover check out How to Make Furniture Glamorous with Metallic Paint.
Adding Stripes to Painted Furniture
Spacing was measured and taped to add the stripes!
Using frog tape, equal spaces are measured, marked with pencil and taped.
This step is used for all four sides of the piece to create clean, crisp stripes. The stripes were painted in a darker golden color. I hope you like gold furniture.
Leopard Decoupage on the Drawer
The drawer front is painted in vanilla while the inside is painted in the darker golden yellow. A swanky leopard print was decoupaged onto the drawer front. Because if you want bling furniture you may as well go big or go home and add leopard decoupage! 
Inside the drawer was a bit worn and had seen better days so I used my cutting mat to measure out a new liner. Black felt was added inside the drawer bottom.  On the outer edges of the drawer front as well as the center area, I’ve added sparkle with gold glitter.
The original wooden knobs were replaced by unique handcrafted art glass knobs from D. Lawless Hardware. Three-dimensional black onyx glass center overlaid with gold and silver leaf are the perfect bling knobs for this drawer. 
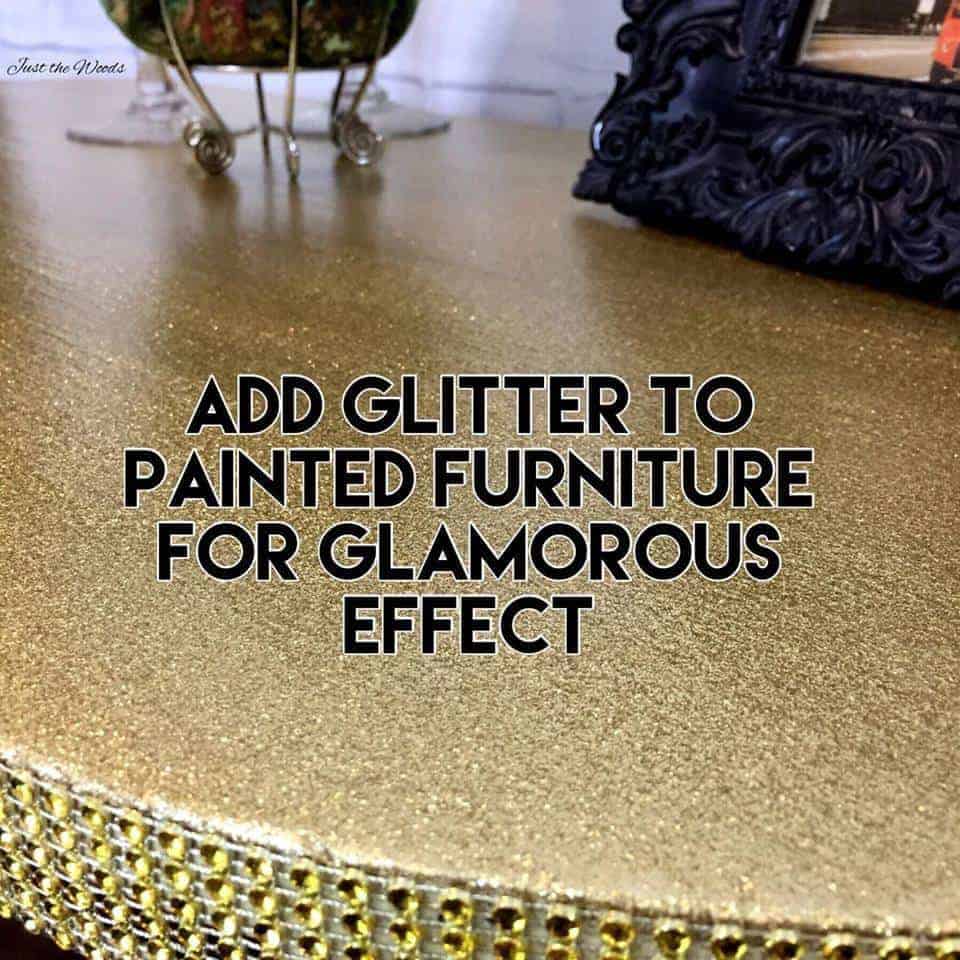
The Glitter – How to Add Glitter to Painted Furniture
The top of the desk is given a glitter treatment for a glamorous furniture effect. Fine glitter was mixed with mod podge and applied in multiple layers, letting each layer dry completely in between. 
After multiple layers, the glitter is sealed using a clear sealer. This prevents any glitter from coming off on your hand when touched. This same process was used on areas on the desk legs.


The Bling for Bling Furniture – Adding Rhinestone Crystals to Painted Furniture
Gold rhinestones ere added to the trim around the desk edge for extra bling.
Using a cheap small brush and craft glue the rhinestones were added to the edge. The trim itself is trimmed and cut using a Xacto knife.
The Result – a Vintage Desk with Crystals, Leopard, Gold & Glitter
Once all the little steps were completed and the piece was sealed the end result is drastically different from the original pile of wood that I began with. If you are loving glam furniture, and looking for glam decor ideas then this project may be the perfect addition to your glam decor style.


Since you love the glamorous touch of glitter bling furniture then you will adore the Best of Hollywood Glam Furniture for your Home! 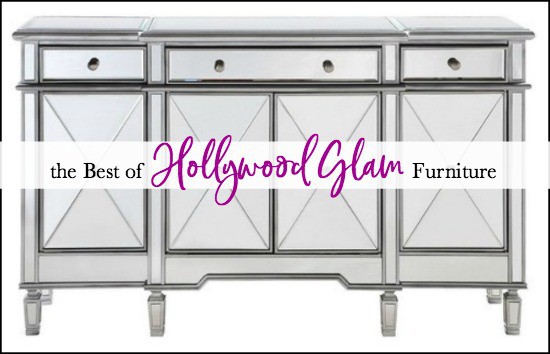


If you love a great desk makeover then you would love Ten Amazing Vintage Desk Makeovers.

Don’t Forget – Follow Just the Woods :
FACEBOOK * INSTAGRAM * PINTEREST
Subscribe to our mailing list here: [mc4wp_form id=”1340″]
Go ahead and Pin:

I love this piece! I wish I had a fraction of your talent. And by the way, I have two chairs with cheetah fabric and this vanity would fit perfectly alongside the chairs! Love everything you do!
thank you so much! My customer is actually now looking for a chair to go with this 🙂
I love how you updated the vanity. It really looks great.
thanks so much Debra, it was fun to work on and made me step out of my comfort zone
You’re definitely speaking my language with the gold, glitter and bling! 🙂 You did such an amazing job on this piece! It would just be perfect living with me, along with the gold bust. I just found your blog so will definitely be following!
Have a blessed weekend!
xo
Pat
You’re definitely speaking my language with the gold, glitter and bling! 🙂 You did such an amazing job on this piece! It would just be perfect living with me, along with the gold bust. I just found your blog so will definitely be following!
Have a blessed weekend!
xo
Pat
Thank you so much Pat!! It was a fun piece to work on and definitely pushed me a bit out of my comfort zone 🙂
It turned out gorgeous! I love it when a project is just plain jane! Pinning. Thanks for sharing with us at Merry Monday.