How to Photograph Furniture Like a Pro
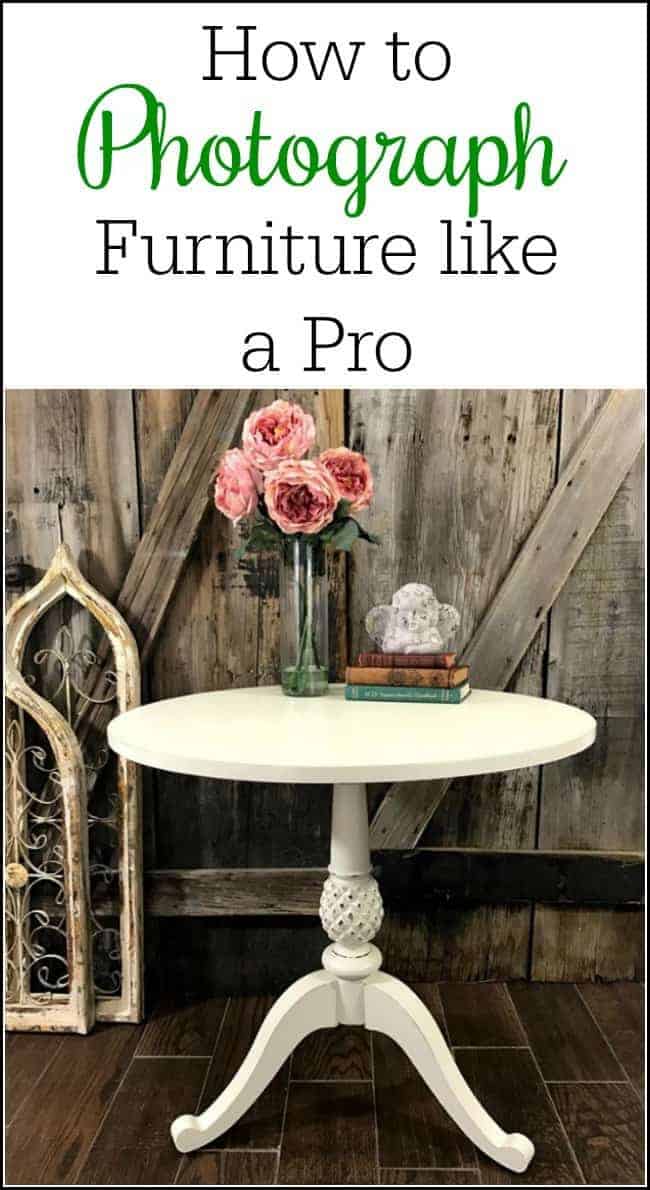
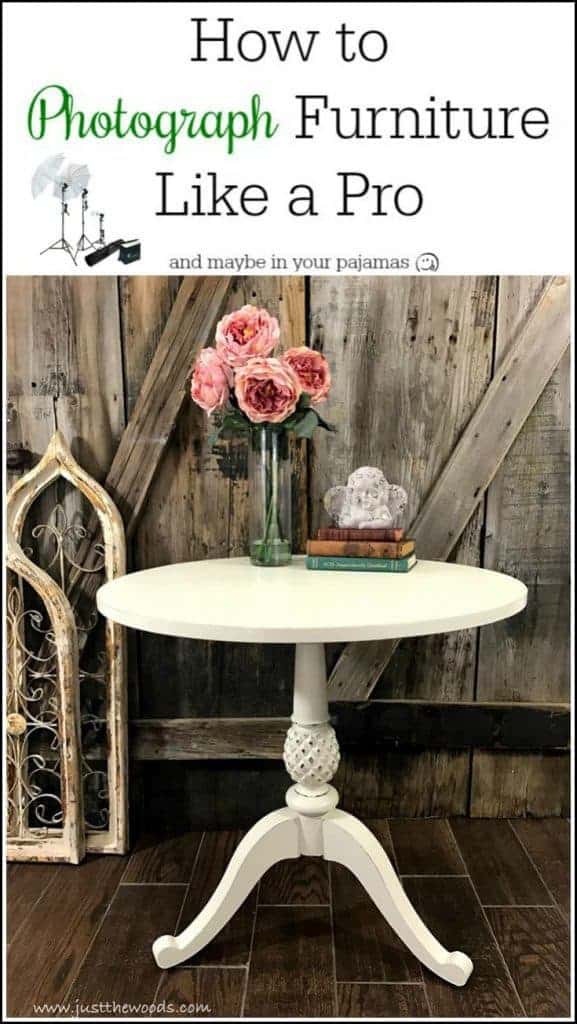
Are you unsure of how to photograph furniture? In the business of painting furniture for sale, the way you show your final product is just as important as the steps getting there. Staging and photography play an important role. If you are like me you may work from home and have a limited space to stage and photograph furniture. But you don’t have to let the limited space prevent you from photographing furniture like a pro.
Disclosure: This post contains affiliate links for your convenience. Click here for my full disclosure policy. I am not a professional photographer. This post is a compilation of sharing my personal experience with photographing furniture.
How to Photograph Furniture with Limited Space
Photography is all about lighting. You may have to resort to taking pictures in a less than ideal room. This is where the majority of my photography takes place. Yep, a warm and cozy basement. The warm and cozy is great for hanging out but not ideal for staging and photographing furniture. NOT at all!. I don’t have a garage so this is what I have to work with.
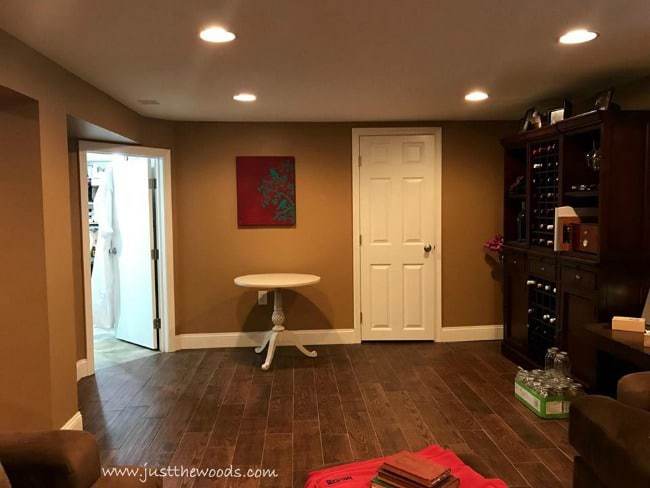
If you have warm amber lights in the area that you will be taking photos you may want to remove them temporarily. These warm amber lights will give off a yellow hue and it will make your images appear yellow toned.
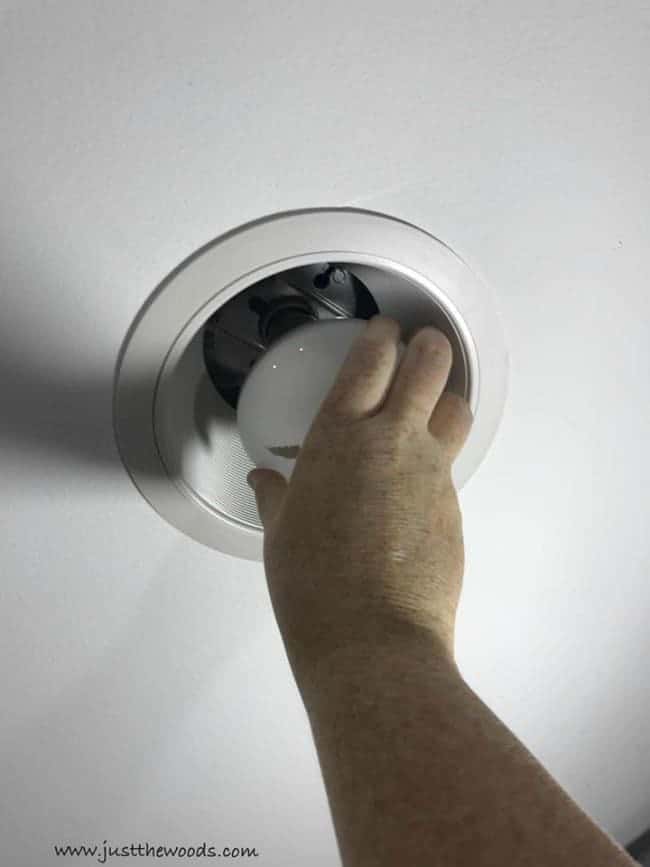
Replace these amber lights with bright white lights. The type that you would see in an office setting or bathroom. You can find white lights online here: LIGHTS. I like the LED lights because they last longer.
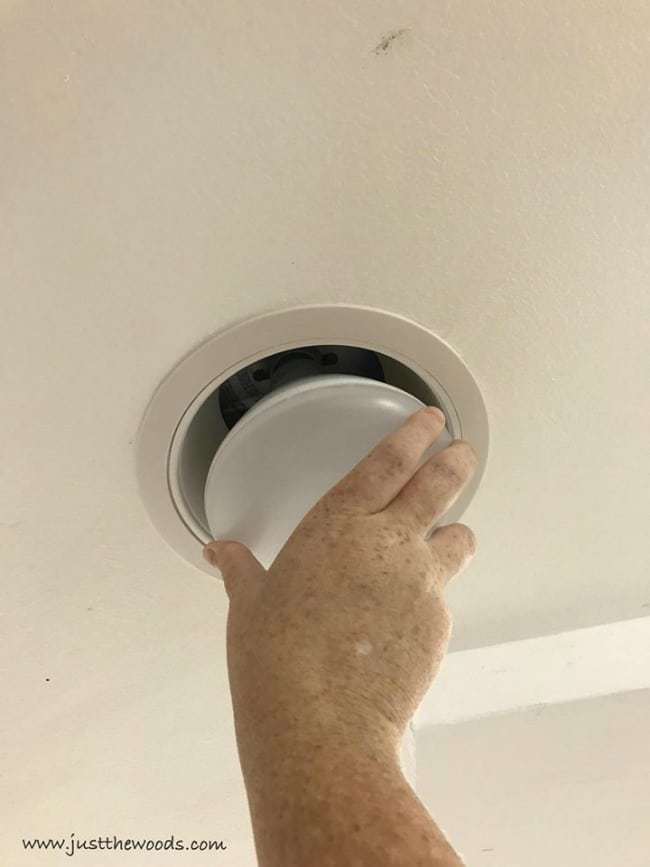
Don’t worry, if you are unable to swap out your ceiling lights there is another solution.
Setting up Photography Equipment
Here is a time lapse video of the entire ‘set up’ for staging and photographing furniture to get an idea of what goes on behind the scenes. This will also show you how easy it is and YOU can photograph furniture like a pro too 😉
Photography Equipment for Staging Furniture
Before you begin you will need is a backdrop or a neutral colored empty wall. Preferably white or light gray. You can find more information about backdrops here: Affordable Backdrop Options
Once you have your ‘area’ its time to set up.
- Lighting
- Clamp Lights – these are the lights that work well for cross lighting and lighting up the shadows. They are positioned at almost a 90 degree angle from the piece of furniture being photographed.
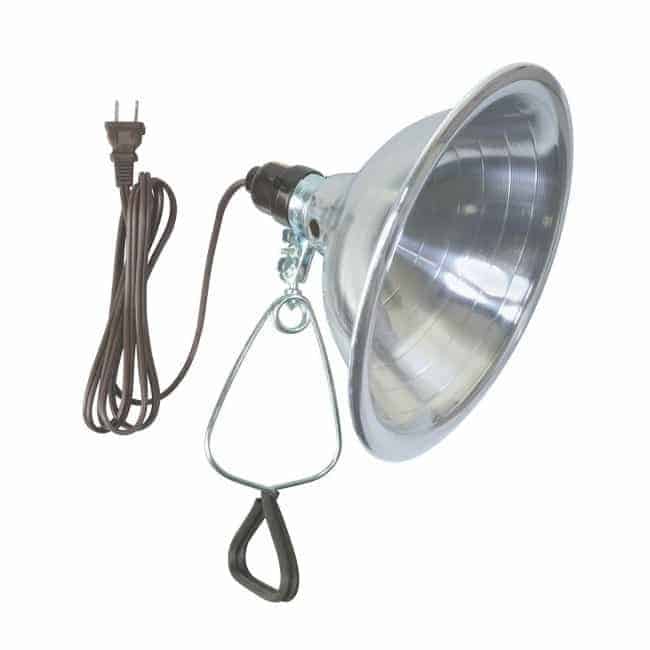
- If you don’t have something to attach them to you can use a tripod, as shown in the video.

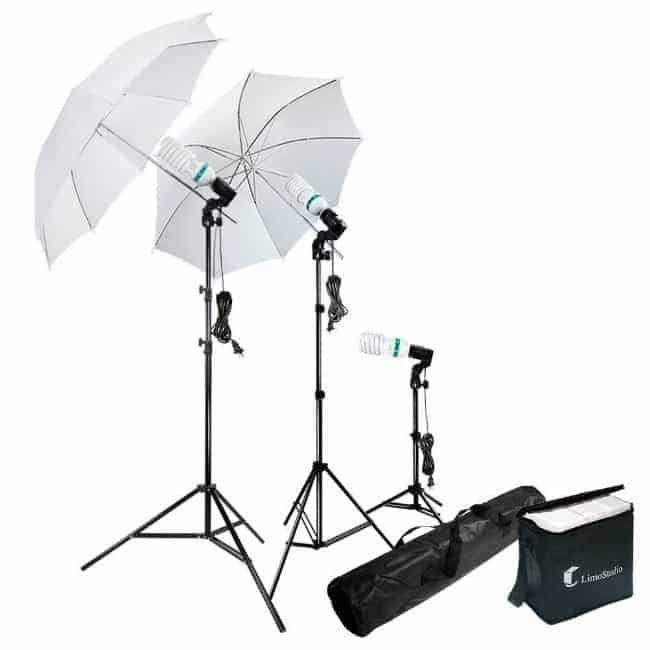
- Photography Light Kit – these should be positioned at a 45 degree angle towards the piece of furniture that you are photographing. You can play around with the angle to avoid glare.
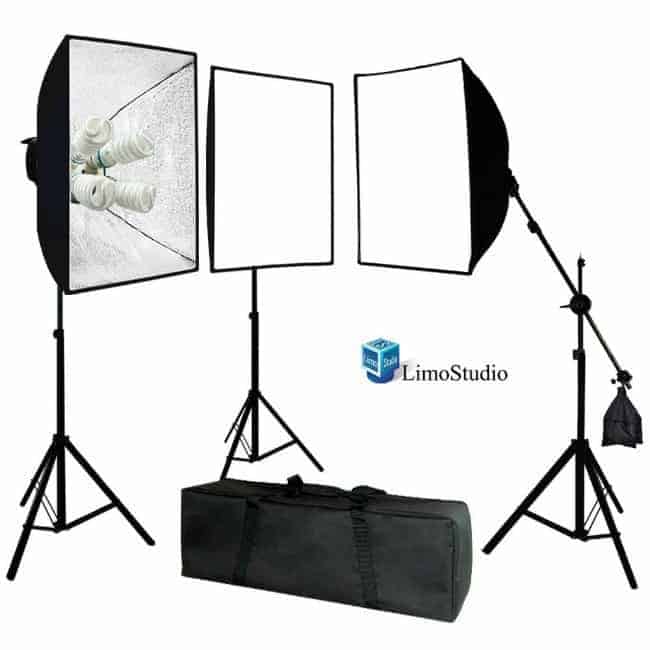
- Light Kit with Overhead Boom – this is great when you want to photograph furniture and need extra lights. Plus it has the overhead boom, so if you can not swap out your ceiling lights as mentioned above you can still create an overhead white light.
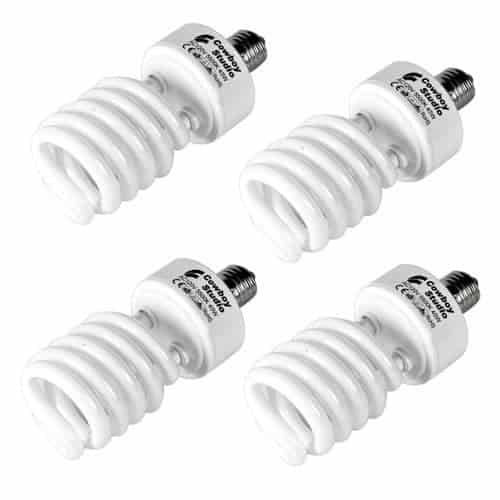
- Extra Light Bulbs – luckily all of these light kits use the same light bulbs.
 Once your lighting is set up you can check out the Best Resource Guide for Staging Furniture
- Clamp Lights – these are the lights that work well for cross lighting and lighting up the shadows. They are positioned at almost a 90 degree angle from the piece of furniture being photographed.
Don’t Forget – Follow Just the Woods and Share this post to Inspire others:
FACEBOOK * INSTAGRAM * PINTEREST
Stay connected! For more tips and tricks sign up here : [mc4wp_form id=”1340″]
PINTEREST PIN:

Denise Hardy says
Hi Kandice – I don’t want to be negative about your blog, but not everyone can afford to purchase what you have i.e. a ‘photography light kit’ nor have a basement – it would be good to know though ‘how to take photos like a pro’ with just a camera and without having a basement to do it in?
kandice kullmann says
hi Denise. My intentions with the post is to explain that you don’t need a large staging area or studio. The fact that I have a basement was just to show that I photo in a dark room. I also feel that with all the examples of light kits – the clamps are around $8 each. I also feel that the basic light kit is cheaper than a nice camera. You don’t need a basement to photograph in – I was using the basement as my “problem situation” where others may have a garage (I don’t) This is all equipment that I have acquired over time. By no means did I invest in all of it at the same time. I’m sorry if my post wasnt helpful.
Crystal says
Hello Kandice,
Thank you for the very helpful information. I love your blog and look forward to seeing all your beautuful projects.
kandice kullmann says
thank you so much Crystal!
Robin says
Thank you for the tips, I found your information very helpful.