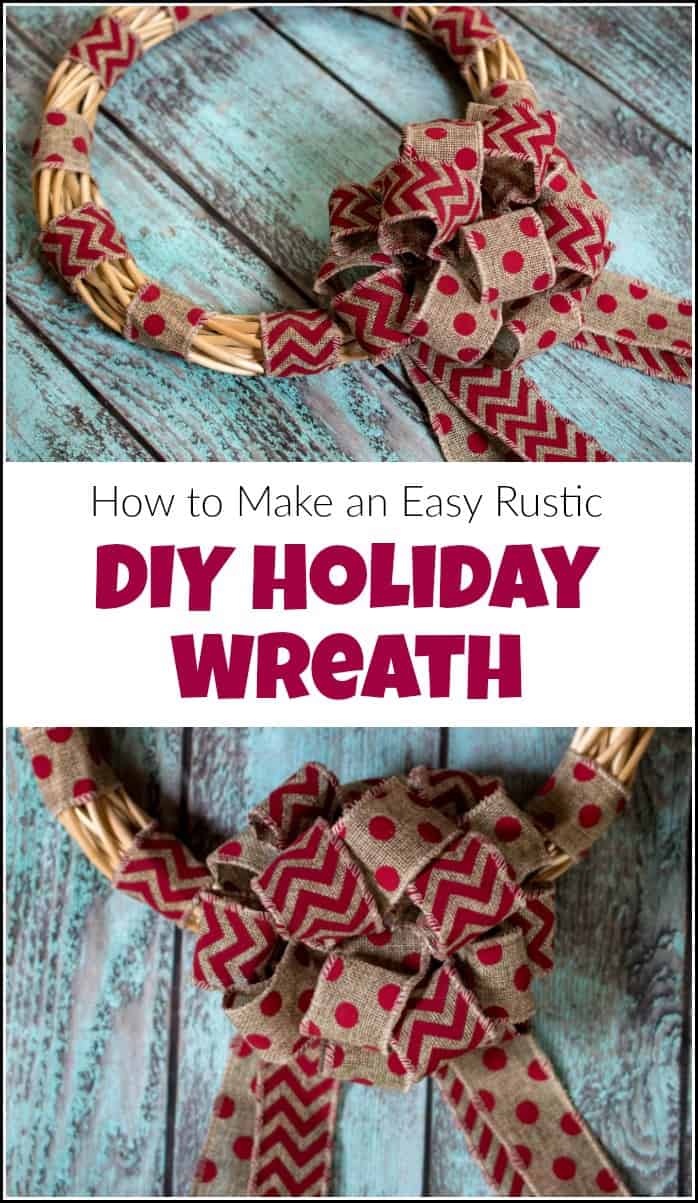
As the holidays approach you may be getting into the spirit of decorating. This DIY Christmas wreath is the perfect project for your home, or to gift to a friend. You can easily swap out the ribbon and make it into a DIY holiday wreath for any occasion. 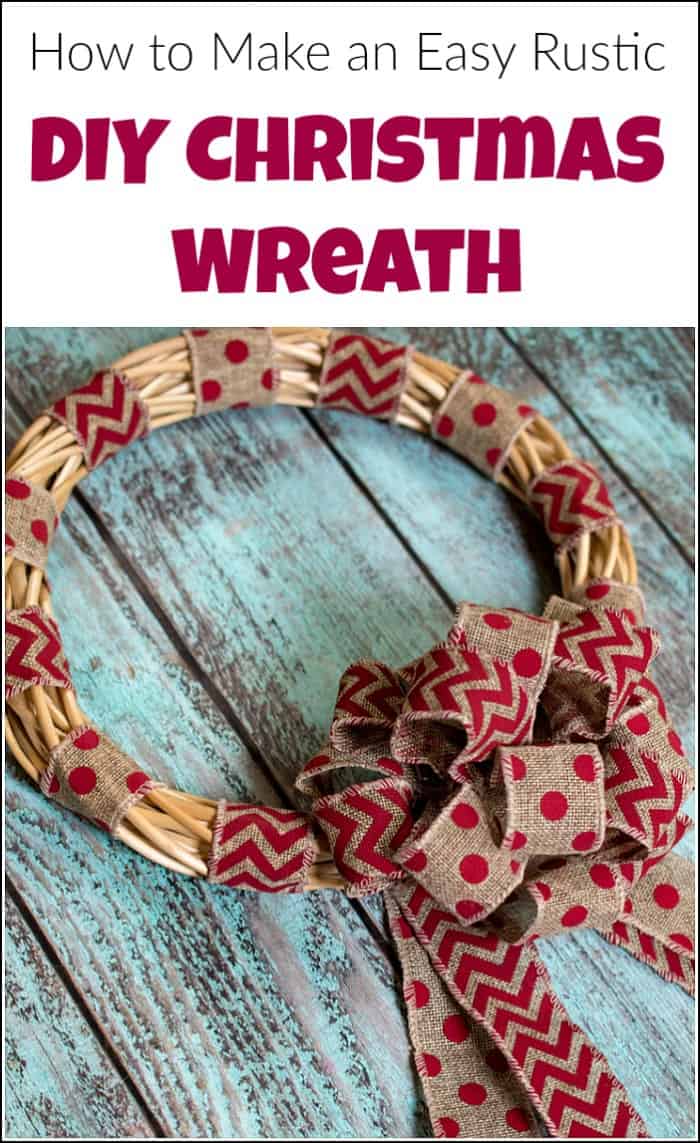
Disclosure: This DIY Christmas wreath post contains affiliate links for your convenience and I may be compensated if you make a purchase after clicking on my links. Click here for my full disclosure policy.
Supply List for DIY Christmas List
Materials Needed / Source List
- 12″ Floral Garden natural Willow Wreath (Dollar Tree or HERE)
- 9 ft Red polka dot burlap ribbon (Dollar Tree or similar HERE)
- 9 ft red chevron burlap ribbon (Dollar Tree or similar HERE)
- Hot Glue Gun (HERE)
- Hot Glue Sticks
- Fabric scissors (You can find them here)
- Measuring tape or ruler
- Find all of my favorite tools and products on my Amazon Page here
DIY Christmas Wreath or Holiday Wreath
Directions to make a DIY burlap wreath for the holidays:
- First, figure out which side of the wreath will be the front and which will be the back. Look around and see if there’s broken or discolored wood pieces. Use the best looking side for the front of your wreath.
- Next, take the polka dot ribbon and wrap around the wreath.
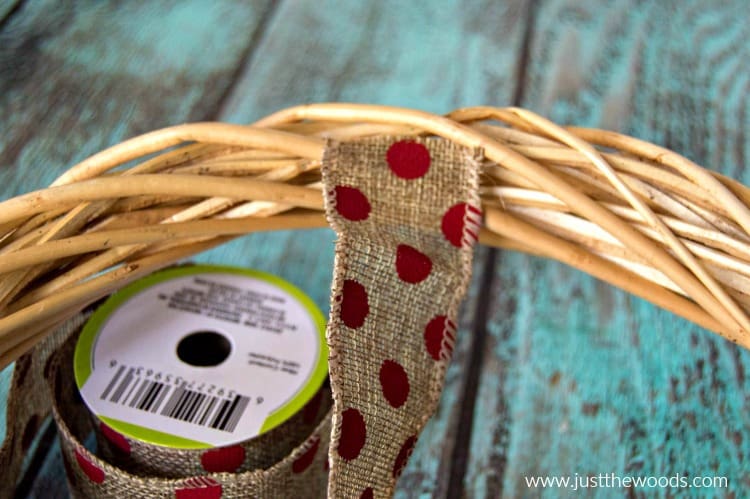
- Do this by adding glue with your hot glue gun to the edge of the ribbon and securing it to the back of the wreath. Be careful not to burn yourself.
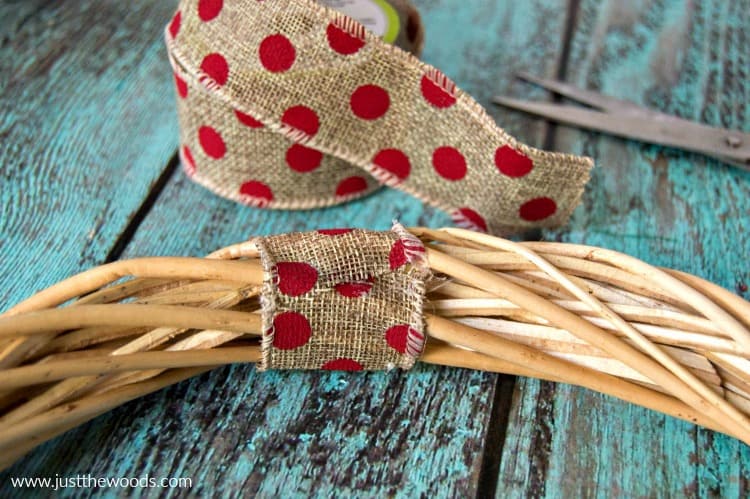
- Wrap the ribbon around tightly and cut it where it will just slightly overlap and glue again.
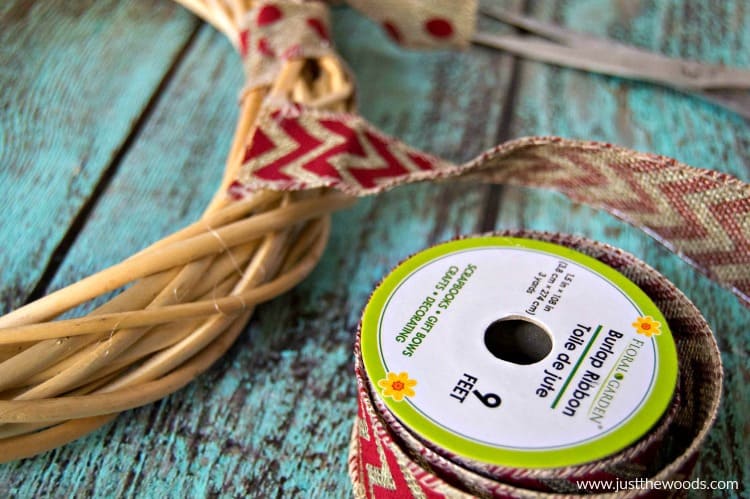
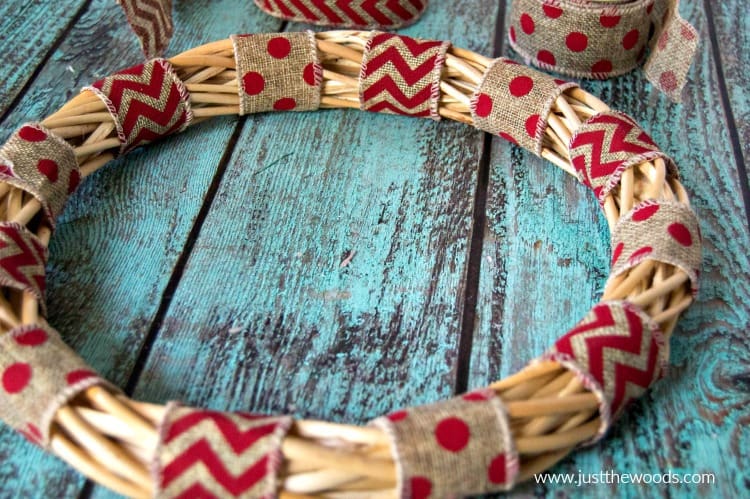
- Continue doing this around the wreath, alternating ribbon.
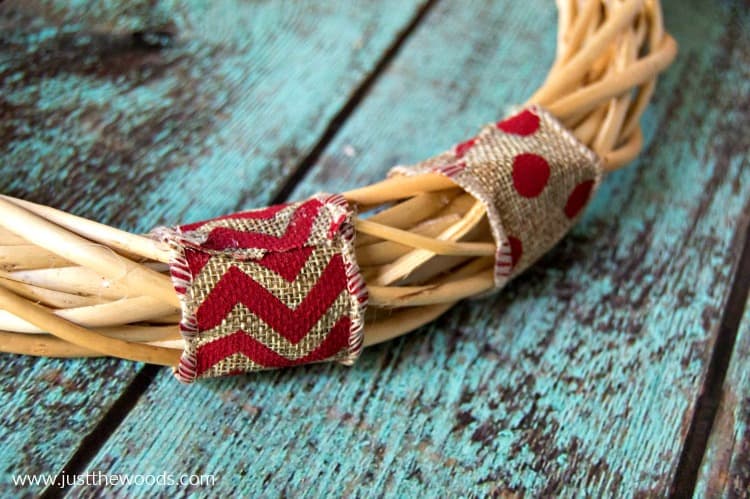
- Make sure to leave space between each ribbon wrap.
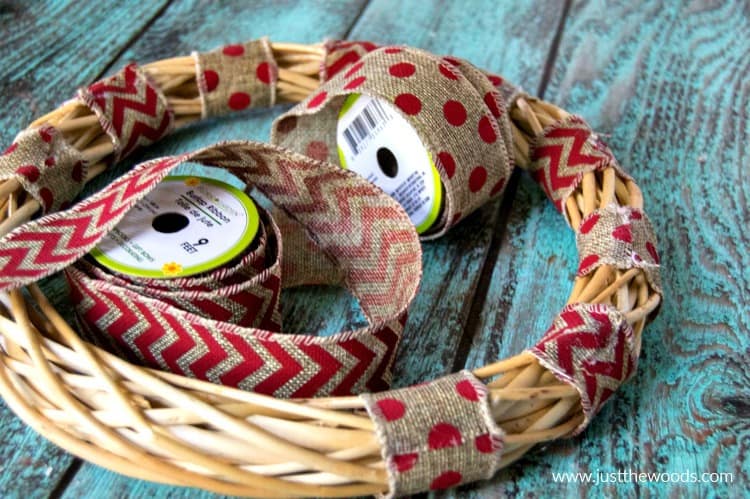
- You should have 12 pieces of ribbon wrapped around the wreath. Six polka dot and six chevrons.
Click here to PIN this post for later.
DIY Christmas Wreath Bow
- Next, we will make the bow for our DIY Christmas wreath. To do this, cut 8, 8-inch pieces of each ribbon. 16 total. (8 polka dot and 8 chevrons).
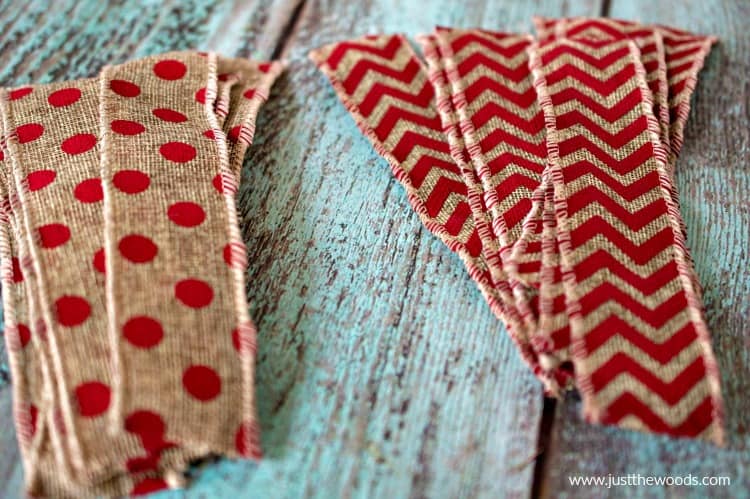
- With your hot glue gun, add a line of glue at the edge of the short end, unprinted side of the ribbon, fold over and carefully press the edges together.
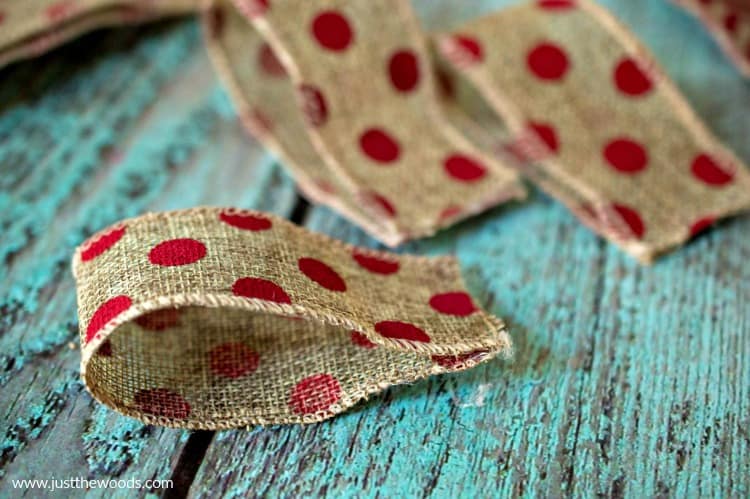
- Next, decide which end will be the bottom part on the good side of the wreath. This is where your bow will go.
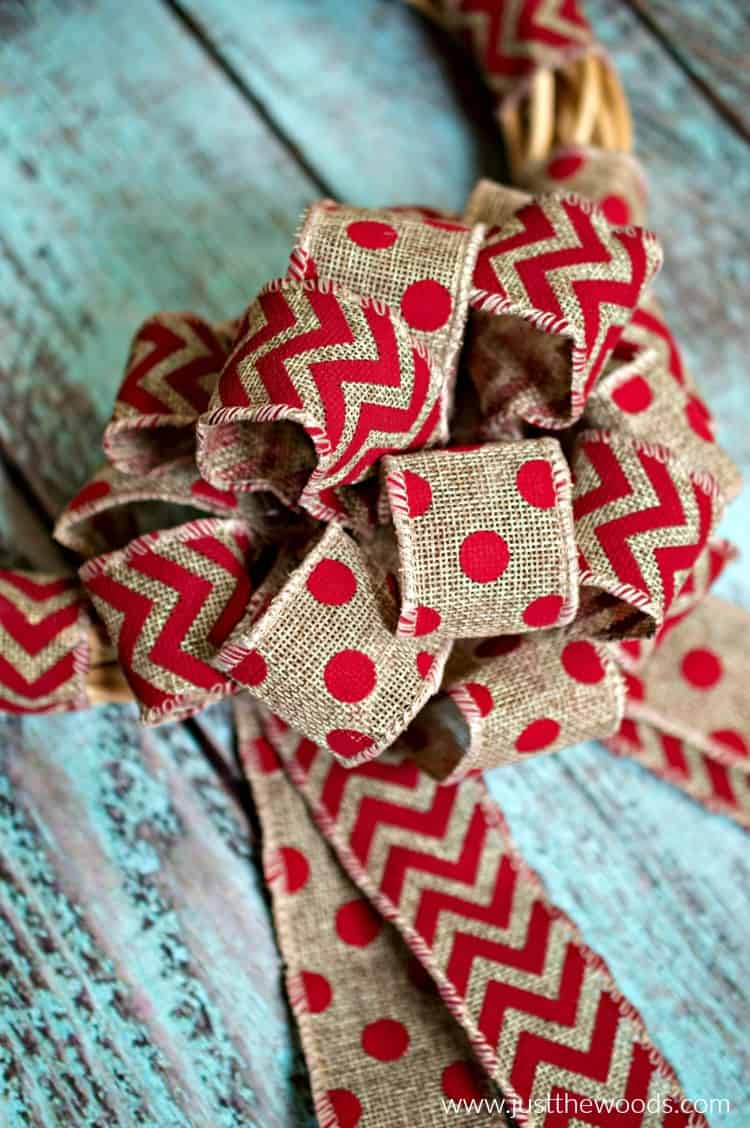
- Fold over and glue all sixteen pieces of ribbon into the loops. This will be the bulk of your DIY wreaths bow.
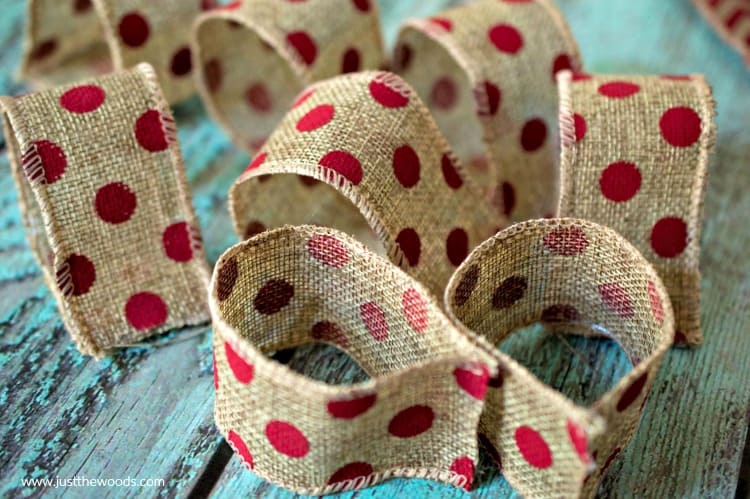
Attaching the DIY burlap bow.
- Once all of your bow loops are all made, begin to glue each one to the bottom of your homemade wreath.
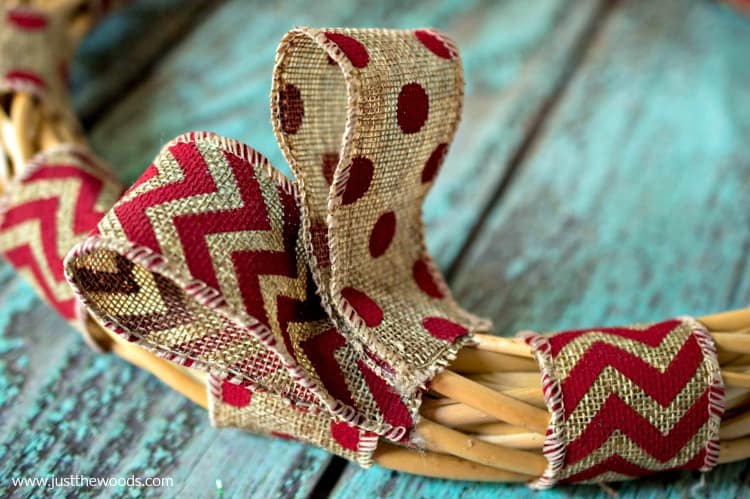
- Place a line of glue at the back of the ribbon where they’re glued together, and press onto the wreath.
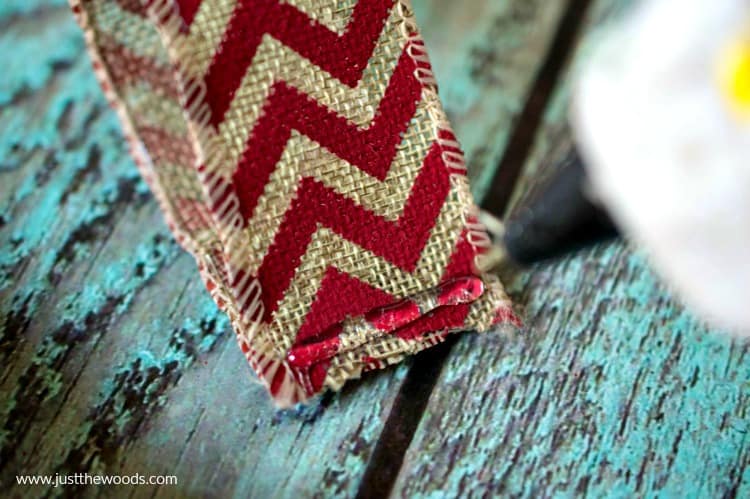
- Only glue 12 of the 16 ribbons, alternating between the polka dot and the chevron, in a circle.
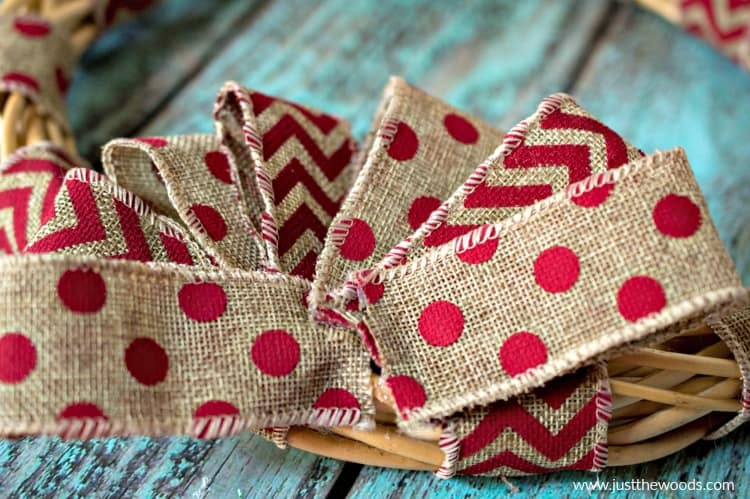
- Glue each ribbon slightly off centered on top of the one before it, until you’ve made a full circle.
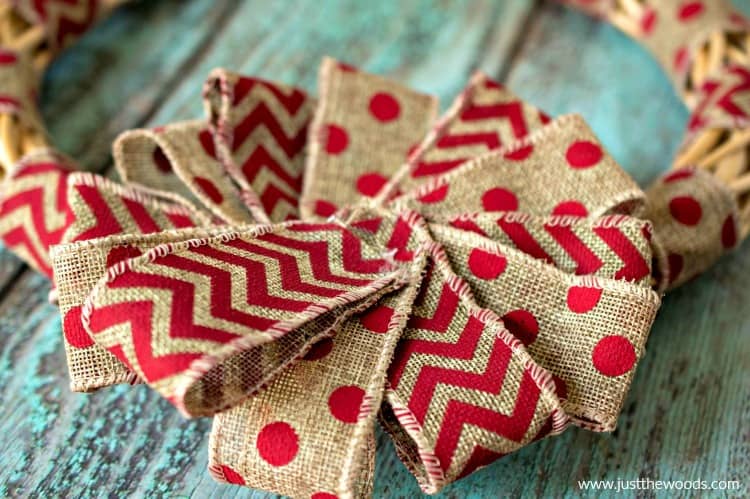
- Use the last 4 remaining loops to glue in the center.
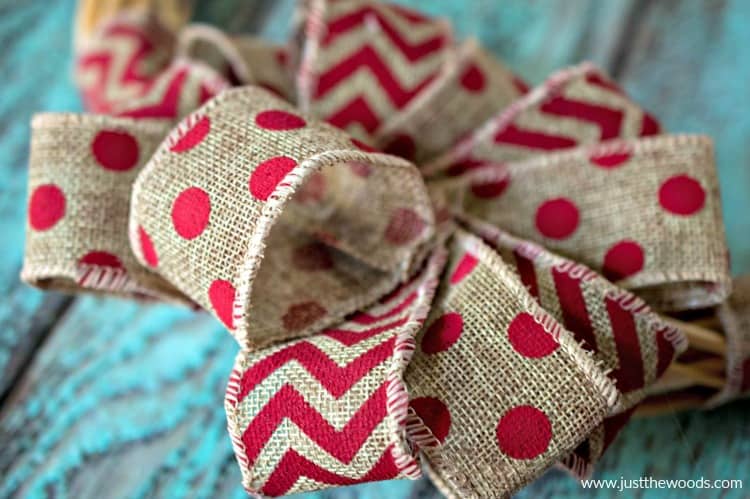
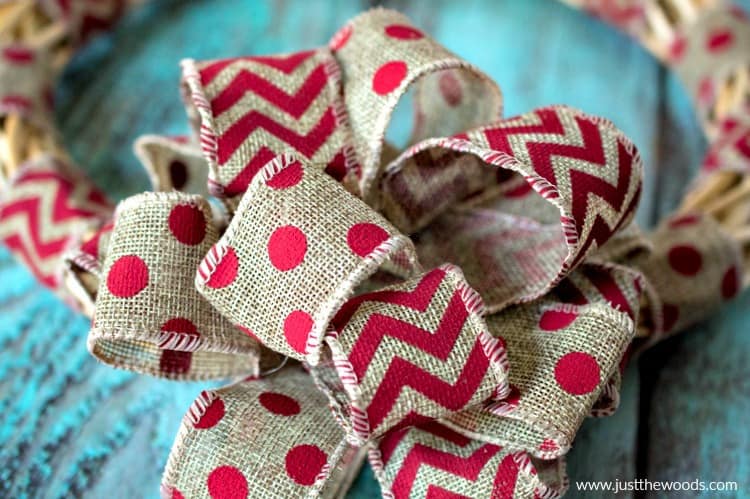
- Gently open each ribbon and play around with them until you get the fullness you like.
Click here to PIN this post for later.
Finishing Your Rustic DIY Wreath
- Now you should have a long piece of each ribbon left. Fold each and cut in half so you have four pieces, 2 of each design.
- Glue one of each together, a little off centered, making 2 long ends for the bow.
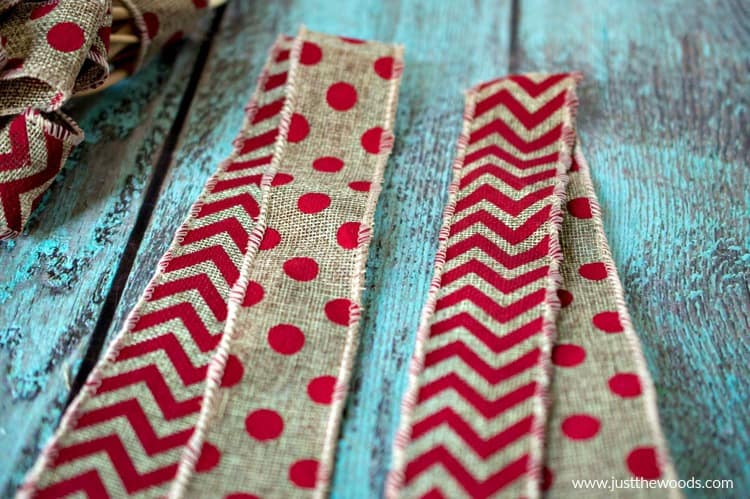
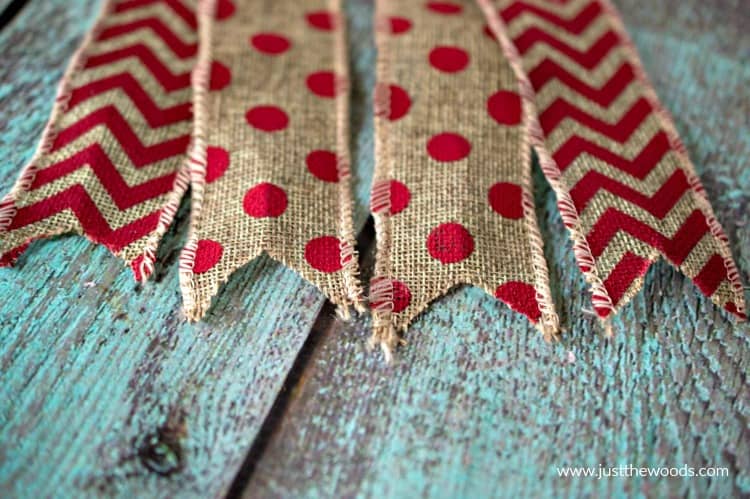
- Fold each ribbon in half and cut a triangle out of the ends of the ribbon.
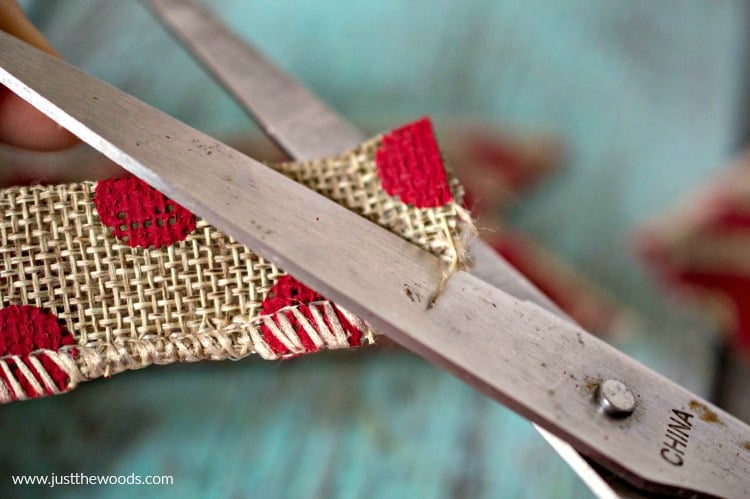
- This will make for a decorative bottom to your DIY Christmas wreath.
- Turn your Christmas ribbon wreath over and glue the top of the printed side to the back of the wreath behind the ribbon.
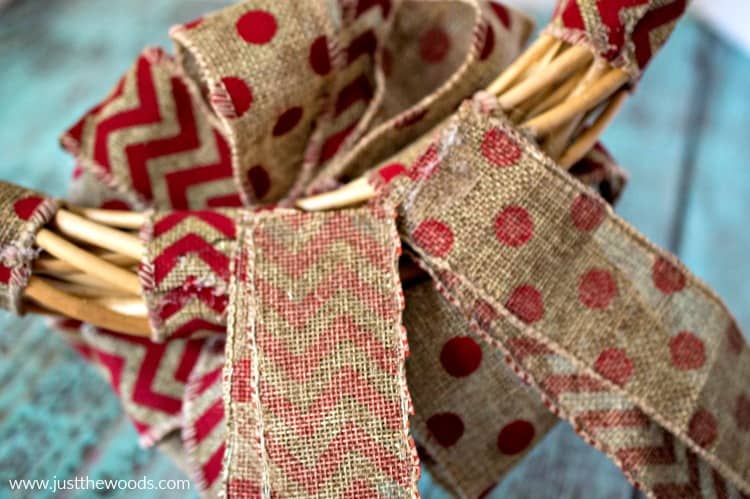
- Flip back over, hang up and enjoy!
Click here to PIN this post for later.
DIY Christmas Wreath or DIY Holiday Wreath
This adorable burlap ribbon DIY Christmas wreath can be hung indoors or outside as a Christmas door wreath. I’m not so sure I would leave it outside in the elements though, to be honest. 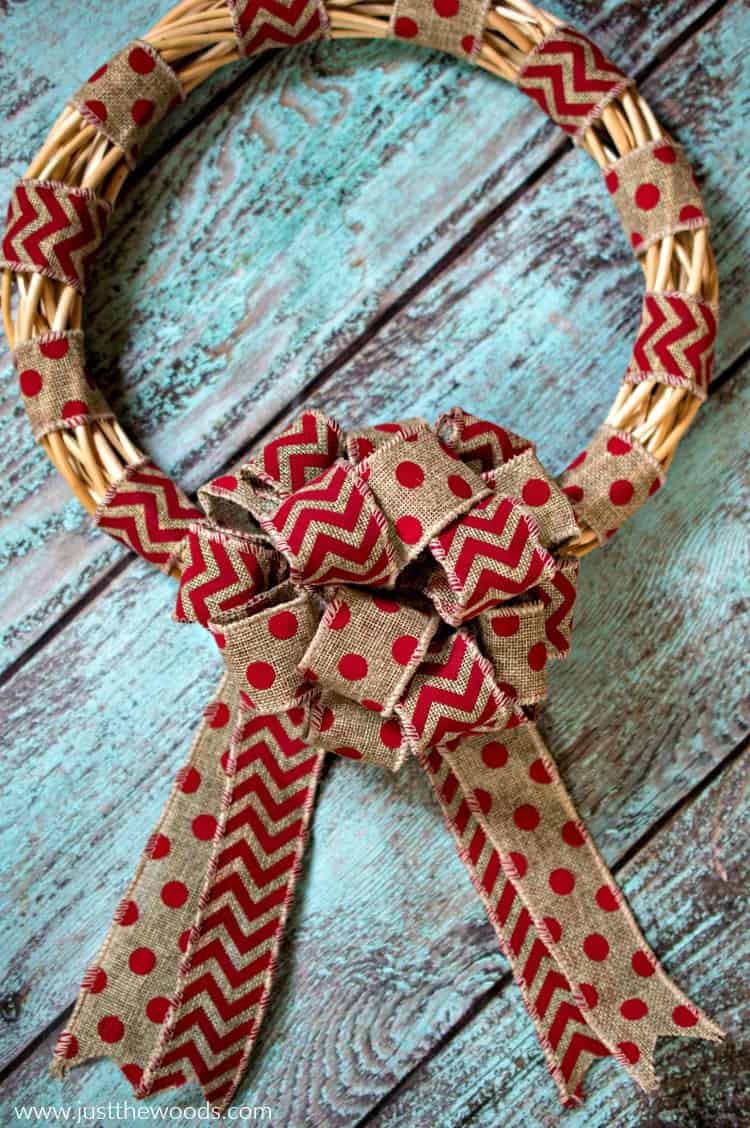
Click here to PIN this post for later.
Don’t Forget – Follow Just the Woods and Share this post to Inspire others:
FACEBOOK * INSTAGRAM * PINTEREST

Stay connected! For more tips and tricks sign up here : [mc4wp_form id=”1340″]

Click here to PIN this post for later.

Leave a Reply