How to Create an Amazing DIY Image Transfer Sign
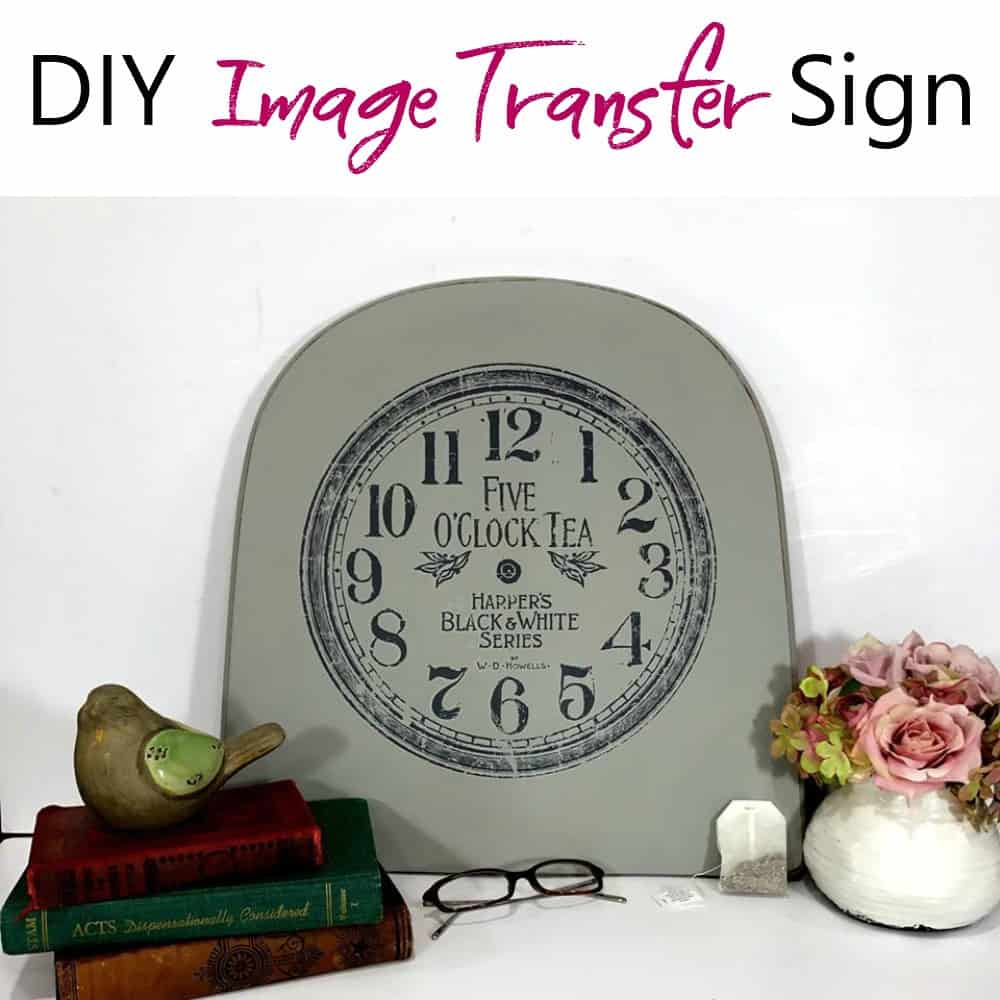
DIY Image Transfer Sign
If you love painted furniture than you may have seen makeovers and projects with images on them. These image transfers add a gorgeous and unique touch to any makeover. If you aren’t quite ready to transfer an image to a piece of furniture then maybe you would feel more comfortable trying on something smaller. A DIY image transfer sign is the perfect solution for the not quite ready. Once you master being able to transfer an image to wood on a smaller scale you can move up to larger when you are ready. 
Disclosure: This post contains affiliate links for your convenience. Click here for my full disclosure policy.
Apply Image Transfer to Wood
Materials Needed / Source List:
Chair Seat Repurpose
This DIY sign is also a repurpose project. The sign itself is a wooden chair seat left over from How to Make a Bench from Two Chairs. One seat was snapped in half and damaged during the removal process from the chair base. But the second chair seat remained fully intact making it the perfect piece of wood for a DIY image transfer sign.

Painting a Wooden Chair Seat
First, you will need to prep your wood surface the same as if you were painting furniture. Click here for How I Prep Painted Furniture. Next, you can paint your repurposed chair seat aka sign in your color of choice. Dixie Belle Paint Company was kind enough to send me a few products to try along with this decor image transfer. Initially, we had another project in mind but plans change and we roll with the punches and try something new. The wooden sign is being painted in Driftwood (a light gray chalk type paint). You can find all of their products through my affiliate link here: (Dixie Belle Paint)
Applying an Image Transfer to Wood
To see the process of how to transfer an image to wood for this DIY image transfer sign you can watch it here on a pre-recorded Facebook live video. Feel free to fast forward as needed, or stick around for the whole process including the oops and whoops, that’s the beauty of Live. 🙂
Click here for more smaller DIY and Craft Projects, including other DIY signs:

Sealing Your Image Transfer Wooden Sign
Now that you know how to transfer an image onto wood you will need to seal it. Grab your yellow detailer sponge, and if you don’t have one you need to get one (here). These things are amazing, especially for applying a clear top coat. Go ahead and apply your clear satin protective sealer over your image. 
DIY Sign from Repurposed Chair Seat
Waste not, want not. This leftover chair seat makes a great DIY sign for simple yet unique decor. 
Would you believe me if I told you that I made a special trip to the grocery store just for tea bags to add into photographing this project? Yes, I did.


Ready to tackle something larger? Get started with How to Paint Furniture- a Beginners Guide.
I’ll be sharing this post at these fabulous link parties.
Don’t Forget – Follow Just the Woods and Share this post to Inspire others:
FACEBOOK * INSTAGRAM * PINTEREST
Stay connected! For more tips and tricks sign up here : [mc4wp_form id=”1340″]
Pin it!
This is beautiful! I would have never thought of using a chair seat. And I love the decals.
I have an old piece of paper with a saying in German that my mother wrote on many years ago. Is there any way to transfer this on a piece of furniture ( there is writing on both sides of page) or am I limited to decoupage?
You can try using tracing paper to trace the writing then use a projector to enlarge the image onto your piece and then trace the writing onto your piece. This way you dont damage the writing but still transfer the image. My friend Christy may be able to help with her tutorial here: https://www.confessionsofaserialdiyer.com/how-to-transfer-letters-old-school-style/