How to Transfer Images to Furniture Like a Pro
Learn the fast and easy way to transfer images to furniture. Transfer images to wood DIY projects, or gorgeous image transfers to your painted furniture. Add graphics to your project because painted furniture is often more than just paint.
Are you feeling intimidated by image transfers? You don’t have to be! If you love painted furniture than you may have seen makeovers and projects with graphics on them. These image transfers add a gorgeous and unique touch to any painted furniture makeover or DIY project. If you aren’t quite ready to transfer images to a piece of furniture then maybe you would feel more comfortable trying on something smaller like a sign. But, if you’re ready to transfer images to furniture stick around as I walk you through the steps below.

Disclosure: This post on how to transfer images to furniture contains affiliate links for your convenience. Click here for my full disclosure policy.
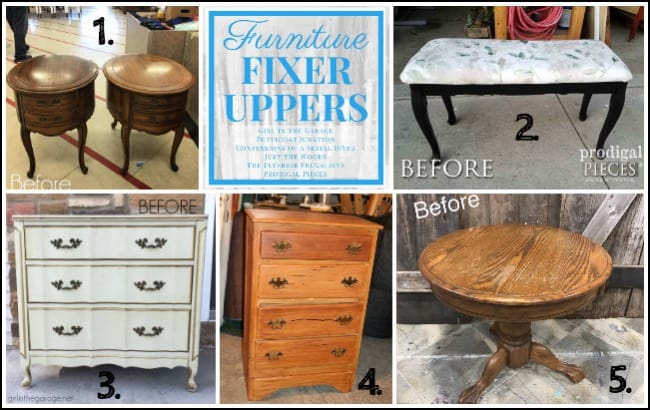
Make sure to stick around to the bottom and check out my Furniture Fixer Upper friends projects!
How to Transfer Images to Furniture Like a Pro
Materials Needed / Source List:
Tools
- Scotch Blue Platinum Tape
- Electric Sander
- Yellow Detailer Sponge
- Zibra Paintbrushes
- Image Transfers – (I’m using this one: clock image)
- Plain chalk
- Measuring Tape
- Find all of my favorite tools and products on my Amazon Page here
Paint
Vintage Claw Foot Table
This solid wood claw foot table has been sitting in my storage unit since I scooped it up during a family vacation to Florida over a year ago. We drove to Florida making it easy to bring this table back. *Note: we will NEVER drive to Florida again from NY with two young kids. Moving on.

First, you will need to prep your furniture the same way you should prep all of your painted furniture projects. You want to make sure to have a properly prepped piece of furniture before you can transfer images to wood. The table top has some wear and scratches that need sanding. My Dewalt orbital sander smooths out those scratches in no time. If you are new to using tools make sure to check out My All-Time Favorite DIY Tools for making stuff. 😉

Once the table top is sanded smooth the rest of the table can be cleaned and prepped. This is How I Prep Painted Furniture.

Painting a Wooden Table
Now, you can paint your table in your color of choice. When you’re planning on transferring images to furniture it often makes sense to use a light paint color underneath. Dixie Belle Paint Company was kind enough to send me a few products to try, including Driftwood paint, White Wash, and Black Glaze. They also sent me a smaller decor image transfer. Initially, that particular image transfer was intended for this table, but I soon realized that it was too small and better suited for a sign. You can find that image transfer to wood project here: DIY Image Transfer Sign. It all worked out for the better allowing for two separate image transfer tutorials.

The round claw foot table is being painted in Driftwood (a light gray chalk type paint). You can find all of the Dixie Belle Paint Company’s paints and products here: (Dixie Belle Paint). Make sure to flip your table over to paint the feet first. This is one of the many little tips and tricks I share about painting furniture in my Best Tips for Painting Furniture.

Next, flip the table over and paint the top as well. Lately, I’m loving my Zibra paintbrushes. If you haven’t tried these brushes yet you can find them online HERE.

Adding Glaze to the Painted Table
Adding black glaze to the chunky details and claw feet will add depth to the details.

Apply the glaze to the bottom portion of the table, including the pedestal base, the legs, tabletop skirt, and claw feet. I use my Zibra paintbrush to paint the glaze on. Do not apply the glaze to the table top. We have other plans for that.

This is the table top skirt before glaze:

This is after applying black glaze:

Click here to Pin this post for later.

Adding White Wash to Table Top
Since this project is about how to transfer images to furniture we want to make sure that our image is the focal point of the project. Rather than add black glaze to the table top we will apply a whitewash instead. The whitewash will lighten the appearance of the tabletop making sure that the eye is drawn to the image transfer.

Use your yellow detailer sponge to apply the whitewash the same way that you would apply your clear sealer. If you don’t have a yellow sponge then you can get one HERE. I love and use these for applying sealers, glaze, and stain.

How to Transfer Images to Wood
Before you can start transferring images to your painted furniture you will need to line up the image first. Place your image transfer on to the area where you want to apply and measure the distance all around to ensure that the image is centered on the piece.

Next, use plain chalk to mark around all the sides of the image transfer. Doing this will allow you to find your place once you remove the backing from the image. Also, using chalk works best because it will easily wipe off once you finish.

The entire process of transferring the image, from start to finish can be watched here in this time-lapse video. This step took me appx 30 minutes to complete, but I’ve managed to condense it to a 6-minute video for you. 😉
Sealing Your Image Transfers
Now that you have transferred your image to your project you need to seal it. This vintage image transfer table is distressed along all of the edges prior to sealing. Distressing adds to the worn and vintage feel of the piece.

Using that same yellow detailer sponge go ahead and seal your finished piece.

Here is a full tutorial with VIDEO showing how I seal my painted furniture projects: Sealing Painted Furniture

Click here to Pin this post for later.
Vintage Clock Image Transfer on Painted Claw Foot Table
Do you feel like a pro? Because you just learned how to transfer images to furniture like one! This table has been donated and raffled off at my kids’ school annual Christmas fair and fundraiser. I believe it was won by a owner of a local ice cream parlor. 🙂 Click here to see all of my projects that have been donated to support local fundraisers, schools, and charities: Donation Projects.

Close up!

Those feet!

The clock image transfer painted table.

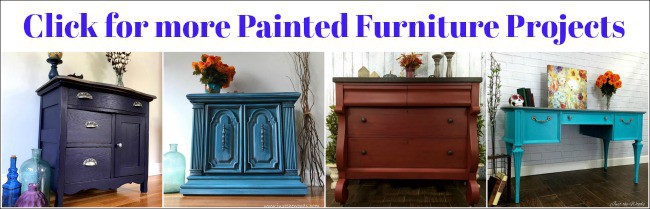
Check out all of my furniture projects with over 90 painted furniture makeovers: Stunning painted furniture ideas.
Click here to Pin this post for later.


You May Also Like
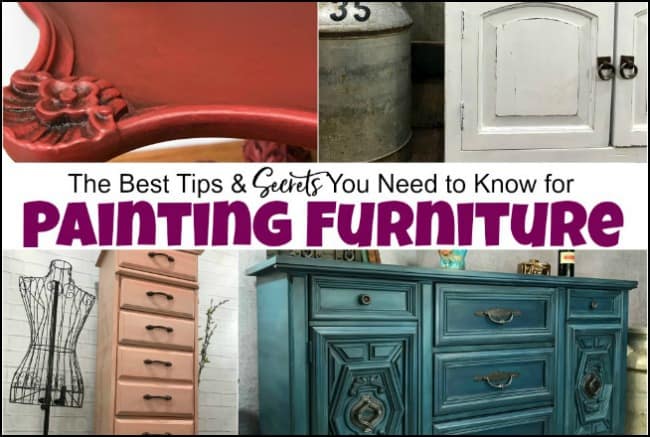
If you like this post make sure to check out all of the tips & secrets that I wish someone told me when I started painting furniture here: Painting Furniture Secrets
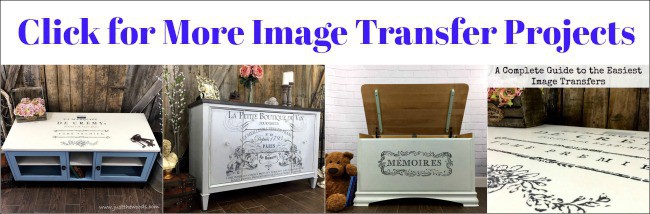
Love image transfers and ready to transfers images to wood, or furniture, or even get creative and try something else? Here is a full guide to image transfers, what they are, and where to order them: Complete Guide to Image Transfers
Wait! Don’t Go! It’s that time of the month again for:
Furniture Fixer-Uppers
A few of my creative and talented blogger friends and I have joined together in our monthly Furniture Fixer Uppers share. Let’s see what my friends are up to! Make sure to click the links below the image to check out all the amazing projects that my bloggy girls are working on this month.
- Confessions of a Serial DIYer
- Prodigal Pieces
- Girl in the Garage
- Petticoat Junktion
- Just the Woods (you are here)

Don’t Forget – Follow Just the Woods and Share this post to Inspire others:
FACEBOOK * INSTAGRAM * PINTEREST


All the way from Florida?! Wow! I love the new look, Kandice. Has the touch of whimsy now. I also love my Zibra brushes and Dixie Belle paints too. Bravo!
This table turned out amazing, Kandice! Love the black glaze, and I really need to look into those transfers! XO
Love the new look with that clock face! I have a few more of those graphics waiting for me, I need to go find them 🙂
Turned out AMAZING!!! Kandice, you are super talented and love to see what you do with Dixie Belle Paint!
Love the claw foot table you had to work with, Kandice. The makeover is gorgeous! I haven’t tried image transfer sheets yet but now I’m itching too more than ever. Pinned 🙂
Hi Kandice – can I please ask what you were using when you was ‘rubbing’ over the transfer? The table looks brilliant. I’ve never used transfers but wouldn’t mind having a go 🙂
I bought a table very similar to yours the other week – I paid 25 euros for it, which I didn’t think was bad – it’s got the claw feet but the top is different – I’ve just finished it painted the top grey and used silver wax on the legs and used a stencil for the top – it looks quite good although I haven’t posted it anywhere yet.
You do some amazing pieces 🙂
Kind Regards
Denise
Hi Denise. When you purchase the image transfer it comes with a stick. It’s kind of like a big pop sickle stick or tongue depressor.
Loved the table and especially the video on image transferring! I’m dying to try it now!
WHERE DO YOU FIND THE TRANSFER IMAGES I AM IN CT.LOVE THE LOOK . THANK YOU SO MUCH.
In the post there are links to the image transfers to order them. I order all of them online 🙂
there is no link that works for the image transfer to the furniture!?
the links should all go to amazon where I purchased them myself. Some may bot be available anymore or out of stock. Im sorry if that is the case.