How to Prep Painted Furniture the Right Way
I truly feel that there is no such thing as a ‘no prep’ paint. I’m sharing how to prep painted furniture the right way. Or, at least, it’s my way for each and every piece that I work on. Except maybe a few of my own. On occasion, I try to push the limits of my paint and cut corners with my own personal projects just to see how well the finish holds up. So far, so good.

Disclosure: This how to prep painted furniture post contains affiliate links for your convenience.
Many paint brands claim, even boast to be ‘no prep required and no sanding required’. And they very well may be. But I feel, why take that chance. By taking the few extra steps before getting started you are ensuring a longer lasting result of your hard work.
The First Step to Proper Prep
Again, I’m sure we all have different methods of how we do things, but this is how I prep painted furniture pieces. It’s not fun, and it’s definitely not pretty but it is probably the most important step in painting furniture.
Unsure what you may need to prep your painted furniture? Click here for many prep work tools and supplies: PREP TOOLS & SUPPLIES
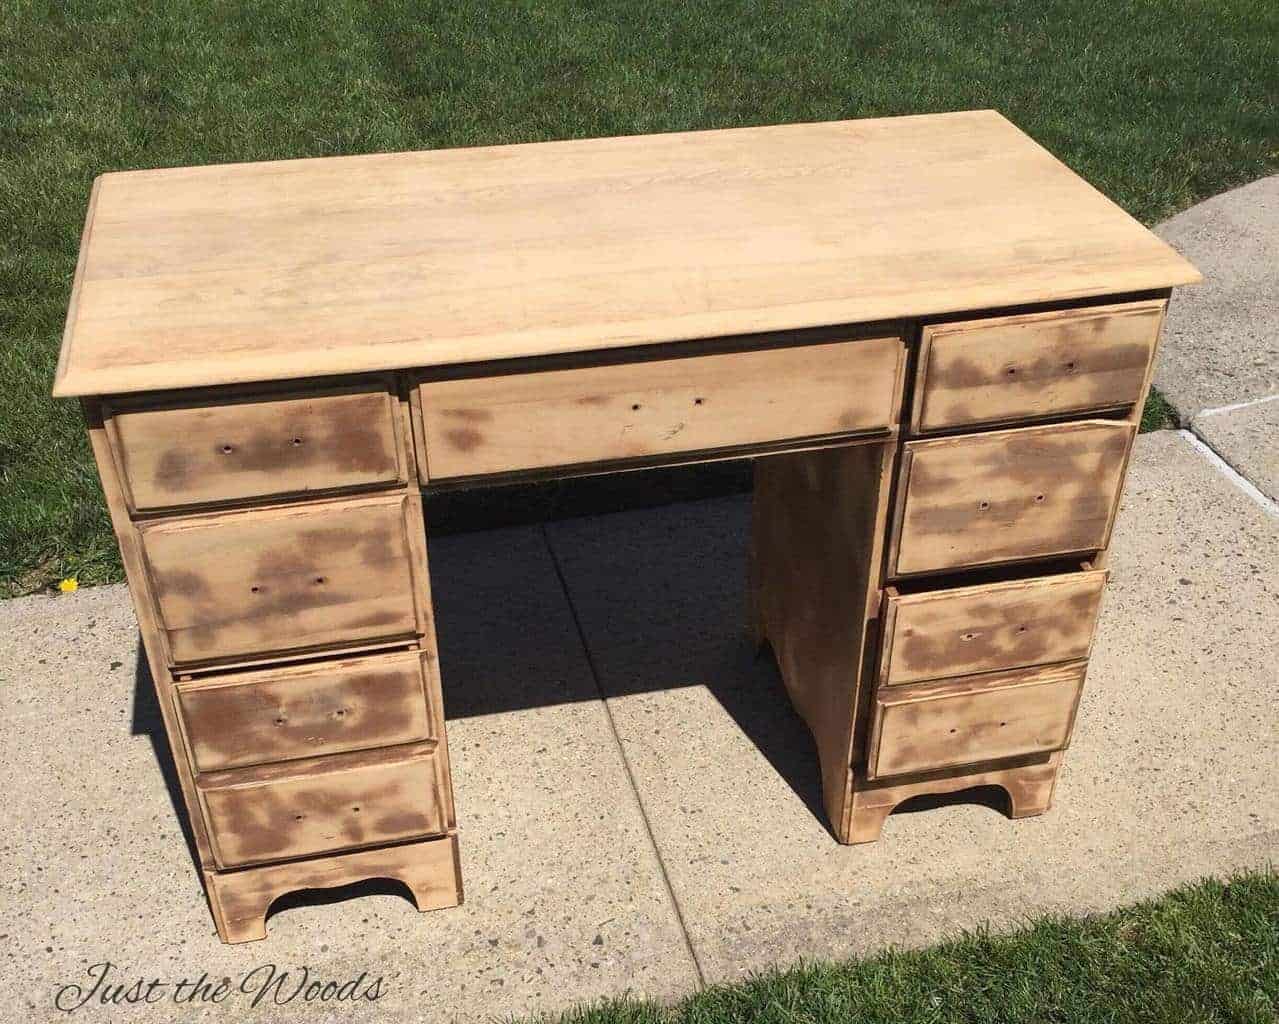
1. Sand your piece of furniture
- I tend to use a different grit for different surfaces. If the surface is super smooth and shiny I will use a rougher grit like 80 grit, but if the surface is already a little textured or not so slick I will opt for a 150 grit. Most times I wrap the paper sandpaper around a sanding block for easier grip.
- Sometimes a piece needs just a little sanding, enough to create tooth or something for the paint to grab onto. Layla was getting a big girl bed, so I let her help sand her new headboard before it was painted pink.

- Sometimes a piece needs just a little sanding, enough to create tooth or something for the paint to grab onto. Layla was getting a big girl bed, so I let her help sand her new headboard before it was painted pink.
- If I plan to use a stain or if a surface has significant damage like water rings, I will use my electric sander and sand down to bare wood.
2. Clean Up the Sanding Dust
- Maybe this is just my Type A personality, but I find myself sweeping up constantly. The dust makes me crazy. I also will use my shop vac to vacuum up any large amounts of sanding dust as well as dust bunnies found inside pieces, like behind dresser drawers for example.
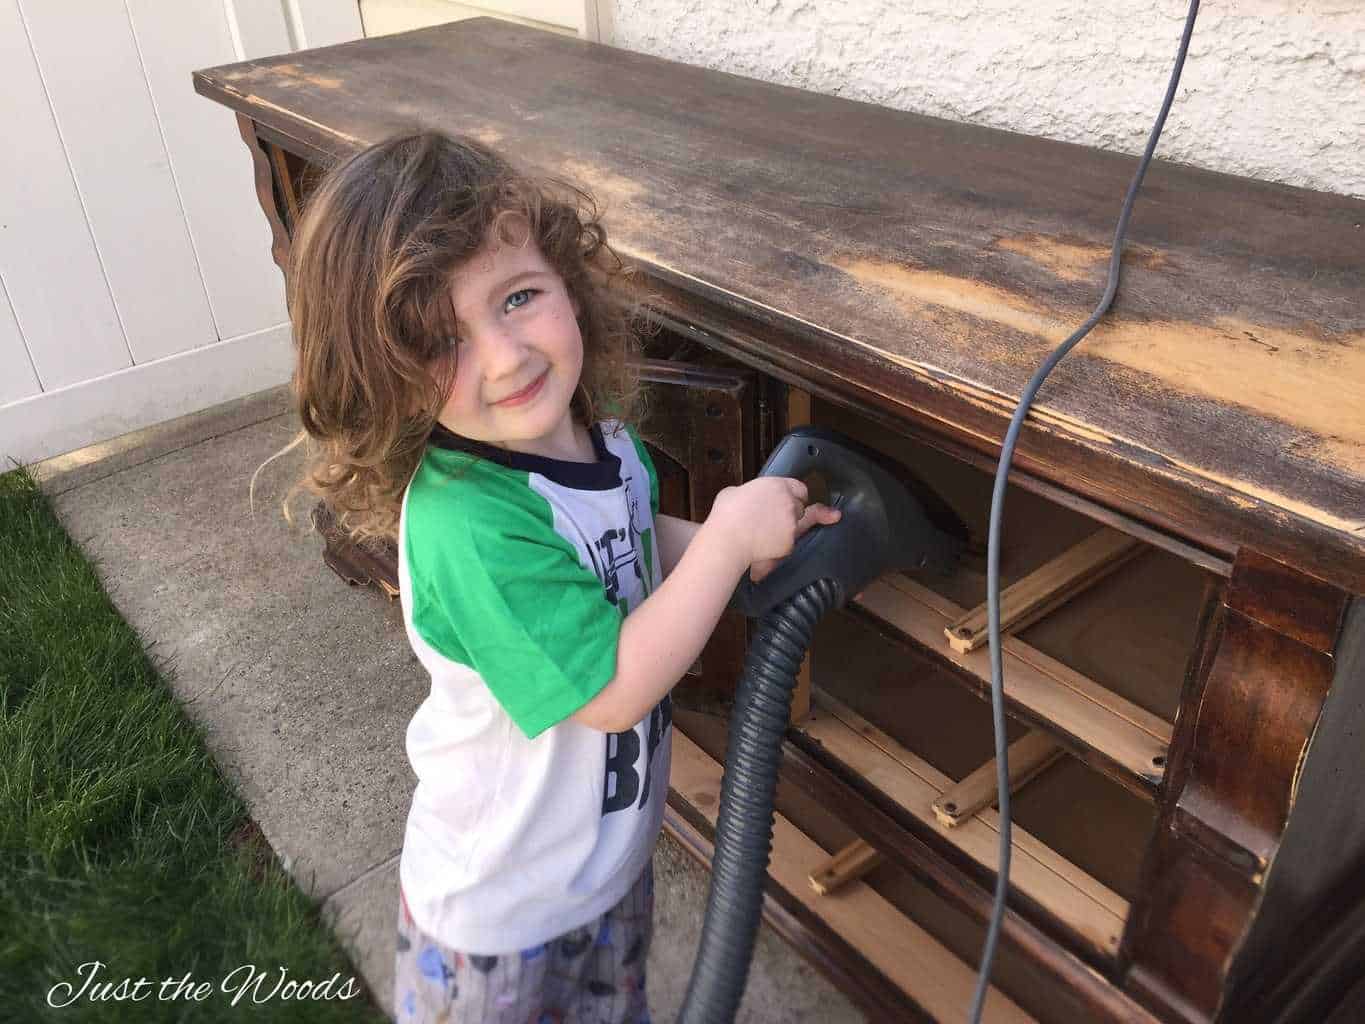
- Anytime you can get a little helping hand with prep work, I say be my guest! Lucky for me, Layla is still young enough to want to hang out with her mommy and I love that she likes to help.
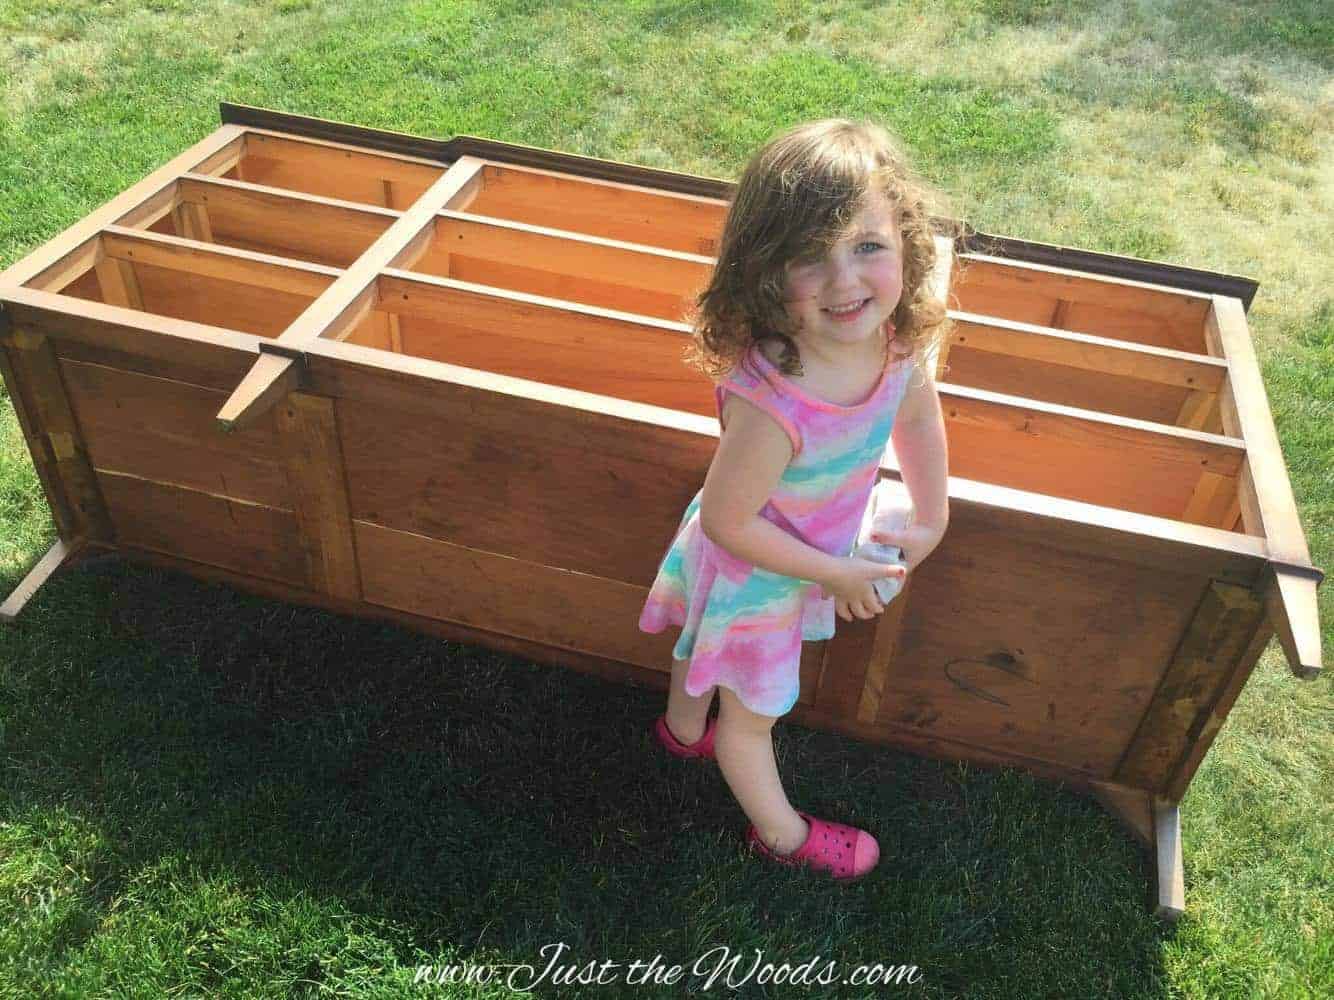
3. Clean Your Piece of Furniture
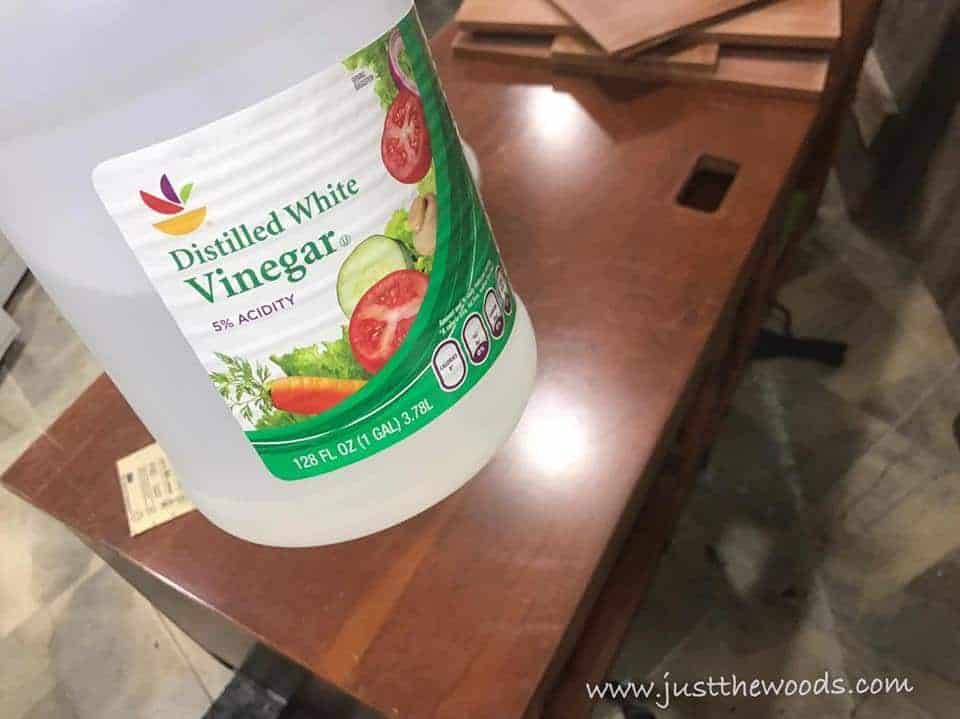
- I use the same exact cleaning method when prepping furniture for paint. I start with simple household white vinegar.
- Add a drop or two of blue Dawn soap.
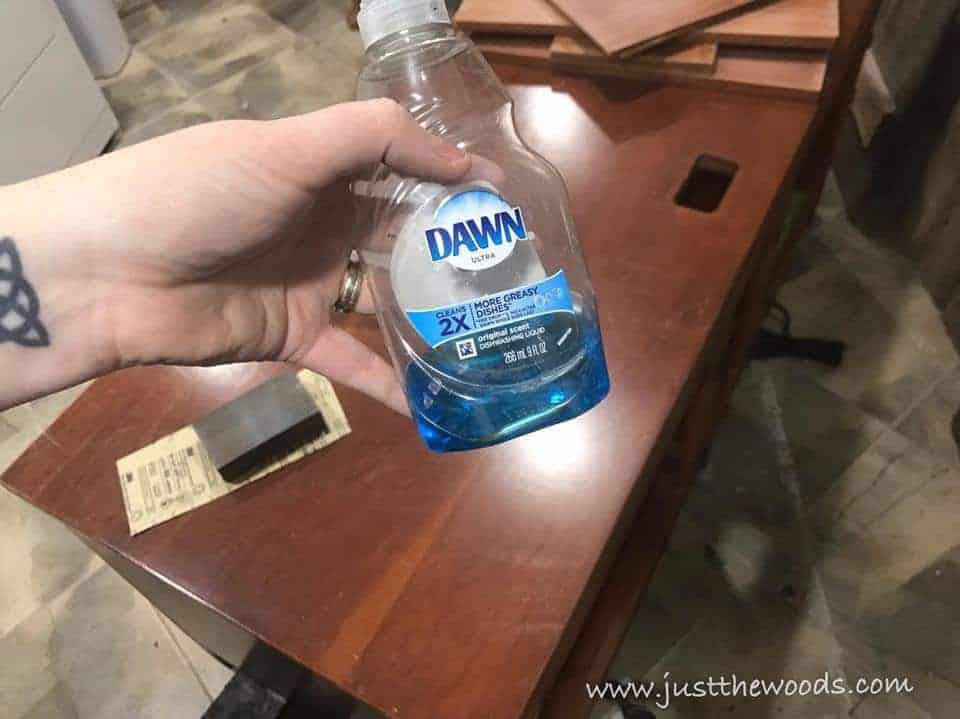
- Equal parts clean water.
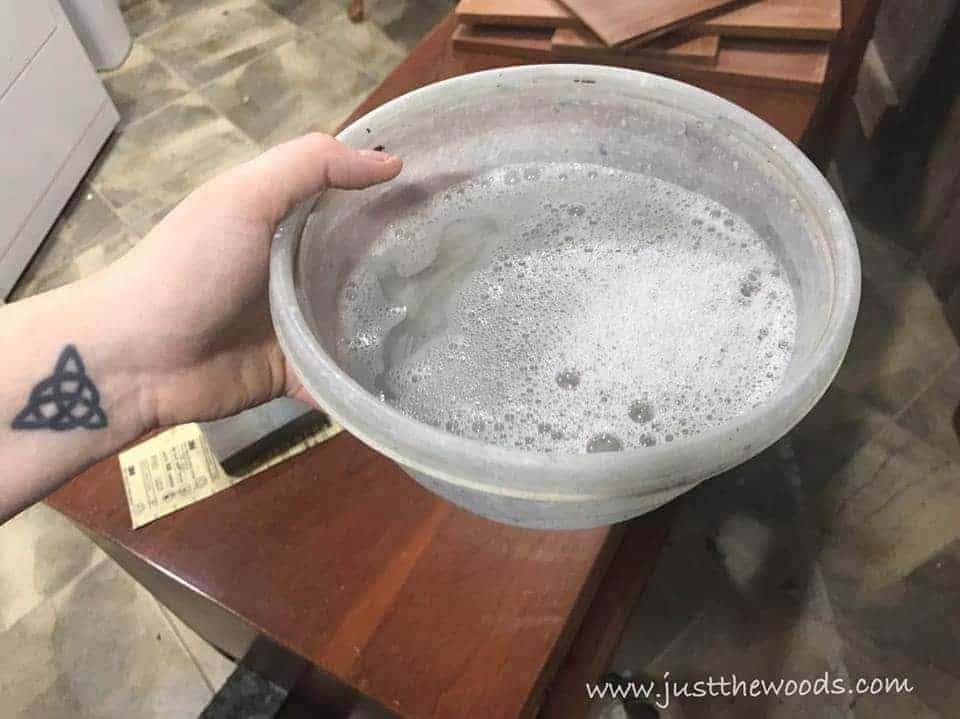
- A scrubby sponge. The entire piece then gets cleaned with this simple solution.
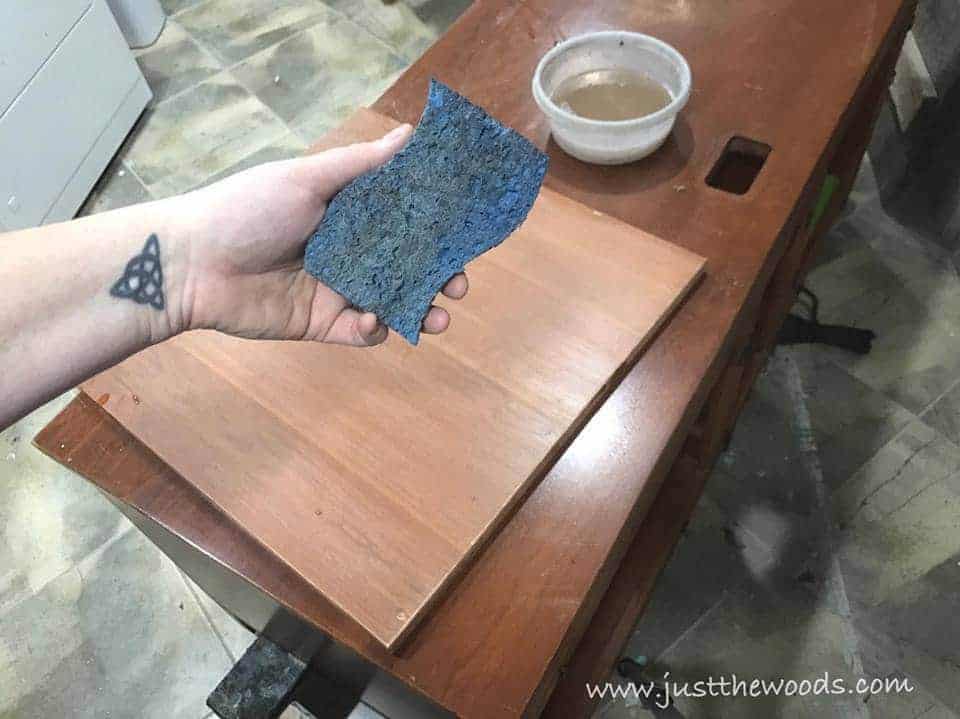
-
- Some pieces don’t necessarily have ornate details, but maybe crevices where dirt and dust have crept inside. The toothbrush works great for that too. Some pieces have ornate details, that’s when I break out the old toothbrush. Make sure not to use your spouse’s toothbrush 😉
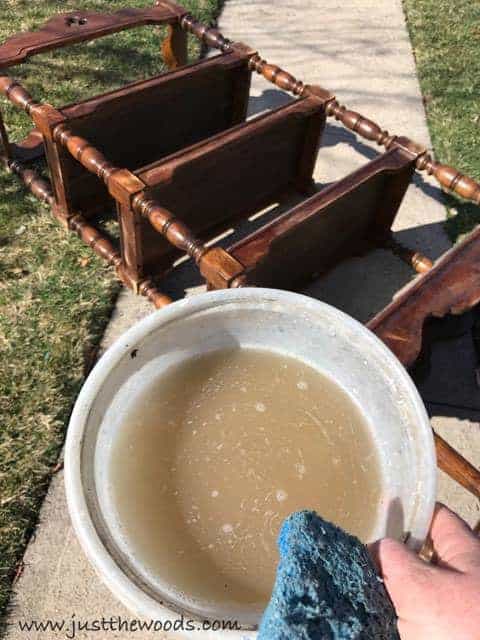
- Often by the time this step is complete the water is plain old nasty! This is important to be mindful of because if you skip the prep work you are actually painting over dirt, and paint will stick to wood much better than it will stick to dirt.
- Some pieces don’t necessarily have ornate details, but maybe crevices where dirt and dust have crept inside. The toothbrush works great for that too. Some pieces have ornate details, that’s when I break out the old toothbrush. Make sure not to use your spouse’s toothbrush 😉
4. Rinse your Piece of Furniture
- Once I feel that the piece has been properly sanded and cleaned I grab a clean paper towel, or I suppose a clean rag or old T-shirt would work just the same and I do a rinse wipe down. The entire piece is wiped down with a clean towel to remove any remaining dust and/or cleaning residue. Not until then is a piece fully prepared and ready to be painted.
Live Video
Here is a pre-recorded video that was done on Facebook Live where I cleaned and prepped a small table:
-
Optional – Deciding when to use Primer on your Painted Furniture
Using primer is hit or miss for me. I am not for or against, but rather I let each painted furniture project determine whether or not to use primer. When painting over a dark wood like mahogany I will often choose to use primer. Click here to see tutorials where the furniture was primed before being painted. PRIMER FIRST.
5. Choosing Paint for you Painted Furniture Project
I would hate to see you go through the steps to prep painted furniture and then choose a paint that isn’t the best quality. Make sure to research the paint that you are using and don’t just opt for the cheapest. I’ve had people tell me that they used certain paint and it started peeling off. Save yourself the aggravation and use paint that is made for furniture. There are so many great quality paints out there to choose from. You can find great paint options online HERE. It’s made in the USA and made for furniture.
All Prepped and Ready for Paint? Go check out How to Paint Furniture – a Beginners Guide.
-
In Conclusion
- Let’s be honest, at the end of the day, it’s still paint, not steel and no matter how you prep or what products you use you still need to be kind to your furniture. If you leave a water glass on a painted table or a table with a factory finish I’m pretty sure you will have the same chance of getting a water ring. Or if you drip oil from one of those scented plug in things on your furniture you will most certainly damage the finish (unless it is in fact steel I would assume). If you dance burlesque in heels on your dresser, chances are you will leave a mark.I have multiple pieces of painted furniture in my home, some for a few months and some for a few years and I can honestly say the finish is still as good as the day it was painted. Interested in seeing what painted furniture pieces are in my home? Check out my entire living room makeover! Make sure to check out my process for How to Clean, Prep & Paint Hardware. I’ll be sharing this post at these fabulous link parties.
Check out all of my furniture projects with over 90 painted furniture makeovers: Stunning painted furniture ideas.
Don’t Forget – Follow Just the Woods :
FACEBOOK * INSTAGRAM * PINTEREST
Subscribe to our mailing list here: [mc4wp_form id=”1340″]
PINTEREST PIN READY TO SHARE




Nancy Walden says
Thank you for the tips. I’m planning to update my dining table and chairs soon so getting this now if good timing for me. I’m going to stain the top darker and paint the table apron and legs. The chairs have cushioned seats which I’ll recover after I paint them. I just have to decide which paint color I want to use!
Kandice says
awesome! Im glad it helped! Check out teak protective wood stain, its my absolute favorite dark stain. ( http://www.justthewoods.com/shop-paint/ )
Colette says
Thank you! This is a great detailed explanation of the proper way to prep furniture. I truly appreciate the time you take to help us succeed.
Kandice says
aww thank you Colette
Roseann Hampton says
Great step by step directions! Thanks for sharing!
Angie ~ ambient wares says
It’s so nice to see how you work on pieces. No matter how many times I’ve refinished something, I’m no expert and I always feel like I’m doing it wrong mainly because I feel like it takes me forever in the prepping area 😉 Thank you for sharing with us at Funtastic Friday!
Kandice says
thank you, prepping is probably the longest (and least fun) part of the makeover 🙁
Meg says
Is there a wood primer you recommend for oak vs. other woods? How do you feel about “Oil Bond”? is it any better than latex primer? Thanks for the help!
kandice kullmann says
The shellac based primer from Zinser is the only one that I use.
Wanda says
There is no link to the actual painting for beginners. I really need help!
kandice kullmann says
hi Wanda. I went back and made sure that the link was added and working. You can also use this link: http://eepurl.com/c73dLz
Michelle says
Hello,
I am about to start my first wood furniture painting project. The item I’m buying has great lines but someone put gold paint over the stained wood. Would sanding alone suffice or do I need to chemically strip the gold paint away? Thanks!
kandice kullmann says
you should be able to remove most of the paint by sanding. Id def go that route and see how it goes