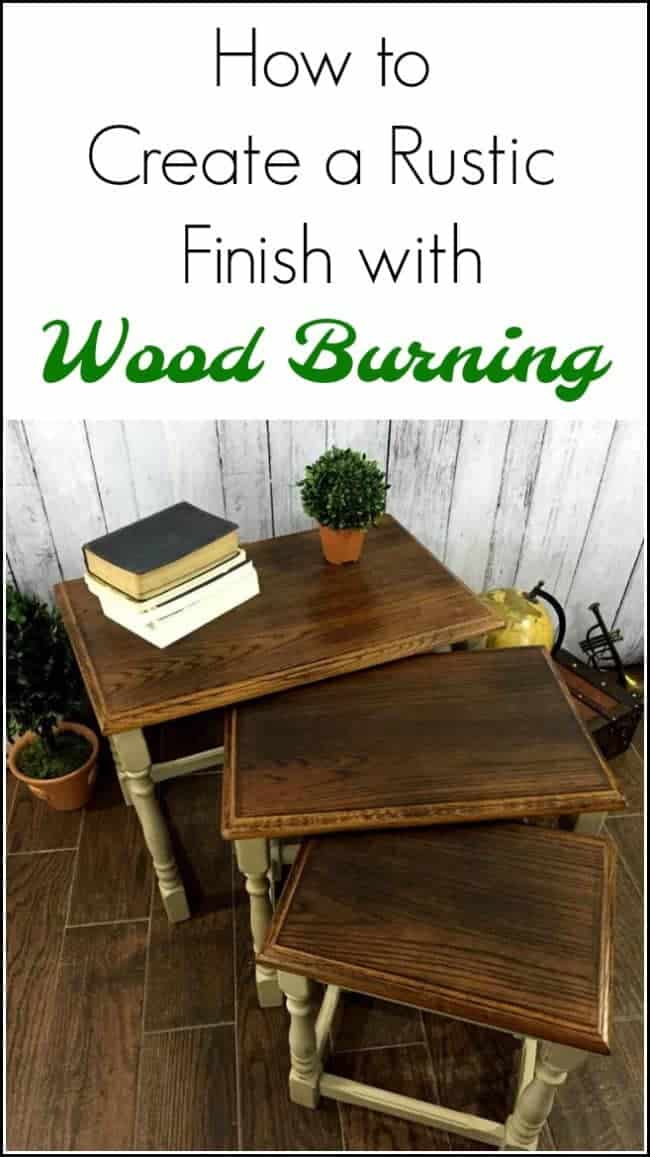
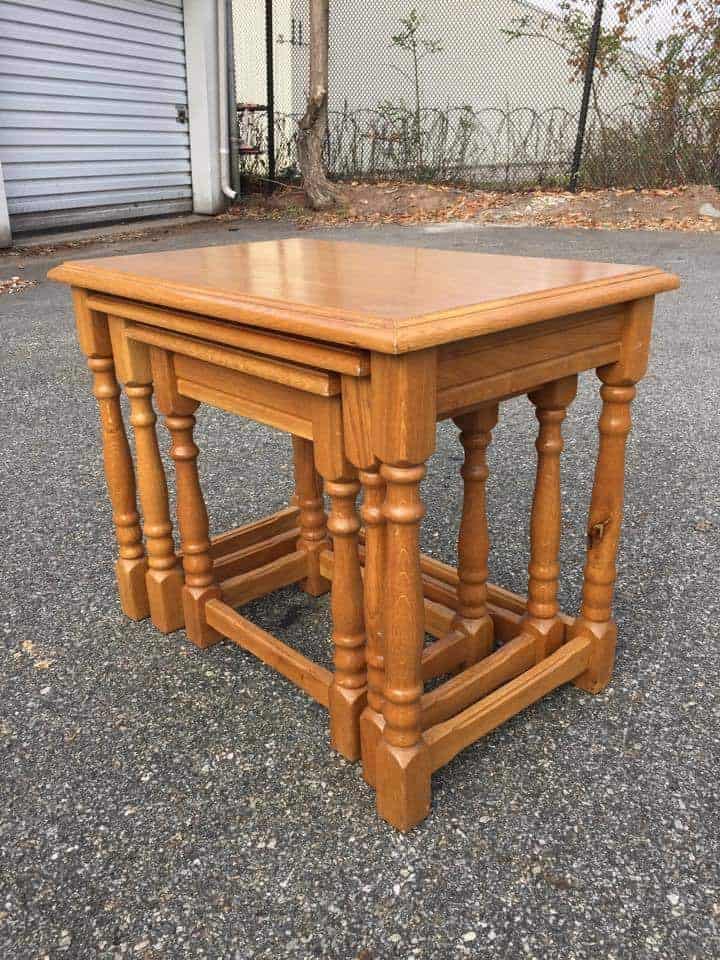
This is my first attempt at wood burning and I decided to use these oak stacking tables that have been sitting in my inventory. These solid oak nesting tables are so cute, solid wood and plain honey brown, they have great wood grain and nice details on the legs. Without a doubt, they have a rustic charm to them so I decided to toast them up. We have a cabin up in the Catskills and I can’t help but imagine them in someone’s log cabin or country home, maybe fireside in a cozy chair curled up with a book and a hot drink next to you on these tables. A girl can dream.
Disclosure: This post contains affiliate links for your convenience. Click here for my full disclosure policy
Wood Burning Toasted Oak Stacking Tables
Materials Needed:
Staging / Home Decor:
*Make sure to use safety precautions when wood burning furniture.
The Before – Vintage Stacking Table
These stacking tables have a stubborn clear finish that is determined not to come off. But I am determined to remove it.
Love nesting tables but prefer to not do the work? Click here for a variety of beautiful nesting tables for sale online: HERE or HERE
The Process – Sanding
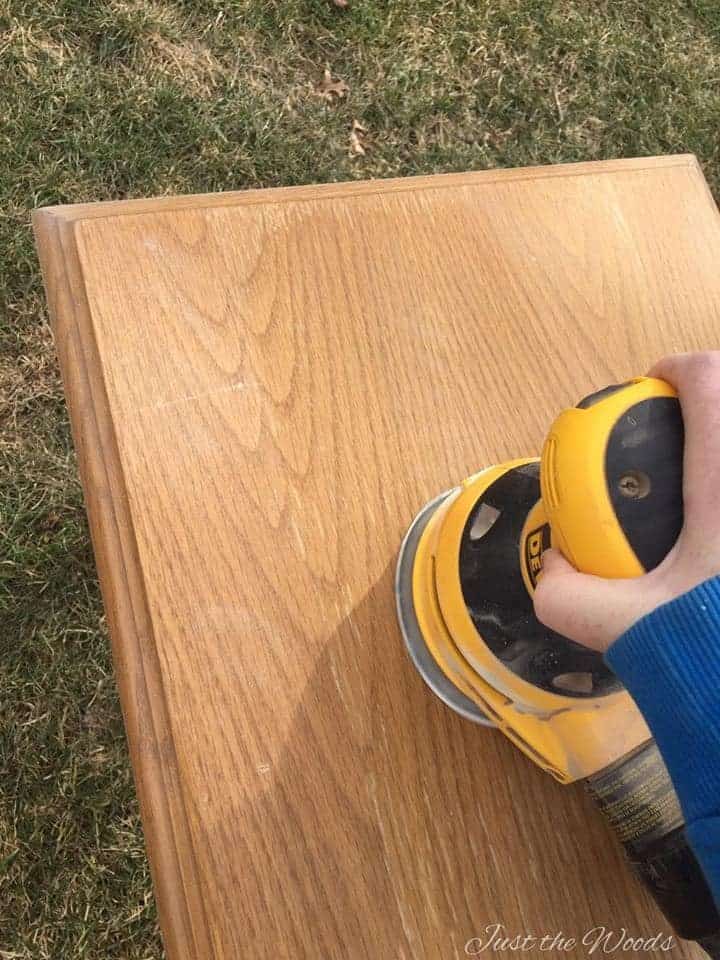
The tops still had the original clear finish on them that needed to be sanded off. I took out my trusty sander and got to work on these oak nesting tables. But much to my dismay no matter how much I sanded the finish would barely come off. I was even using 80 grit, so I certainly wasn’t going easy on them.
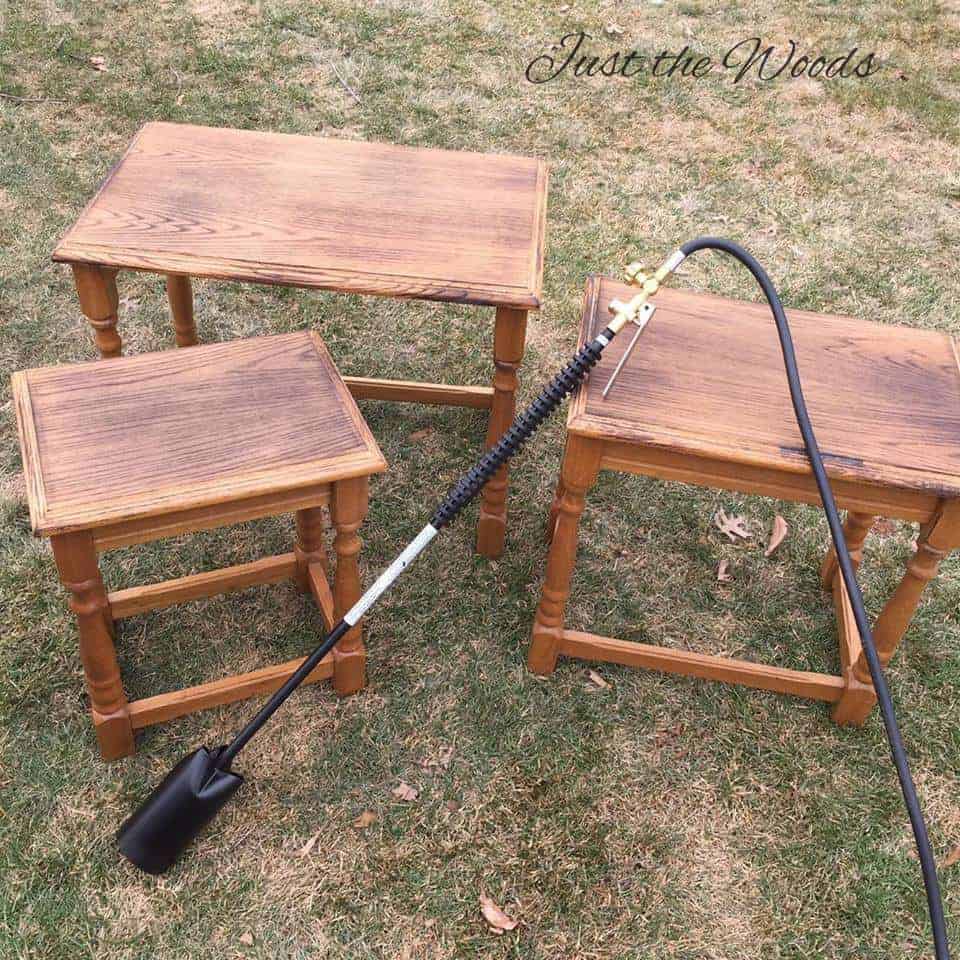
After a failed attempt at sanding off the clear finish, I decided to take a chance. Since I would be torching the tops anyway, I figured I could burn off the clear finish. Please keep in mind that I have never tried this before and I’m flying by the seat of my pants, please torch at your own risk if you decide to try this. I grabbed my very powerful blowtorch and burned the tops of the wood nesting tables. It definitely worked to get that stubborn finish off. 
The table tops ignited and were ablaze! As expected they were completely charred. Pretty gross don’t you think? 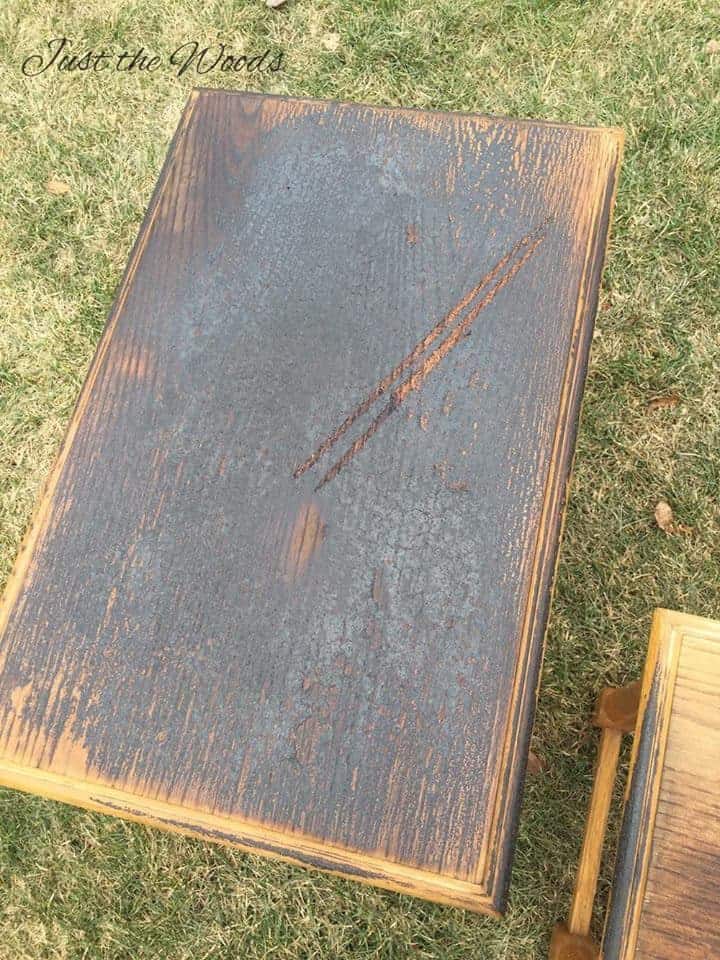
Next, I sanded the black char off and brought the tops to a smooth finish. 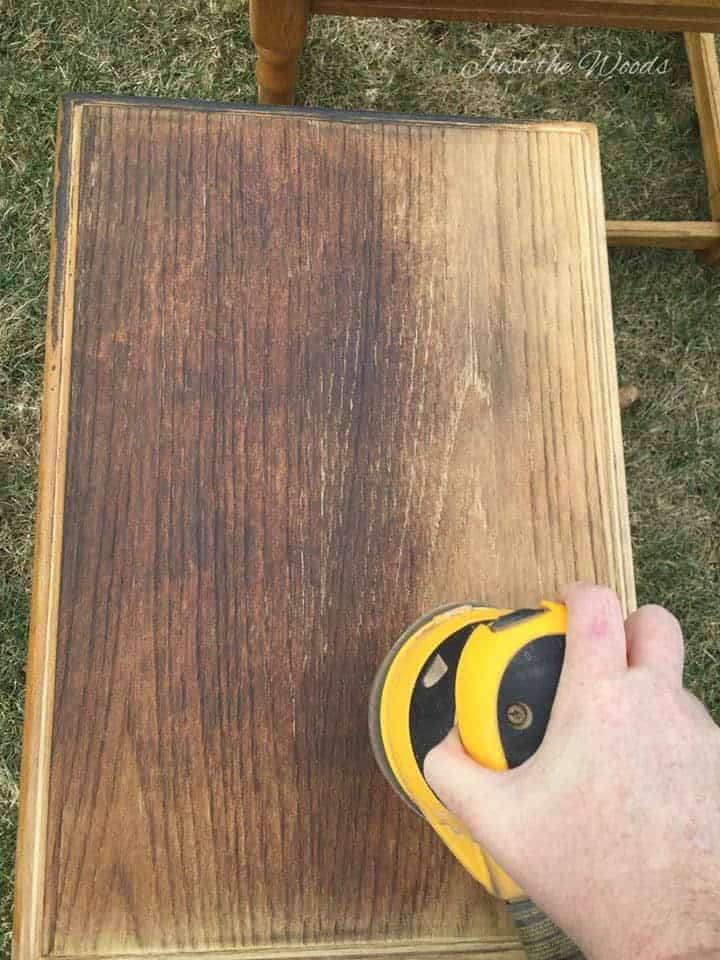
Then I lightly torched the tops a second time for a toasted but not charred look. 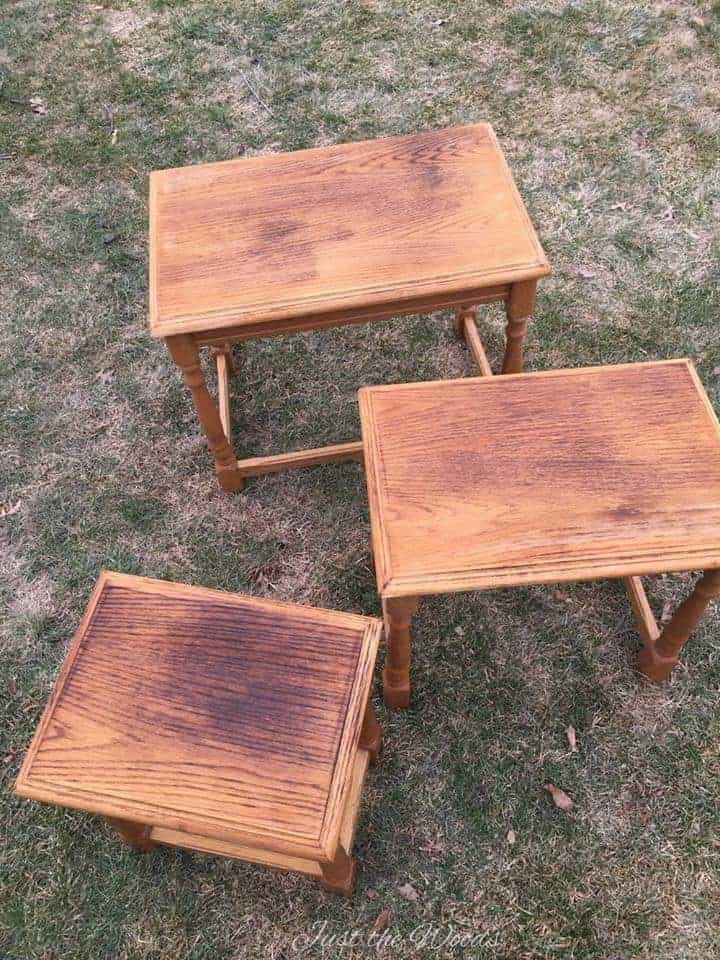
Once I was satisfied with the tops and realized that I should also wrap things up before I burn any more of the grass I lightly sanded, added a light chocolate stain and sealed them for protection.
The Result – Toasted Oak Stacking Table
Wood burning turned out to be the perfect option for these stubborn stacking tables.

I love the way the wood grain is brought to life.
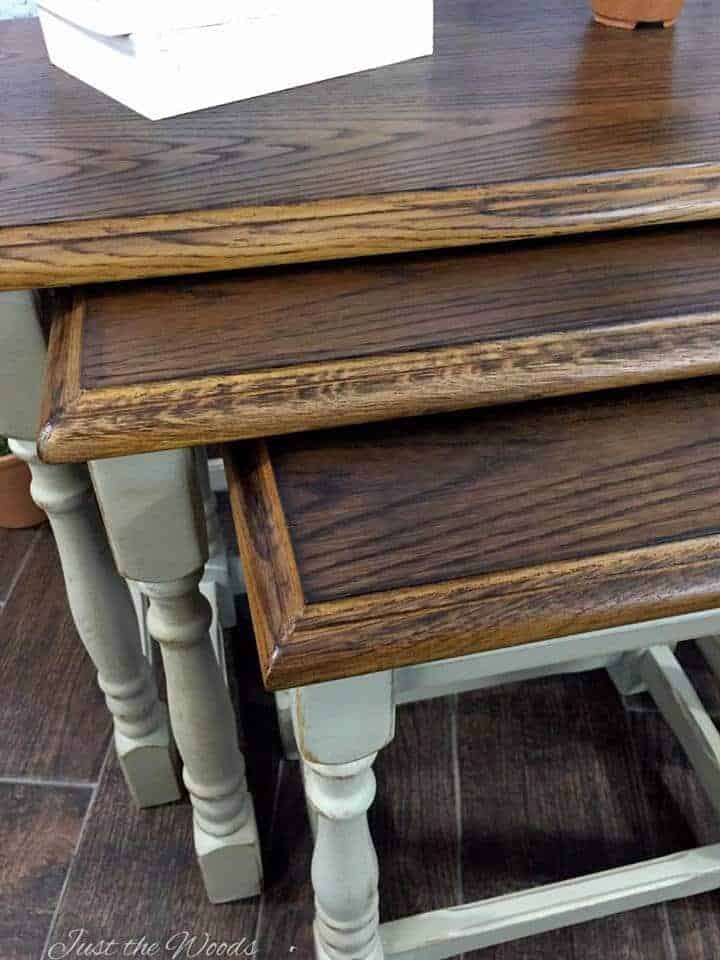 The base and legs of the stackable tables have been hand painted in a custom-mixed soft taupe, somewhat like a light beige.
 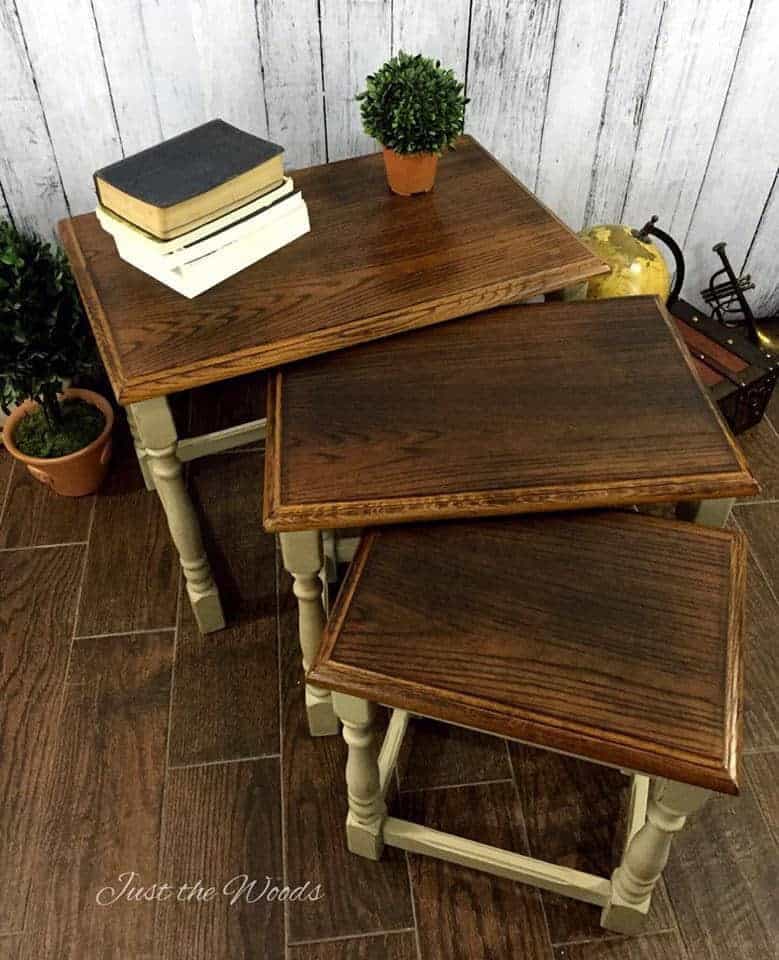 They were then distressed and antiqued for that rustic charm we mentioned earlier.
They give me that warm fireside feeling, no pun intended. *wink*
New to painting furniture and not sure where to start? Start at the beginning with How to Paint Furniture – a Beginners Guide.


Love unique home decor but don’t feel like spending hours scouring the internet? Let me do the work for you. Click to be added to the exclusive Home Decor & Fabulous Finds.
I’ll be sharing this post at these fabulous link parties.
Don’t Forget – Follow Just the Woods:
FACEBOOK * INSTAGRAM * PINTEREST
Subscribe to our mailing list here: [mc4wp_form id=”1340″]
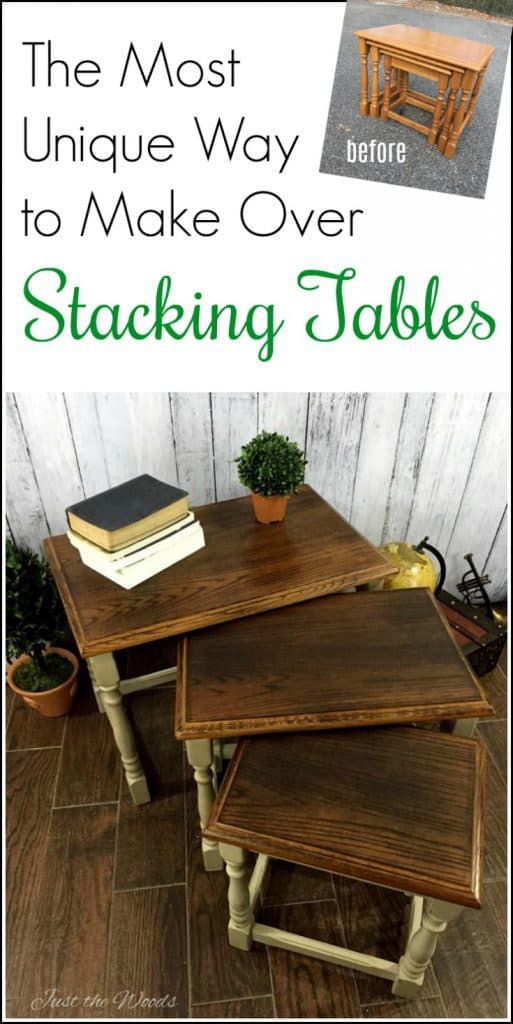
PIN IT!


Debbie W. says
How beautiful. Love, love, love.
Kandice says
thank you so much and thanks for stopping by 🙂
Jenny says
These tables came out great! So pretty!
Kandice says
thank you Jenny!
Christine says
Love the aged look if it gives the wood, I usually just use our torch to trim weeds, now it can do double duty!
Thanks so much for joining the Dishing It & Digging It Link Party and hope it brings you some new friends and some good traffic. We hope to see you next sunday for the next party.
Kandice says
thank you so much!!
Lori says
Love the way these turned out! What a transformation!
Kandice says
thank you so much!!
Sadie Seasongoods says
Dang! What a fun and crazy method- I love it! And they just look fantastic- thanks for linking up to Talk of the Town!
Kandice says
thank you!! 🙂
Terry says
Oh my goodness!!! Now I have to get a blow torch!! This is so cool! I love how you think outside the box … the outcome is so pretty! I hope you have a great day!
Smiles!
Terry
Kandice says
thank you so much! it was a lot of fun 🙂
Maura says
Love this! The tables look great
Kandice says
thank you Maura!
Kelly says
Hi, I’m visiting from Vintage Charm Link Party. Those tables are gorgeous! The burned finish turned out beautifully. Kelly
Kandice says
thank you and thanks for stopping by!
Olivia says
Your project turned out beautifully!
Thank you for sharing with us at Thursday Favorite Things Blog Hop
Olivia, co-hostess
Reinvented Collection
Kandice says
thank you !!!
Tuula @ Thrifty Rebel Vintage says
Your tables turned out absolutely gorgeous Kandice. Love the dark tops with the painted legs. Fabulous! I’ve pinned and shared on facebook. Thanks so much for sharing at Vintage Charm. 🙂
Kandice says
awesome! and thank you so much !
Pam says
Hi Kandice!!
WOW, what a difference!! Love seeing your posts and get quite amazed at the Before and After photos!
Have a great week!!
Pam
Kandice says
thank you so much!! 🙂
Daryl says
I like the effect of your Toaty Timber. I personally would’ve stopped at the first burn. But life is all about experimenting and personal taste.
Well done.
Daryl ????????
Kandice says
hi, thanks Daryl! It was surely a ‘take a chance and see where it goes’ kind of project. Im relieved it came out the way it did, since it couldve gone horribly bad. lol Thank you so much for stopping by!
Dawn says
Hi Kandice! Great job – Love these tables!
Are they still available ?
Kandice says
hi! thank you, sorry no they are sold already.
Katrin says
Amazing! I love how they look and would have never thought of setting them on fire to get the rustic look! Genius!