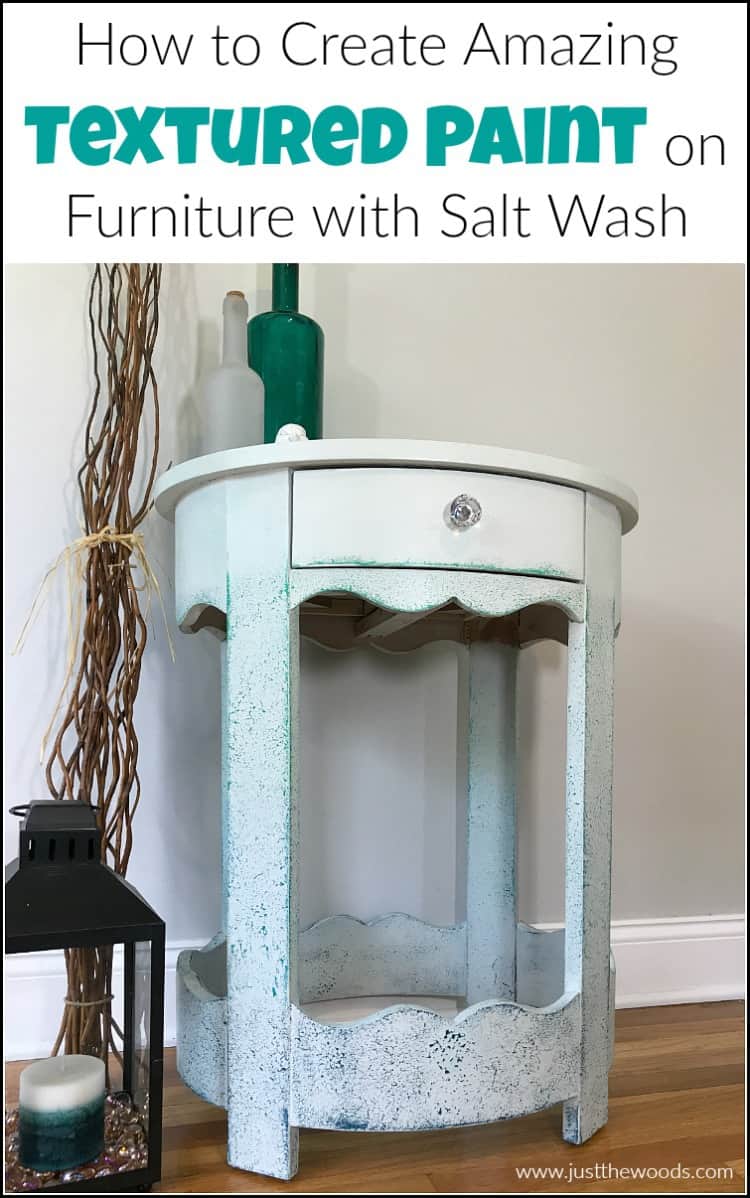
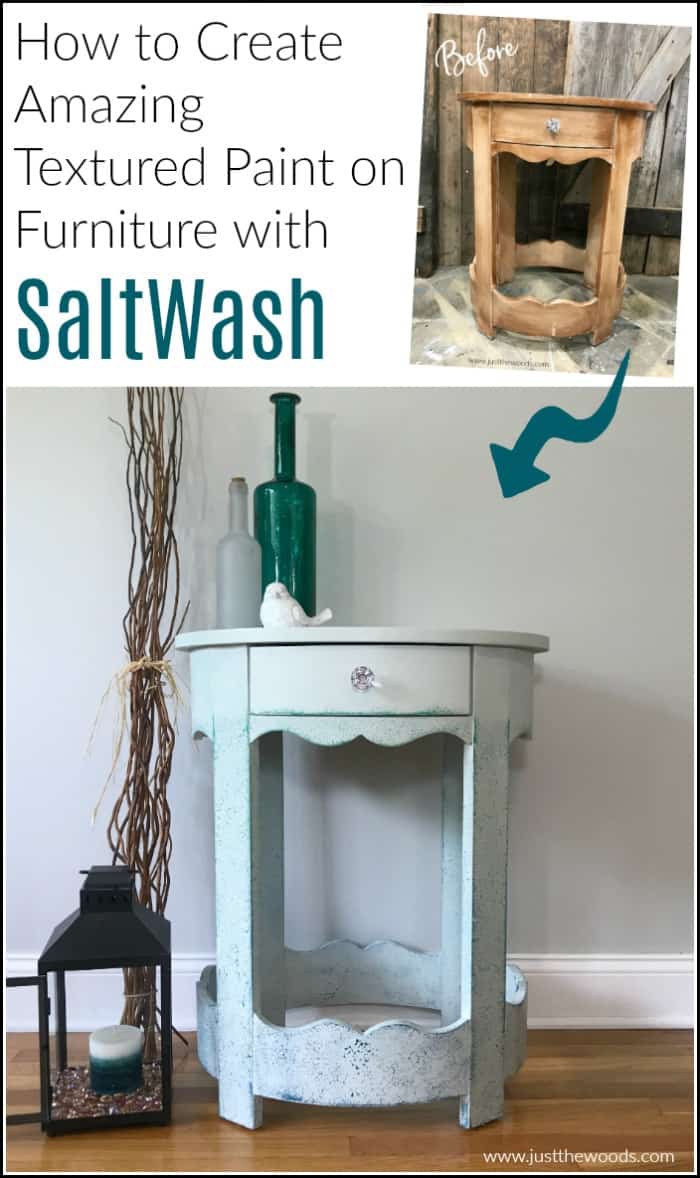
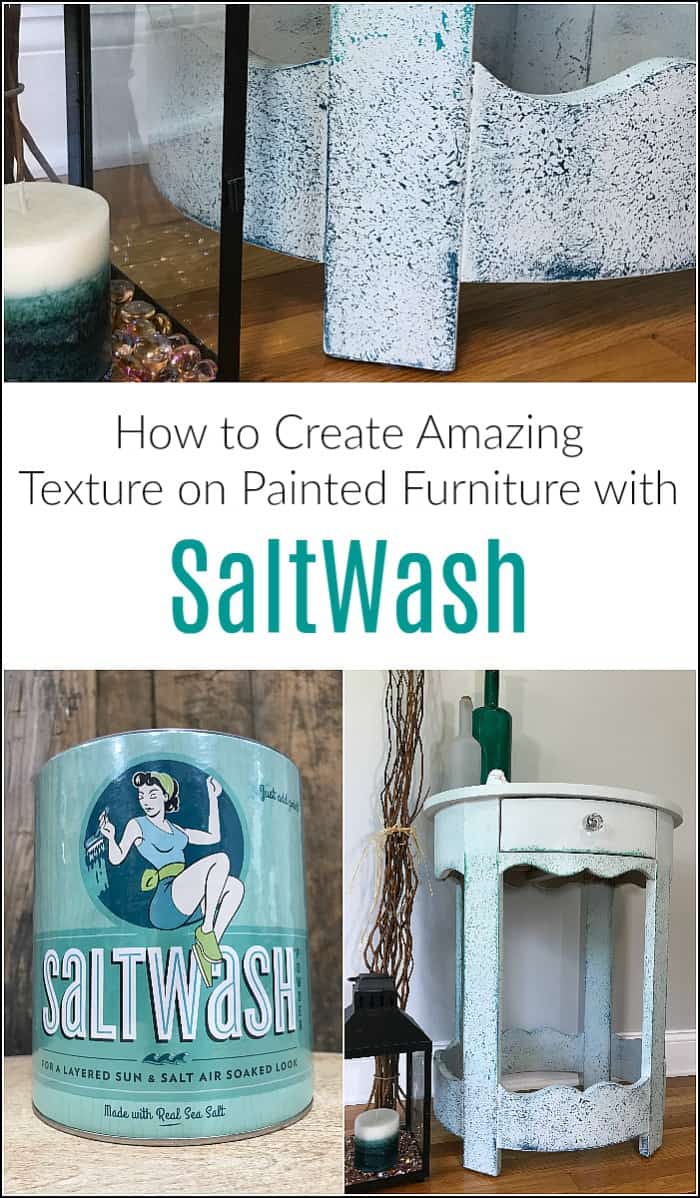
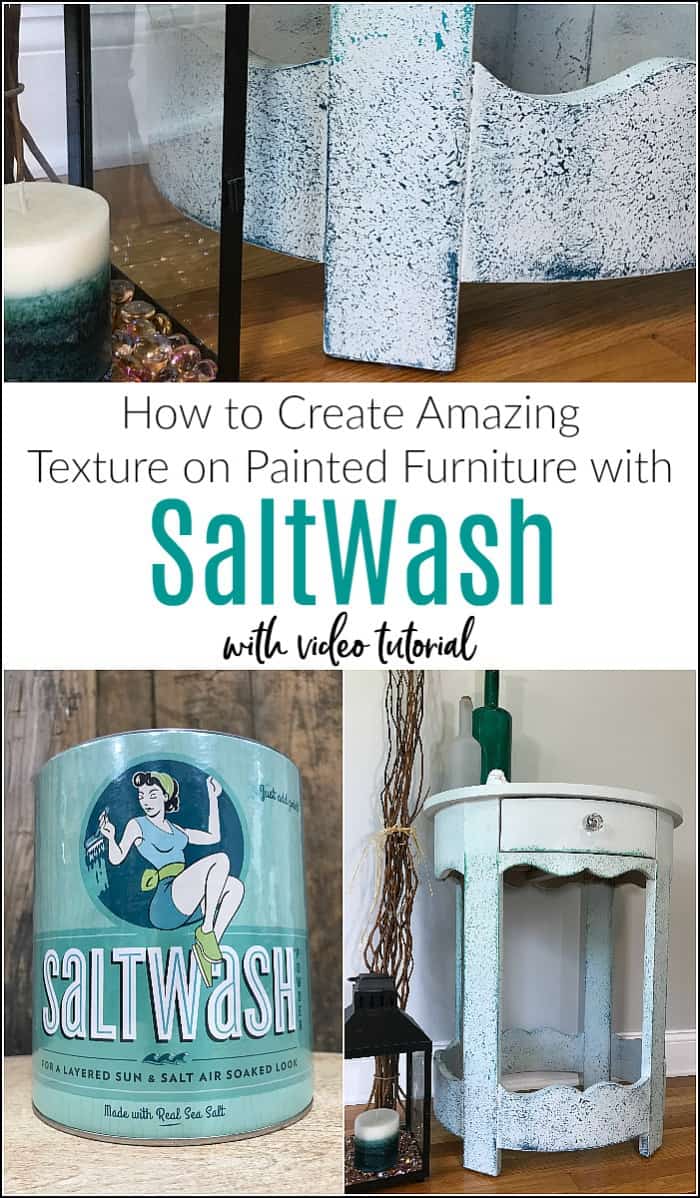
Textured paint creates such an amazing look for your painted furniture makeovers. Did you know that you can create an amazing textured paint finish on your furniture with salt wash? This texture painting technique is so easy and fun to do.
Disclosure: This how to create a textured paint finish with salt wash post contains affiliate links for your convenience. Click here for my full disclosure policy.
Supplies & Tools Needed to Paint Furniture with Salt Wash
Materials Needed / Source List:
Tools
- Zibra Paint Brushes or Cling On Brushes
- Salt Wash Paint Additive
- Furniture Tri Wheelies
- Sandpaper
- Rolgear screwdriver
- Shop-Vac
- Lint Free Cloth
- Find all of my favorite tools and products on my Amazon Page here
Paint
Before we begin, this textured paint technique for painted furniture project is part of our monthly Furniture Fixer Uppers share. You know what that means! Make sure to stick around all the way to the end for more great painted furniture before and after projects.
Check out all of my furniture projects with over 90 painted furniture makeovers: Stunning painted furniture ideas.
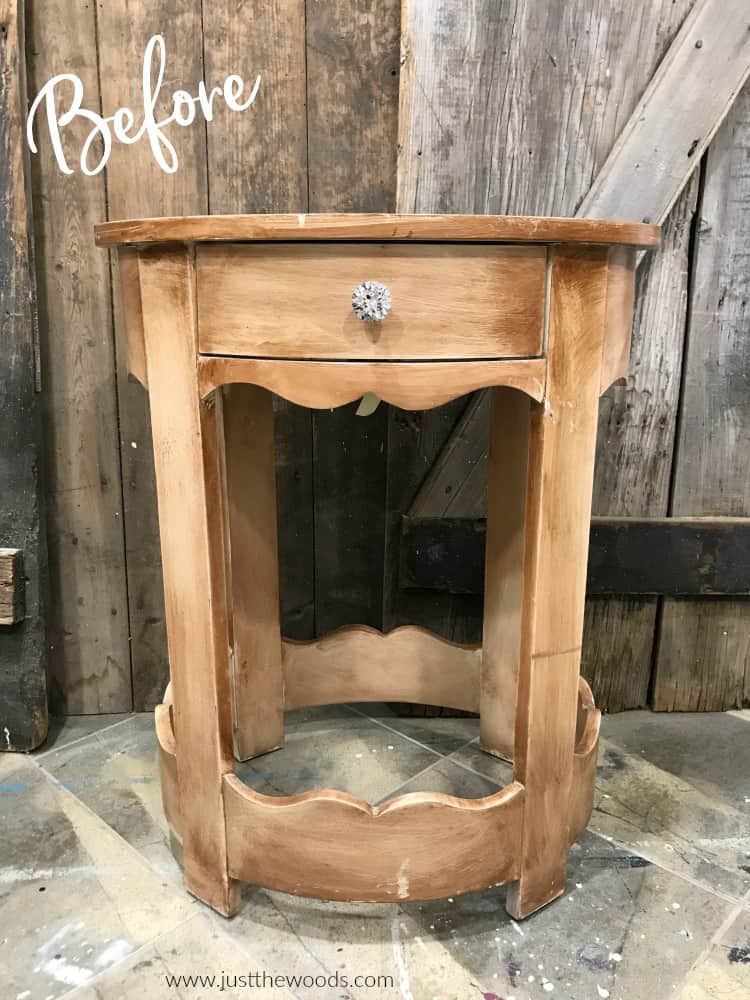
Unfinished Wooden Table
This cute little table is actually part of a set. Yep, they came as a pair. But I’ve decided to split them up – oh the horror. By splitting them up I am able to create different finishes on each table. So, in turn, its double the fun. Since they get donated to local fundraisers and charities they are also going to be able to help support 2 causes rather than one. Win-win. Here is the set as I got them.
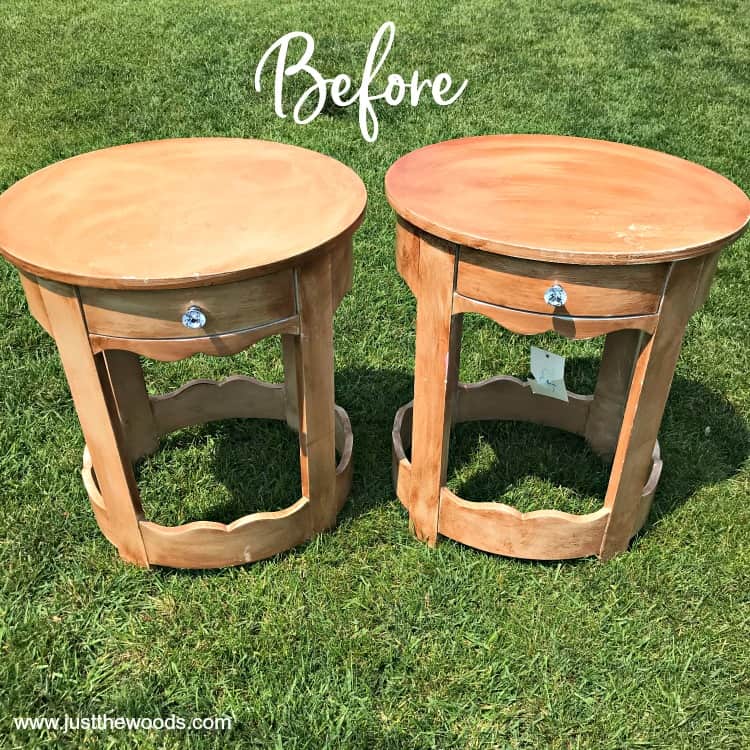
Now we are starting with just one table while the other remains in the back of my truck rolling around until I can get to it. (I’ll update when the time comes for that one)
Textured Paint Project on Painted Furniture
Here is a list of the basic steps for creating a texture paint finish on your painted furniture project. We will get further into detail for each step as we move along.
- find your piece of furniture
- sand your furniture
- clean your furniture
- prime your furniture
- You will need:
- a clean quality paintbrush
- quality furniture paint
- Salt wash texture paint additive
- sand texture paint to reveal the amazing finish
- seal your piece of furniture for protection
How to Clean Furniture for a Textured Paint Makeover
Like every painted furniture project we will prep this table the same as we prep every makeover.
- Let’s start by removing the drawer and the hardware.
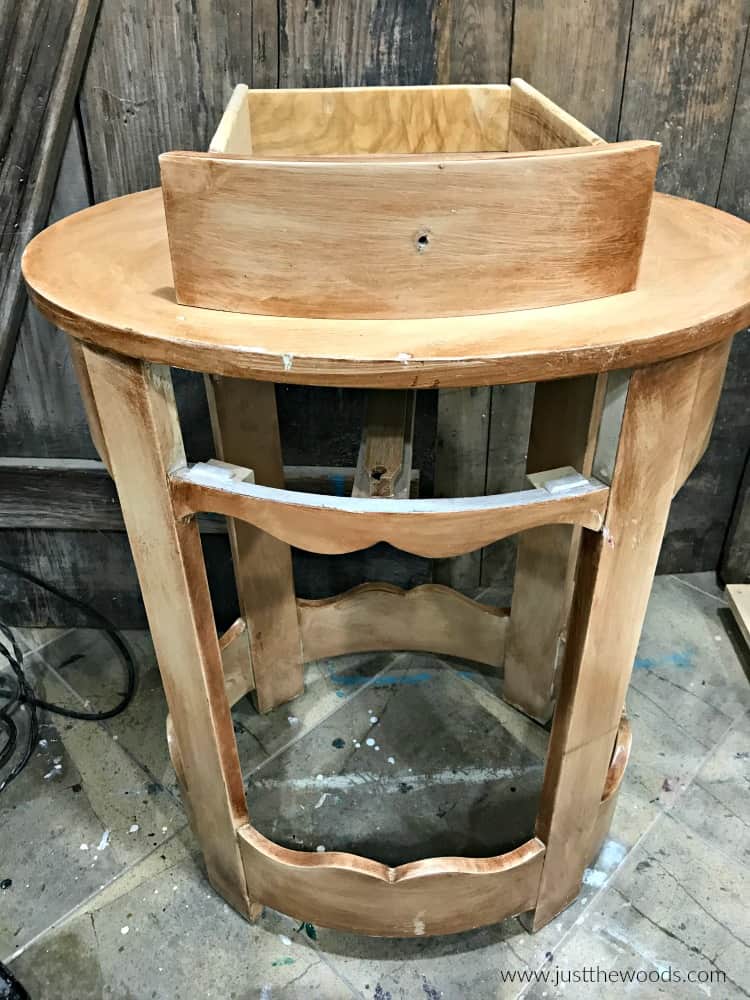
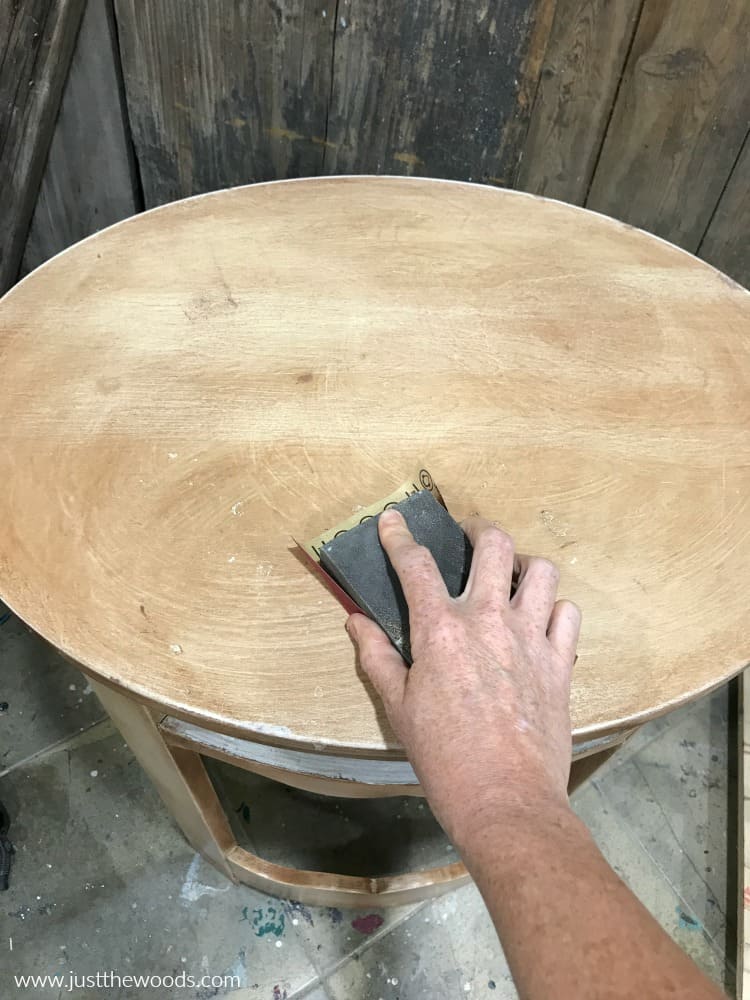
- Grab your sandpaper and wrap it around a sanding block. I am using 150 grit for this step.
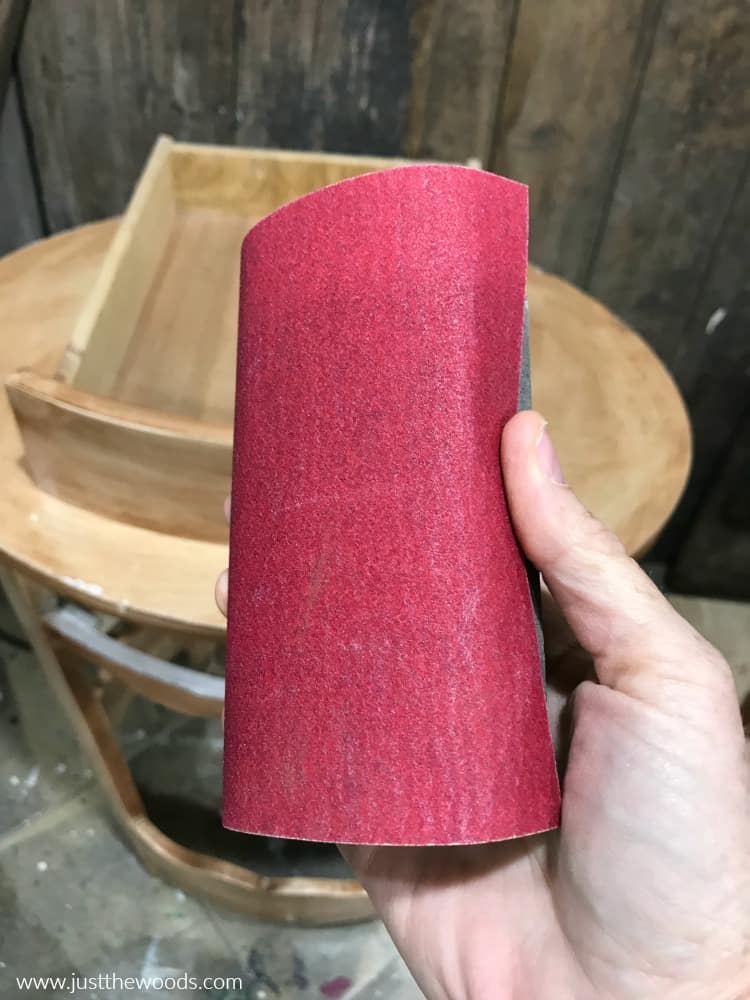
- Give the piece a good scuff over the entire surface.
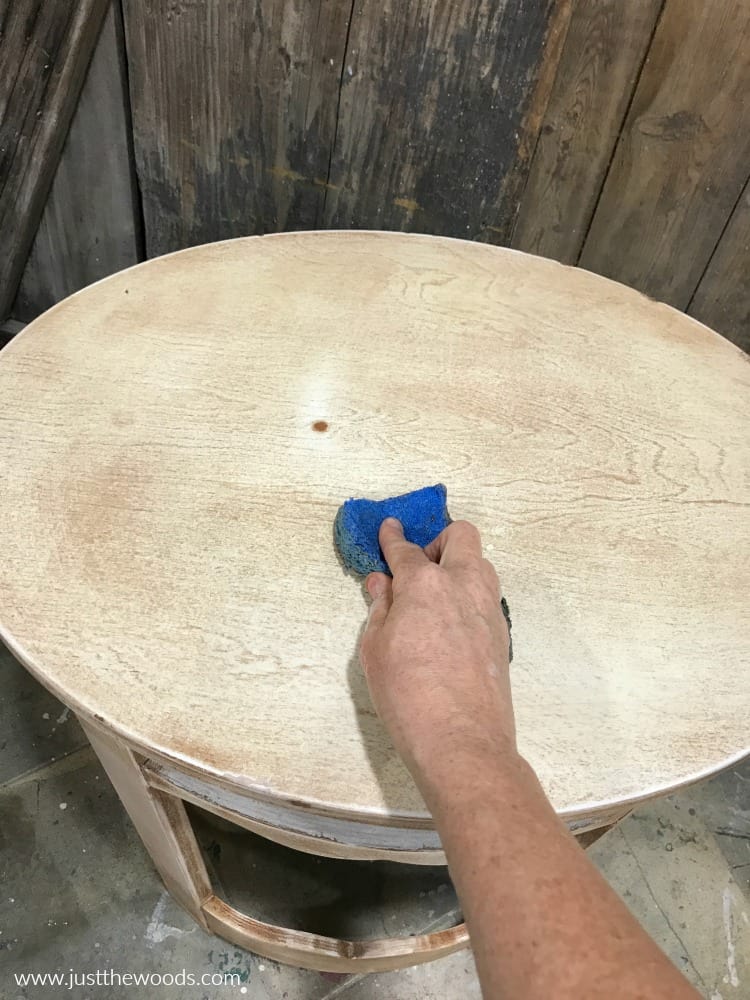
- Next, give the entire piece a cleaning to remove the dirt, grime, and dust. A scrubby sponge works great for this part.
- You’d be amazed at how much yuck builds up on furniture.
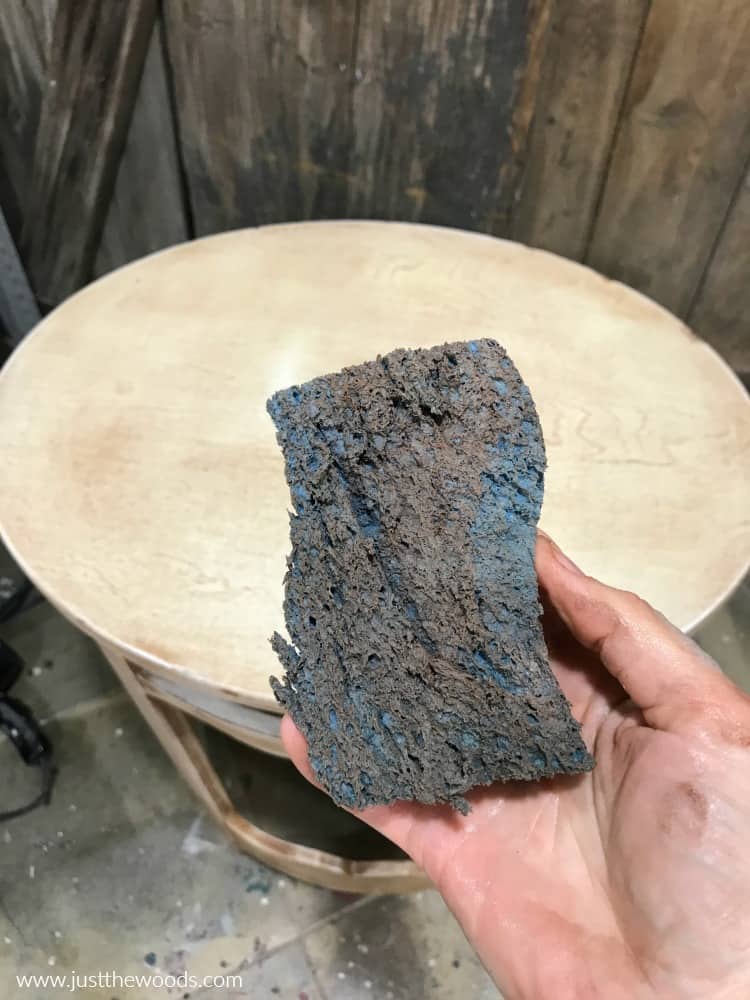
- You’d be amazed at how much yuck builds up on furniture.
- Make sure to follow up with a clean water wipe down to remove any excess build up or cleaner left behind.
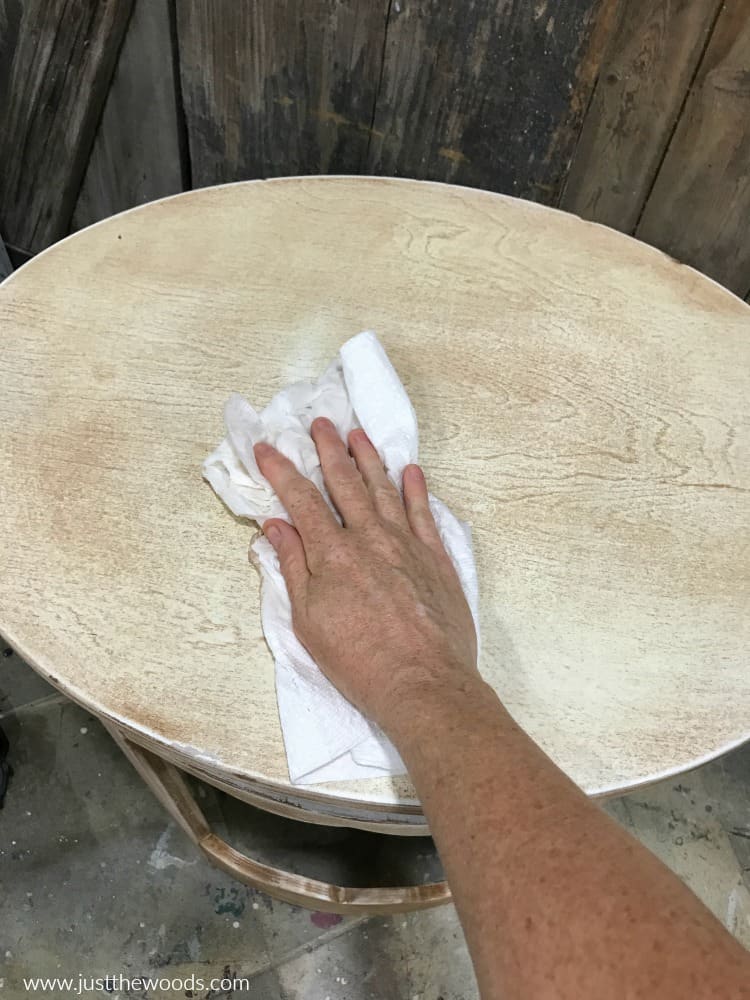
- Again, so gross! And this table isn’t even that dirty or old. Can you imagine what a super old beat up piece of furniture has built up on it? Eww.
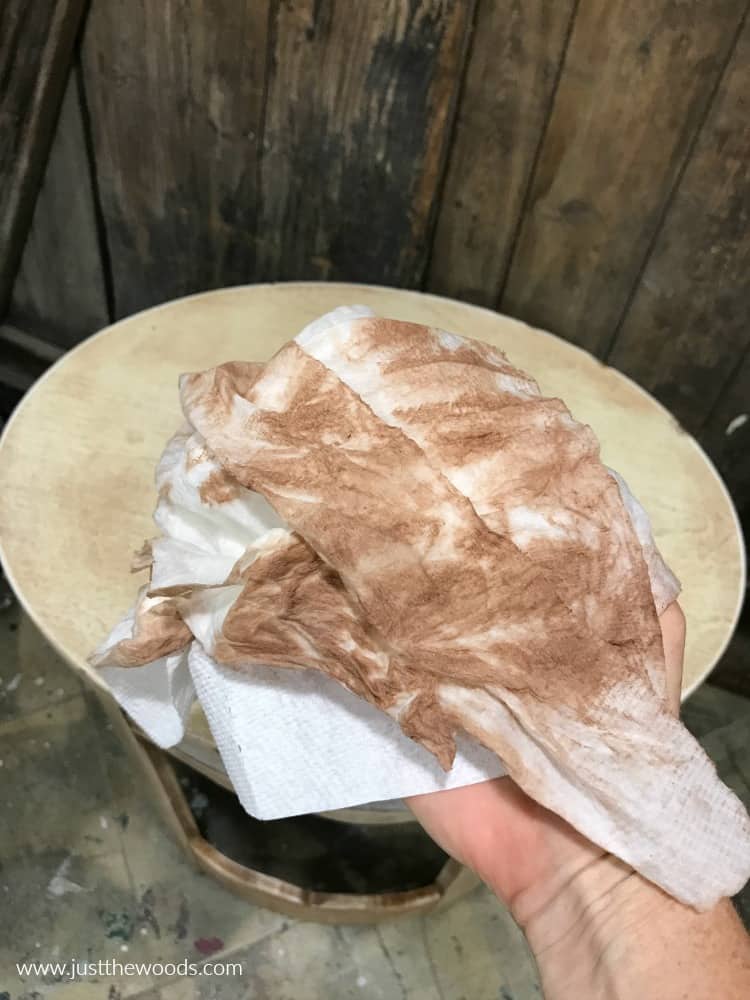
- Again, so gross! And this table isn’t even that dirty or old. Can you imagine what a super old beat up piece of furniture has built up on it? Eww.
- I think we are finally all clean and ready to move on. You can always check out my standard process for prepping furniture for paint: How to Prep Painted Furniture.
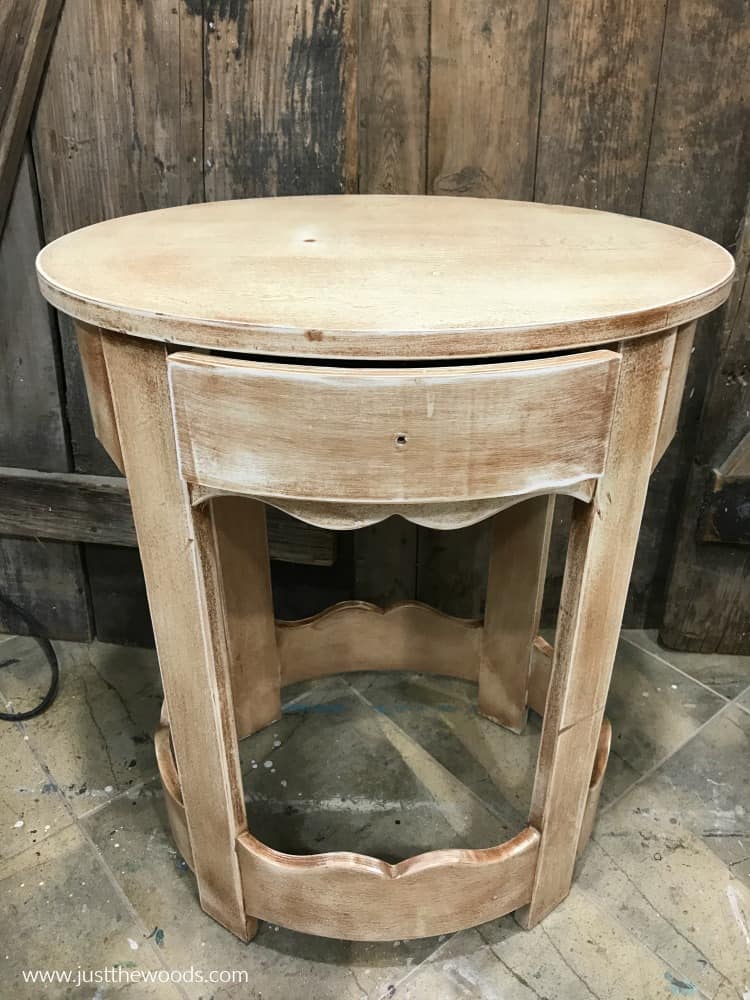
How to Prep & Prime Furniture Before Paint
Now that our piece is clean we can move on. I am starting with a stain blocking primer from Wise Owl. You may not NEED to use primer for your project, but you won’t ever regret using it. I like to err on the side of caution and take the extra steps to avoid any issues in the future. My husband is the type of person who never errs on the side of caution and has to fix his “oops” and mistakes. Where I am more of the play it safe kind of person who prefers to avoid having to deal with mistakes by taking precautionary steps ahead of time. That’s just me. 😉 If you are more like me, you can get this Wise Owl Primer online HERE (it comes in clear or white).
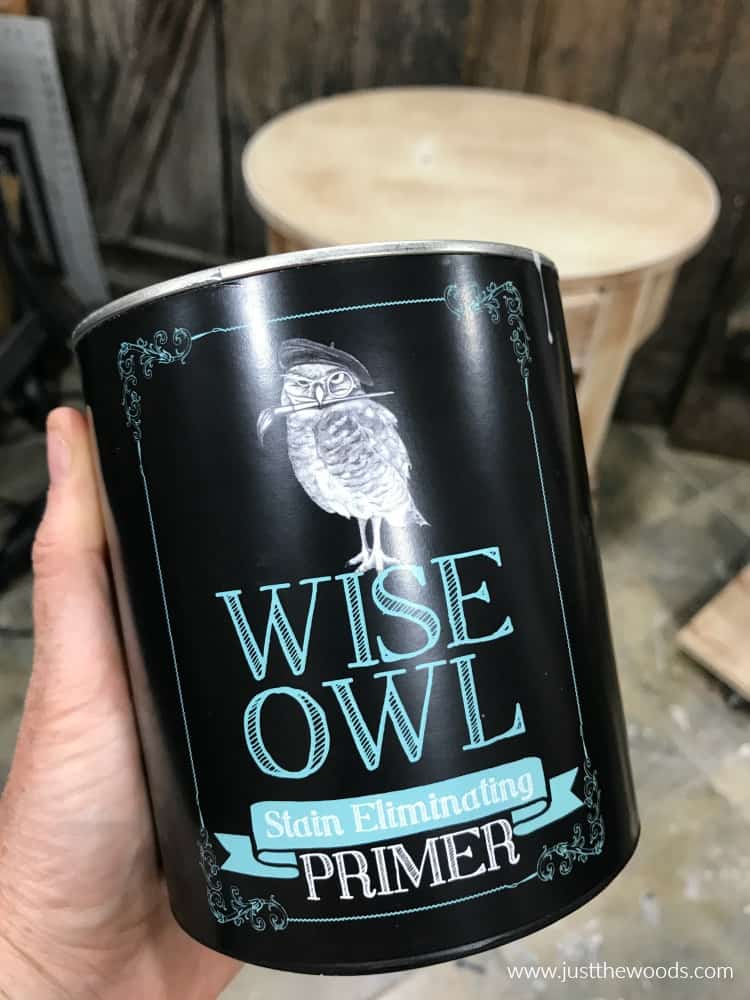
Make sure to give your primer a good stir before you start. The color will appear to be a cloudy white, but it is actually a clear primer!
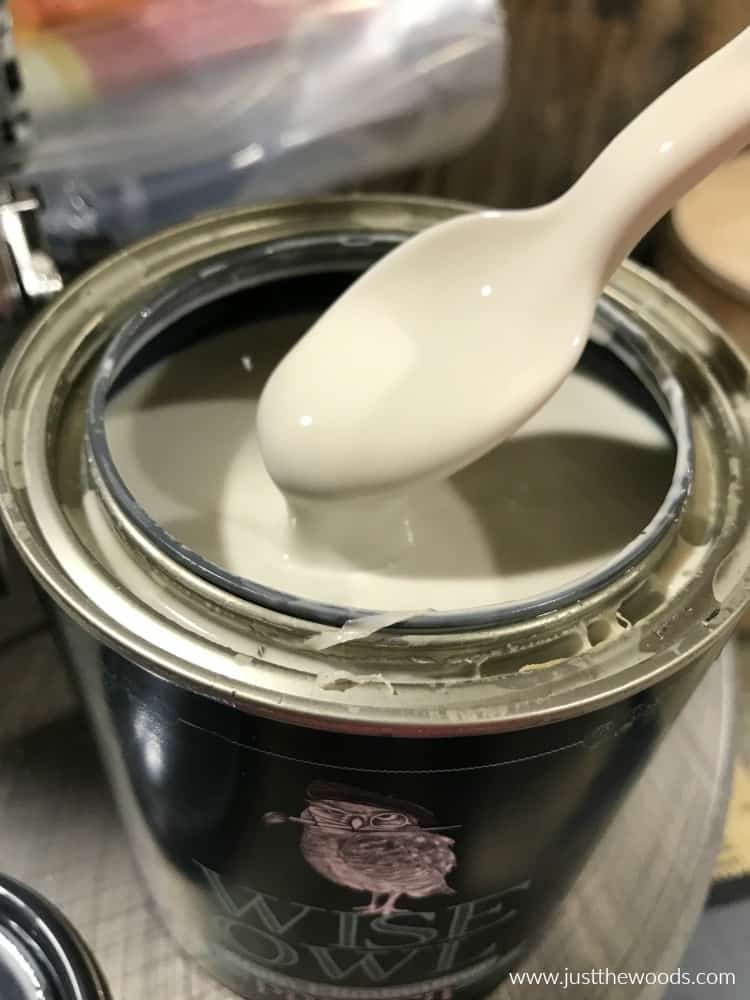
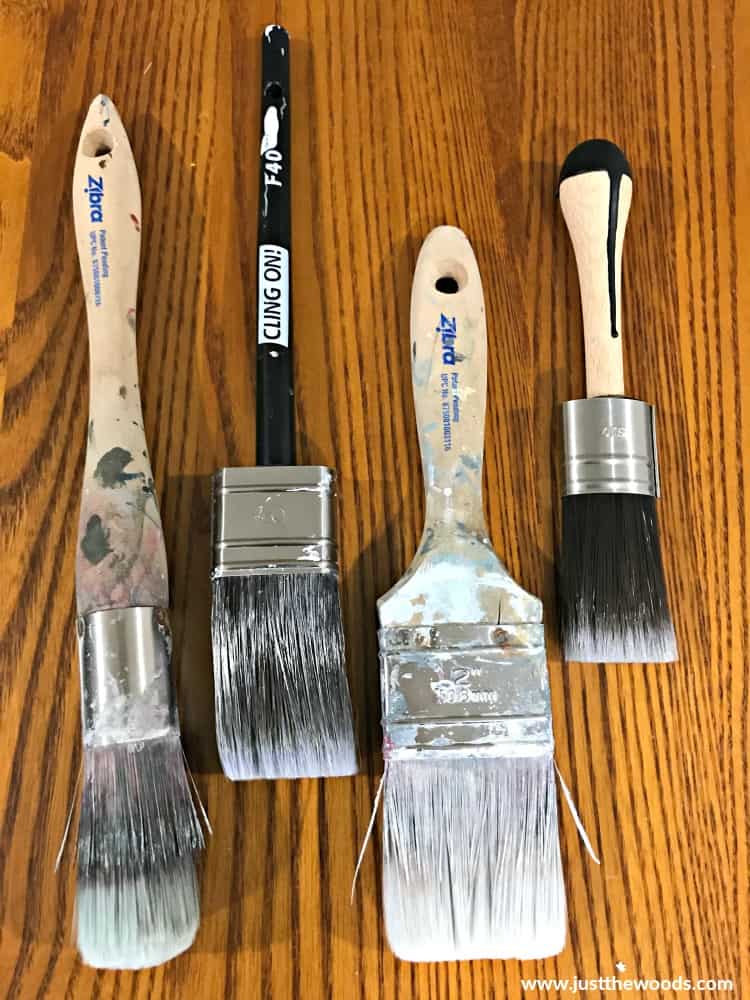
Go grab your favorite brush and make sure it’s clean. I am using one of my flat Cling On brushes. I like to swap back and forth between Cling Ons and Zibra brushes. They both have soft bristles, are easy to work with and clean up well. (I abuse my brushes) To be honest, I like them both. Zibra brushes are a bit more affordable and can be ordered online (HERE). Cling Ons can be ordered online (HERE).
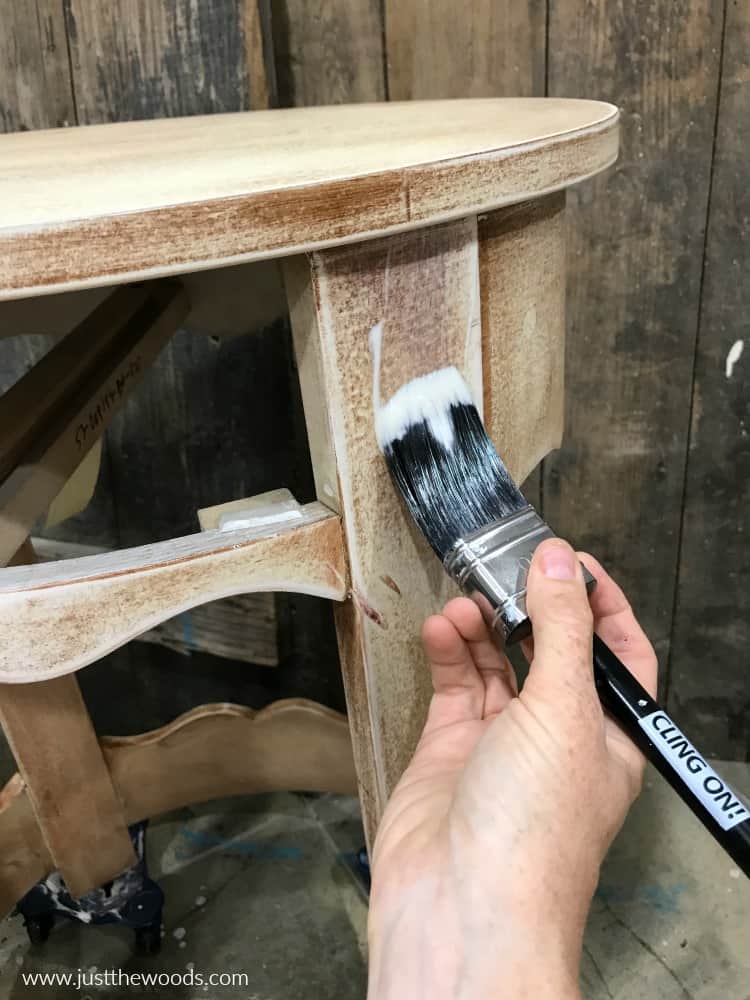
With your brush go ahead and apply your stain eliminating primer the same way you would apply your furniture paint. You actually don’t even need to be as careful. Since the primer dries clear just make sure to get decent coverage over the entire piece without overthinking this step.
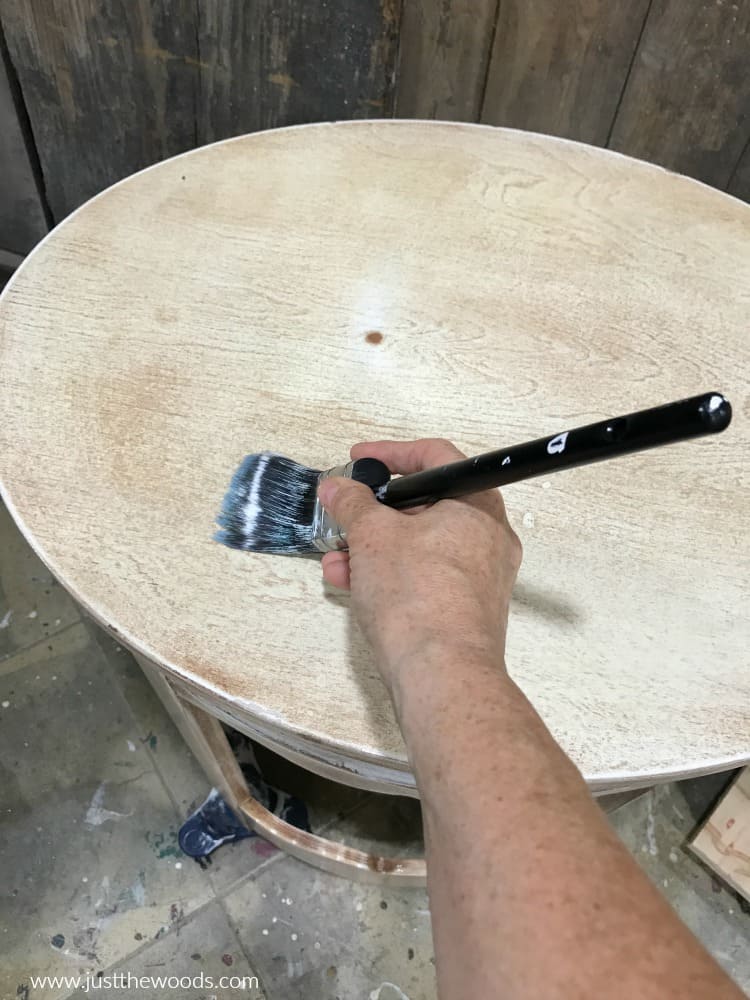
Make sure to get the top as well. Depending on the condition of the piece and your intentions with how you intend to paint your furniture you may want to apply a second coat for good measure. For this table, I am only applying one coat of clear primer.
How to Make Textured Paint with Salt Wash
Now that the cleaning and prep work is complete let the fun begin! Let’s gather our furniture paint and Salt Wash paint texture additive. Since Salt wash creates a beachy weathered textured finish I am going with some great blues and greens for my paint colors. You can grab all of these Wise Owl paint colors and more online HERE. You can get Salt Wash online HERE.
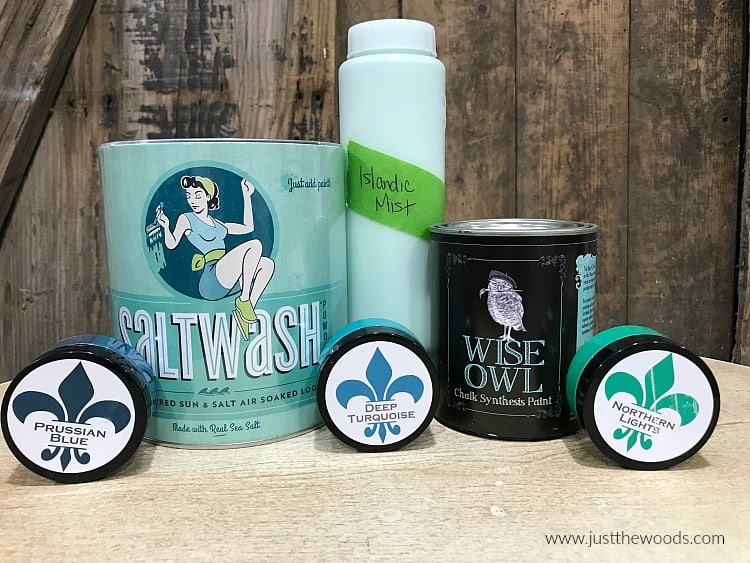
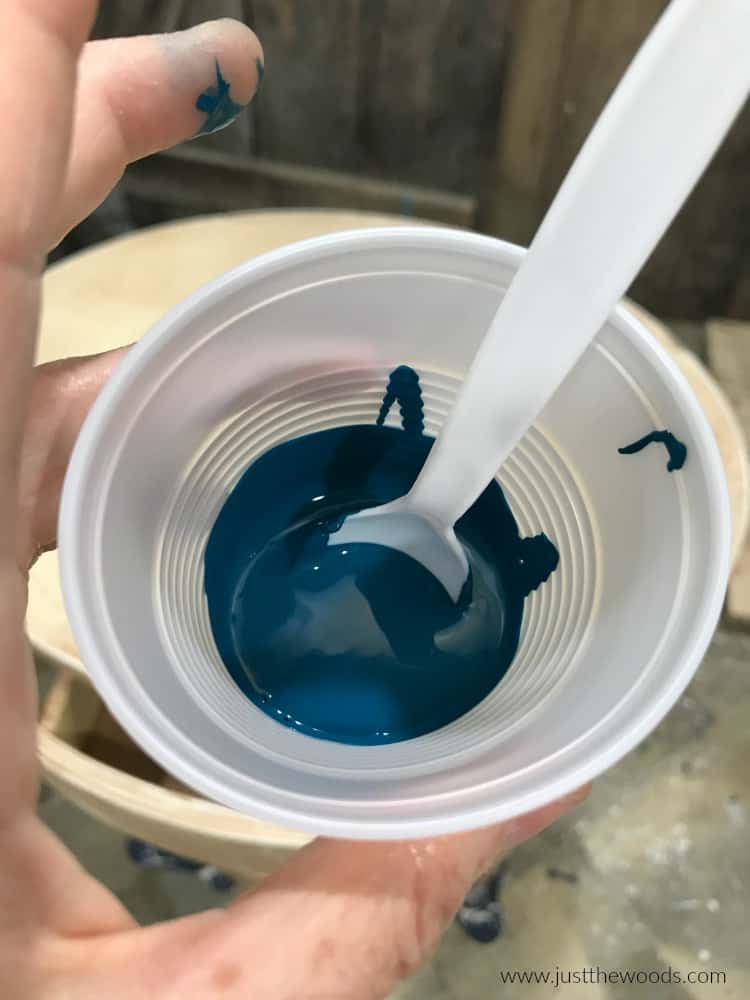
Some projects start off without a plan, while others you tend to visualize the end result before starting. With this painted furniture project I can visualize the end result from the start. I am starting with a deep dark blue called Prussian blue from Wise Owl. To mix our paint with our salt wash textured paint additive we will start by adding the paint to a plastic cup.
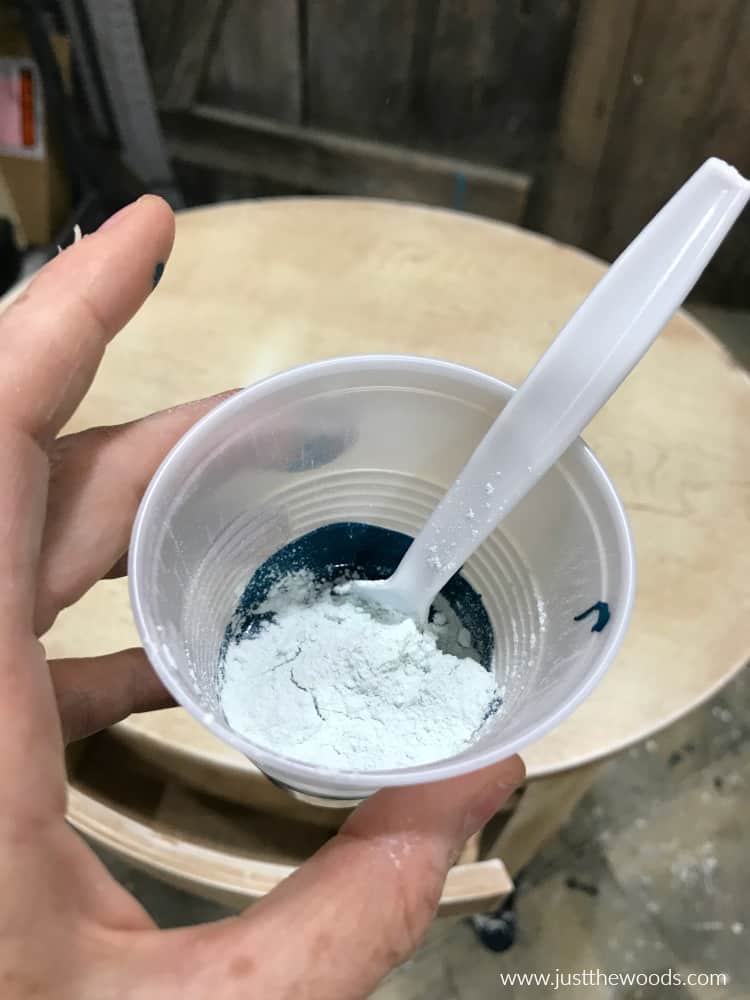
Next, grab your SaltWash powder and add a little at a time to your cup. This is by far the easiest way for adding texture to paint.
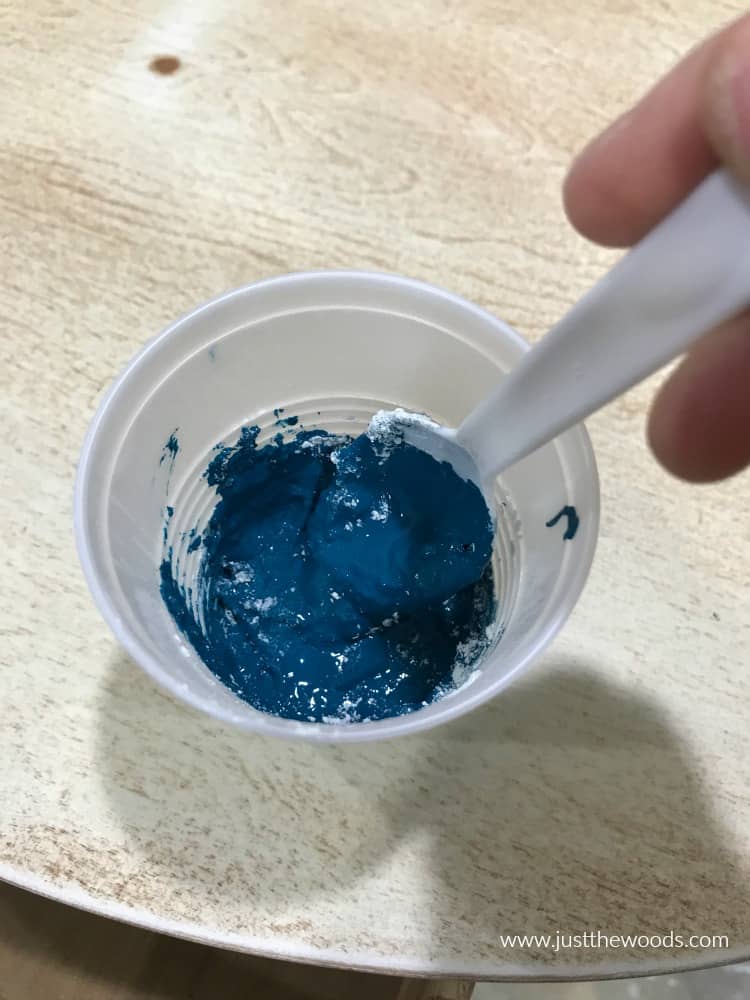
Mix your salt wash with your paint. You can actually use salt wash with any type of paint or chalk paint, as far as I know, to make your own texture paint. When you want to learn how to texture paint, I am afraid there is no specific measurement or paint to salt wash ratio. Or if there is, I certainly don’t use one. Depending on the paint that you are using your main goal is to mix until you have the consistency of cake icing.
Using Salt Wash Paint Texture Additive
Now that we have our textured paint mixed and ready, get a clean paint brush. For this step, I am using the short handle Cling On brush. Isn’t it cute? You can find these online HERE.
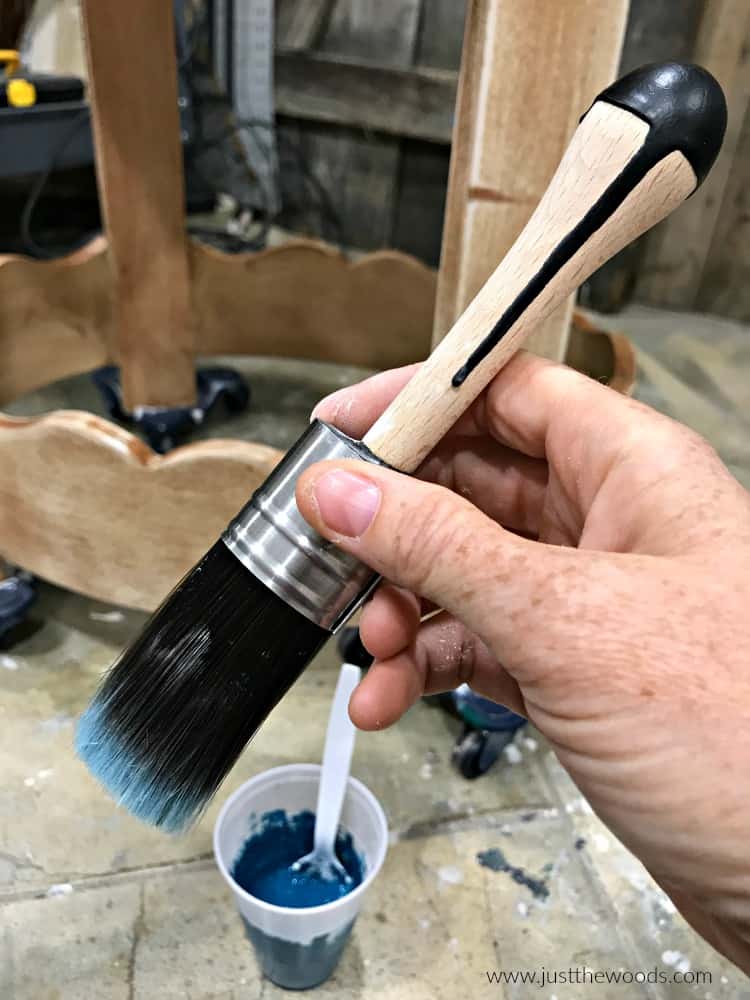
When applying your textured paint to your painted furniture project you don’t want to apply the same way that you would normally apply your chalk paint. For this, you will want to use more of a stippling or smashing effect. Dab or bounce your brush onto the furniture creating small peaks as you lift the brush away.
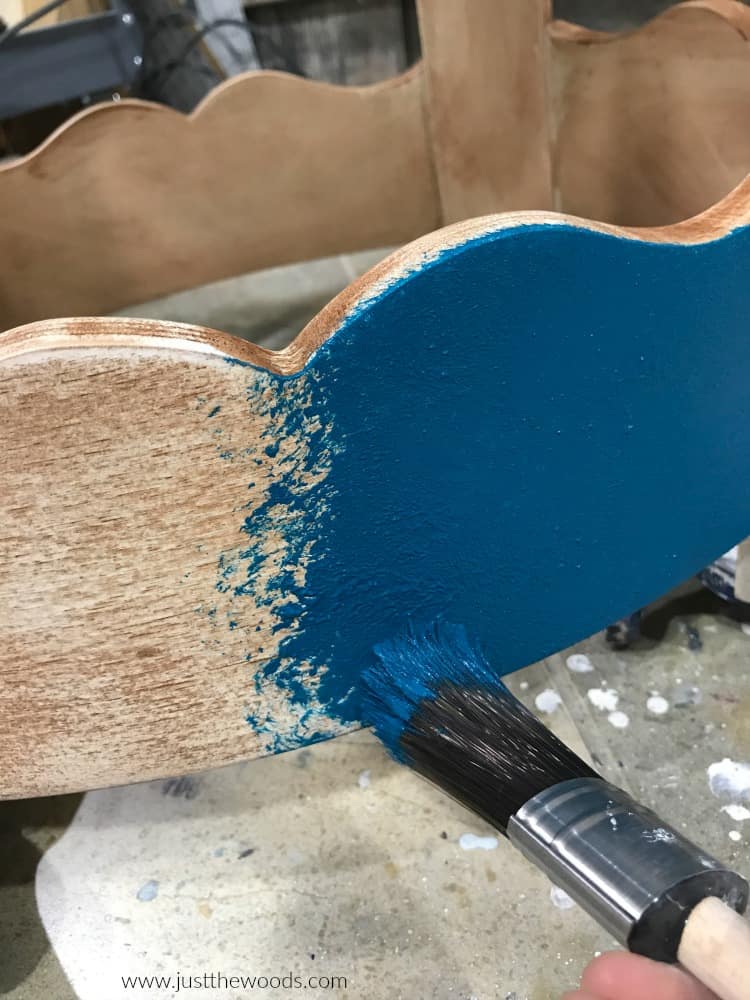
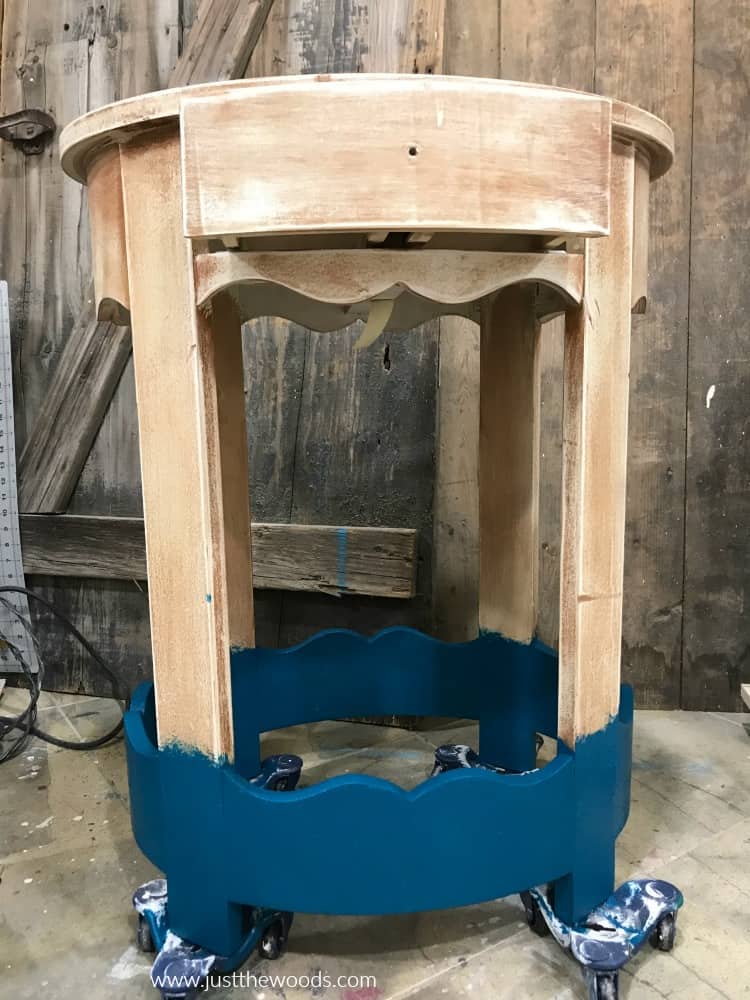
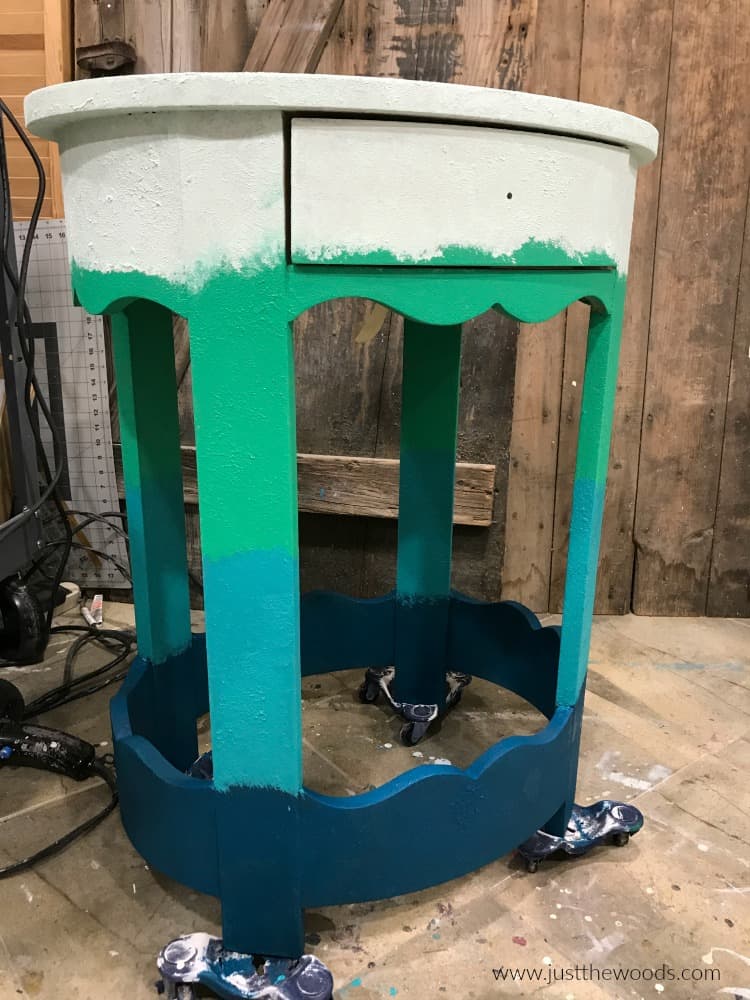
Remember I have a vision for this whole project? Bare with me. I only cover the bottom portion of the table with this blue textured paint. This only requires one coat since we will be going over it later on. Check out how cool one coat already looks!
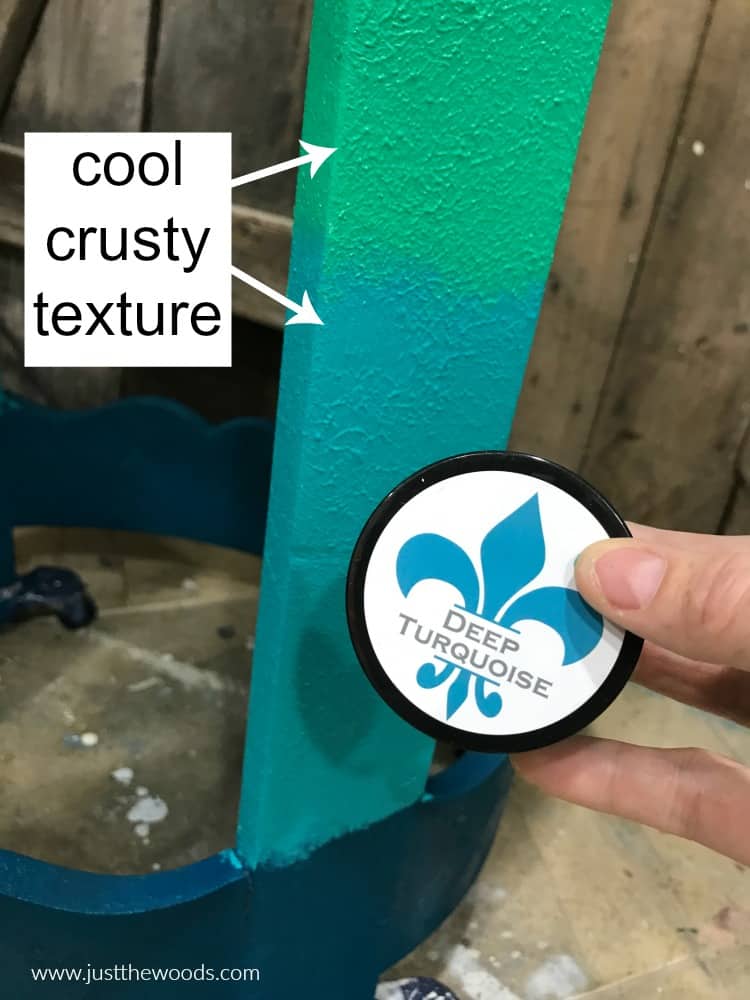
Following the same exact process, I continue moving upwards with a blue-green color called deep turquoise.
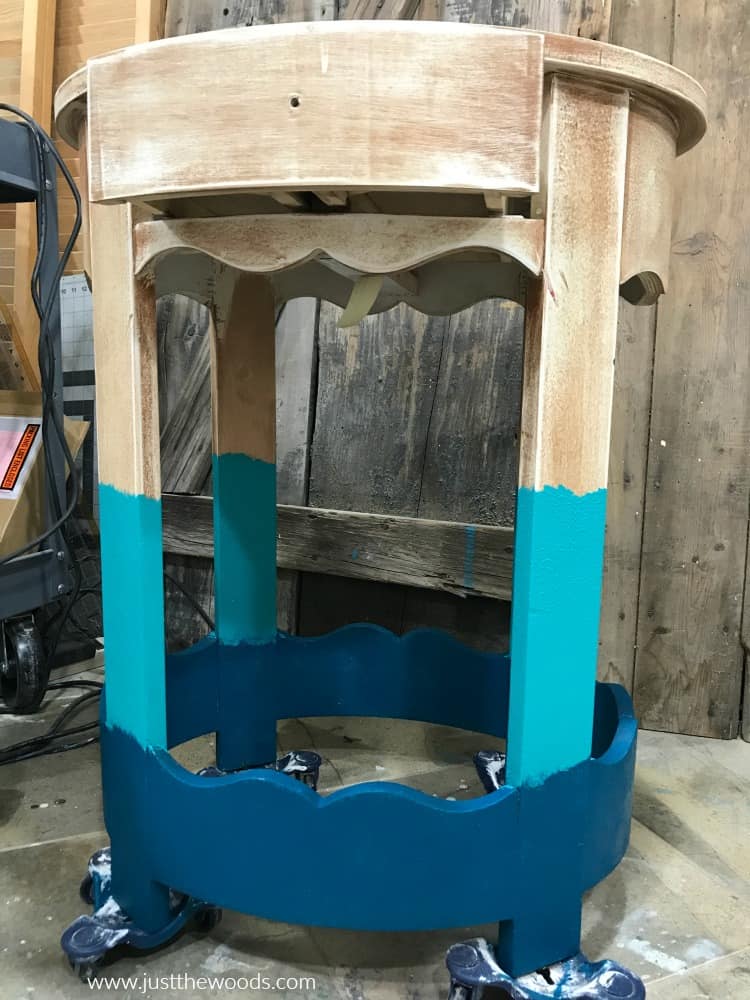
Then again with a great bright green color called northern lights.
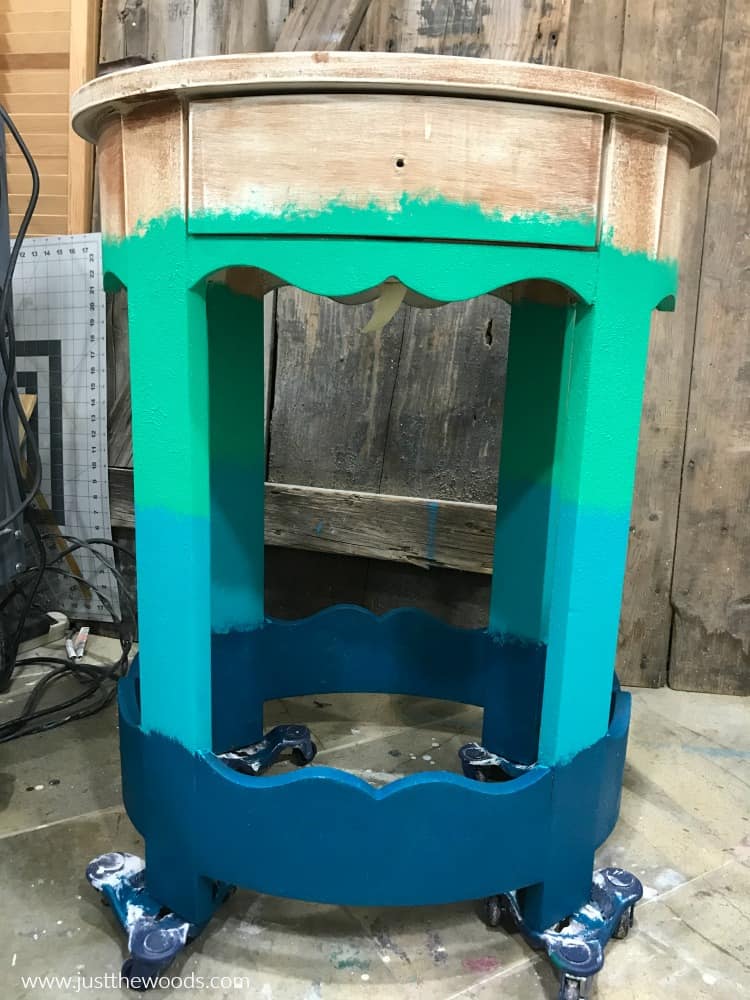
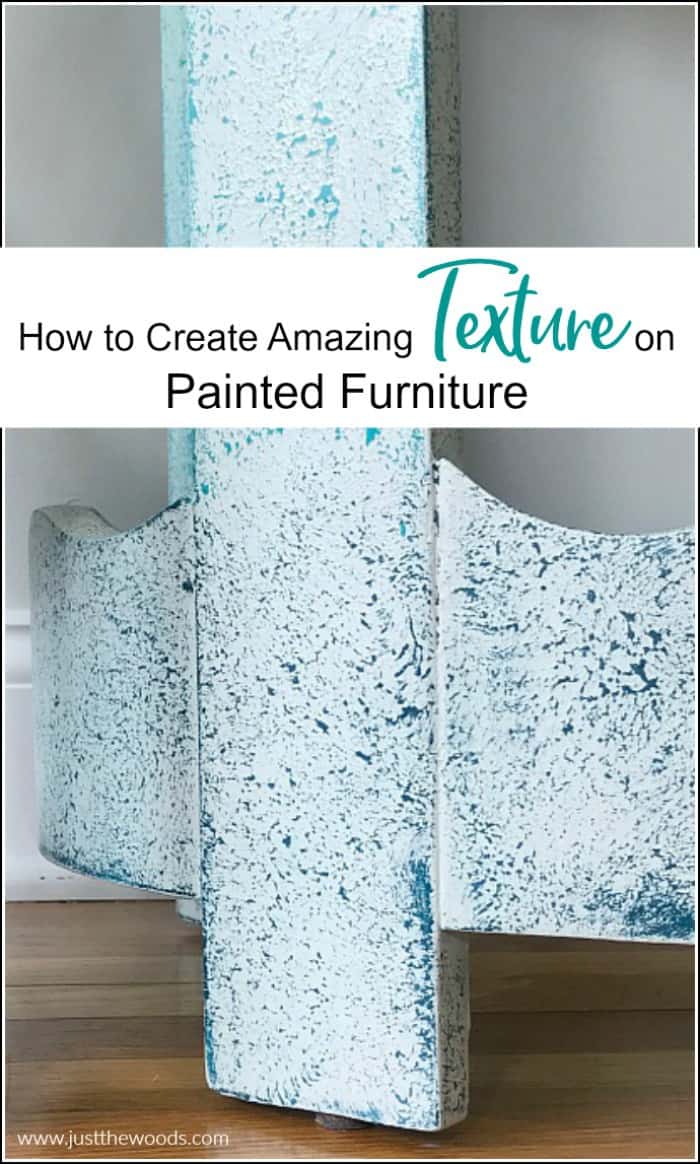
See here in a more close up picture of the cool crusty texture in the paint.
For the last paint color in the base coat, we are going with a soft miny green called Islandic Mist. You can also see this pretty color paired with deep dark green on my Drippy Paint Boho Cabinet project.
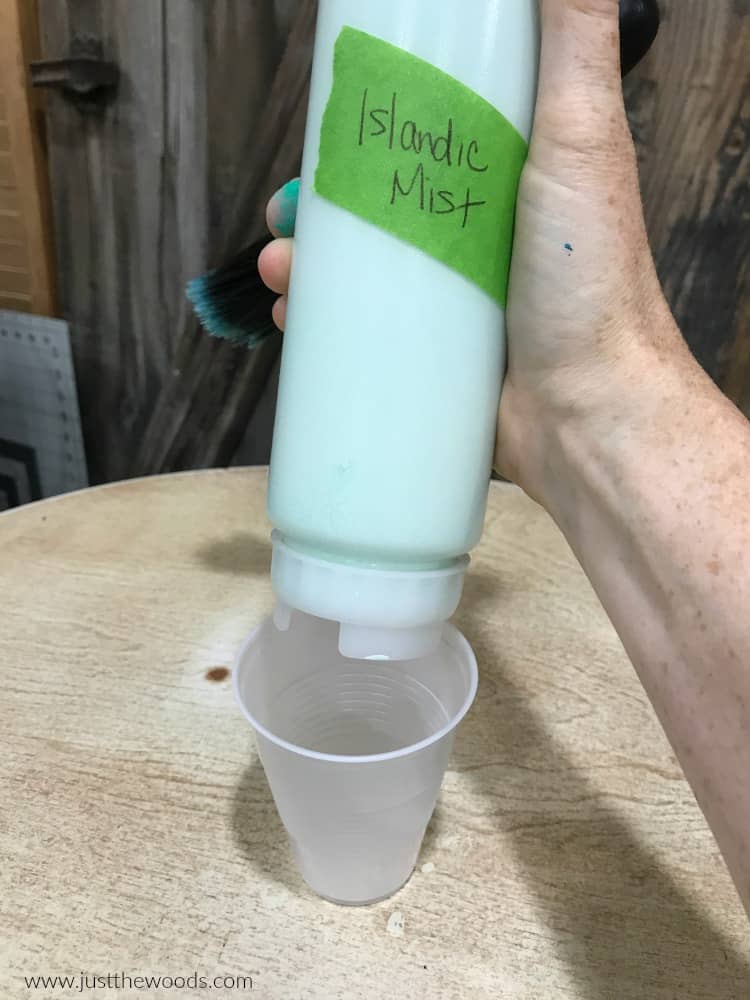
Squirt some paint into your cup like before.
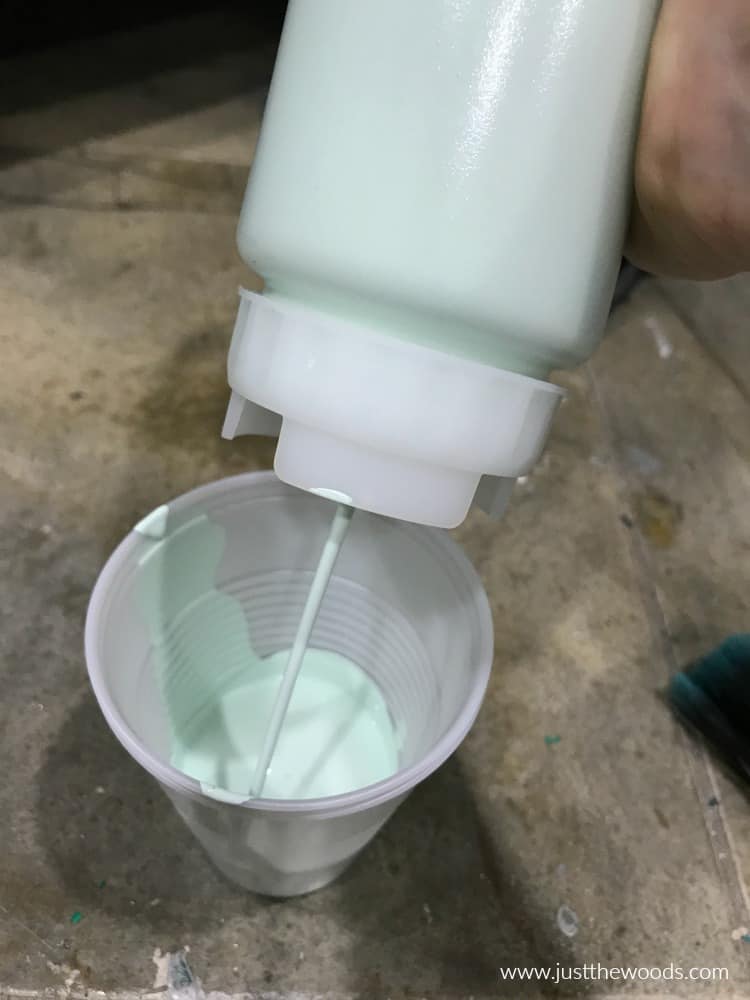
Add in your salt wash texture paint additive and mix it thoroughly.
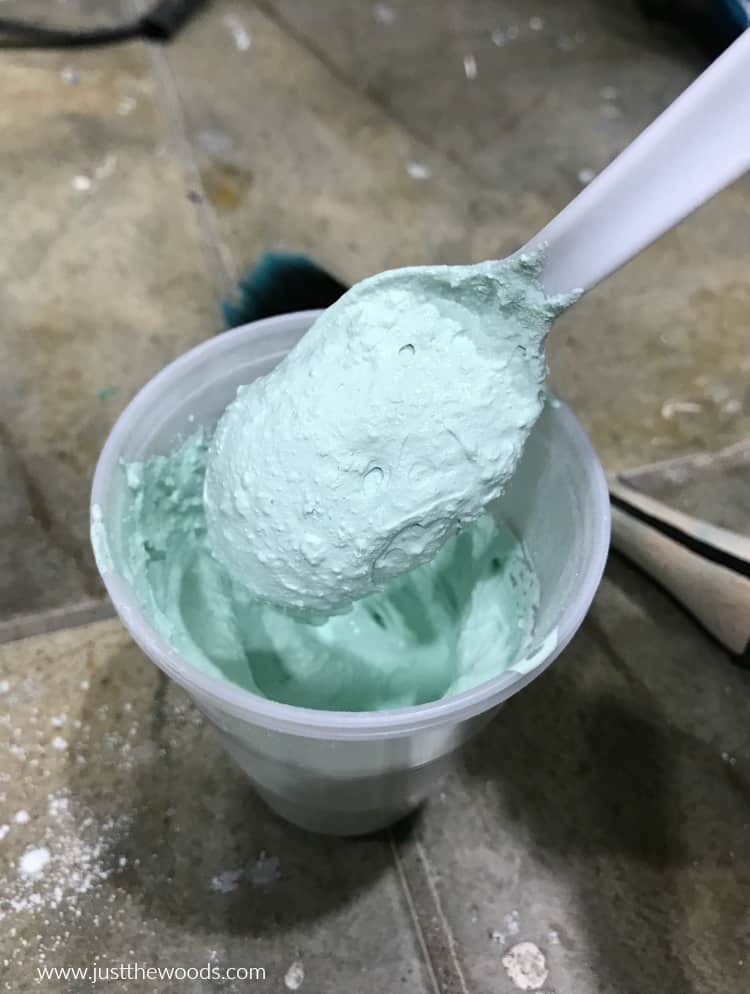
Paint the remainder of the table with your texture paint mixture.
Click HERE to pin this post for later.
Adding Furniture Salve for Easy Gliding Drawers
At that last step when returning the drawer to the table for a nice visual I notice that the wooden drawer doesn’t glide very easily. In fact, it actually sticks a bit. But we can fix that. I remove the drawer again and flip it over to gain access to the wooden track underneath. We need to lube this track with Lemon Verbena furniture salve. It’s like WD40, but for wood 😉
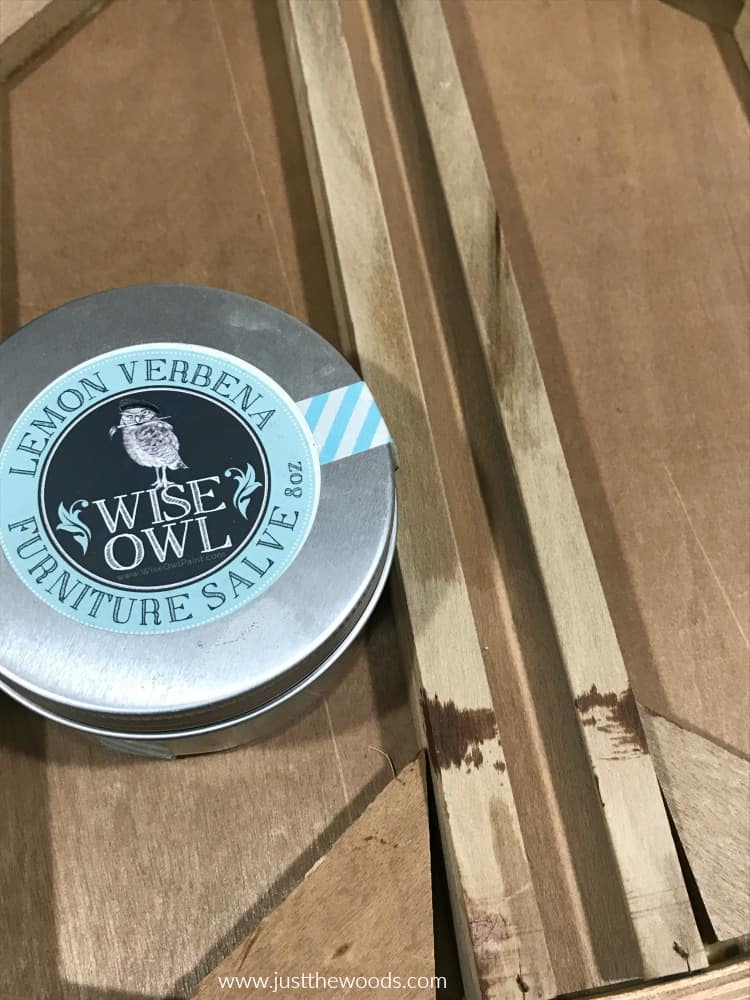
Simply scoop a bit of salve onto a cloth, old -Tshirt or paper towel.
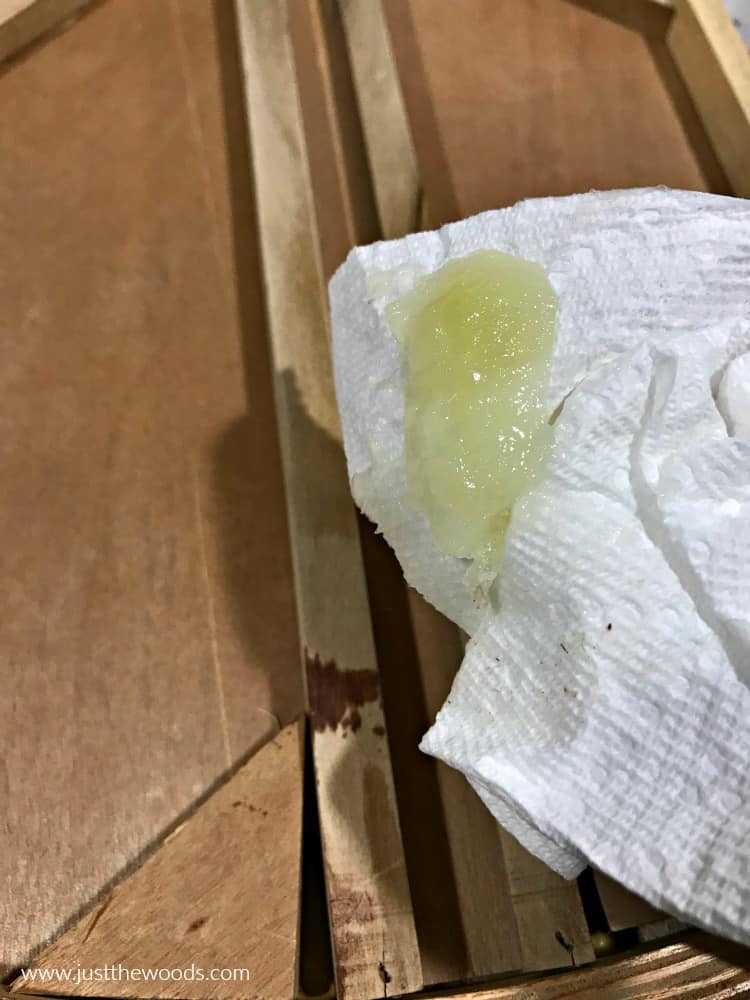
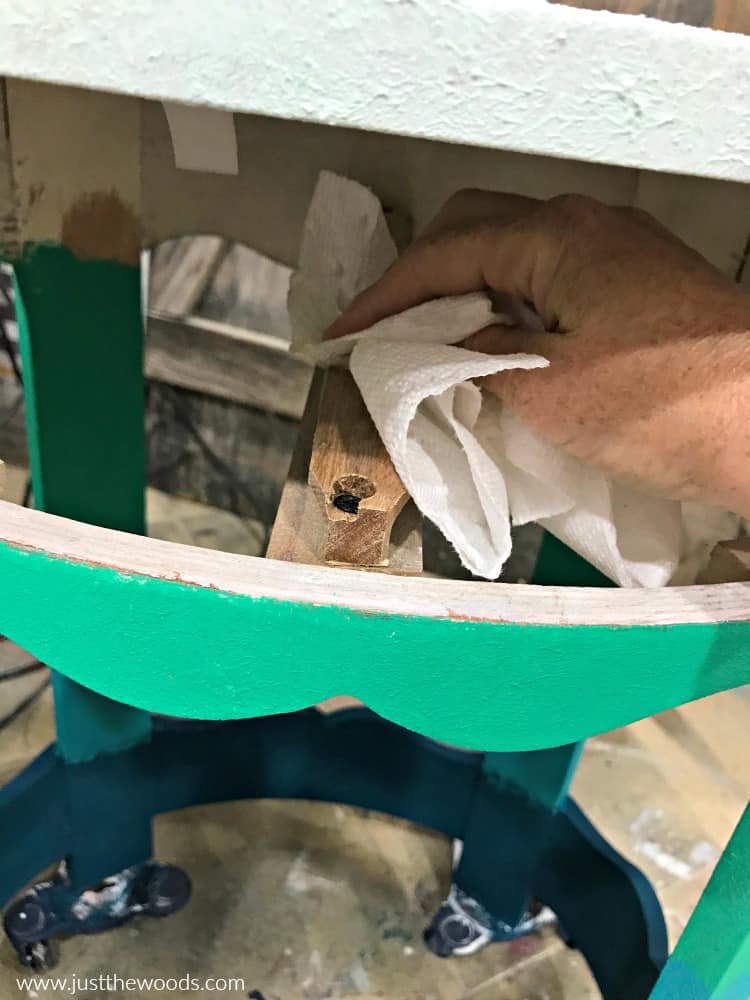
Generously rub the salve along the wooden drawer track.
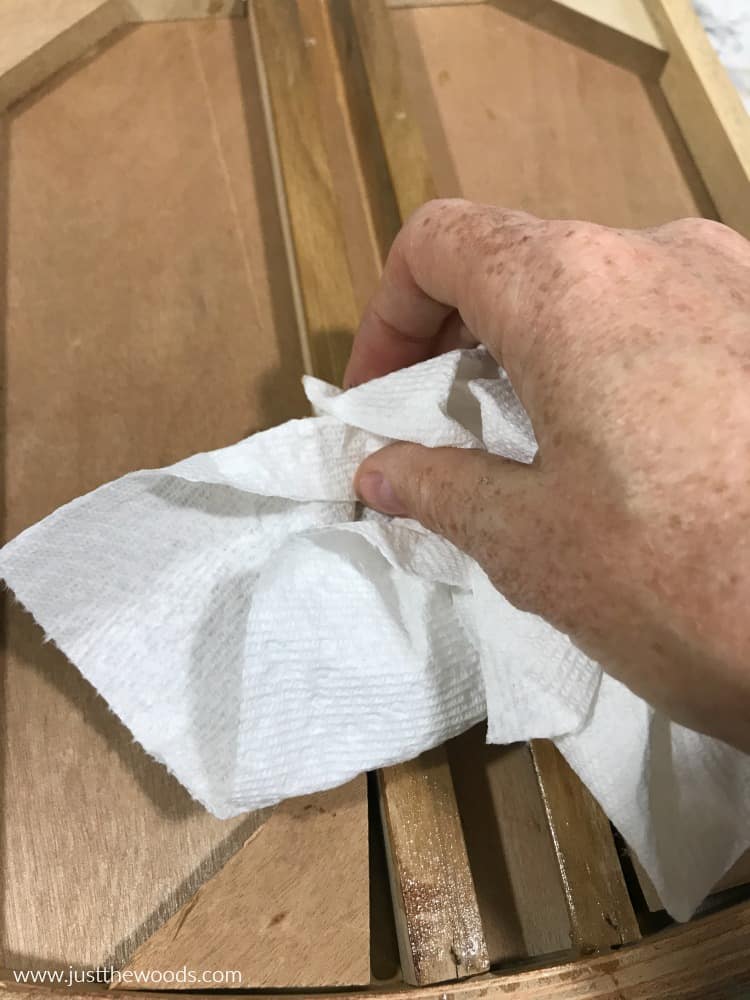
Also, go ahead and apply some along the track on the piece itself. This way both the wood of the drawer and the piece will be lubricated and improve ‘glide-ability’ drastically. This natural furniture salve works for more than just improving sticking drawers. This natural salve worked wonders on a steamer trunk restoration project and is also used to refresh the inside of the drawers for these decoupaged and painted nightstands. You can get Wise Owls furniture salve in this scent or numerous other amazing scents online HERE.
Painting Over Texture Paint
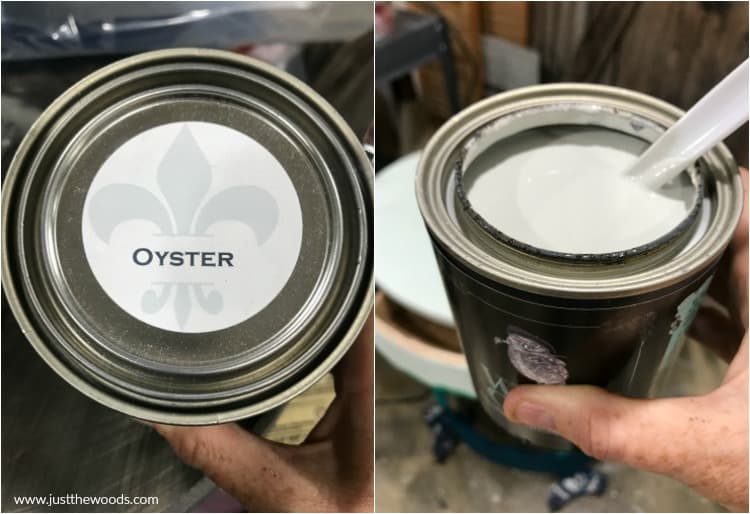
Yep, we are going to paint over the texture paint that we just created. Trust me, it will be great! To keep this makeover a bit soft, subtle yet slightly beachy I am using a super light gray paint called Oyster by Wise Owl. It’s the perfect neutral gray-white paint.
Storing Your Chalk Paint
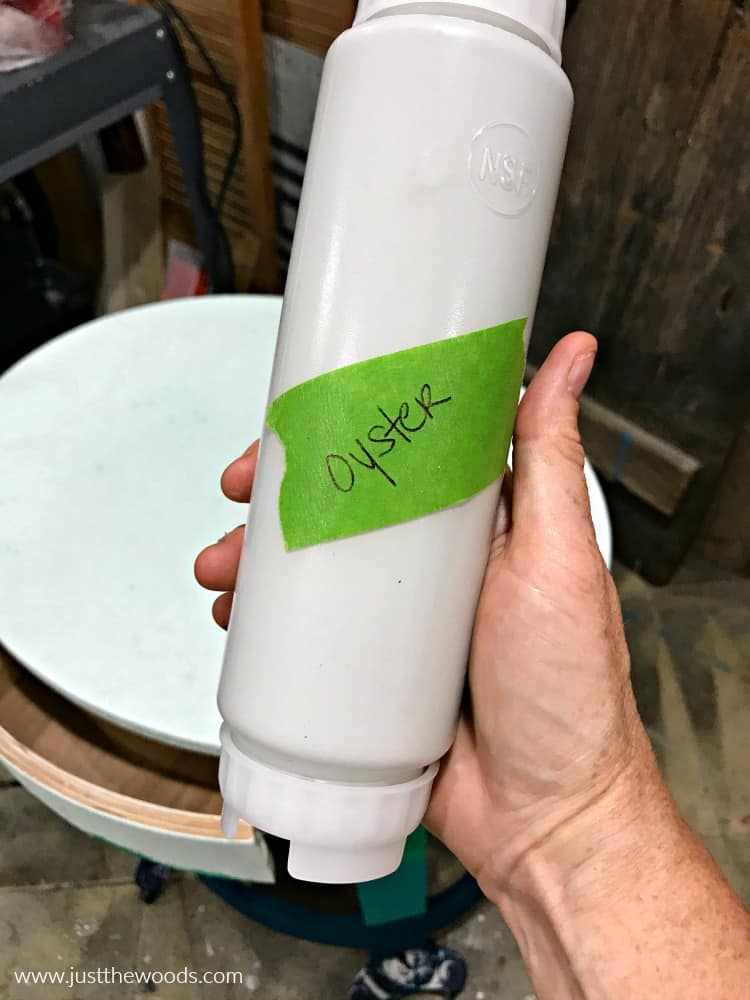
As you can see, my gray paint is still in the can. I like to get my paint out of the can and into these nifty FIFO bottles. You simply squeeze your paint out like a ketchup bottle – no mess! You can get these bottles online HERE.
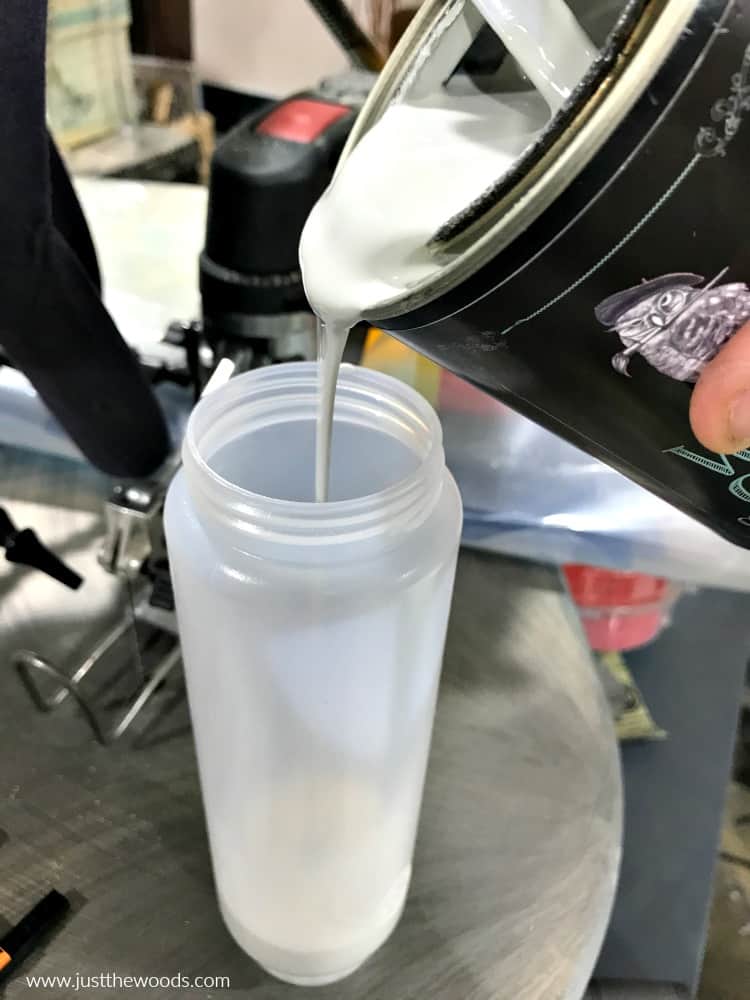
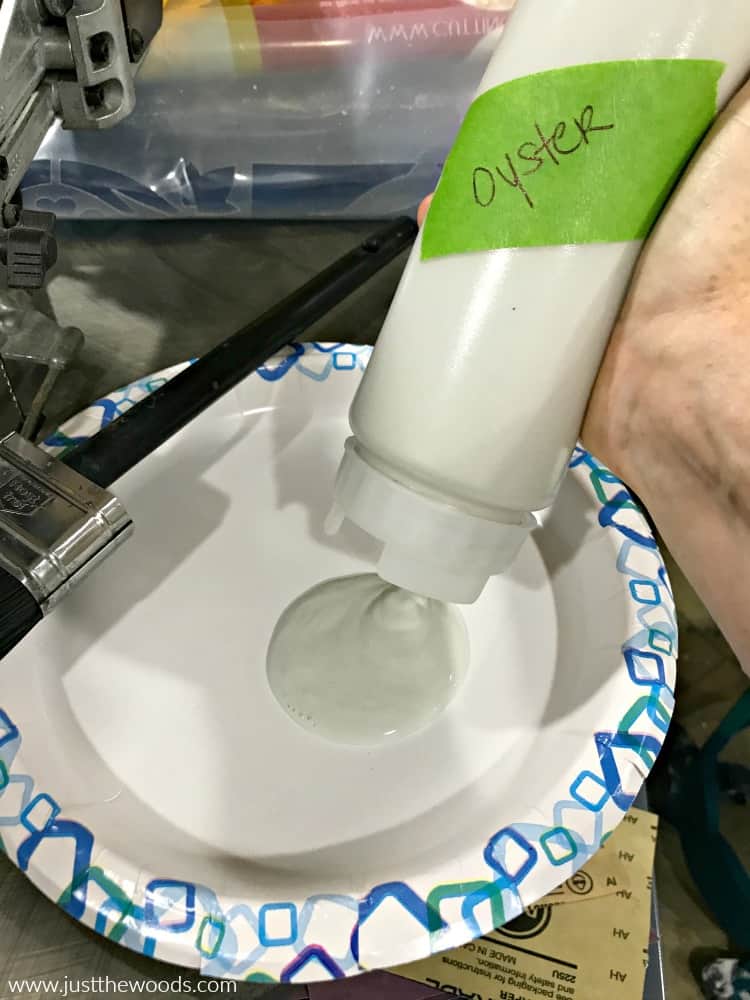
This way when you need paint you simply squeeze some out onto a plate or into a cup. I find that I don’t waste much paint this way either, because I squeeze out a little at a time. You can easily squeeze out more as you need it. Toss a label onto your FIFO bottle and you are all set.
Painting Light Paint Over Dark Paint
The reason that we start our project with darker colored paints is so that when we apply light paint over dark paint we can really see that textured paint stand out. Let’s squirt some light gray paint onto a plate.
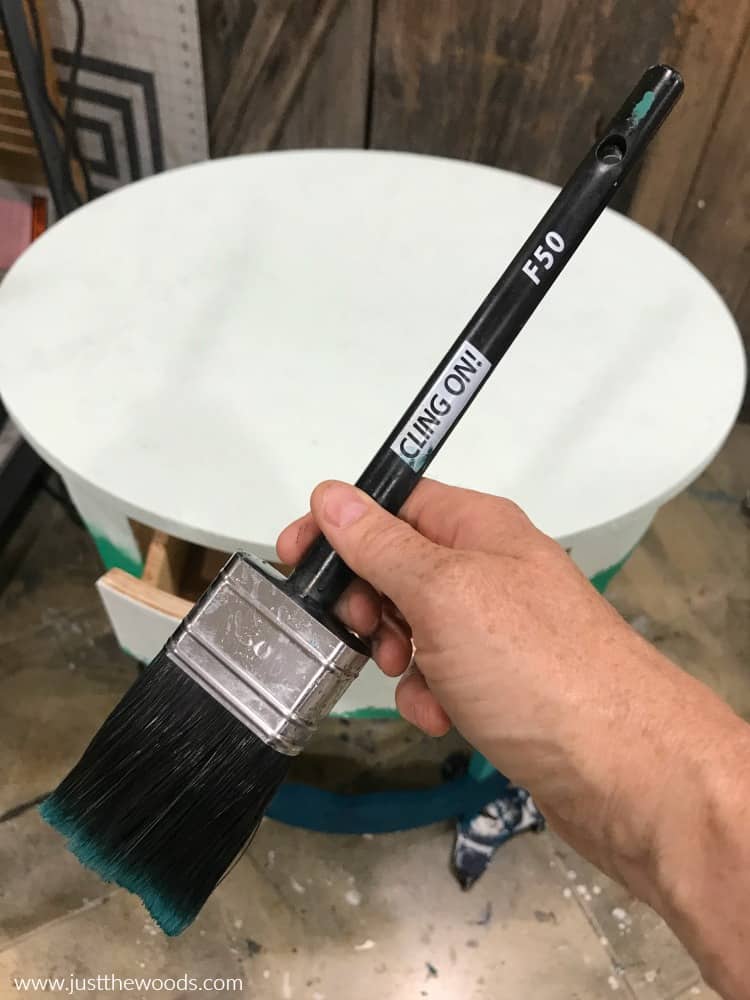
Next, grab a clean brush. This time I am using my flat Cling On brush. It’s larger than the brush I used earlier.
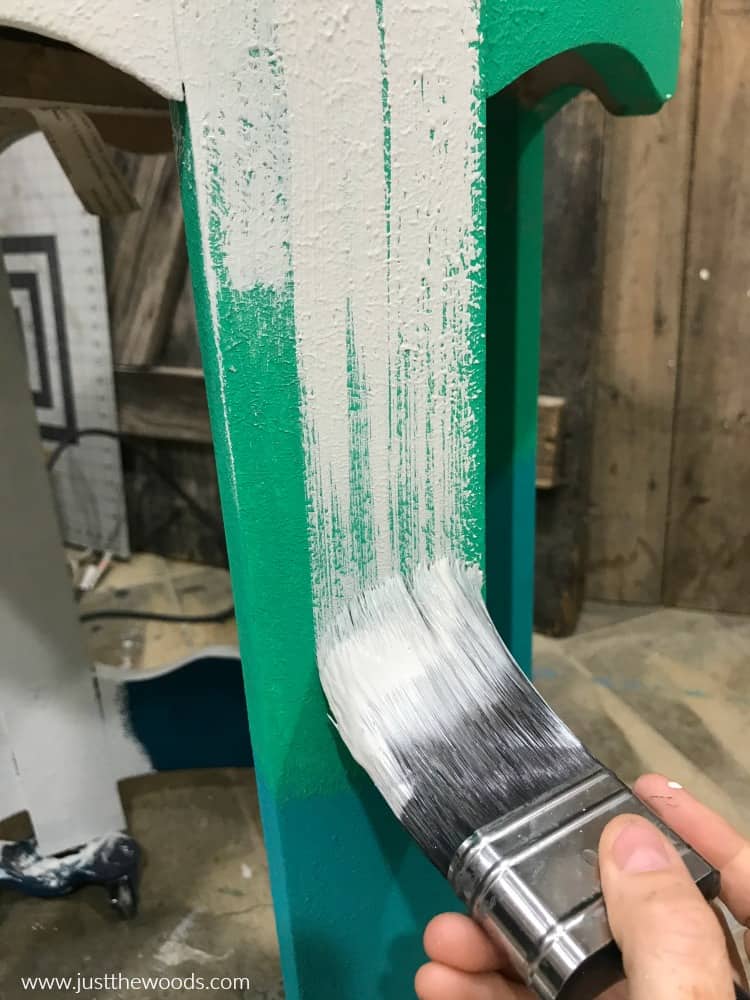
In no particular order (top to bottom or bottom to top) brush your gray paint over the entire surface of the painted table.
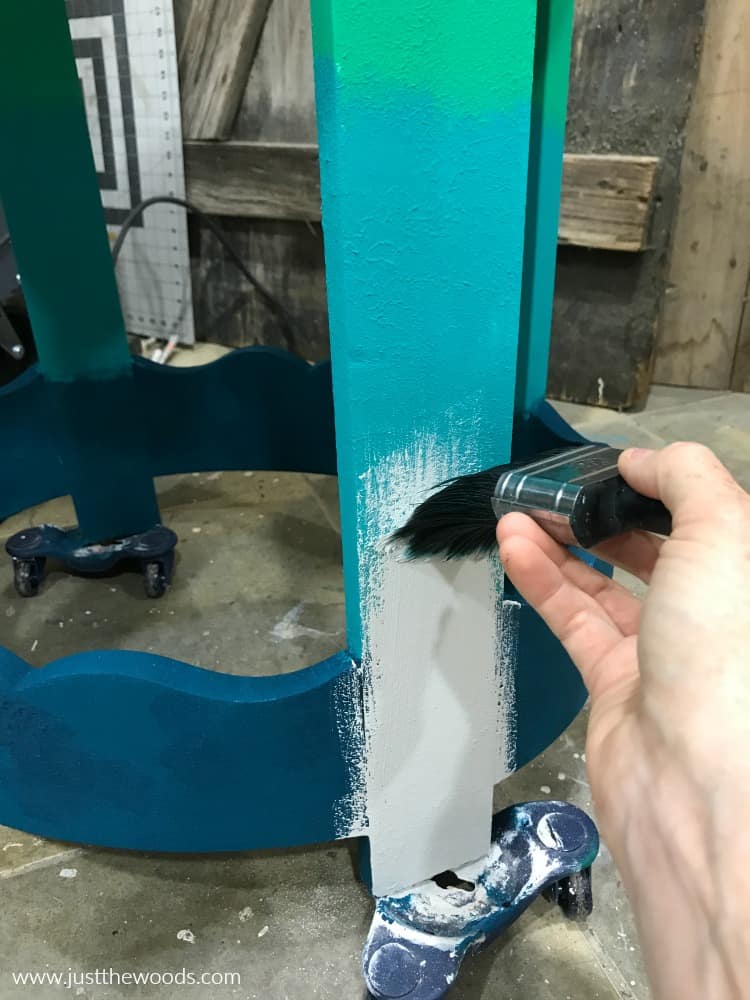
Make sure to cover all of the blue and green textured paint from the first coat.
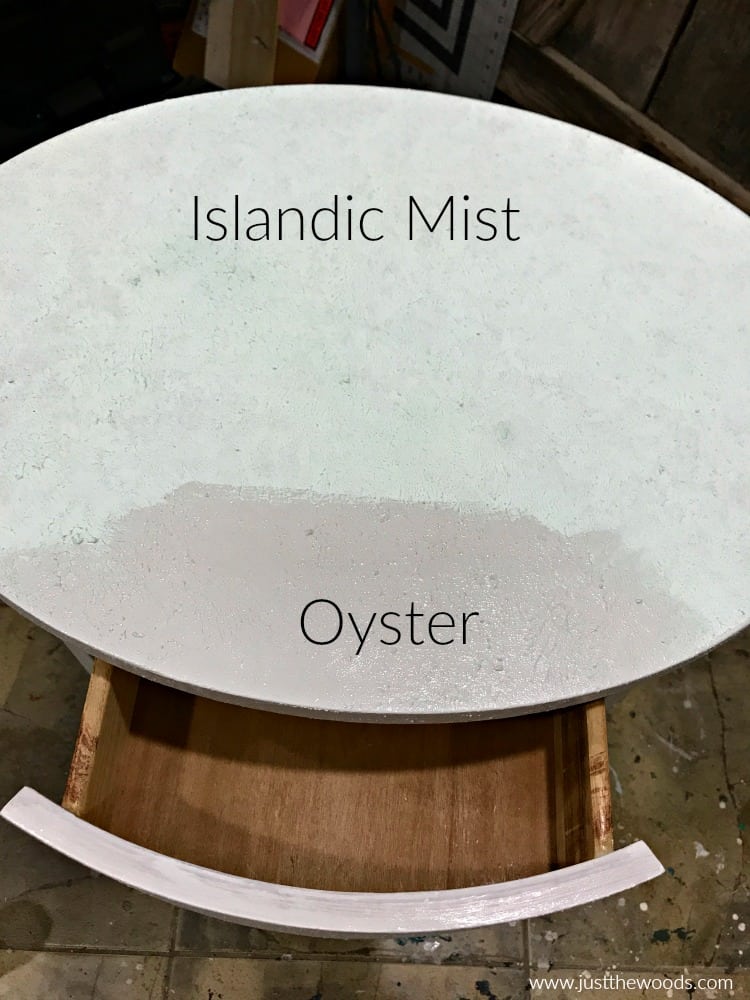
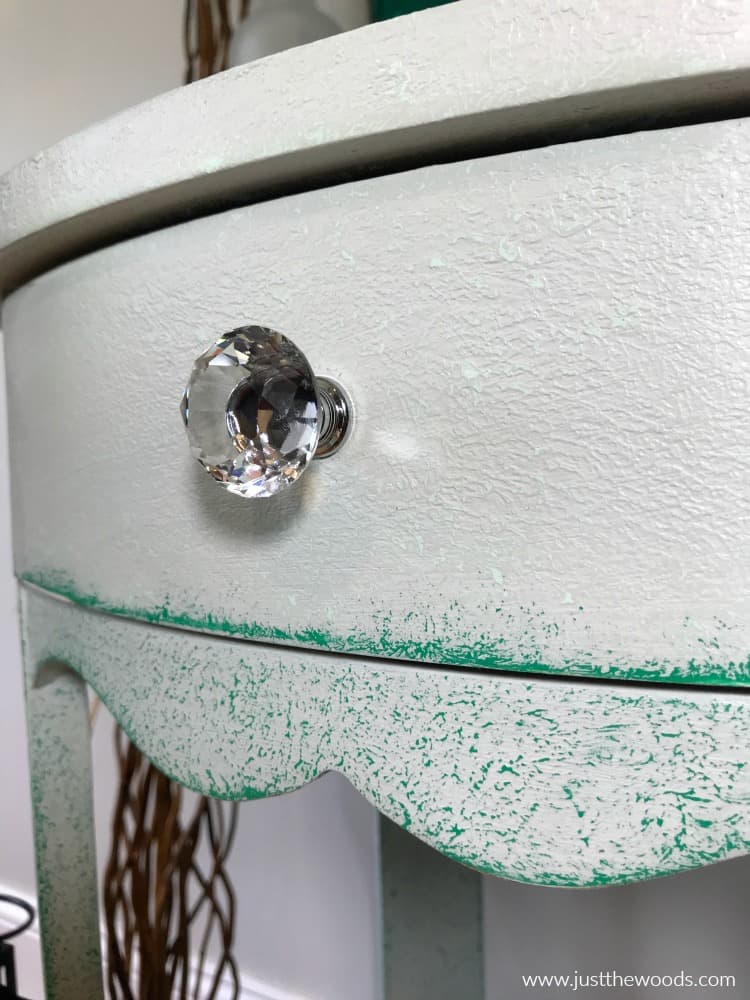
You can see here how subtle the difference is on the top between the super light mint green Islandic Mist and the light gray paint Oyster as Oyster is covering up the Islandic Mist.
What kind of craziness is this?
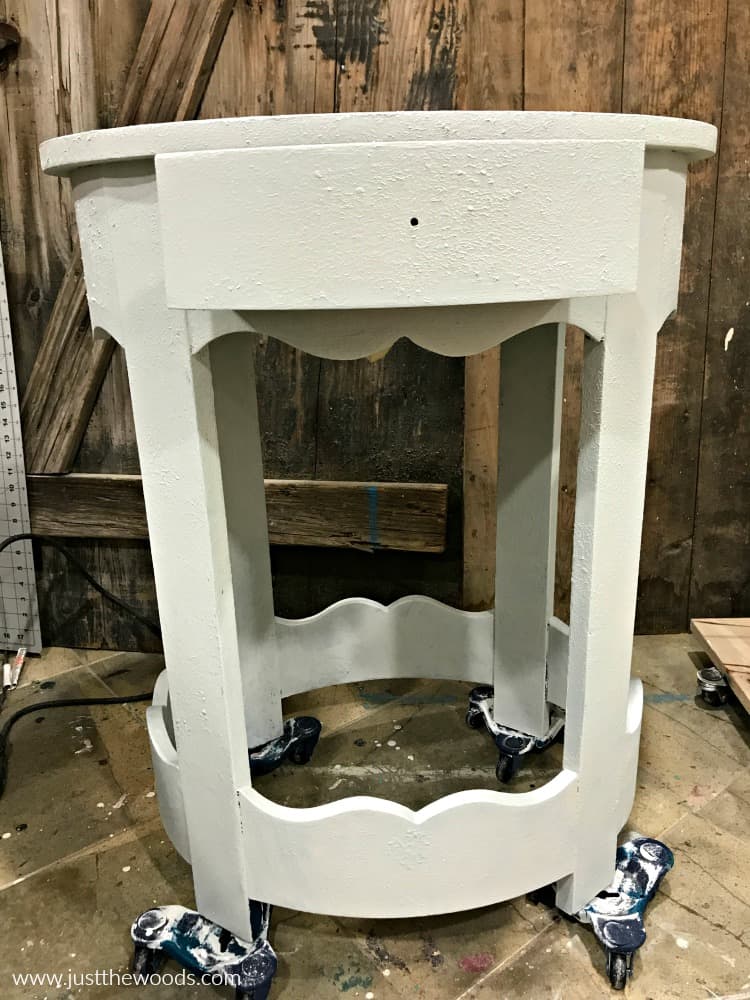
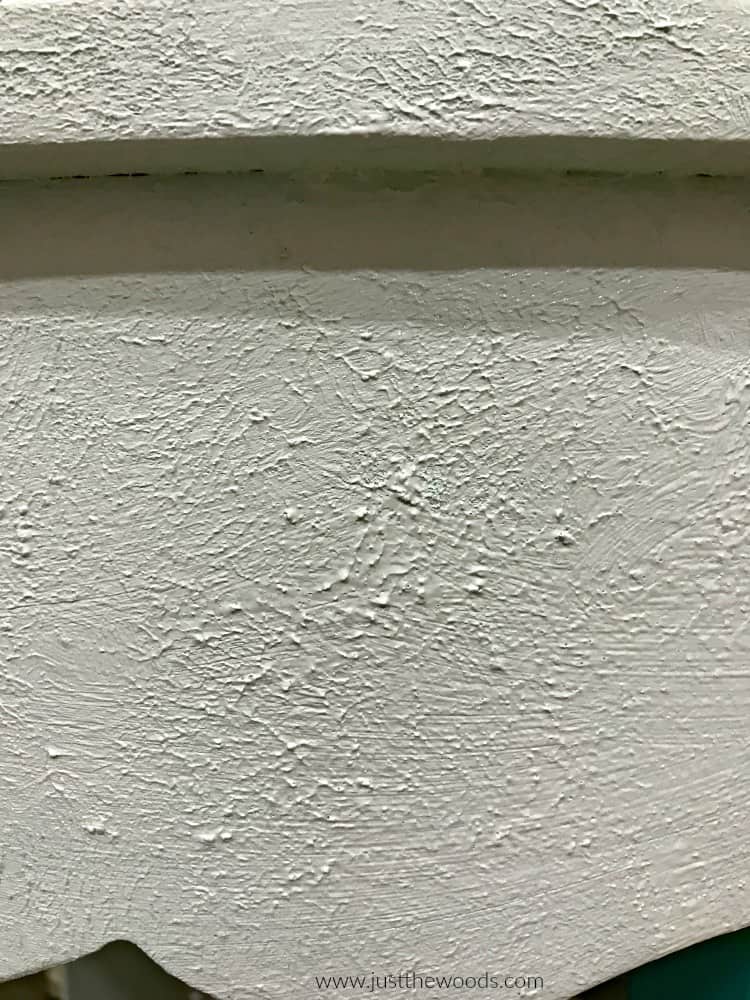
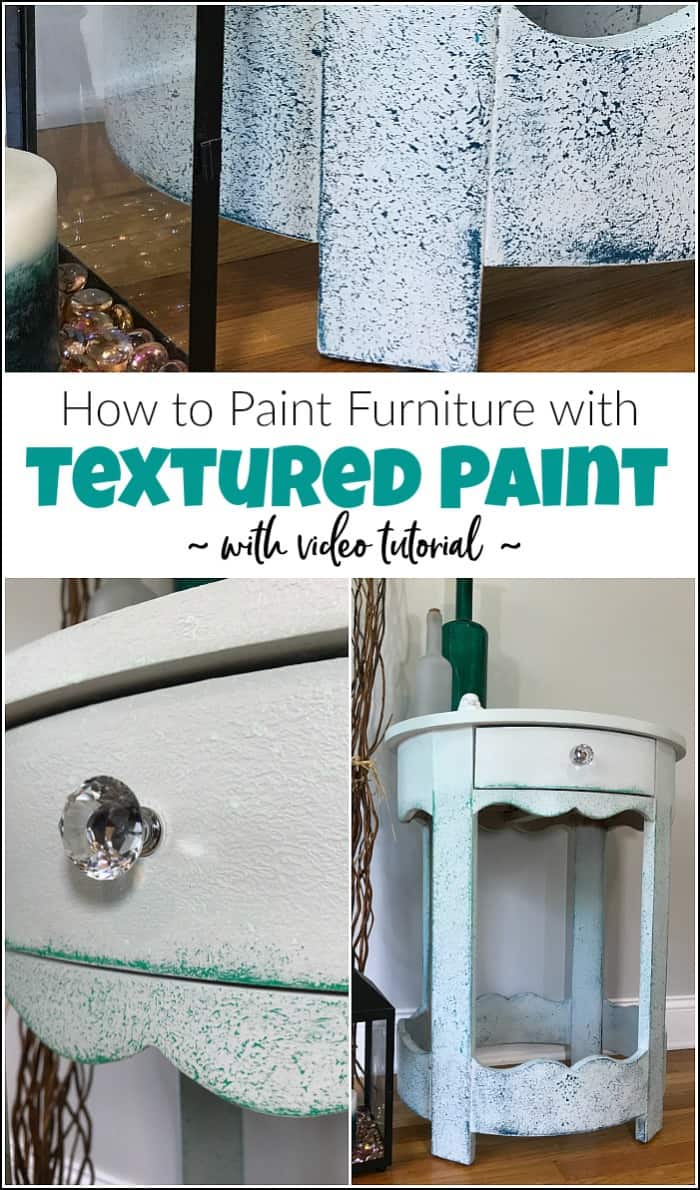
We can no longer see all those pretty blues and greens. But look at how cool this looks. If you are going for the look of textured concrete paint you can omit those blues and greens and just add saltwash to your gray-white paint. You may need two coats to get that textured concrete look. Easy huh?
Click HERE to pin this post for later
How to Sand Texture Paint
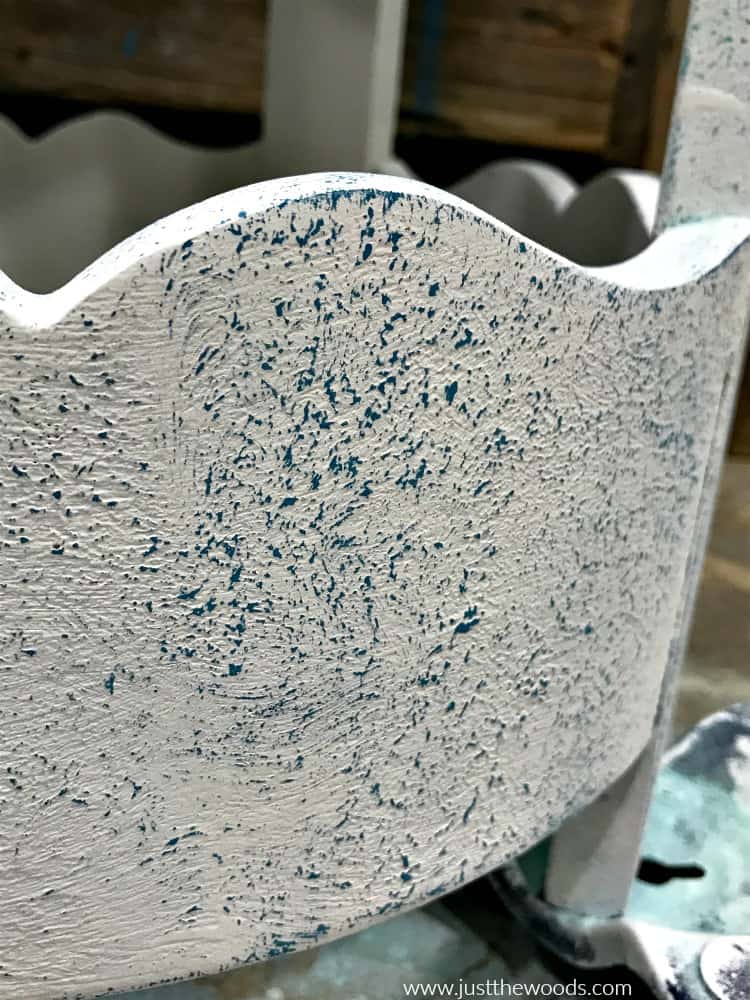
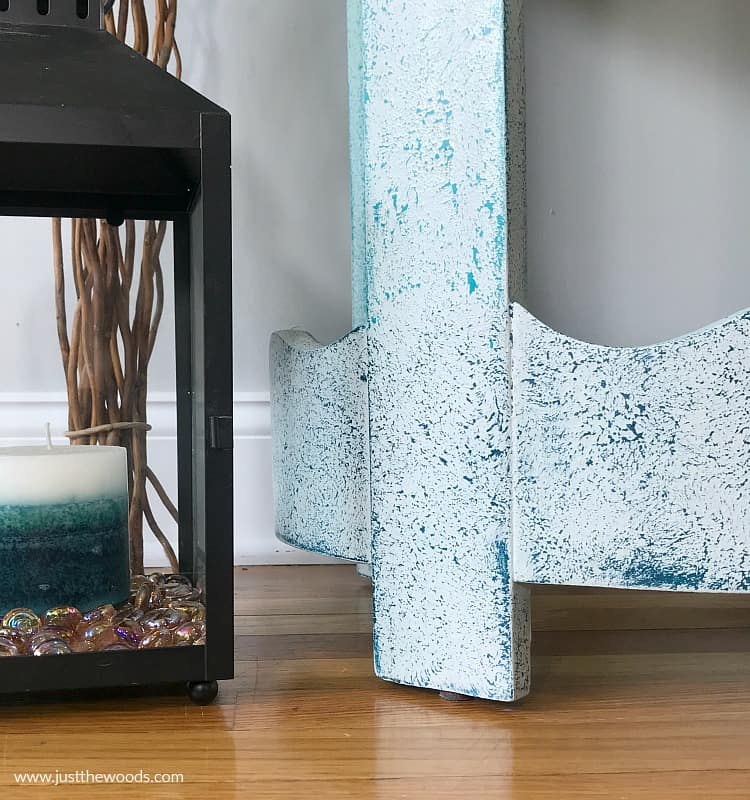
Now that the table is completely painted its now time to sand down and expose our colors underneath. It’s rather easy to sand texture paint. All you need is sandpaper and preferably a sanding block. Wrap your sandpaper around the sanding block and sand the entire piece. All of those peaks and bumps will be sanded to reveal the pretty paint colors underneath.
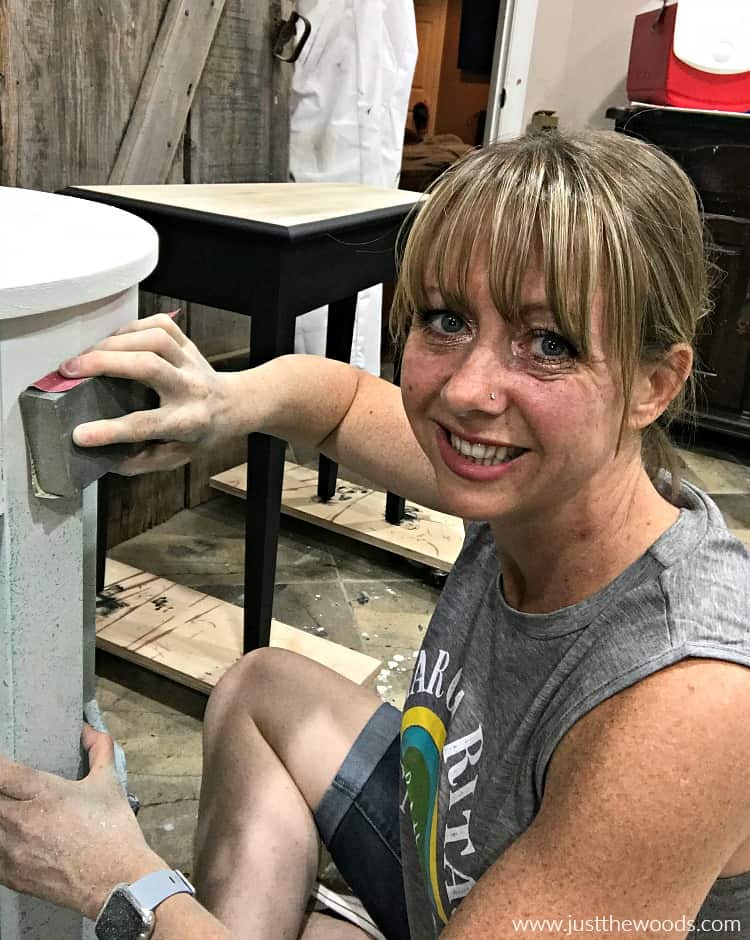
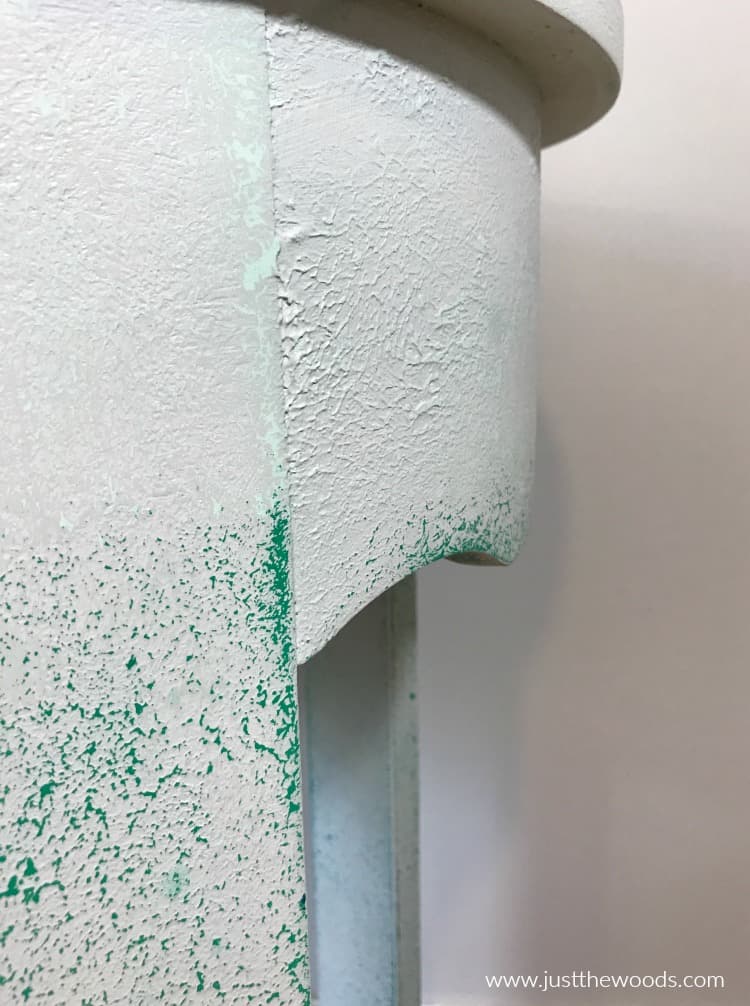
I admit that while doing this step I am covered in dust from sanding away the top layer of paint. Lucky for me, both Wise Owl paint and Saltwash are zero VOC products, made in the USA and contain safe ingredients. See how pretty the colors start to come through creating a weather-worn look to your painted surface.
Saltwash Texture Paint Video Tutorial
I do go over all of this in the video for you as well. (To watch the video you must have your ad blockers turned off if you have them).
Sealing Painted & Textured Furniture
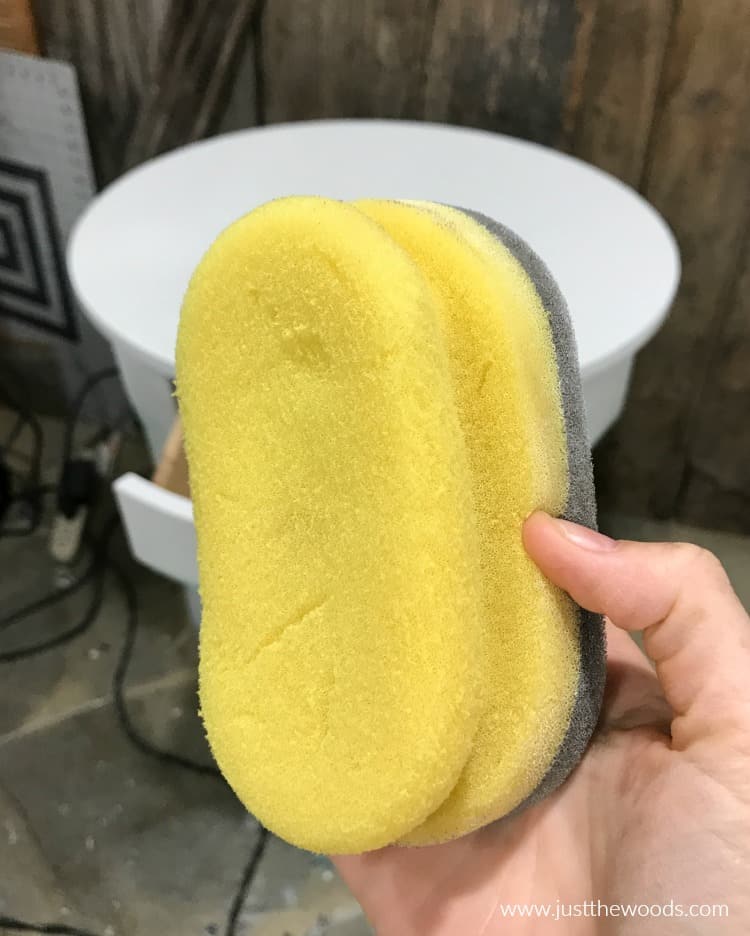
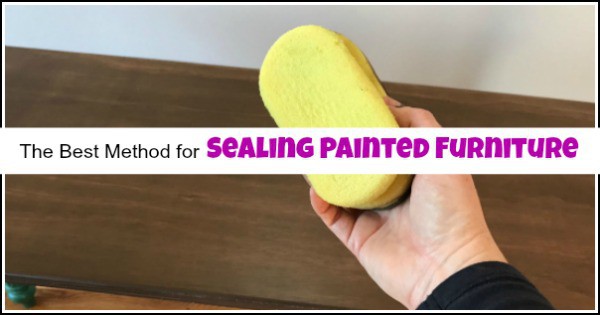
Like all of my painted furniture projects, we are using my all time favorite yellow applicator sponge. If you don’t have any of these nifty sponges, you can get them online HERE. (I know they do tend to go in and out of stock – so I stock up when I order just to play it safe).
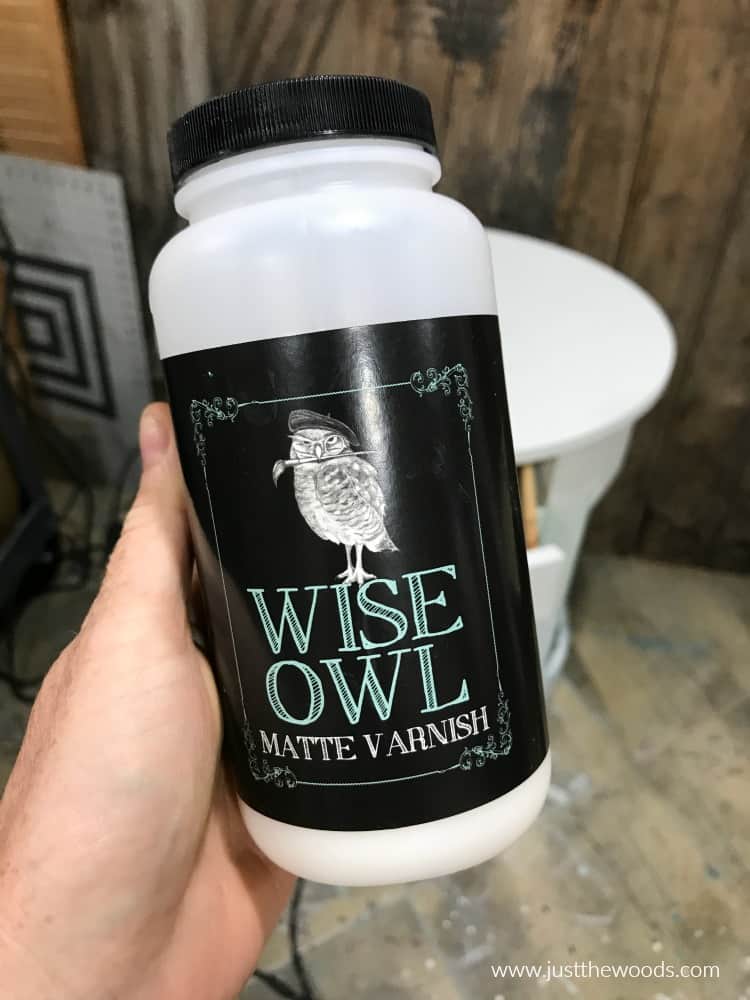
I am using Wise Owls non-yellowing clear matte varnish. You can find this online HERE.
If you ever have questions about sealing your painted furniture project you can find a full tutorial with video on how to apply clear sealer here: Sealing Painted Furniture
Updating Hardware
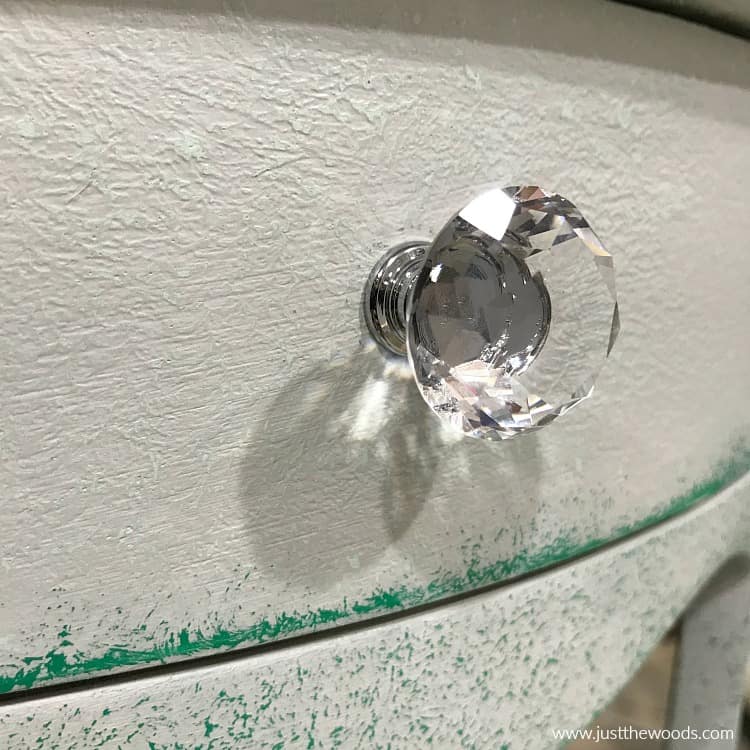
As silly as it seems these tables were sold to me with clear crystal knobs, but I replaced them with new clear crystal knobs. I guess some things just don’t make much sense. Either way, new or old, these knobs are so simple and pretty. Can you also see the very subtle light green texture showing under the gray-white towards the top? These knobs or something very similar can be found online HERE.
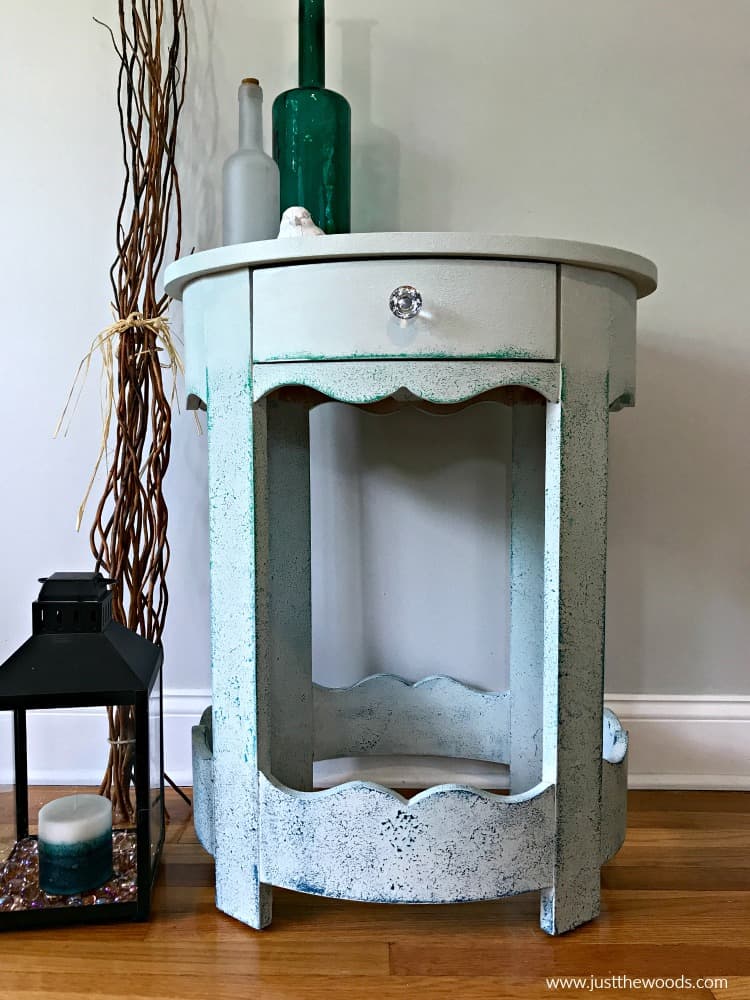
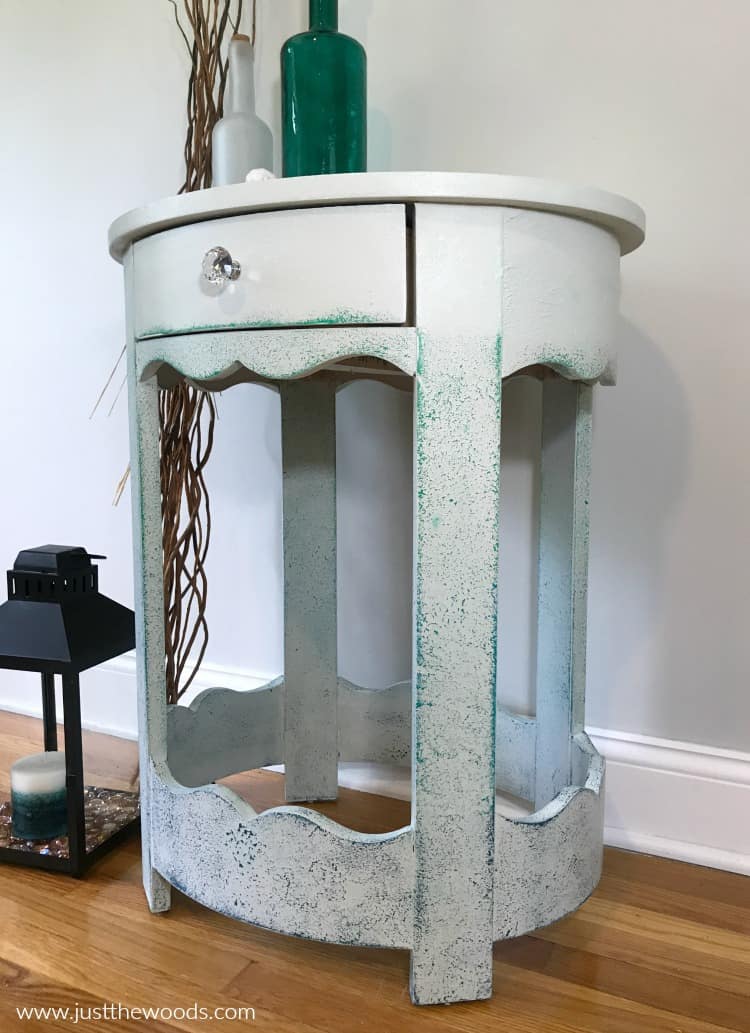
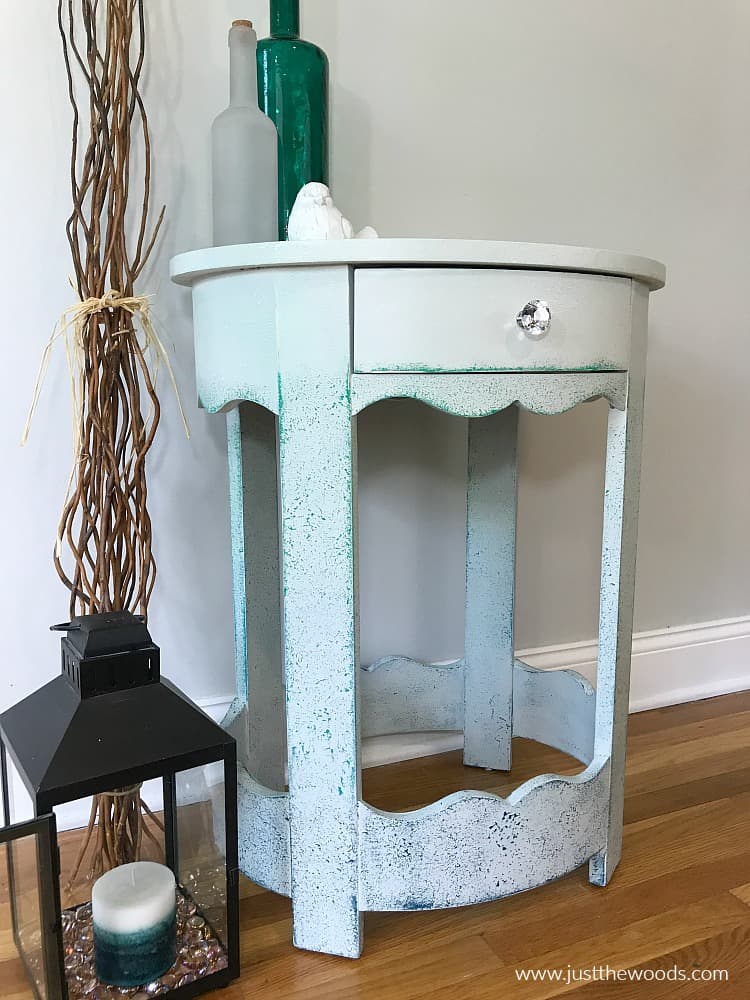
The Results: a Weather Worn Texture Paint Finish
This project, like many of my makeovers, is being donated to a local school, animal rescue or charity to help with their fundraising efforts. Click here to see all of my projects that have been donated to support local fundraisers, schools, and charities: Donation Projects.
Check out all of my furniture projects with over 90 painted furniture makeovers: Stunning painted furniture ideas.
Click HERE to pin this post for later
You can get find all of these Wise Owl products and more online here: Wise Owl.
You can find Saltwash online as well here: Saltwash
Furniture Fixer-Uppers
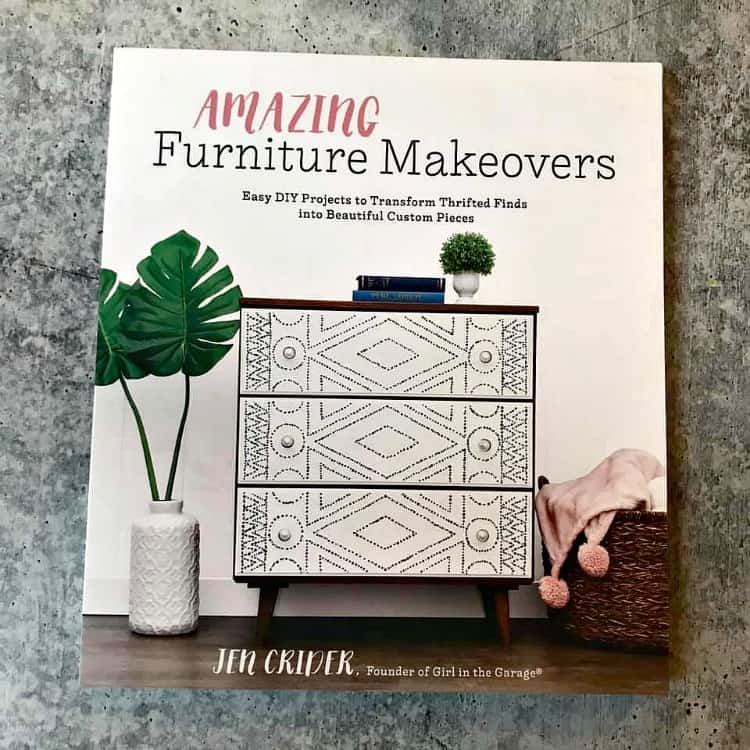
It’s that time again where a few of my creative and talented blogger friends and I have joined together in our monthly Furniture Fixer Uppers share. Before we get into that I am excited to let you know that our friend Jen from Girl in the Garage has written a book! Yep, an actual book. and it’s fantastic. You can check it out on Amazon here:
Now, let’s see what my friends are up to! Make sure to click the links below the image to check out all the amazing projects that my bloggy girls are working on this month.
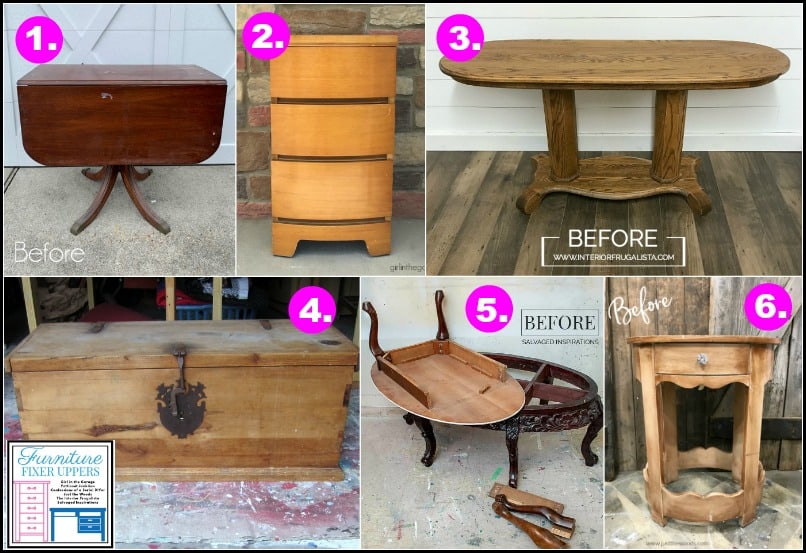
1. Confessions of a Serial DIYer
6. Just the Woods (you are here)
Don’t Forget – Follow Just the Woods and Share this post to Inspire others:

FACEBOOK * INSTAGRAM * PINTEREST
Stay connected! For more tips and tricks sign up here : [mc4wp_form id=”1340″]




Denise - Salvaged Inspirations says
Look at all that yummy texture! And how great that it’s being donated to a good cause. ???? Great tutorial Kandice. I’m seeing more and more painters using those plastic bottles for paint storage. Now I get why!! ????
Christy James says
So fun! Dixie Belle makes a similar product and I have been waiting for the perfect project to try it on. Love the colors you used underneath! XO
Marie says
I’ve had a bag of salt wash unopened in the workshop for a few years. It’s about time I opened it. Seeing your cool table makeover gave me the motivation to finally do something with it. Thank you for the excellent tutorial, Kandice!
Megan Harpring says
While this technique is amazing I’m 1 of the crazy ones and Love the Before?!!! Lol am I crazy or what??! ???????? I love painted furniture but maybe it was the pictures but they didn’t appear to have any of the red or orange under tones you usually see in wood furniture? That would’ve been a Score for me!! Lol but you are so talented and I love seeing all you do!!!
Larissa ~ Prodigal Pieces says
Wow! You really fave this a cool effect, Kandice. ????????
Denise - Salvaged Inspirations says
Look at all that YUMMY texture! I’ve only used a Salt Wash technique once before … it’s a lot of fun! So great this is going to a worthy cause too! XO
Kathy Owen says
Oh my gosh I really like that texture!
Jen @ Girl in the Garage says
I love the colors you used Kandice – it’s a fun beachy makeover! And thanks so much for mentioning my book! xo