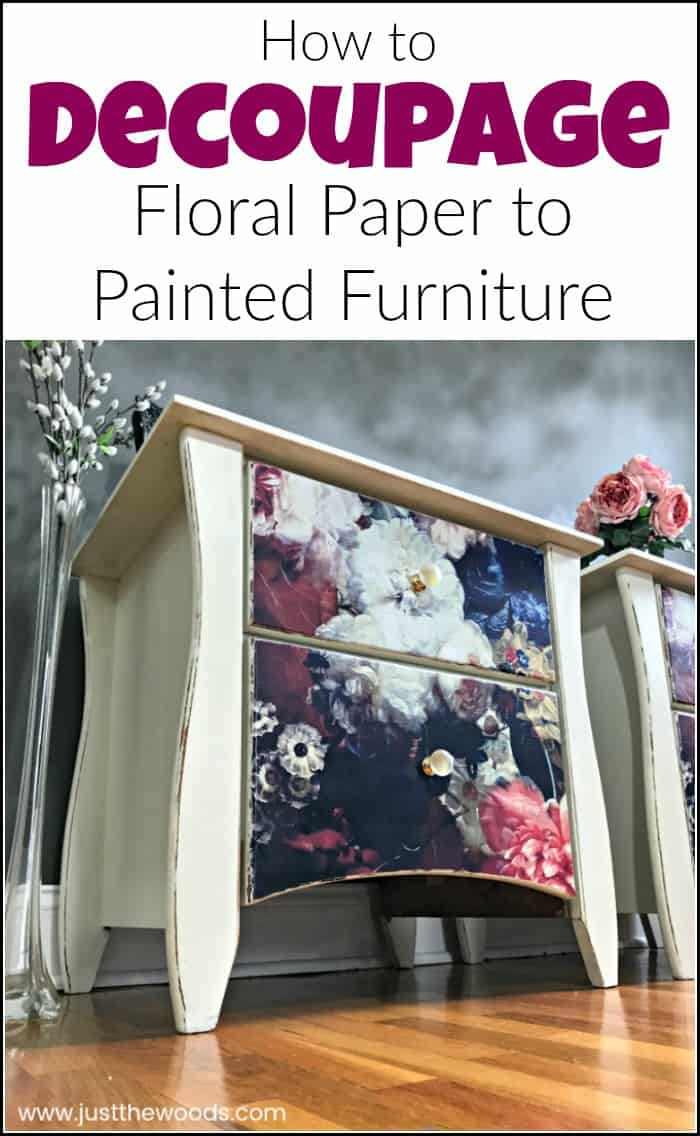
Don’t you just love the uniqueness that decoupage adds to painted furniture? As you may know by now, I am no stranger to decoupage with quite a few decoupage craft and decoupage furniture projects under my creative belt. This is yet another great decoupage furniture tutorial to help you feel more comfortable breaking out the glue and paper on your next furniture makeover.
Disclosure: This decoupage furniture tutorial post contains affiliate links for your convenience. Click here for my full disclosure policy.
Supplies & Tools Needed to Decoupage Floral Paper to Painted Furniture
Materials Needed / Source List:
Tools
- Zibra Paint Brushes
- Furniture Tri Wheelies
- Sandpaper
- Mod Podge
- Measuring Tape
- Fiskars Cutting Mat
- Exacto Knife
- Decoupage Tissue
- Paint Brush
- FIFO Squeeze Bottles
- Yellow Applicator Sponge
- Frosted Glass Knobs
- Shop-Vac
- Lint Free Cloth
- Find all of my favorite tools and products on my Amazon Page here
Paint
Unfinished Modern Tables
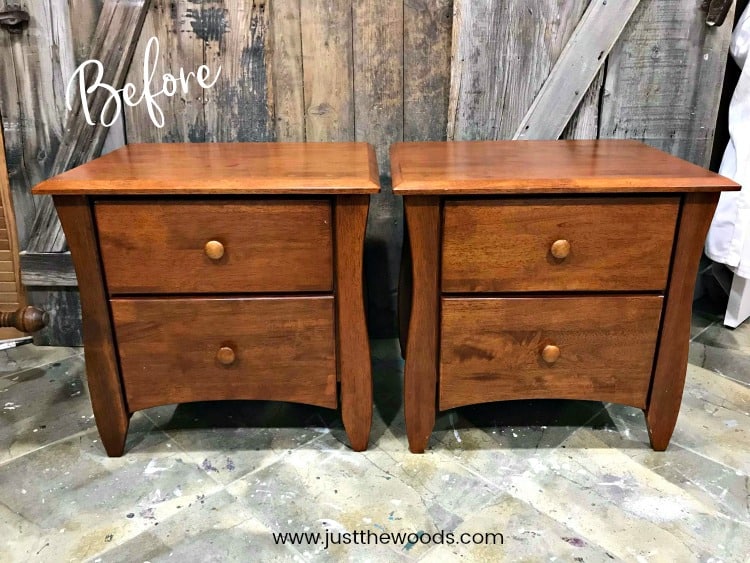
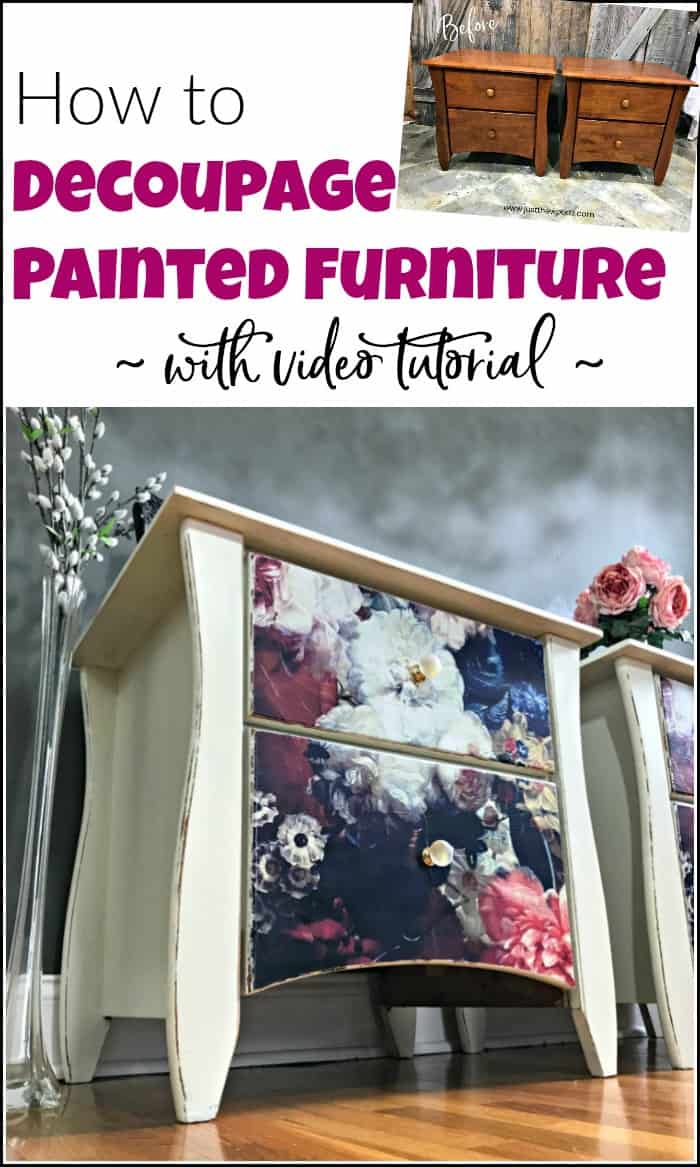
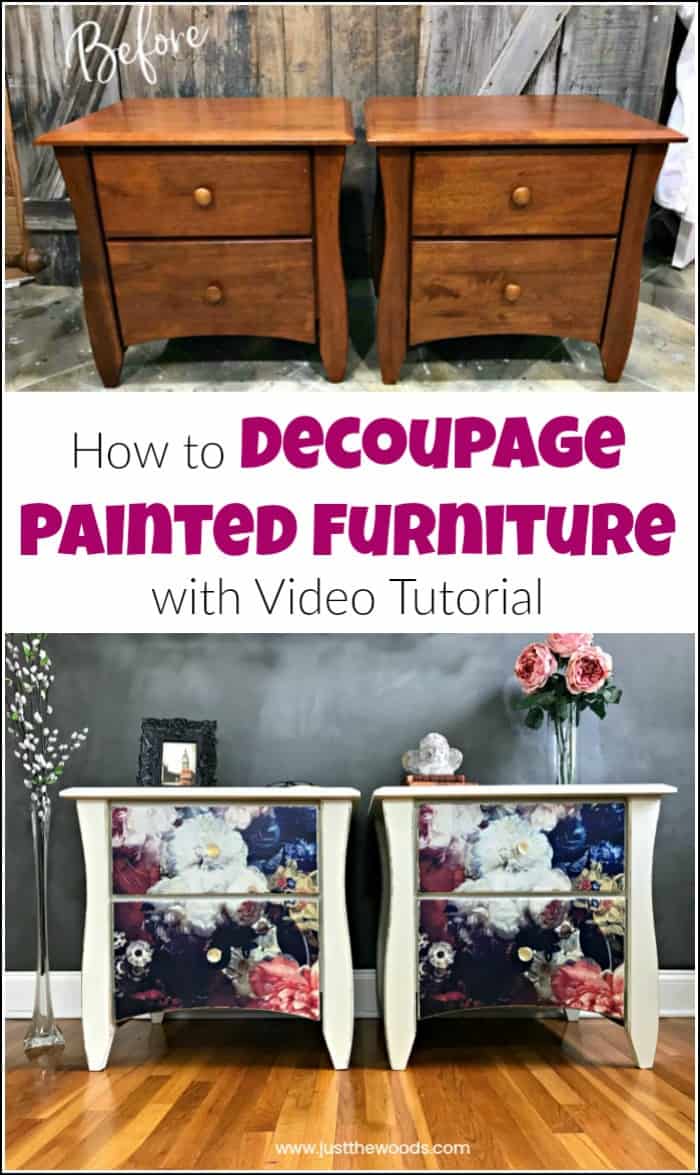
These curvy tables start off in a rather nice condition, to be honest. Probably because they are not vintage, they actually aren’t even old. You can still find these nightstands online in an oak finish HERE, or cherry and other finishes HERE. Does anyone else think it’s crazy that these tables sell new for around $200 each? Though, I’m sure you may wonder why I would even paint them considering they are already in near-perfect condition. But, well, it’s just what I do. There is no rule as to how old a piece of furniture must be to receive a makeover. And I donate the end result to local charities and fundraisers.
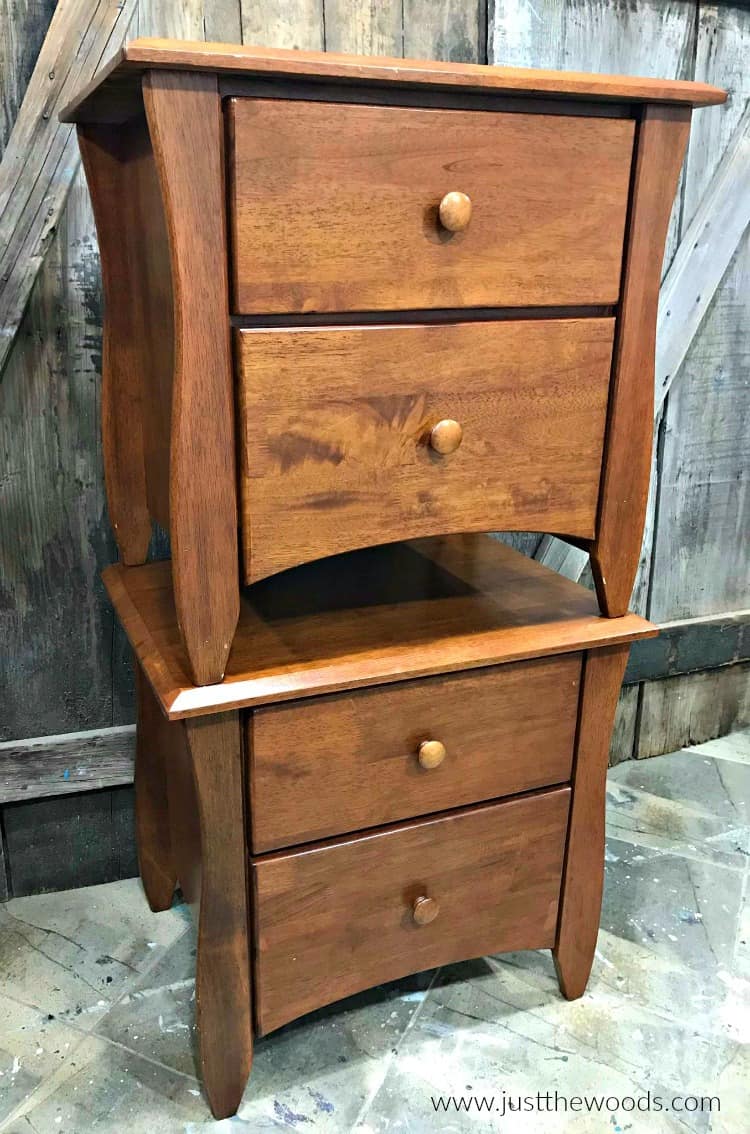
These are modern, yet wood, which can sometimes be a rare find since so many things are made of Presswood lately. They are typically children’s nightstands with those subtle curves.
How to Prep Furniture for Paint & Decoupage
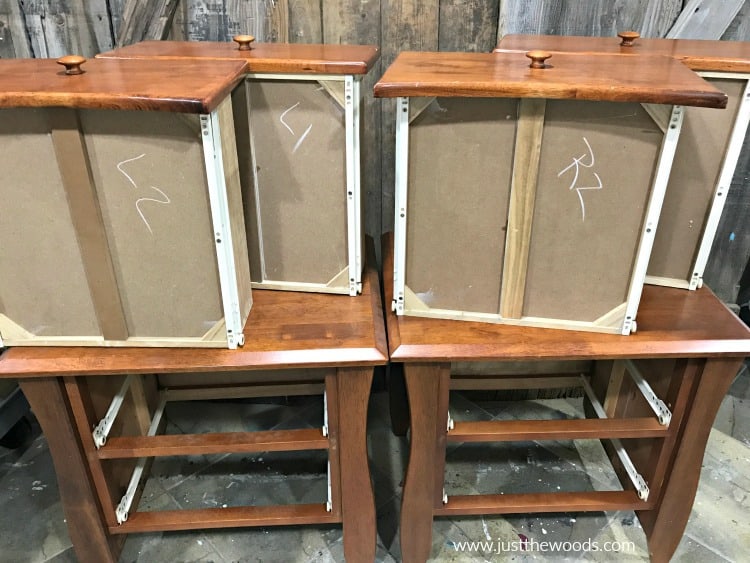
The first step in preparing our wood furniture for paint and decoupage is to remove the drawers. I like to mark the underside of each drawer with plain chalk (L1= left 1, L2= left 2, etc) so that I know where each drawer goes when it’s time to put them back. This is just one of the many little tips I share in my Secrets & Tips for Painting Furniture.
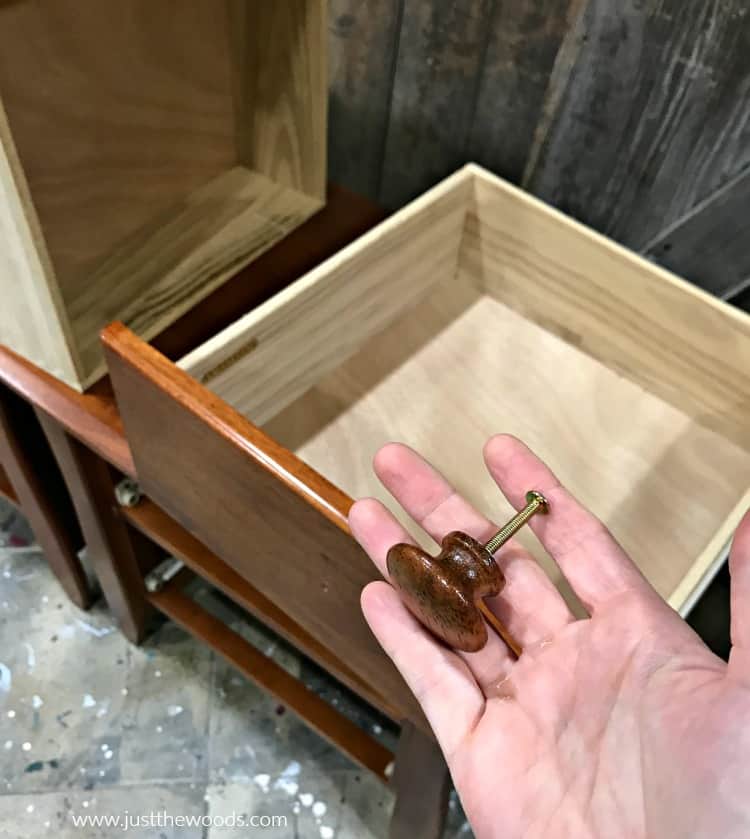
Make sure to remove the existing hardware as well.
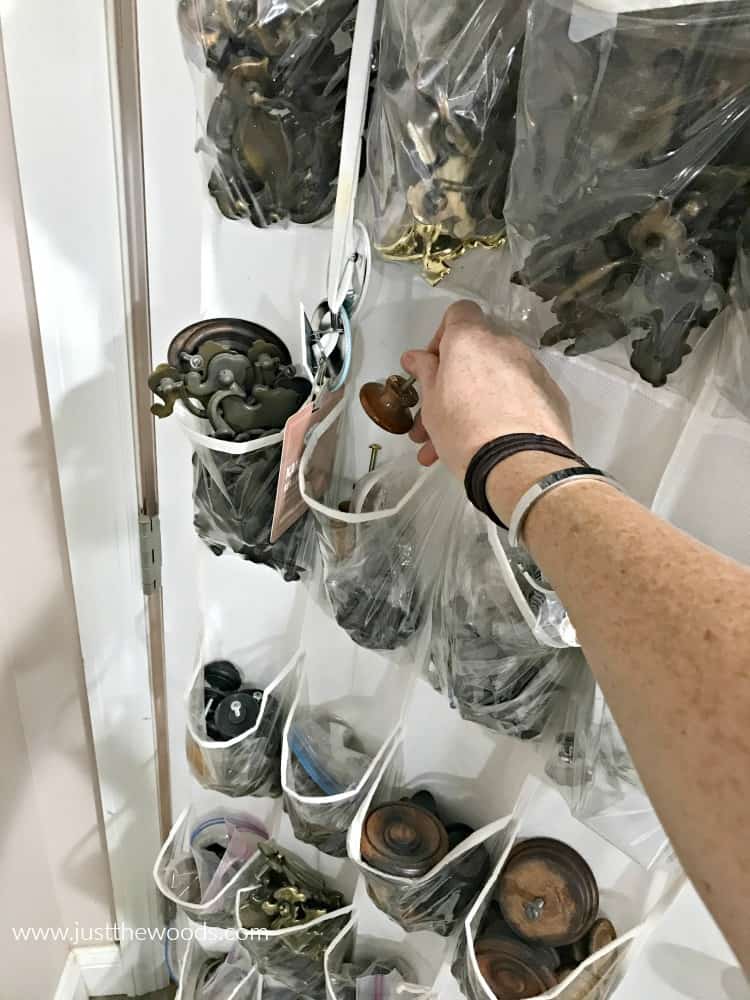
We will be replacing these boring round knobs, but they are in great shape. They get thrown in the hardware abyss on the back of my shop door. A plastic ‘over the door’ shoe organizer works great for organizing and storing old hardware that you may someday need, but probably not. Kind of like those old jeans that haven’t fit in years but we keep them anyway. 😉 You can get a shoe/hardware organizer online HERE.
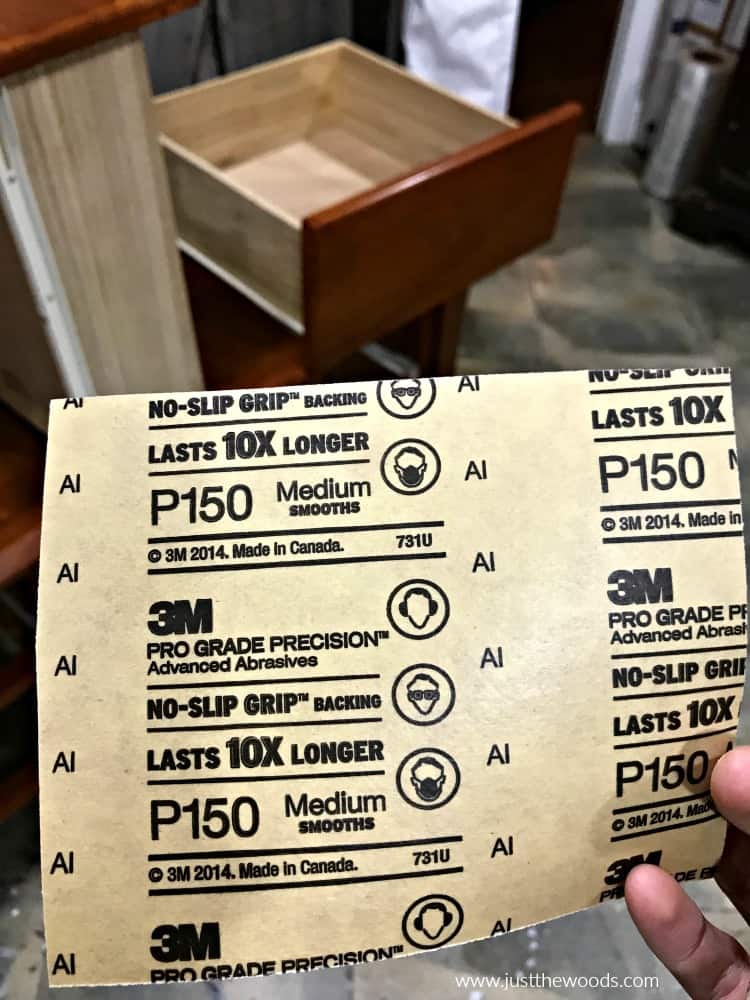
Time to break out the sandpaper. These modern wood tables are, as I mentioned, rather new, and therefore the surface is smooth. You will want to scuff up the surface a bit to give the paint something to grab a hold of. Using 150 grit tends to be my ‘go-to’ because it’s coarse enough to scuff the surface, but not so rough that you would damage it. (A course grit sandpaper like 60 or 80 grit would most likely scratch up your surface in an ugly way) If you plan to paint over a lot of new, shiny, or even laminate furniture you may want to check out my Best & Trusted Way to Paint Laminate Furniture.
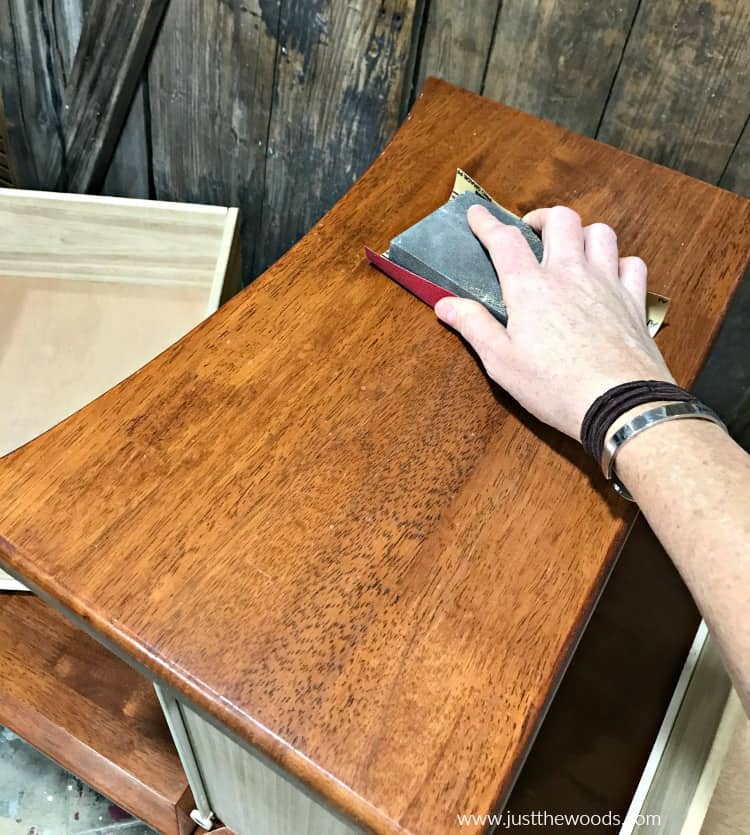
You will want to give the entire surface a scuff including the drawer fronts. But not inside the drawers, we aren’t painting in there so that would be silly. Make sure to clean the surface after sanding as well. If you need more details for the sanding, prepping, and cleaning part you can check out my standard process for How to Prep Painted Furniture.
Painting Your Wooden Tables Before Decoupage
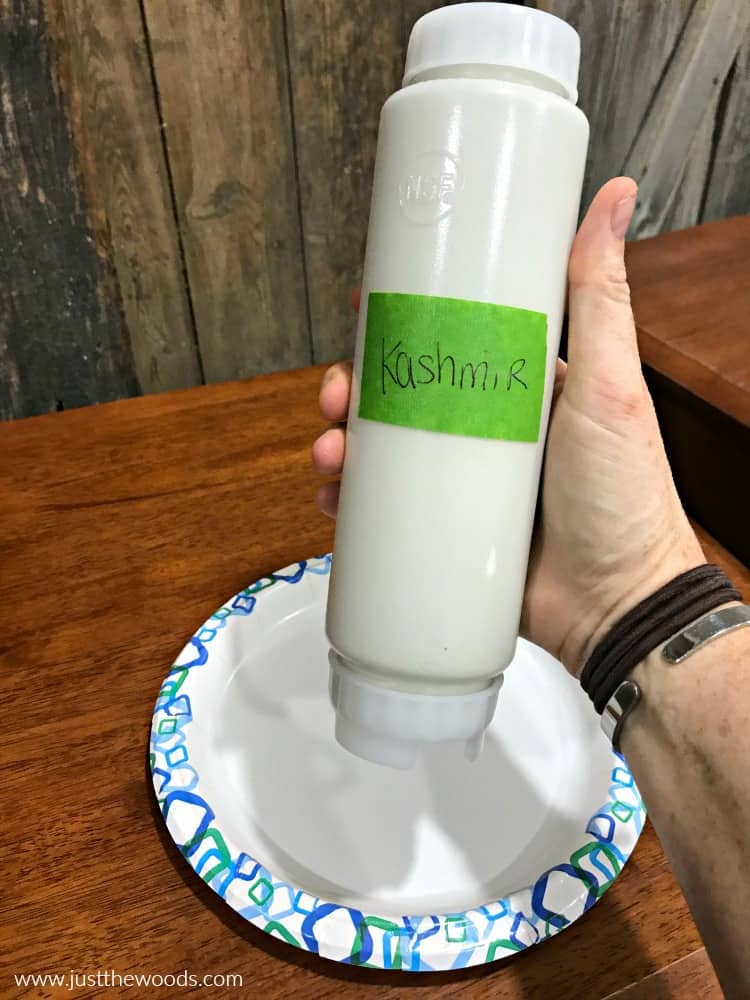
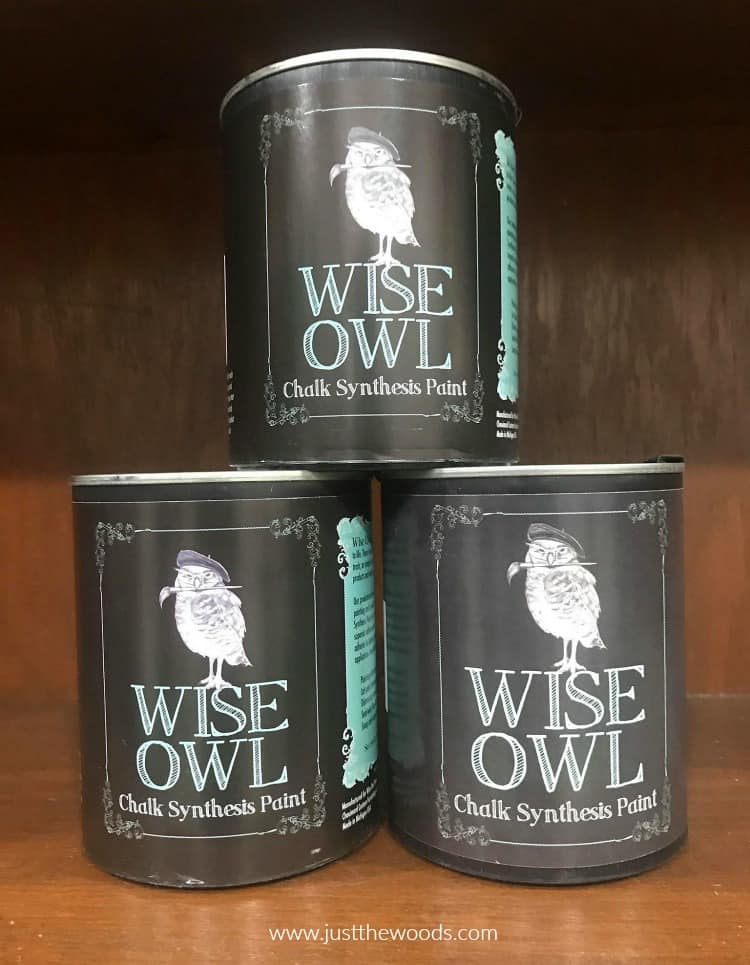
Now that our furniture is all prepped and ready we can go ahead and paint. Keeping things neutral this time I am using a creamy vanilla / off-white paint color called Kashmir from Wise Owl. You can get Kashmir along with all the other paint colors online here: Wise Owl. Since the paint comes in a can, I decided to transfer to this nifty FIFO squeeze bottle. You simply squeeze your paint out like a ketchup bottle – no mess! You can get these bottles online HERE.
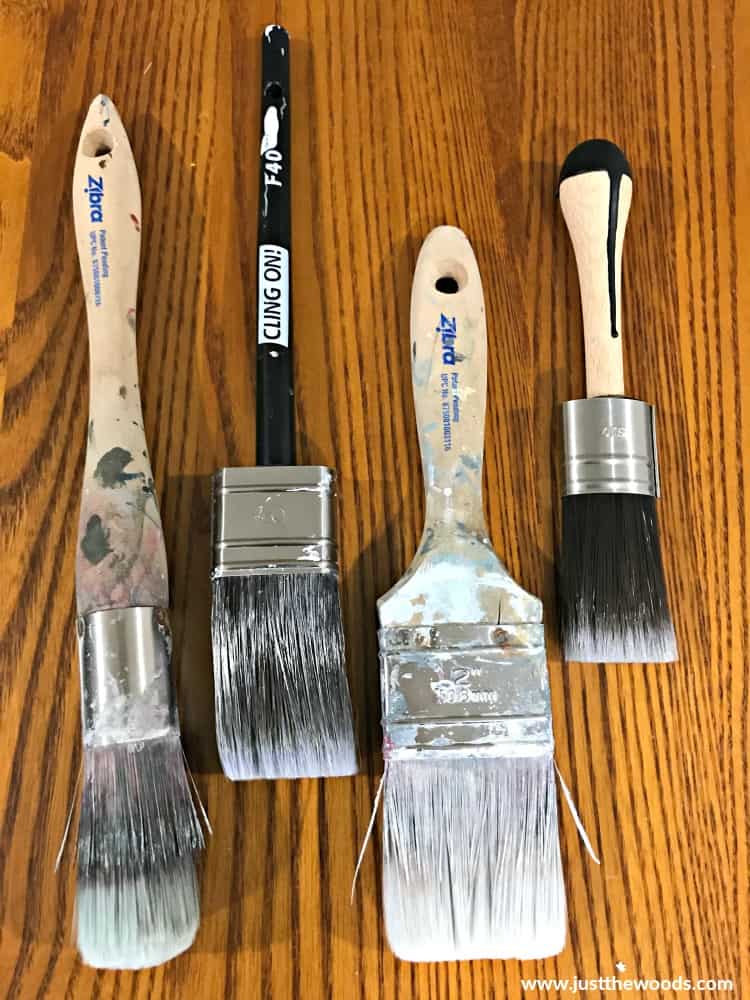
Next, grab your favorite brush and make sure it’s clean. I am using my flat Zibra brush, but I like to swap back and forth between Cling Ons and Zibra brushes. They both have soft bristles, are easy to work with, and clean up well. (I abuse my brushes) To be honest, I like them both. Zibra brushes are a bit more affordable and can be ordered online (HERE). Cling Ons can be ordered online (HERE).
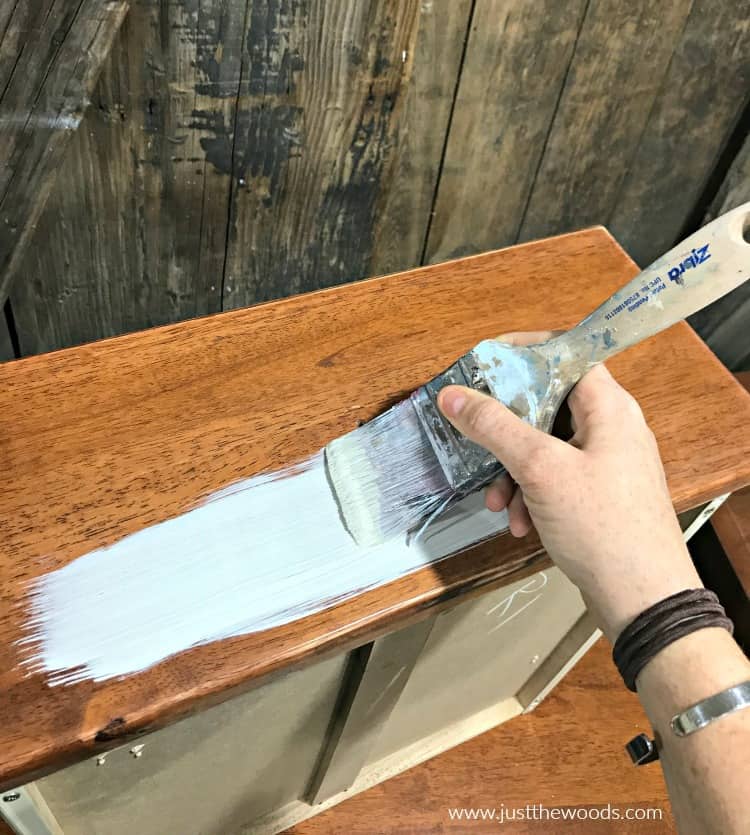
Squeeze some paint onto a paper plate and go ahead and paint your tables.
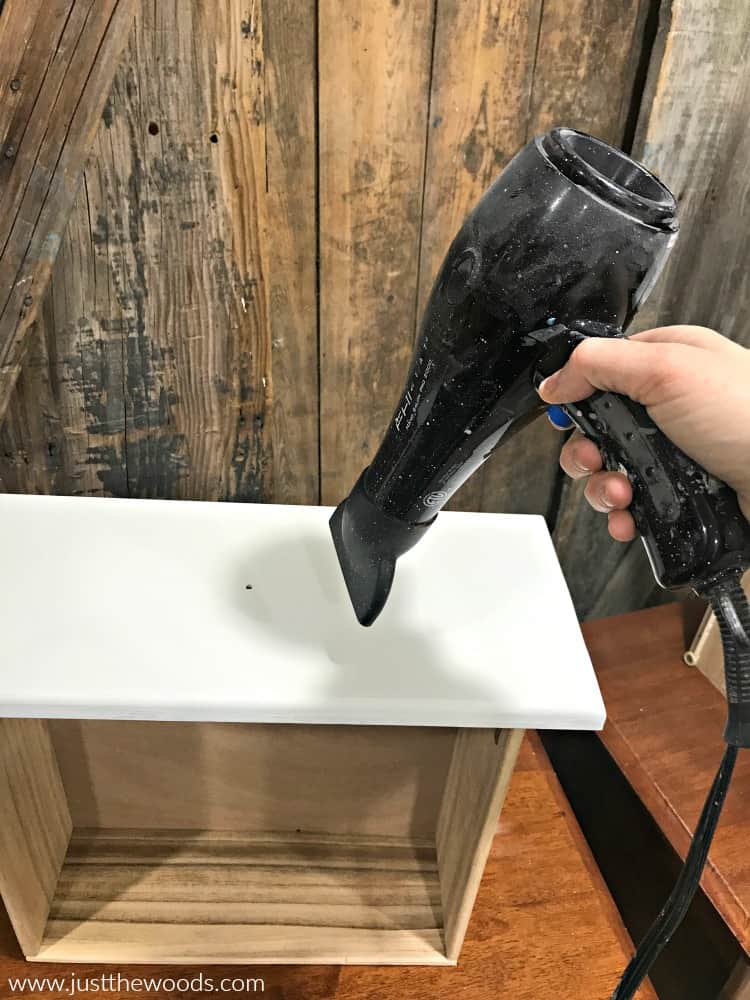
On occasion, I get very impatient, so I keep an old hairdryer in my shop to help speed up the drying time of my paint. The paint dries rather quickly but I still like to make sure it’s super dry before I apply a second coat. You know, play it safe.
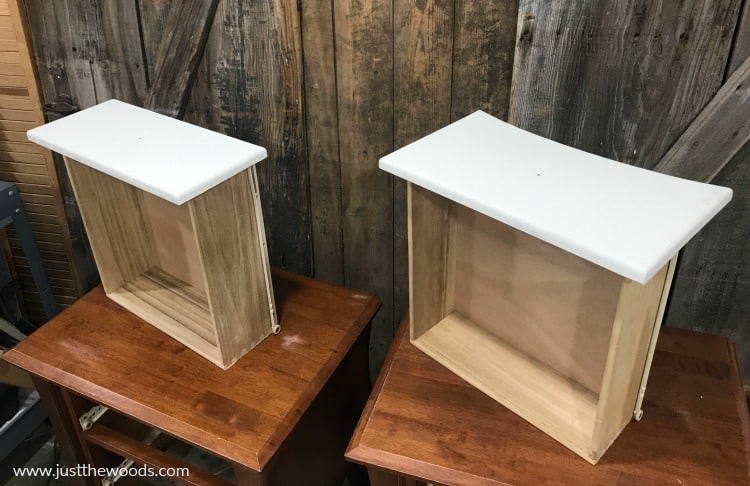
And just like that, the paint on the drawers is dry. You can choose to paint the drawers and the table body all at the same time or do them in steps like me. Because I am adding decoupage to the drawer fronts I am working on the drawers first and will continue with the rest afterward. There is no wrong way.
Click here to Pin this post for later.
How to Decoupage Furniture Drawers with Paper
Using decoupage techniques to update a furniture piece is a great way to update your home decor for less. You can easily update new or old furniture with a variety of different types of paper. Wrapping paper, paper napkins, rice paper, sheet music, scrapbook paper, floral napkins, and vintage tissue paper are all different types of paper that can be used for decoupage. For this fun project, we are using floral paper. It is a thicker paper than tissue paper, but thinner than wrapping paper.
Preparing & Gathering Decoupage Supplies
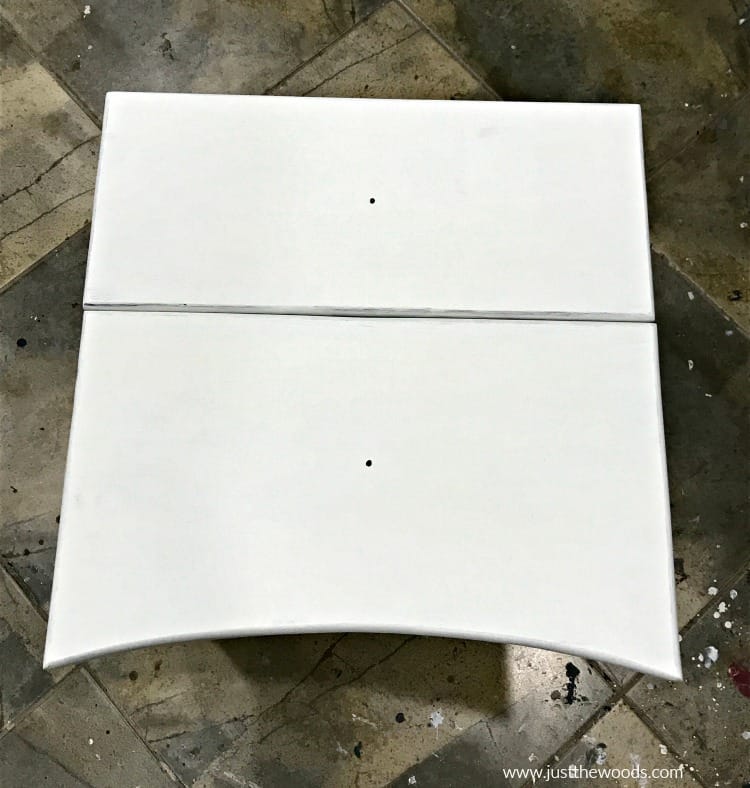
Our drawers are ready for decoupage. I am doing this slightly differently than the way I have done on past decoupage projects. This time I want us to line the drawers up and do them together. Doing this will create little to no break in the image design.
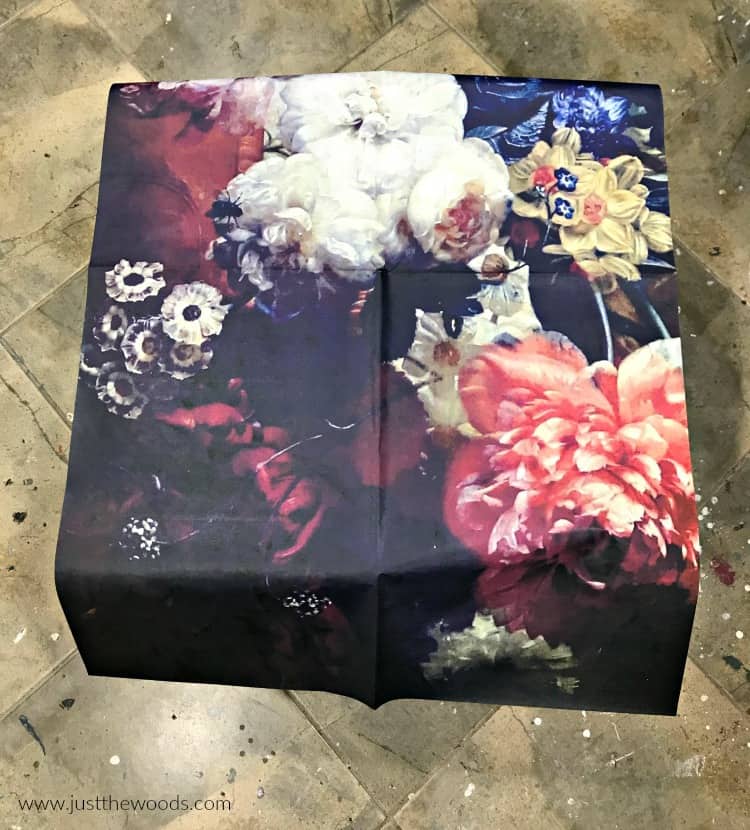
Once you are comfortable with how the drawers line up you want to grab your paper. Simply lay the paper onto your drawers to get an idea of how you want the placement to fall. If this paper looks familiar it’s because you may have seen it on a completely different project, paired with bold pink/purple paint. You can catch that project here: Decoupage Hand Painted Furniture. Also, if you love this paper, you can find this gorgeous floral print online HERE.
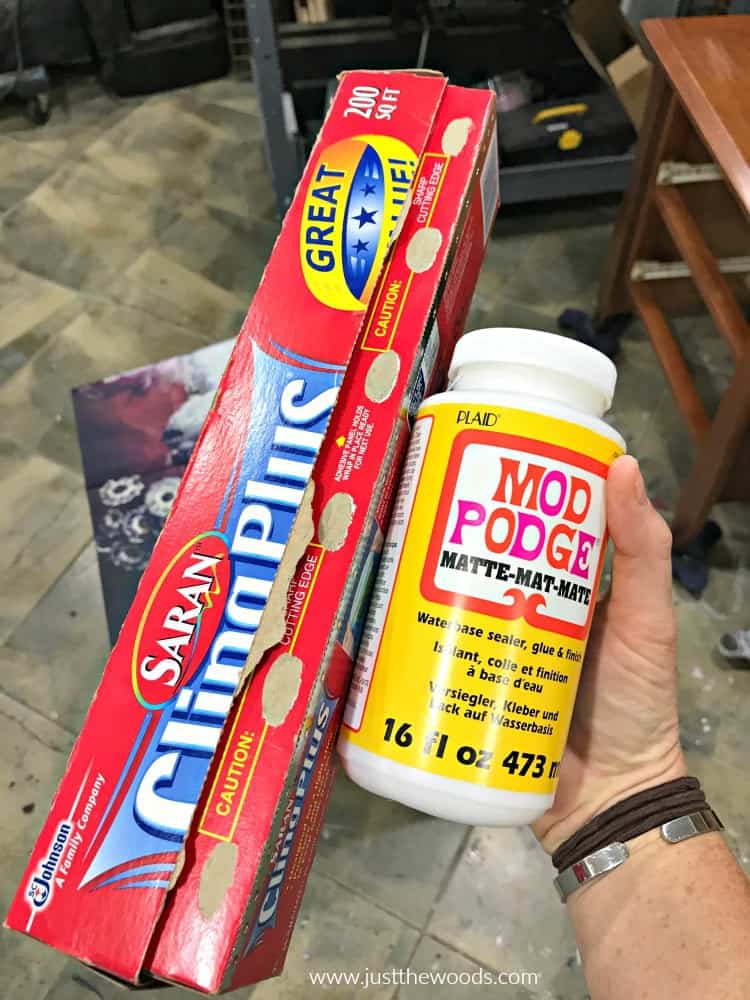
Next, grab your decoupage supplies like Mod Podge and clear cling wrap.
Click here to Pin this post for later.
Applying Decoupage Paper to Furniture
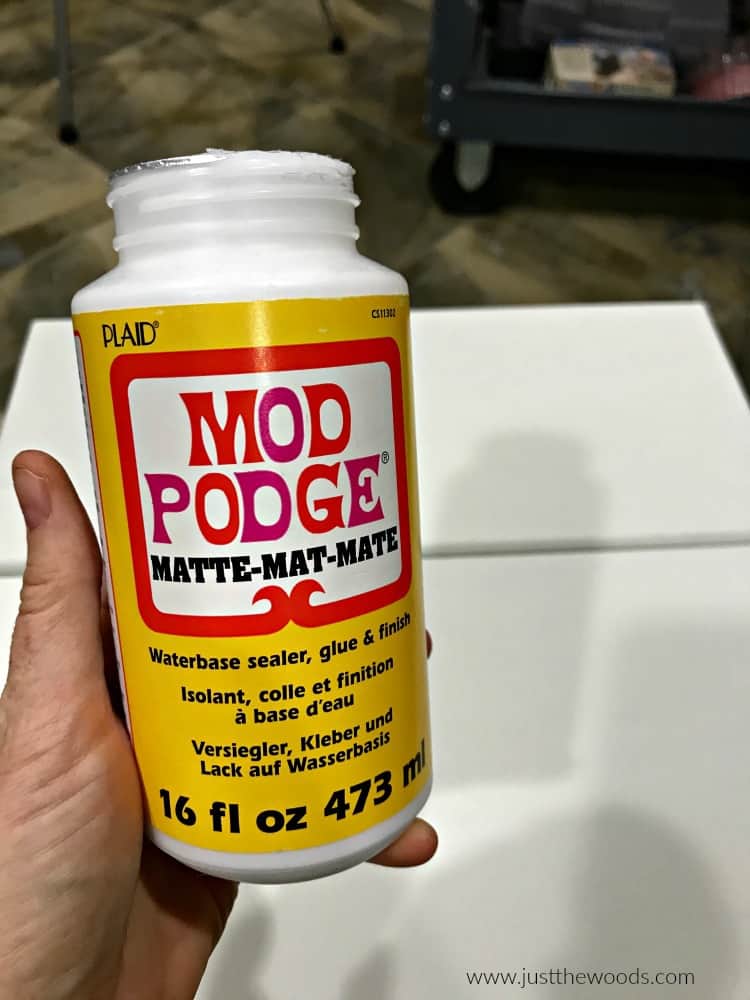
Let’s start with your Mod Podge decoupage glue. If you don’t have any on hand, you should be able to find it at your local craft store or online HERE.
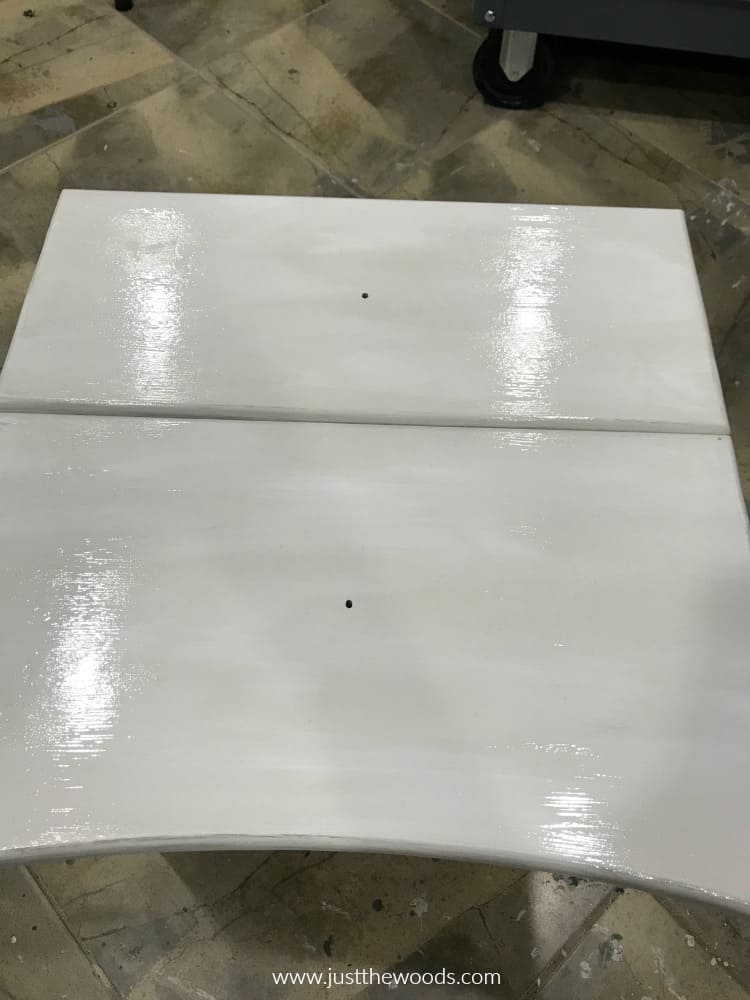
Using either a clean paintbrush or a silicone glue applicator apply some Mod Podge onto the painted drawers.
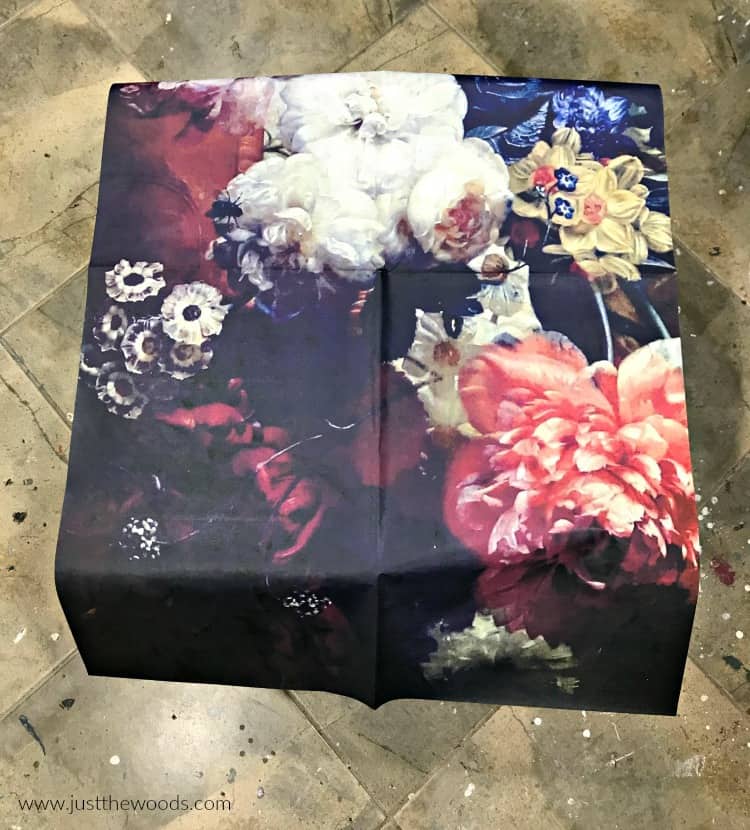
Next, gently lay your floral tissue onto the tacky glue painted drawers where you want them.
Smoothing Out Your Decoupage Tissue
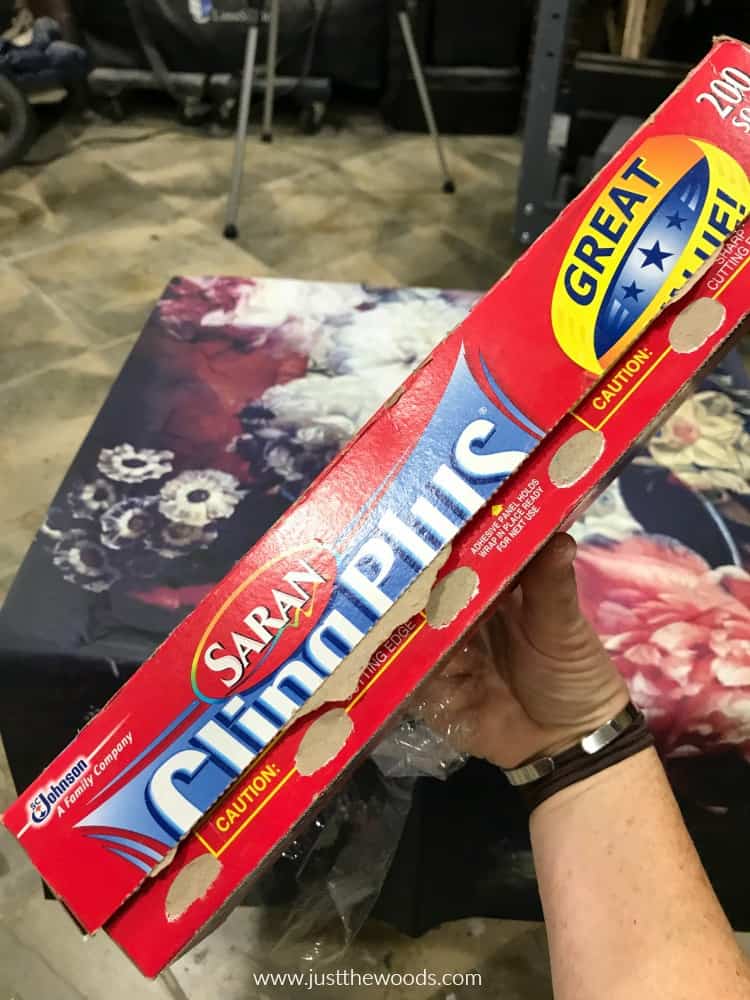
Now grab your clear cling wrap and tear off a piece.
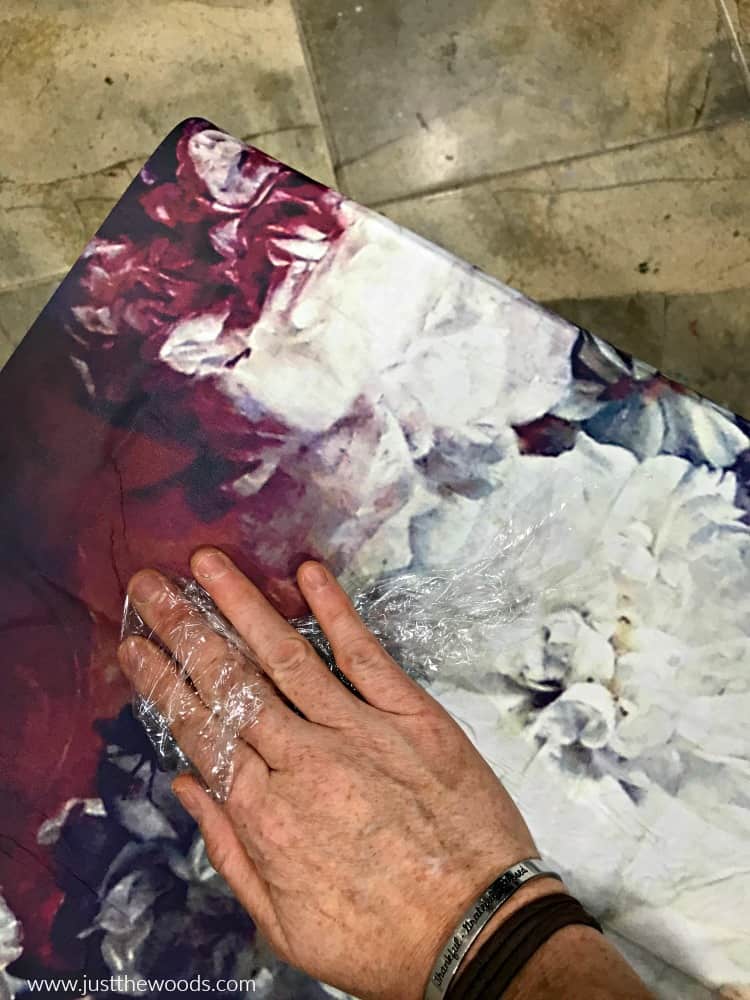
For best results, wrap the cling wrap around your fingers and use it to smooth out any bumps, and air bubbles while you press the decoupage tissue down onto your painted furniture. The reason for the cling wrap is that it makes it easier to smooth the paper without tearing it. As long as you don’t use too much glue your paper should smooth out nicely. (Too much glue often results in bubbles) A few minor creases or bubbles aren’t bad, but you do want to smooth out as much as you can.
Separating Your Decoupaged Drawers
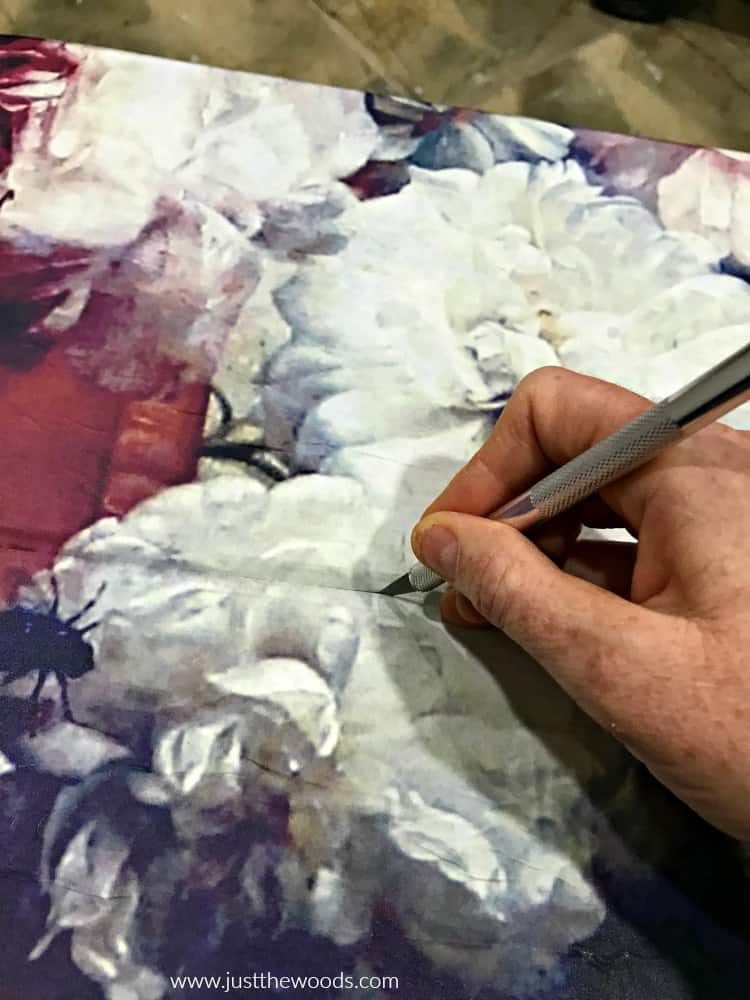
Remember that we used one large piece of decoupage tissue over two drawers? Now we need to separate them. Using a sharp Exacto knife or craft knife, carefully cut the paper down the center to separate the drawers. You should be able to feel with your finger first to find where to cut. I tend to replace my blades often to ensure that they are sharp for each project. So I have these Exacto knives that I ordered online because they come with multiple blades. You can find them HERE.
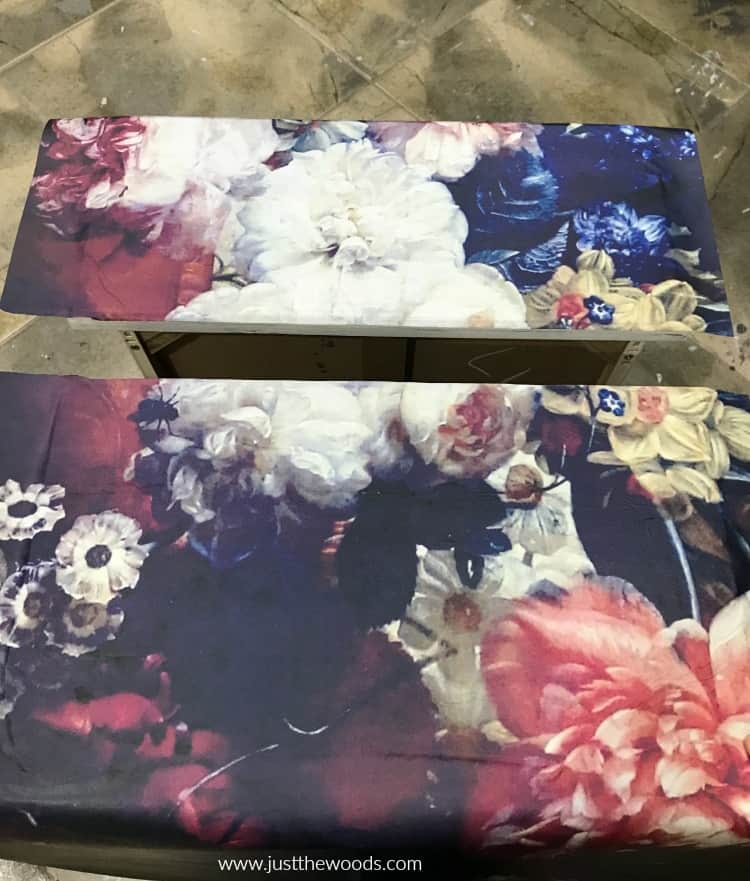
Now you can pull your decoupaged drawers apart.
Trimming Decoupage Paper on Furniture
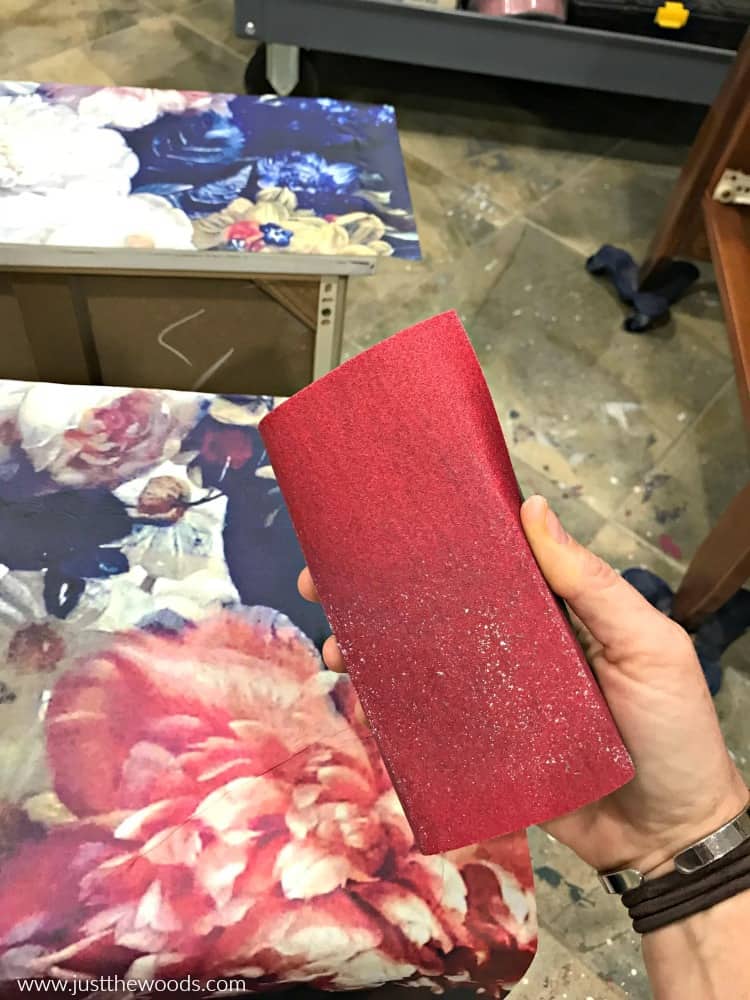
Now that we are working with two separate drawers we need to trim the paper that is still hanging over the edges. Grab a sanding block or wrap some sandpaper around an old one. I am using 150-grit sandpaper for this. It is rough enough to tear the paper, but not so rough that it would cause damage.
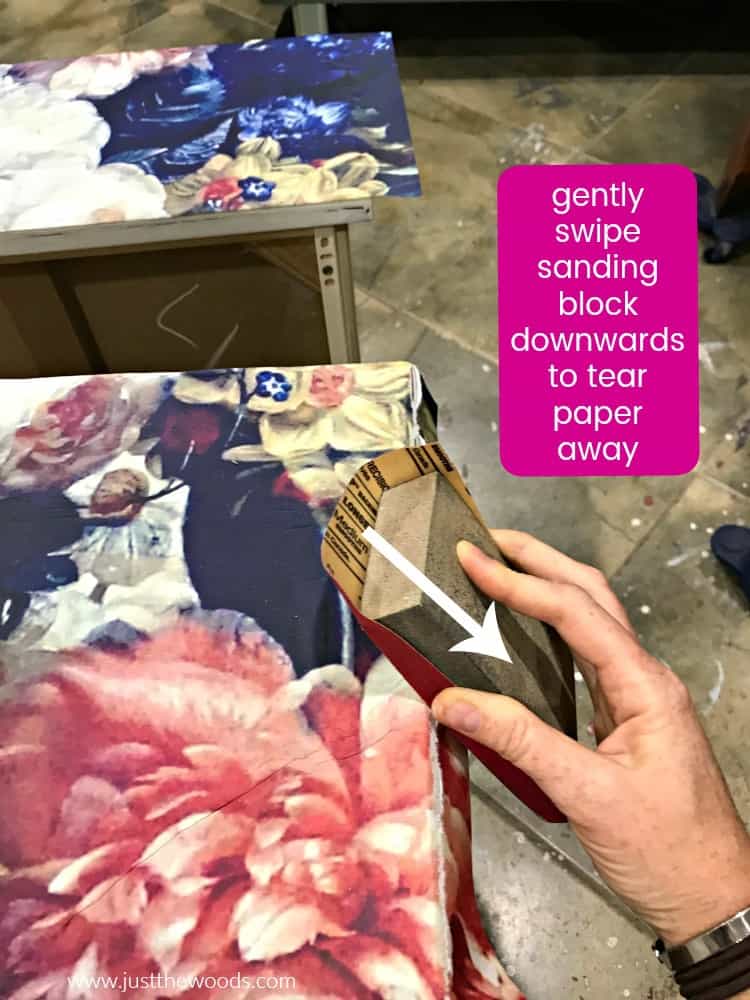
Gently apply pressure with your sanding block to tear the tissue away. Always work in the direction moving downwards. You don’t want to tear upwards and risk pulling the tissue off of your painted furniture.
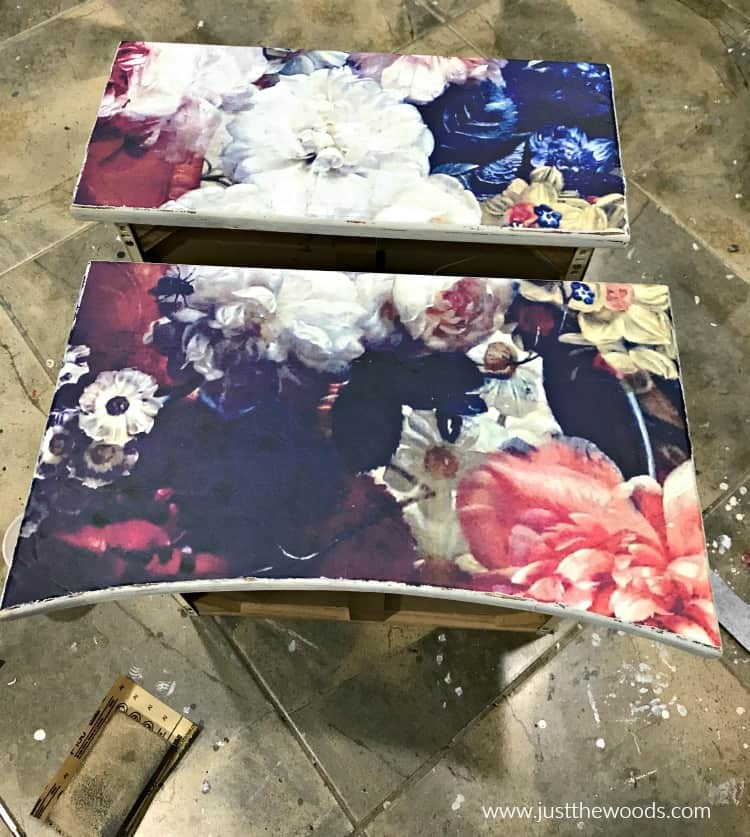
This will leave you with roughly trimmed edges.
Click here to Pin this post for later.
Video Tutorial for How to Decoupage Furniture
If you still need a visual, here is a video tutorial showing you how to decoupage furniture as I walk you through these same steps on the other drawer.
Sealing Decoupaged Furniture Drawers
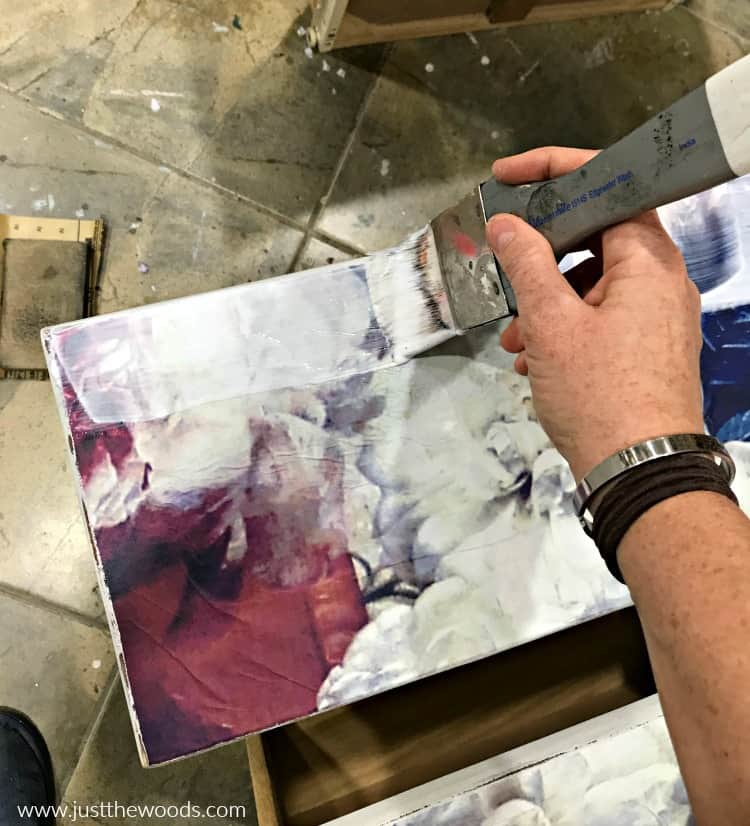
Moving on, we now need to seal the decoupage tissue and resecure any edges that may be lifting. Grab your Mod Podge again and a brush. When we apply the paper to the drawers we only use a little bit of Mod Podge, but for this step, we apply a generous amount of Mod Podge over the decoupage paper.
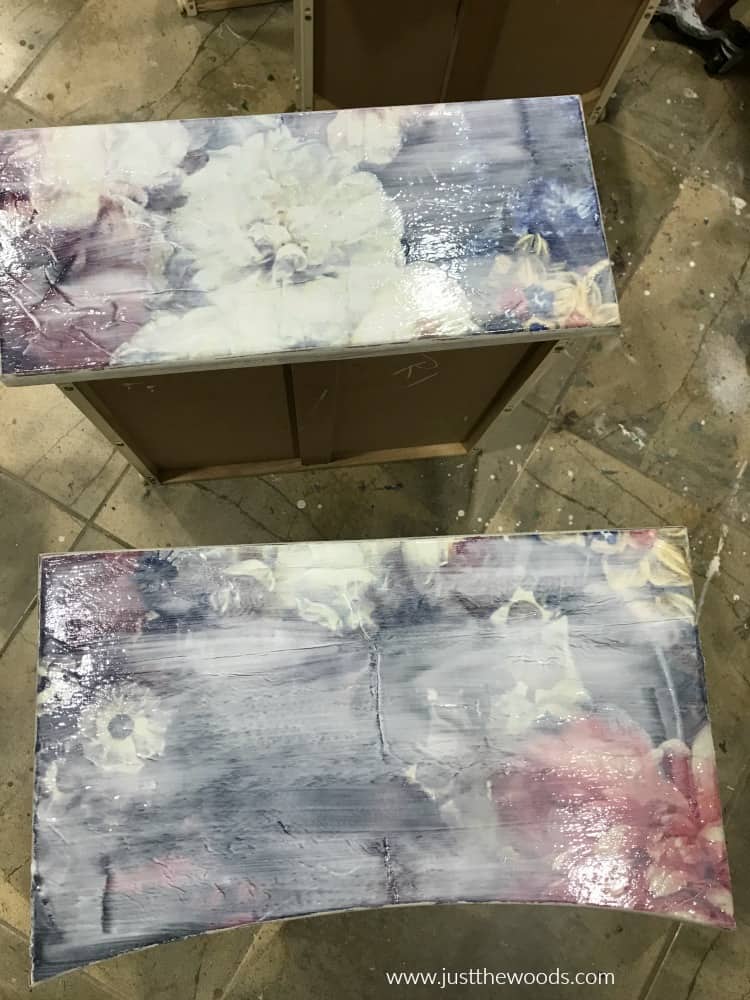
If any of the paper is lifting around the edges, make sure to add a little glue underneath and press the paper back down. Cover the entire surface of the paper and let dry.
Painting Decoupaged Nightstands
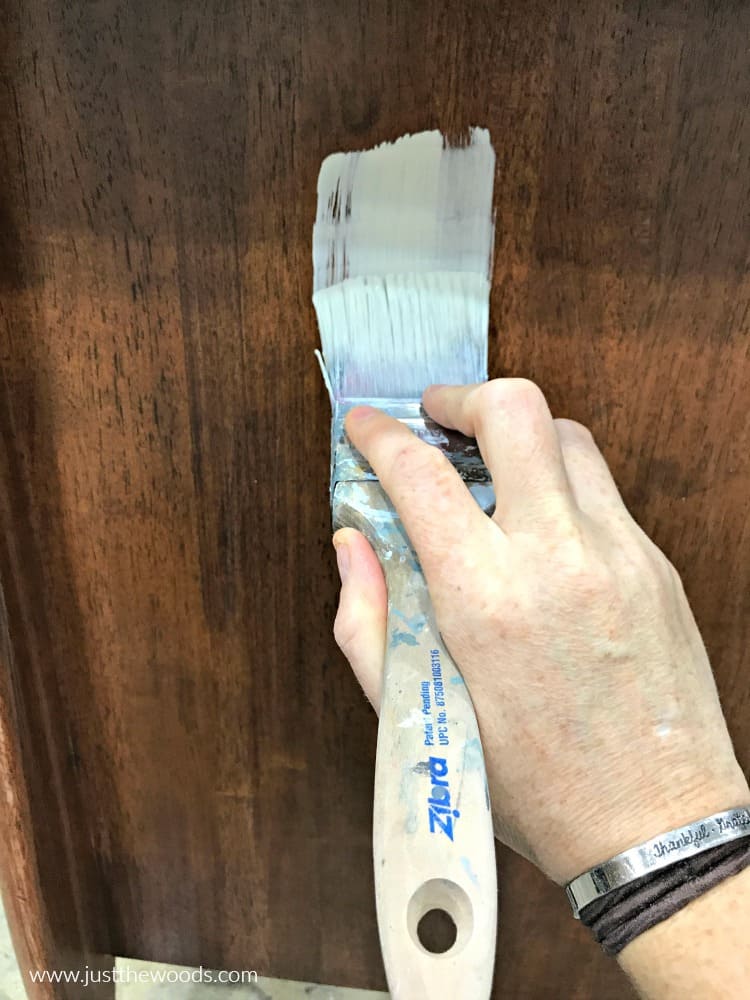
While the Mod Podge dries on the drawers we still need to finish painting the rest of the tables. Grab your favorite brush, I’m still using my Zibra brushes. Paint the bodies of the nightstands in the same color, Kashmir, as we started with on the drawers.
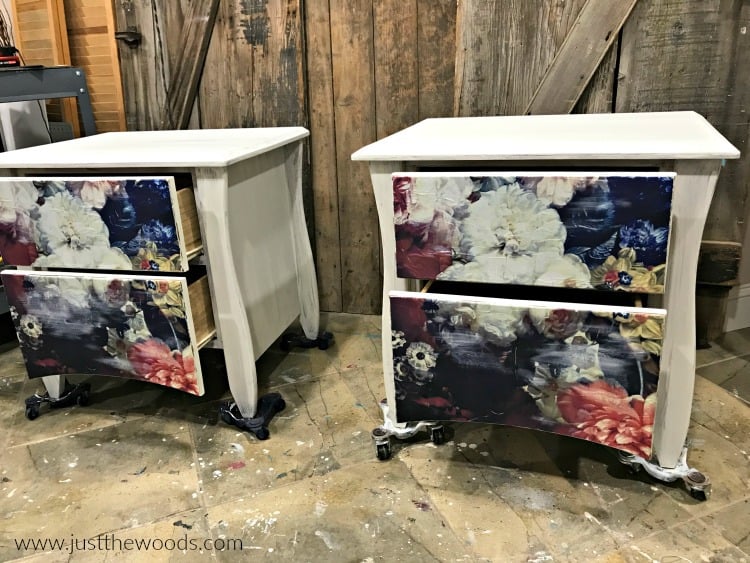
Keeping the tables neutral and simple allows the focus to remain on the decoupage paper.
Updating Hardware on Decoupage Furniture Painted Tables
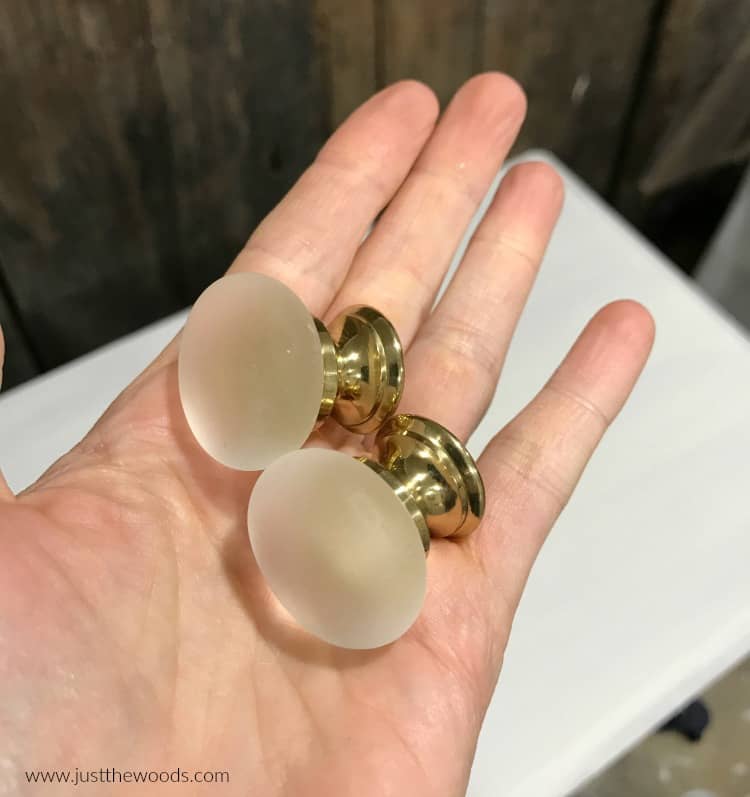
Remember we removed those boring brown wooden knobs? Well, we are replacing the hardware with these simple yet gorgeous frosted glass knobs from D. Lawless Hardware. You can find these pretties HERE.
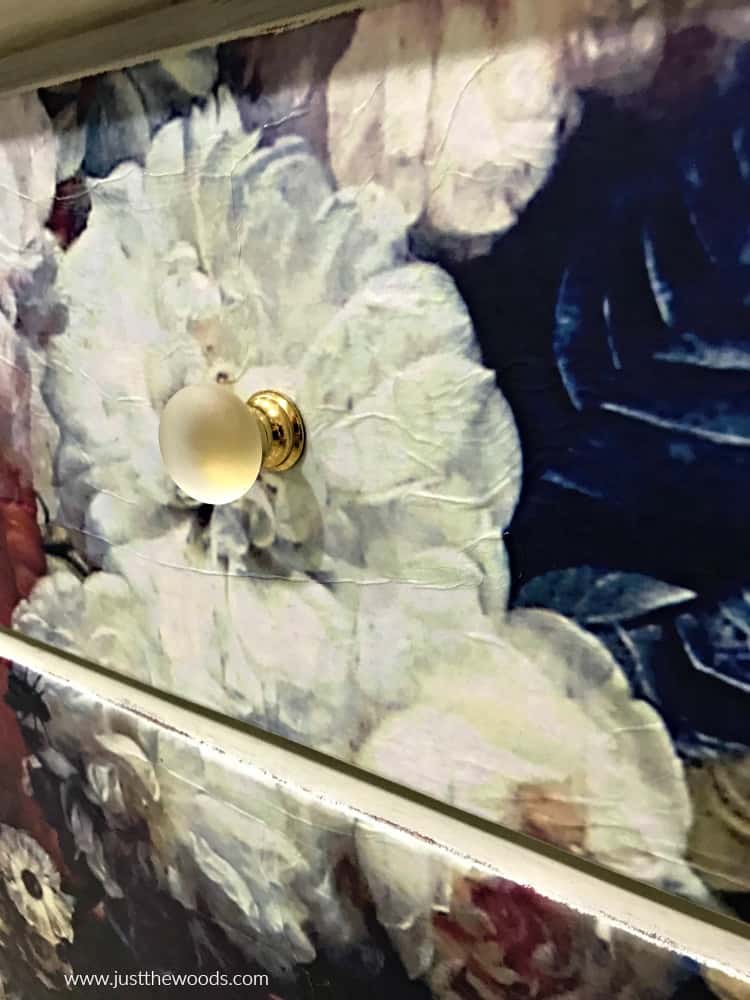
The new knobs are perfect for these tables. You will need to poke a hole through the paper to get your hardware on. Always make sure to poke from the outside towards the inside and you can use a large nail, or small screwdriver to do this.
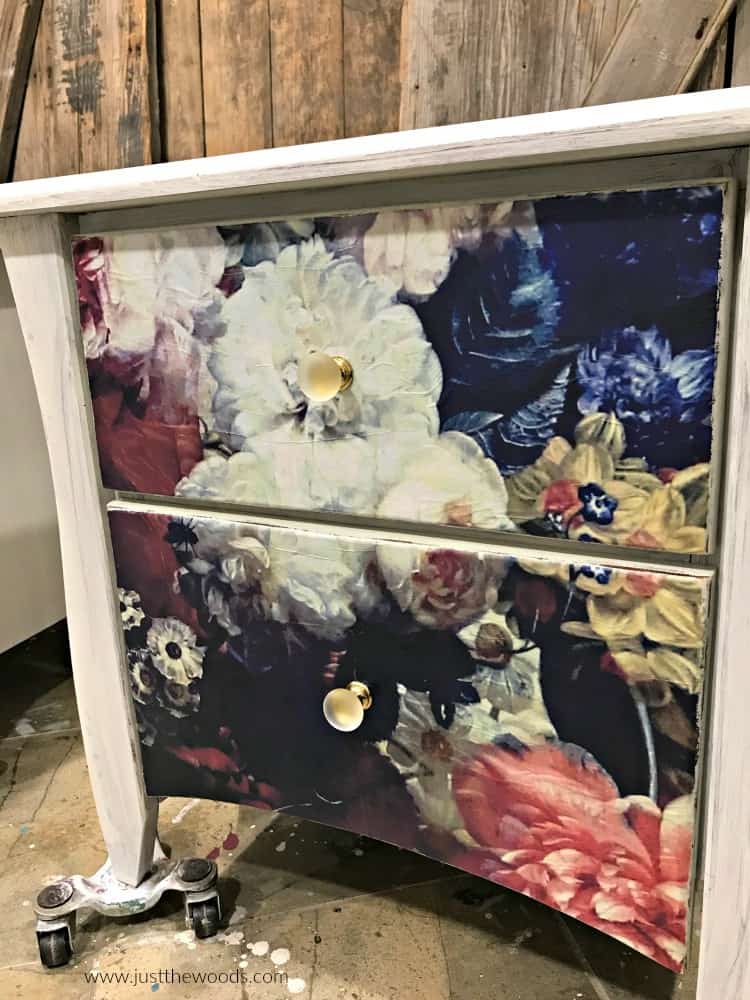
I admit that I put the drawers back in just to see how it looks before even finishing the rest of the tables. I’m thinking so far, so good.
Click here to Pin this post for later.
Distressing the Painted Tables
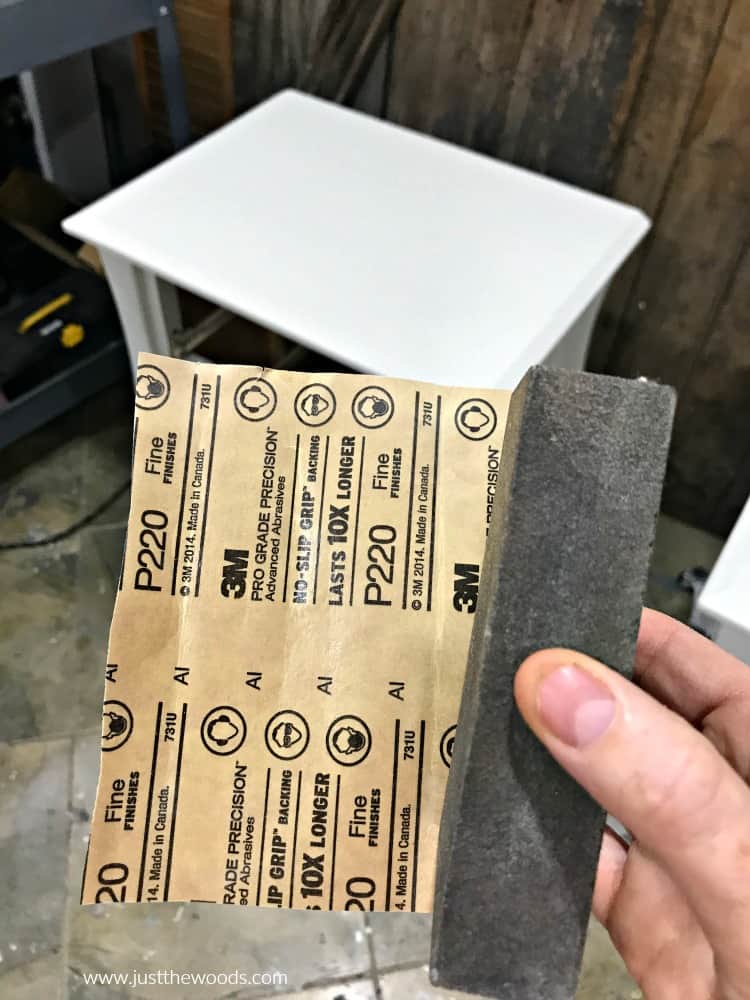
Let’s get back to finishing these tables. Let’s grab fine-grit sandpaper, I am using 220-grit. You can use 220 or higher for this.
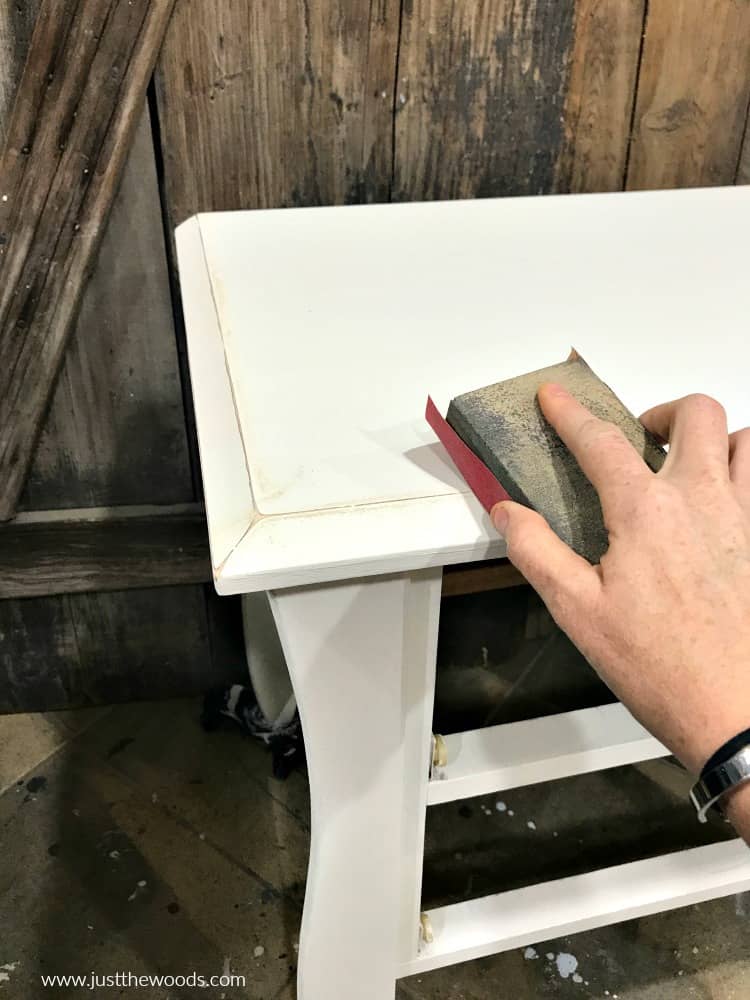
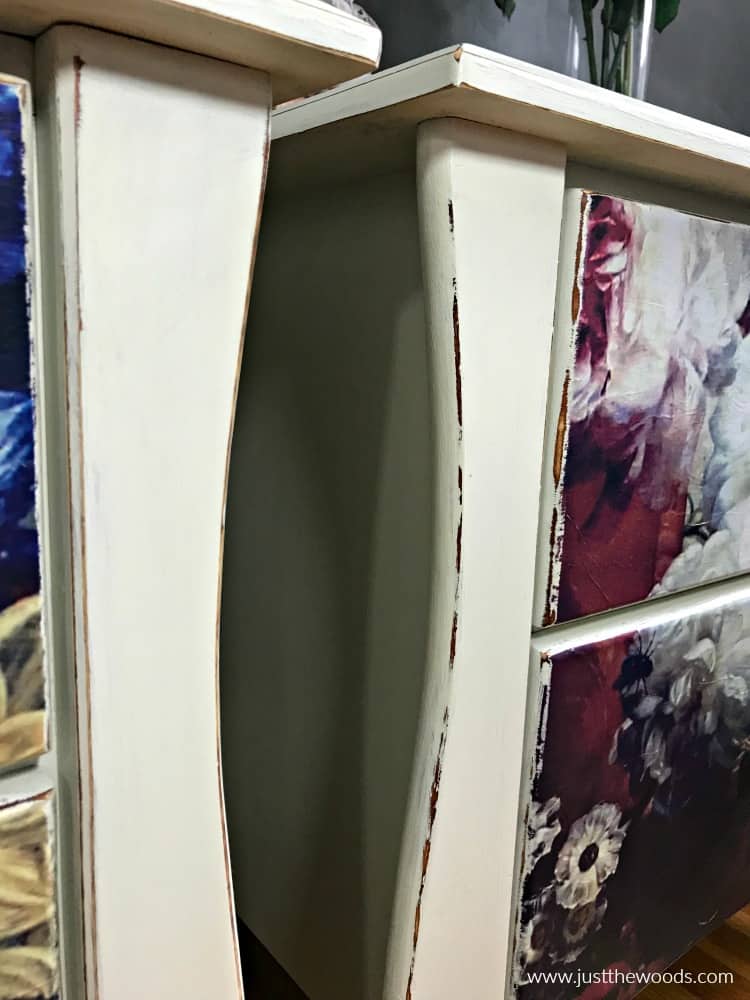
Gently distress the edges of your painted tables with your sanding block. Also, lightly sand the flat surfaces for a smooth finish.
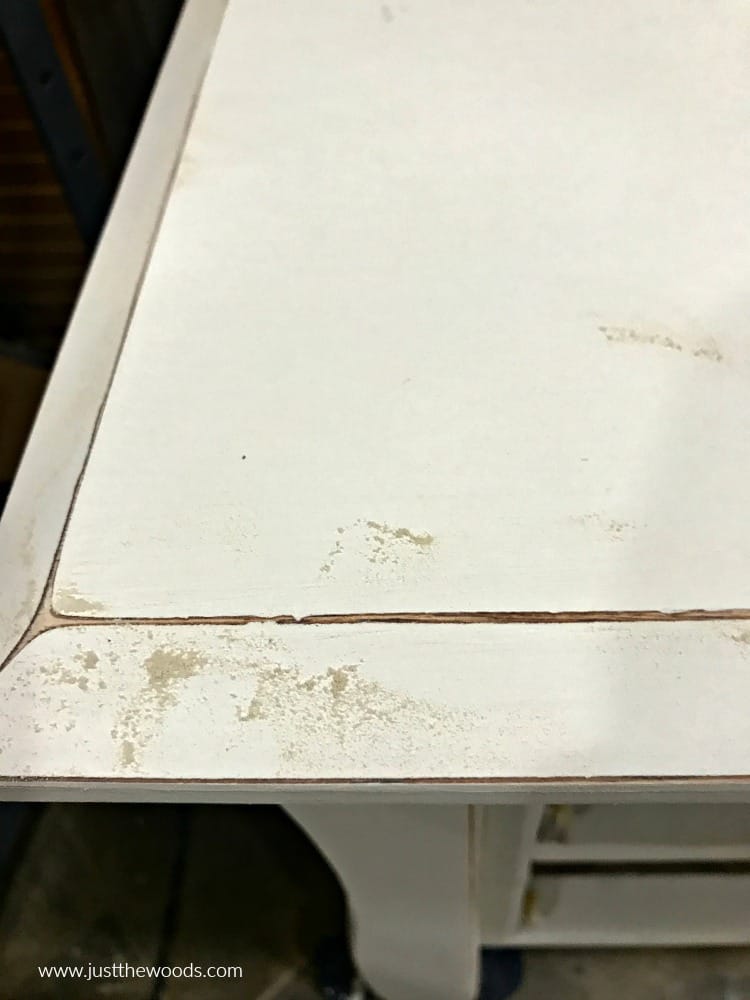
You want your edges distressed without appearing attacked. Here is a more detailed tutorial on distressing painted furniture. But as you can see we will be left with some dust.
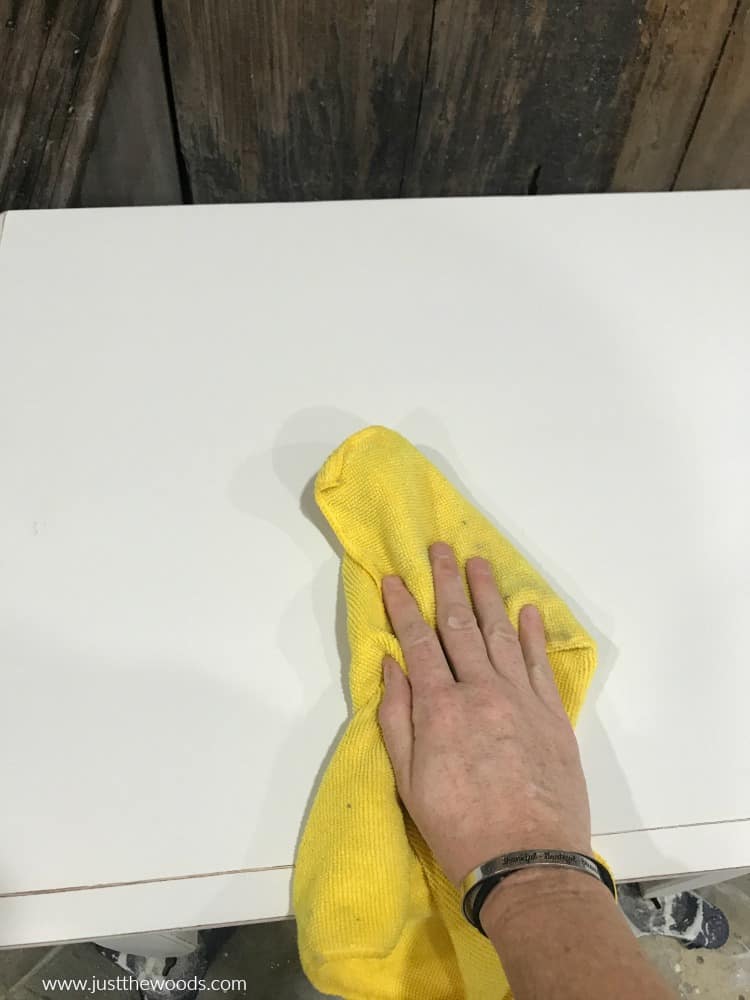
Make sure to use a lint-free cloth to remove the dust before moving on. I keep a bin full of these lint-free cloths in my shop. You can find them online HERE.
If you find that your project is a bit more distressed than you prefer you can always go back and touch up a few spots to lessen the distressed look. If this happens to you then check out How to Touch Up Paint on Painted Furniture.
Sealing Your Painted & Decoupaged Furniture
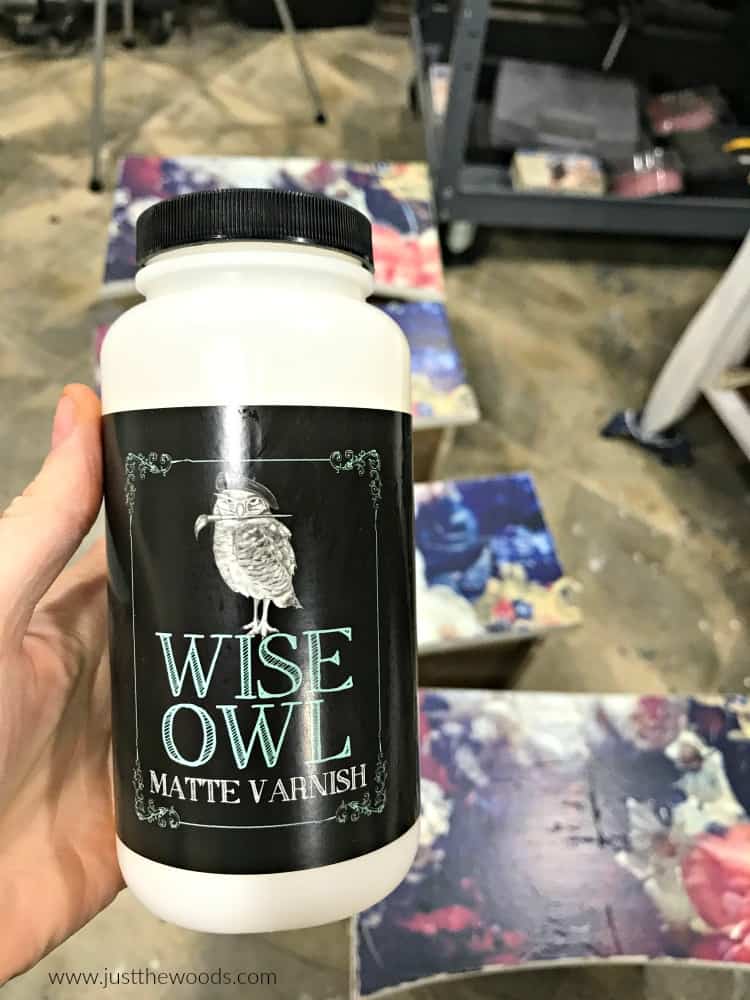
Once you remove the dust from distressing the paint on the tables and once the Mod Podge is completely dry on the drawers you can seal your painted furniture. You can actually seal the decoupaged drawers with the same sealer that you use on your painted furniture. I am using Wise Owl clear matte varnish for this project. As a matter of fact, I am using this on both the decoupaged drawers and the painted tables – basically everything! You can grab some online HERE.
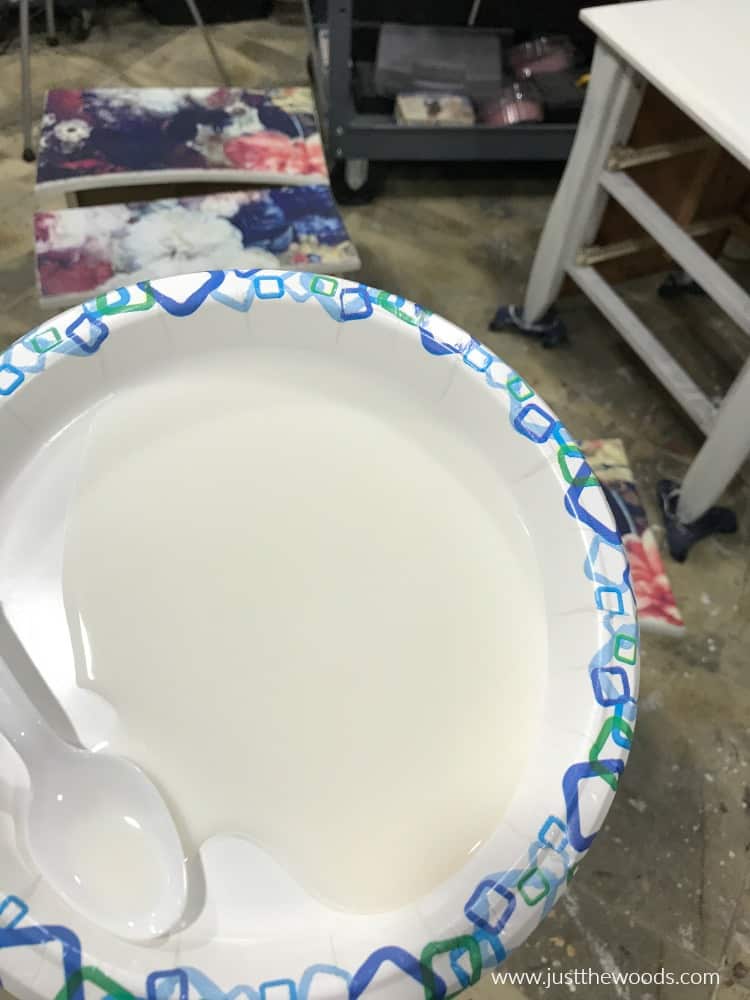
Scoop some of your varnish onto a paper plate. It’s just easier to work with it this way.
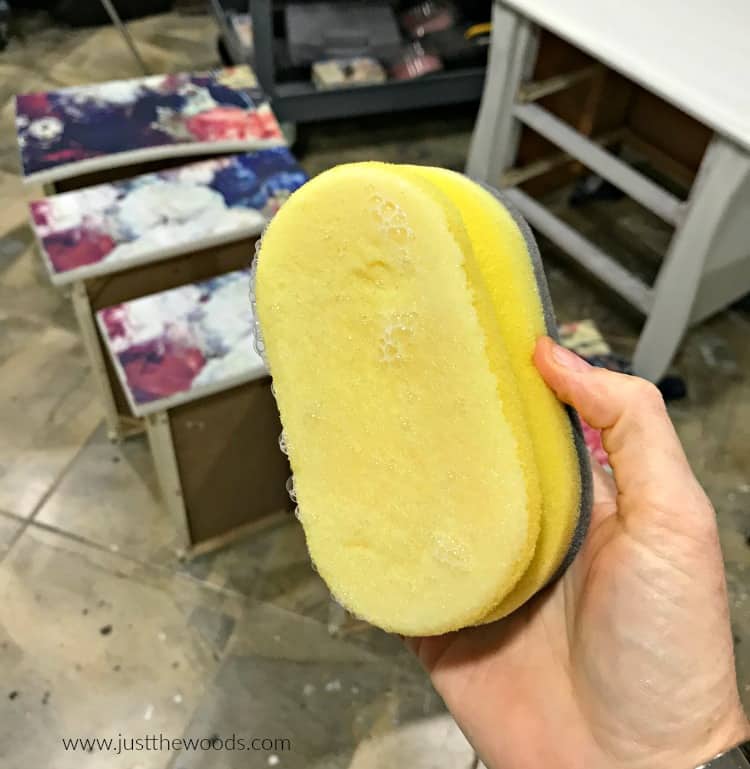
Then grab your sponge applicator, I love these things for applying sealer, stain, and glazes. You can find them online HERE.
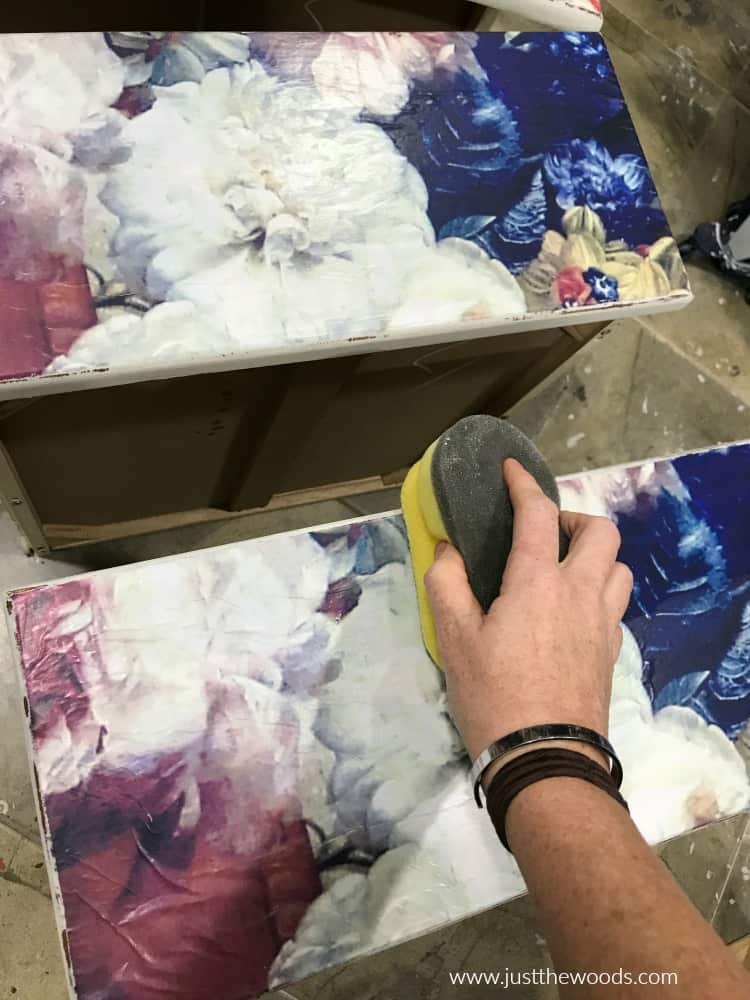
Apply your clear sealer over your decoupaged drawers. Make sure to apply sealer over both the paper and the painted sides of the drawers (you know that edge area that is painted in Kashmir).
Click here to Pin this post for later.
Go ahead and make sure to seal your painted tables with a clean coat in the same manner. If you have questions about sealing your painted furniture project you can find a full tutorial with a video on how to apply clear sealer here: Sealing Painted Furniture
Freshening Up Wooden Drawers
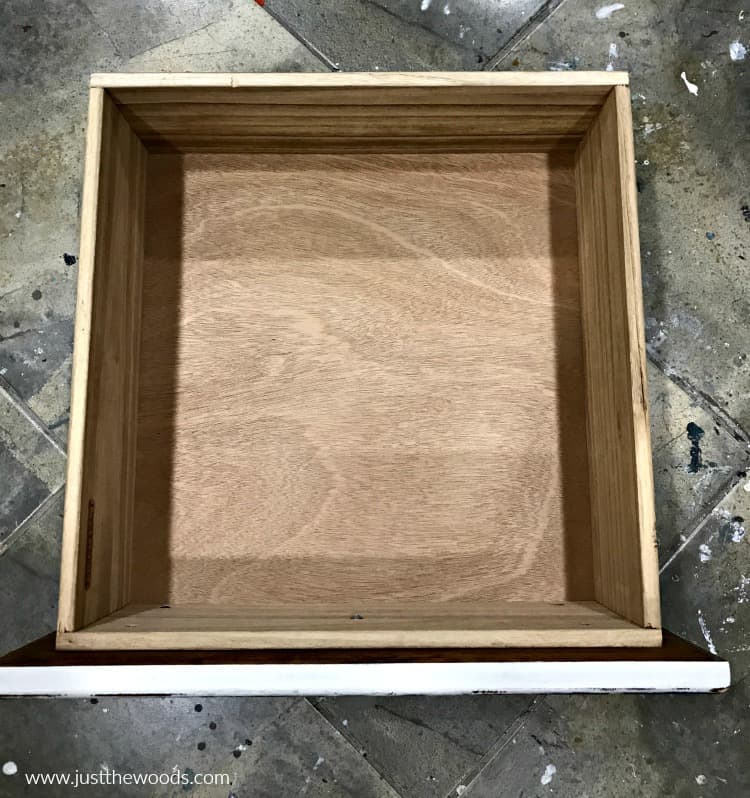
The inside of these drawers are in great shape. Rather than paint or do anything drastic to them we will simply refresh and condition the wood.
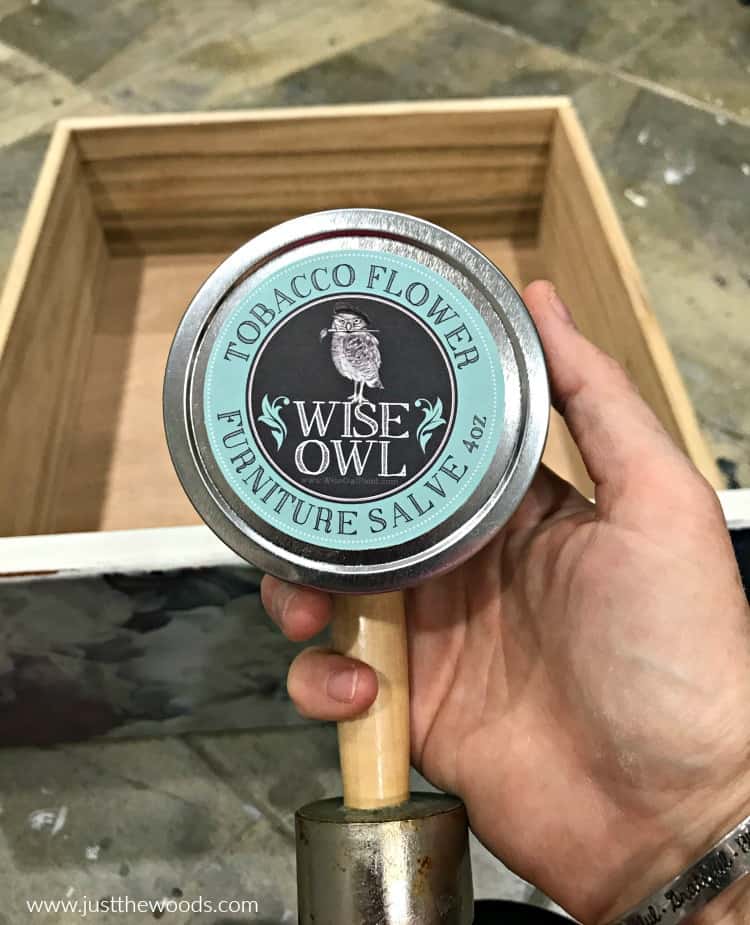
To freshen up these drawers I’m using Wise Owls furniture salve in Tobacco Flower. It smells amazing! You can see how to apply this to the inside of dresser drawers in How to Save Wooden Drawers or this specific scent in a powder blue wood dresser makeover here: Perfectly Painted Powder Blue Painted Dresser.
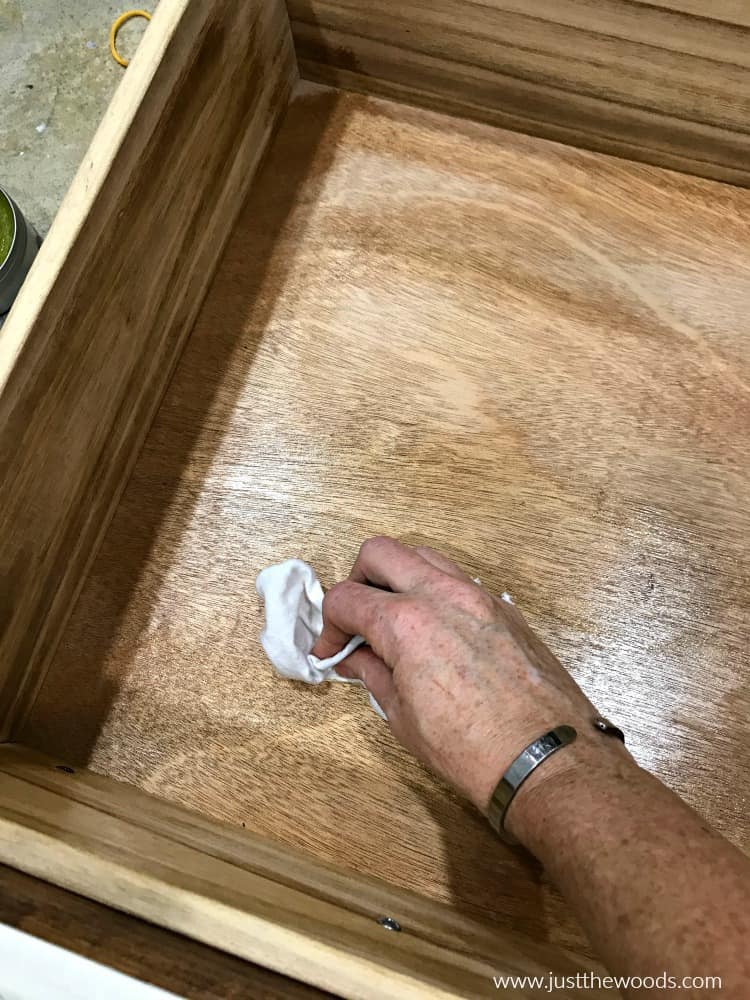
In short, apply the salve with a wax-type brush like this one HERE, then rub and buff with a clean dry cloth. If you are concerned with the salve messing up your clothes, don’t be. Once the salve dries it isn’t tacky at all. Just make sure you don’t glob it on, and make sure you do buff it well.
Romantic Painted Tables with Floral Decoupage
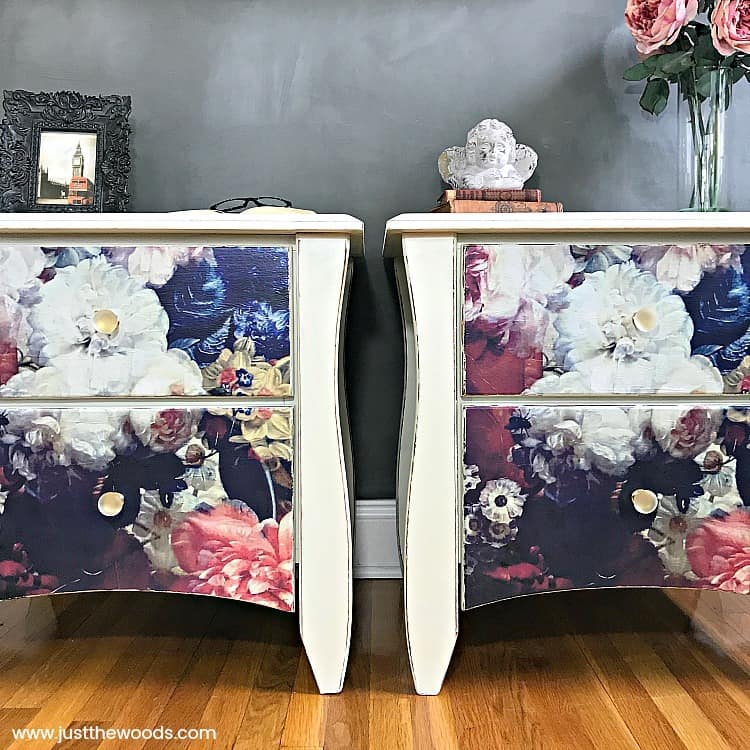
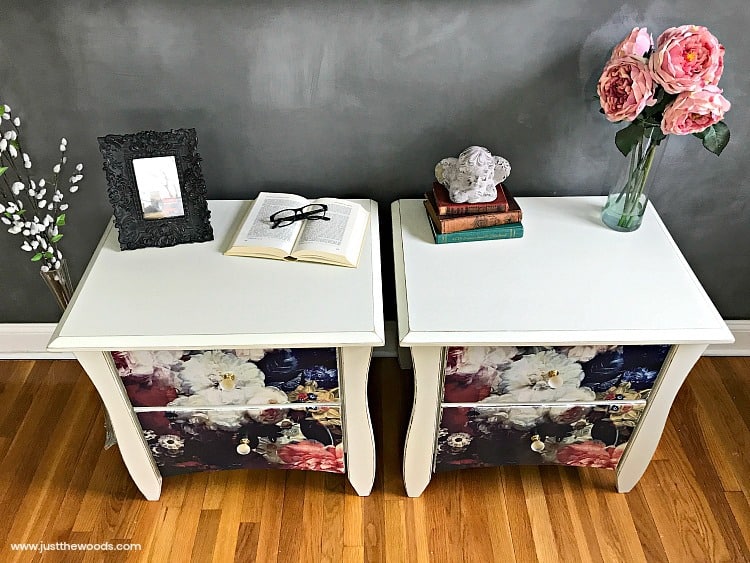
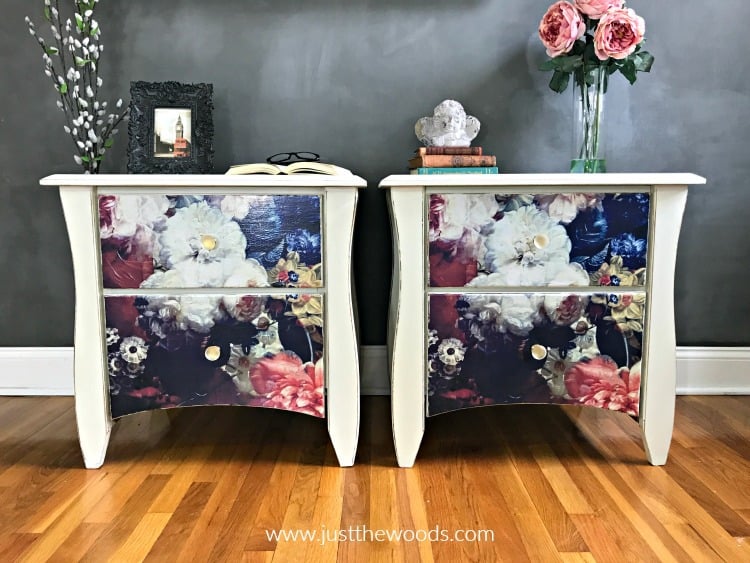
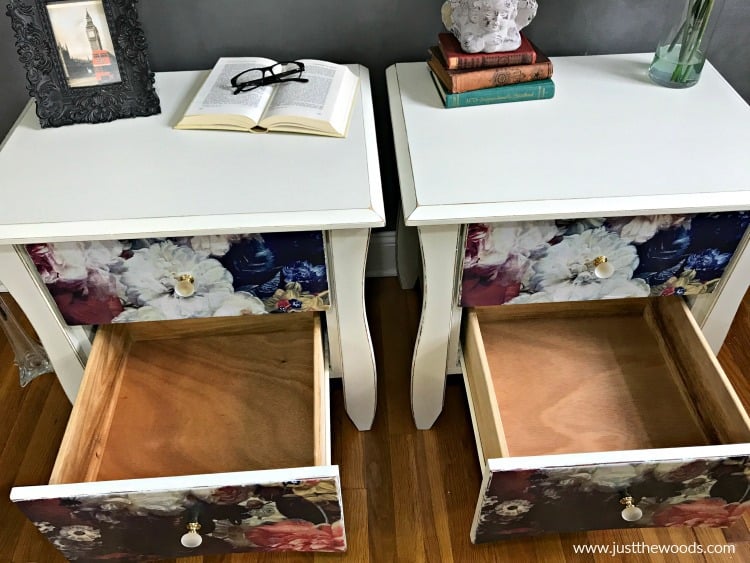
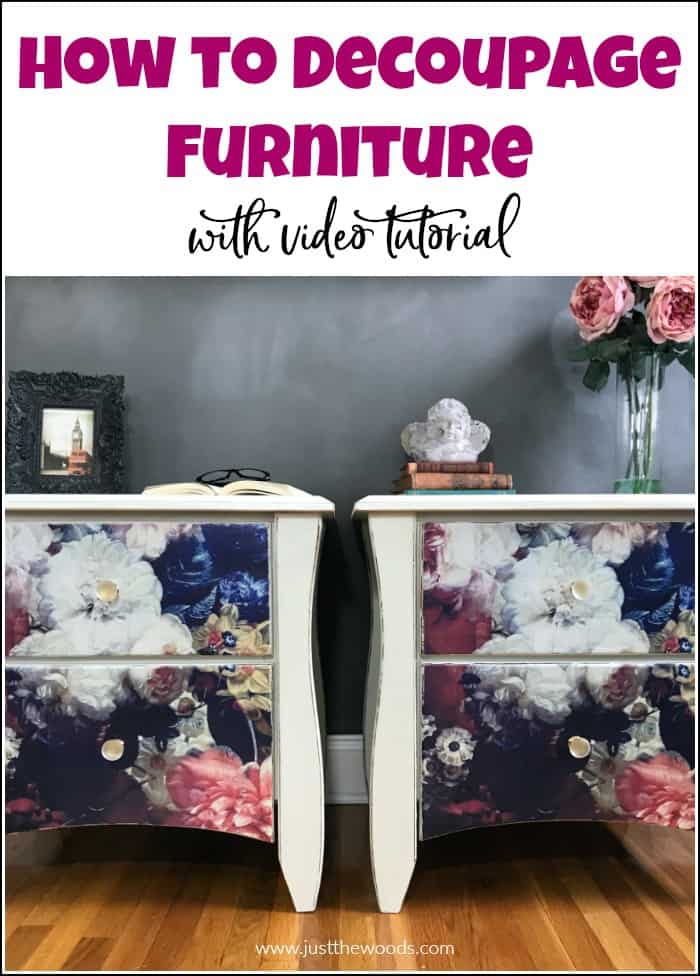
Pop your drawers back in and admire your pretty painted tables. Now that you know how to decoupage furniture you can add a little extra special touch to so many more projects.
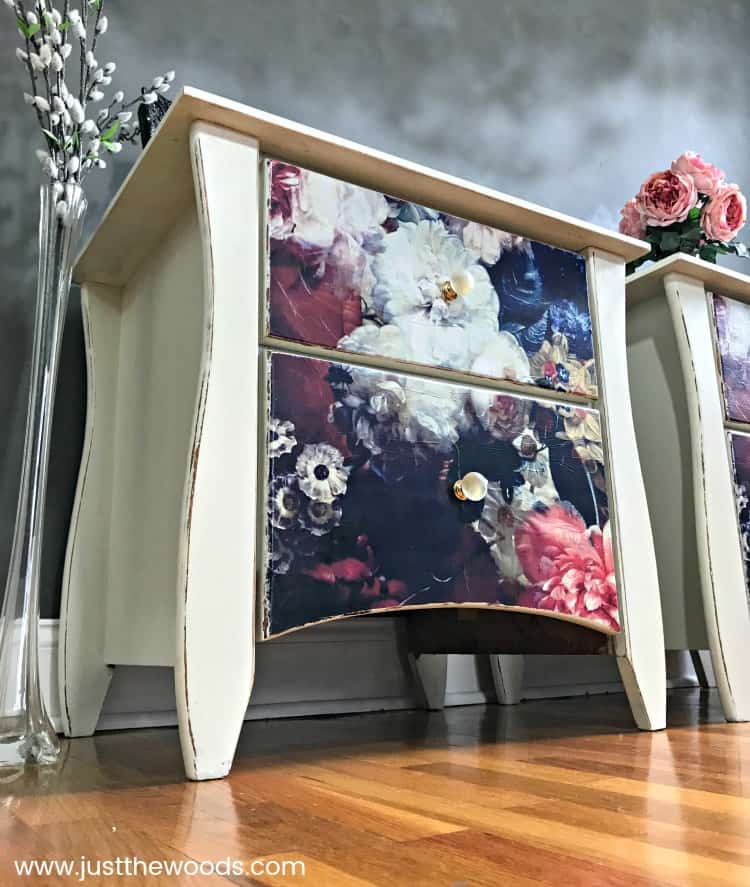
This painted table was donated to my kids’ school’s annual holiday fair and raffled off to help with their fundraising. The winner let me know that she put these decoupaged tables in her 3-year-old daughter’s room. Her daughter would never really sleep in her own room all night long. Once these tables went into her room she would go to bed on time and stay in bed all night long. We don’t know if she loves the tables or if the subtle aroma from the furniture salve contributed to this sweet little girl staying in bed all night. But no matter what it is, it’s a win-win for mom. 🙂 Click here to see all of my projects that have been donated to support local fundraisers, schools, and charities: Donation Projects
You can find all of these Wise Owl products and more online here: Wise Owl.
Click here to Pin this post for later.
For more decoupage furniture ideas and other DIY small projects and decoupage ideas make sure to check out all of my decoupage projects and makeovers here: Decoupage.
Click here to Pin this post for later.
I’d love for you to join me for more painted furniture makeovers, and DIY projects! and Share this post to Inspire others:

FACEBOOK * INSTAGRAM * PINTEREST

Click here to Pin this post for later.




Linda C Johnston says
I am going to take a few minutes to say what’s on my mind. As I read today’s post, it occurred to me that you write/provide the most understandable, clear, concise, easy to read, informative, enjoyable tutorials of any blogger I follow. Now this doesn’t mean I love my other girls too! Everyone brings something different to the table. I just feel that you deliver in so many beneficial ways on your specialty that you should know how I (and I am sure many more) feel about you and your blog. I have pinned each and every one of your articles on furniture refinishing, painting, etc. You just can’t be beat on this subject! Thank you. You have inspired and motivated me so many times. I can’t imaging how many people are so much better at furniture enhancing because of you. Thank again and have a Happy New Year.
kandice kullmann says
Seriously, you are going to make me cry. Thank you so much for taking the time to leave such a sweet comment. You have no idea how much your words mean xoxoxo
Colette says
Beautiful! Terrific instructions!
Wishing you and your family a Happy and Blessed New Year. I am looking forward to another year with
Just The Woods!
kandice kullmann says
thank you so much Colette and a Happy New Year to you and yours!
Angela S says
fantastic tutorial and pictures, beautiful bedside cabinets thanks so much!