Sealing painted furniture and looking for the best top coat to protect your project, or ow to seal painted furniture? Look no further, this set by step tutorial with video walks you through how to seal painted wood using a sponge applicator.
Transforming furniture with a fresh coat of paint is a fantastic way to breathe new life into your space, but ensuring that vibrant color lasts requires the right sealing method. If you’ve ever found yourself frustrated with paint chipping or fading over time, worry no more.
In this blog post, we’ll dive into the ultimate solution for sealing painted furniture, showing the best method you need to try for long-lasting beauty and durability. Say goodbye to worries about your carefully crafted masterpiece deteriorating – let’s explore the key to sealing success
So you’ve started furniture painting and want to know how to seal painted furniture? Guess what? You are in the right place because it’s easier than you think. So rest assured that if you are racking your brain to figure out what’s the best top coat for painted furniture or even the best clear coat for painted wood you can stop worrying.
When trying to figure out the best way to seal painted furniture I bet you’ve heard about things like wipe on poly over chalk paint or polycrylic over paint. Perhaps you are considering wax to seal painted furniture. Stop right there and let me share what I have found to be the best method for sealing painting furniture to put your mind at ease.
Simple Supply List for Sealing Painted Furniture
Disclosure: This post contains affiliate links for your convenience. Click here for my full disclosure policy
This is the basic source list for the products and items used in this tutorial:
- Tools
- Paint
- Find all of my favorite tools and products on my Amazon Page here
Choosing Your Clear Coat for Painted Wood
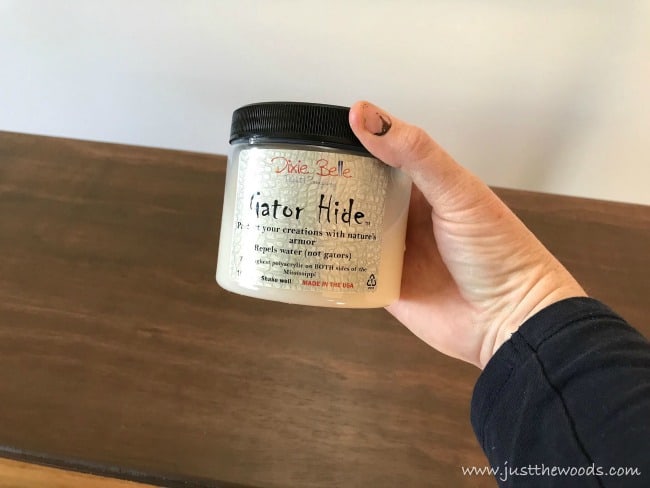
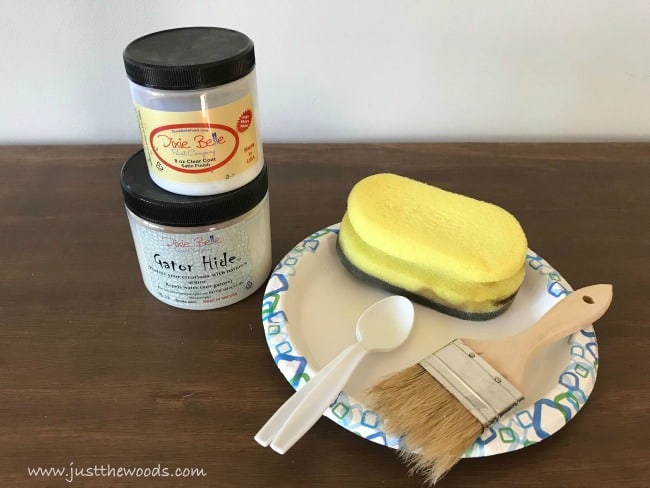
When it comes to choosing a clear sealer for painted wood the options of what’s available can seem endless. To keep this simple I will be using Dixie Belle’s clear coat in Satin Finish and Gator Hide as the clear coat over painted wood table.
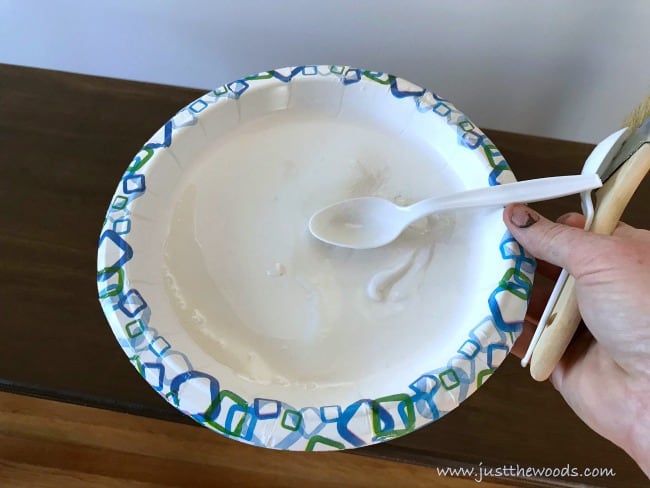
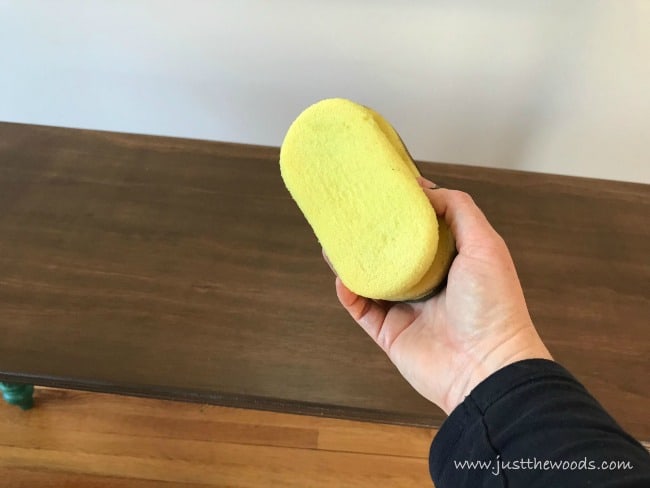
The Dixie Belle clear coats come in satin, flat (matte finish), and gloss finishes. You can check out all of their sealers and finishes HERE. When sealing painted furniture you will need your protective top coat, a few paper plates, plastic spoons, a clean chip brush, lint-free cloth, and my all-time favorite yellow applicator sponge. You can get these sponges HERE
Preparing Your Painted Furniture For Sealer
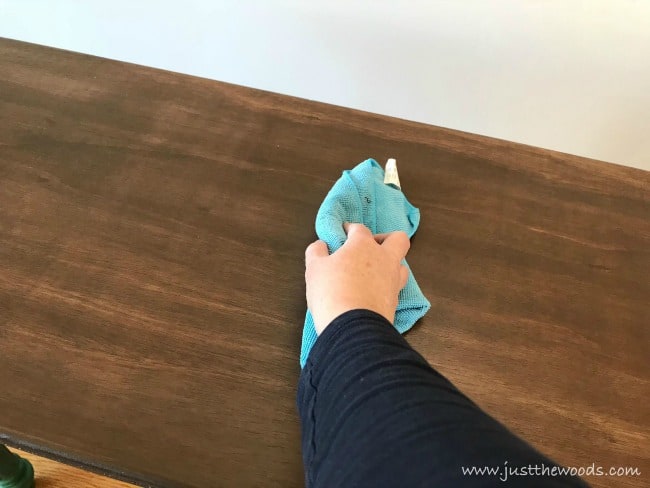
Before applying your clear coat over painted wood furniture you will want to give it a once-over with a lint-free cloth (or tack cloth).
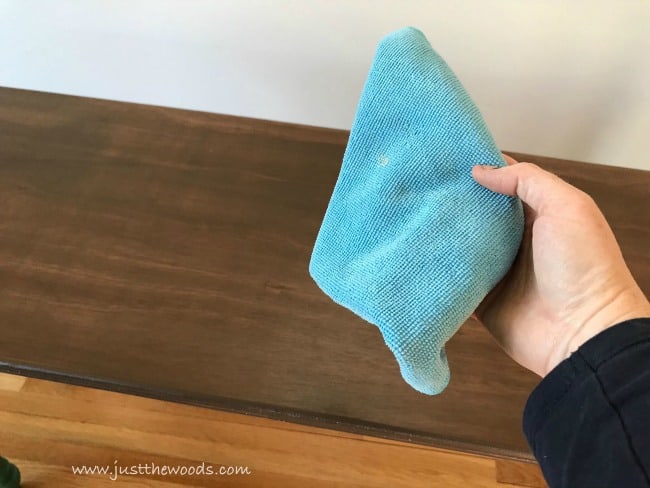
Grab a lint-free cloth and wipe off the surface to make sure that is free of any dust. The cloth will remove any dust making sure you are left with a clean smooth finish. Easy peasy.
A Clear Sealer for Painted Furniture that Repels Water
What? Yes, you read that correctly! Gator Hide is water repellant and I am using it on the table top. This table is for my son who is 7 years old. He needs a place to work on his Legos and erector set and all the other kinds of things that little boys build. But let’s face it – kids are gross! I want to make sure that if these little dirt mongers sneak a drink into the play area or near this table that the painted table top (or stained rather) will be protected from their spills and whatever else they may bring. Mom-1, Kids-0. Gator Hide is the perfect durable finish for this painted and stained piece of furniture.
It would also be great for sealing high-traffic items like kitchen cabinets, or a kitchen table.
Spoon some Gator Hide onto a paper plate with a plastic fork. I keep all the fancy plates and cutlery in my shop as you can see 😉
How to Seal Painted Furniture with a Sponge
Now grab that yellow sponge that I love so much and dampen the sponge before you do anything else. Don’t make it soaking wet or dripping, just run it under water and then squeeze it out so that it is damp.
Dab your damp sponge on the plate to get your clear furniture sealant onto the sponge and wipe it across your table surface. Do not use too much, do not wipe all willy-nilly, and do not drag the sealer. (Don’t worry, I’ll show you a video too). Using the sponge to seal your painted furniture piece will prevent any visible brush strokes that you may get if you seal with a brush.
Click here to Pin this post for later.
Sealing Painted Furniture Table Legs
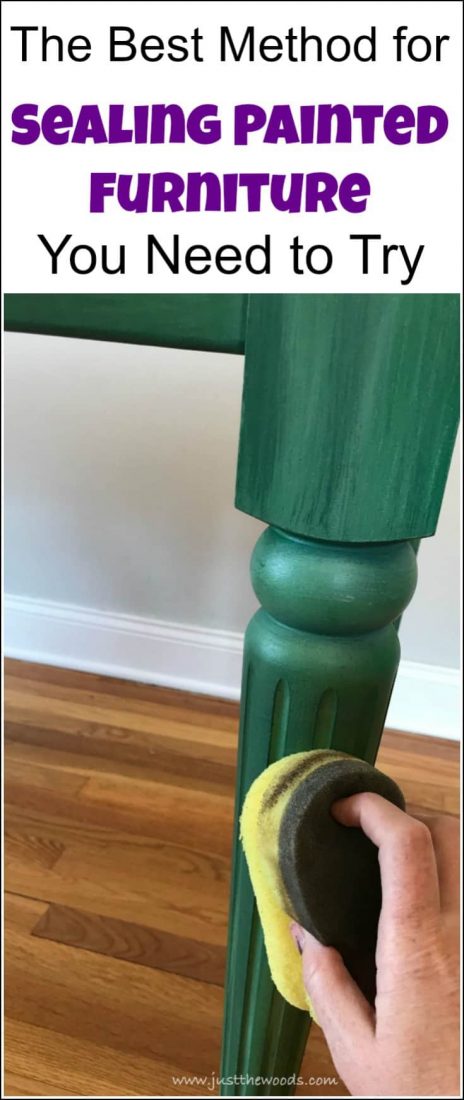
Now that you see how easy it is to seal painted furniture on a flat surface let’s move on to a not-so-flat surface. The table legs and apron. For the bottom portion of this painted table, I am using Dixie Belle clear coat in a satin finish. Spoon a bit onto a new plate as well. Or use the same plate, either way, should be fine.
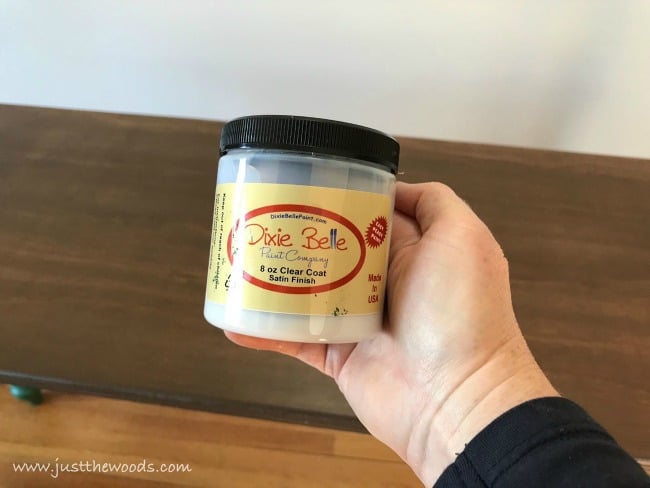
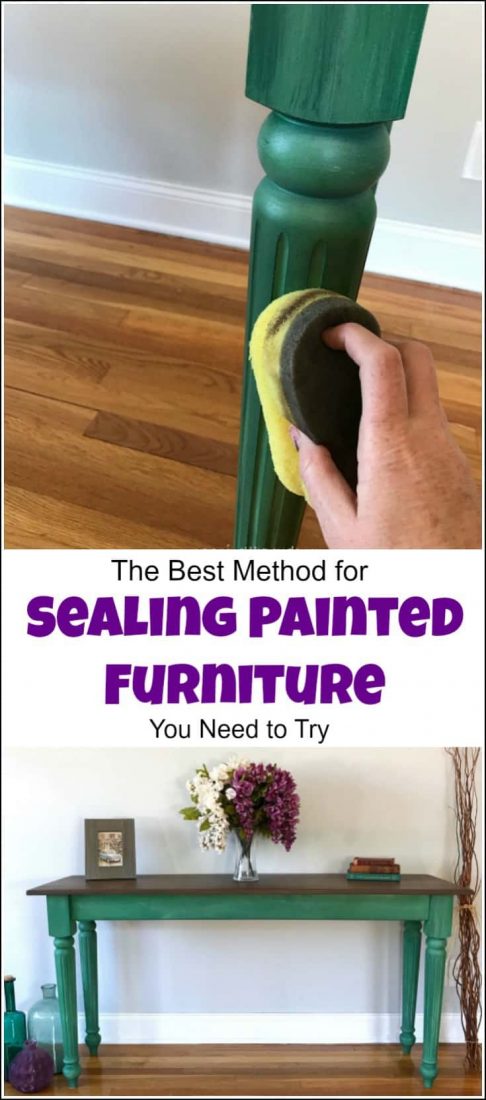
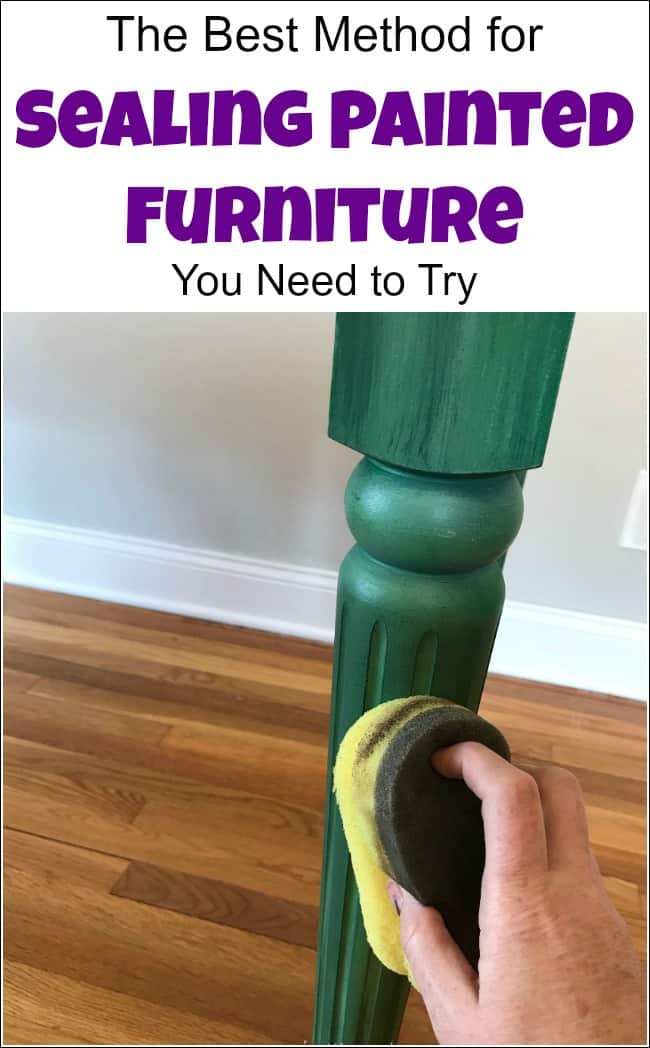
Grab that handy dandy little yellow sponge again and sponge your clear top coat over your painted furniture.
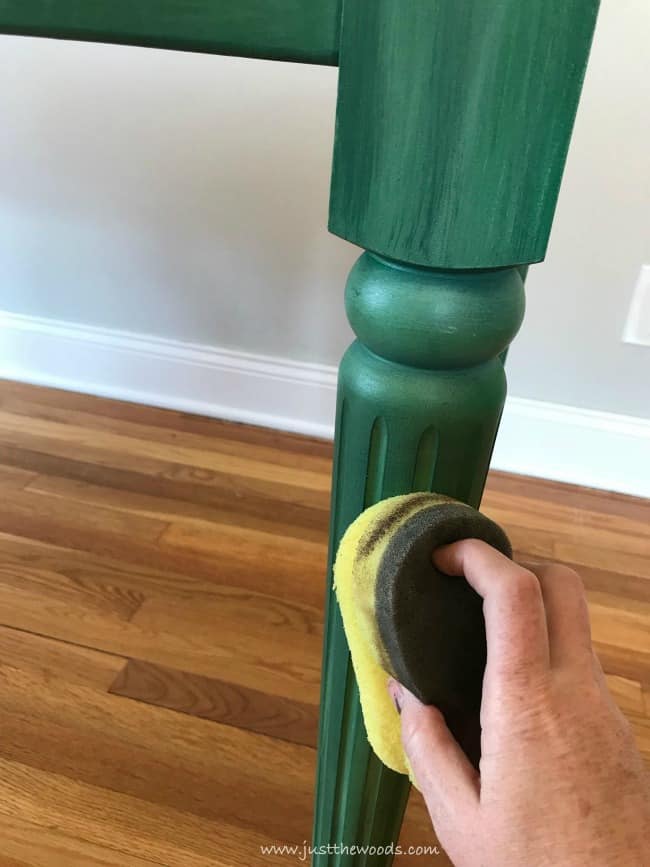
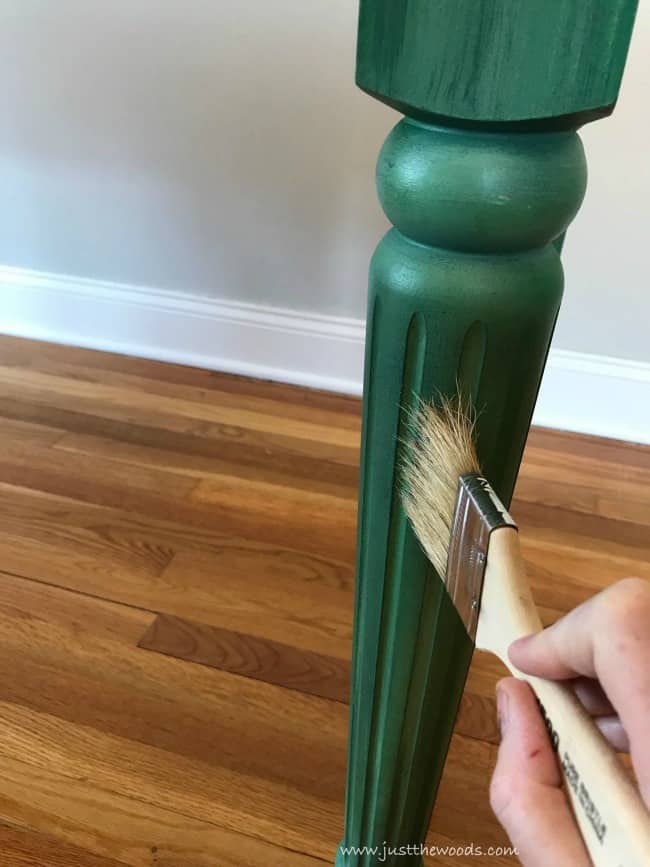
But because there are crevices and nooks and crannies on the legs like many pieces of painted furniture you want to make sure you don’t have any build-up in these areas. Use a clean chip brush and go over the painted surface to make sure to wipe away any pooled-up clear sealer.
Click here to Pin this post for later
Video Tutorial for Sealing Painted Furniture
To make this even better I have put together a video tutorial showing you how to seal painted furniture using the applicator sponge. I walk you through the entire process, so if you are a visual person go ahead and check it out.
Painted Furniture Sealed for Protection
For a quick recap: Always make sure to protect your hard work with the best sealer. Apply your sealer in a thin layer over the entire surface of your painted furniture piece and allow for enough dry time between coats for the best protection and a flawless finish.
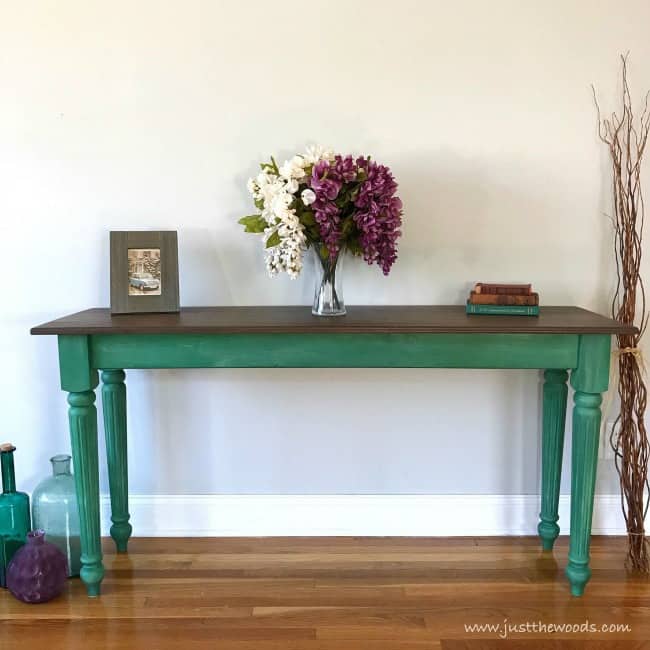
Here is the finished painted table sealed to perfection. The tutorial for this makeover can be found here: How to Build a DIY Wood Table and Paint Gorgeous Green Layers!
Check out all of my furniture projects with over 90 painted furniture makeovers: Stunning painted furniture ideas.
If you like this post make sure to check out all of the tips & secrets that I wish someone told me when I started painting furniture here: Painting Furniture Secrets
Don’t Forget – Follow Just the Woods and Share this post to Inspire others:
FACEBOOK * Furniture INSTAGRAM * Healthy Food INSTAGRAM * PINTEREST * RECIPES




kimmylouwho says
I just finished painting a dresser and sealed the top as you described with 2 coats. Do I need to seal all the other surfaces like the drawers and sides of the dresser too? This dresser is in my guest room so will be getting very light use.
kandice kullmann says
Personally, I seal everything. Better safe than sorry 😉
Françoise Gauthier says
Thank you so much Kandice for the tutorial it’s so nice of you to help us. I noticed that you lost a lot of weight and I should do the same.
kandice kullmann says
thank you! Yes, Im down 35 lbs! I feel so much better too
Christie says
I left a comment on a previous post asking why you used the yellow handle side of the sponge instead if the gray applicator side. You said you weren’t sure unless the yellow side might be softer. I couldn’t tell the difference by feel. I bought 2 of these on your recommendation and I absolutely love them. I used the gray side to topcoat a very large armoire that I had alo painted a design on the back of so it could sit at the foot of the bed and my husband and I wouldn’t be looking at the ugly back. I’d been dreading topcoating the huge back and the rest of the big detailed armoire. I used Varathane Soft-Touch Poly. These things are a miracle because it only took me 15″ to do the back instead of the hour or more it would’ve taken with a 2″ paint brush and there’s no streaking or flashing because there’s no difficulty keeping a wet edge because it goes so quickly! Just a smooth, soft surface with no texture. Texture was my main concern with using a sponge. I’ve used it on part of the front and doors so far and no texture over my ASCP!! It’s so much faster! The only difference I can tell is my matte topcoat seems a bit shinier than usual and maybe not quite as soft-touch feel but since I’ve only applied 1 coat to the front thus far, that may/will probably change. I haven’t tried using the yellow side -yet- to see if there’s a difference, but I’m sure I will. I’ll give you an update when I do but I wanted you to know the gray side works beautifully, it doesn’t absorb a lot of product like other sponges I’ve tried for paint, which I think may be due to the part where the gray sponge meets the yellow forming a type of barrier on absorption. Overall, I am more than pleased, in fact, I’m dang happy with it. Thank you so much for the recommendation and always showing you use it in every post, otherwise I never would have tried it! I love it and obviously can’t say enough about how wonderful it is!!
P.S. There was no video or link to video in the post I received & went to via the link in my email
kandice kullmann says
Thank you so much for such a sweet comment. Im so glad that you are loving the sponges. They are my FAVORITE too xoxo. Oh the video is within the post.. towards the bottom 🙂
Christie says
Another plus is no bubbles! All that babbling and I forgot that part!
I still can’t find the vdeo. I’m usually not an idiot but the area the talks about the video and the sentence toward the bottom under the video tutorial area that says ” I have put together a video tutorial showing you how to seal painted furniture” with the how to seal furniture inbold doesn’t link to anything and the photo doesn’t take me anywhere. I’d love to see the tutorial – I just need a bit of help. ;~) Thank you for all the wonderful info you share!
Christie says
You were right. I had to turn off my adblockers and there it was. Weird because I’ve never had to do this before. Thank you for the quick response! I love the video!
Janie Hayes says
Hi Kandice,
Thank you so much for sharing this information with your followers. Your blog is one of my favorites because of the details you share. It truly gives me inspiration to try new things.
I have two questions about the application process.
Is there a need to sand between coats of sealer?
Does the sealer need to be buffed after drying?
Again,
Many Thanks
kandice kullmann says
Thank you so much. Sanding in between coats is probably more personal preference than anything. Sometimes I do it and sometimes I dont. I think it helps to get a smoother finish when you do but its not 100% necessary if that makes sense. And no buffing needed 😉
Maggie Cahow says
Can you reuse the sponge?
kandice kullmann says
YES! After using it for this project / video I used it to apply white wash and then clear sealer. Just rinse it out really well after you finish. I rinse with warm water and squeeze it out. Nothing else.
Lorraine says
Absolutely awesome!!! I have been looking for a simple, easy way to seal my projects and you have nailed it!!! I’m not good at applying wax so this is so wonderful!!! Thank you so very much!!! By the way, your table is beautiful!!!
kandice kullmann says
thank you so much xoxo
Maggie says
Having trouble getting streaks with sponge. Have tried yellow side and grey side . Wetting sponge with water first. Any ideas?
kandice kullmann says
what type of sealer are you using Maggie?
Gill Passingham says
Hi Kandice,
Love all of your projects. I am in the Uk. Where can I purchase these large transfers that you use. Also the sealers
Many thanks
Gill
kandice kullmann says
hi Gill! I order all of the transfers from Amazon. As far as the sealer – there is a link in the post for the sealer but I am not 100% sure if they ship to you or not.. Im sorry
Gill Passingham says
Thank you so much Kandice, I have managed to order a transfer and the sponge for the paint. I have tried the link for the Dixie Belle sealer etc but no unfortunately they don’t ship to the Uk.
Not to worry, Im sure we have sealer I can get here.
Many thanks
Donna Moye says
My first coat of Gator Hide looks uneven. Should I sand before adding the next coat? I used a. Wooster foam brush. I plan on looking for a different applicator for the next two coats.
kandice kullmann says
My guess would be to just apply another coat with a sponge. I have never used the wooster brush for top coat so I am not positive.
Sandi Kushner says
Is it possible to use the clear coat you recommend over Annie Sloan wax? I’m not happy with how my dining room table is wearing with the wax finish, and I’d like to redo the sealant. If so, how would you recommend going about redoing the top?
Thanks
kandice kullmann says
I wouldnt put anything over wax. I would re-do the top and sand the wax off before applying anything else.
Janis says
Hi, We cannot buy Dixie Belle in Australia. Does anyone know of an alternative we can buy here?
kandice kullmann says
Im so sorry about that, and I actually wouldnt know what to suggest 🙁
Olga says
Hi. This sponge is only suitable Gator High or it can be used for any varnishes? For example Minwax polycrylic and Varathane, are interested because I have them. Thanks.
kandice kullmann says
I have used the sponge for a few different sealers as well as stains. I think you could def try 🙂
Pam Taylor says
Hi. I have recently painted a cabinet with Annie Sloan paint. Was ready to begin waxing when I stumbled on information about Gator Hide. Do you know of any reason to not use Gator Hide over Annie Sloan paint? Thank you for a reply.
kandice kullmann says
hi Pam! I haven’t tried it but I don’t see why not. They say you shouldn’t mix and match paint brands but so many of us do and rarely run into issues. That being said I can’t guarantee that you won’t have a problem, but I can say that I doubt you would 😉
Joann says
I’m new to this product and working on my first project. I tried brushing on the top coat, but have some brush strokes. I plan to sand lightly and try a second coat. Has anyone tried using a foam roller for application?
Heather says
I’ve used foam rollers but have recently tried a microfibre roller for topcoat and it was better than a foam roller. Foam rollers seem to leave roller marks in my experience so far.
Denise says
Just curious why did you use two different top coats? Could you use gator hide on both?
kandice kullmann says
you certainly can. I just wanted to give both options 🙂