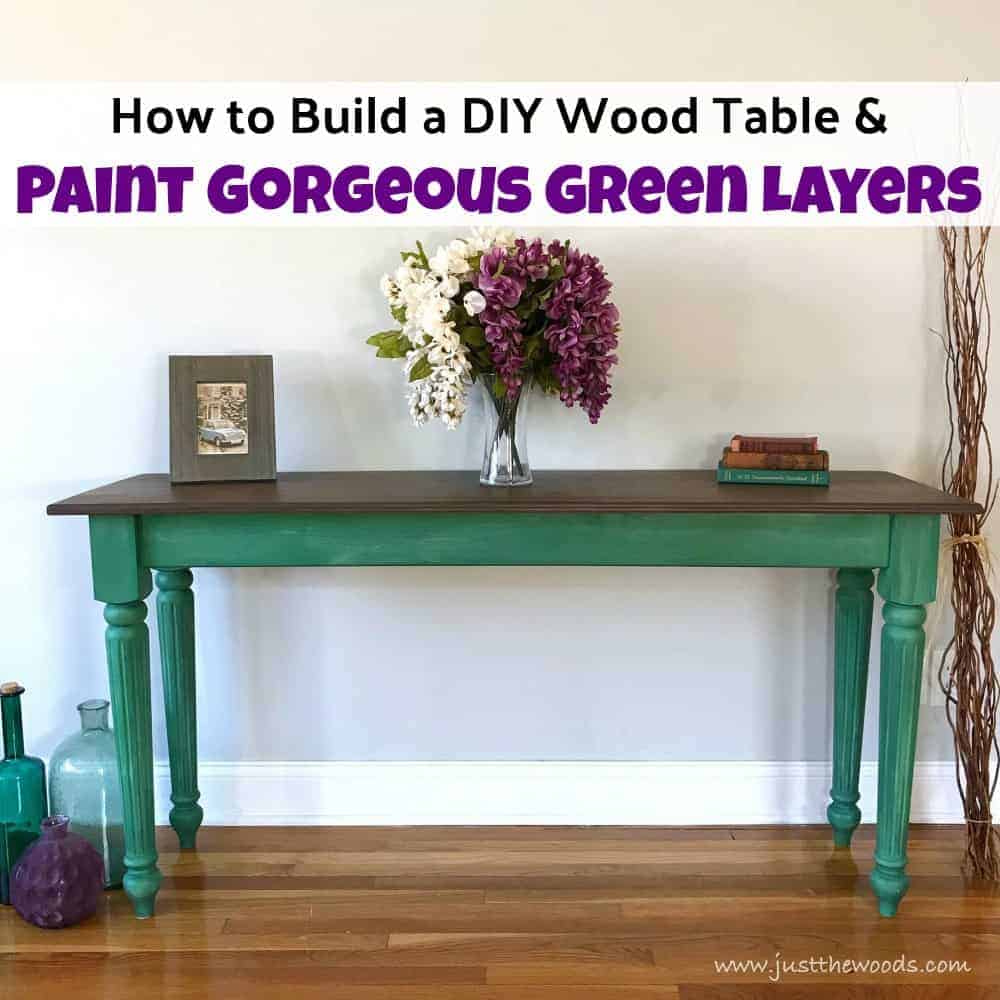
How to Build a DIY Wood Table and Paint it Perfectly Pretty
If you have ever wanted to know how to make a wood table this DIY wood table is easier than you think. Using a furniture kit you can create homemade wooden tables with ease and precision. See how to make a wooden table the easy way and then paint it gorgeous in green. DIY wood table & painted furniture in one project using Dixie Belle Paint
If you want to know how to build a table all by yourself I can assure you that it is much easier than you may think. Once you learn how to make a table and see how easy it is, you may not want anything other than homemade tables ever again. This DIY wood table is perfect because it can be built any size and customized however you like.

Disclosure: This DIY wood table post contains affiliate links for your convenience. We have also partnered with Osborne Wood Products to get this DIY table project done. Click here for my full disclosure policy.

Supply List and Tools for Building a DIY Wooden Table
What You Will Need
Wood
- Table Base Kit
- Wood for Table Top
Tools
- Electric Drill
- Wood Glue
- Clamps
- Rolgear Screwdriver
- Zibra Paint Brushes
- Chip Brushes
- Cling On Paint Brushes
- Sandpaper
- Yellow Applicator Sponges
- Find all of my favorite tools and products on my Amazon Page here
Paint
Choosing Your DIY Table Size
For starters, this DIY wood table is for my son to keep his Lego projects and erector set buildings on. Secretly, it’s for me because, in turn, it will keep the Legos from being scattered all over my house. We decided on measurements of 60″ long x 18″ deep for the table top. Now that I know how big I want our homemade table to be I reached out to Osborne Wood Products to find out what the next step is for building a table. They were super helpful and made it very easy to order the table base kit. We let them know the measurements for the table top as well as how much of an overhang. We then choose the traditional dining table legs in soft maple along with a 4″ wood skirt also in soft maple. The furniture kit came well packaged and rather quickly.

Assembling Your DIY Wooden Table Base
Once unwrapping the table legs, skirt and hardware I laid them all out on the floor to make sure that nothing is missing. The table kit includes:
- 4 table legs
- wood table skirt (4 sides)
- 4 corner blocks
- hardware

The legs are all pre-mounted with threaded hanger bolts and are mortised to receive the tenons on your side aprons.

Everything lines up perfectly.

Go ahead and piece your homemade table together to make sure it all fits nicely, then add wood glue.

Once you add your wood glue, you can go ahead and clamp the pieces together.

Clamping the table base together makes it easier for you to also secure with the wood screws provided. I use my electric drill with the drive guide whenever I can. (electric drill: HERE, drive guide: HERE)

Do the same glue and screw steps for the corner blocks.

These corner blocks also have pre-mounted bolts and hardware.

To screw these tighter areas, I grab my Rolgear ratchet screwdriver. (Rolgear screwdriver: HERE)

You can leave your table until the glue has dried.

And, then once all of your DIY wooden table parts are glued and screwed you can stand your homemade wooden table up and admire your work.

Painting Your DIY Wood Table
My son asked for his DIY table to be painted green. But I can’t see myself making a wooden table and then painting the whole thing bright green. Sorry buddy, but it will still be great and green with painted layers. Thankfully, Dixie Belle has an amazing selection of colors! I will be painting the table using all of these gorgeous greens. The greens are:
- Palmetto
- Tree Frog Green
- Evergreen
- Sea Glass
- Mint Julep

You can order any of these colors and more HERE
Starting with Palmetto, the entire table base and legs are painted in this gorgeous color using my Zibra paintbrush. If you have yet to paint with Zibra brushes you can find these awesome brushes HERE

If you are new to painting furniture you can always start at the beginning with How to Paint Furniture – a Beginners Guide.

The best part of painting over raw unfinished wood is not having to do the extensive cleaning and prep that is required with painting old furniture. How gorgeous is this color!

After Palmetto, go over the table legs and base with Tree Frog Green in an uneven manner.

Then Evergreen.

Now that we have a few layers of dark green we can lighten it up with Sea Glass. But for this layer, I am using a chip brush to add just a bit and blend it in by spritzing with water to wash and drag the paint over the darker greens.

This same method is used with Mint Julep as well. This creates a lighter wash and a bit of depth over the DIY table project. Here is a video showing you how I work this furniture painting technique onto the table and maintain all of the layers.
Here is the result of adding the light paint colored layers.

Now, in my typical ping-pong manner, I am going to add Palmetto again to bring out the details.

Lightly Distressing Your Painted DIY Table
After the last dry brushing of Palmetto grab your flexible sandpaper. The flexible sandpaper is perfect when working with curved or rounded surfaces like spindles or table legs.

The flexible sandpaper wraps easily around your legs to lightly distress and leaves a smooth finish. You can get flexible sandpaper HERE

You should be left with a pretty layered and blended finish with a bit of depth.

How to Make a Wooden Table Top
The DIY table base kit does not include the table top. But that’s ok. Off we go to Home Depot we go. We grab a sheet of wood and have it cut to size.

Getting the pre-cut wood into my shop I place a clean towel on the floor and the wood onto the towel to make sure that none of the paint or mess on my shop floor transfers to the clean wood.

Next, place your homemade table base on your wooden table top and measure to make sure that there is equal distance around all sides. Remember I mentioned a 2″ overhang at the beginning? Here is the 2″ overhang 😉

Once you are comfortable with the placement go ahead and lightly trace the table onto the wood.

Now lift the table base slightly to apply wood glue inside the traced area. This just feels like the easiest way to me.

Next, you can go ahead and secure your tabletop to your table base with wood screws using the pre-drilled pocket holes. You have to supply your own wood screws for this part.

Cleaning up Homemade Table Edges
Now that I took the easy way out and had the wood cut for me I have to clean up those rough edges. I grab my electric router and decorative router bits. (I have a rather old router, but you can get one HERE, and the decorative bits HERE)

Using the router I give a quick run down all four sides and round over the edges.

No more sharp edges.

Next, go over the entire surface with fine grit sandpaper to smooth the top as well as the routed edges. I’m using 320 grit for this step.

Staining Your DIY Wood Table
We are nearing the end of this project on how to build a wooden table. We can finally stain the top. Before applying stain make sure to wipe the table top with a lint-free cloth to make sure you remove any dust. I keep a bin full of lint free cloths in the shop for this purpose. These are the ones that I have HERE

Now grab Tobacco Road gel stain by Dixie Belle for a rich brown stain.

I grab the yellow applicator sponge to apply the gel stain. I love this yellow sponges for applying stain and sealers. You can get them HERE.

This is the raw wood table top after one coat of tobacco road gel stain.

I actually want the stain a bit darker than this so I mixed in a little bit of black glaze over tobacco road.

Since the table is for my 7-year-old and kids are gross I am sealing the table top with Gator Hide.

Gator Hide is a water repellant clear sealer. You can find Gator Hide HERE

Here is a full video showing just how I seal both the top as well as the bottom using the sponge applicator.
Or you can find the whole post to save for later here: Sealing Painted Furniture

DIY Wood Table Built and Painted Pretty
I hope you are inspired to build your own table now that you know how easy it can be with furniture kits and then customize it to your personal preference with paint and stain.

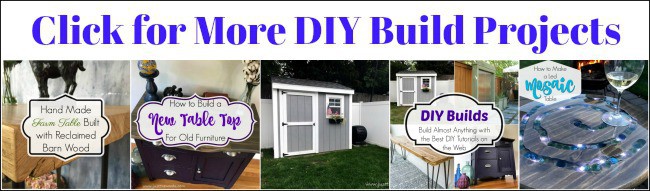
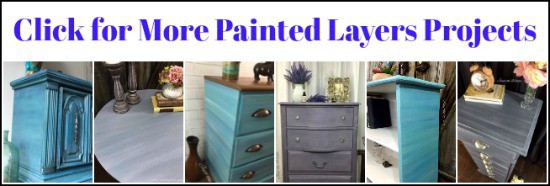
Check out all of my furniture projects with over 90 painted furniture makeovers: Stunning painted furniture ideas.


Wait! Don’t Go! It’s that time of the month again for:
The Furniture Flippers
If you have been with me for a while then you know that I participate in a monthly Furniture Fixer Uppers share. That is where a few of my creative and talented blogger friends and I have joined together to share what we are working on. This is a new group of Furniture Flipping friends and we will be sharing on the 1st Thursday of each month to bring you even more great furniture makeovers. DIY projects and furniture makeovers are more fun with friends anyway, so the more the merrier, right? Let’s see what my friends are up to! Make sure to click the links below the image to check out all the amazing projects that my bloggy girls are working on this month.
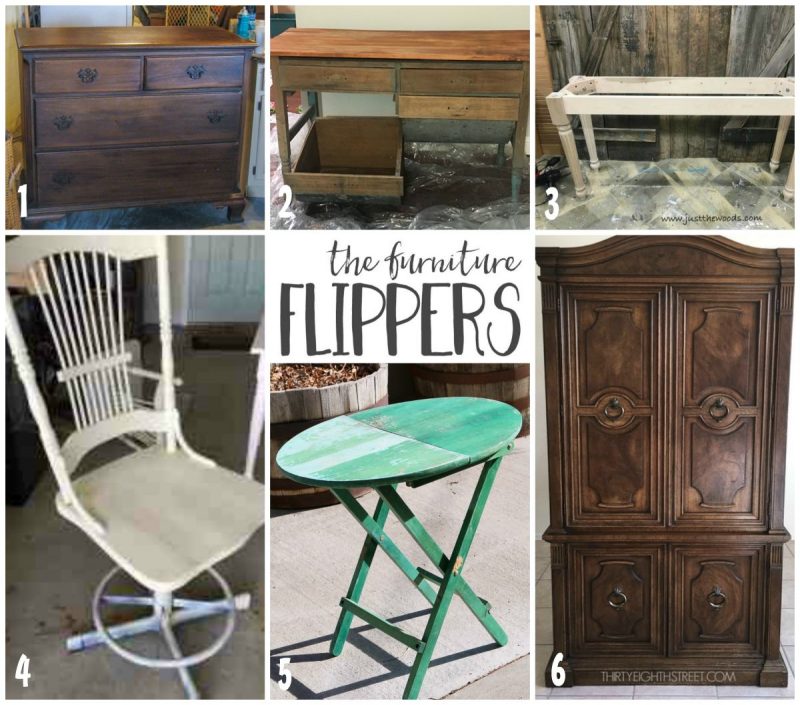
1: Two-Toned Dresser with a Blended Finish from Lovely Etc.
2: Modern Desk from an Antique Baker’s Table from Refresh Living
3: How to Build a DIY Wood Table and Layering Paint Technique from Just the Woods
4: Modern Vintage Style Chair Makeover from Repurpose and Upcycle
5: Small Painted Table with Graphic from A Fresh Squeezed Life
6: How To Get The Rustic Furniture Look For Cheap from Thirty-Eighth Street

Don’t Forget – Follow Just the Woods and Share this post to Inspire others:
FACEBOOK * INSTAGRAM * PINTEREST
Stay connected! For more tips and tricks sign up here : [mc4wp_form id=”1340″]


I didn’t realize there was such a thing as a table base kit! I’m going to tuck that into my mind for future projects! I also love all your tips on layering colors. Beautiful job!
This looks great! I love that green color. Pinned!
I didn’t know you could order table legs. I would never have thought of making a table myself. You made it look totally doable.
Love your green paint layers! You made building a table look so easy!