A painted toy box can be the perfect distraction from the eyesore of overflowing toys. But add a pretty image transfer and decoupage and you get a beautiful keepsake.
Image Transfer on Painted Toy Box
This toy box is actually not old, I confess. It’s rather new actually in comparison to most pieces that I work on. I believe it had a date underneath stating 2001. But every household with a child seems to have or need a toy box, so I decided to give this one a makeover. 
- IOD Image Decor Transfer (the memoires transfer: here)
- Flexible sandpaper
- Chevron Fabric
Unfinished Toy Box
One benefit to a newer toy box is that it already has a slow close lid to protect those little fingers from getting smashed. It also has a removable bottom, which is a good thing because the bottom had seen better days. I know just what to do to remedy that!


The Project
The removable bottom is lined using this gorgeous fabric from Minted. The soft colors are so pretty yet neutral enough for anyone. The quality of the fabric is also far better than any other I’ve worked with. Swoon!
Next, I pulled a color from the fabric to start painting the toy box. I chose a soft mint paint color. You can find great quality furniture paint and stain online HERE. An added bonus, when painting furniture, you want to make sure to use a quality non-toxic furniture paint.

You can see how pretty the paint color looks with the fabric of the toy box bottom. 
Don’t get angry with me, but I don’t leave the toy box painted in the pretty pistachio color. There’s more. After two coats of the mint, the chest was then painted in a neutral off-white creating almost a whitewash appearance. The entire toy box was then lightly sanded using my favorite flexible sandpaper, revealing the soft green color underneath. The flexible sandpaper seems less abrasive than the paper type, even when using the same number grit. 
The Image Transfer
On to the fun part, the image transfer! This is my second time working with one of these transfers; if you’d like to see my first project you can see it here: French Image on Vintage Buffet. Since the toy box has a much smaller front surface than say a dresser or buffet I chose to only use a portion of the image transfer that I purchased.
 From the larger piece I was able to trim and cut out the part that I plan to use and save the remainder for another project.
I explain in the video how I went about transferring the image onto the toy box.

The Result – Painted Toy Box with Added Image Transfer
The whitewashed soft green almost plays tricks on your eyes. Is it white? Is it green? Either way, it’s neutral and does not scream “hey, I’m a toy box” making it suitable for blankets and such when the kids grow too old for stuffed animals and plastic figures.


This painted toy box was donated and raffled off at my kids’ school annual holiday craft fair and fundraising event. Click here to see all of my projects that have been donated to support local fundraisers, schools, and charities: Donation Projects.


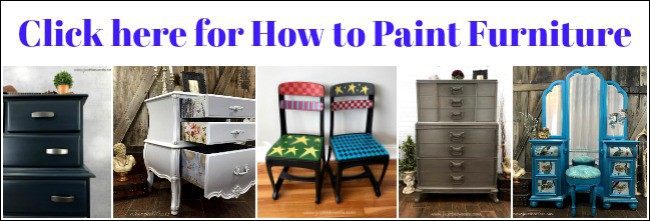
If you are just starting out you can always start at the beginning with How to Paint Furniture – a Beginners Guide


In case you’re wondering, I chose to NOT paint the interior of the toybox because it seemed silly to me to think that anything other than steel can hold up against kids and their toys. *wink*
You can order image transfers here.
If you are looking for more creative DIY toy storage ideas then make sure to check out DIY Toy Storage Ideas 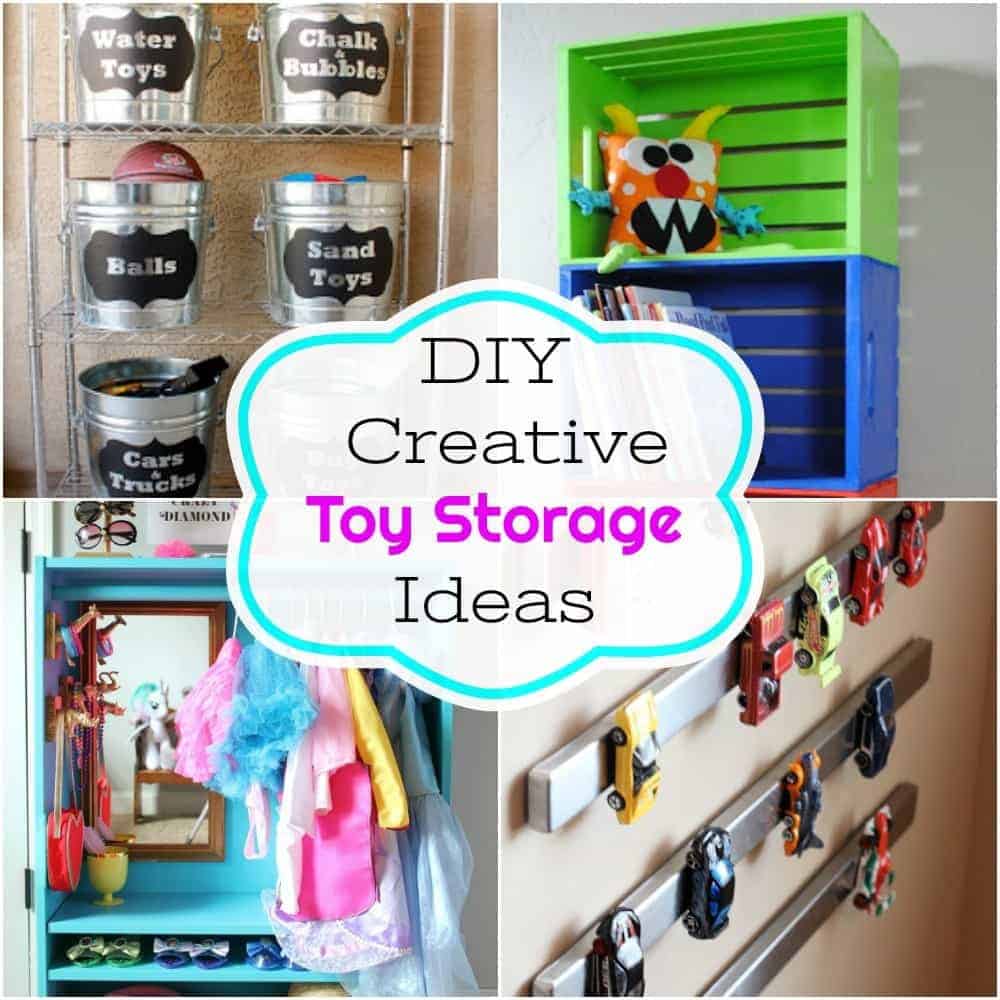

Don’t Forget – Follow Just the Woods and Share this post to Inspire others:
FACEBOOK * INSTAGRAM * PINTEREST
Subscribe to our mailing list here: [mc4wp_form id=”1340″]
*This toybox was donated to St Rita Catholic School for a fundraising raffle.


Kate says
I love the look of this. It came out great. I love the lining but really like the memories on the front. The font and design is gorgeous!
Thanks for linking up to the Merry Monday link party!
We hope to see you again next week!
Kate | TheOrganizedDream.com
Gaye Carter says
I really like your ideas. This toy box is a project I plan on doing and your instructions are easy to follow. Good job! Thanks for sharing.
Kandice says
thanks so much!! xoxo
Lindsay @ The DIY Mommy says
What a great transformation! Thank you for sharing your tutorial is awesome as well. 🙂
Marisa says
You are so creative! You have a real talent!
Kandice says
thank you so much!!
Vanessa says
How my, how beautiful is the toy box. I love the inside. Great touch. I would love it if you would share this awesome transformation at a link party I am co-hosting. I hope to see you there. Have a great week. http://diy180site.blogspot.com/2016/10/dishing-it-and-digging-it-link-party-120.html
JILL NELSON says
Thank you for the tutorial. I’ve purchased a transfer and am looking forward to giving it a go! One question though….do you have to wait for the paint to cure before transferring? Obviously the paint would need to be dry…but how long after painting can you work with the transfer? Thanks for the help!
Kandice says
nope!! I’ve always done the transfer as soon as the paint was dry 🙂
Cindy Kelleher says
Where is the video that shows to do the transfer?
kandice kullmann says
its in the post. (under the images of the transfer) make sure you dont have a video blocker on.
Carla says
Hi
Beautiful work!
I just found an antique toy box and i would love to do the same!!
Can you please share the link in which you got this transfer from?? Im having a hard time… i cant seem to find one with the word “ memoires”… every where i search
Thank you!!
kandice kullmann says
thank you Carla, I had to search my old orders to find it myself lol. here is the memoires image transfer that I used: http://amzn.to/2BtgcSI . (this is an affiliate link, when using this link I could get a small commission from amazon at no cost to you for the referral)