If you have old metal radiator covers in your home then you know that they can get a bit ugly over time. Today I’m sharing a quick update on how to paint metal radiator covers to give them a fresh new look. Sometimes a little freshening up is all you need. 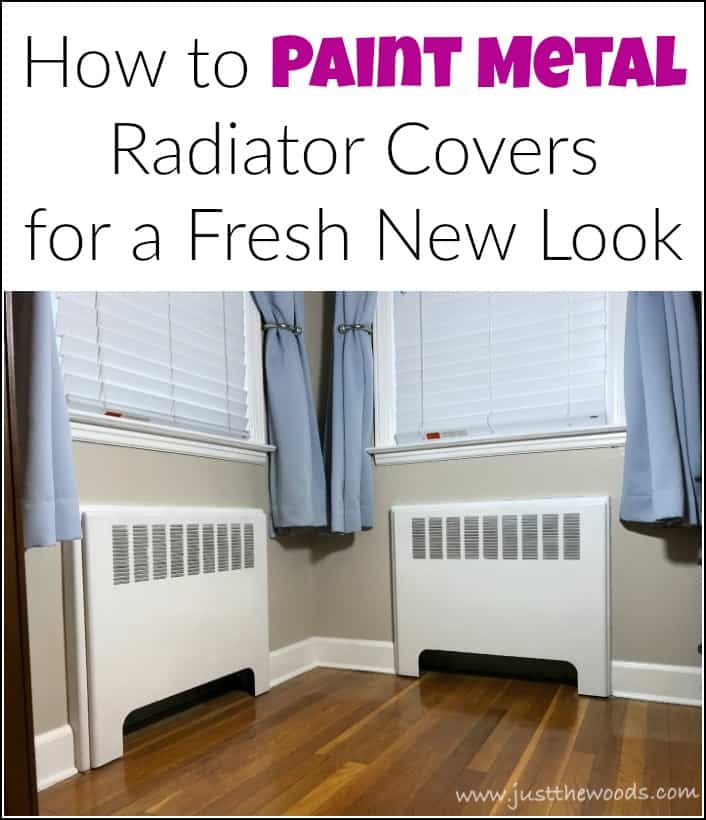
Disclosure: This how-to paint metal radiator covers post contains affiliate links for your convenience. Click here for my full disclosure policy.
Supplies & Tools Needed to Paint Metal Radiator Covers
Materials Needed / Source List:
Tools
- Zibra Paint Brushes or Cling On Brushes
- Sandpaper
- Shop-Vac
- Lint Free Cloth
- Find all of my favorite tools and products on my Amazon Page here
Paint
Original Metal Radiator Covers
I should mention that all of the radiators in my home are these same metal radiator covers. They actually slide on and off and the cover latches to the piece that is on the wall. I hope that makes sense. Pretty much all of them have been painted a few times over the years and also have chipped paint making them look, well, crappy. 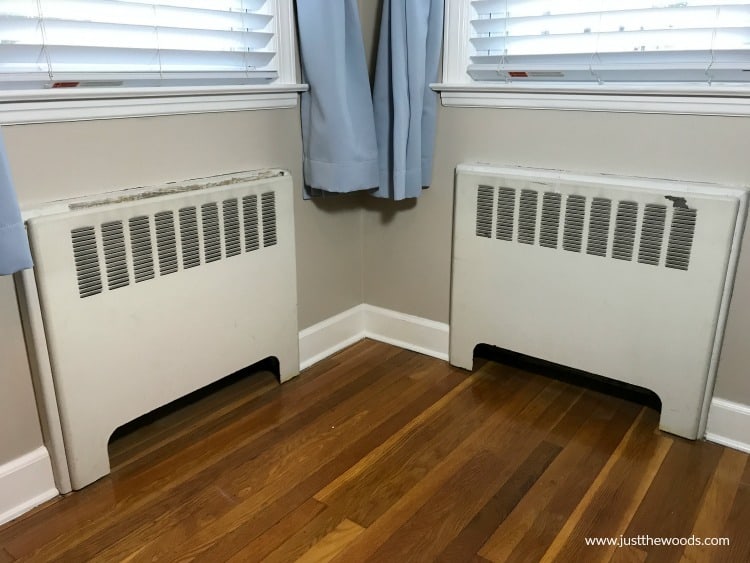
These are the radiator covers in my son’s room. We recently updated his room by removing the chair rail, painting the walls a neutral greige, repainting all of the trim white, and replacing his bed with a loft bed/desk/dresser combo to maximize space. As you can see the radiator covers have seen better days. The entire top area is all scratched up. 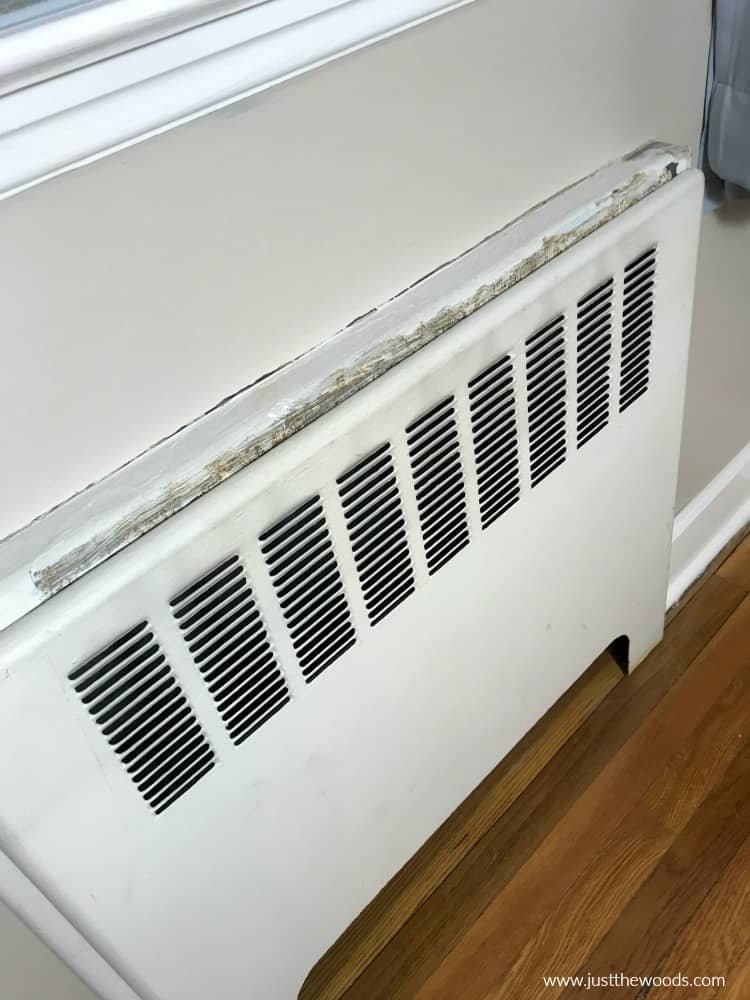
Along with looking dingy, there is a spot where the paint is chipped off. 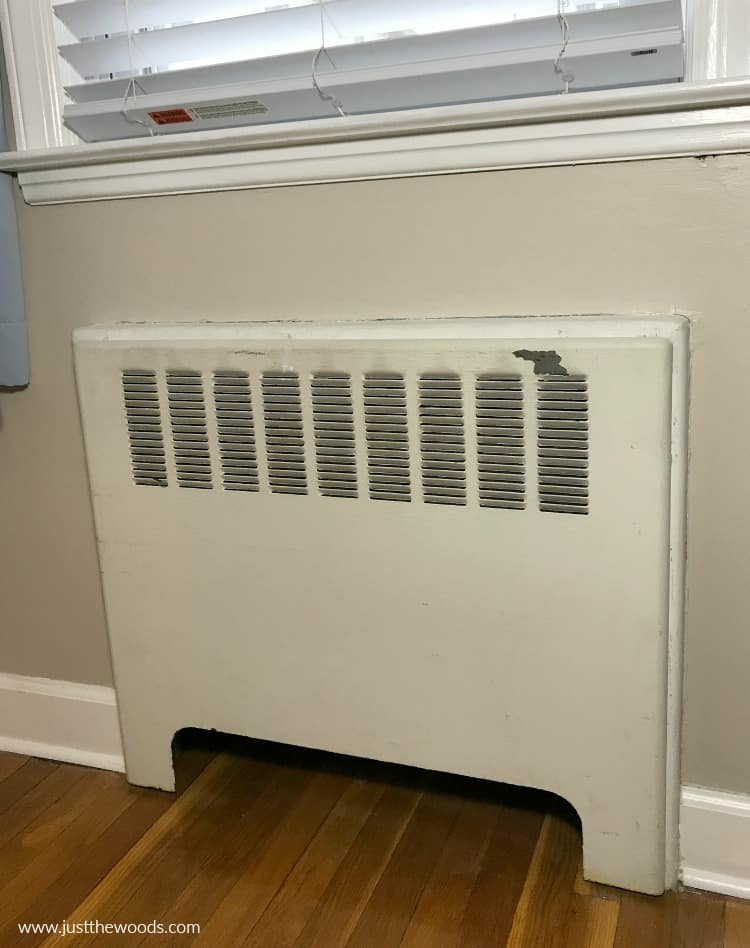
Prepping Metal Radiator Covers for Paint
You may know by now that when I do DIY projects for my own home I tend to cut corners. This way I can really test the products, their adhesion, and durability.
Sanding Metal
So as I am about to paint metal radiator covers I make sure to give a quick, very quick, light sanding. Keep in mind, I already painted the entire bedroom and the trim so I’m a little painted out as far as this project goes. But I do make sure to lightly sand the metal radiator covers. Grab a 120 grit piece of sandpaper. 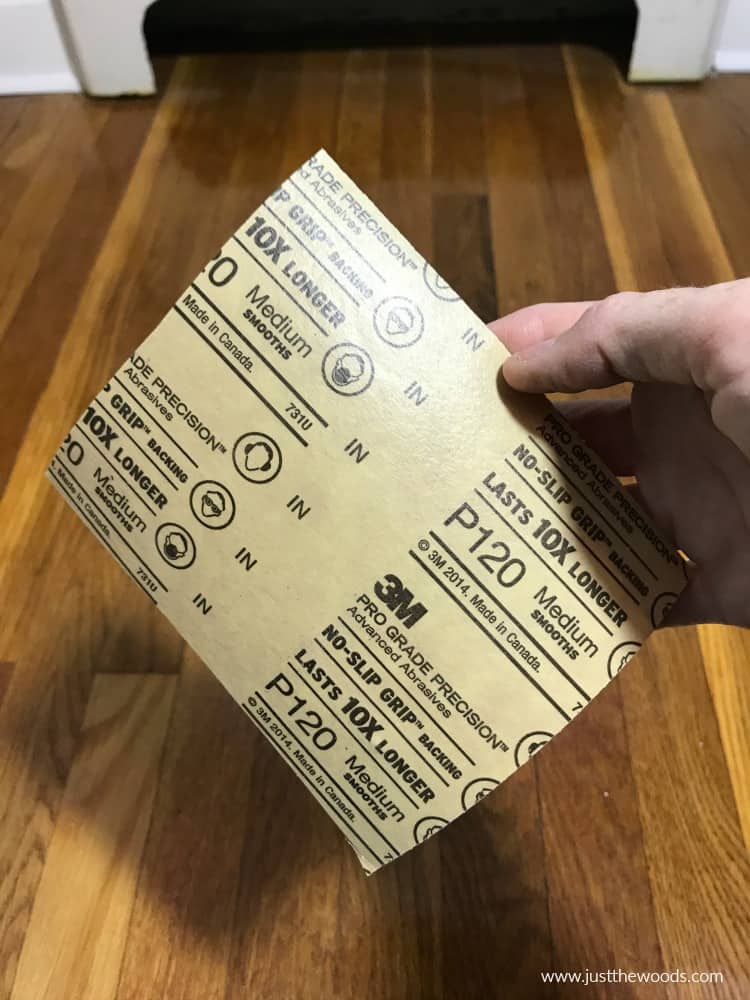
Give a quick once over the surface of the radiator cover. 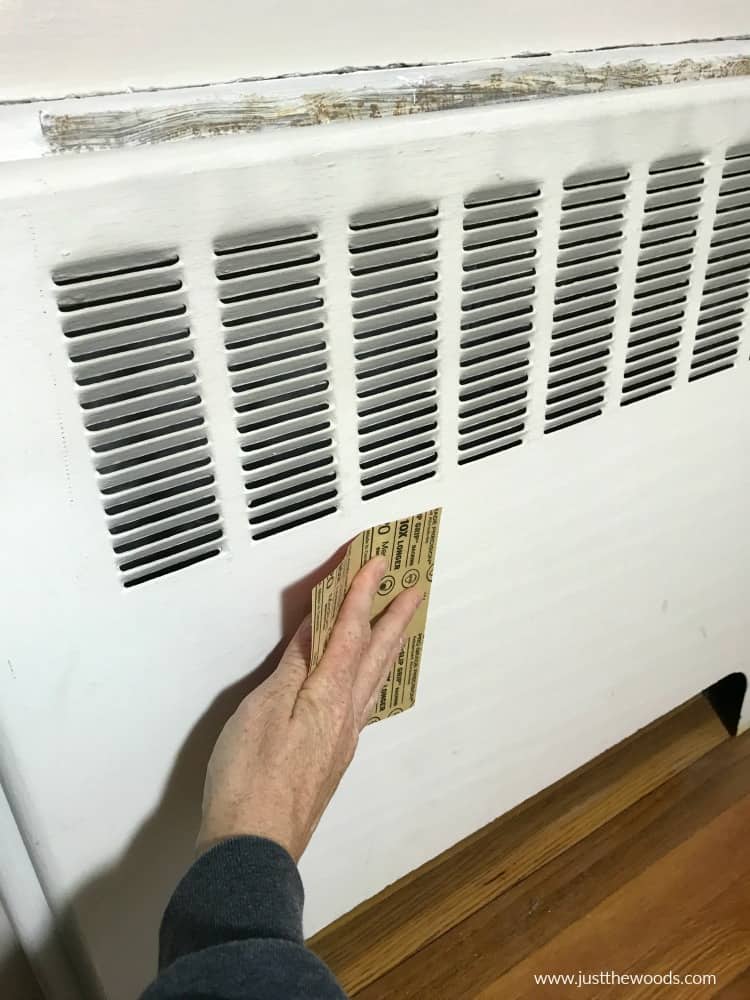
Make sure to remove the radiator cover from the wall so you can also prep the base piece that is attached to the wall. 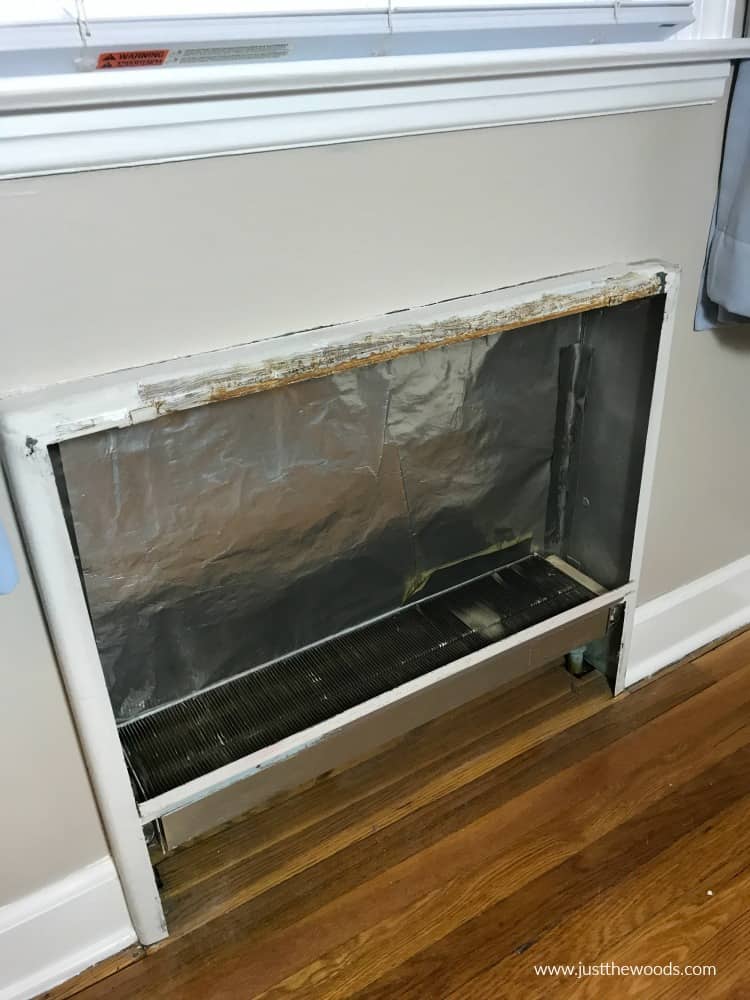
Go ahead and give the base piece a quick sanding as well. Be careful not to sand your freshly painted wall. Feel free to use painters tape if necessary. 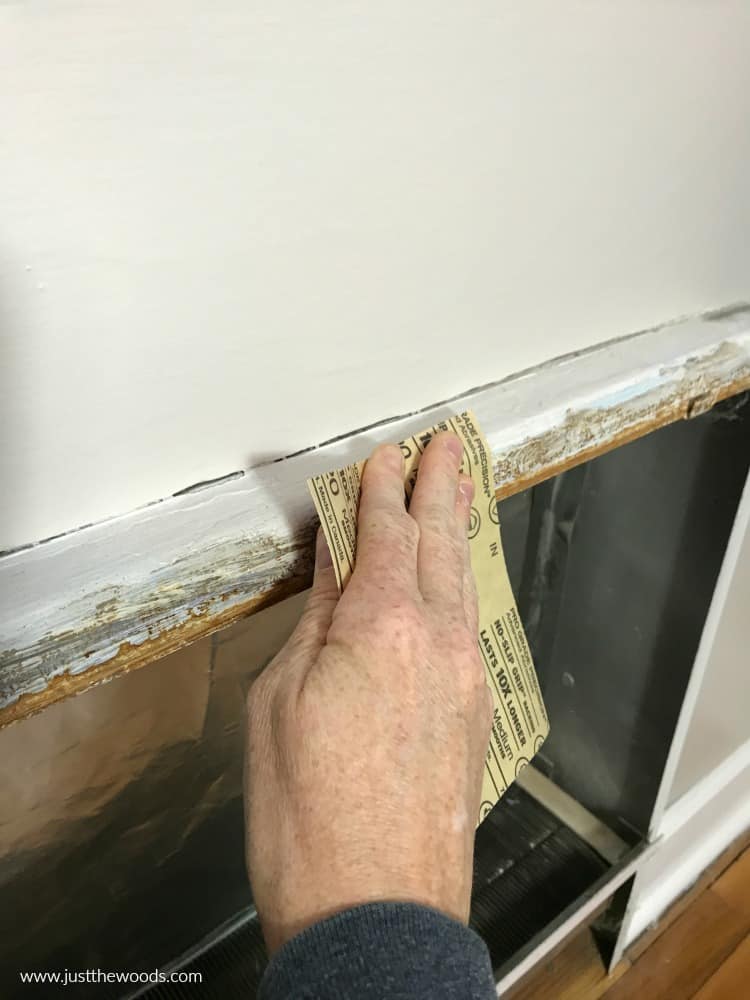
Clean the Metal Radiator Covers for Paint
Next, just like we do with our painted furniture projects you will need to clean the surface of any dirt and dust. 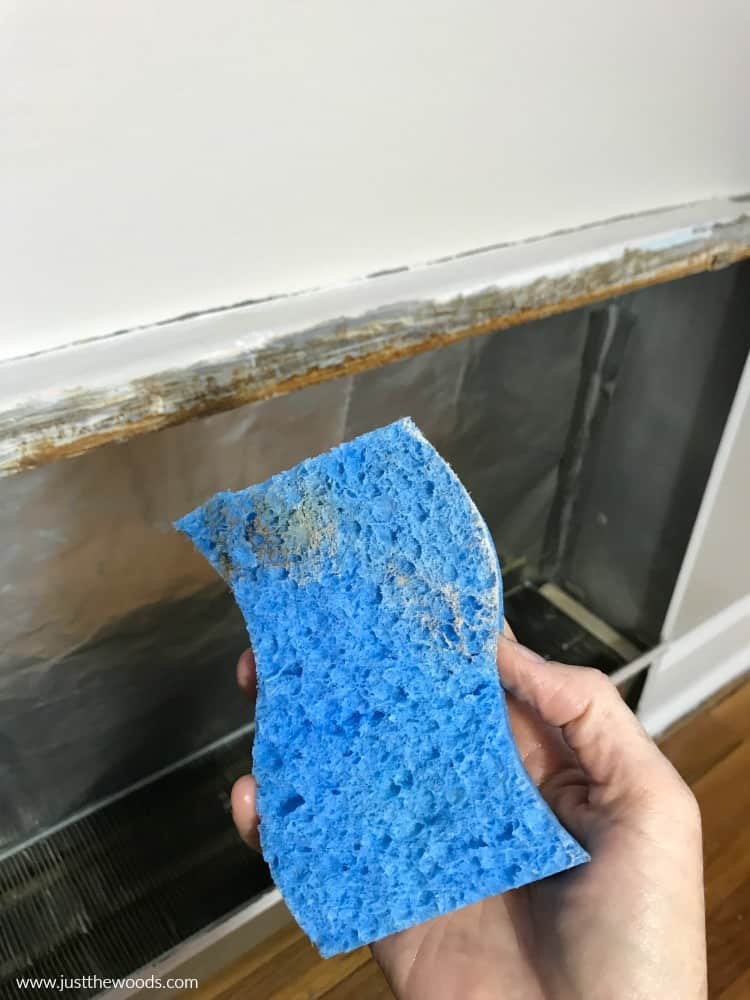
Priming Before You Paint Metal Radiator Covers
Before we go ahead and paint our radiator covers we are going to prime them. But to make life super easy we are going to use a white primer made to work perfectly with our paint. These products go together like peanut butter and jelly. We are using Wise Owls stain eliminating primer in white. (It also comes in clear and gray) You can get this online HERE. 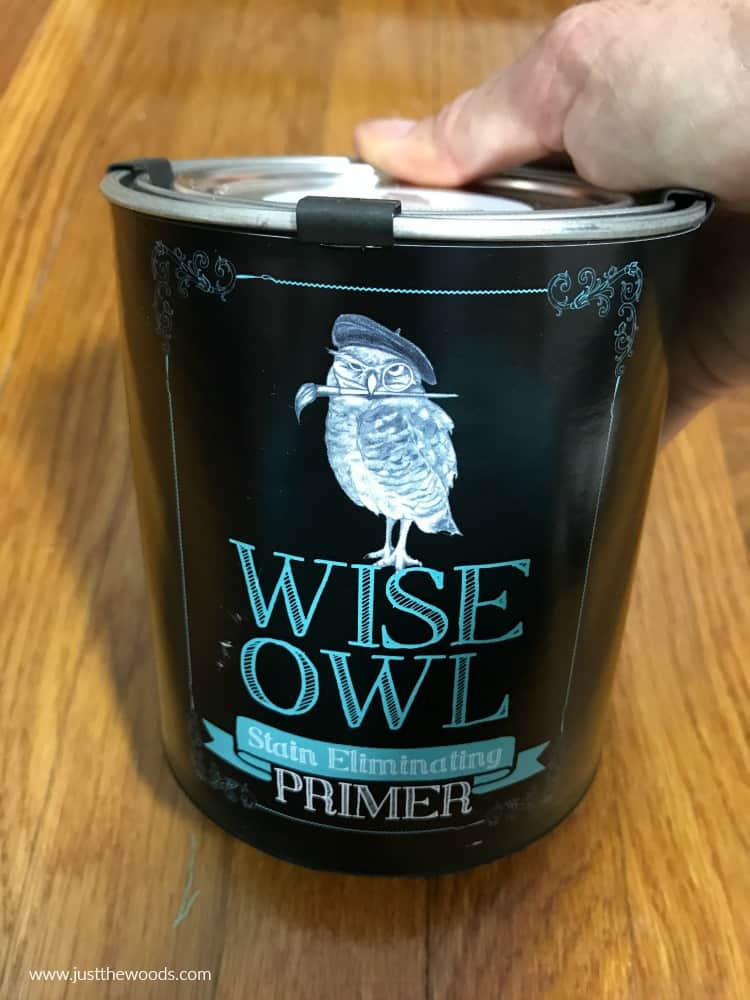
Now, grab your favorite brush and make sure it’s clean. I like to swap back and forth between Cling Ons and Zibra brushes. They both have soft bristles, are easy to work with and clean up well. (I abuse my brushes) To be honest, I like them both and don’t have a true preference. Zibra brushes are a bit more affordable and can be ordered online (HERE). Cling Ons can be ordered online (HERE). 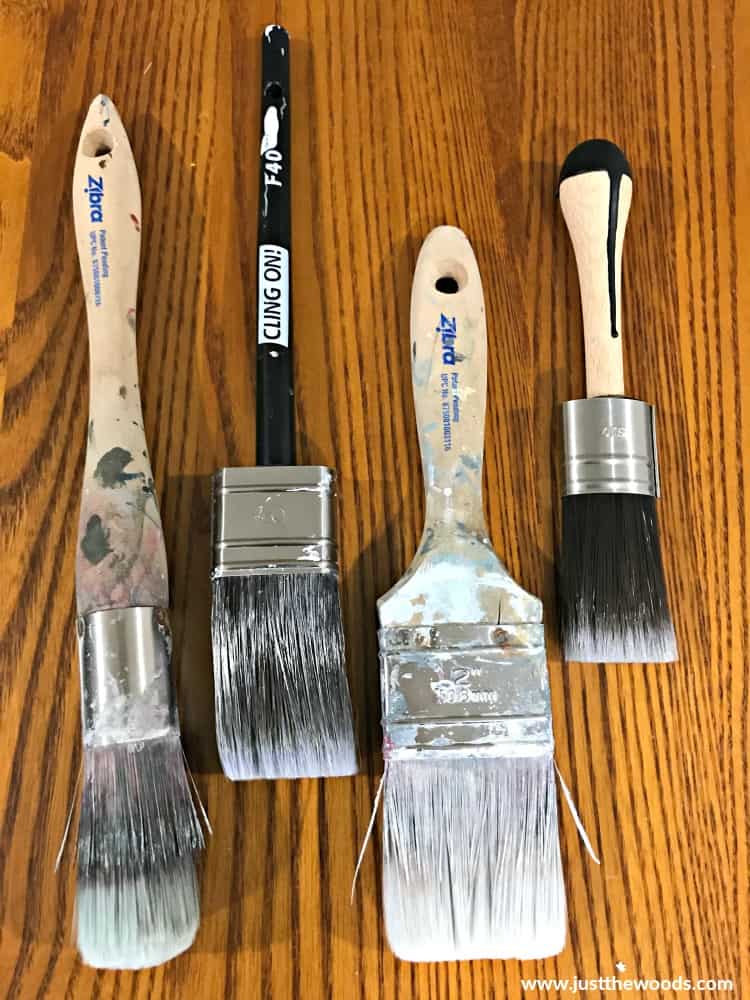
To paint metal radiator covers today I am using my flat Cling On brush. 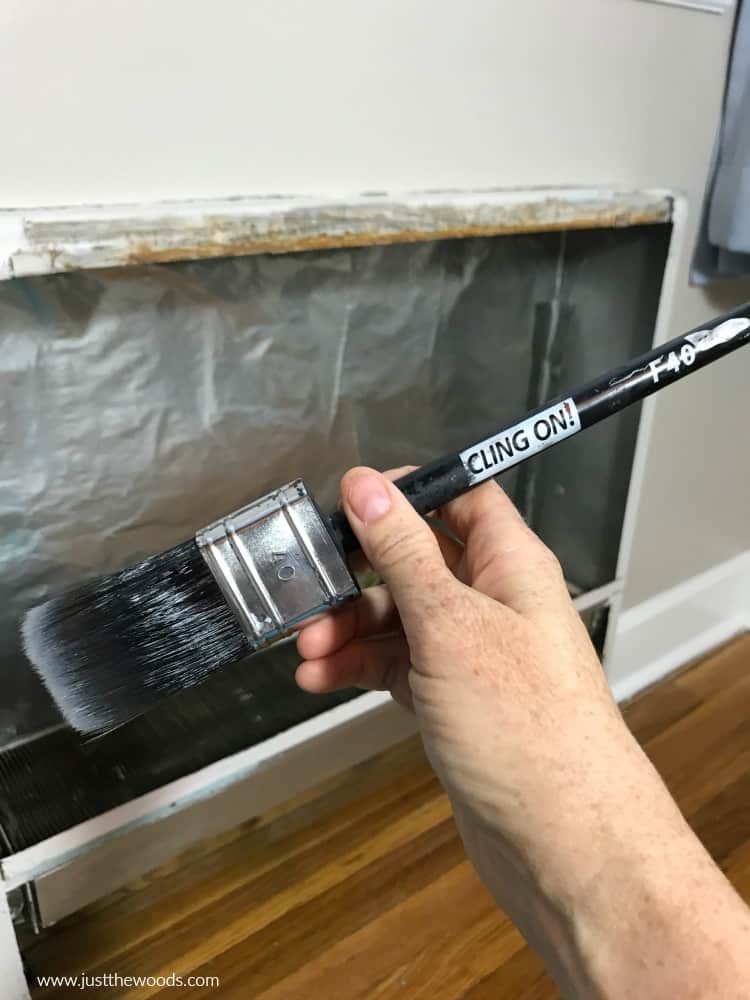
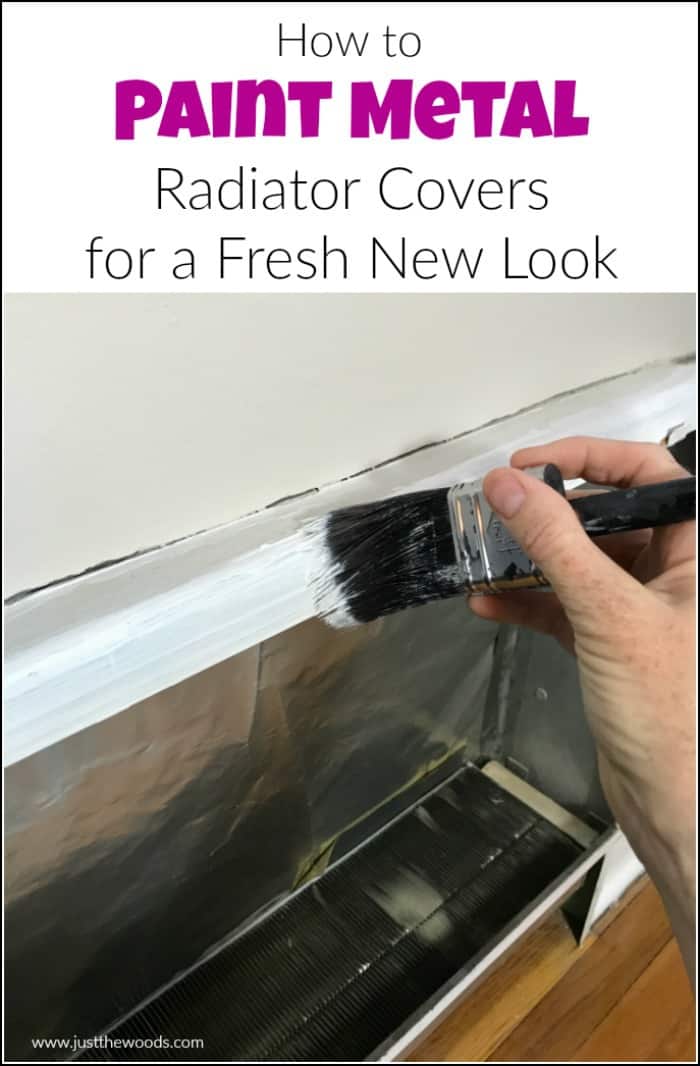
Apply your white primer in the same way that you would apply any paint. 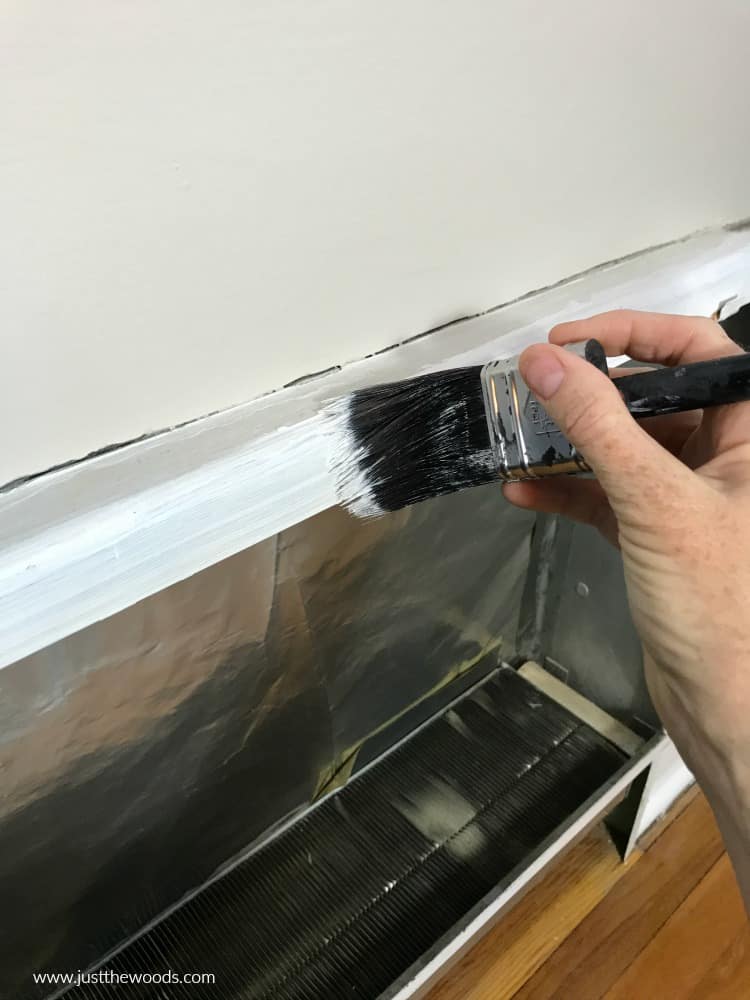
Apply your white primer on the entire metal surface where we will also apply paint. I try to pay extra attention to the areas where the dark metal is exposed underneath. 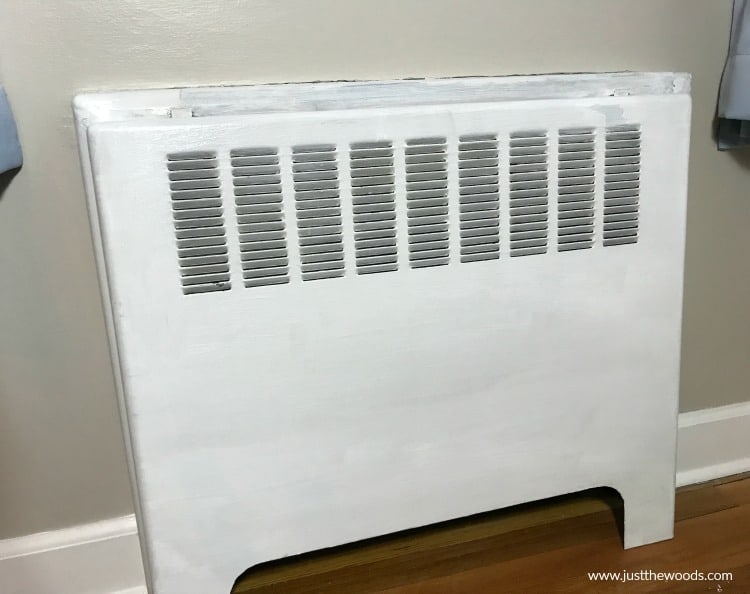
What Paint to Use When Painting Metal Radiator Covers
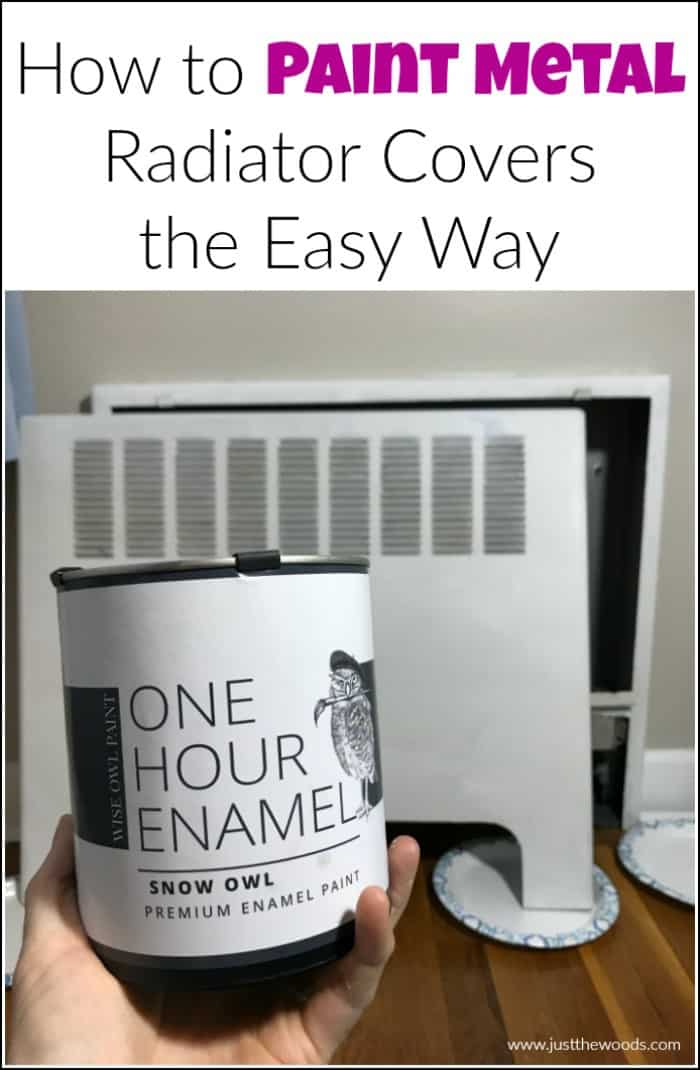
You may be unsure as to what is the best paint to use when you want to paint metal radiator covers. Since I know that kids can be rough, vacuums can smash walls (maybe not smash but you know what I mean) and whatever life throws at your home – I am using Wise Owls One Hour Enamel paint. This paint is meant to take a beating and is a bit tougher than standard chalk paint. 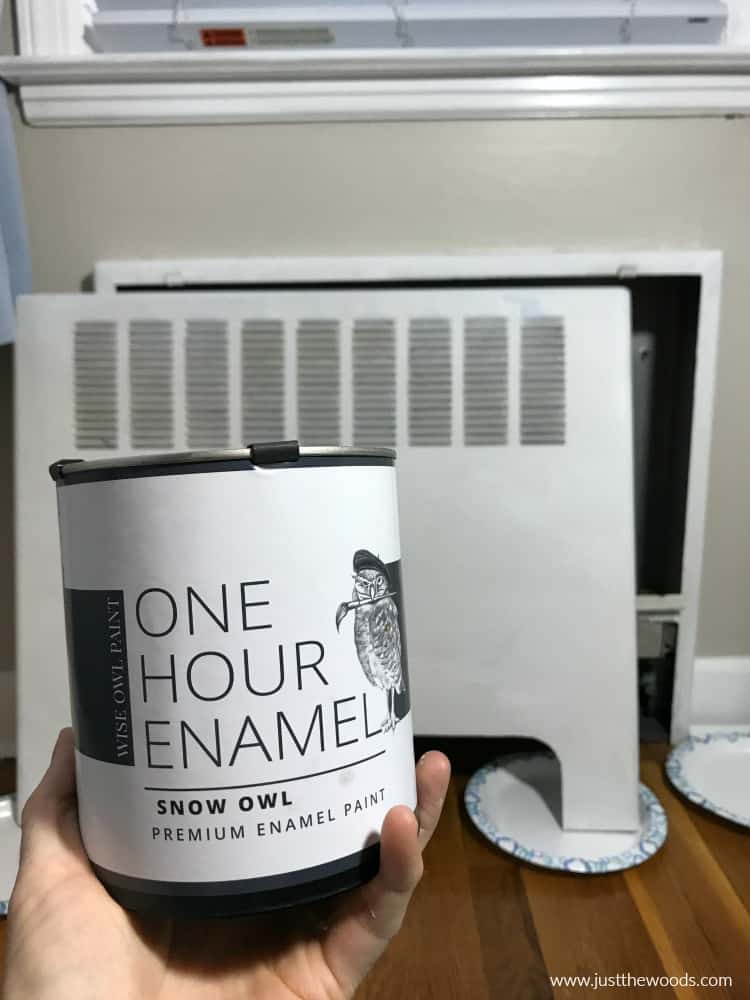
You can also see where this paint is also used to repaint my living room tables after my dear children nearly destroyed them with Legos and such here: Repainting Furniture. Today, though, I am using the color Snow Owl. It is a pure white, meant to match the white trim on the molding of my son’s room. You can find this enamel paint online HERE. 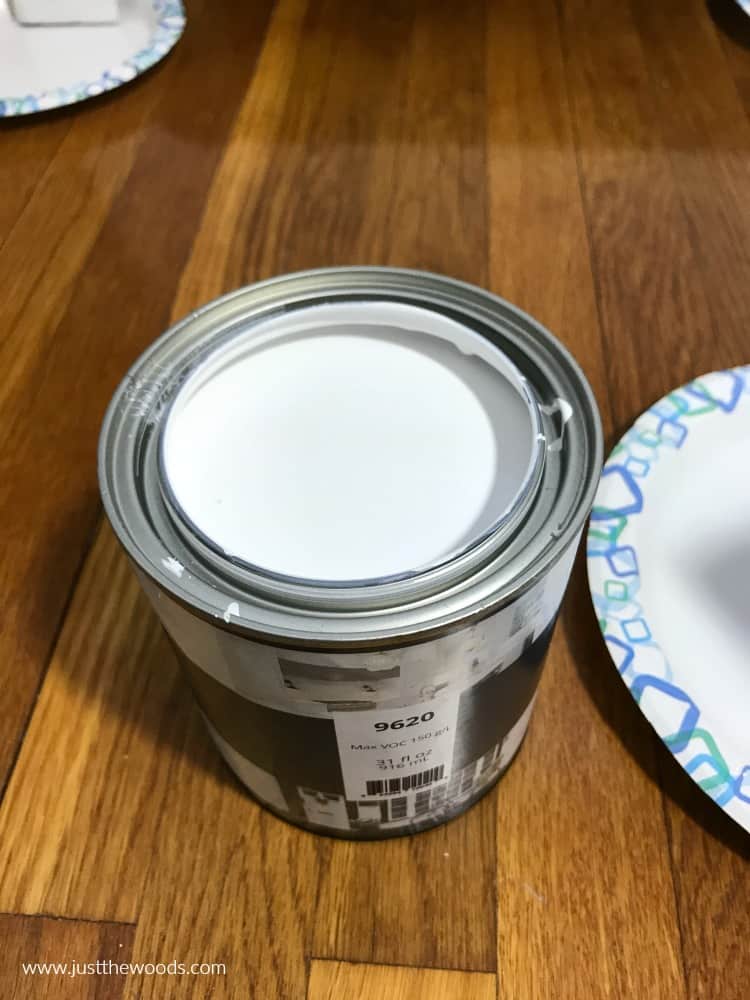
Go ahead and paint your enamel paint onto your metal radiator covers. With this type of paint, you should actually apply it a little thicker than you would apply chalk paint. 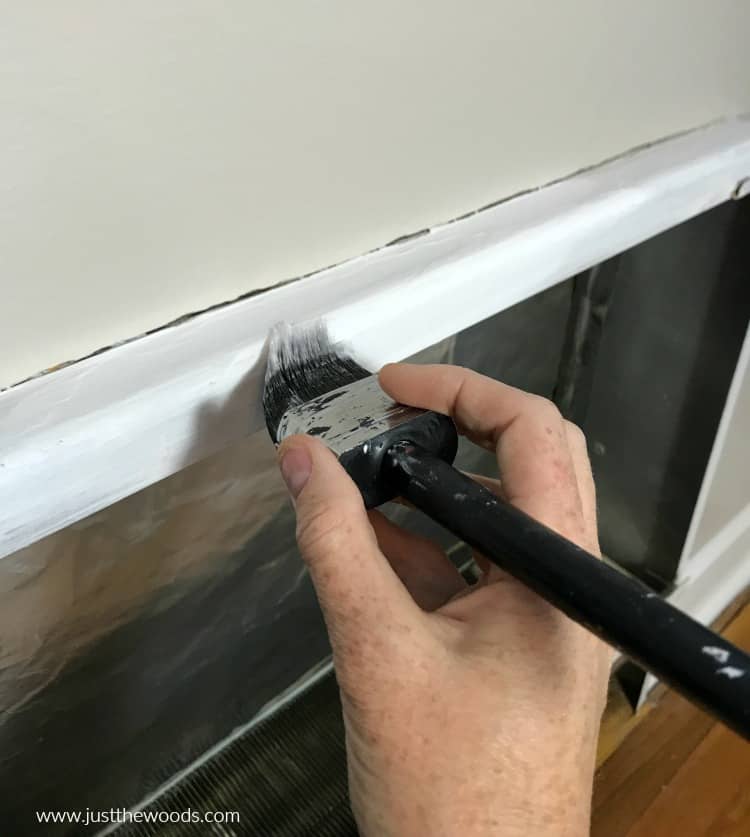
You can see close up how this area looks with just one coat of primer. 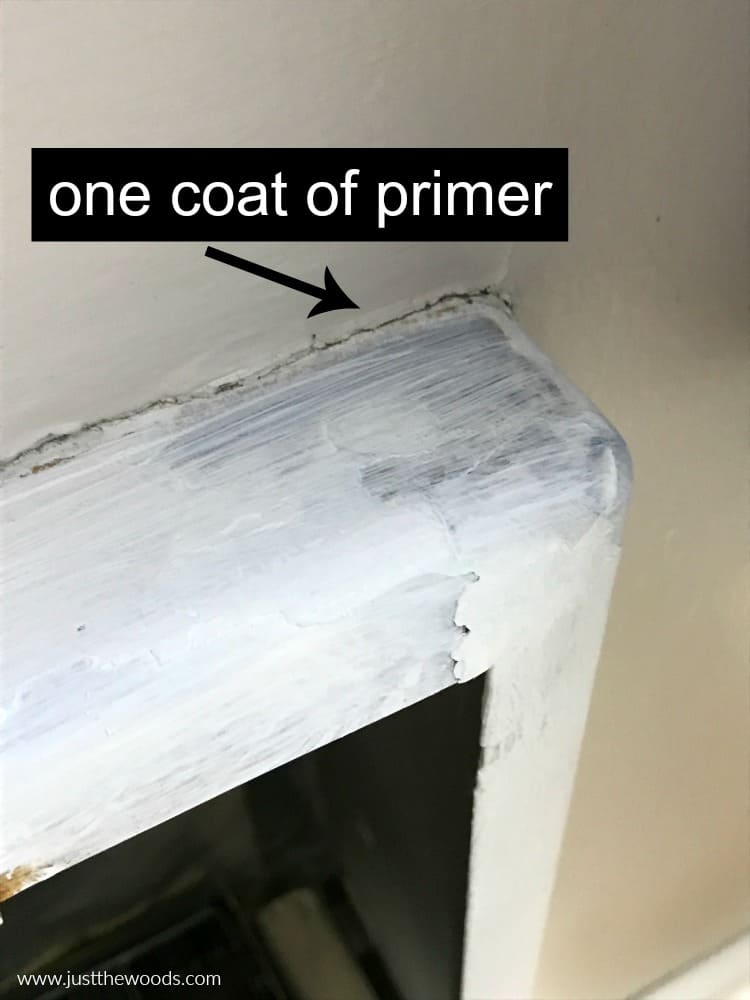
Then with just one coat of white enamel paint.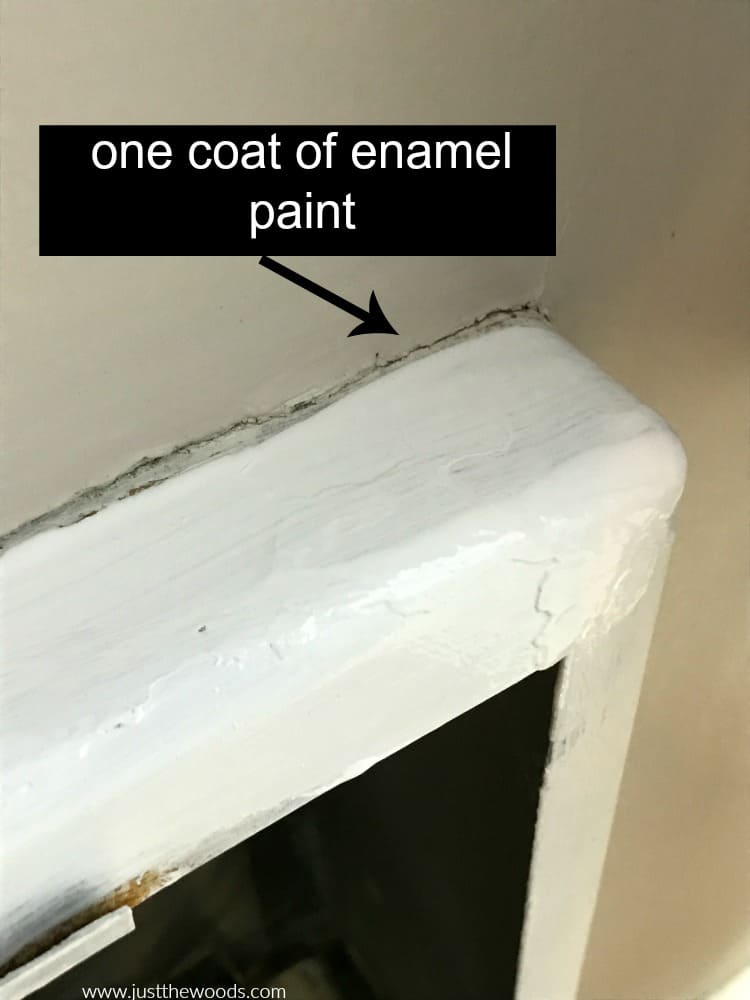
Finish painting the radiator covers and the base on the wall. Then allow time for the paint to dry. The beauty of the one hour enamel is that it actually fully dries and cures in one hour! You also do not need an additional topcoat. Once dry you can slide the covers back in place.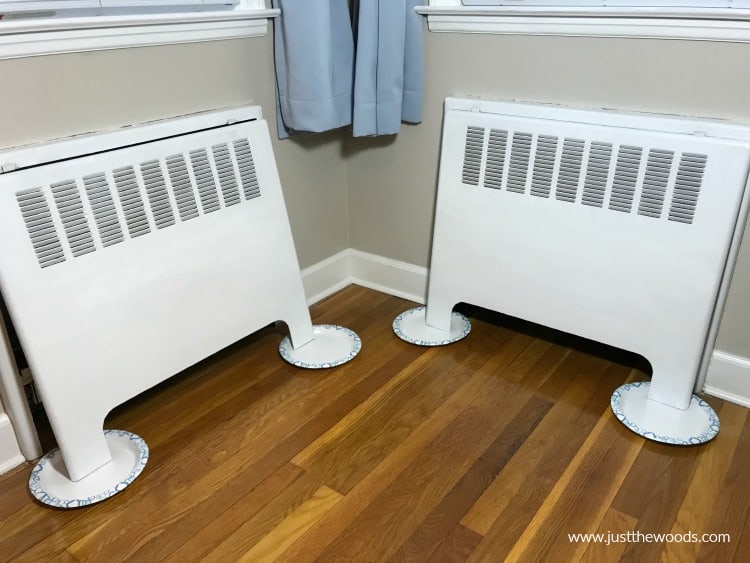
Finished Freshened Up & Painted Metal Radiator Covers
I normally try not to work or paint when the kids are home. But since this is such an easy quick fix I managed to get this done while the kids were outside riding their bikes. The entire project probably only took me about an hour from start to finish and the covers are now as fresh as the rest of my son’s ‘new’ room. 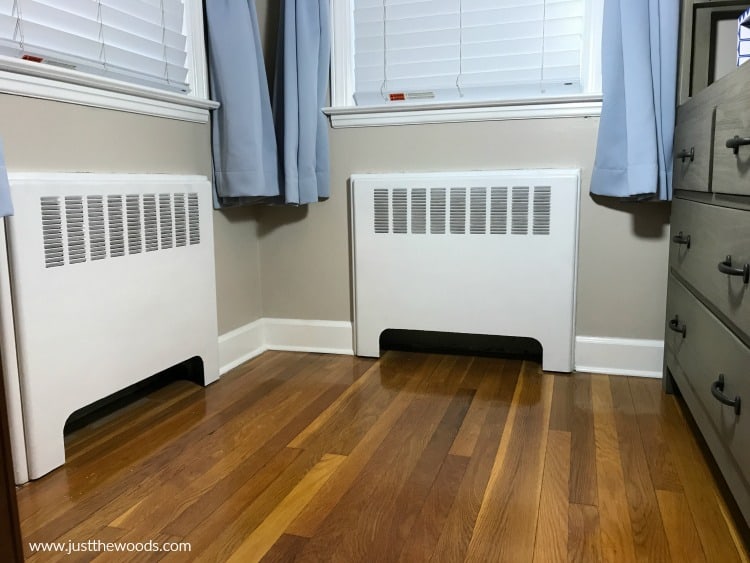
Feeling Inspired? Ready to Get started?
If you have a project in mind where you need a super durable furniture paint, I definitely recommend the one hour enamel. You can get find it along with all of the other Wise Owl products online here: Wise Owl. 
For more projects and inspiration on other painted metal DIYs make sure to check out these 10+ Amazing DIY Painted Metal Projects.
Don’t Forget – Follow Just the Woods and Share this post to Inspire others:
FACEBOOK * INSTAGRAM * PINTEREST
Stay connected! For more tips and tricks sign up here : [mc4wp_form id=”1340″]



Christina Woodcock says
Wow what a difference Kandice! It’s amazing what paint can do!
Elaine Angelopoulos says
Hi, what about the inside of the radiator cabinet or the back end of the radiator cover? Do you recommend painting those areas? Primer only maybe?
kandice kullmann says
hi! I actually didn’t bother with the insides. They weren’t painted before so I left them alone
V Michalczyk says
Do you actually leave the foil on the back inside the heating unit? Or was just there while you painted?
kandice kullmann says
That was there when we bought the house so we just left it and never even thought about it again. Im not sure why its even there to be honest