DIY Reclaimed Barn Wood Table
In our home we build, we paint, we DIY, we compost, we garden, we take chances, we say bad words and build our own farm table from reclaimed barn wood. Oh boy. Often the ‘team’ projects with hubby and myself lead to bad words, but the end result is always worth the crazy in between.
Disclosure: This post contains affiliate links for your convenience. Click here for my full disclosure policy.
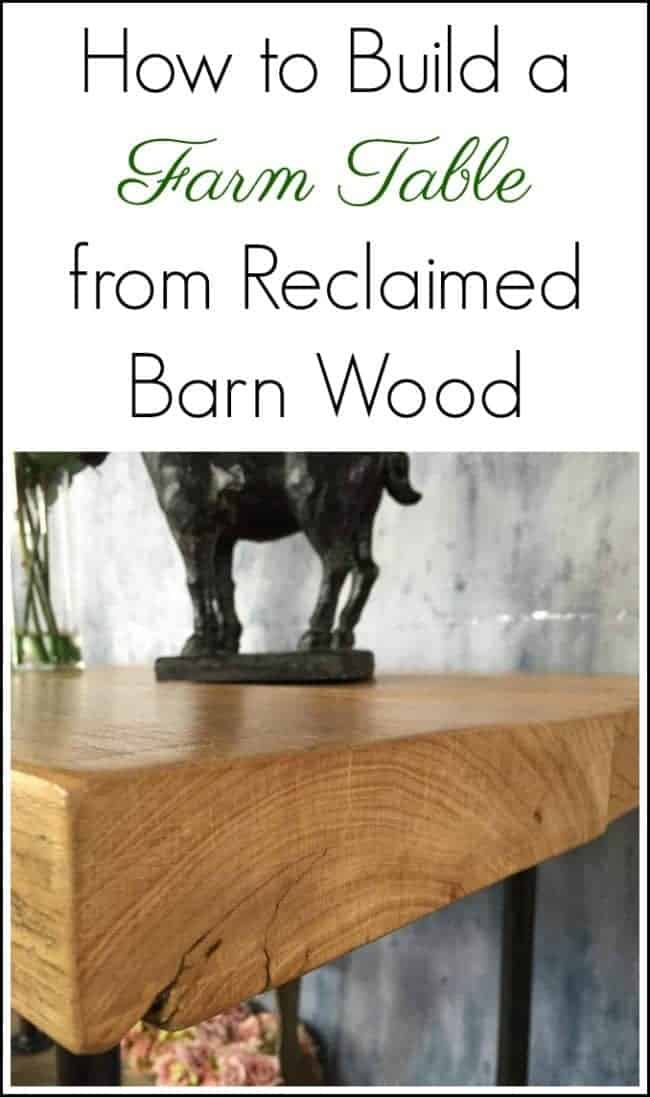
How to Build a Hand Made Farm Table
Materials Needed:
-
-
- Reclaimed Barn Wood or you can use cut lumber (ex. from Home Depot)
- Table saw
- Planer
- Clamps
- Electric drill
- steel gas pipes
- pipe threader
- Gas fittings
- Rust-Oleum hammered black spray
- Varathane
- Foam Brushes
- Sandpaper
- Steel floor flanges
-
Staging/ Home Decor
Collecting Materials
This may be my longest post to date. But also the largest project, and I have to admit that the work itself was done by my husband and I was merely his helper. We decided to build a farm table using reclaimed barn wood from scratch. Our first stop was to an awesome secret spot, secret because I’ve been forbidden from sharing its location, to pick out the wood. It’s really no secret, its located in New Jersey. Go ahead and google, it’s easy to find *wink* This place had a huge selection of slabs, doors, and everything wood. Most of the wood comes from salvaged barns in Ohio! 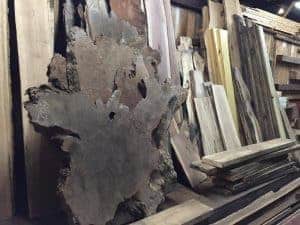
Personally, I love my barn wood door backdrop, so I couldn’t resist and bought myself another! There were so many to choose from, but they were quite pricey so I had to choose wisely. Click here to see how I use my barn doors in staging: The Best Resource Guide for Staging Furniture.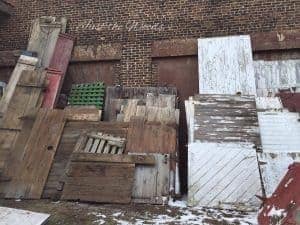
Back to the table, we decided on three thick slabs to make a decent size table. As you can see they weren’t exactly the same size so they needed to be trimmed.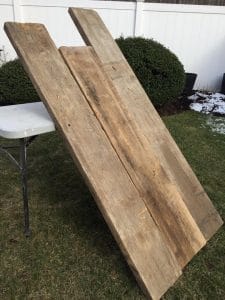
The Process – Building a Farm Table from Scratch
After measuring, we broke out the table saw and trimmed the edges. 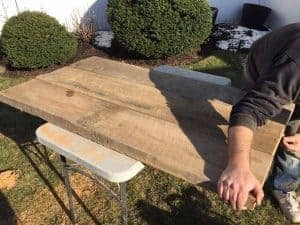
The sides were also trimmed since they aren’t perfectly shaped like new wood that you would buy from a lumber yard. After trimming, the sides also had to be planed to allow them to line up with one another with minimal gaps in between them.
You can click here to see what I did with the extra wood that was trimmed off: Barn Wood Tea Light Candle Holders.
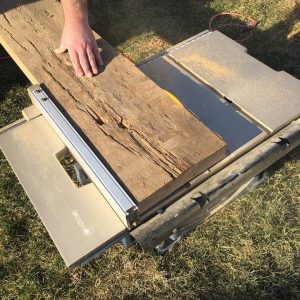
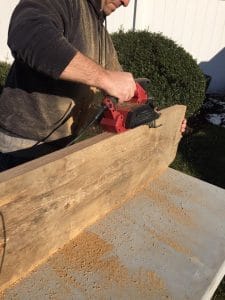
Once they were trimmed, shaped and sanded properly on the edges they were secured together and clamped for the night. 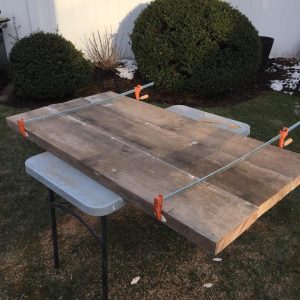
To add extra support they were braced with additional wood underneath. (the only wood that isn’t reclaimed barn wood)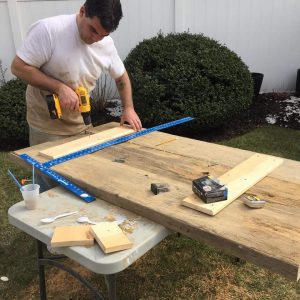
Building Industrial Style Table Legs
For the legs, we purchased black steel gas pipes which had to be measured and cut to size. After the steel pipes were cut they had to be manually threaded with a pipe threader. Gas fittings were used to connect the piping. This step resulted in a few choice bad words, it seems you can actually get them already threaded. But why should we take the easy route, when we can make ourselves crazy instead.
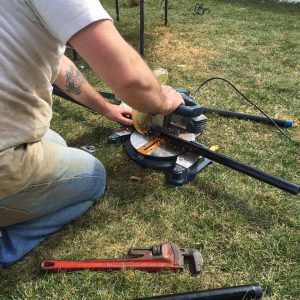
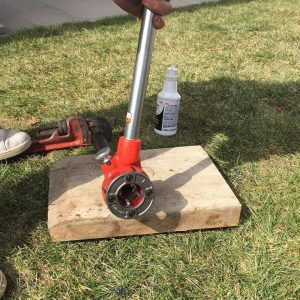
Once the legs were built and fit together they were thoroughly sanded to remove any original markings.
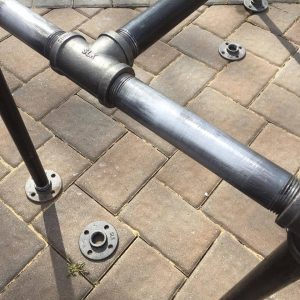
They were then sprayed with Rust-Oleum hammered black paint and attached to the underside of the table. The table top was then sanded thoroughly with various grits of sandpaper until smooth. 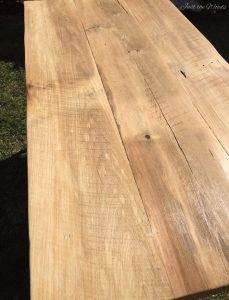
Sealing the Top of the Farm Table
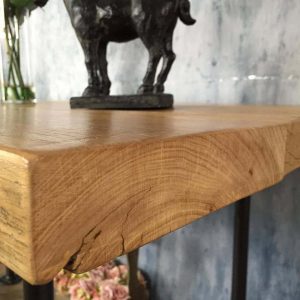
The table top was then sealed with multiple coats of Varathane for protection. We chose not to add a stain to the top because its natural coloring is gorgeous already. There are shades of browns and grays in the wood along with saw marks from the original milling, knots, and grooves that you would come to expect from a reclaimed barn wood table.
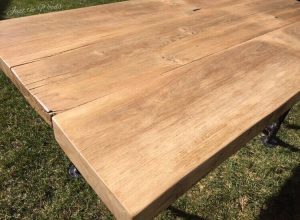
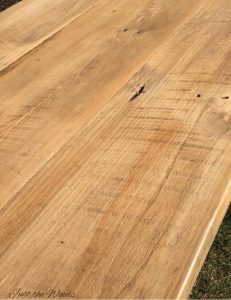
The slabs themselves are over two inches thick.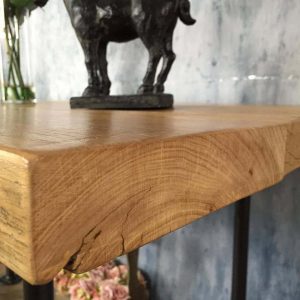
We chose to embrace the details on the outer edges and not smooth them out completely.
The Result – Barn Wood Farm Table
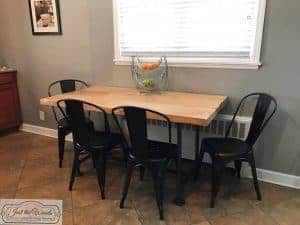
All the huff and gruff paid off and I love this table.
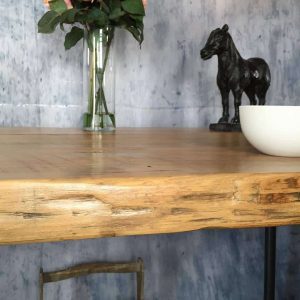
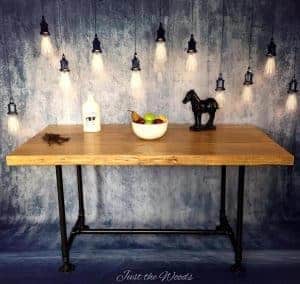
The legs have an awesome industrial feel to them.
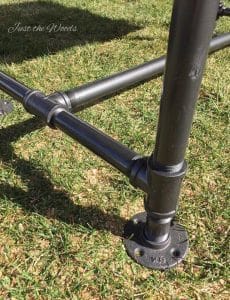 I’m a little in love with how this came out. Steel floor flanges were used as the “feet”, it is important to make sure that all of the sizes are compatible to fit into one another.
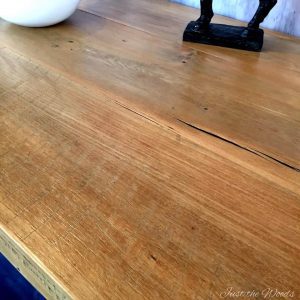
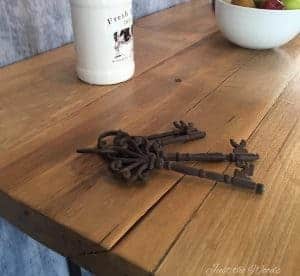
Real Life
Our appliances are black and the industrial style legs work perfectly with the rest of the room. I also decided to replace our old wooden chairs with these black metal chairs and LOVE them!
*If you’d like to see our entire kitchen makeover you can find that project here- Kitchen Remodel.
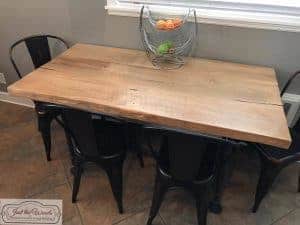
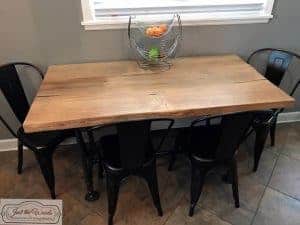
Of course, the kids felt the need to be included in at least one photo at the table. 🙂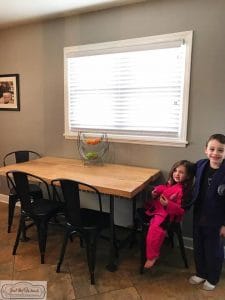
Don’t Forget – Follow Just the Woods :
FACEBOOK * INSTAGRAM * PINTEREST
Subscribe to our mailing list here: [mc4wp_form id=”1340″]
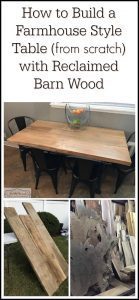
PINTEREST PIN READY TO SHARE

Grace Lauer says
Stunning piece! You all did so much work on it. It is just lovely though. Great job.
Kandice says
thank you 🙂
Tootie says
Any pic of how the pipe was attached to the underside of the table top?
Kandice says
Linda says
What a wonderful table. I keep telling my husband, I want him to build one for our pool area. The legs are quite interesting. Thanks for sharing at Di&DI. Love your backdrop.
Kandice says
thank you so much!
Bre @ Average But Inspired says
Wow! It’s gorgeous! I would want to keep it, too! Thanks for sharing at The DIY Collective!
Kandice says
thank you!! Im trying to give him a time line if it doesn’t sell by a certain date then we keep it 🙂
Terry says
Your work is seriously W O W ! ! ! I love this table! I bet it sells right away, it is gorgeous!
I hope you had a great weekend!
Smiles!
Terry
The Curator’s Collection & Making Broken Beautiful
Kandice says
thank you so much!! Ive set a date.. if it doesnt sell by said date we get to keep it 🙂
Tuula @ Thrifty Rebel Vintage says
That is so beautiful Kandice! Love the legs with the thick wood top. Fabulous job! Thanks so much for sharing your amazing table at Vintage Charm.
Kandice says
Thank you so much Tuula! Thanks for hosting and have a great week!
Kandice says
Thank you so much Tuula! Thanks for hosting and have a great week!
Lori says
Amazing!! That turned out perfect! Thank you for sharing at DIshing It & Digging It!
Kathy says
This table is fabulous and I am jealous that you found a place with all that reclaimed wood!
Kandice says
thank you. My husband actually discovered it 🙂
Melody Larson says
I love this barnwood reclaimed table-your husband did a beautiful job! We have a coffee table and two end tables (hand-me-downs) that remind me a little of this table. They each have metal legs that have criss-cross metal bars that make shelves below, and are great for holding baskets. The tops of each were pretty rough when we inherited the tables, and lately I’ve been thinking about either sanding and then white-washing the wood, and now after seeing your pictures I’m thinking more about just sanding the tops and see how they look and maybe finishing them like you did your table!? (I think I like your idea better! How many coats of Varathane did you folks use?) Thank you so much for sharing!
Kandice says
thank you so much! We used 4 coats of the triple thick Varathane, since its a kitchen table we wanted to make sure its fully protected. This was a bit different from what I normally do myself (paint) so the products used were also new to me. Good luck with your tables, I bet they come out gorgeous!!
Melody Larson says
Thank you for the inspiration-you are amazing! I look forward to looking at each new project you share!
Kandice says
thank you so much! and thanks for stopping by 🙂
Susie@TheChelseaProject says
This table is totally fab!! Love reclaimed barnwood and your husband gets big kudos for his work! You know….it’d look great in my house, too. #justsayin #makeoneforme 🙂 Thank you so much for linking to Friday’s Furniture Fix. We love having you!
Kandice says
lol. thank you so much! I think I’ll keep him and the table 🙂
Lindsay says
Wow! This is incredible! great job!
thanks so much for sharing at Merry Monday!
Kandice says
thank you so much!!
Our Home of Many Blessings says
So beautiful! I wouldnt want to let it go !!
Kandice says
thank you!!
Lisa @ Creative Raisins says
What a beautiful table, I love the mix of the old barn wood and steel
Kandice says
thank you!!
Christine says
Loving your table! So many people are doing the click bait thing where it says barnwood but they’re faking it and it’s not as thick or substantial as yours. I love that you used true barn wood and the legs are beautiful.
Great job!
Kandice says
thank you so much! and yes! Ive noticed that too, I was wondering how some were priced so low and then realized its the price of the wood that makes a big difference lol
Beverly says
Gorgeous! I wouldn’t want to part with it, either. Thanks for sharing at Snickerdoodle Sunday. Pinned and Tweeted.
Kandice says
thank you!!!!!!!
Jessica says
This is amazing!! I love that you left the character on the outer edges, it’s perfect!
Kandice says
thank you! it was a great project
Wendi@H2OBungalow says
Wow! What an awesome project! I love..LOVE how your wood table turned out! Bravo on a super project!
Kandice says
thank you so much wendi! 🙂
Lena says
I love this table. My husband’s been wanting to make one like it with the pipe legs so I forwarded a link to him to show him how it would turn out. How did you join the three pieces of barn wood? I can see it clamped in the pictures but did you glue it together or was it just joined by screwing the wood pieces on the underside?
Kandice says
thank you! it was both glued and an additional piece of wood secured to the table underneath as well