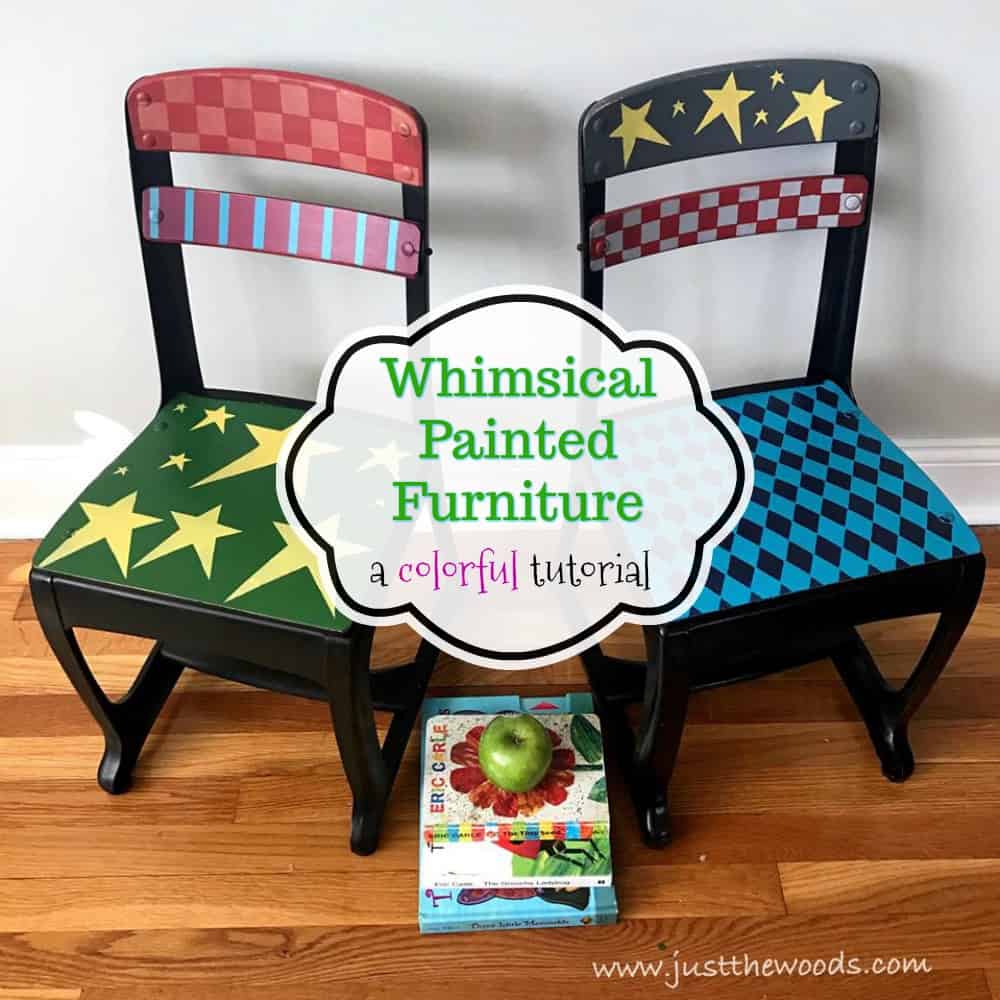
Whimsical Painted Furniture – A Colorful Tutorial You’ll Love
Whimsical Painted Furniture – A Colorful Makeover You’ll Love
Are you a fan of whimsical painted furniture? Love the colorful details and fun patterns of the whimsical painting style. No two pieces of funky painted furniture are alike. That’s what makes these projects so unique. You can spend countless hours on Pinterest looking at whimsical painted furniture ideas. This is the lazy girl’s guide to painting whimsical painted furniture.
Disclosure: This post contains affiliate links for your convenience. Click here for my full disclosure policy.
Whimsical Painted Furniture – A Colorful Tutorial You’ll Love
MATERIALS NEEDED / SOURCE LIST
- Rustoleum SprayPaint
- Stencils
- Artists Brushes
- Cricut Machine (I have the Explore Air)
- Painters Tape
- Foam Roller
- Sandpaper
- Yellow Detailer Sponge
- Lint Free Cloth
- Foam Dabber
Unfinished Child’s Old School Chairs
These vintage child size school chairs are coming full circle. They are metal and wood and were being tossed out by a Church as they were cleaning out the old Sunday school. But as fate would have it, they are receiving a fun and colorful new whimsical makeover. Once complete they will be going to my daughters Catholic School kindergarten class.

These chairs are the perfect size for little tushies to sit. I know my daughter would choose a chair her size over an adult size chair any day.
Preparing Metal & Wood Chairs for Paint
Prior to painting these whimsical painted chairs, they must be properly prepped. Now, say that five times fast 😉 These chairs are fully prepped the same way that I always Prep Painted Furniture. The metal portion of the chairs is hand sanded and cleaned.

The wood portions are also sanded and cleaned.

Painting the Metal Base on Vintage School Chairs
I confess I took the lazy route when it comes to painting the metal. At least it felt like the lazy route. My main focus for this makeover is the whimsical portion of these whimsical painted chairs.
Feeling pressed for time and eager to get them finished. Not that anyone else is putting pressure on me other than myself. I keep returning to our Handmade Kitchen Table built with reclaimed barn wood. The steel pipe legs on our table are sprayed with Rustoleum paint in hammered black and have held up beautifully. They take a beating in our kitchen but show no evidence of it. Luckily I still have leftover from the kitchen table project. So I grabbed the leftover can of Rustoleum to spray the metal of the chairs.

Things don’t always go exactly as planned. Unluckily, there isn’t enough to cover both chairs. Hmph. Feeling lazy, rather than run to the store, I decided to run back down into hubby’s workshop to find another can of Rustoleum. This can is flat black and that will work just fine.

Don’t laugh. Initially, I began to tape off the wood areas before spraying.

But remember, I’m being a bit lazy. Should I even be telling you this? I tore the tape off and sprayed the metal just being mindful of the wood. But taping was just taking too long, and ain’t nobody got time for that. (insert that emoji face with the big shocked eye lol)

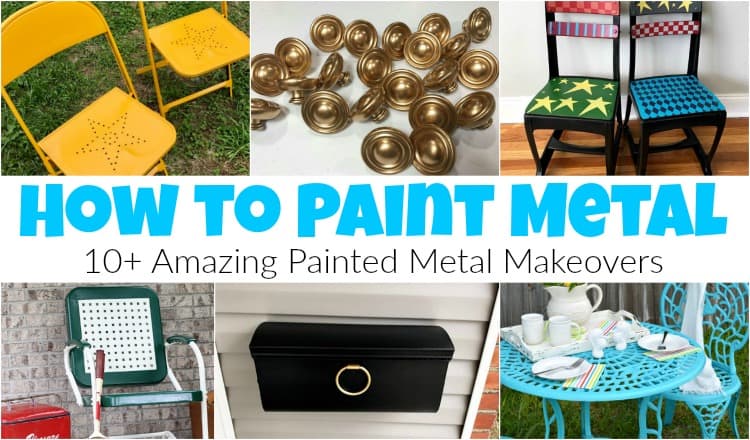
For more painted metal makeover make sure to check out How to Paint Metal – 10+ painted metal makeovers.
Painting Vintage Chairs Colorful, Funky & Fun
Now that the metal is complete it’s on to painting colorful and funky patterns on these chairs. The first thing to is to gather all of your paint colors. Not literally, but get a lot. Also, grab your stencils and artists paint brushes. Most likely as you go and the more you paint, the more colors and stencil you may grab. By the time I finished I was surrounded by paint, paper plates, covered in paint, plastic spoons from mixing paint. Then there’s the stencils, the brushes, the foam pouncers and the pieces of painters tape. This is one of those projects where you get to break out everything in your arsenal and truly play.

Even with all the paint colors at your fingertips, you can even mix up a few custom colors as well. Looking for quality chalk type paint? Check out Dixie Belle online HERE.

Start off by painting the wood portions of the chair in neutral and bold colors.

How to Paint Stripes the Super Easy Way
Again, here is the lazy way for how to paint stripes on painted furniture. Grab your painters tape and tape a piece of tape vertically on the area that you want to paint stripes. Then place another piece of tape right next to it, and continue to do this until the entire surface is covered.

Next, remove every other piece of tape. You now have evenly spaced stripes. Go ahead and paint your stripes and remove the remainder of the tape.

Adding Funky Patterns to Whimsical Painted Chairs
For the seat area grab a stencil that will cover the majority of the surface. In this case, the harlequin or diamond pattern stencil is perfect. Tape in place to prevent the stencil from shifting and use a foam roller to apply this stencil.

Next, grab a checker stencil and tape it in place. Since this is a smaller area I’m using a foam pouncer to apply this stencil pattern. With both the foam roller and pouncer make sure to dab the paint off onto a paper towel first to make sure that there is very little paint being applied to the piece.

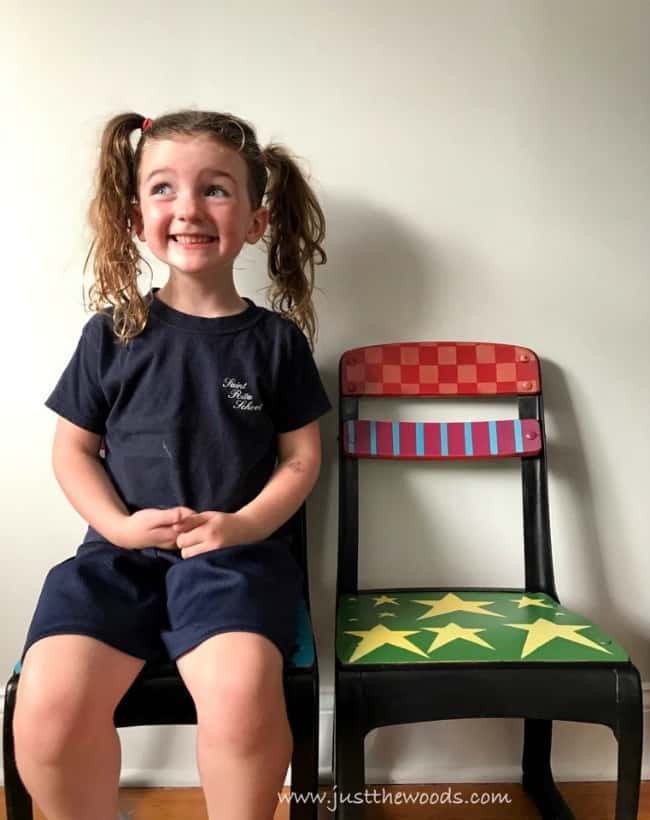
In no particular order, and no particular colors go ahead and add as much or as little details as you would like. These random stars are added to the seat of the second chair.

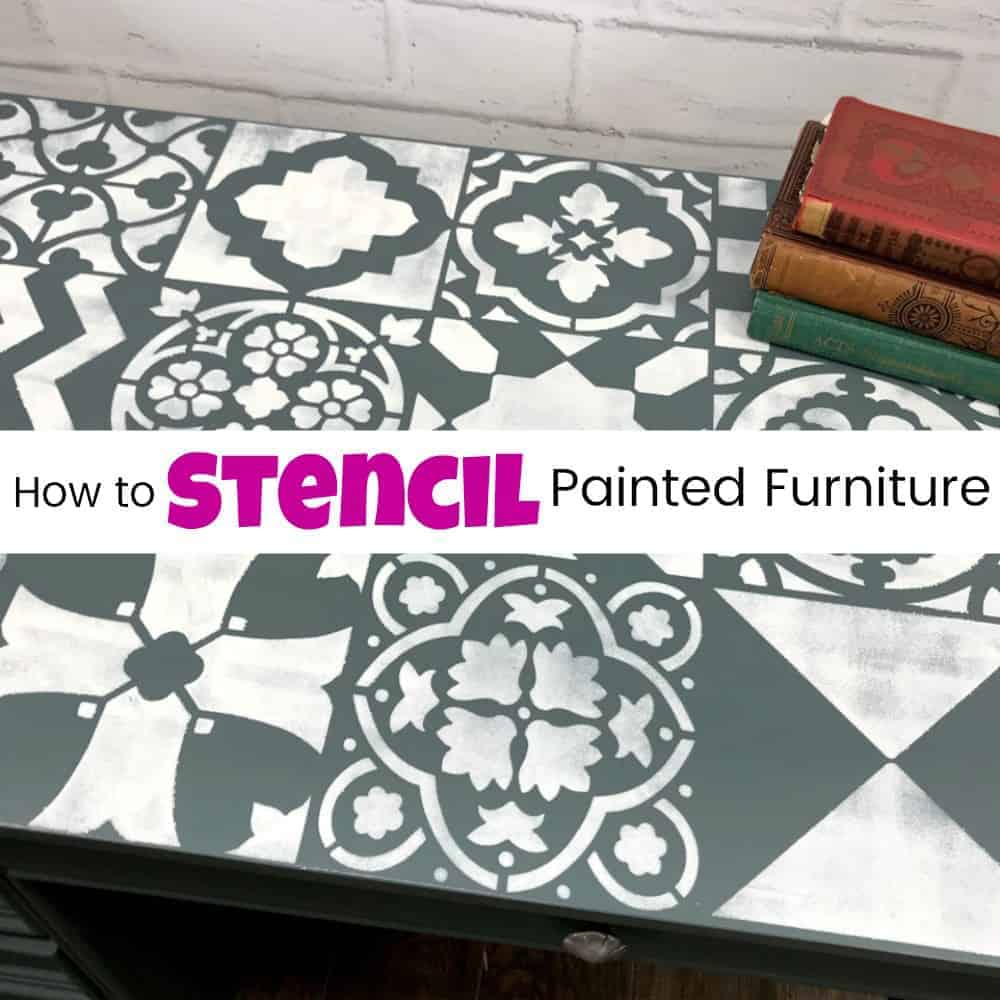
I’ll admit that I tried polka dots in between the stripes. But I couldn’t like them. I don’t like them so much that I won’t even show you how bad they looked. For a more detailed tutorial on adding stencils to your painted furniture makeovers make sure to check out How to Stencil Painted Furniture. There’s even a video included in the post.
A Child’s Opinion
Right about then my daughter came in. Feeling confident and knowing that I made sure to paint both chairs as fun and colorful and neutral as possible. (No pink and blue) She still manages to tell me “that one is for the girls, and that one is for the boys” WHAT? I ask her how she came up with that since they were equally colorful and funky painted chairs. She explains to me that the girls get the stars. (For what reason, I have no idea). This sealed the deal for me. Those polka dots have to go. I sanded them back down and painted over the polka dots! That chair is getting stars too.

Sealing Whimsical Painted Furniture
The whimsically painted chairs are distressed along the edges using sandpaper for a slightly worn look.

Next, the chairs are sealed with a clear matte sealer. My favorite method to apply clear sealer is with this yellow detailer sponge. Apply with the sponge, then lightly brush in any crevices with a cheap dry brush to prevent any pooling of the sealer.

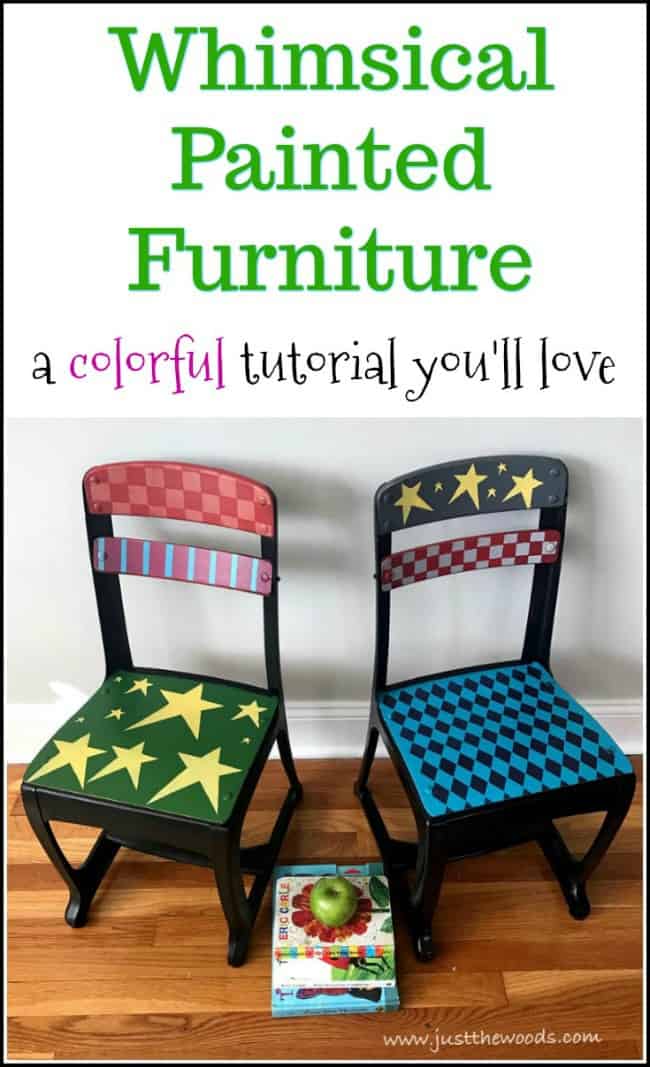
Whimsical Painted Chairs for Kindergarten
These whimsically painted chairs will be donated and heading to Layla’s Kindergarten classroom for their reading area. Click here to see all of my projects that have been donated to support local fundraisers, schools, and charities: Donation Projects.


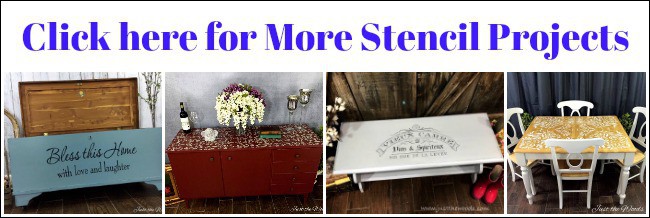
Check out all of my furniture projects with over 90 painted furniture makeovers: Stunning painted furniture ideas.


Real life – when you tell your kid to smile nice:
I’ll be sharing this post at these fabulous link parties
Don’t Forget – Follow Just the Woods and Share this post to Inspire others:
FACEBOOK * INSTAGRAM * PINTEREST
Stay connected! For more tips and tricks sign up here : [mc4wp_form id=”1340″]
PINTEREST PIN:


Those chairs are absolutely the cutest I have ever seen, and I know you had so much fun doing them!!!
Beautiful transformation!