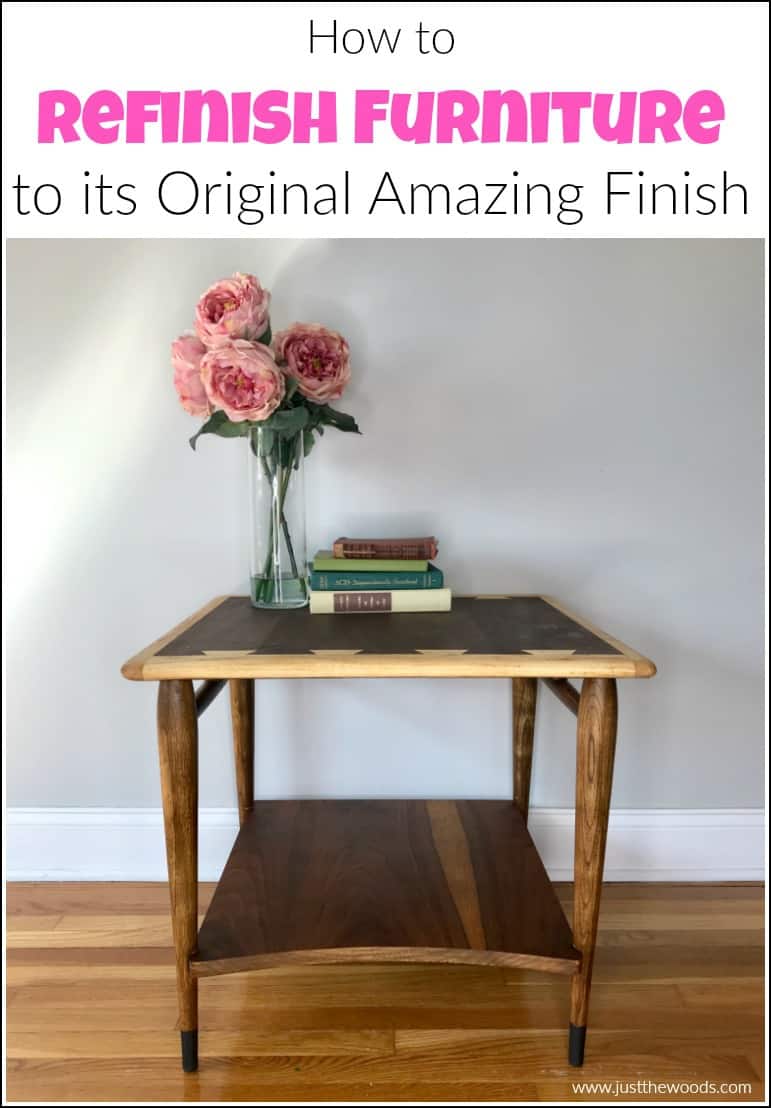
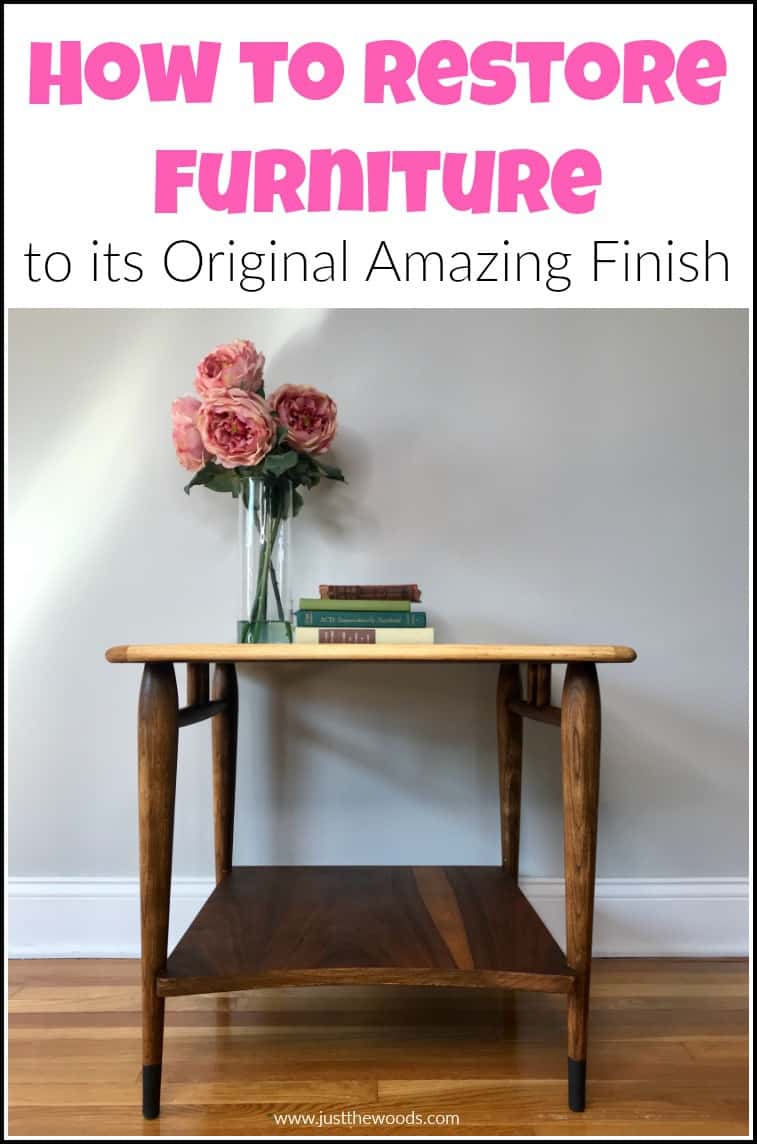
How to refinish furniture is a question that we may ask but there are so many answers. Are we refinishing furniture with paint or stain? Today we are going to see how to refinish furniture back to its original amazing finish, and maybe even better.
Disclosure: This how to refinish a table post contain affiliate links for your convenience. Click here for my full disclosure policy.
Supplies & Tools Needed to Refinish Wood Furniture
Materials Needed / Source List:
Tools
- Zibra Paint Brushes or Cling On Brushes
- Furniture Tri Wheelies
- Sandpaper
- Orbital Sander
- Shop-Vac
- Lint Free Cloth
- Find all of my favorite tools and products on my Amazon Page here
Paint
Before we begin, this wood restoration project is part of our monthly Furniture Fixer Uppers share. You know what that means! Make sure to stick around all the way to the end for more great DIY furniture before and after projects.
Check out all of my furniture projects with over 90 painted furniture makeovers: Stunning painted furniture ideas.
The Original Wood Lane Table
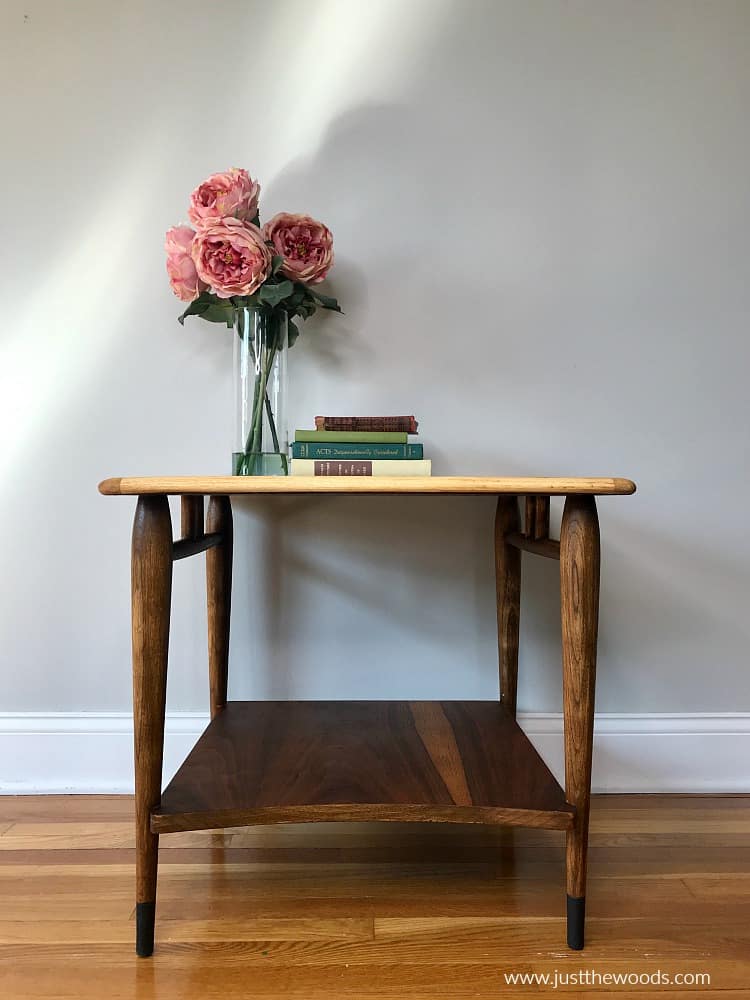
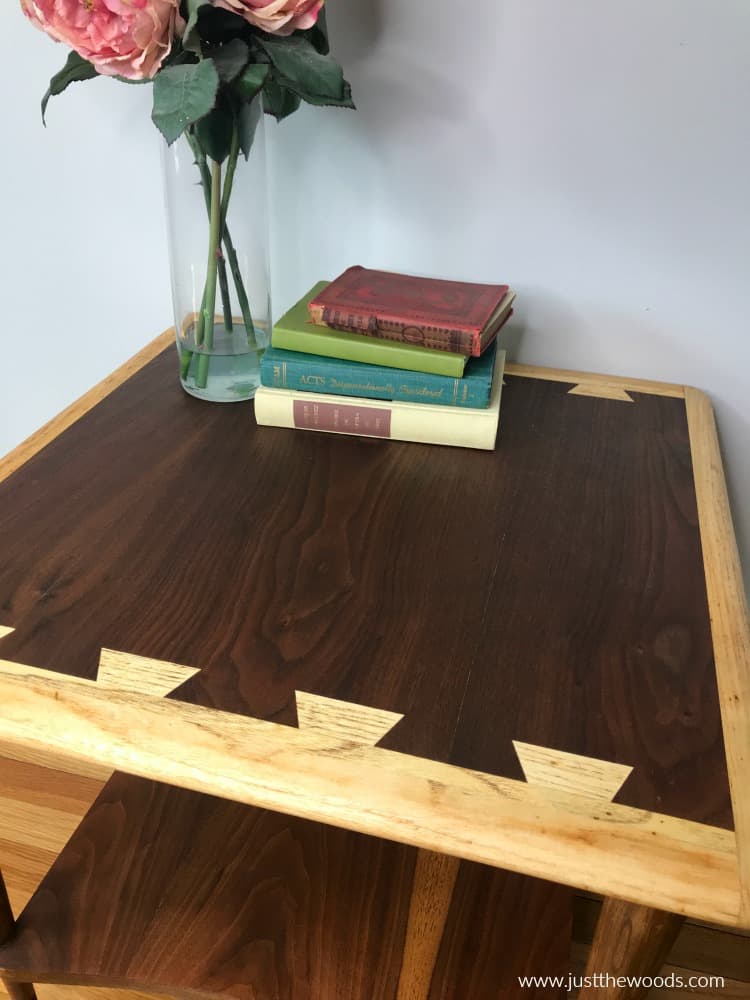
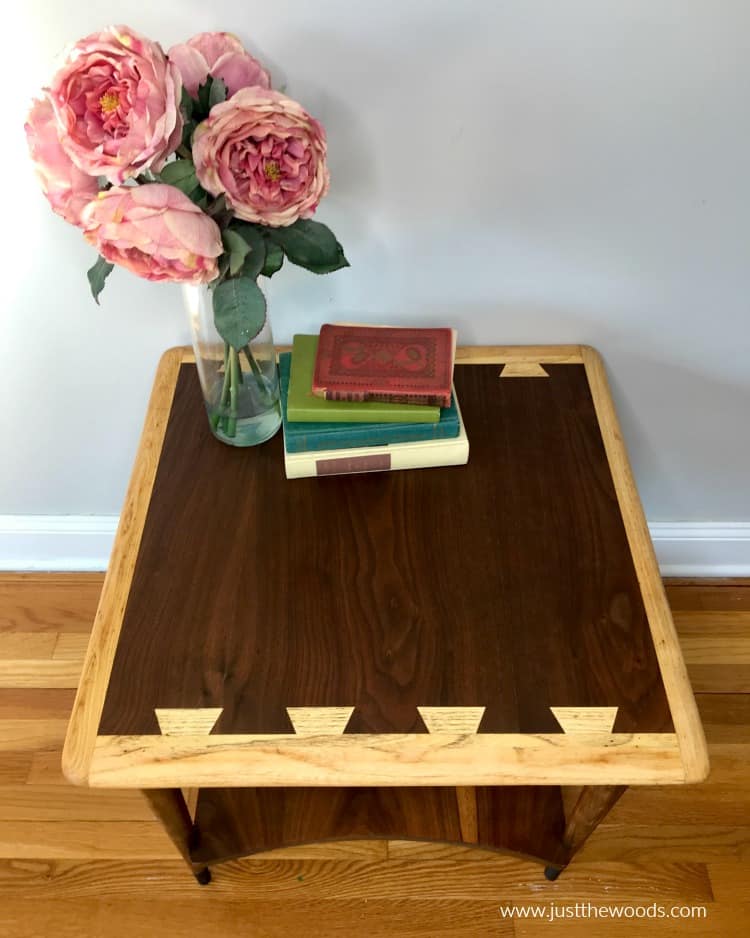
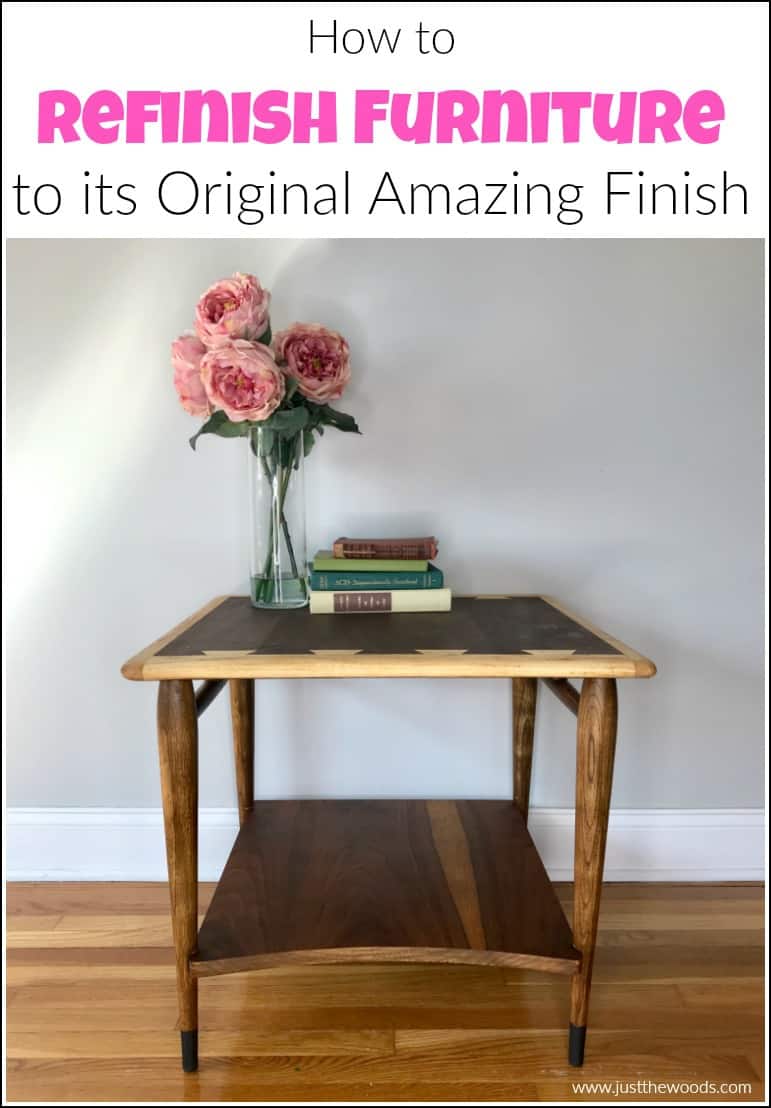
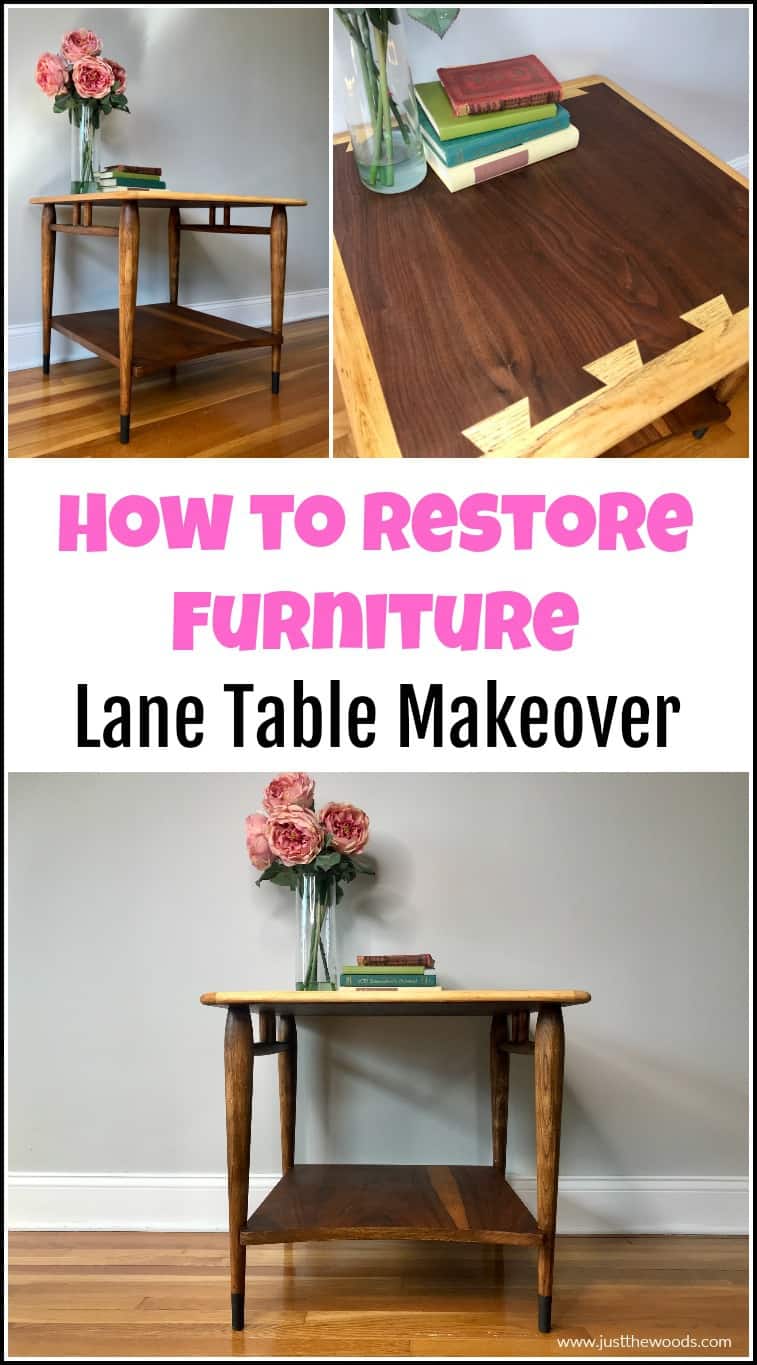
This Lane table is actually a mid century modern Lane Acclaim. After a few Google searches I learned that the Lane Acclaim line of furniture was first introduced back in 1959 and was quite popular. The pattern in the wood table tops is so unique as it dovetails both walnut and fruitwood together for a stylish look.
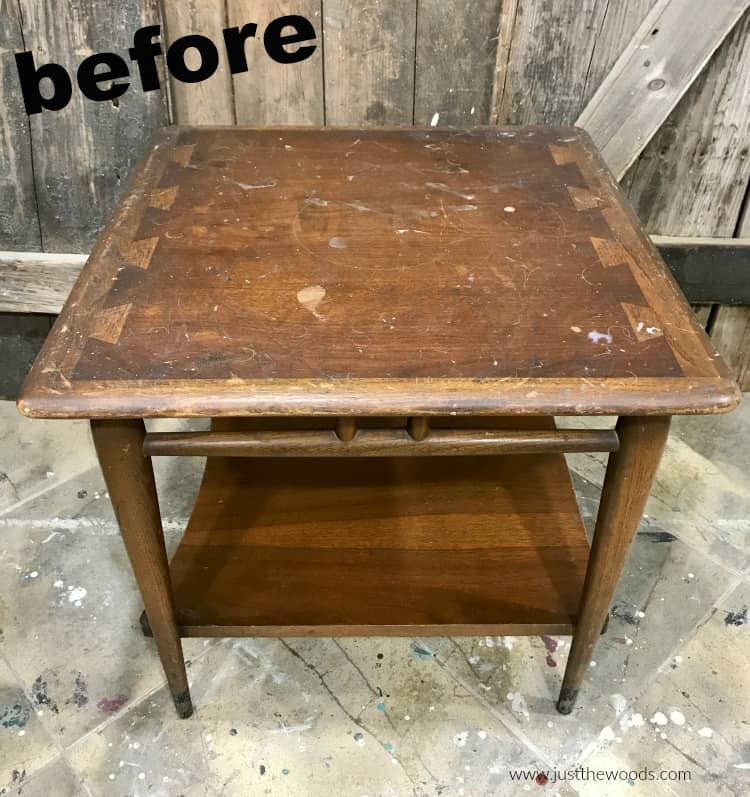
As you can see, this particular Lane table has seen better days and surely needs some work.
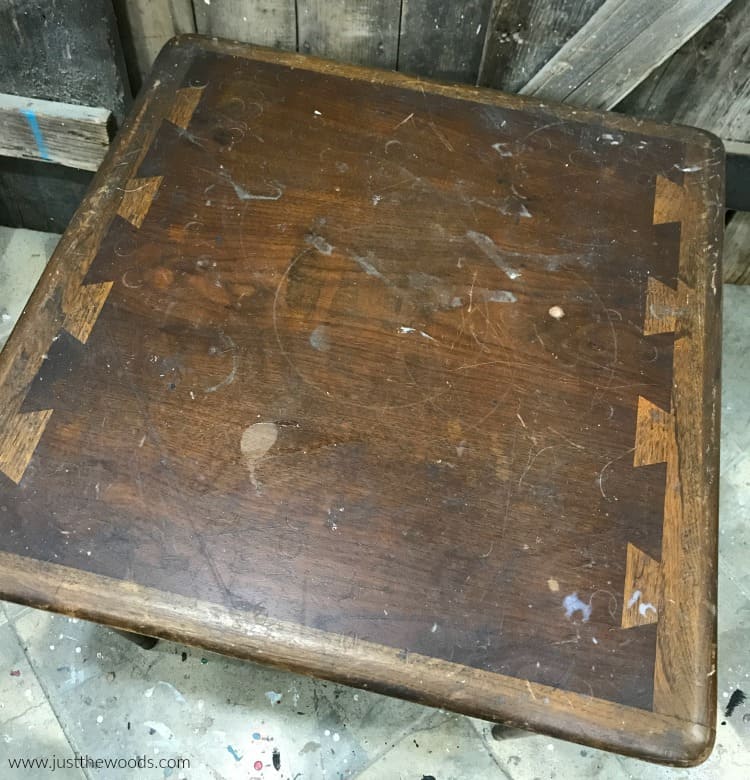
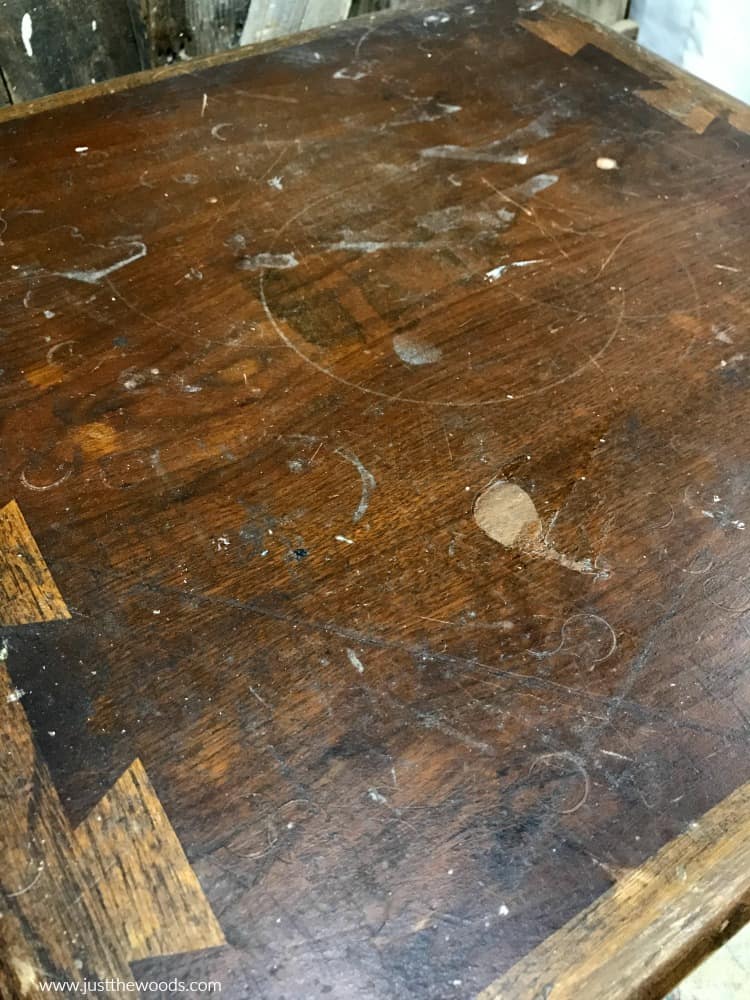
This table has some stains, scratches and damage on the top. But the rest of the wood table is in pretty decent condition.
How to Refinish Furniture without Stripping
Not sure how to refinish furniture without stripping? Well, I think you always have 2 options when it comes to refinishing wood furniture:
- strip
- sand
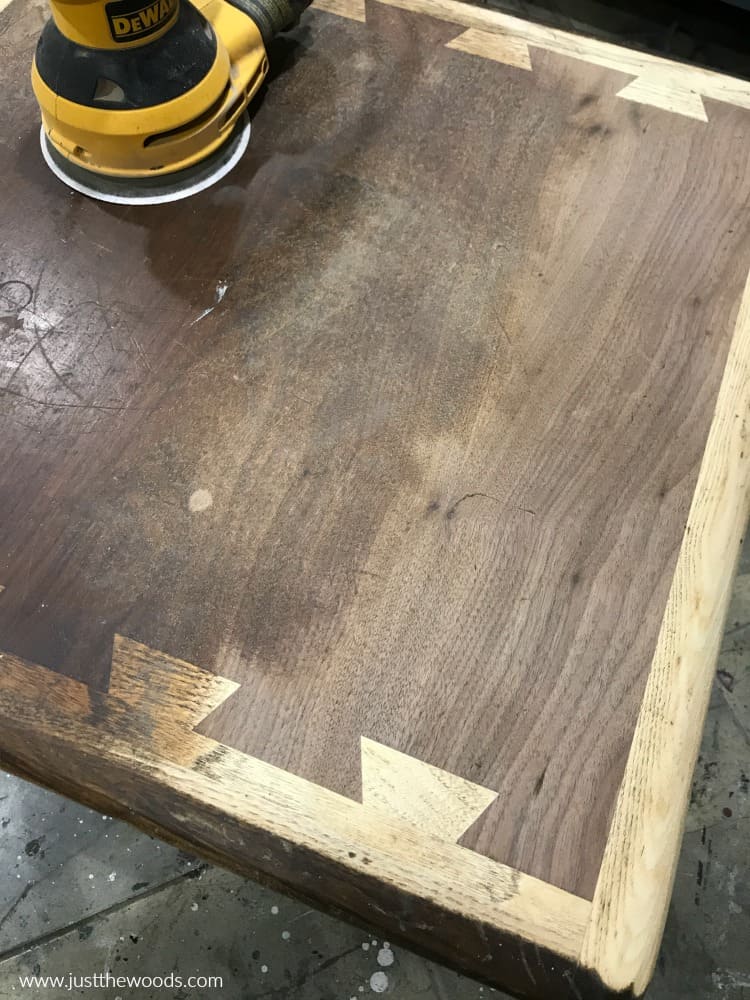
You basically will need to do one or the other. Im sure there are exceptions to the rule, but in general you will choose one or the other. I prefer to sand. I am using my trusty orbital sander to sand the tabletop down to bare wood. This will smooth out the scratches and reveal the true wood grain pattern underneath. I share how to sand wood furniture indoors in my Tips for Painting Furniture post as well as in the video for this project below.
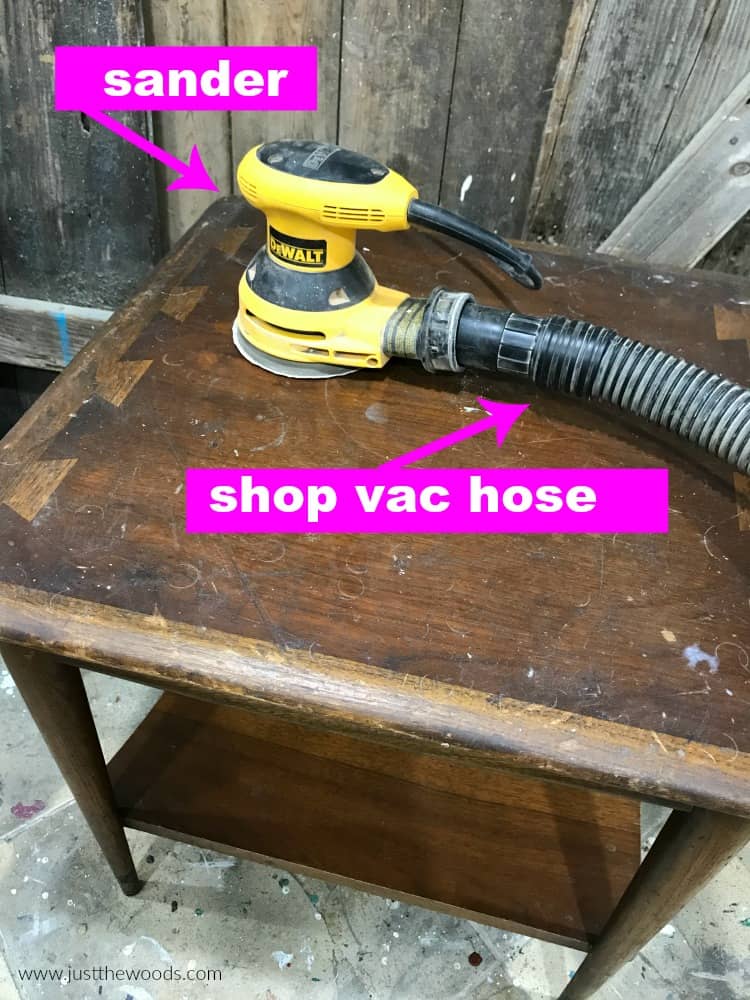
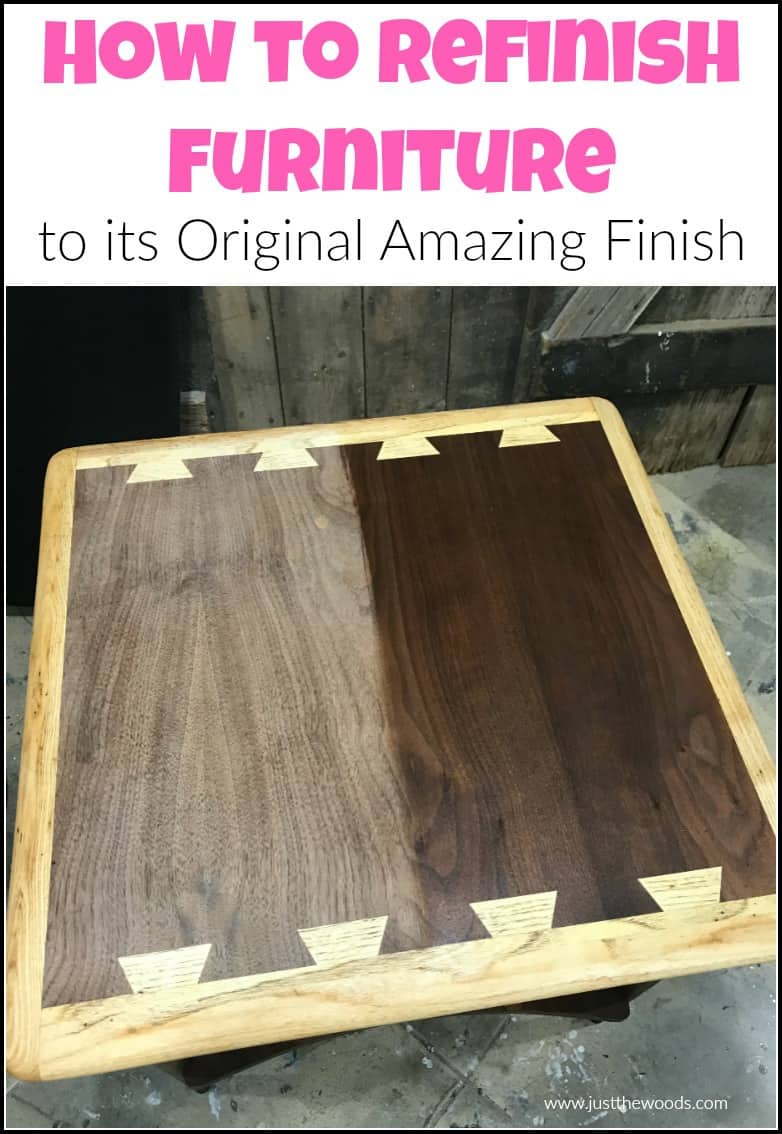
You can see here how much of a difference sanding makes on this table refinish as we sand away the dirt and damage.
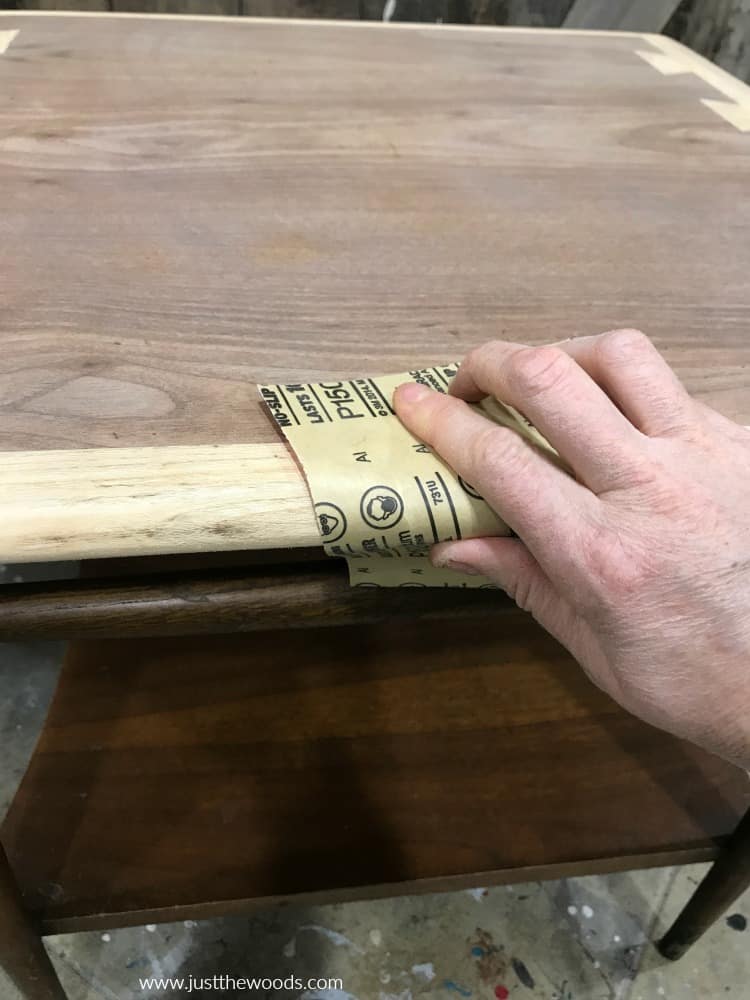
Make sure to sand the rounded sides of the table top as well. You will probably need paper sandpaper for this step. I am using 150 grit.
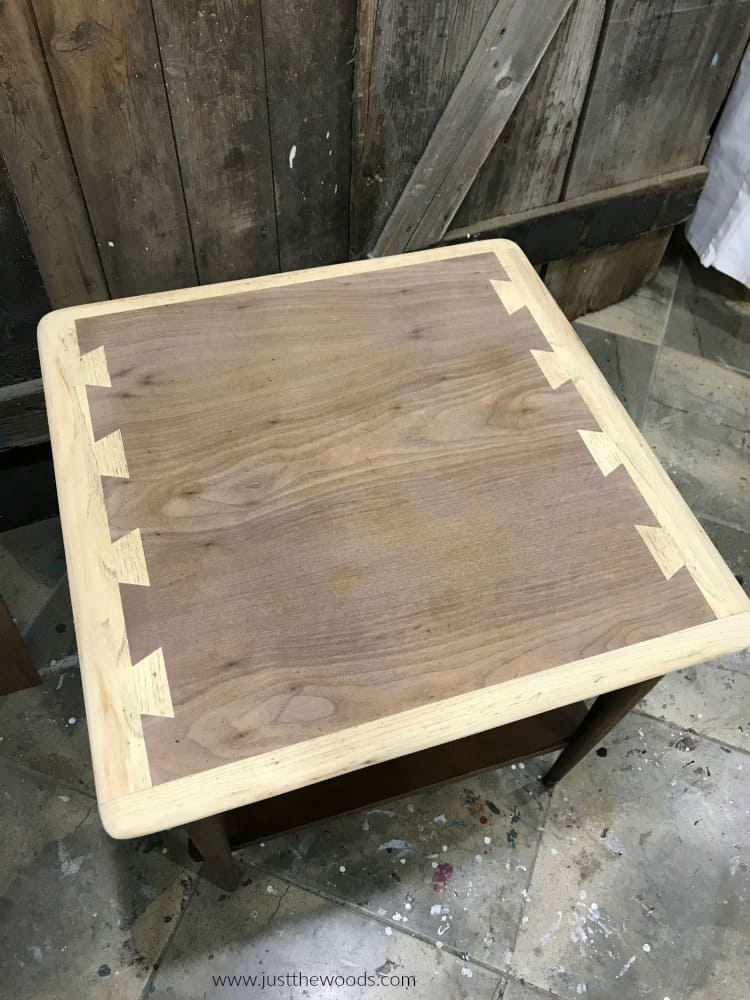
Once you finish sanding the table top we are on our way in this furniture restoration makeover. The top already looks much better.
How to Sand Wood Furniture
Next, we will flip the table over and work on the rest. Make sure to lay the table on something clean like a cloth or old shirt so you don’t re-dirty the table top that we just sanded. When you are refinishing a table you need to make sure to sand the entire surface. I like to start with the legs and work my way around. Start with a rough grit and then follow up with a finer grit to smooth it out. The bottom portion of the legs on this table are actually black.
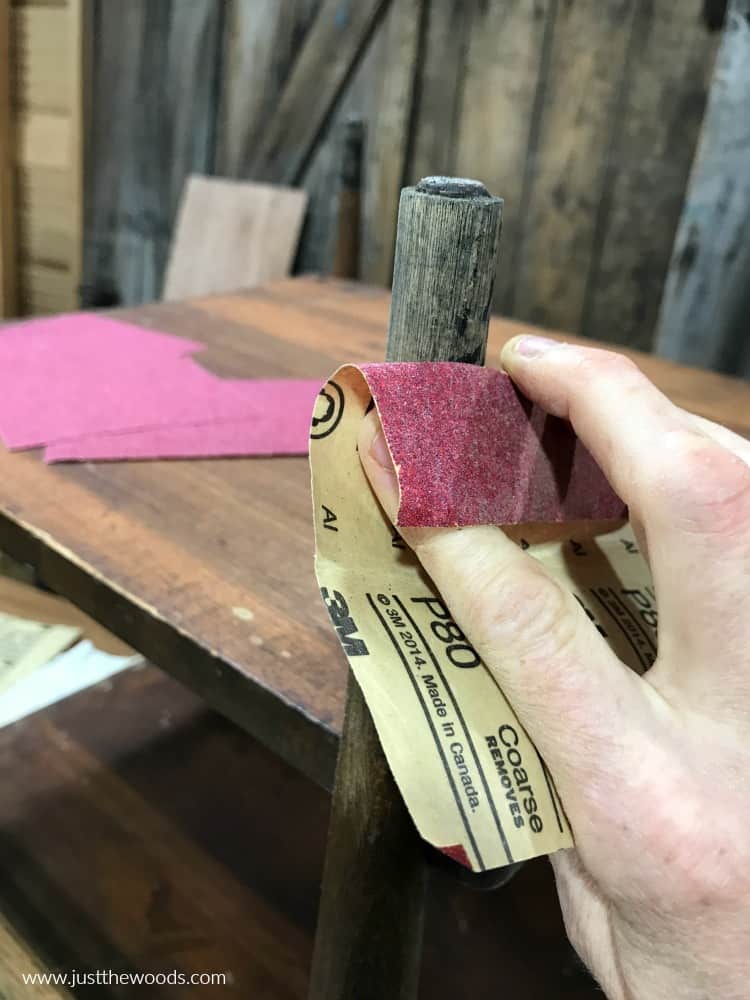
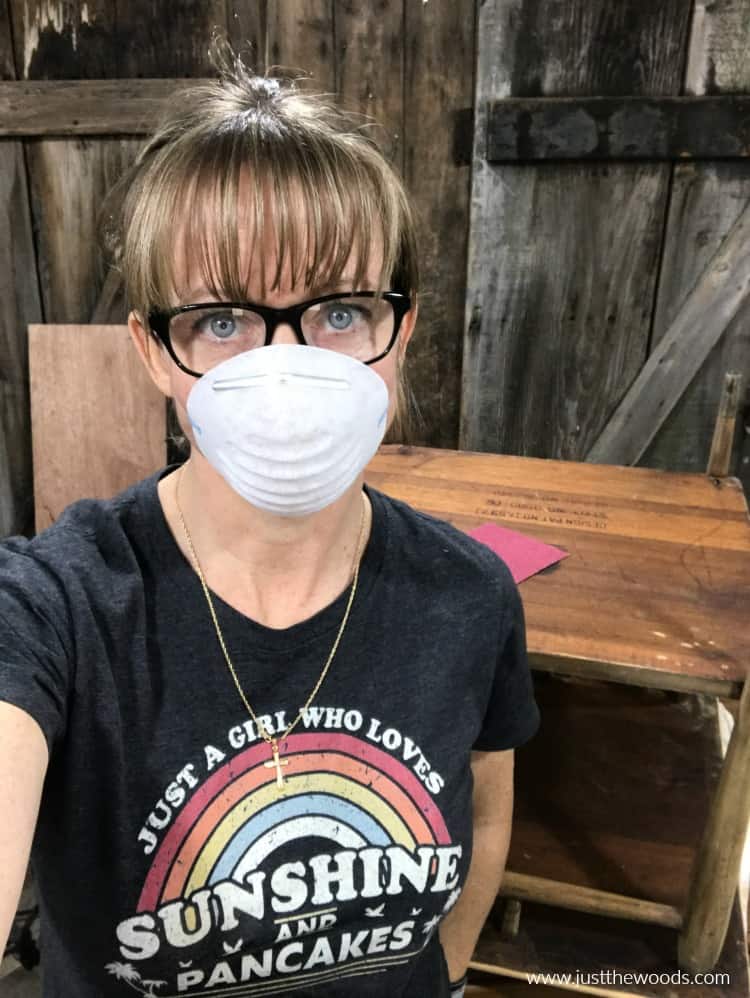
Go ahead and sand then surface of the rest of that table. Make sure to use some sort of protection so you don’t breathe in the sanding dust. You can get paper masks like this online here: paper mask, or even a better respiratory mask here: mask. (With the current coronavirus situation mask sales are a bit insane online right now)
When you finish sanding the wood table, you can use a shop vac to suck up the majority of the dust.
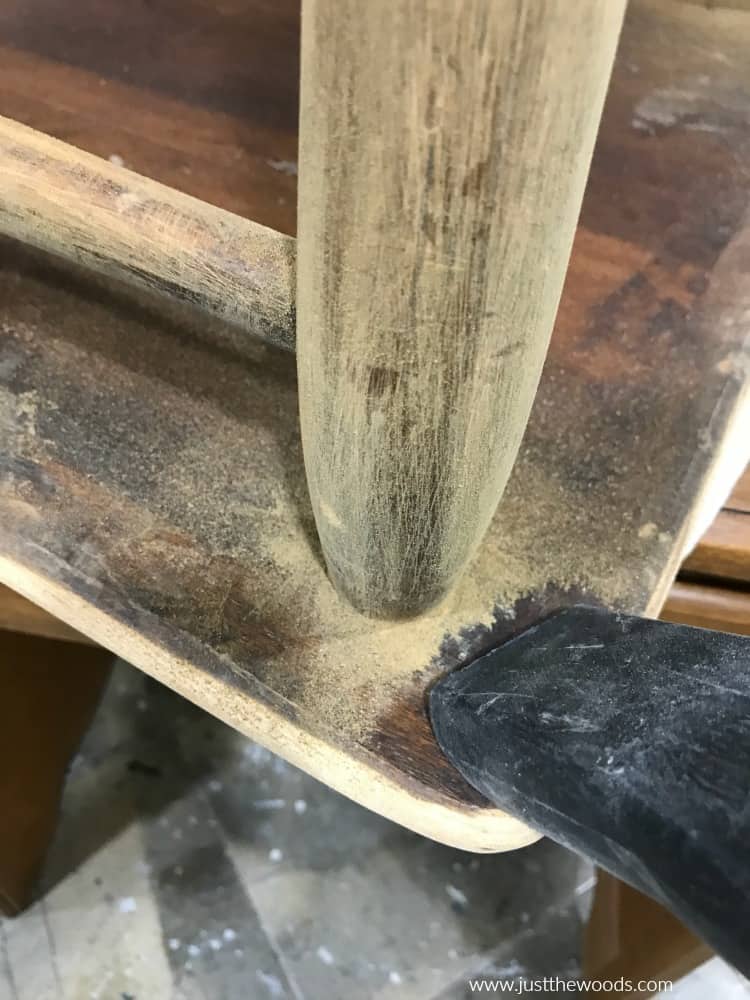
Refinishing a Table: cleaning
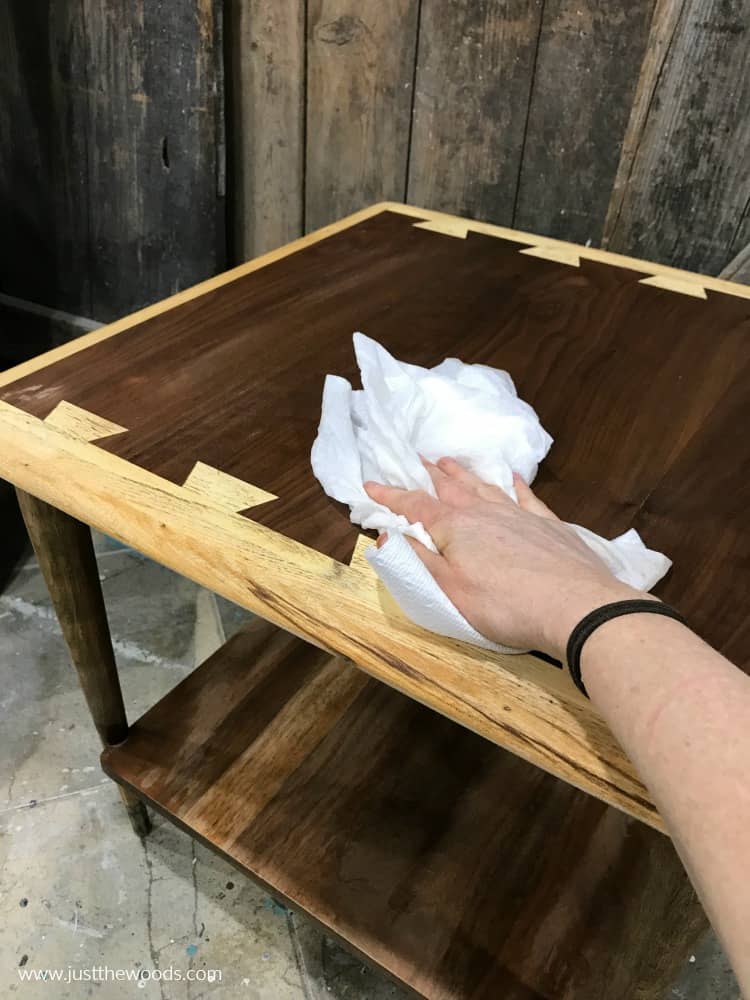
Now that our table is sanded we can move on to cleaning. We still need to remove the remaining dust and dirt from the table. Grab a scrubby sponge and a simple solution of water, white vinegar and a drop of dish soap. Clean the entire surface of the table.
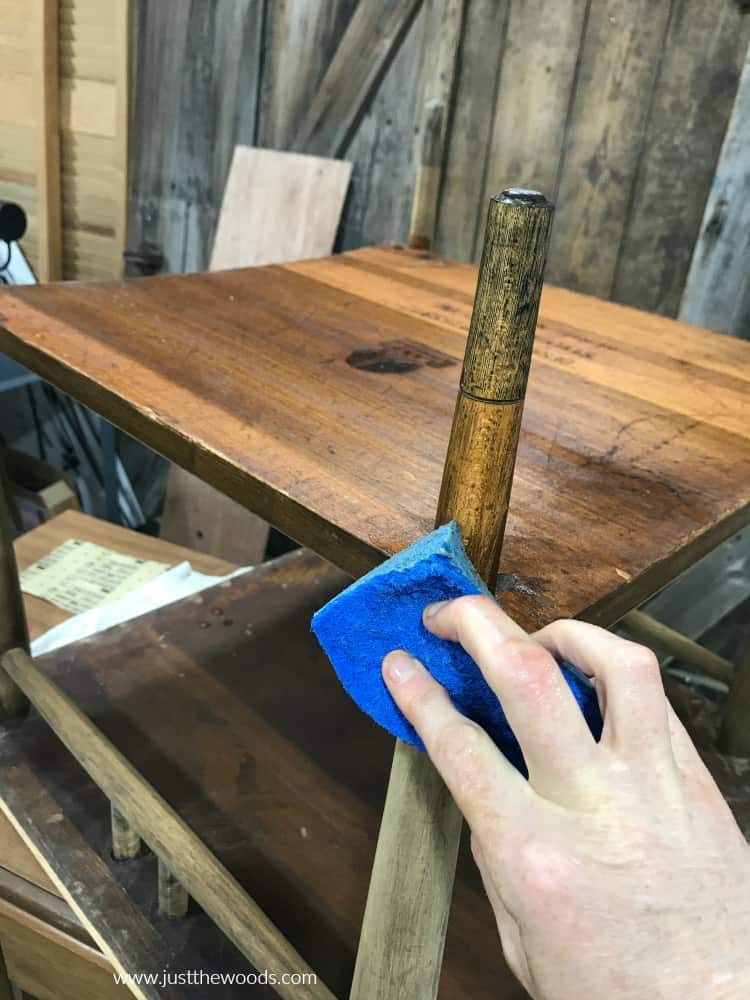
Follow up with a clean damp cloth.
Paint
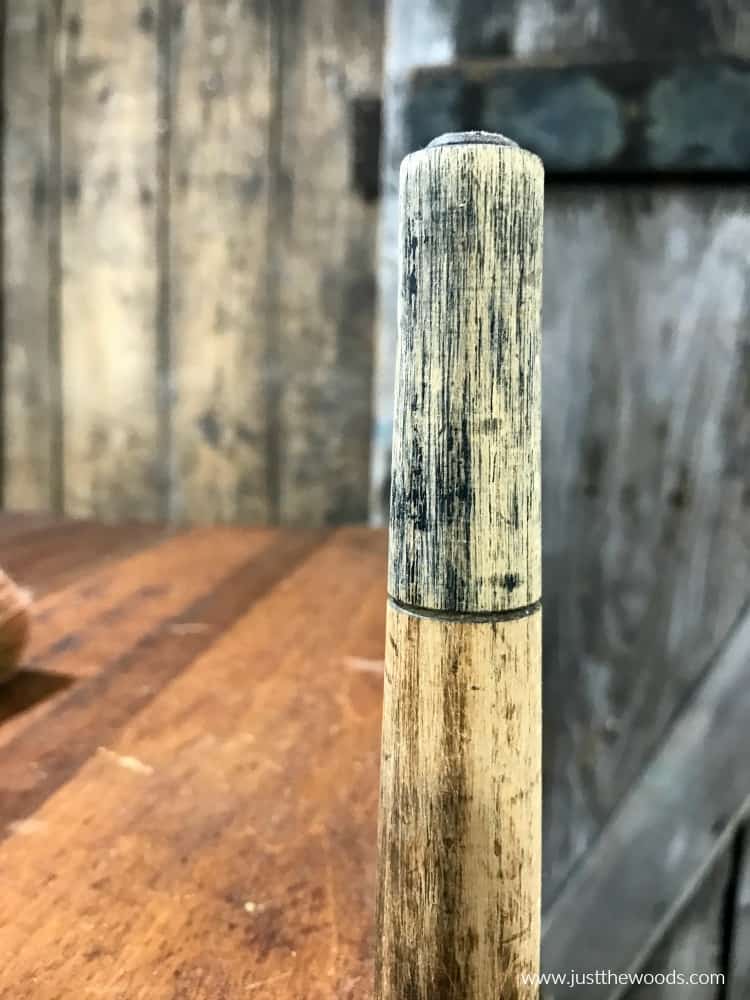
Since we are restoring this Lane table as close to its original as possible we will be painting the small portions at the bottom of the feet back to black. You can see where the black paint was and where it stops.
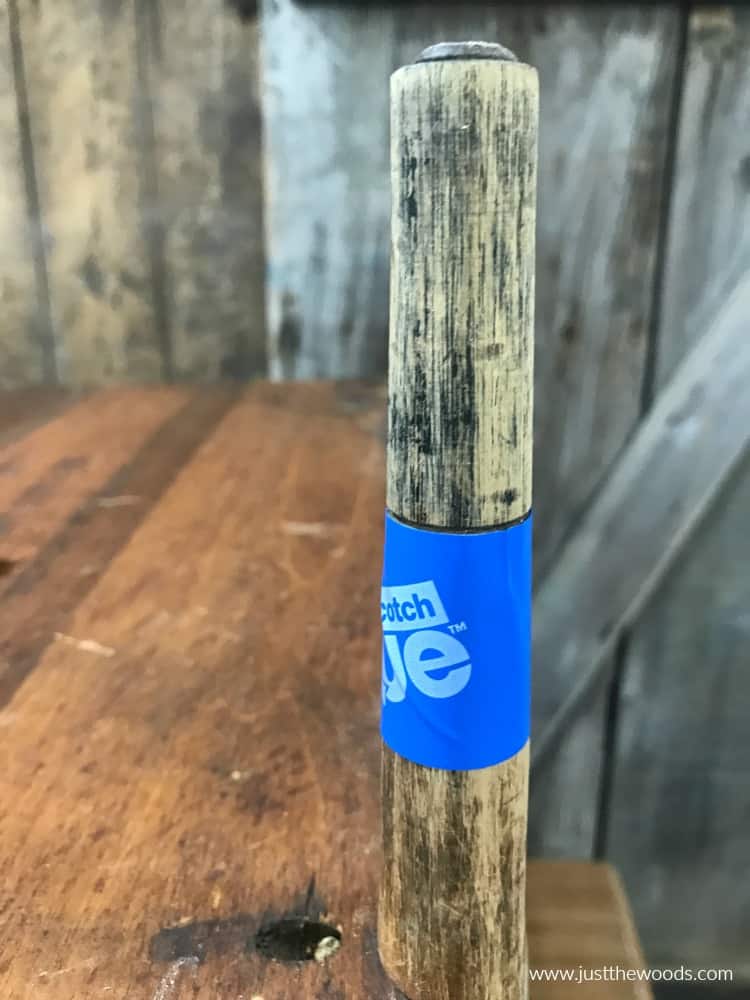
To keep a clean crisp line go ahead and tape off the area where we will paint. I am using my favorite painters tape found here: tape.
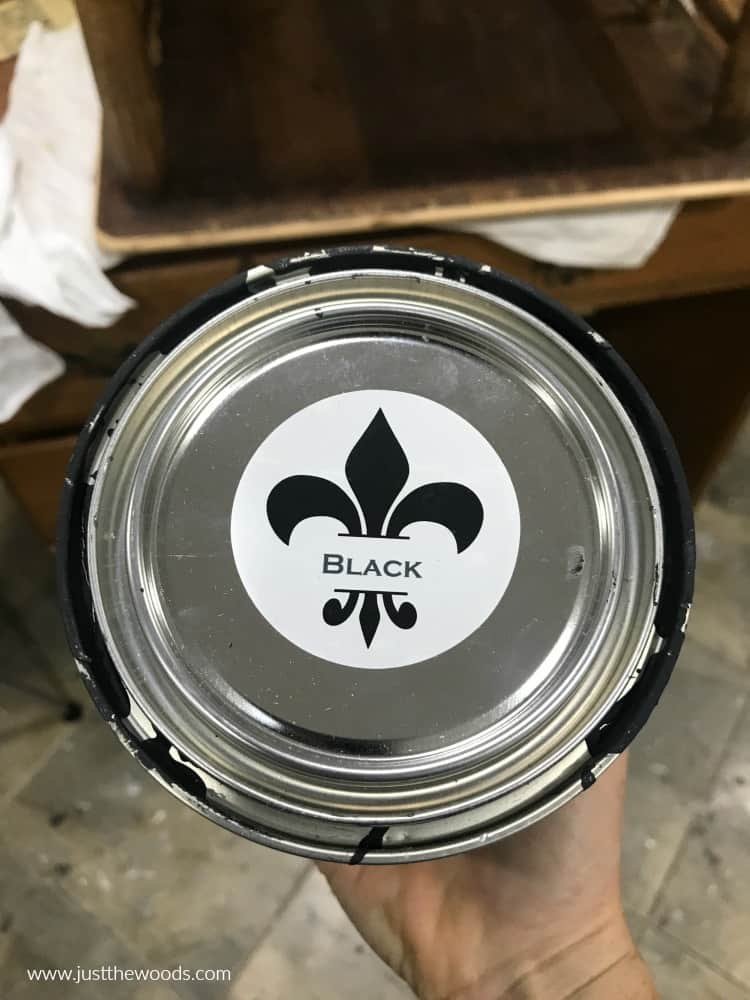
For the paint portion of this table refinish project we are using Black paint from Wise Owl. You can find this furniture paint color as well as many others online here: Paint.
Next, grab your favorite brush and make sure it’s clean. I often like to swap back and forth between Cling Ons and Zibra brushes. They both have soft bristles, are easy to work with and clean up well. (I abuse my brushes) To be honest, I like them both. Zibra brushes are a bit more affordable and can be ordered online (HERE). Cling Ons are always awesome and can be ordered online (HERE).
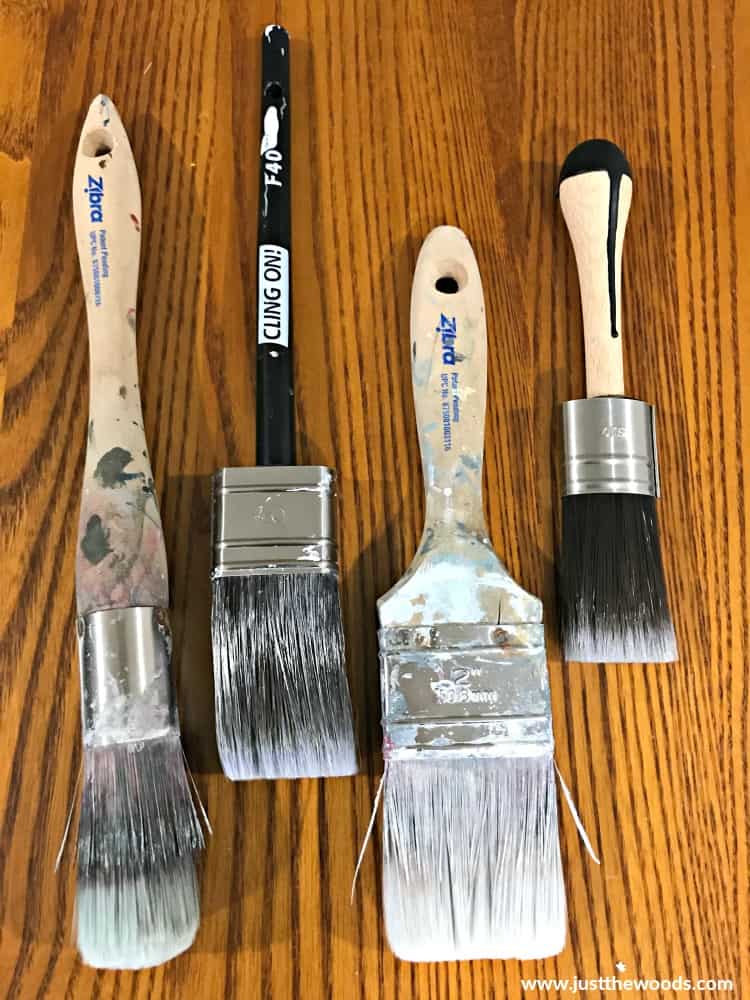
I’m using my mini Cling on brush.
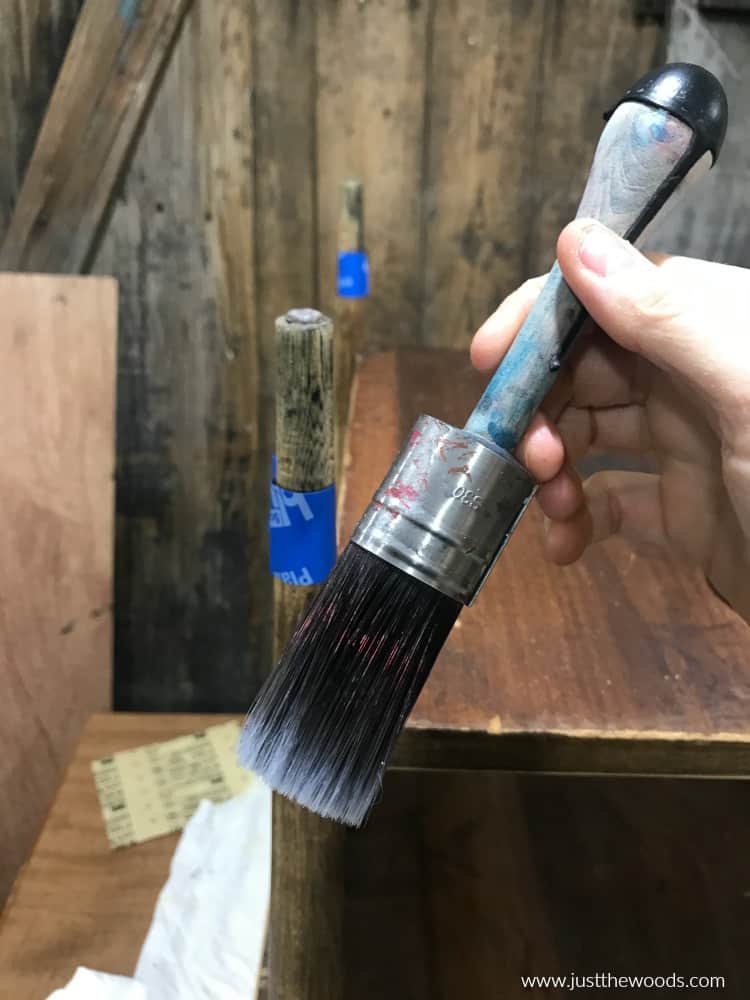
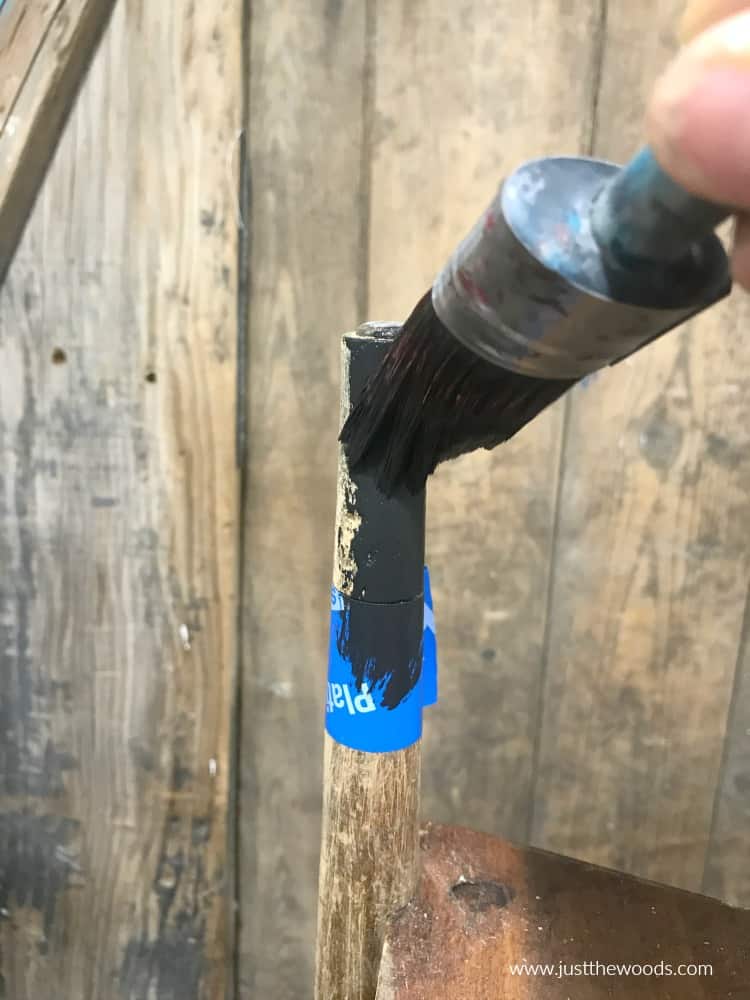
Carefully apply the paint to the small areas of the taped off table legs.
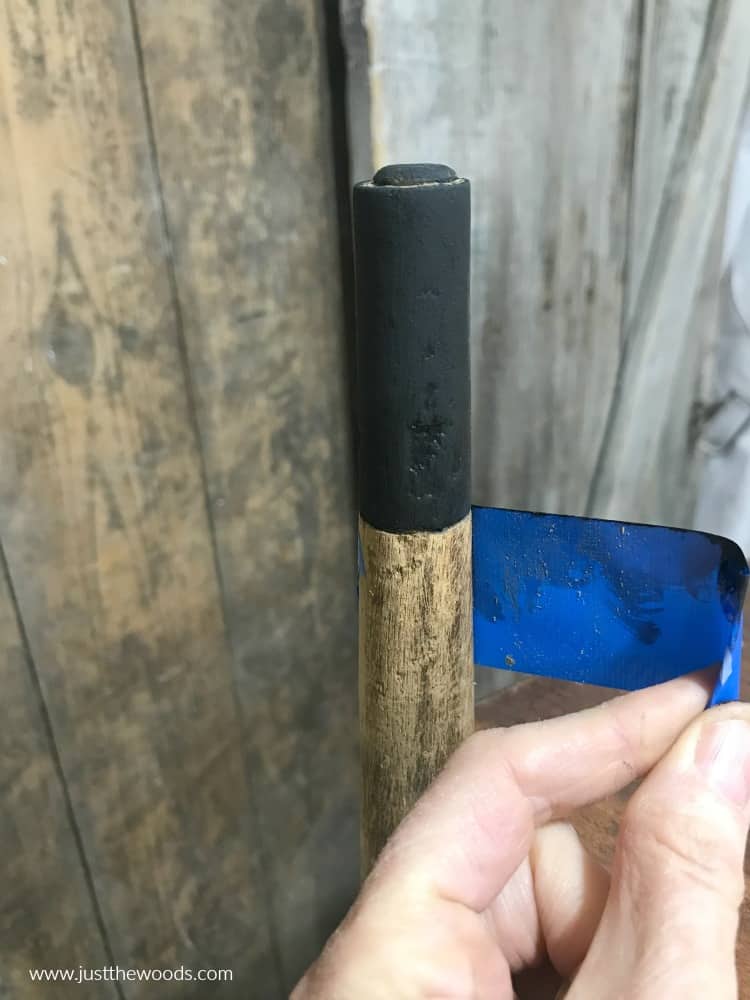
After two coats of paint go ahead and remove the tape.
How to Refinish Furniture : Wood Restoration
Furniture restoration products:
To restore this wood table we are going to use furniture salve from Wise Owl. The furniture salve conditions, seals and protects your wood. But unlike wax, it does not harden. Instead, it leaves a softer and heavenly smelling result. Wise Owls furniture salve is made with hemp seed oil, natural waxes, natural essential oils, including bergamot, lavender, mandarin, thyme, ginger, and lemon. Plus other awesome natural goodness that adds to the strength and superpowers of the salve. You can order the salve online either directly from Wise Owl or HERE
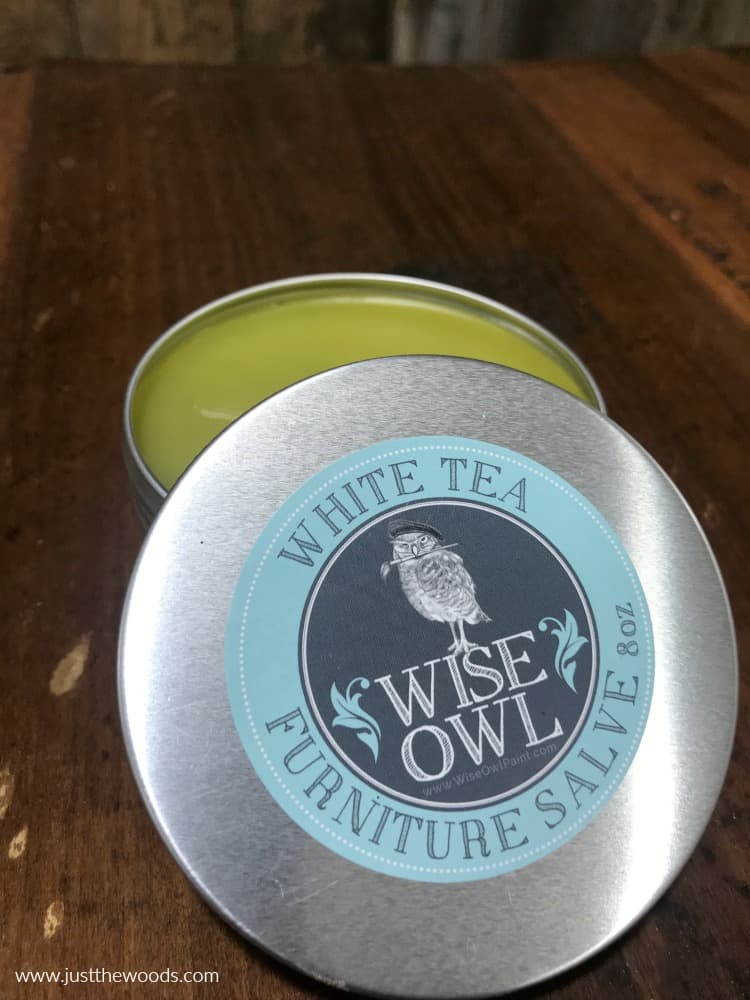
Restoring Wood Furniture
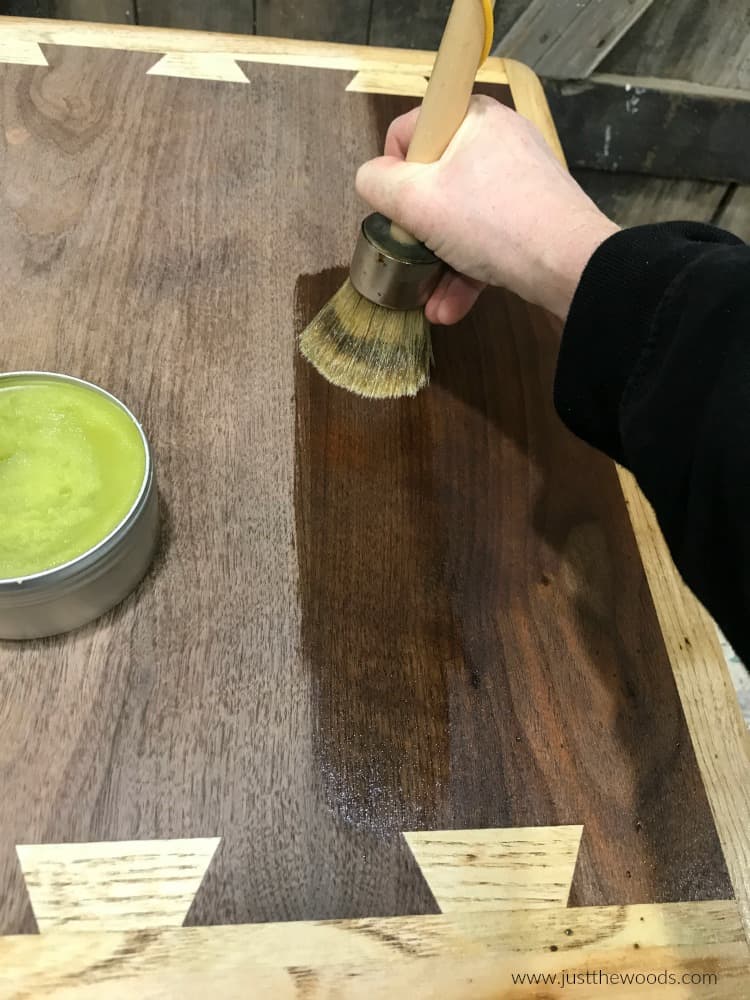
When it comes to applying the salve I make sure to not use the same brush that I would use with paint. So make sure to use a brush dedicated just to this type of application. Im using a wax type brush. You can find this kind of brush (here).
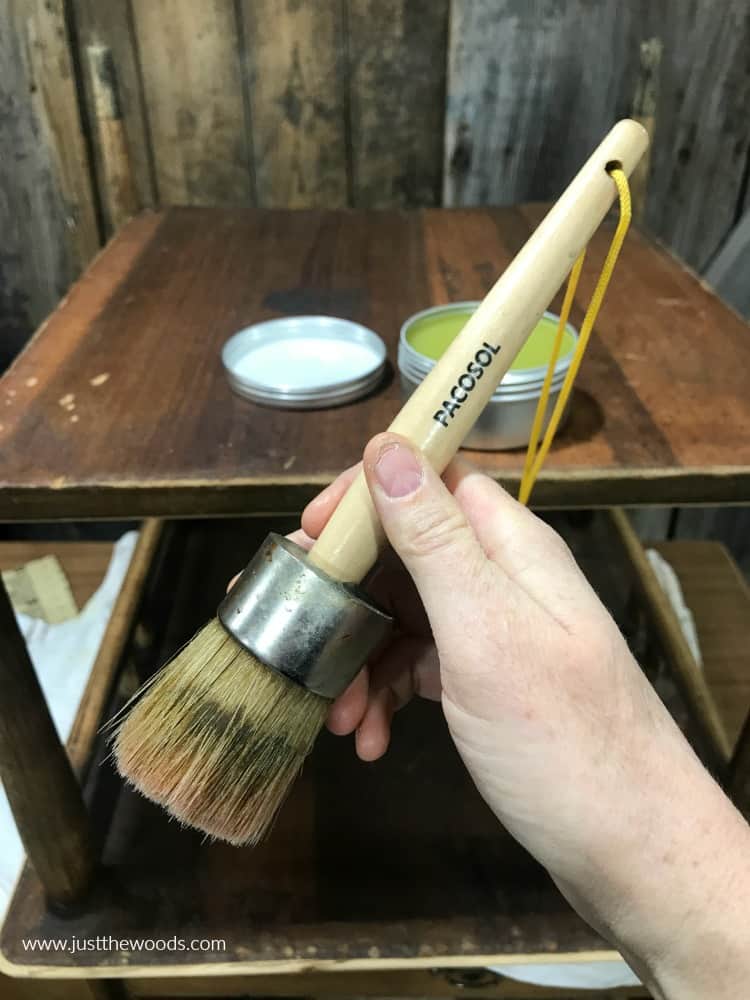
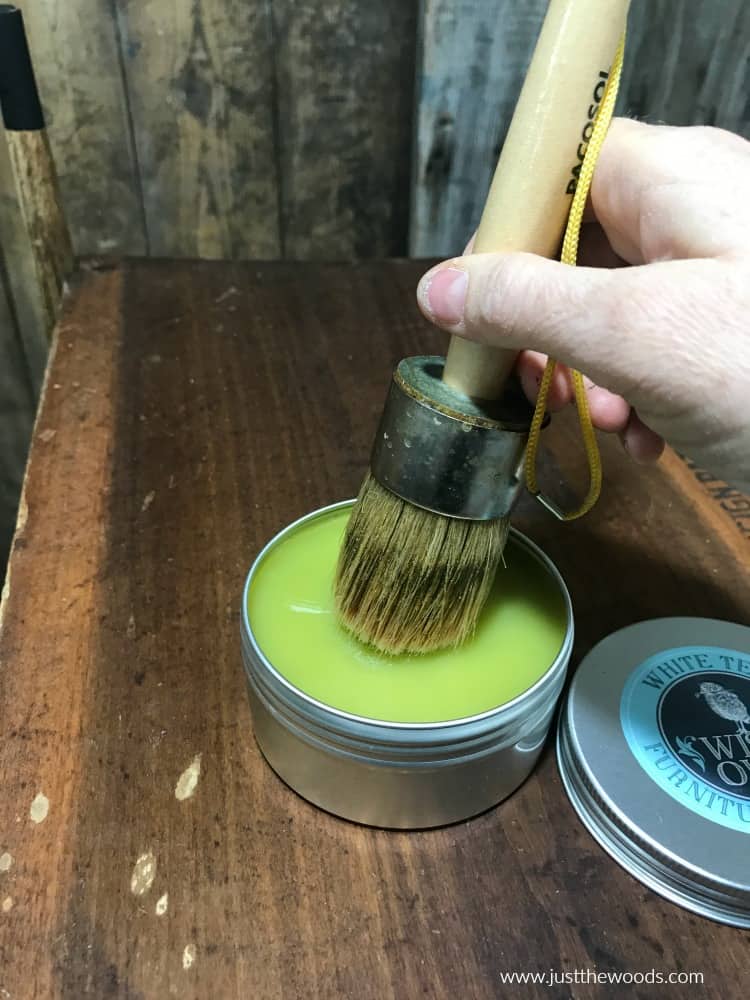
Dab your brush into the salve just enough to get some on the brush tips. You do not need a lot. A little goes a long way.
Apply the salve over the entire surface of the table, including the painted portions on the legs.
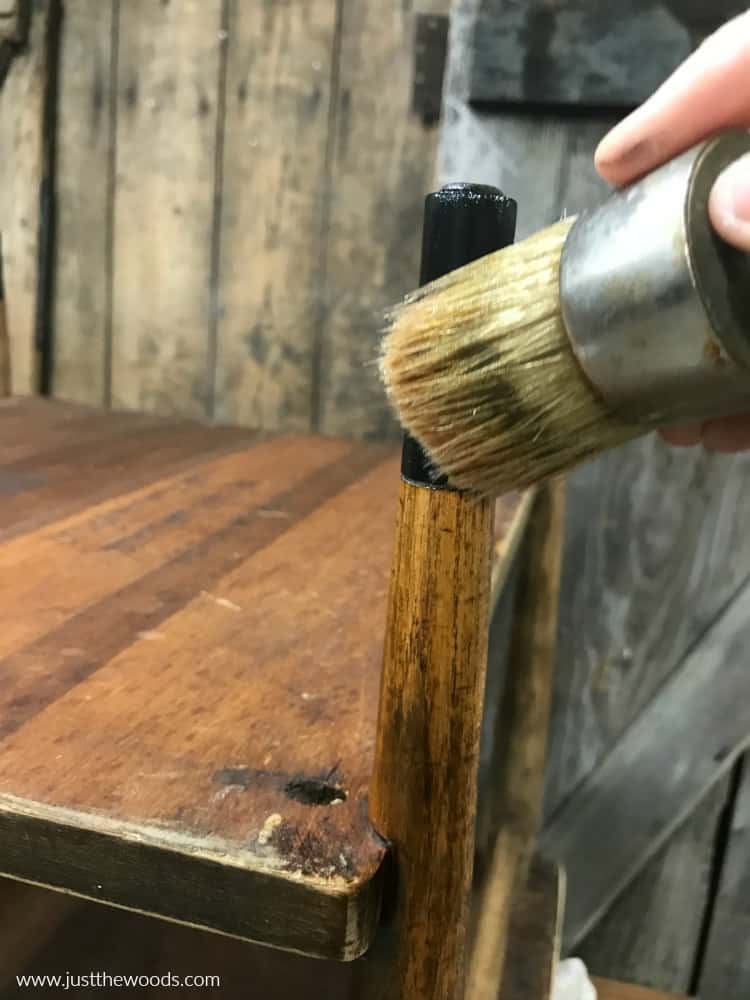
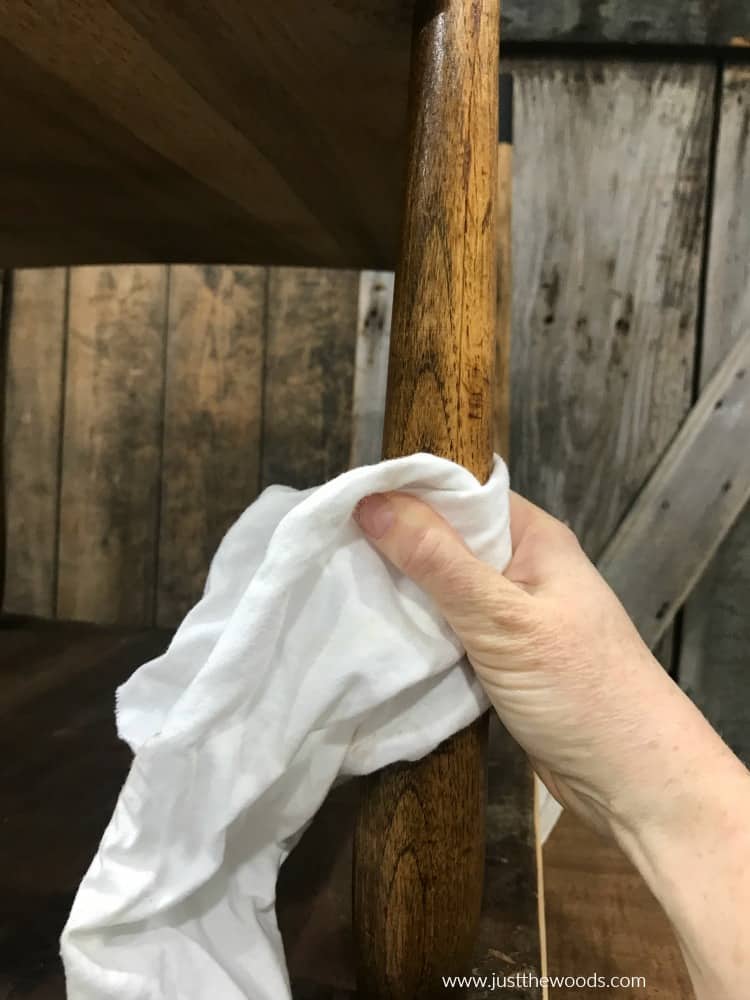
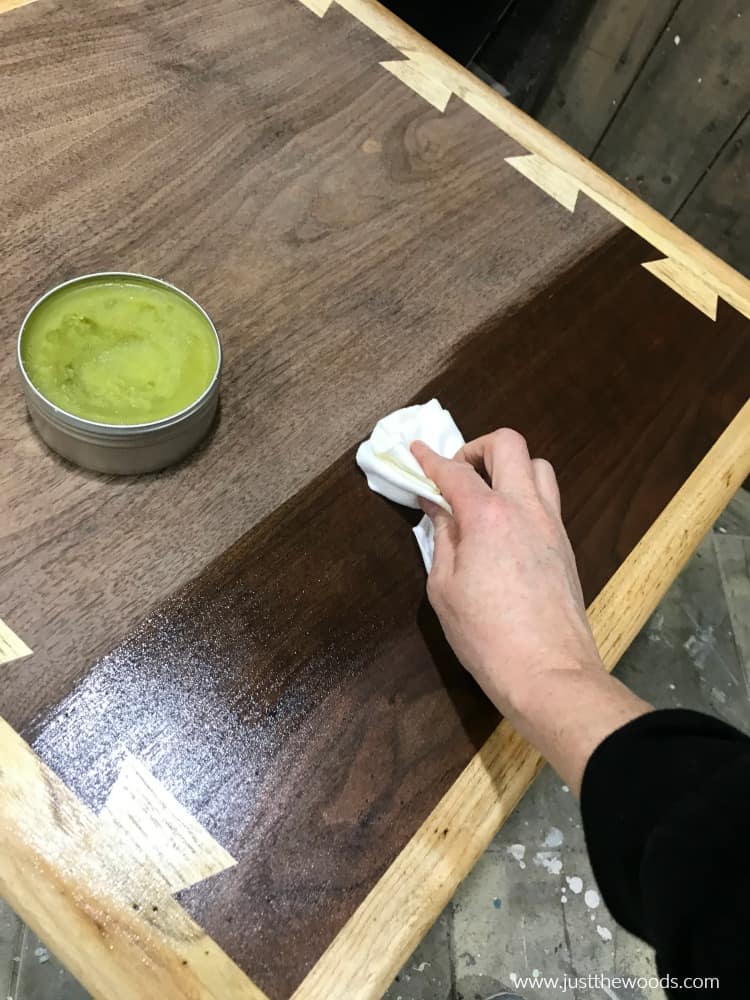
Then use a clean dry cloth or old T-shirt to buff the salve. Basically, rub the salve in and wipe away any excess with the cloth.
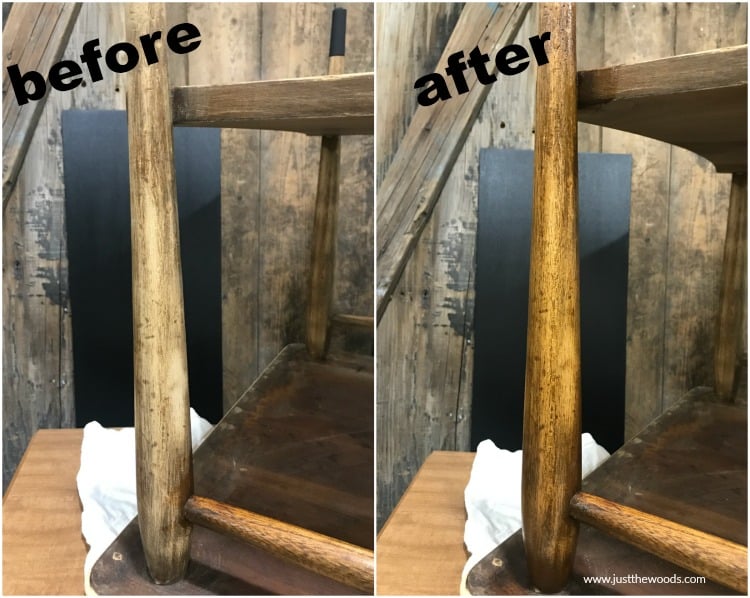
Here you can see the side by side of the table leg before and after salve application.
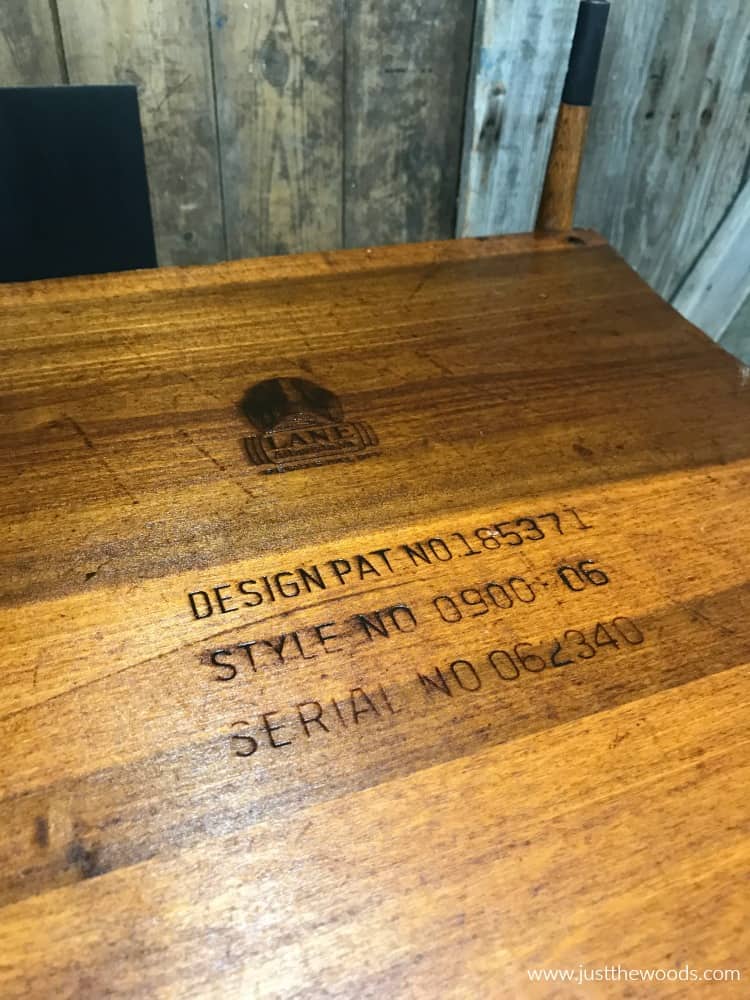
You can also see how freshened up the underside of the table looks after applying the salve. By the serial number located underneath the table top this table was made in 1960 and according to its serial number it is the Lane Acclaim lamp table.
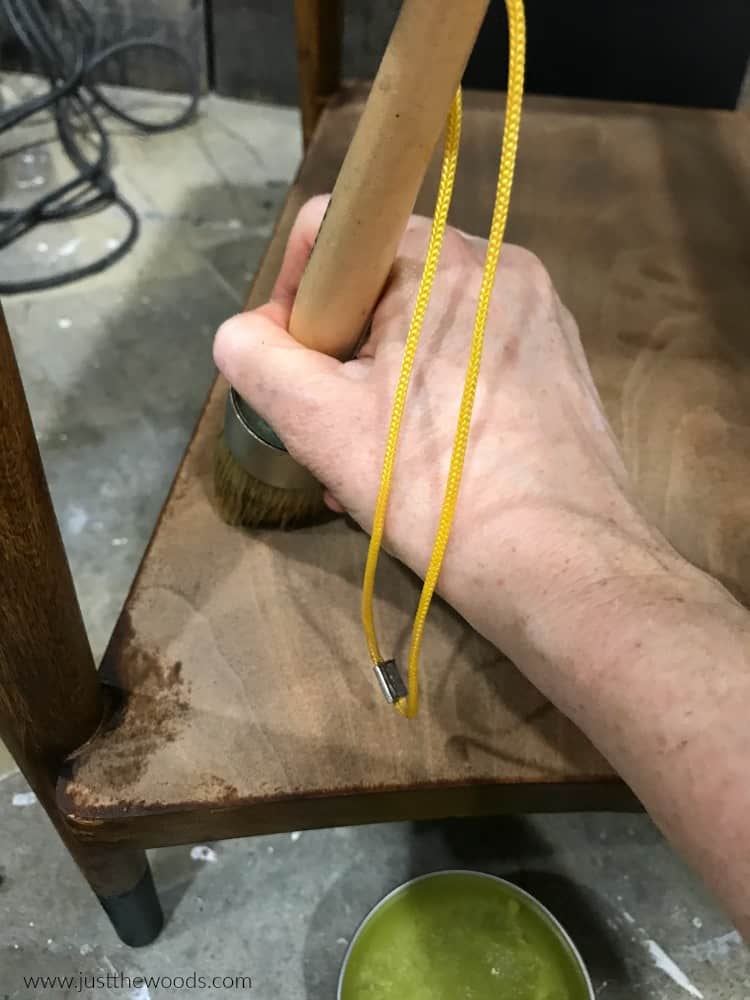
Moving down to the lower shelf area go ahead and apply the salve with your brush. Make sure to work in the same direction as the grain.
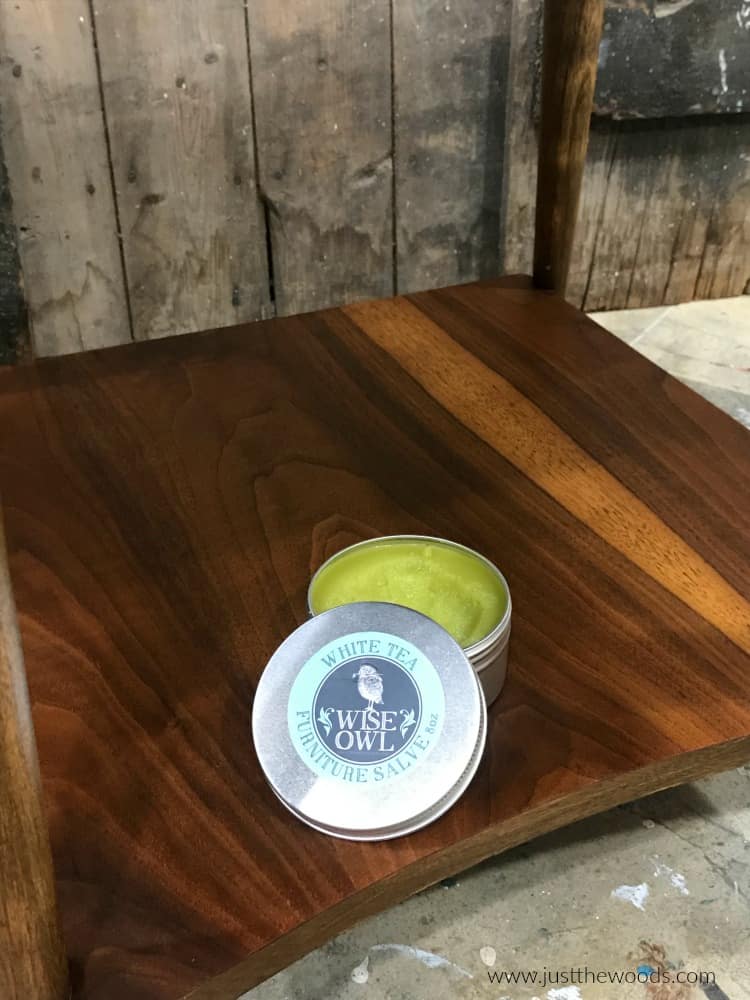
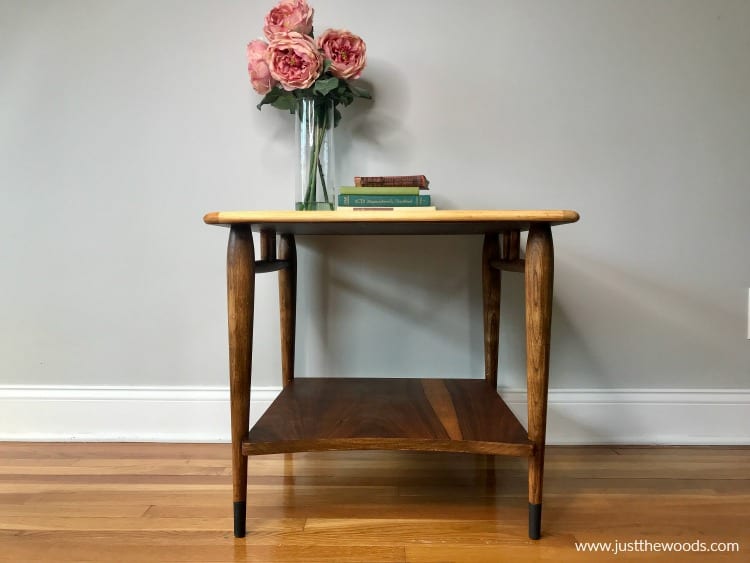
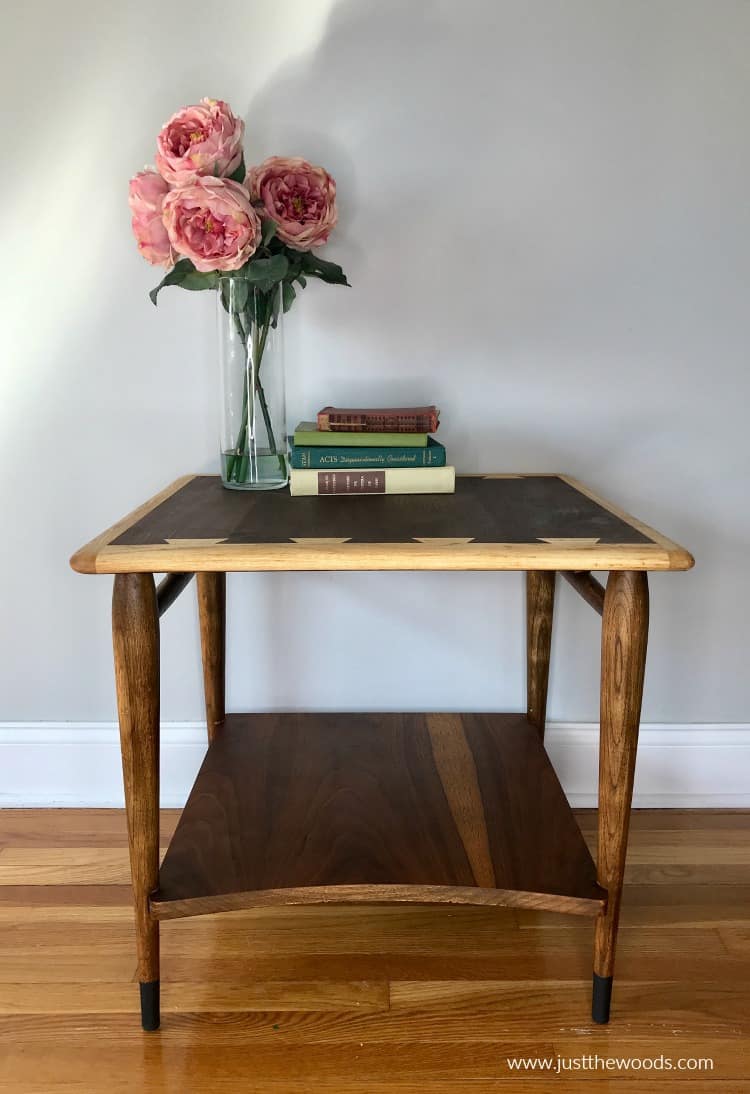
You really see the wood come alive during this wood restoration and refinish process.
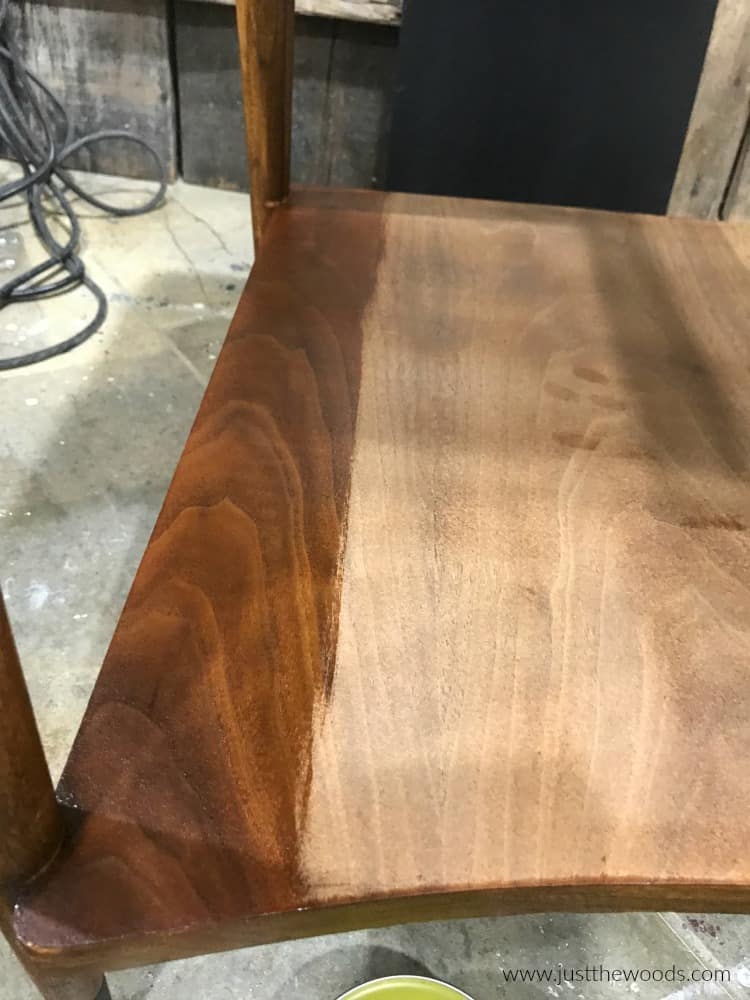
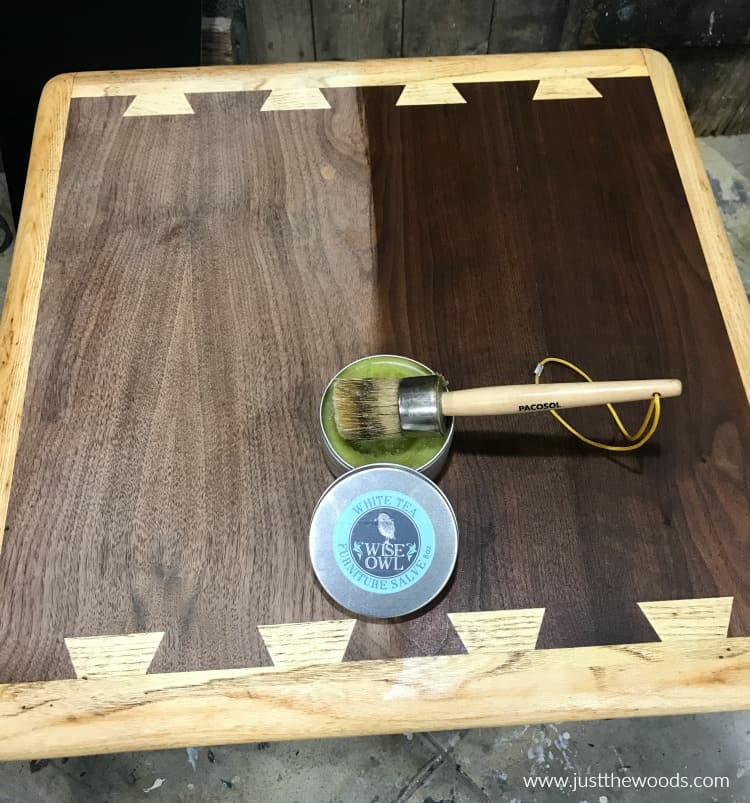
Here is a side by side where the left side has salve applied and the right side isn’t done yet. It’s like night and day!
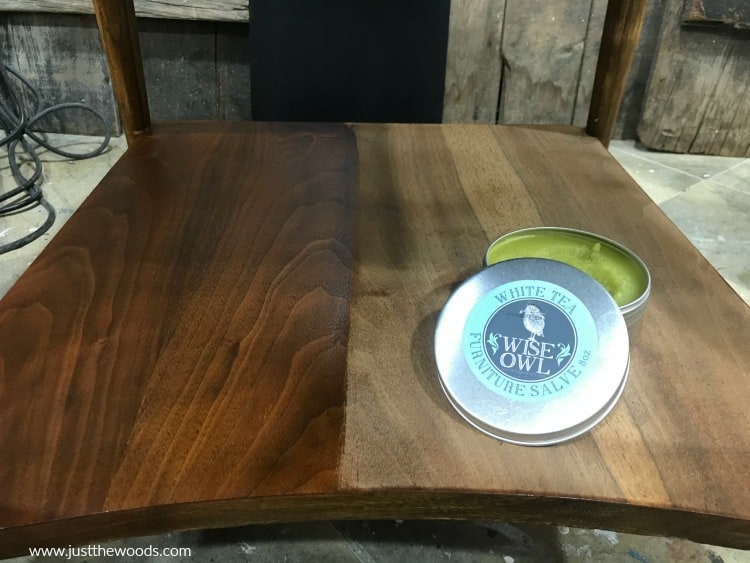
Keep in mind there are other scents besides white tea, so you do have other options as far as scent. Of all furniture refinishing products I love being able to use something natural that is designed to deodorize, restore, protect, beautify, rejuvenate furniture and more. You will appreciate it’s softer than butter texture for easy application.
How to Refinish a Table Top
On to that gorgeous table top. Since we flipped the table over to work on the underside lets give it a quick once over with a fine grit piece of sandpaper just for good measure.
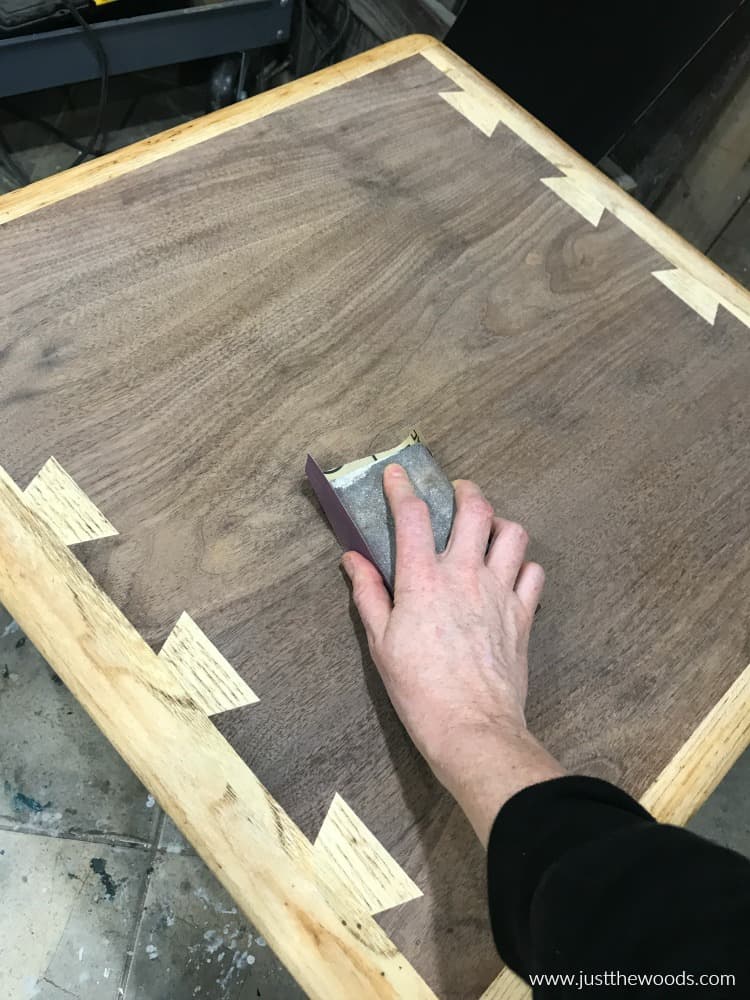
Follow up with a clean lint free cloth.
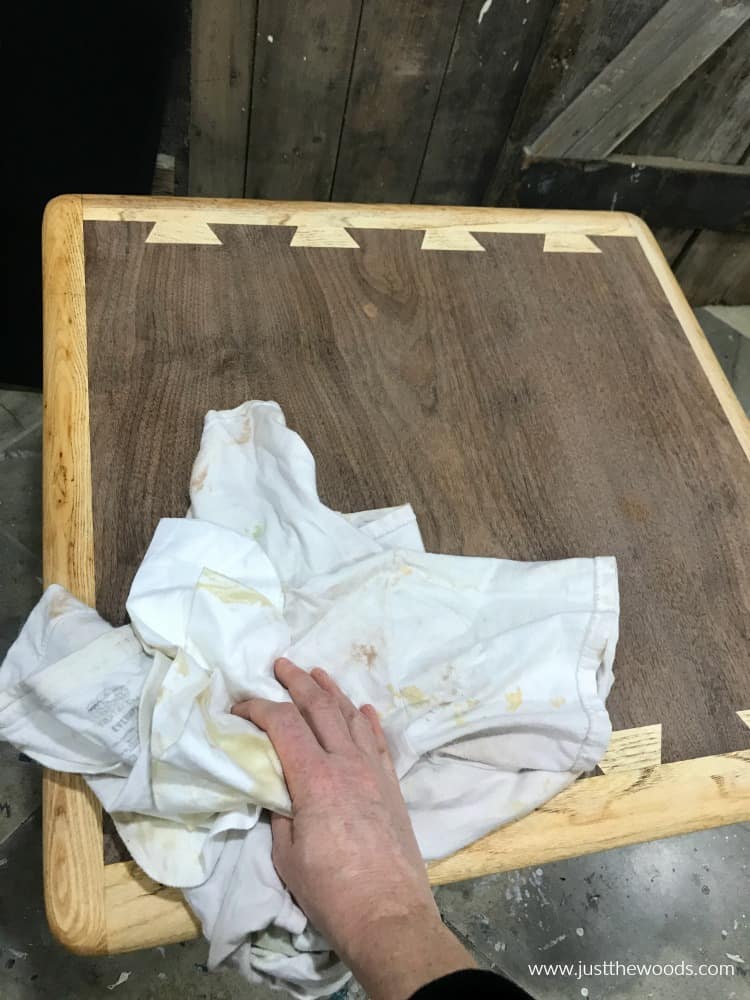
Now we can start applying the salve to the table top. Just like before, when refinishing wood furniture make sure to work with the grain.
Make sure to buff (wipe) the salve into the wood with a clean cloth as you apply.
Again, you can see the difference as the salve is applied. The color of the wood is deepened as it is restored.
Video Tutorial
Prefer video? You can follow the project via video here. If you are unable to see the video you may need to turn off ‘ad-blockers’ on your site. The video may also autoplay within the tutorial post.
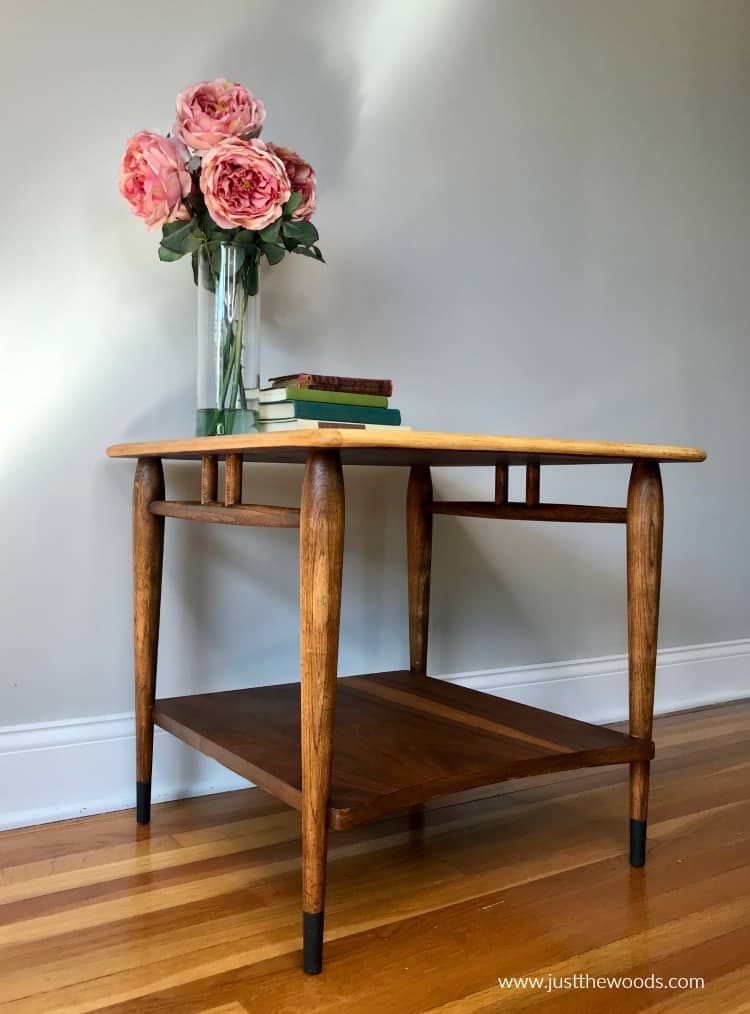
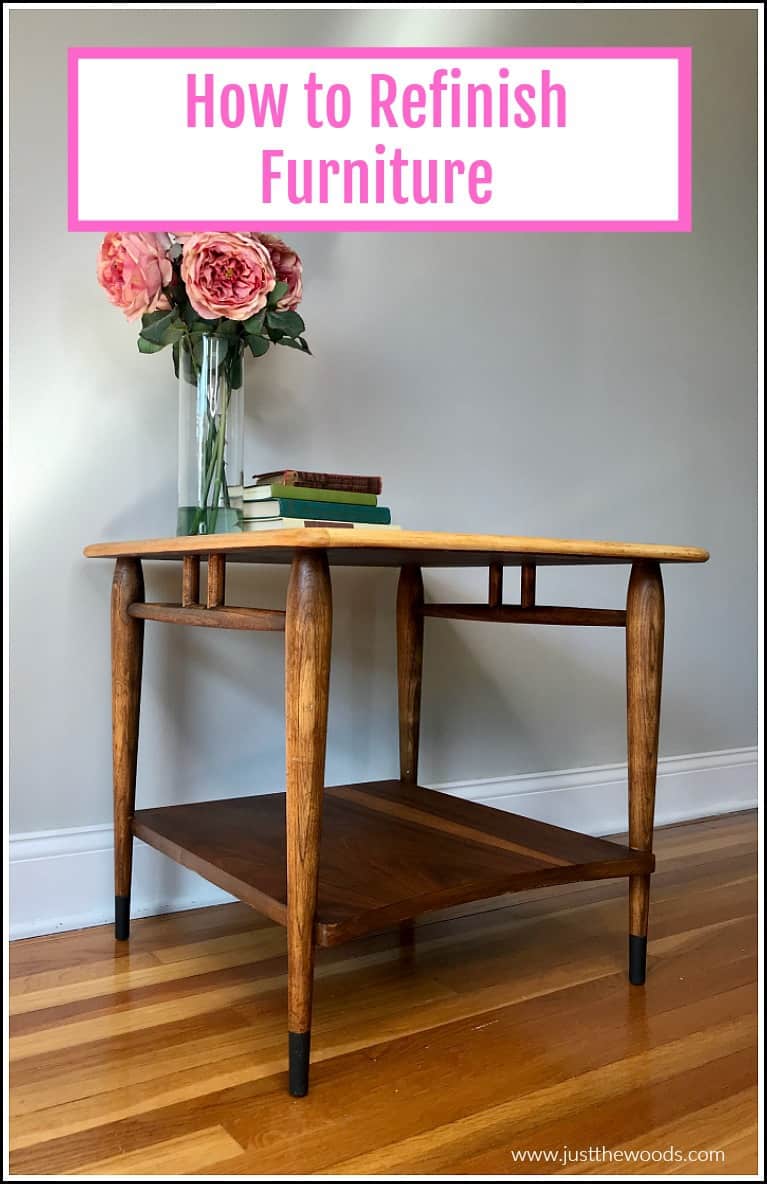
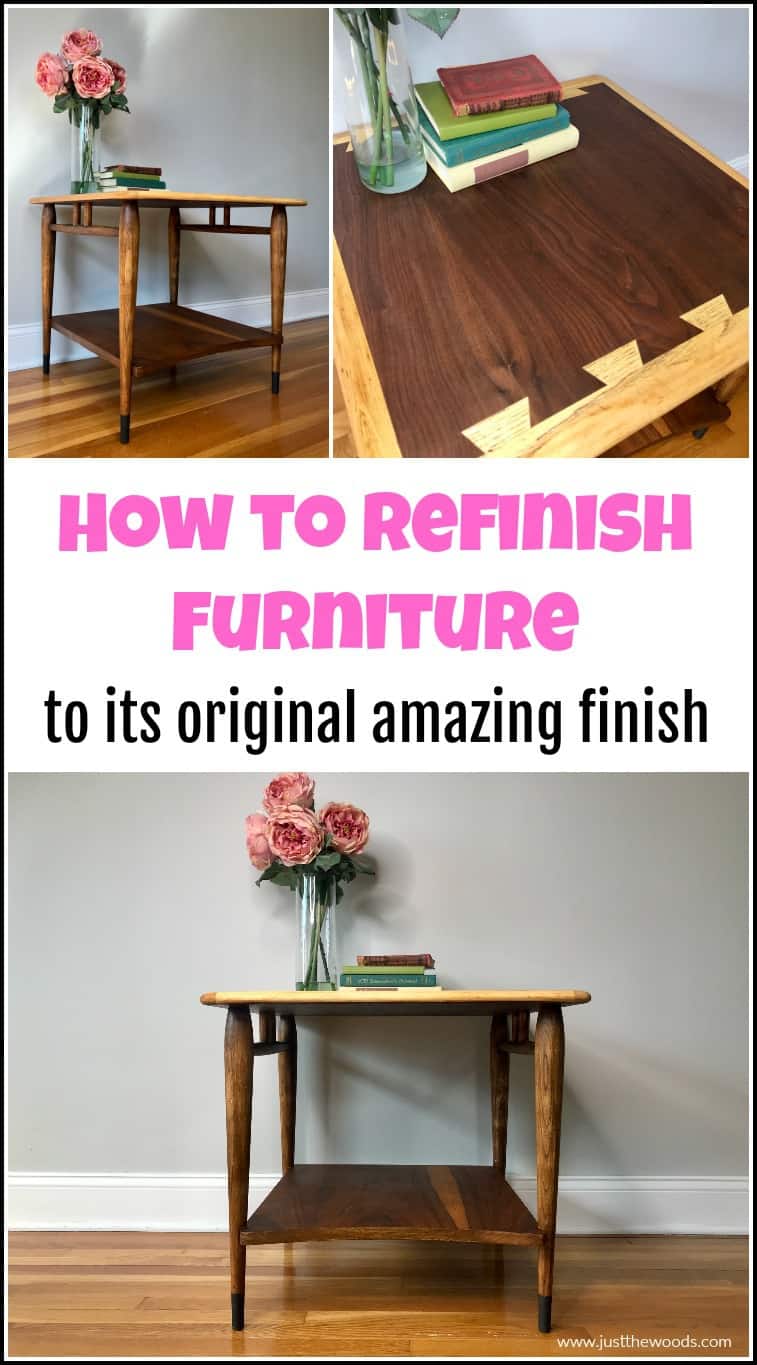
Refinish Furniture Lane Table Makeover
Most of my makeovers are donated. They are usually given to our church, a local school, animal rescue or charity to help with their fundraising efforts. But the fate of this Lane Acclaim table is still undecided since my husband decided that he wants to keep it. I can’t say that I blame him. Click here to see all of my projects that have been donated to support local fundraisers, schools, and charities: Donation Projects.
Check out all of my furniture projects with over 90 painted furniture makeovers: Stunning painted furniture ideas.
You May Also Like
If refinishing and restoring furniture is your thing you will love this Steamer Trunk Restoration project. You can also see more projects using the salve in a variety of ways, like freshening up the insides of wooden drawers, or sealing painted fabric here: salve.
Ready to Get Started?
Not sure where to buy Wise Owl Salve? You can get find the black paint as well as the salve plus more online here: Wise Owl.
Furniture Fixer-Uppers
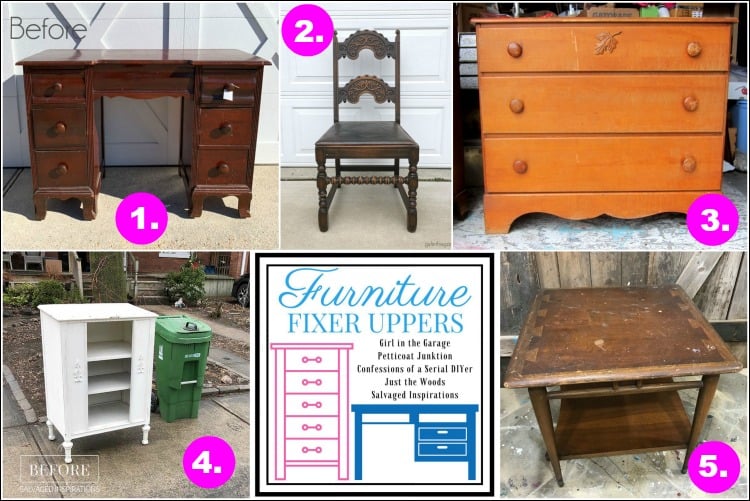
It’s that time again where a few of my creative and talented blogger friends and I have joined together in our monthly Furniture Fixer Uppers share. Let’s see what my friends are up to! Make sure to click the links below the image to check out all the amazing projects that my bloggy girls are working on this month.
1. Confessions of a Serial DIYer
5. Just the Woods (you are here)

Don’t Forget – Follow Just the Woods and Share this post to Inspire others:

FACEBOOK * INSTAGRAM * PINTEREST
Stay connected! For more tips and tricks sign up here : [mc4wp_form id=”1340″]



Laura Coyne says
I adore vintage furniture and I just love the natural beauty of wood! What you have done to the piece really makes it shine. It’s unbelievable just how much that salve brings the piece back to life! All of the details really pop after the application. It’s really amazing! I look forward to more possible restorations!
kandice kullmann says
Thank you so much! And the salve really is fantastic! xoxo
Marty Kohlbaker says
Beautiful! I have 3 tables, 2 coffee tables and one end table with a half tier ( I think you call it that) in that same style. My husband protected 2 tables with polyurethane. I had thought of painting them but not now. I’m going to show him your technique so we can refinish all of them the same. Thank you for showing how good they can look in their natural state.
Terry says
Love how you restored this beautiful table!!! I agree with your husband…it’s a keeper!!!
Nancy Nesbitt says
SO glad you did not paint this! It is perfect now!
Amy Lynn Ruegsegger says
I came to say this. Its so beautiful, just the natural wood.
kandice kullmann says
thank you Nancy!
Carla from Kansas says
I agree with your husband. I think you should keep it. It is beautiful now. A real heirloom.
Betty Bilnoski says
Your table is beautiful. I don’t blame your Hubby for wanting to keep it. It’s so unique.
I just placed an order for the lemon verbena salve. I have a very old carved wooden chest that I inherited in 2002. It’s old – not as old as the steemer chest you shared, but it’s definitely old. And it’s got lots of dust just caked into the intricate carvings. I’ve tried to clean it several times and I know now that I was using all the wrong stuff.
Cheryl Atkinson says
That is a beautiful table. Good Job!
Jen @ Girl in the Garage says
What a gorgeous table! You refinished it beautifully Kandice! xo
Mary Loveland says
Wow, what a beautiful transformation! Cannot believe how good that wood looks after the wax coat. I am so glad you rescued this little table and gave it a new life, good for you and your talent!
Stephanie says
That is stunning! Do you have to do anything else to protect the new finish?
kandice kullmann says
thank you! Im not adding anything to the table other than the salve. When using the salve you can reapply if needed later on, but I haven’t needed to reapply (and Im a little lazy with coming back to a piece later on lol)
Diana says
What a gorgeous piece of furniture! You did a wonderful job ( as always ) on restoring it to its original beauty. I have a question about the furniture salve you used. Is it durable enough to be used as a topcoat on a chalk painted piece?
kandice kullmann says
hi Diana! The salve can be used as a top coat. It will not add additional strength but will protect it from dust and such. Personally, I normally use the varnish to seal my painted pieces, but I also didn’t add anything to this table other then the salve.
Sandra D Camp says
Wow, this brings back memories. My Mom used to have this set of tables in our living room. I love that you used the salve on this. Makes me want to try it. Thanks for sharing!
Dee Dee
Marie says
That’s a really cool MCM table, Kandice, and you did it justice by restoring it’s original finish! I don’t blame your husband for wanting to keep it, it’s stunning! I need me some of that Wise Owl furniture salve. Miss you guys! xo
kandice kullmann says
miss you to Marie!!!
Susan says
That is just crazy how it looks like you stained it! It’s beautiful! Can’t wait to try that!
Colette says
Beautiful restoration of a classic table. I would not be able to let that table go.
You’re looking great too!
Christy James says
This is absolutely stunning now!! I’m so glad you didn’t paint this one. Those details look amazing and your tutorials are always so thorough! XOXO
Ingrid says
What a BEAUTIFUL restoration you performed on a beautiful piece!!! You made my heart sing! I almost didn’t click through from the link on Confessions of a Serial DIYer because I just couldn’t bear to see such a beautiful piece covered up with gobs of paint. I’m so glad I did, and witnessed the loving work you put into restoring it to its former luscious glory. I agree with your husband; it’s such an absolutely lovely piece, and it really showcases your talent.
Dawn McDaniels says
Your tutorials are always the best. Simple instructions that are easy to understand. That table is beautiful. I see why your husband wants to keep it.
LINDA says
Amazing restoration! Some pieces do look better painted, but this is definitely not one of them. With all it’s detailing, this table needed to be brought back to it’s former glory and your restoration did just that! The salve really brought out the beauty of the wood. You should definitely keep this piece – it is a show stopper!
Maddie says
Could you use a varnish over the salve on one of these pieces to add some extra protection?
kandice kullmann says
No. Do not varnish over salve. But you can salve over varnish
Cherry Tree Depot says
very useful information. this will help us to restore our old furniture.