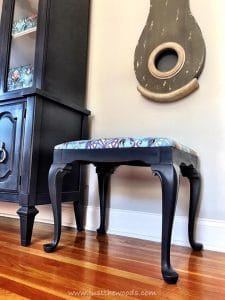
A painted vanity seat seemed like it would be a quick and easy project. But those are always the ones that take a turn in an unexpected direction. I’ll explain. When I think stripper or stripped I think Channing Tatum in Magic Mike. I don’t think of screws, there’s nothing worse than stripped screws. (If you didn’t get the Channing Tatum/Magin Mike reference, google it and you’re welcome 🙂 )This little vintage seat was sitting in my inventory and is an ideal extra addition to my living room makeover. Since we removed the giant sectional sofa I figured that having a small accent piece that could be used for additional seating when necessary would be perfect.
Disclosure: This post contains affiliate links for your convenience. Click here for my full disclosure policy.
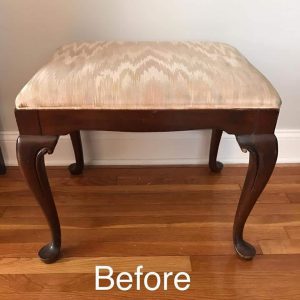
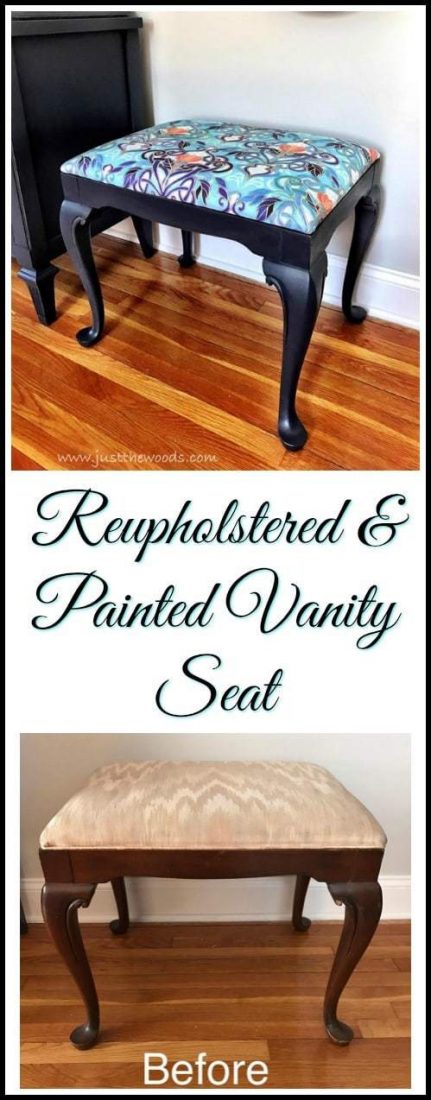
Reupholstered & Painted Vanity Seat
Materials Needed / Source List:
Reupholstering a Vanity Seat – Obstacles
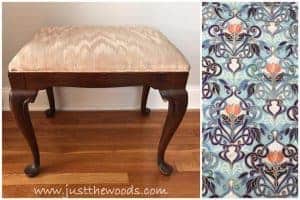
I knew all along that I wanted to use the leftover fabric from my china cabinet project that I received from Spoonflower but I hadn’t decided on a paint color just yet. (Click here to see the china cabinet: China cabinet with Fabric Decoupage ) I decided to start with the reupholstery and would go from there. This is where I ran into my first obstacle. The screws that held the cushion seat to the base had been completely stripped and there is no screwdriver in the world that would be able to remove them. (At least no screwdriver in my collection of screwdrivers). I had to break out my electric drill and screw extractor set. 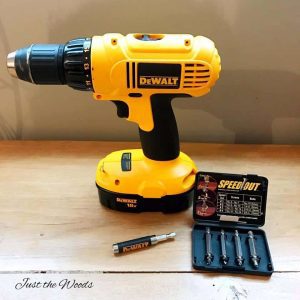
Once the screws were removed you can see how they look after using the screw extractors (such a nifty tool). 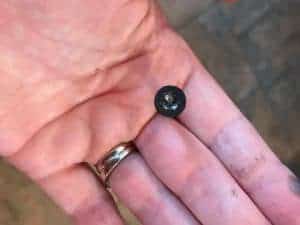
The next obstacle in my path is the abundant amount of staples to be removed. The previous upholstery consisted of the fabric that covered the seat as well as an additional trim resulting in double the staples.
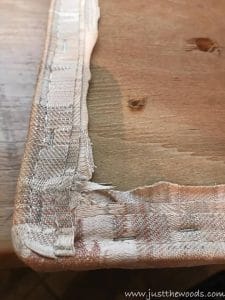
The easiest way that I could think of was to use a small flathead screwdriver and a pair of pliers to pull out the staples. 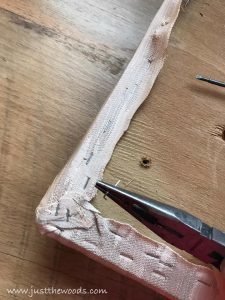
Reupholstering a Vanity Seat
Once I was past the obstacles I could finally move on to the pretty part and recover the cushion. I laid out the fabric and the seat to see how I wanted the pattern to sit on the cushion and then wrapped and stapled the new fabric with my electric staple gun. This is the extent of my reupholstery skills which doesn’t say much 🙂 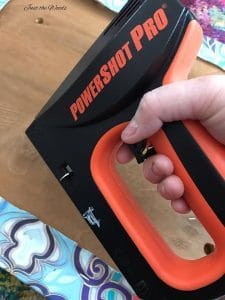
Painted Vanity Seat Legs
Now that my seat cushion is reupholstered I have to decide on a color for the legs. I had turned to my Facebook friends for their opinions. I confess that didn’t help and only made the decision harder because they all had so many good suggestions. If you click this photo you will see what I mean. (or click HERE)
In the end, I decided to play it safe and use the same custom color that I had used on my china cabinet makeover. 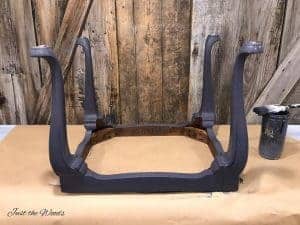
You can find great quality furniture paint and stain online HERE. An added bonus, when painting furniture, you want to make sure to use a quality non-toxic furniture paint.
Once I painted and sealed the legs I was able to put the painted vanity seat back together. Since my previous screws had been stripped I ran to the hardware store for new screws. 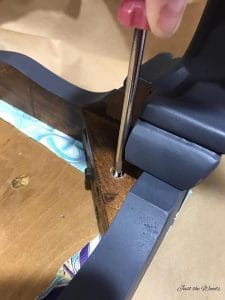
The Result – Reupholstered and Painted Vanity Seat
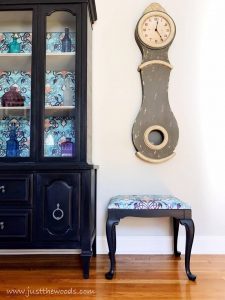
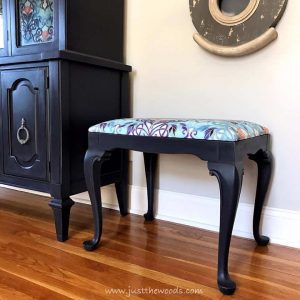
For more painted furniture before and after projects, and makeovers, make sure to check out all of my chalk paint furniture tutorials with over 90 projects here: The Ultimate Guide for Stunning Painted Furniture Ideas
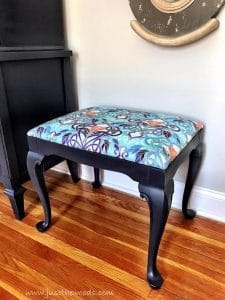
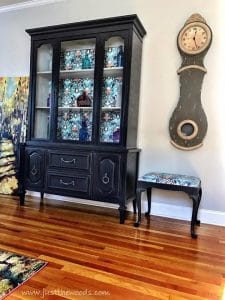
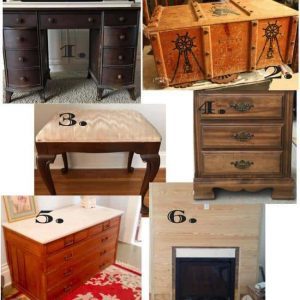
Wait! Don’t Go! It’s that time of the month again for:
Crafty Girls and Furniture Friends
A few of my creative and talented blogger friends and I have joined together in our monthly Crafty Girls and Furniture Friends share. We plan to get together on the second Tuesday of each month 😉
Let’s see what my friends are up to! Make sure to click the links below the image to check out all the amazing projects that my bloggy girls are working on this month.
Care to See the Other Projects of the Room Makeover?
This reupholstered and painted vanity seat was part of our entire living room makeover. To see more projects related to this living room makeover, check out these other posts:
******************************************************************************************
Don’t Forget – Follow Just the Woods :
FACEBOOK * INSTAGRAM * PINTEREST
Subscribe to our mailing list here: [mc4wp_form id=”1340″]
PINTEREST PIN READY TO SHARE


Thea Osborne says
wow!! It all came together so well!! Gorgeous!
Jen Burns says
I can’t live without my zip tool for stripped screws. It’s a life saver!
Kandice says
Is that different from the screw extractor kit? (Im going to google now lol) 🙂
Pamla Joy Reynolds says
Thank you for this very helpful information… I never knew there was such a thing as a screw extraction kit!!! WOW the possibilities ????????????
Carrie says
Your fabric choice is terrific!
Gina says
Good job – it’s a beauty!
Jeannee Taylor says
The Vanity seat turned out beutifully just like yourchina cabinet makeover! I love the paint color and the material is to die for! Thanks for sharing! #HomeMattersParty
Jeannee
Angie ~ ambient wares says
Gorgeous! I’ve never heard of a screw extractor and must get one! Pinned & sharing 🙂
Kandice says
thank you Angie! Its a nifty tool, but I confess that sometimes I still need hubby to help me get the screws out (even with the tool) 🙂
Angie ~ ambient wares says
Back again to let you know I’ll be including your vanity seat in a round up at tonight’s Funtastic Friday Link Party 🙂
Kandice says
sweeeet! thank you so much! xoxo