Black furniture wax is a great addition to painted furniture projects, especially those with ornate details. Antiquing painted furniture with furniture wax creates a dramatic effect and enhances existing details.
One painted furniture technique gaining popularity among DIY enthusiasts is the application of furniture wax, particularly black furniture wax, to painted pieces. This simple yet transformative process can elevate the aesthetic appeal of your furniture while adding depth and character to its finish.
In this tutorial, we’ll jump into the world of black furniture wax. I’ll be sharing its application techniques and the stunning results it can achieve on various painted surfaces. Whether you’re a seasoned crafter or a novice looking to embark on your first furniture restoration project, this guide will equip you with the knowledge and confidence to unleash your creativity and rejuvenate your home décor.
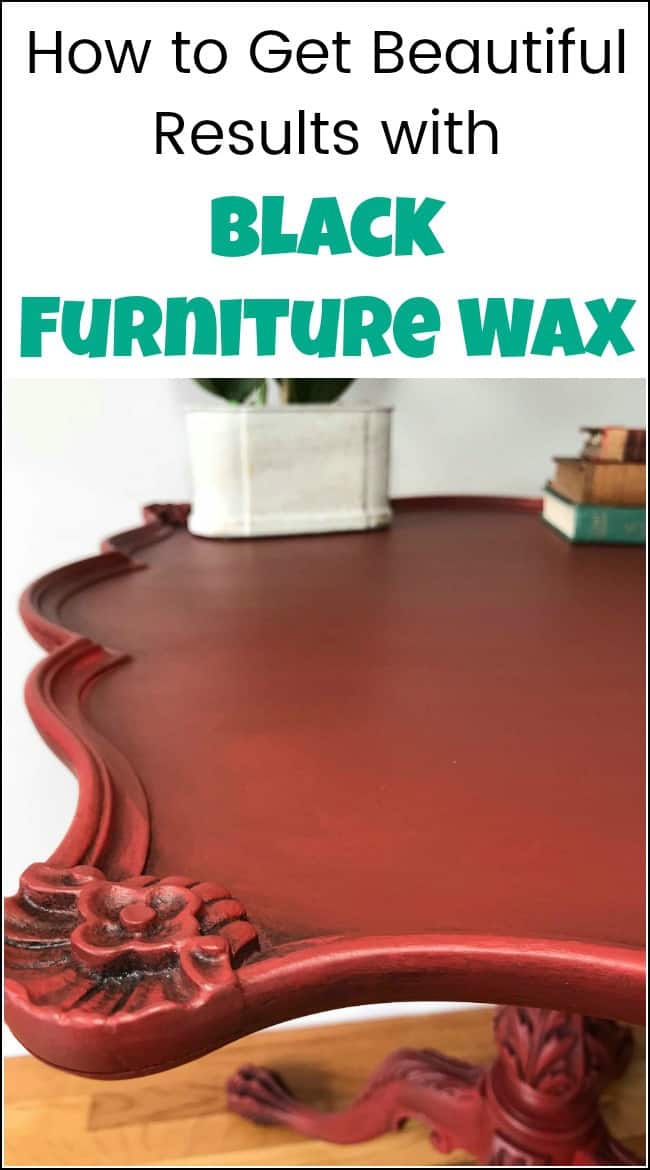
I never like to seal my painted furniture projects with just furniture wax. But that doesn’t mean that you can’t use furniture wax to antique and enhance your painted furniture projects. I am sharing how to apply furniture wax to your painted furniture makeover to make those ornate details stand out.
Supply List for Painting and Waxing a Wooden Table
This is a supply list for everything used in this project:
Tools
- Electric Sander
- Shop-Vac
- Lint Free Cloth
- Furniture Tri-Dollies
- Zibra Paint Brushes
- Chip Brushes
- Short stubby Brush
- Cling On Paint Brushes
- Sandpaper
- Yellow Applicator Sponges
- Find all of my favorite tools and products on my Amazon Page here
- Paint
- Dixie Belle Paint
Vintage Claw Foot Table
This vintage claw foot table is pretty old and not in the best condition. I suppose that’s to be expected. Let’s take a good look at its original condition when it came to me.
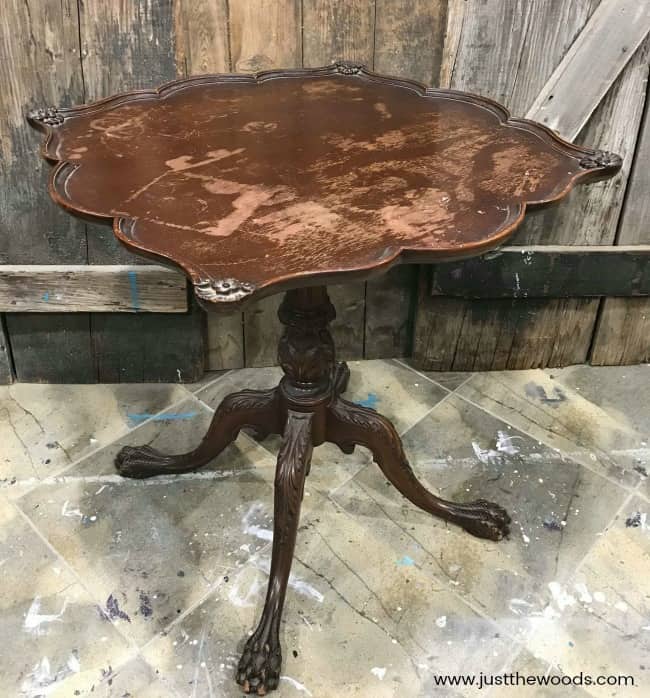
It has great details for sure. Looks at those legs and feet!
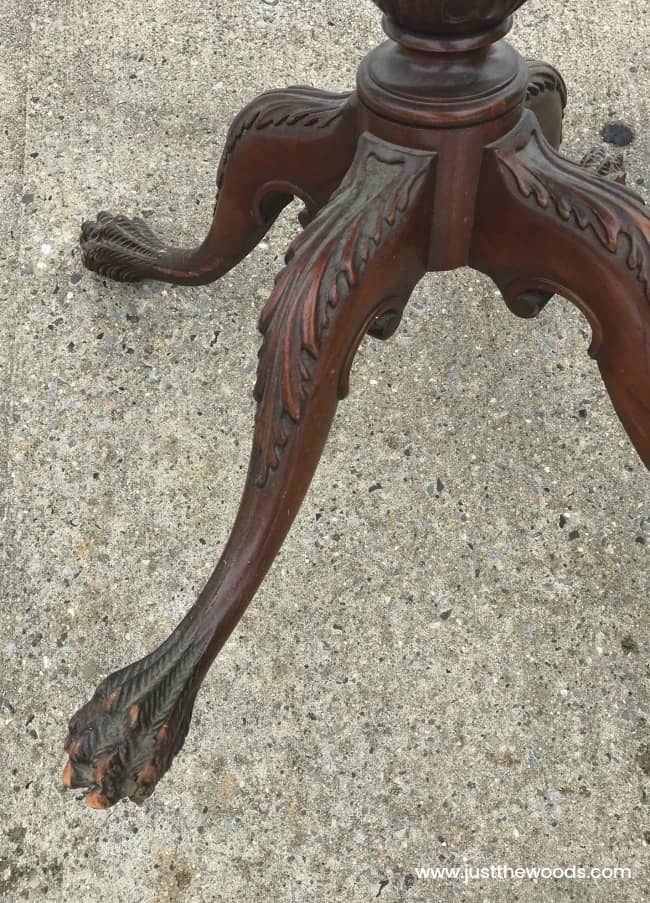
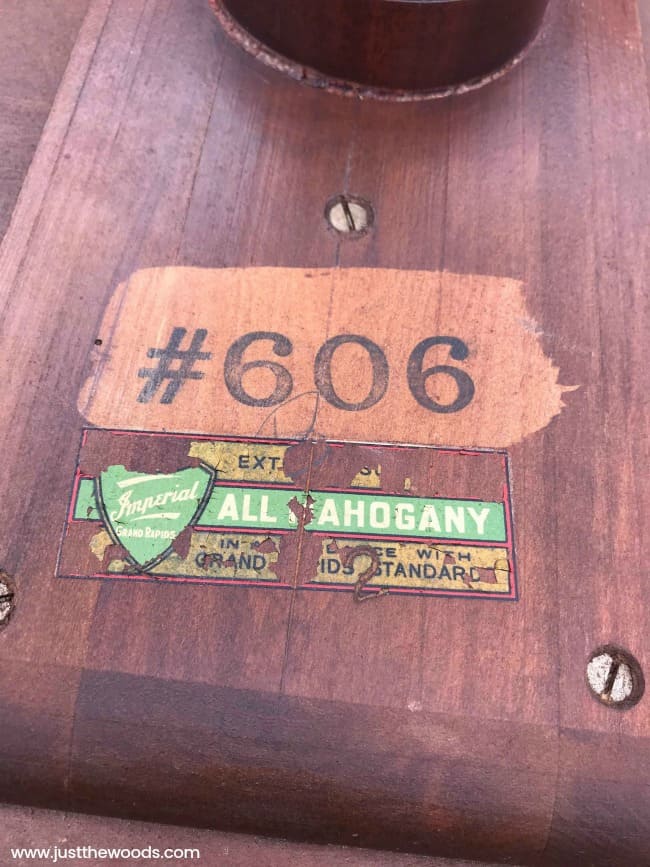
And it’s mahogany, from the markings my guess is the 1920s or 1930s, but I could be wrong. I’m sure there is someone hating me right now for painting this beauty, but it really is in need of work. So I will do my best to make it pretty.
Preparing the Mahogany Table for Paint
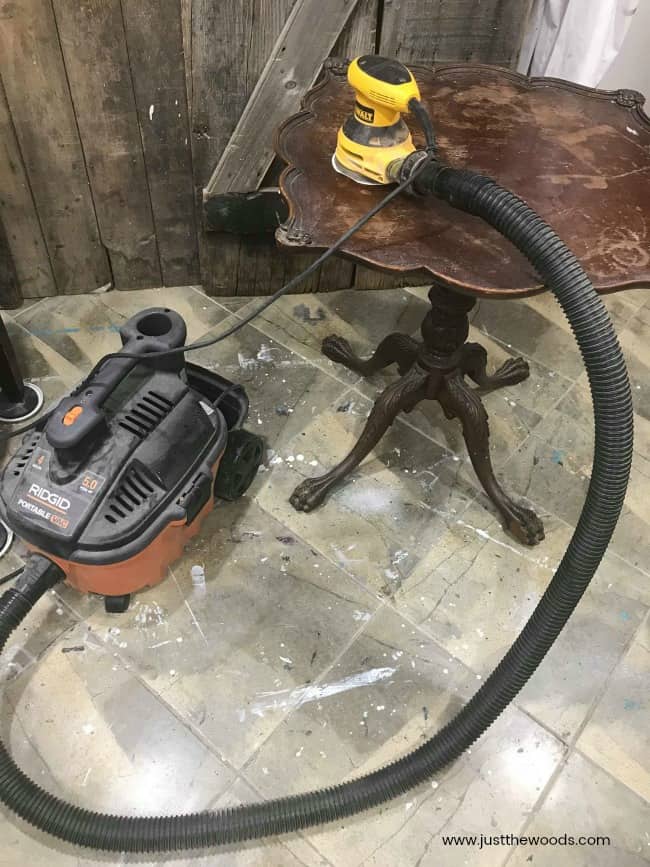
The first thing to do is to sand the tabletop. The table top has major discoloration and scratches which lead me to use the electric sander. This way I can smooth out the top as much as possible. I share a video of how I sand indoors without making a dusty mess in this post: The Best Tips & Secrets You Need to Know for Painting Furniture
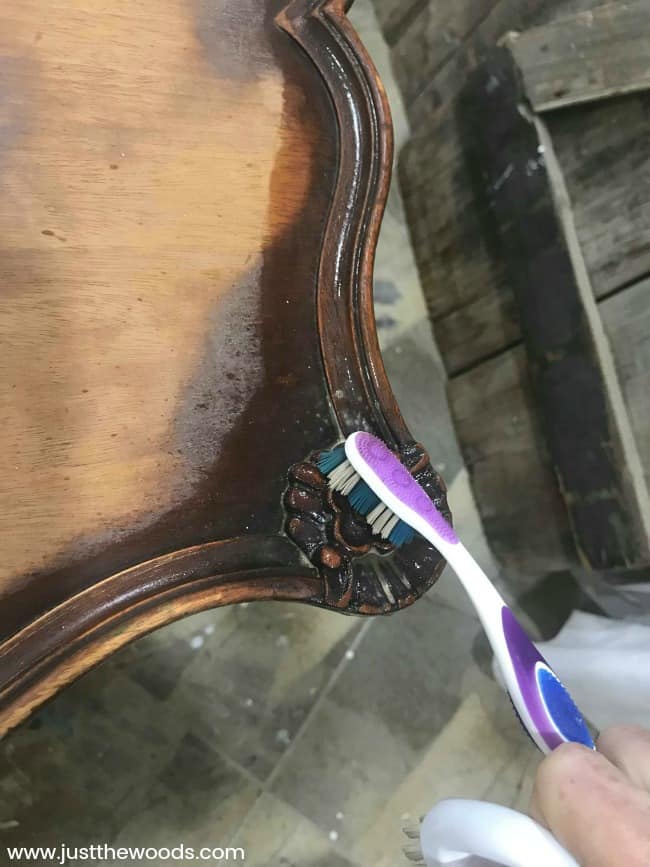
Next, it’s time to clean. Since there are so many crevices with all of those gorgeous details I am grabbing an old toothbrush to get the dirt and dust out of these areas.
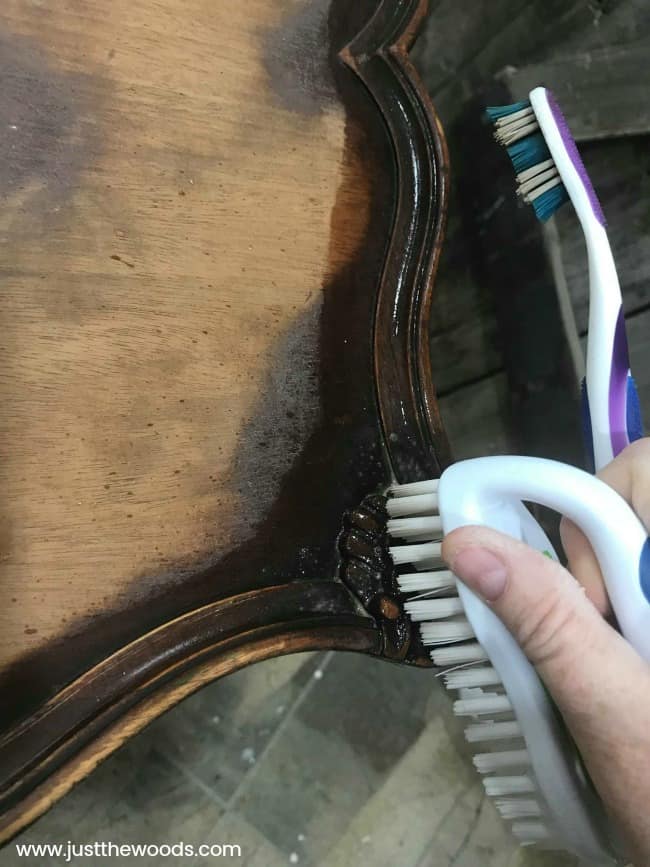
When the toothbrush doesn’t fully cut it, grab a scrub brush 🙂 Here is my full process on How to Prep Painted Furniture.
Once you are satisfied with your sanding and cleaning we can move on.
Painting a Base Color on a Vintage Claw Foot Table
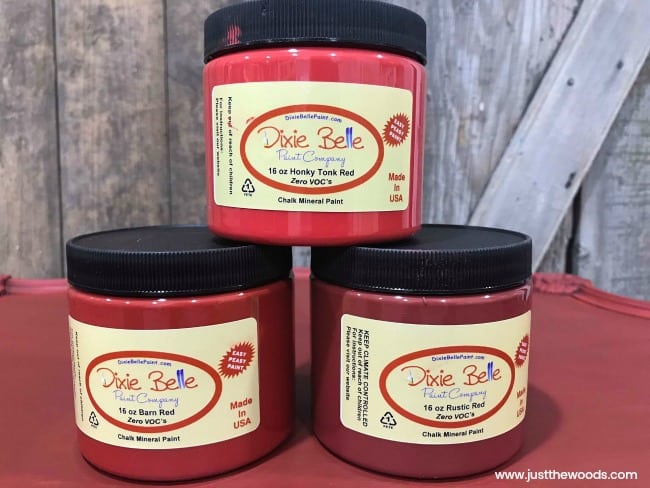
To be perfectly honest I have had a hankering to paint something red. It’s not often that anyone requests red so I’m doing it. But since Dixie Belle has so many gorgeous reds to choose from I may have to use them all. You can get them online HERE.
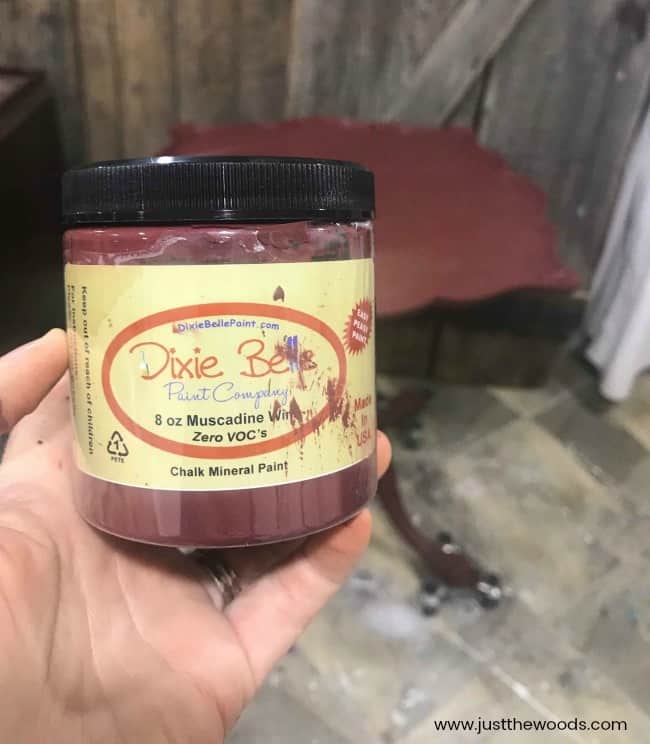
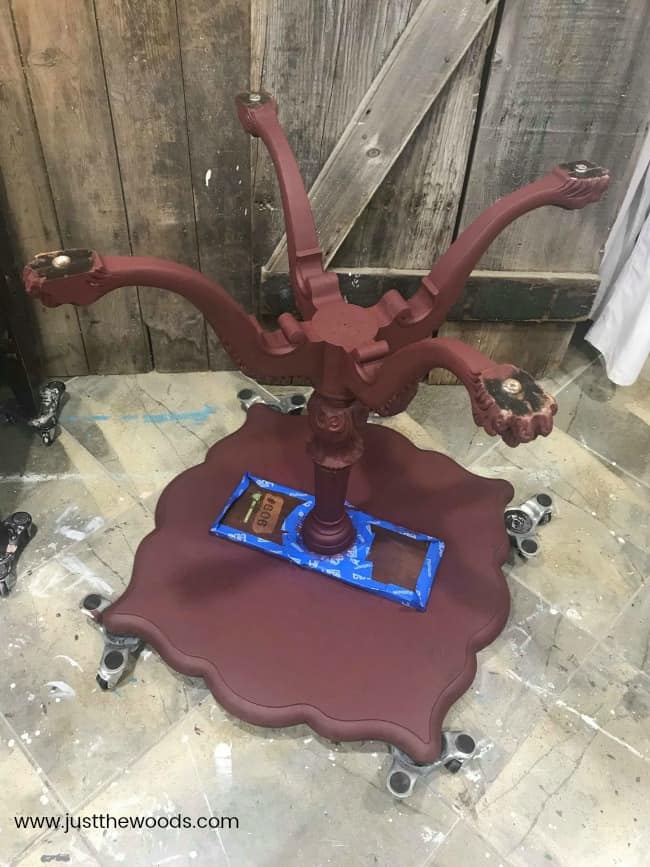
When painting furniture I like to start by flipping the piece over when possible. This allows you to see what you are doing and paint the underside as well as the feet. This is another trick mentioned in The Best Tips & Secrets You Need to Know for Painting Furniture Before painting the table with the bold reds I start with a deep red wine color called Muscadine wine. Muscadine wine has great coverage and gives the table a nice rich base color.
I do use my Scotch blue platinum tape to tape off the original mahogany label to preserve that bit of the table. I would hate to cover that up.
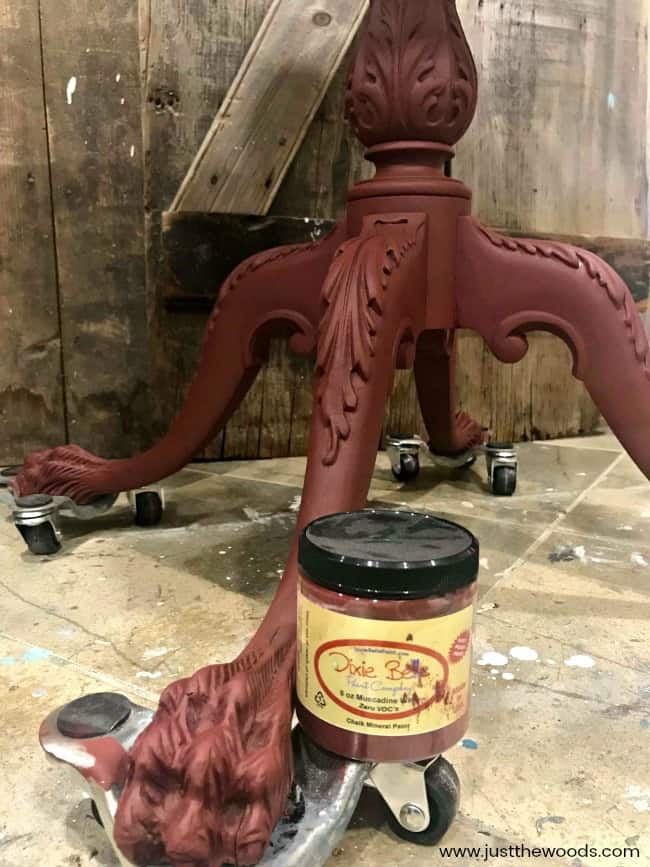
Once the underside and legs are done you can flip the table back over onto its feet. The furniture tri-dollies fit perfectly under each claw foot making it easy to move the table around and I can stay put while I work. Find them HERE.
Adding Painted Layers on the Vintage Claw Foot Table
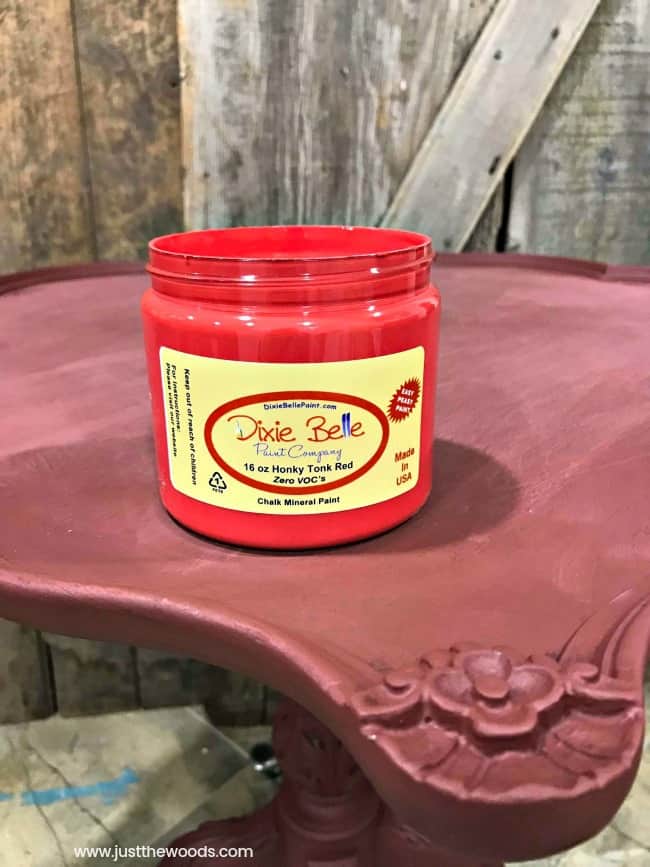
Go big or go home, let’s kick off these red with bright and bold Honky Tonk Red.
After Honky Tonk Red is Barn Red. Make sure to sand in between coats of paint.
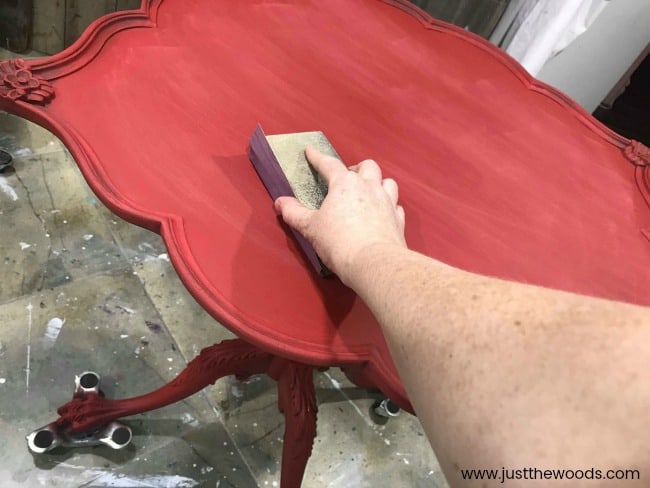
The last red in the layering process is Rustic Red.
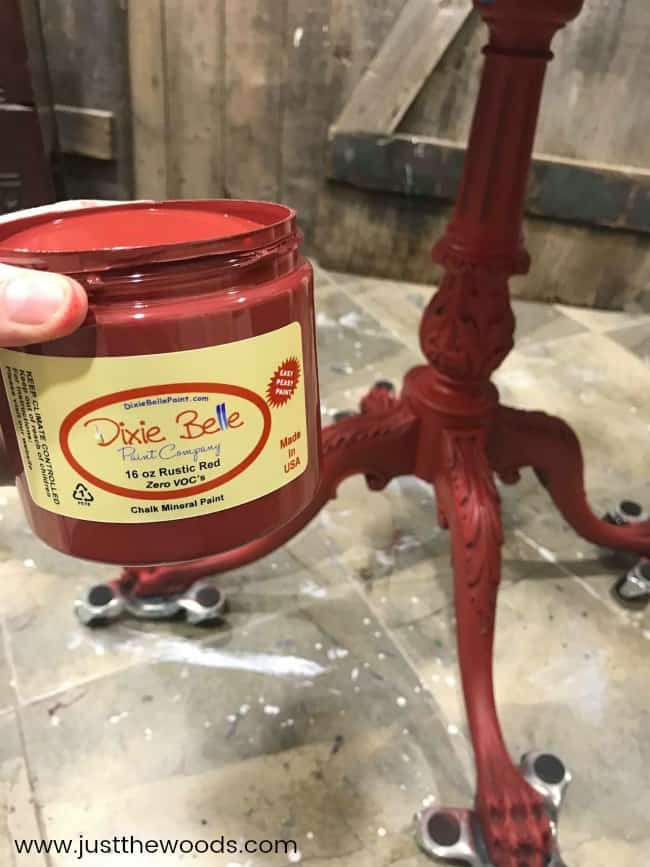
You can find more painted layers projects to see how I layer paint on furniture here: Painting Layers.
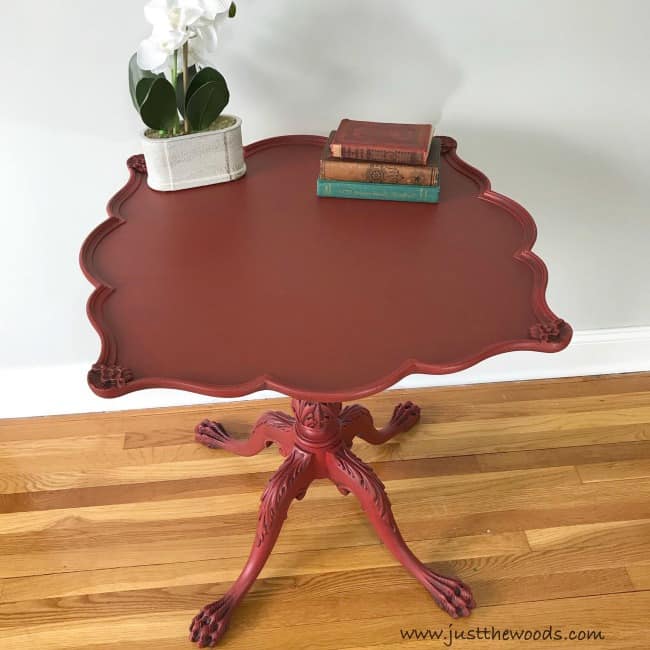
You will have a very red painted table by the time you finish. By using the dark muscadine wine first there is a darker shade inside the details as you can see. But I want more.
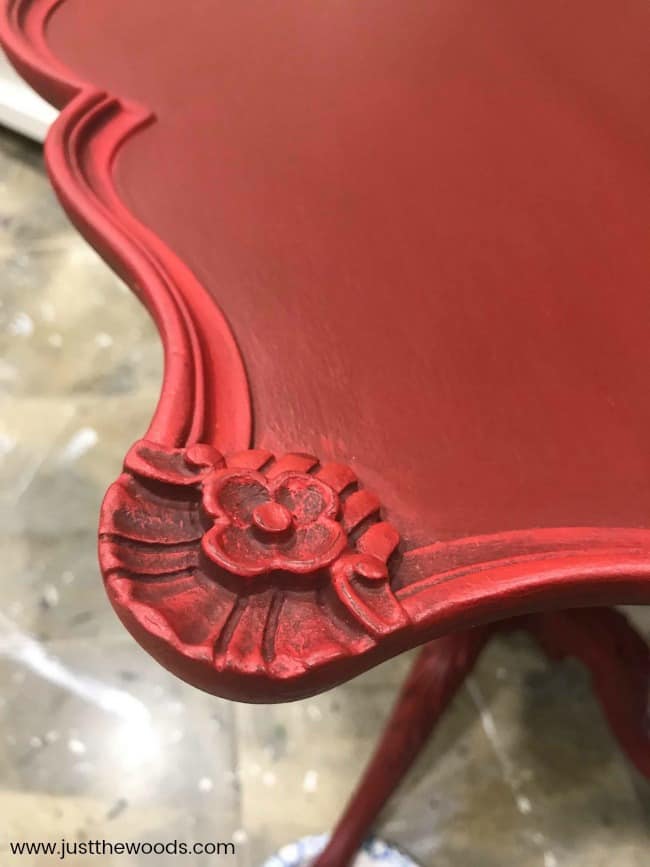
Sealing Your Painted Furniture Before Applying Furniture Wax
I am going to apply the clear sealer to this red painted table before attempting to add furniture wax.
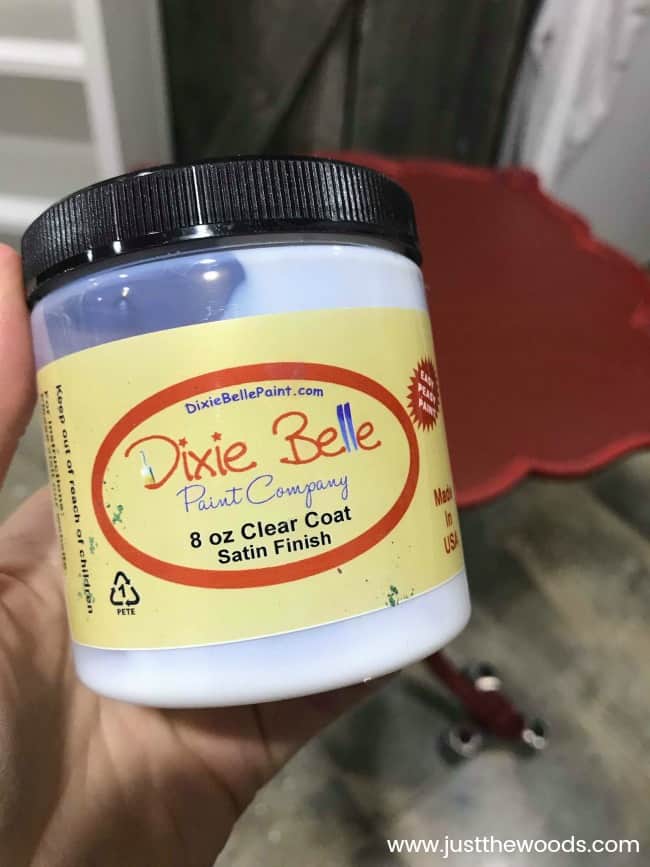
Just like I apply sealer to all of my painted furniture projects I am using my favorite yellow sponge. You can get this same awesome sponge HERE.
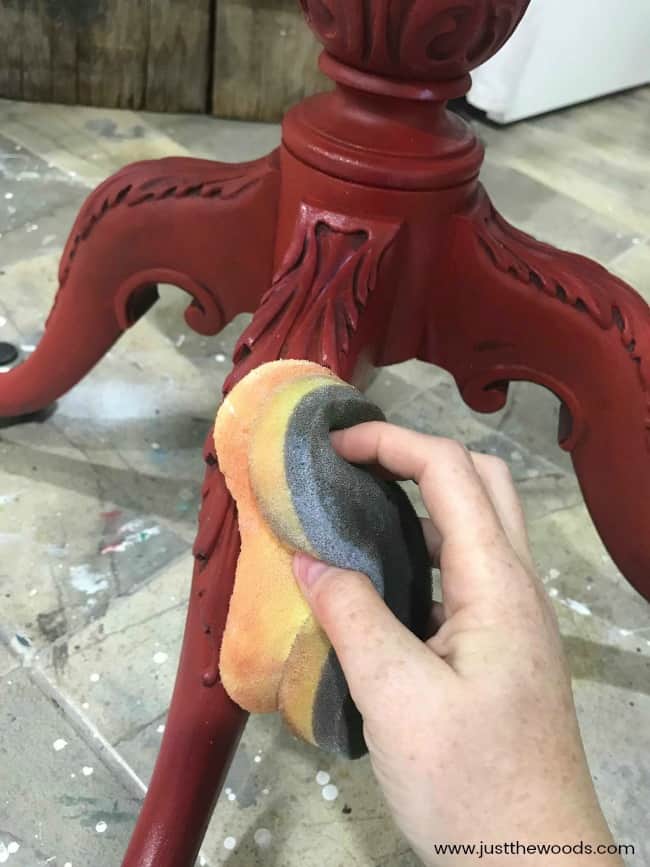
Since there are so many nooks and crannies in the ornate details I make sure to go over them with a clean chip brush to make sure that the sealer doesn’t pool in the details.
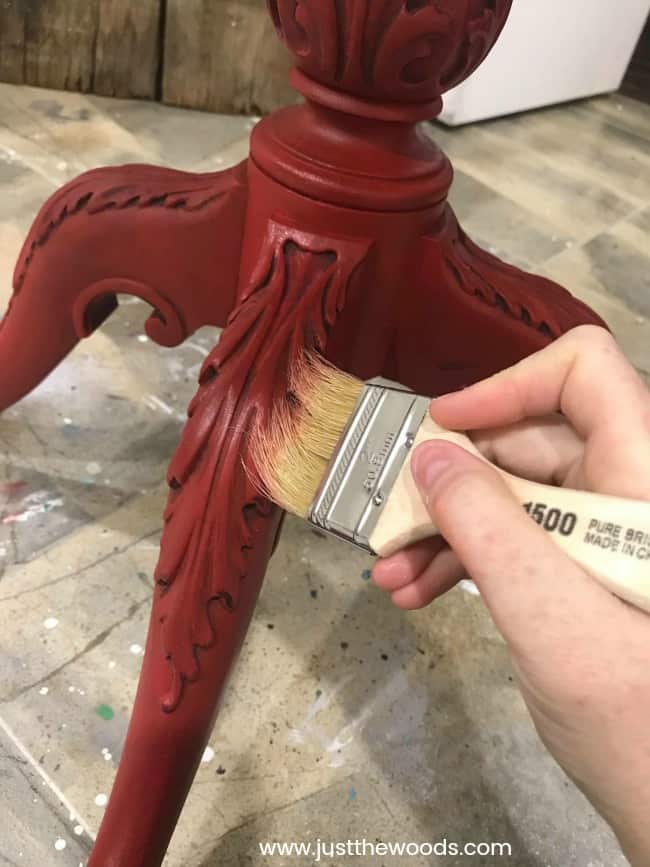
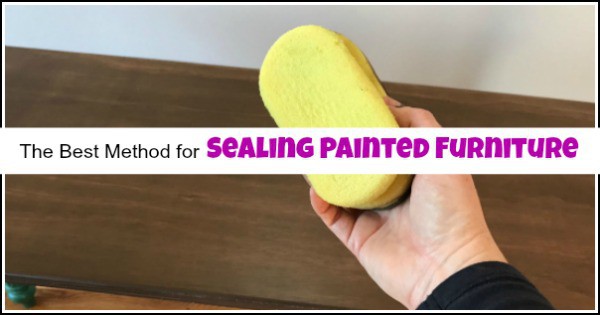
You can see a full tutorial with video on how to apply clear sealer here: Sealing Painted Furniture
How to Use Black Wax on Painted Furniture
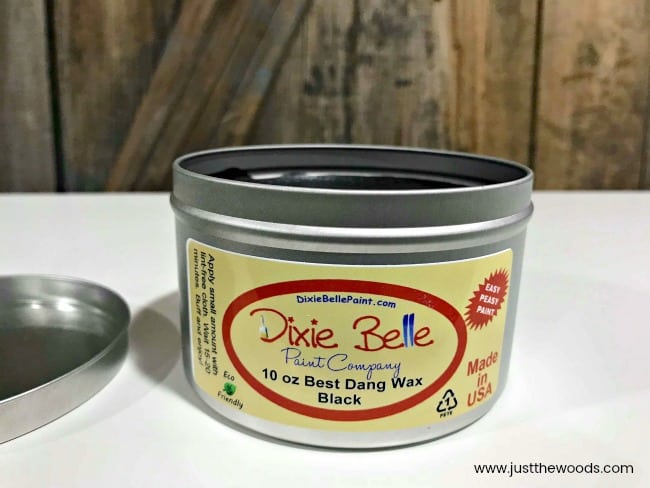
Now that our claw foot table is painted and sealed we are going to apply this black wax for furniture for added antiquing.
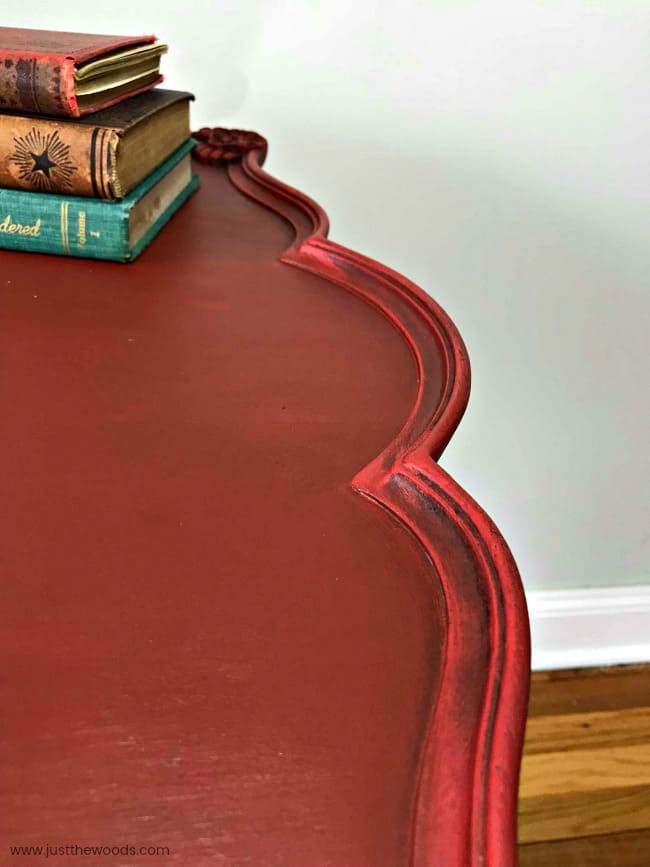
Waxing painted furniture doesn’t have to be an all or nothing. Since we already sealed the table with satin clear sealer we are not waxing the entire table. We are just going to pay attention to the edges, feet, and ornate details. In fact, I am not applying furniture wax to the table top center at all. Grab yourself a brush and a cloth. I am using a short stubby brush (find it HERE) and a lint-free cloth (find them HERE). Dab your dark furniture wax onto the painted table with the brush.
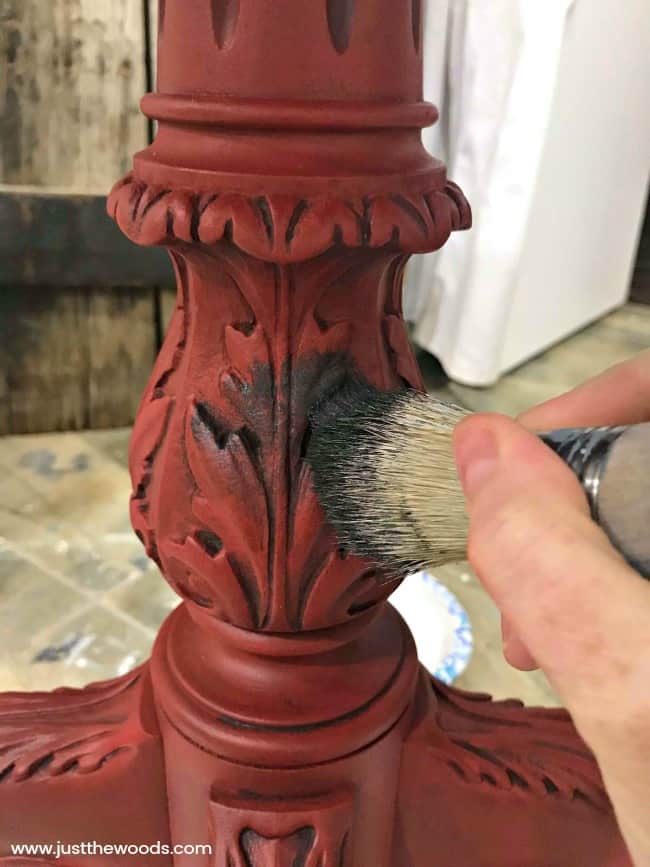
Working in sections, cover the area with the furniture wax.
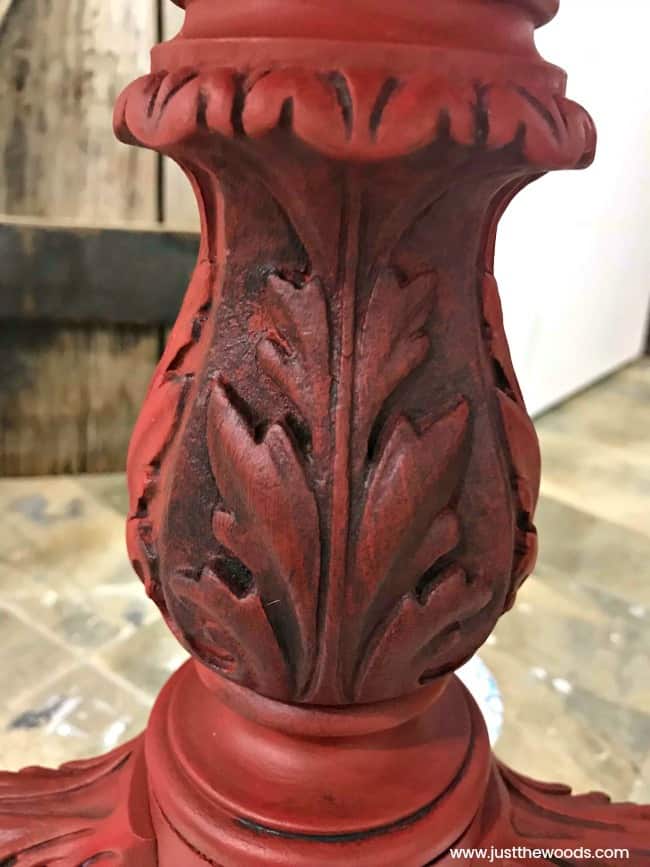
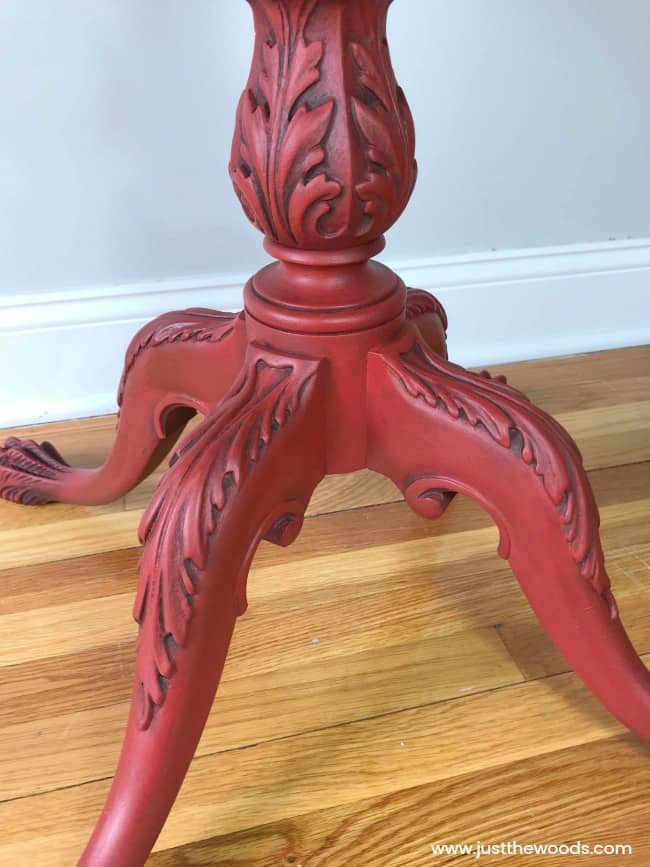
Then go ahead and use your lint-free cloth to wipe the wax off of your painted furniture leaving the wax in the crevices.
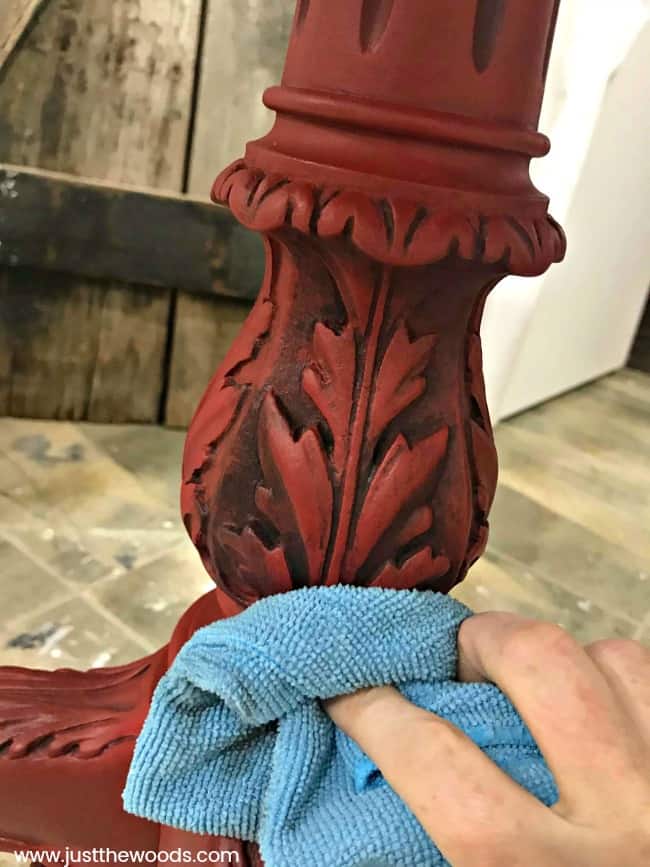
Repeat this process over all of the ornate areas. You can get the best dang wax HERE.

Here is a quick video showing how to apply furniture wax to painted furniture.
Black Furniture Wax on a Red Painted Table
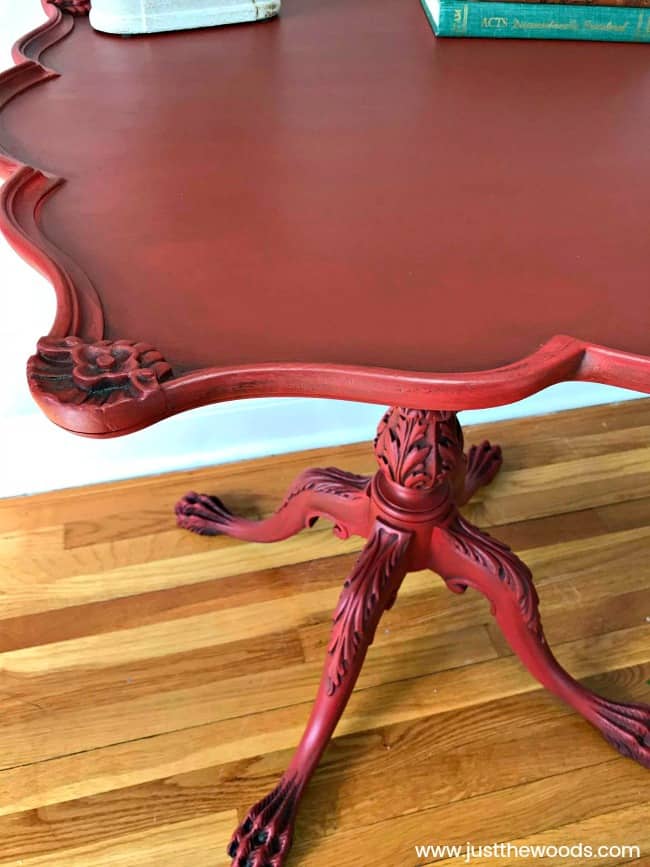
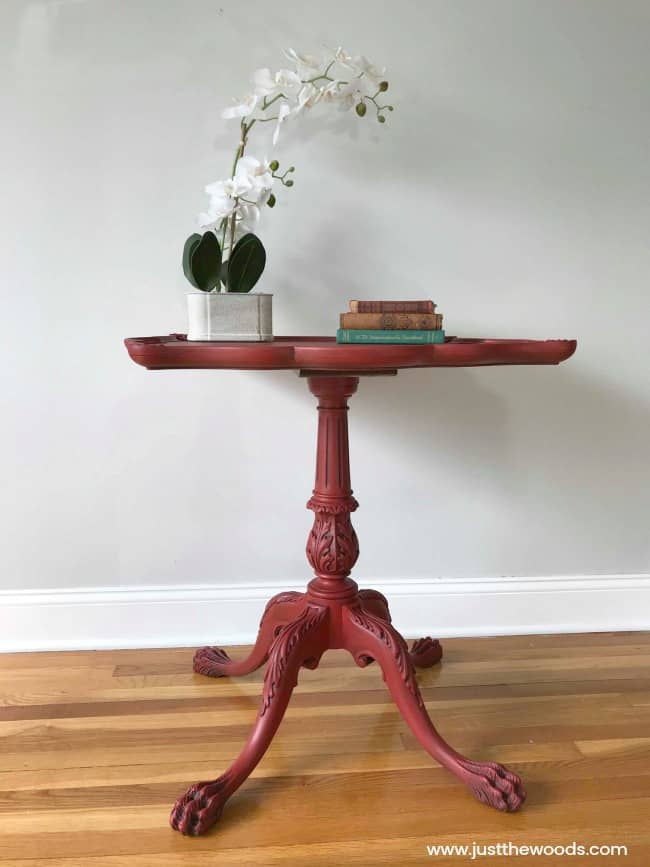
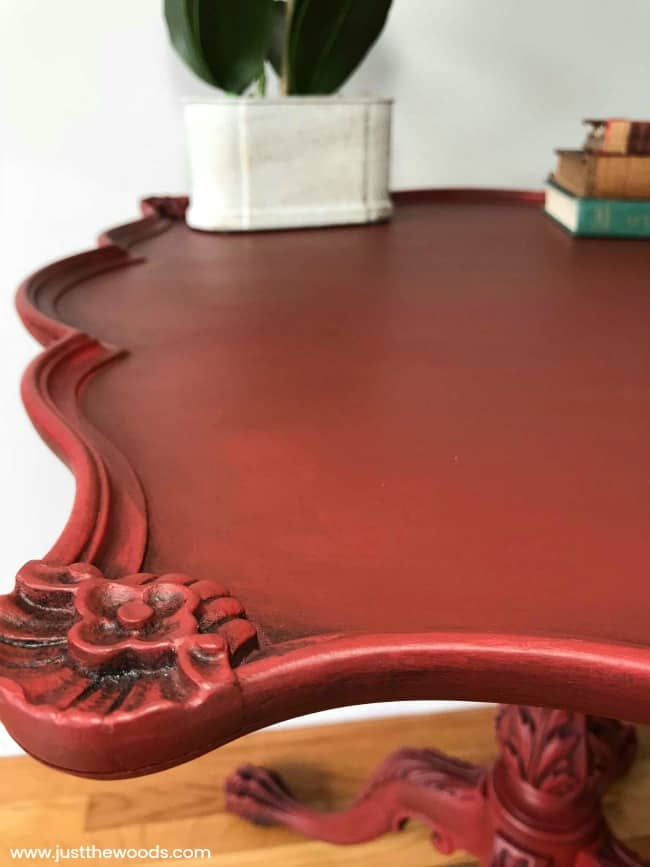
By applying black furniture wax to our red painted table we add just enough depth and antiquing to create a beautiful finish. Enjoy the beauty shots of all the details. This table was donated to a local school for one of their fundraising events. Click here to see all of my projects that have been donated to support local fundraisers, schools, and charities: Donation Projects.
Check out all of my furniture projects with over 90 painted furniture makeovers: Stunning painted furniture ideas.
Applying black furniture wax on painted furniture opens up a world of creative possibilities for enhancing your home décor. Through this tutorial, we’ve explored the step-by-step process of using black wax to elevate the appearance of your furniture, from preparation and application to buffing and finishing touches.
By embracing this technique, you have the power to transform outdated or lackluster pieces into stunning focal points that command attention and admiration. The rich depth of using black wax can breathe new life into any painted surface, adding sophistication and character to your furniture collection.
As you embark on your own projects, remember to experiment, unleash your creativity, and enjoy the journey of transforming your living space. With each stroke of the brush and every buff of the cloth, you’re not just refurbishing furniture; you’re crafting a reflection of your unique style and personality.
So, gather your supplies, roll up your sleeves, and let your imagination run wild as you embark on your black wax adventure. With patience, practice, and a touch of inspiration, you’ll soon discover the magic of this transformative technique, turning ordinary furniture into extraordinary works of art.
Wait! Don’t Go! It’s that time of the month again for:
The Furniture Flippers
If you have been with me for a while then you know that I participate in a monthly Furniture Fixer Uppers share. That is where a few of my creative and talented blogger friends and I have joined together to share what we are working on.
- How to Get Beautiful Results with Black Furniture Wax – Just the Woods
- A Beachy Desk Makeover with Chalk Paint – Repurpose and Upcycle
- How to Make a Herringbone Table Top with Paint Sticks – Lovely Etc.
- Refinished Antique Cabinet with Black and White Decorative Paper – Refresh Living
- Farmhouse Kitchen Island Makeover – Houseful of Handmade
- Highchair Flower Stand – A Fresh Squeezed Life
Don’t Forget – Follow Just the Woods and Share this post to Inspire others:
FACEBOOK * Furniture INSTAGRAM * Healthy Food INSTAGRAM * PINTEREST * RECIPES



LIndsey says
I love the contrast from the red to the black wax! It looks so good, way to go girlie.
Maria says
Love those claw feet on that table! That furniture wax is really great stuff! Need to get some for some of my projects!
Maria
Jenny says
Your tips for applying dark wax are so helpful! It really was the perfect finishing technique for all of the fabulous details on that table!
Susan says
Do you seal after applying the black wax?
kandice kullmann says
no Susan, just before the wax 🙂
Joleen says
I just did a dresser with this technique. My wax was still buttery after 24 hours and so I buffed. I lost most of my beautiful black detail work. Do I not buff? Will it cure and remain similar to your piece as far as the black details on smoother surfaces?
kandice kullmann says
Im sorry that happened. I always buff immediately after applying. Maybe only buff a little bit?
Barbara says
So pretty!