Have you ever found an amazing piece of furniture but it was missing its table top? You know that if it were whole, it would be functioning and amazing. This is exactly what happened with my customer. He bought a house and was lucky enough to be able to keep some of the items inside. Even though painting furniture can truly save an old piece of furniture, sometimes a piece is damaged, missing parts or has sticking drawers.
Disclosure: This post contains affiliate links for your convenience. Click here for my full disclosure policy.
My customer’s wife loves this turn of the century washstand and James, being a thoughtful hubby asked me to refinish this piece in eggplant. It will be a surprise for his wife, and eggplant is her favorite color. He snuck it out of their basement and brought it to my shop with hopes that she wouldn’t notice that it was missing.
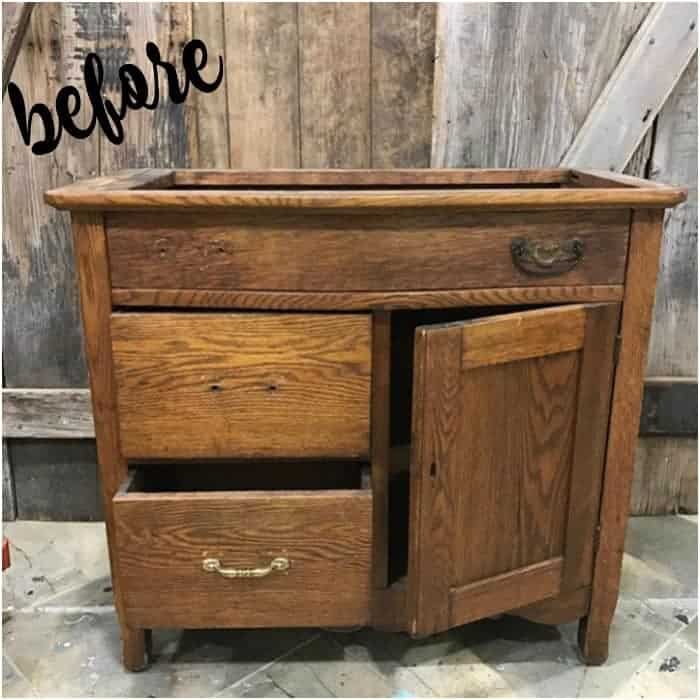
Unfortunately, it was not in the best shape. Of all of its issues, here are just a few:
- mismatched and missing hardware
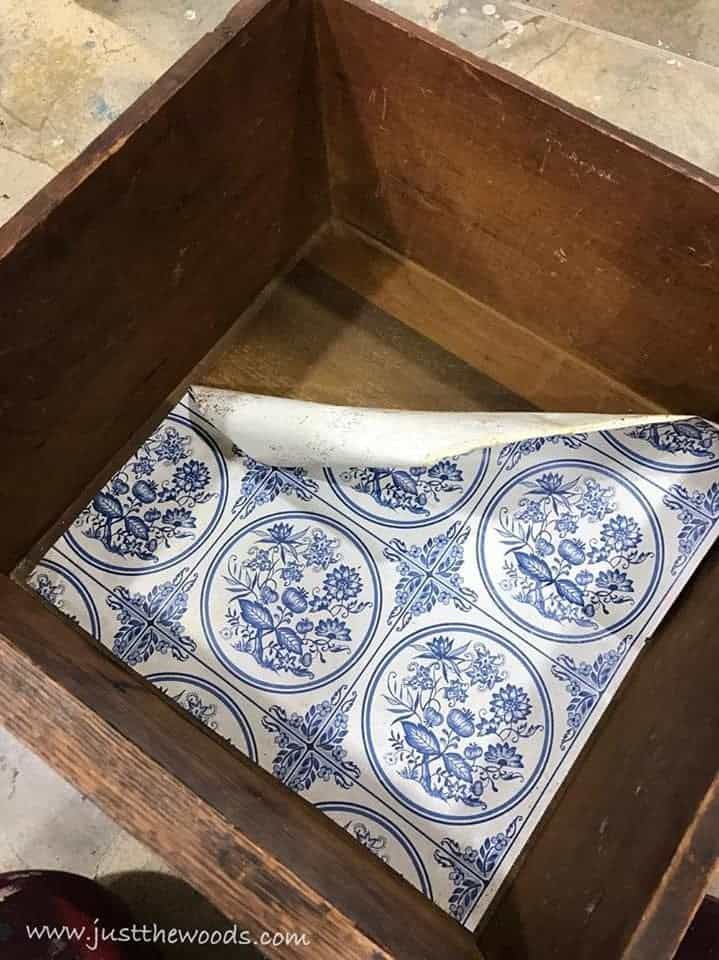
- drawer bottoms covered in contact paper
- an odd white stone top had been acting as a temporary table top. The white stone had a rectangular shape and didn’t work with the cabinet at all.
How to Build a New Table Top for Old Furniture
MATERIALS NEEDED / SOURCE LIST
- Cling On Brush (the Flat is my favorite)
- Solid Wood Panel
- Saw Horse
- Jig Saw (I have an old version Ryobi)
- Jig Saw Blades
- Sandpaper
- Electric Router
- Decorative Router Bit Set (I used a set from Ryobi- this is Roman Ogee)
- Electric Drill
- Trigger Clamps
- Hardware
- Wood Glue
- Wood Screws
A Vintage Cabinet with No Table Top
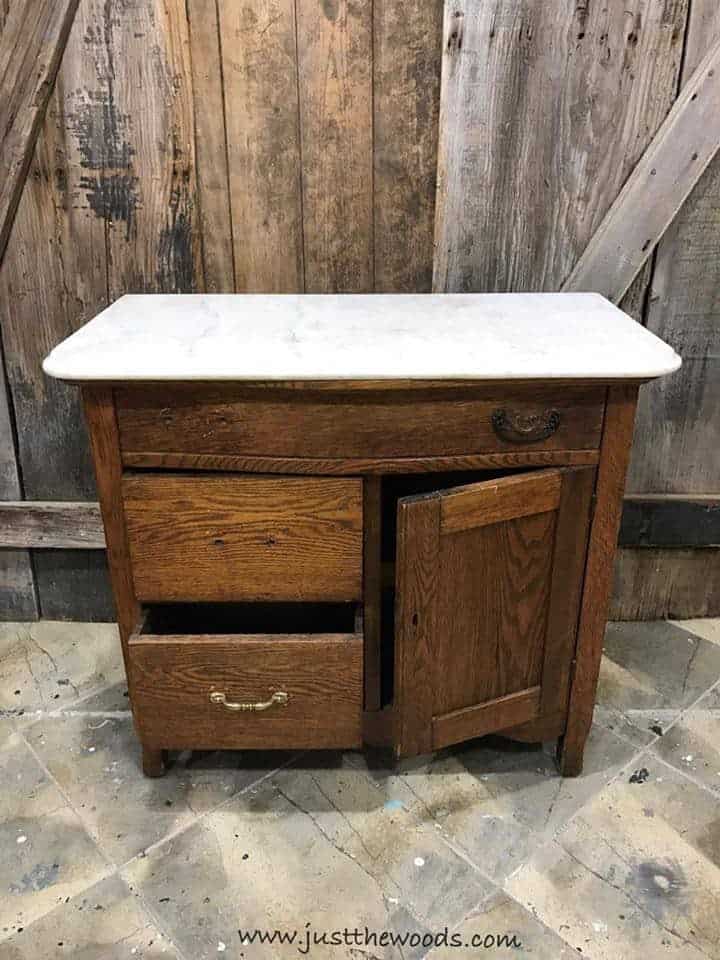
This is the cabinet as it came to me. Great potential but in need of work.
Before Painting Furniture Repairs Need to Be Made
The entire cabinet is sanded and cleaned, hardware removed and the contact paper removed from the drawers. The beauty of contact paper is it actually does preserve the beauty of the wood underneath. Click here to see how I Prep Painted Furniture.
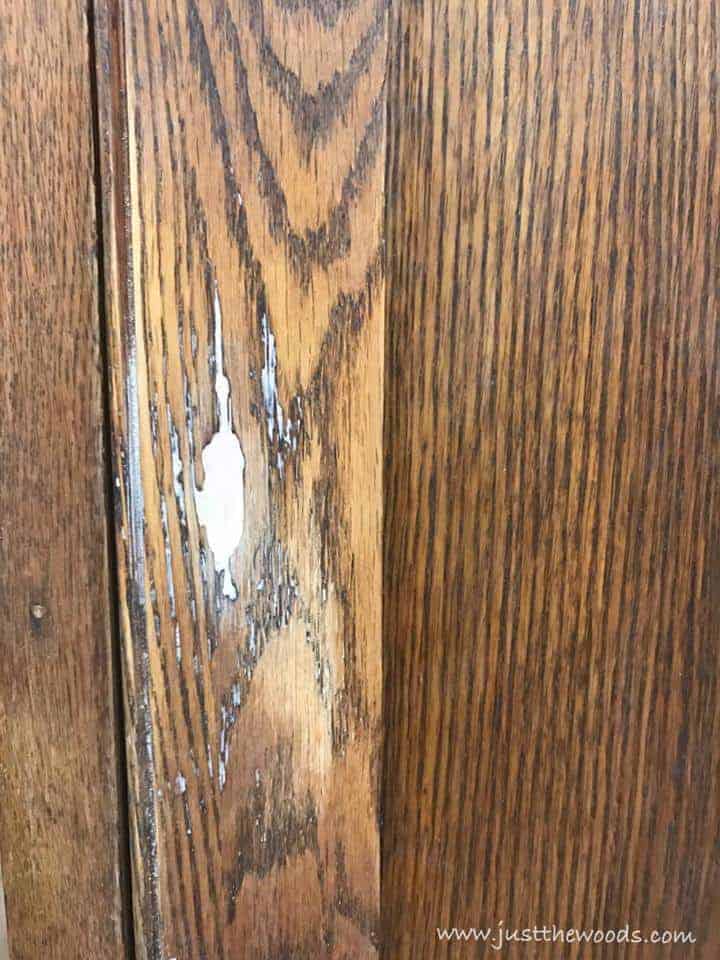
There is an old keyhole on the cabinet door that needs to be filled since we are replacing the hardware. The new hardware had a slight obstacle to overcome. Click here to see how the hardware was tackled: How to Stretch Hardware Holes.
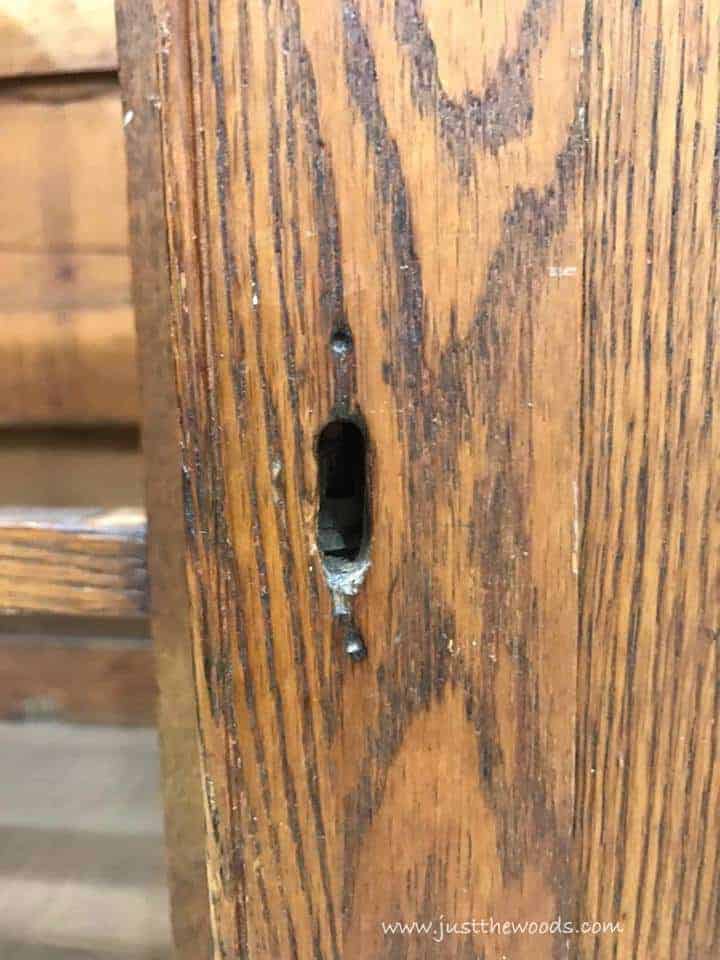
The hole was filled and sanded smooth.
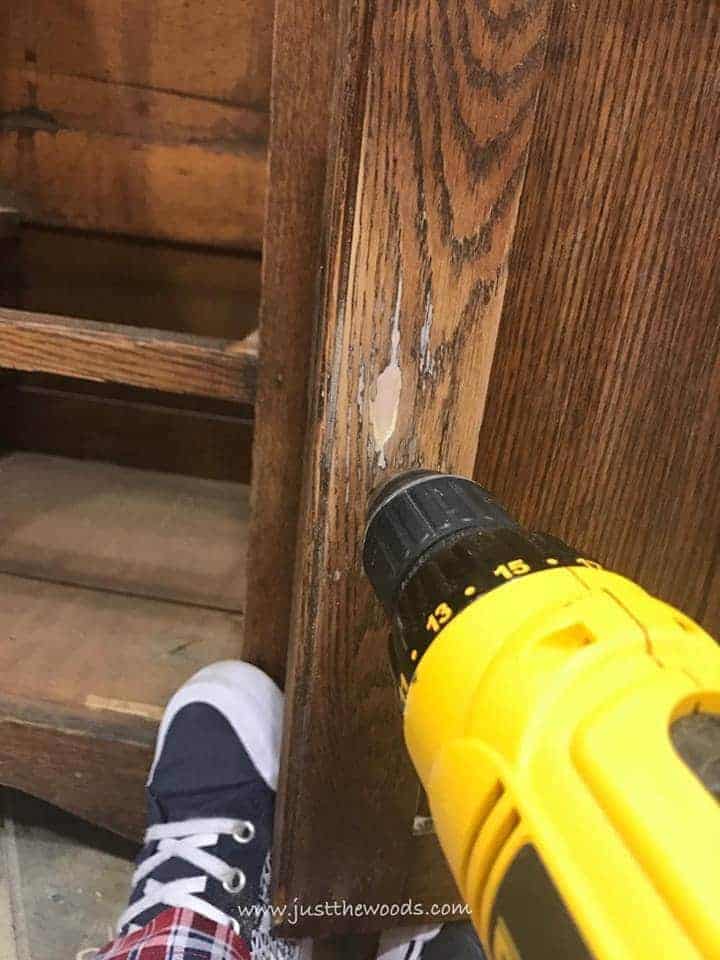
New placement was measured for the new hardware pull and a new hole drilled.
Painting Furniture in Eggplant Purple
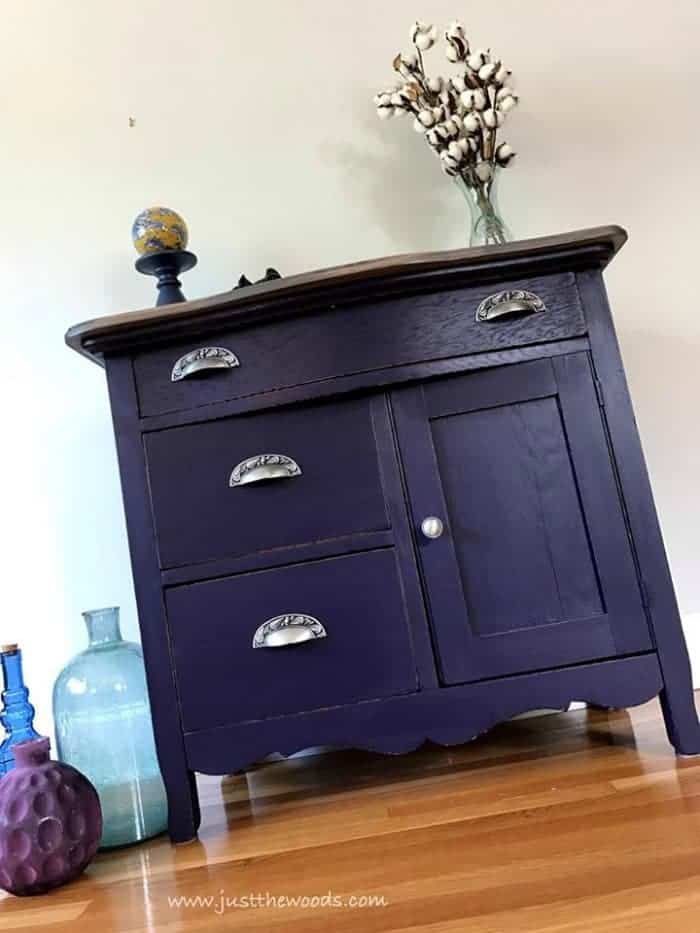
The entire body of the piece was painted in a deep purple eggplant because it’s my customer’s wife’s favorite color. I wonder if my hubby even knows my favorite color.
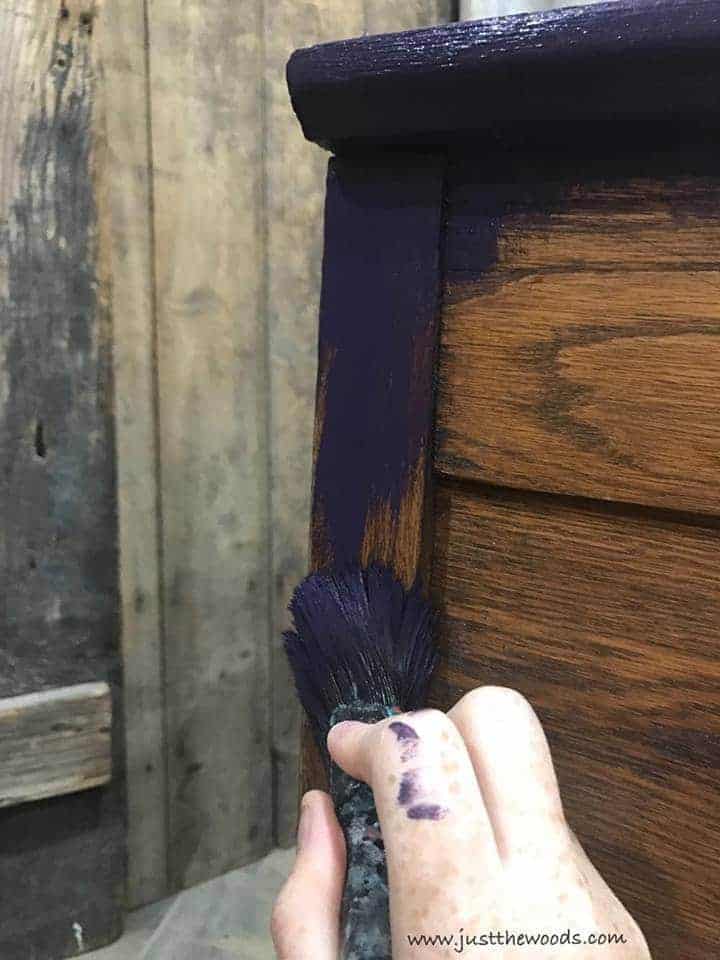
You can find great quality furniture paint and stain online HERE. An added bonus, when painting furniture, you want to make sure to use a quality non-toxic furniture paint.
In between coats of paint, the surface is lightly sanded for a smooth finish.
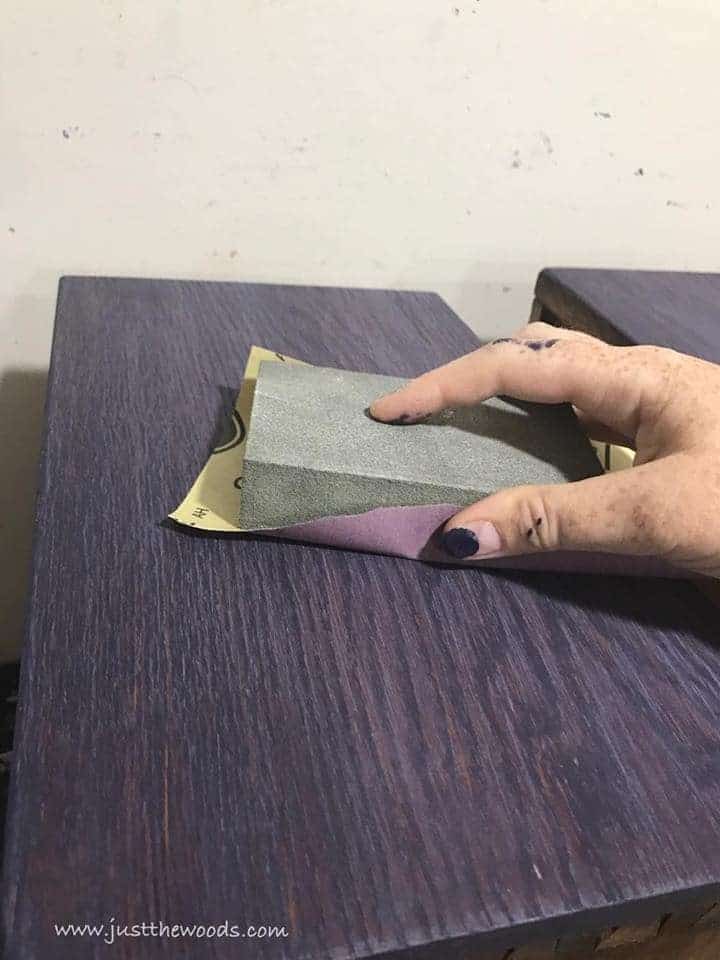
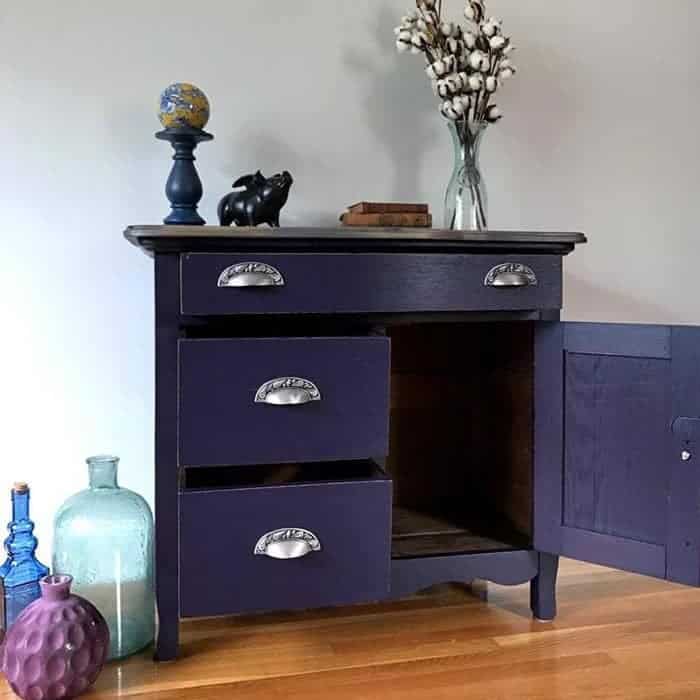
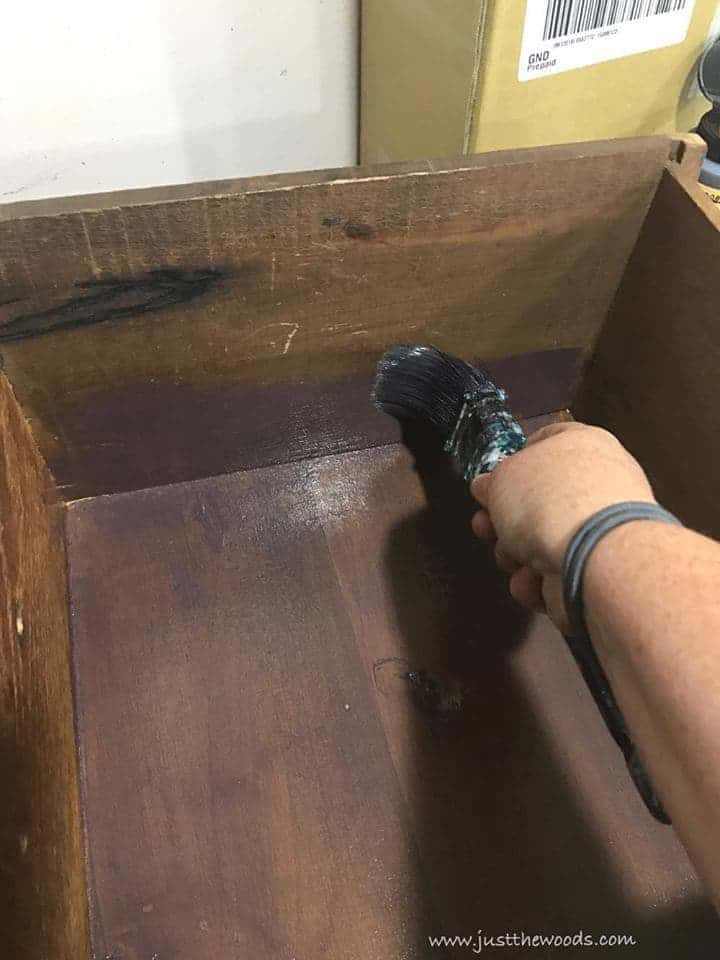
After two coats of eggplant purple, the piece is distressed and sealed for protection using a clear matte protective sealer. The inside of the drawers are freshened up with a brown protective wood stain.
Sticking Wooden Drawers
Like many pieces where wood rubs against wood over time, they may stick. I’ve heard of many different solutions to prevent drawers from sticking, here are a few:
- rub with a stick of beeswax
- rub with a bar of soap
- beeswax oil
- candle wax
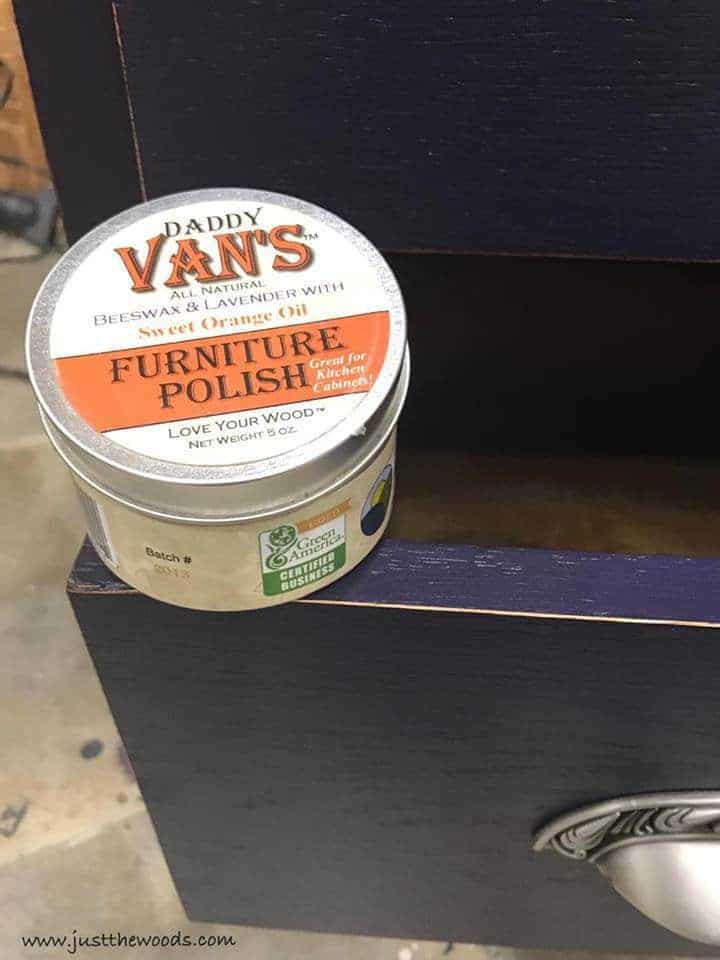
Can you see a pattern here? Those listed as are all great suggestions but I’ll tell you my favorite. To allow the drawers a smooth slide I apply Daddy Van’s Furniture Polish to the spots where wood meets wood with a clean rag. Of all the methods to prevent drawers from sticking this has worked the best and it allows wooden drawers to slide easier.
Let’s Build a New Tabletop
The temporary white stone table top came to my shop at drop off but didn’t stay since it clearly does not belong. It may be difficult to see in the photo but since the cabinet top is curved and the stone top is rectangular the stone didn’t cover the entire wooden surface making it appear awkward.
Time to Build a New Table Top
First things first. I need to find an appropriate piece of wood for my new table top. I had no luck at the first big store I went to, but luckily the second stop was better. Good thing I measured before heading out. Many of the smaller pieces of wood were 16.75″ deep but I need at least 17″. I purchased a stain grade solid wood panel sized at 3/4″ thick, 24″ deep and 48″ wide.
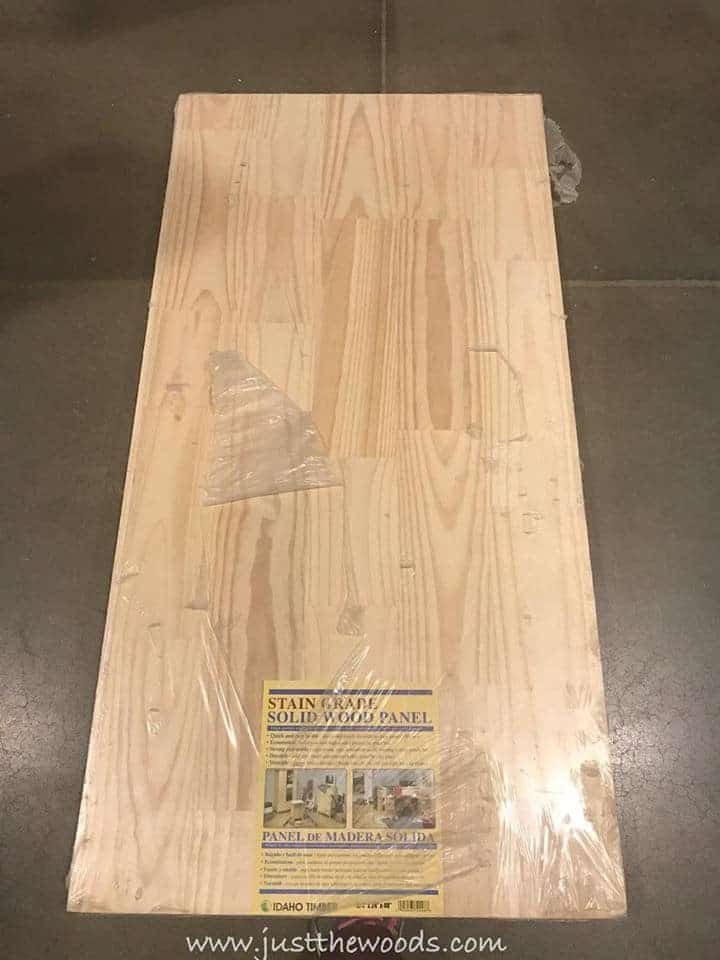
As you can see the table top is not perfectly straight but has a curve to it. I will need to create a template.
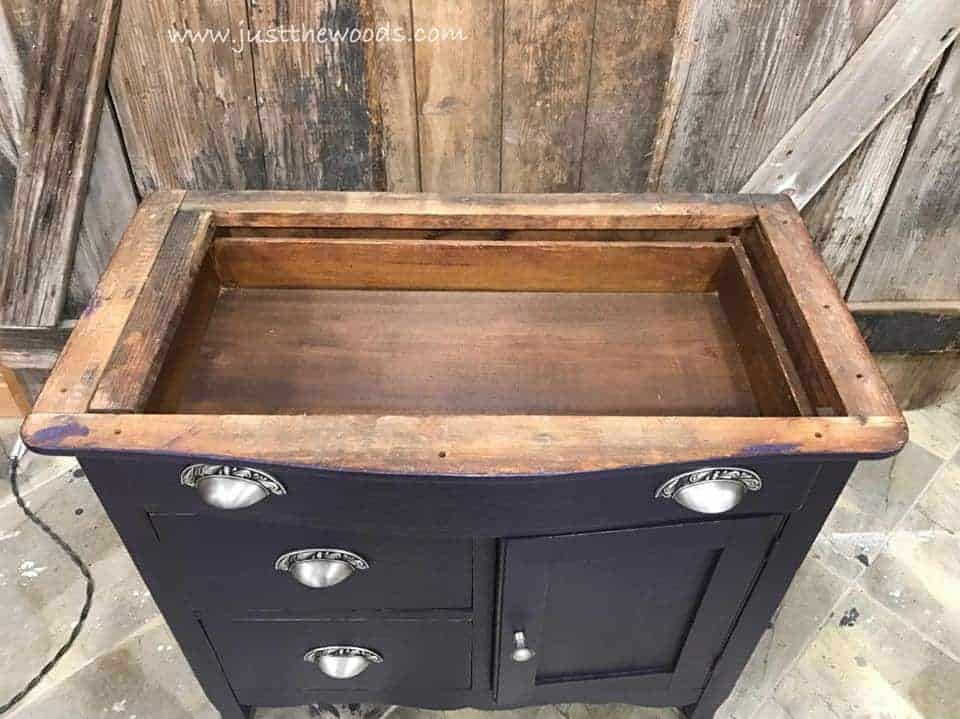
Creating a Template for the New Table Top
Next, to ensure the table top is cut to size I created a template using brown paper. I wrapped the wood panel in brown paper and then lay the panel and paper over the cabinet.
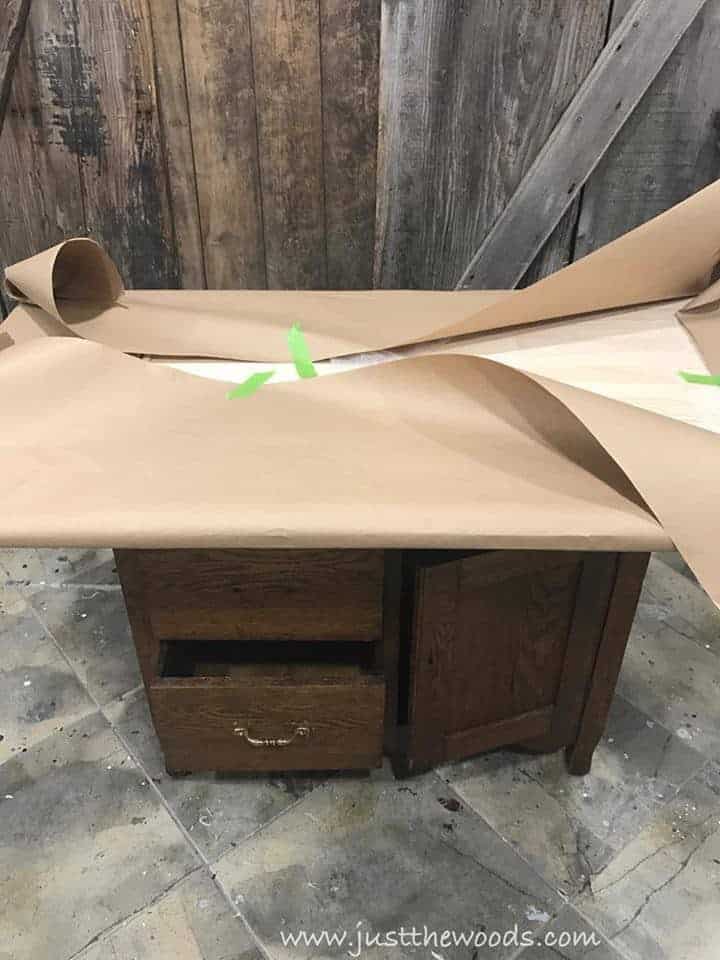
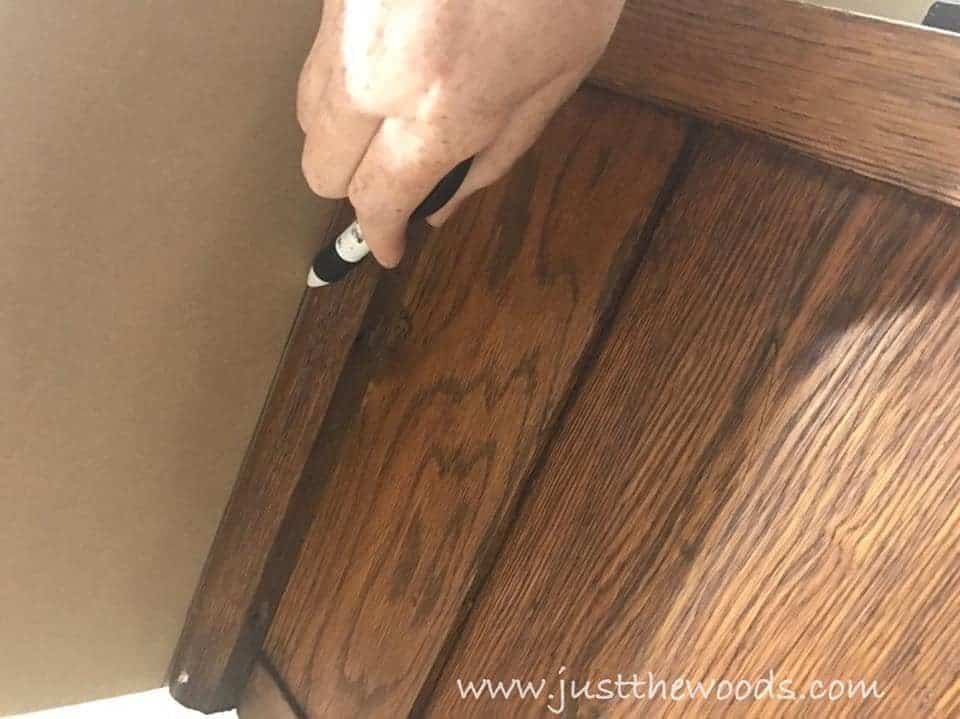
From here I laid on the floor and follows the outline of the cabinet top to trace along onto the paper.
Once I had the table top traced onto the paper I cut the excess away.
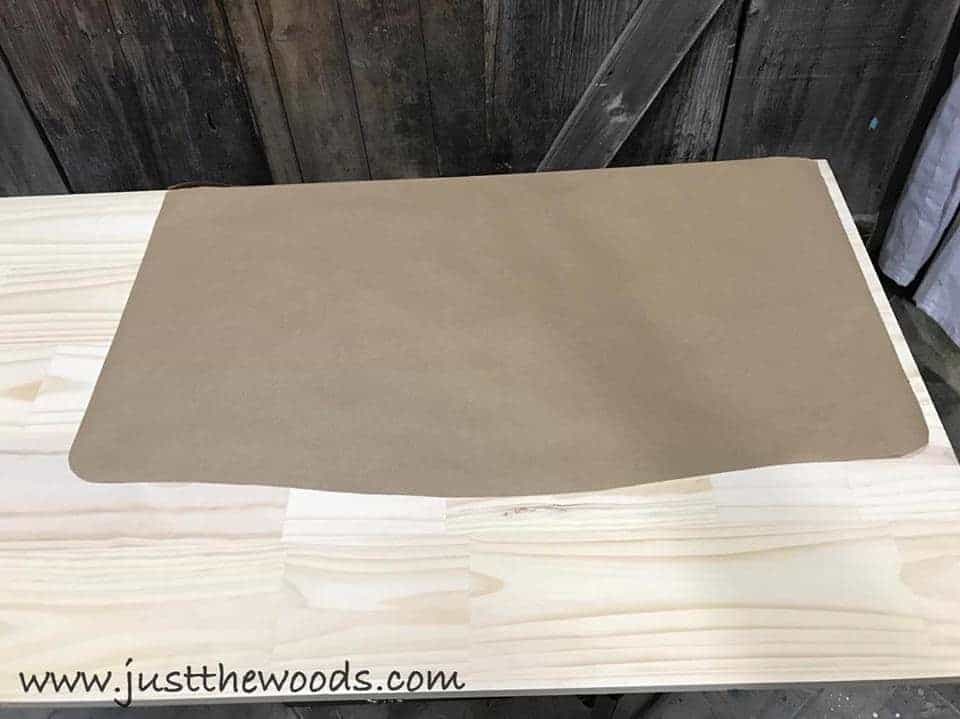
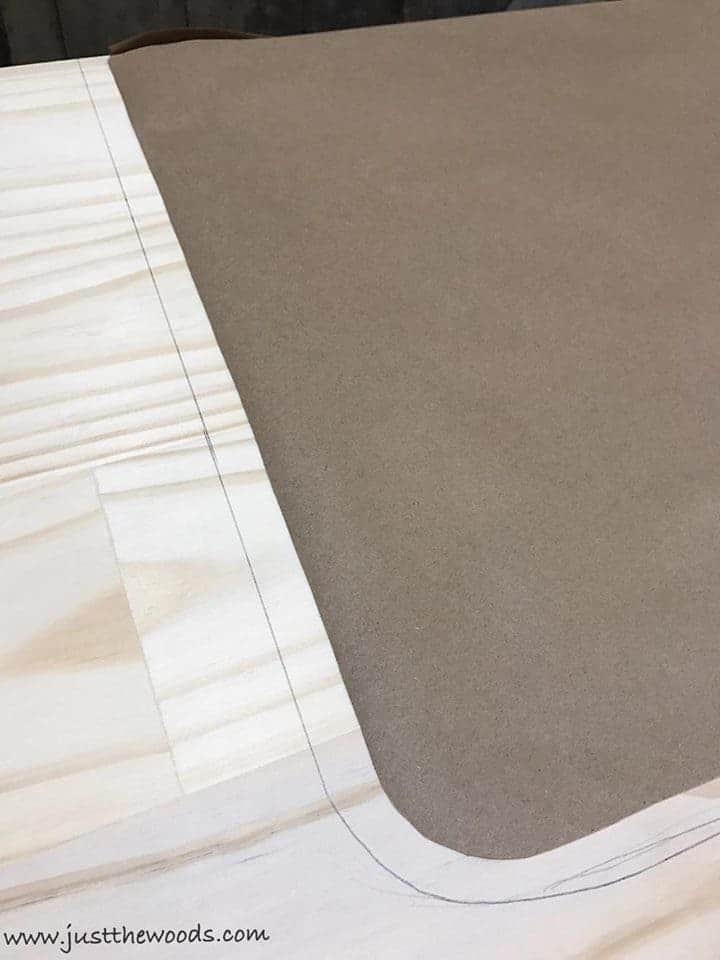
The paper template is placed flush with the back and taped to the wood. Next, I pencil line around the template onto the wood. I pencil lined approximately 1/2′ out from the template for two reasons.
- Leave room for error (I like to play it safe)
- Create a slight overhang
Since I will cut this table top with a handheld jigsaw I want to leave a little room for error, just in case. That way I can sand the edge smooth and not worry that my table top is shorter than my cabinet itself. I also want to create a slight overhang rather than have the new top completely flush with the body itself. This also creates the appearance that the piece is slightly larger than it is.
Cutting a New Table Top
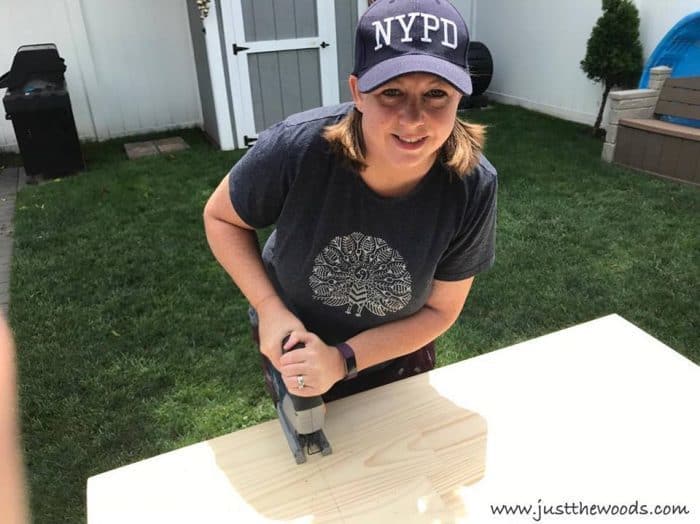
With the template drawn onto the wood panel, we are ready to cut the new tabletop. The wood was placed onto the saw horses outside to avoid the sawdust mess in my shop. Using my handheld electric jigsaw I followed along and cut out the top.
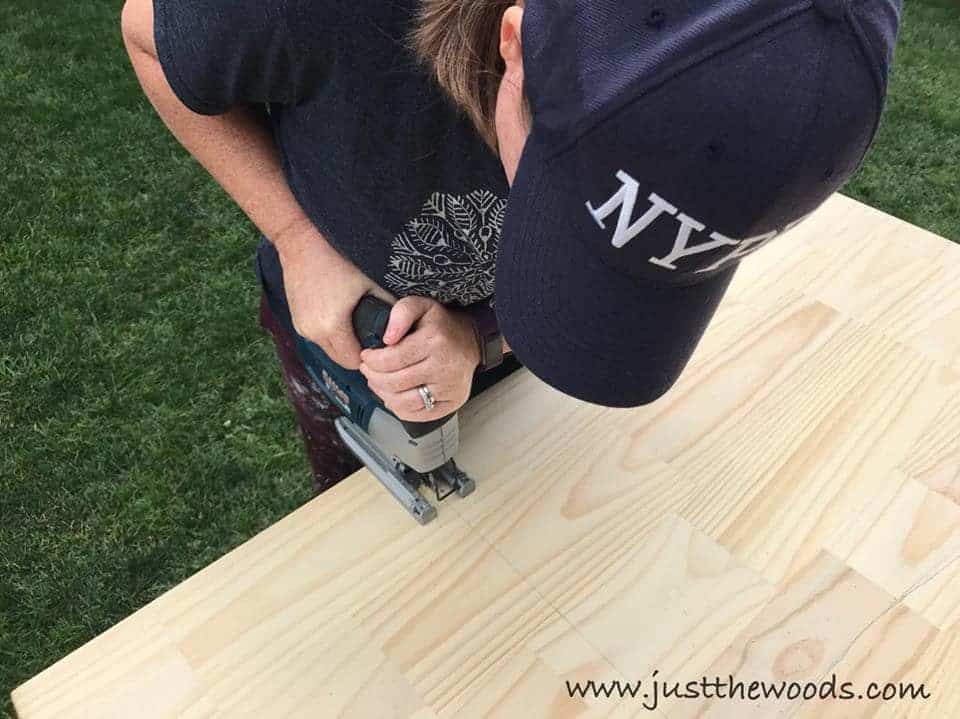
Letting the jigsaw lead the way the template worked like a dream.
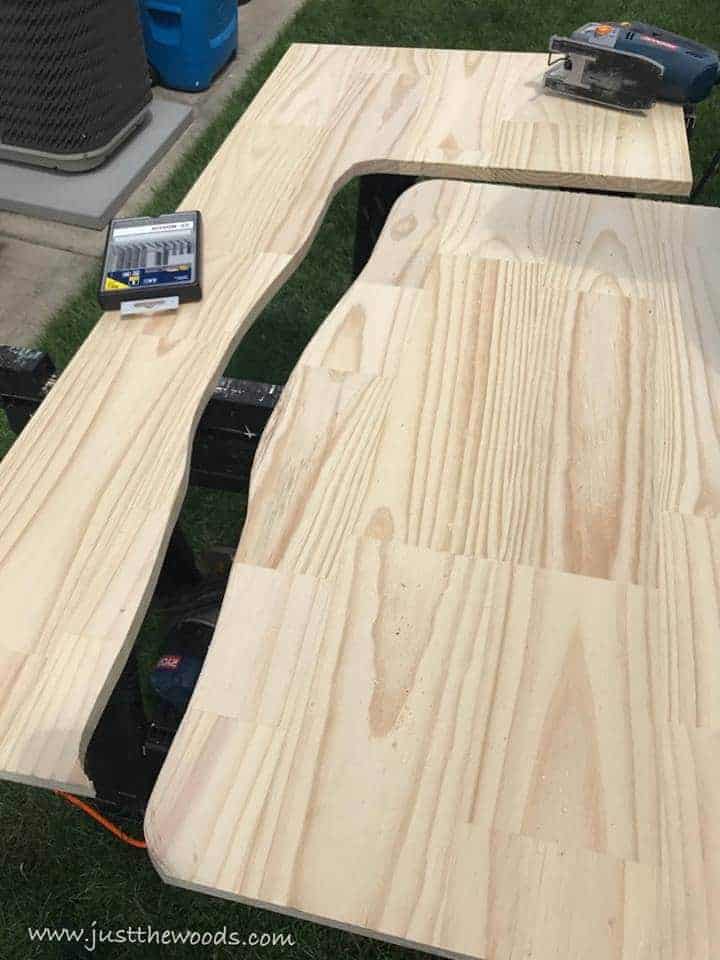
The general shape of the table top is cut out, but the edges are a little rough. With the new top cut, I also have enough leftover wood to make an address sign for our cabin upstate. You can find that project here: DIY Address Sign.
Creating a Decorative Edge on Your Table
To create a decorative edge to the table top I first used the simple rounded router bit. The rounded edge was sanded but was still missing something.
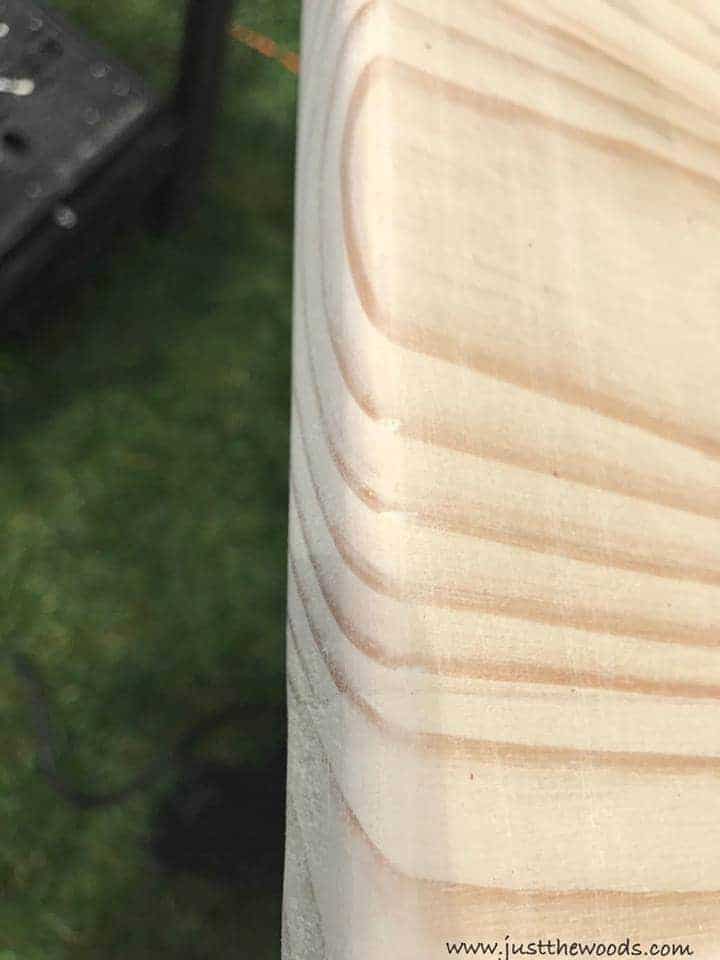
I grabbed the different edge options and had to make a decision.

Round two with the router will be in the Roman Ogee.
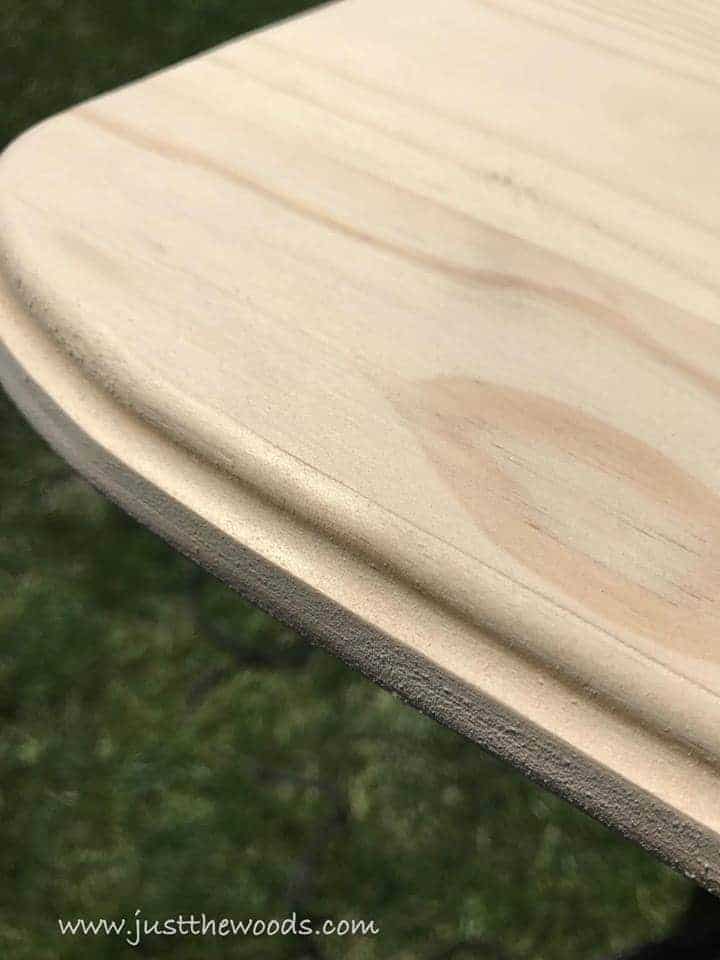
The edge was sanded with fine grit sandpaper for a smooth edge and brought back to the piece to see how it looks.
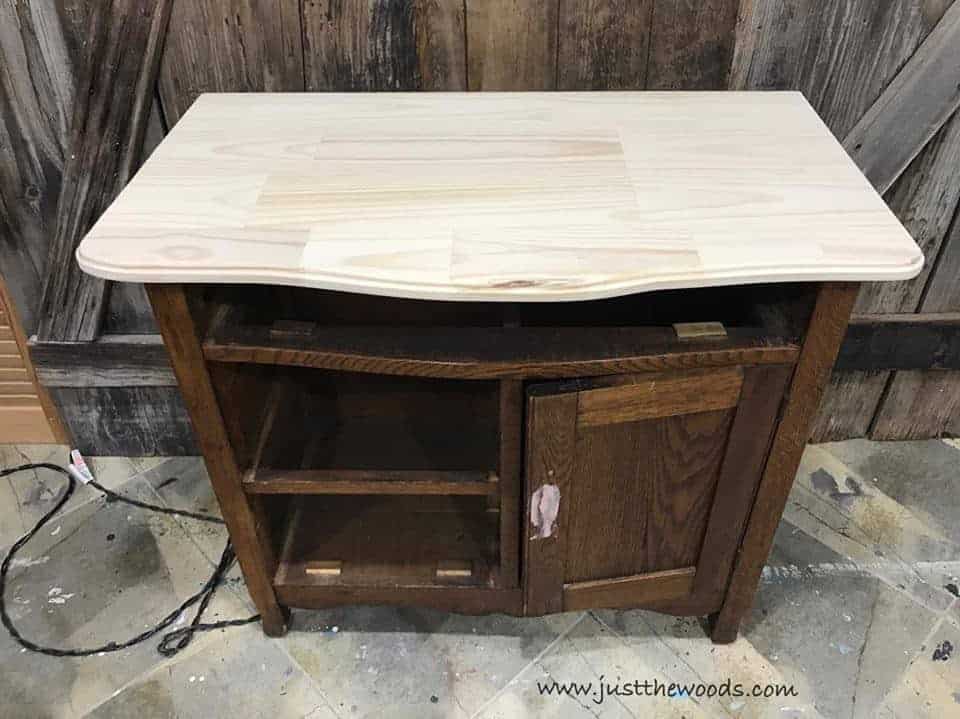
Feeling inspired yet? Find more DIY inspiration on my DIY Builds Pinterest board.
Securing the New Table Top to the Cabinet
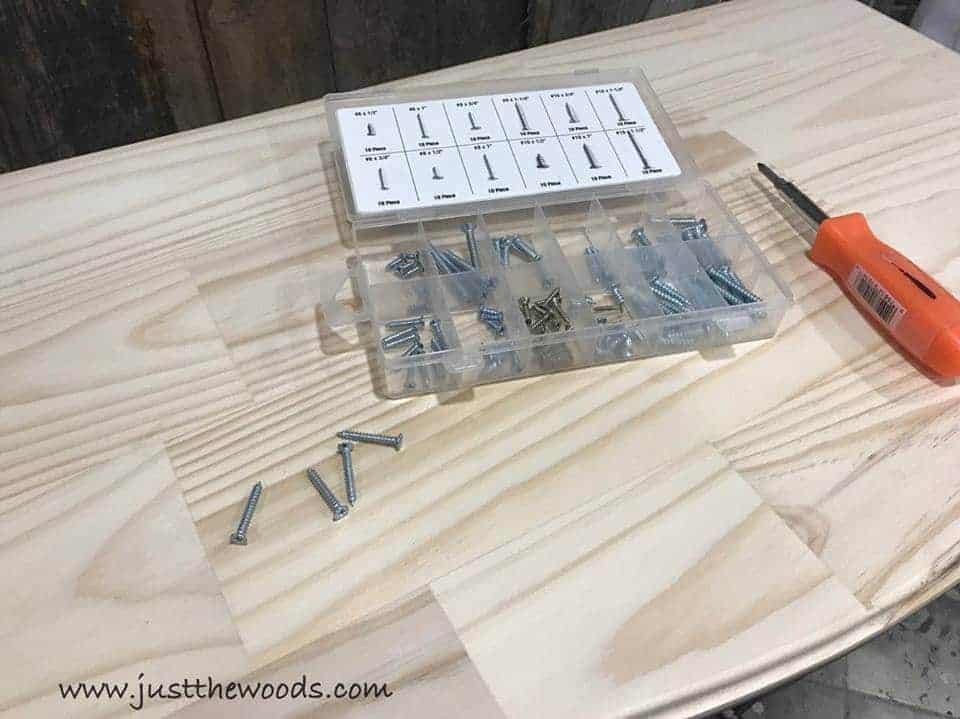
Now that we have the new table top and have put all of the tools away its time to secure it. I grabbed my wood glue, trigger clamps, and wood screws. Wood glue is liberally applied to the cabinet top.
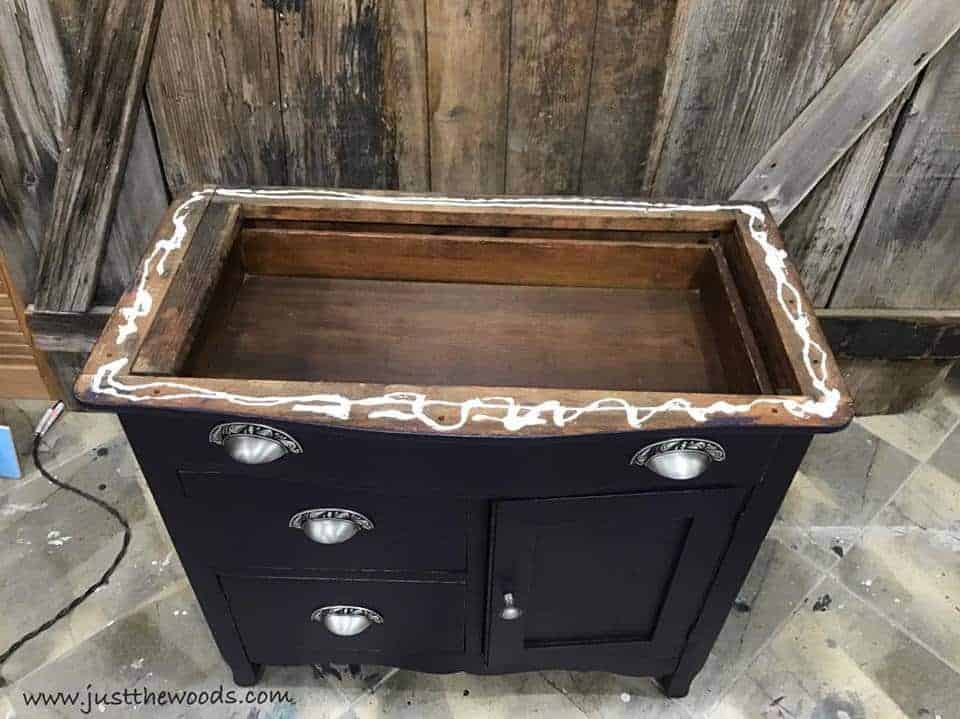
Next, the new wood top is placed on the piece flush with the back. I also made sure to measure the slight overhang to make sure that its equal on either side. Once I know the top is in place I used trigger clamps to hold the wooden top down. Brown paper was also placed between the clamps and the top to make sure no previous dirt transfers from the clamps to the wood.
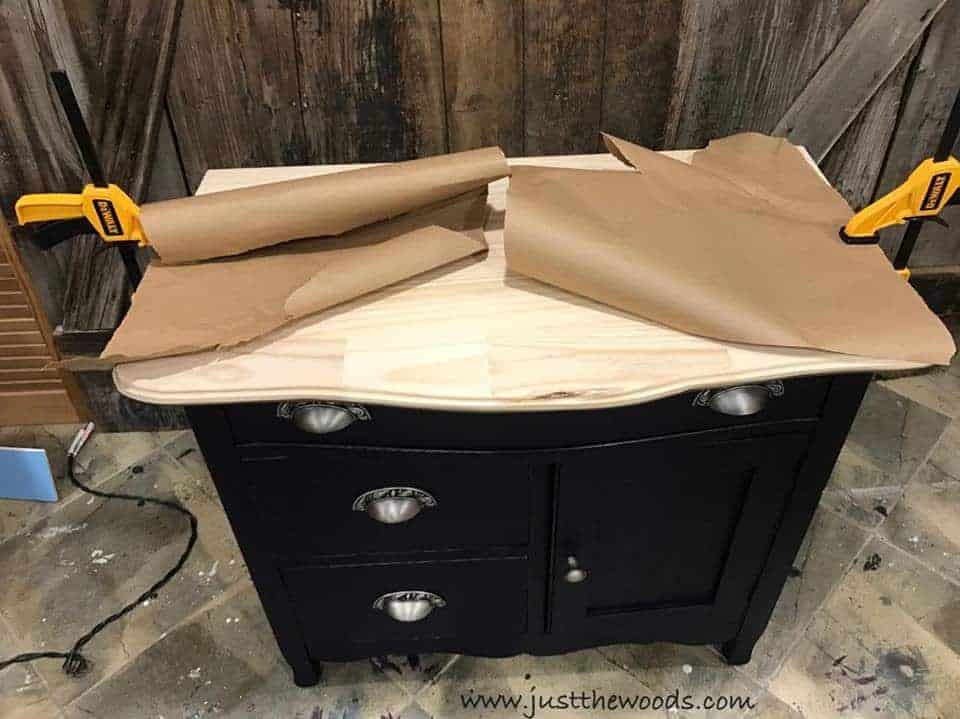
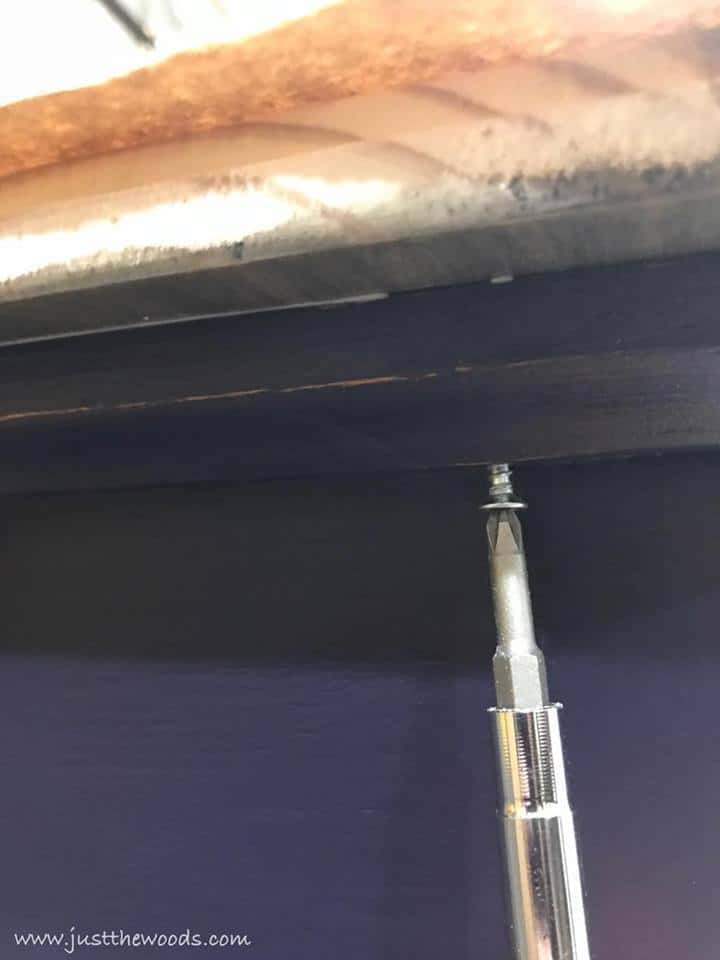
The area where the top meets the body of the piece was checked for any excess wood glue and wiped away with a damp cloth to prevent drips. There are pre-existing holes in the base of the cabinet from where the original top was screwed to the piece. Using a few wood screws I used the same holes to secure the table top. Make sure to choose screws that are long enough to enter the table top but not so long that they would go all the way through.
Adding Wood Stain to the New Table Top
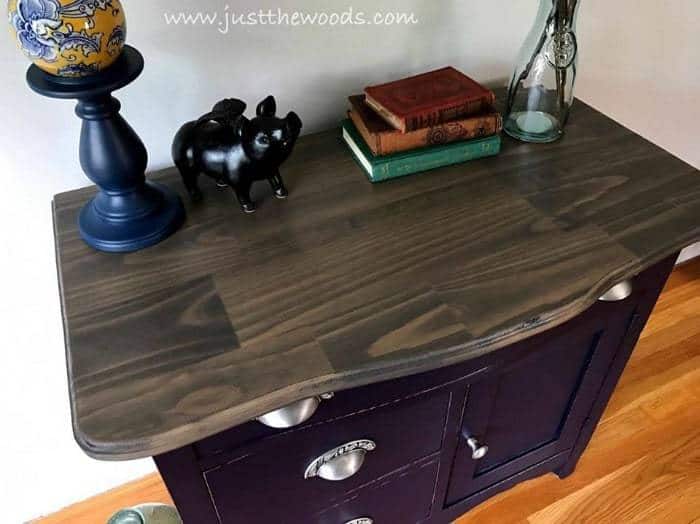
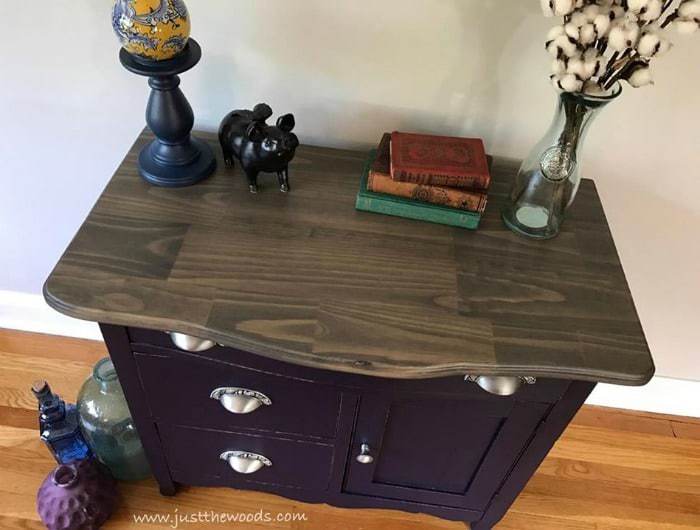
Once the table top is secured to the piece you can remove the clamps and paper. I opted for our gray wood stain. The stain adds a gorgeous gray based stain while bringing out the detail in the wood grain.
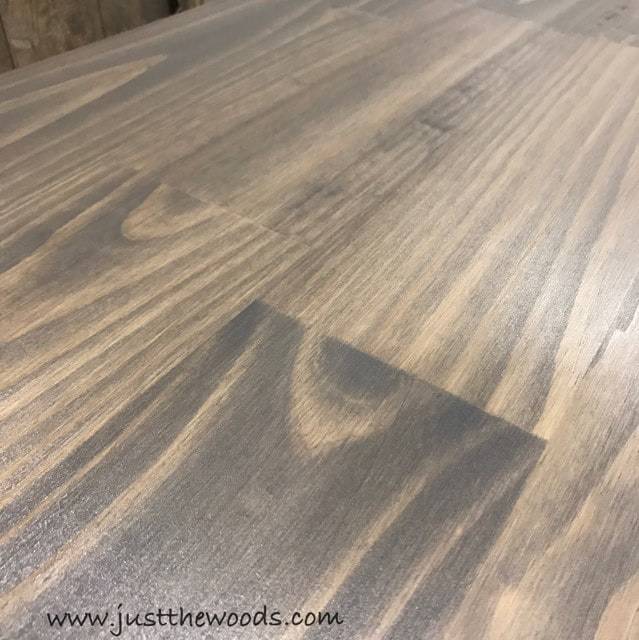
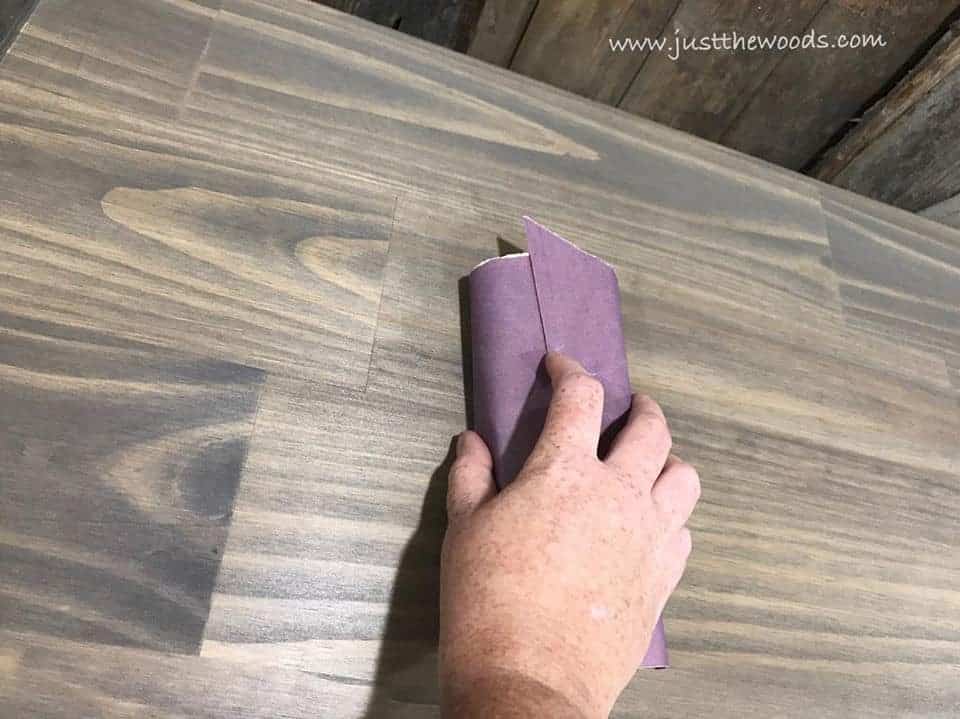
In between each layer applied the top was lightly sanded with a fine grit sandpaper to keep the table top super smooth.
[clickToTweet tweet=”Build a New Table Top for Old Furniture” quote=”Sharing is Caring. If you dig the project click to tweet” theme=”style5″]
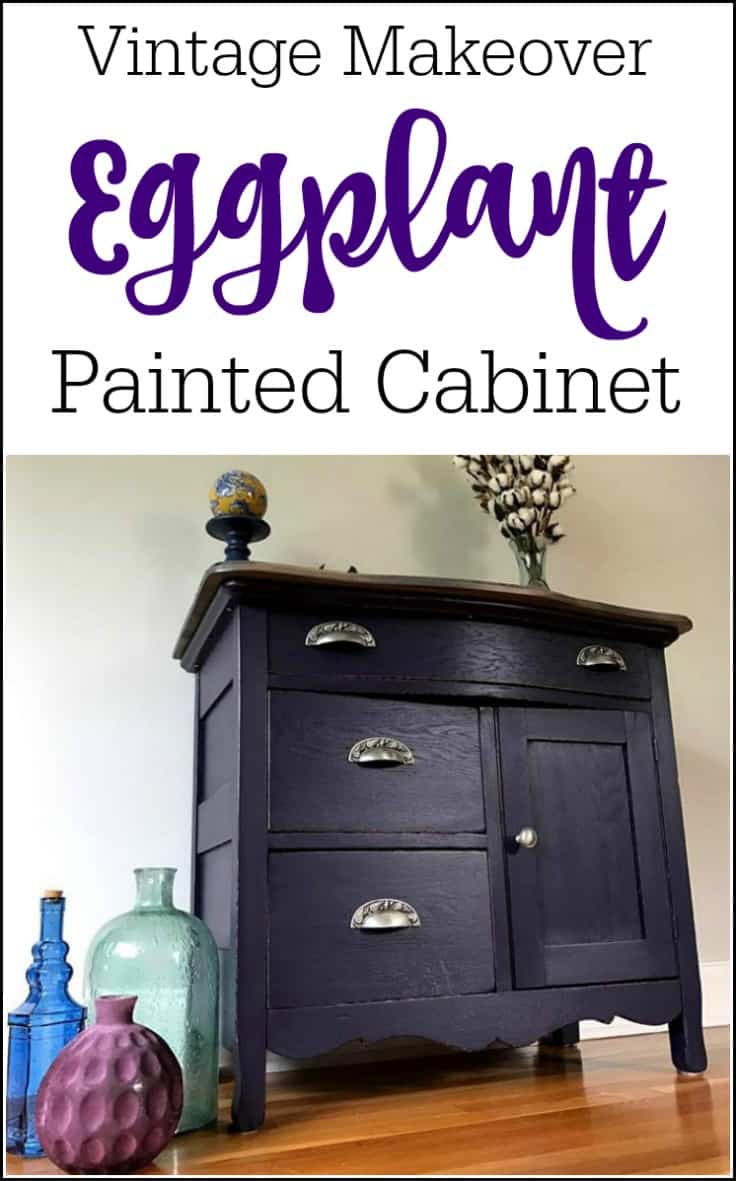
Vintage Cabinet Makeover with New Table Top
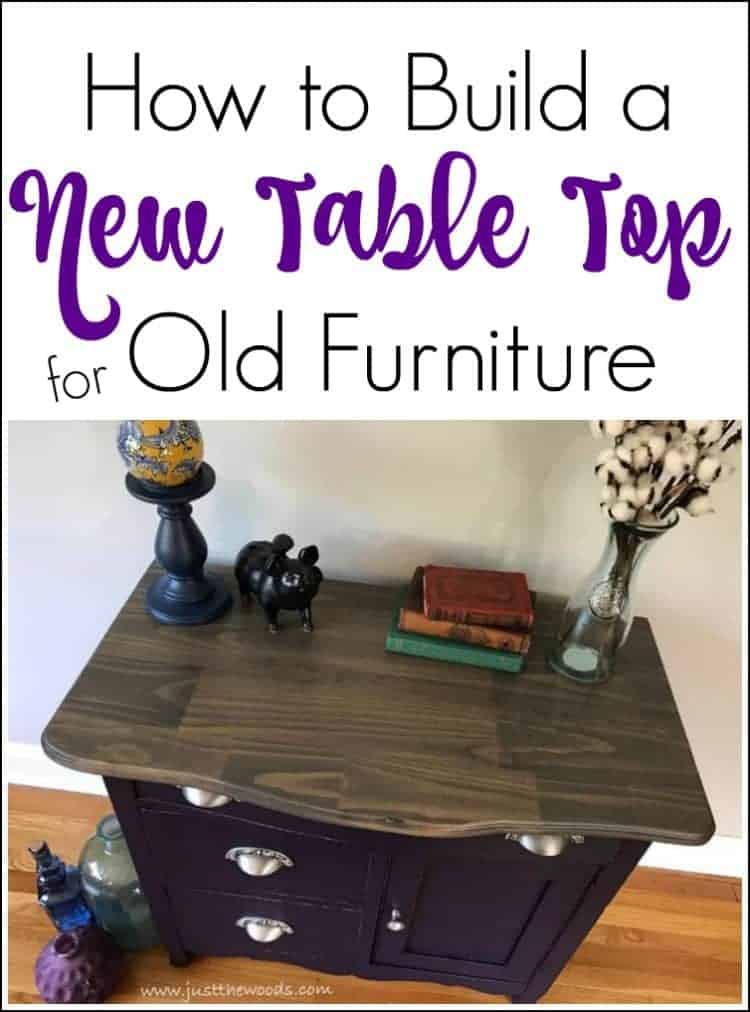
Out of the basement ready to head back home. My customer’s wife was surprised and loves her new/old eggplant painted cabinet. It has made its way out of the basement and into their home.
Check out all of my furniture projects with over 90 painted furniture makeovers: Stunning painted furniture ideas.
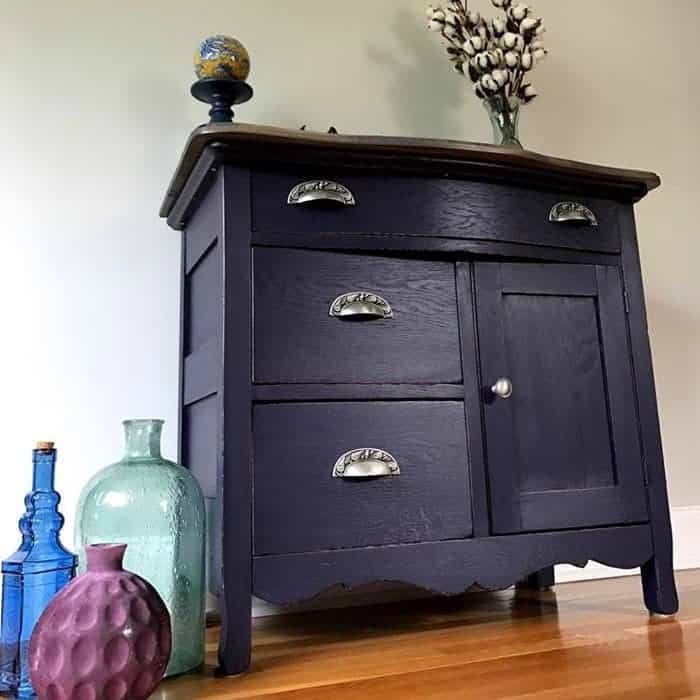

This project had a few issues with the hardware holes and pull spacing. Click to see How to Stretch Hardware Holes
Wait! Don’t Go! It’s that time of the month again for:
Furniture Fixer Uppers
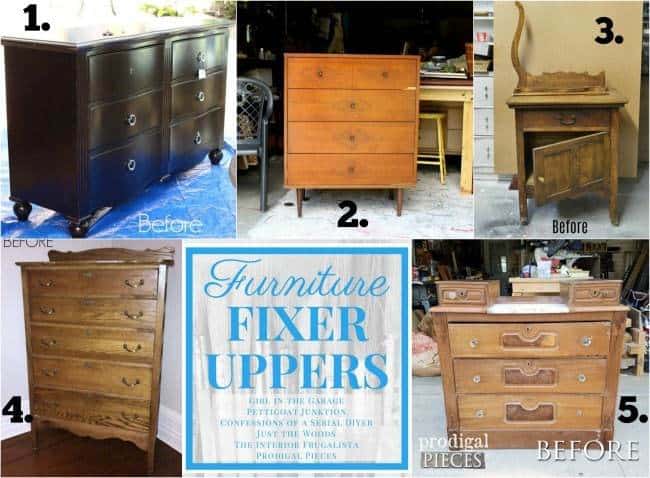
A few of my creative and talented blogger friends and I have joined together in our monthly Furniture Fixer Uppers share. Let’s see what my friends are up to! Make sure to click the links below the image to check out all the amazing projects that my bloggy girls are working on this month.
- Confessions of a Serial DIYer
- Petticoat Junktion
- The Interior Frugalista
- Girl in the Garage
- Prodigal Pieces
Don’t Forget – Follow Just the Woods and Share this post to Inspire others:
FACEBOOK * INSTAGRAM * PINTEREST
Stay Connected and sign up here for tips and tricks: [mc4wp_form id=”1340″]




Larissa ~ Prodigal Pieces says
You go girl!! This new piece is amazing with the top and color. You did that stand proud. Pinning!
Nancy Walden says
Looks great! Thanks for sharing how to replace the top. I recently found a 1923 phonograph cabinet on the curb. Someone had tried to remove the veneer from the top so it was mostly raw wood. The sides and legs looked pretty bad but several applications of Howard Feed n Wax restored the finish so well that I decided I didn’t need to refinish it. I had to use damp rags and a steam iron to remove the last of the veneer backing. I also had to fill some small gaps between the planks before painting the top with black chalk paint. I finished the top with black wax. There was already some black shading around the legs and spindle so the end result looks intentional. Congratulations on your upcoming retirement!
kandice kullmann says
thank you so much! that sounds like an awesome project that you found too. the work always pays off 🙂
Marie says
I’m dying to know what your client and his wife thought of the makeover, Kandice! Wow, you worked your butt off on this one and the results are stunning! The top looks like it has always been on this piece – you did it proud. Love the pulls you used paired with the pretty Eggplant color too. Pinned
kandice kullmann says
thank you so much Marie! they both LOVE it! 🙂
Naomi S. says
Kandice, I think you did a wonderfully professional job on this project. I’m not totally on board with the purple color for this type of piece, but it is certainly unique. The hardware I love. You did a perfect job cutting and fitting the top to the dresser. I have a question about the wood for the top, though. I am bothered by the way it looks like a wood floor with several shorter pieces glued into one large piece. Is it clear what I mean? Is it not possible these days to buy one solid piece of a particular type of wood? Or is it too expensive to do that? I would have preferred the look of a solid piece on the top of this little dresser. You might have had to take it from another piece that was beyond repair, though, and that might have taken some time to find. I’m interested in knowing how the folks you did this project for like it?
As you can probably tell, I tend to be pretty perfectionistic (and opinionated), but don’t take it personally. My opinion is just my opinion, not the last word on anything! I’ll just repeat that I think you do beautiful work and that you will take my opinion on this particular project with a grain–or two or three– of salt!
kandice kullmann says
hey no worries! I know what you mean. Initially, they were going to keep the white stone top but it looked sooo weird! I worked with what I could and this top was the best I could find without spending a fortune, but I know what you mean about the wood. I kinda like all the movement in the top and the grain though 🙂 The owner (husband and wife) love it!! I appreciate your feedback <3 <3
Jen, Girl in the Garage says
Kandice- first of all, since I finally got to meet you and chat with you last week, I kept imagining your post read in a thick accent. 🙂 Second, this project is PERFECT timing for me – did you see the photo of the Spanish end tables that I got two days ago (posted on my FB page)? They are missing their tops too! They were probably marble, once upon a time. 🙁 We will definitely refer to your tutorial when it’s time to make new tops for them. Thank you!
kandice kullmann says
hahah I dont think my accent is that thick 🙂 and Yay for perfect timing. 🙂
Audra @ Renewed Projects says
Amazing new table top! I never knew about the edge trimmers…file that away for future reference. Gorgeous color!
kandice kullmann says
thank you so much! xoxo
Debrashoppeno5 says
What a fantastic job. If we didn’t know the top was not original I don’t think we would have suspected anything. I also love the color choice.
Linda at Mixed Kreations says
You did an amazing job! It turned out lovely with its new top. I love that you stained the top instead of painting it too, so that there is a contrast between the colors.
Nancy says
Wow! You make it look so easy. Great job..
Jane says
I’m sorry to say this but I loved the piece before it was painted! lol, I know right? I just love this type of oak and this was just gorgeous. It needed some love is all. (IMHO) I think you’re great though and super smart and thanks for sharing all your knowledge with us!
kandice kullmann says
thank you Jane. It needed a whole lotta love 🙂
Toni says
I saw this beautiful cabinet while scrolling in tailwind. I had to come over and see it full size and tell you how fabulous that color is. My favorite shade of my favorite color. I might even be bold enough to paint my IKEA Hutch in that color. Seriously beautiful, and I love the new top you fashioned for it.