Did you know that Bondo wood filler works great to repair wood furniture? I would honestly consider it the best wood filler I have used. Learning how to use bondo as a wood filler takes just a few steps for long time results. 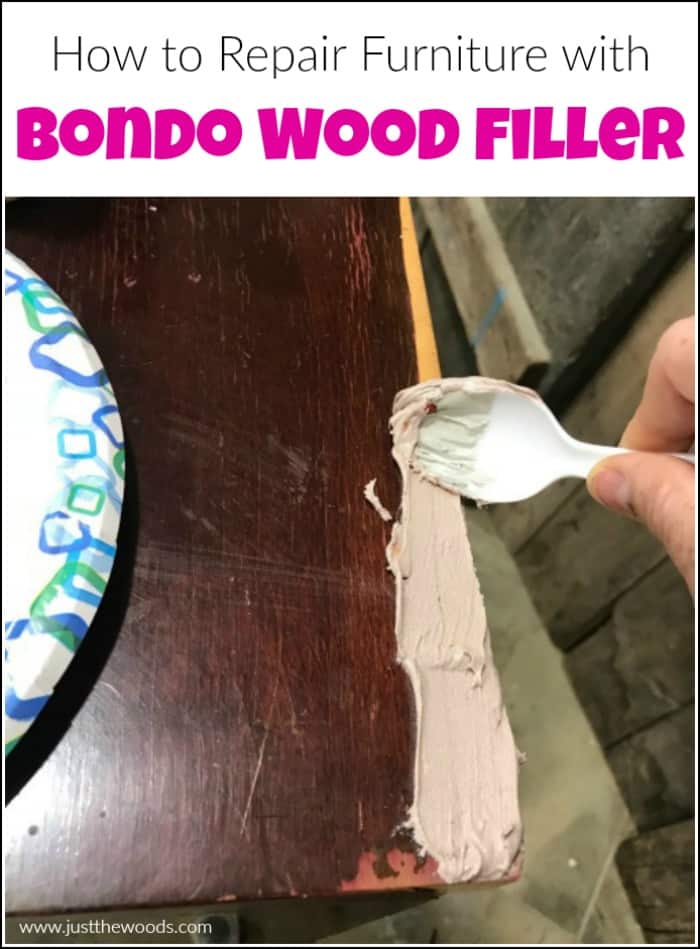
Disclosure: This bondo wood filler post contains affiliate links for your convenience. Click here for my full disclosure policy.
Which Bondo Product Makes the Best Wood Filler?
I’m sure if you take a look at all of the wood filler options at Home Depot or your local DIY supply store you could get a bit overwhelmed. There is epoxy wood filler and stainable wood filler. But what is the best wood filler? After trying multiple different wood filler products I have found the bondo filler to hold up the best and be the ultimate strongest of them all.
Here are a few Bondo repair products:
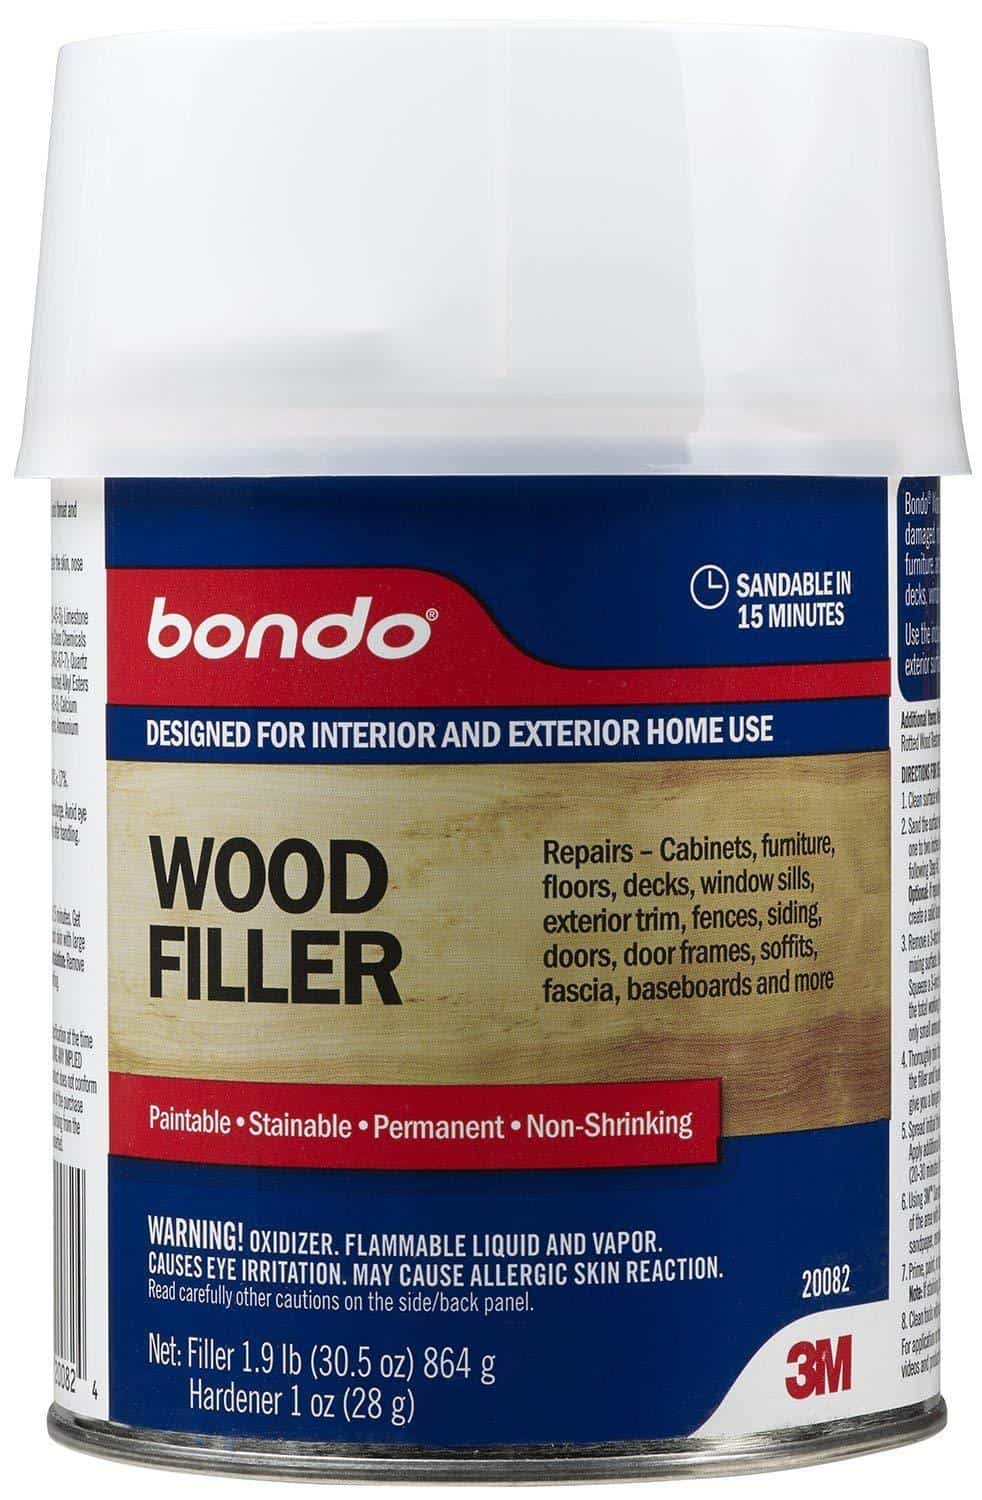
- Bondo Wood Filler – this product restores and replaces rotted or damaged sections of wood on doors, windows, fences, furniture, shutters and more. Once dried, it can be sanded, shaped, planed, drilled, routed or sawed just like wood. It is a paintable and stainable wood filler and won’t shrink when it dries. You can get it online HERE.
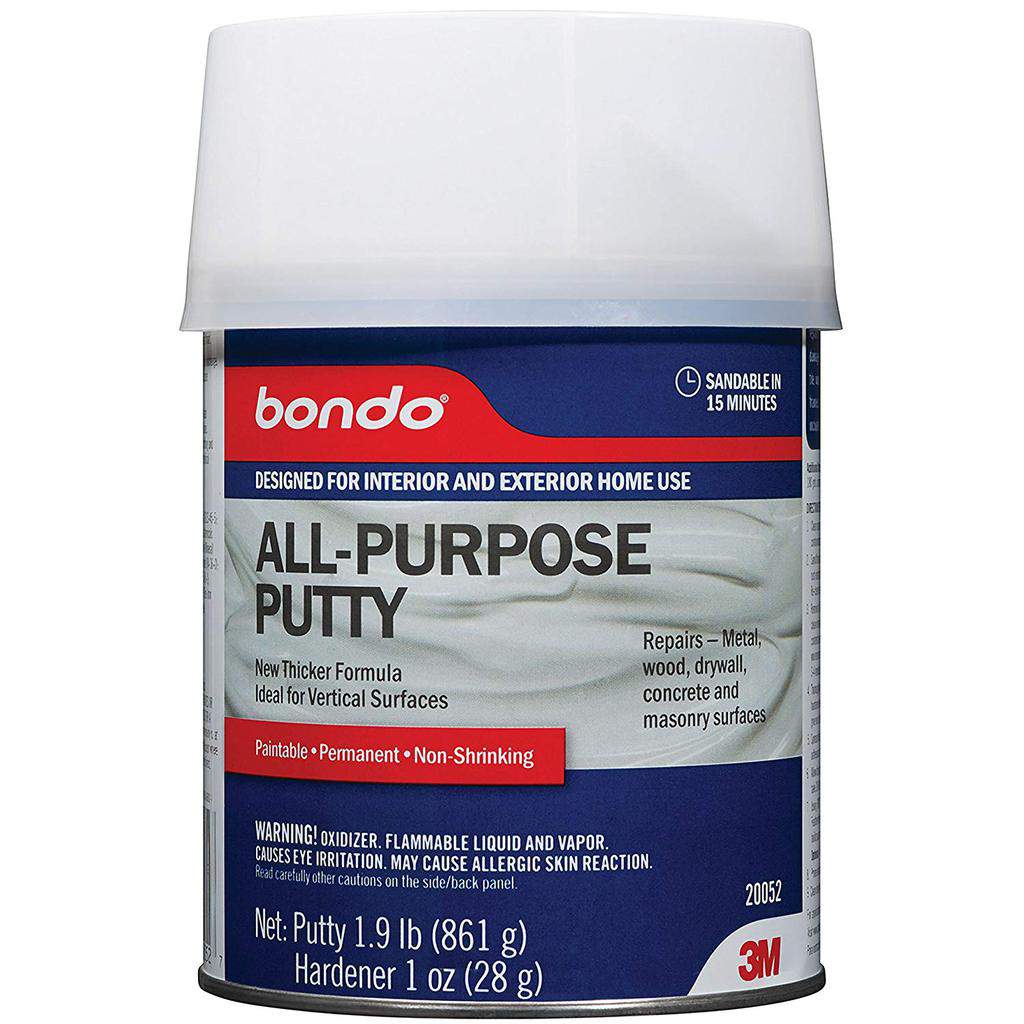
- Bondo All Purpose Putty – this product is best for use on driveways, walls, damaged chimneys, gutters, knotholes, damaged tiles, shingles fencing, windowsills, doors and more. It is paintable, but not stainable. You can find it online HERE.
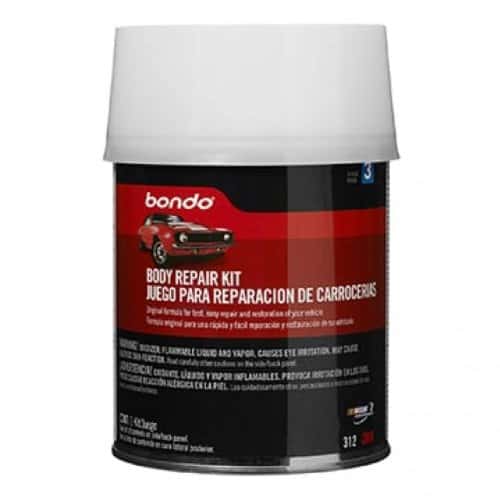
- Autobody Bondo Filler – my favorite! As crazy as it sounds this is my ‘go-to’ for furniture repair. This filler is seriously hardcore and not what I would normally think to use for fixing damaged wood. But it’s amazing! You can get this one online HERE, and I will go into more details on how to use bondo wood filler that’s initially made for cars. This is also a paintable wood filler which is perfect since the majority of my projects are painted.
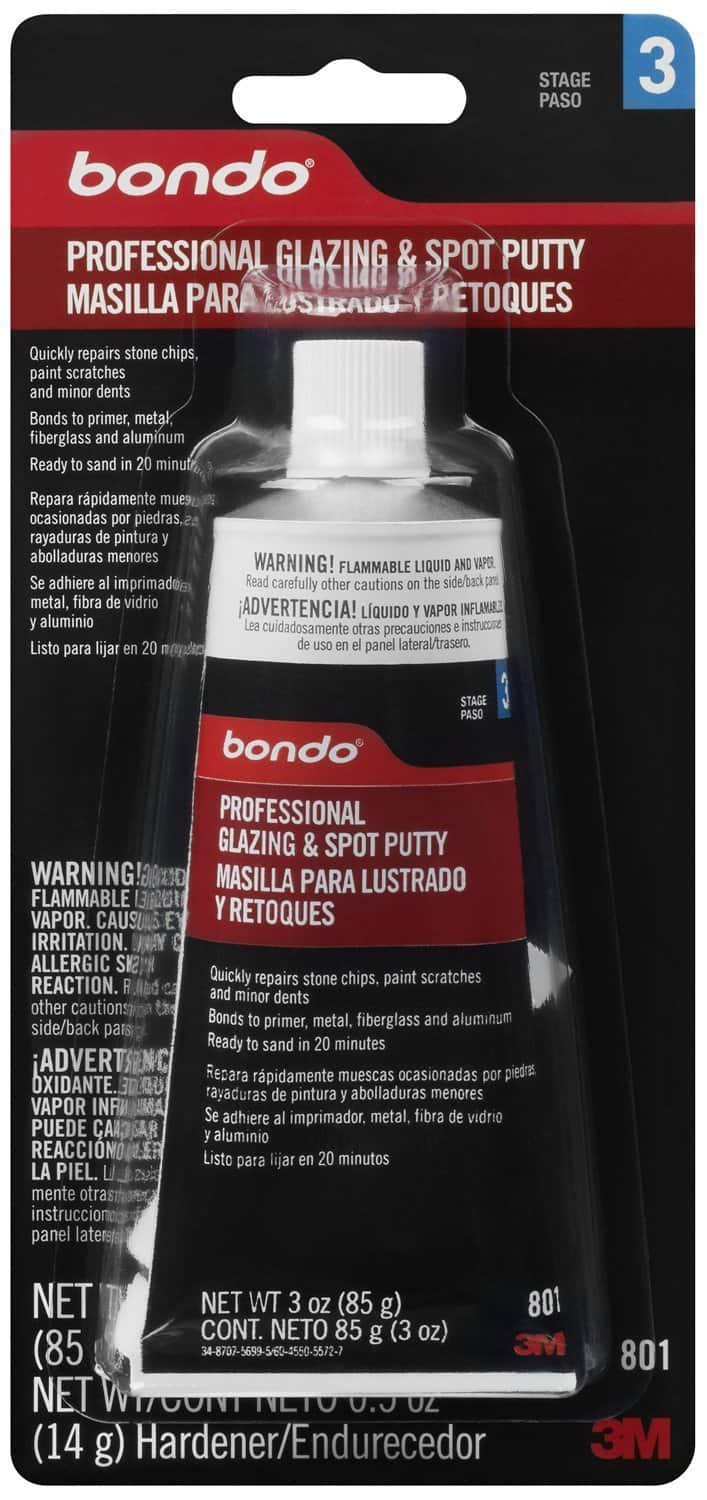
- Bondo Glazing and Spot Putty – this is my second ‘go-to’ Bondo product. When I only need a small amount of wood putty I grab this one. It quickly bonds to primer, metal, fiberglass, and aluminum and is ready to just 20 minutes. This putty can be used with all types of projects and dries fast. You can get this one online HERE.
How To Use Bondo Wood Filler
Safety Precautions:
One thing to keep in mind when it comes to using Bondo wood filler is that it is not at all non-toxic. Though I do try my hardest to use safe, non-toxic products and I always use non-toxic paints, this product does have an odor. You need to make sure to use your Bondo in a well-ventilated area or use a respirator. Basically, make sure to follow safety precautions. With that being said here are a few things that you could use to keep safety in mind:
- disposable rubber gloves – I keep a box of disposable black rubber gloves (like these here) in my shop for when I work with Bondo. Since it bonds to cars I can only assume that it wouldn’t be good to get on the skin.
- plastic spoons or plastic spreaders (like these here). I tend to keep plastic spoons in my shop for stirring or scooping paint, but a plastic spreader would most likely work better to apply and spread your wood putty.
- respirator (like this one here). If you are unable to work outside or in a well-ventilated area then make sure to wear a respirator. You should also wear something to protect your lungs when sanding, distressing and painting with products that are not non-toxic, so its good to have a respirator on hand anyway.
If you are new to furniture painting and want to learn how to update old furniture with paint you can always start at the beginning with How to Paint Furniture – a Beginners Guide.
Click HERE to Pin this post for later.
Mixing Bondo All Purpose Putty
For this first example, I am showing how to repair missing or chipped veneer with bondo wood filler. As you can see, towards the rear of this tabletop the veneer is missing and chipped. 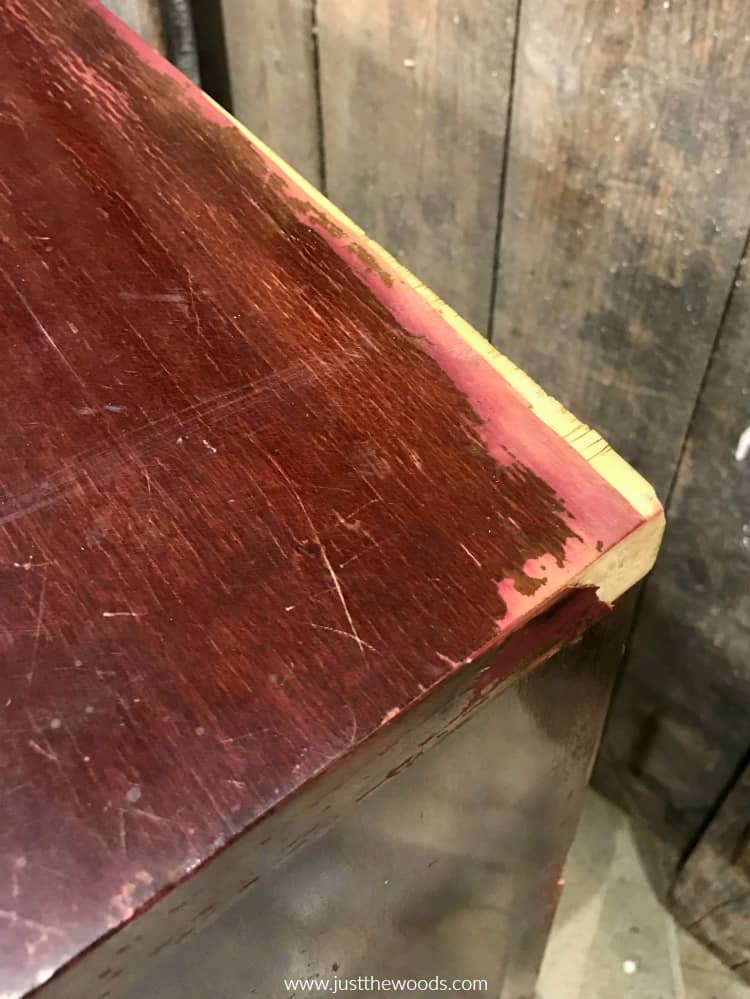
Let’s start by grabbing our can of Bondo all-purpose putty to repair wood furniture. 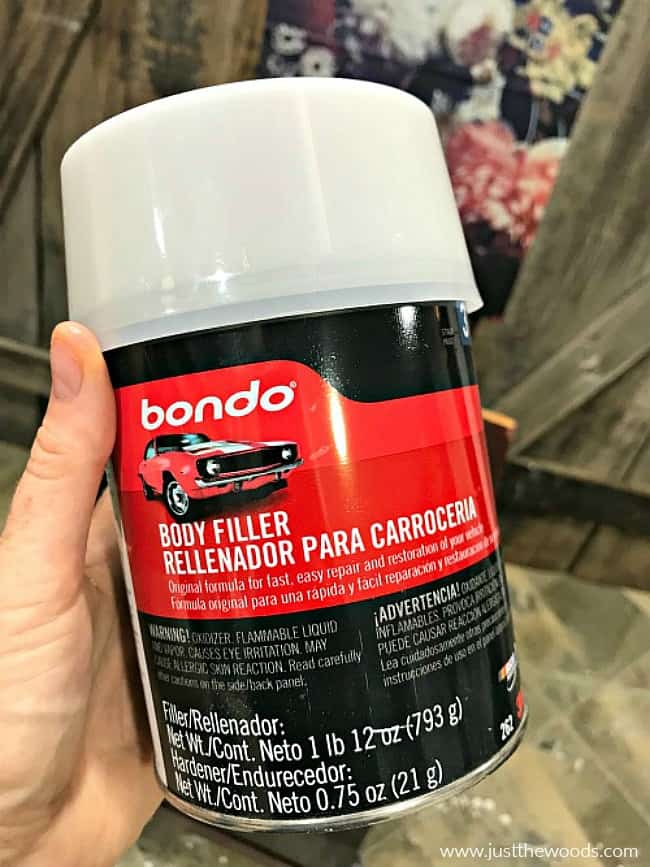
First, you will find that the Bondo putty comes with the can and a small tube contained inside the lid. The can holds the gray putty while the small tube contains the red hardener. We need to mix these two together. Do not mix these until you are absolutely ready to move along with this portion of your project. There is a short working time once the products are mixed. You will want to scoop out a decent amount of the gray putty and squeeze a small amount of the red cream hardener onto a paper plate. 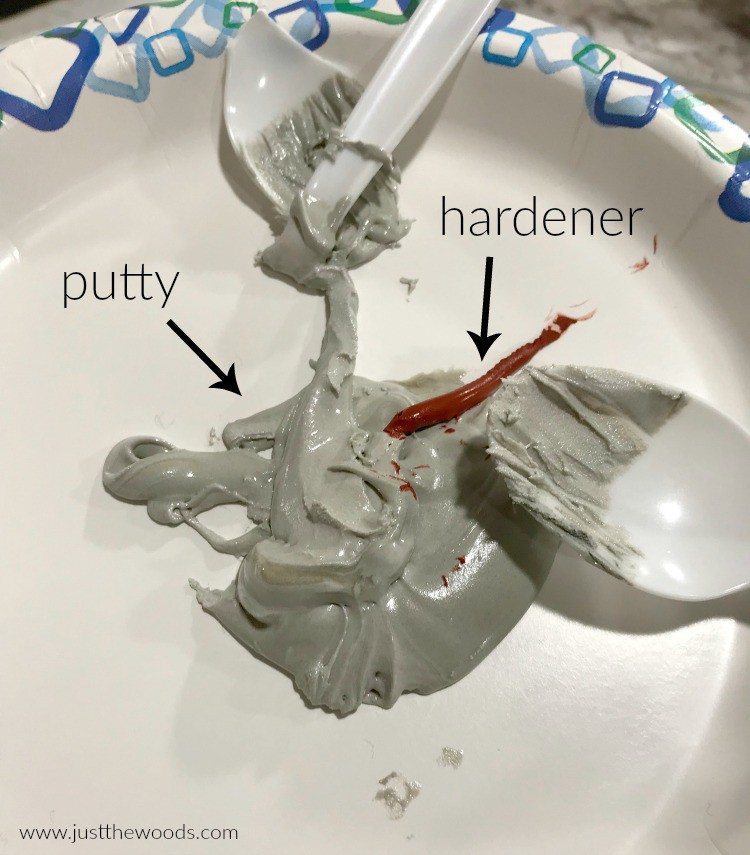
Quickly mix the two products together. I do find that I run out of the cream hardener before I run out of the filler/putty. If this happens you can order more of the cream hardener online HERE. 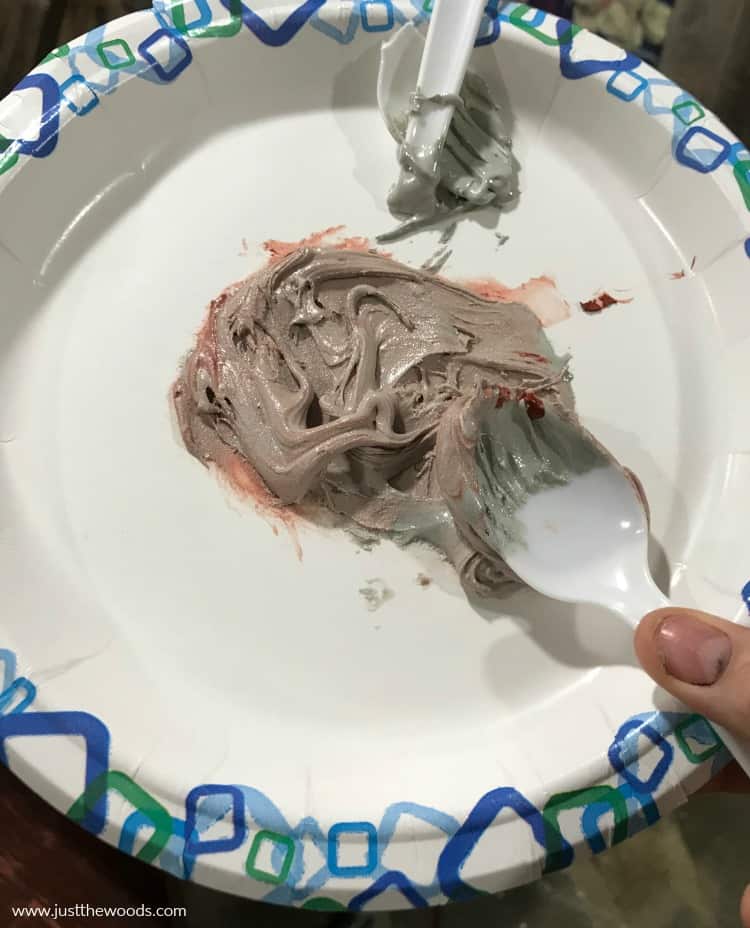
The basics breakdown of Bondo instructions:
- mind safety precautions
- squeeze out putty and hardener
- mix
- work fast
How to Apply Bondo Wood Filler
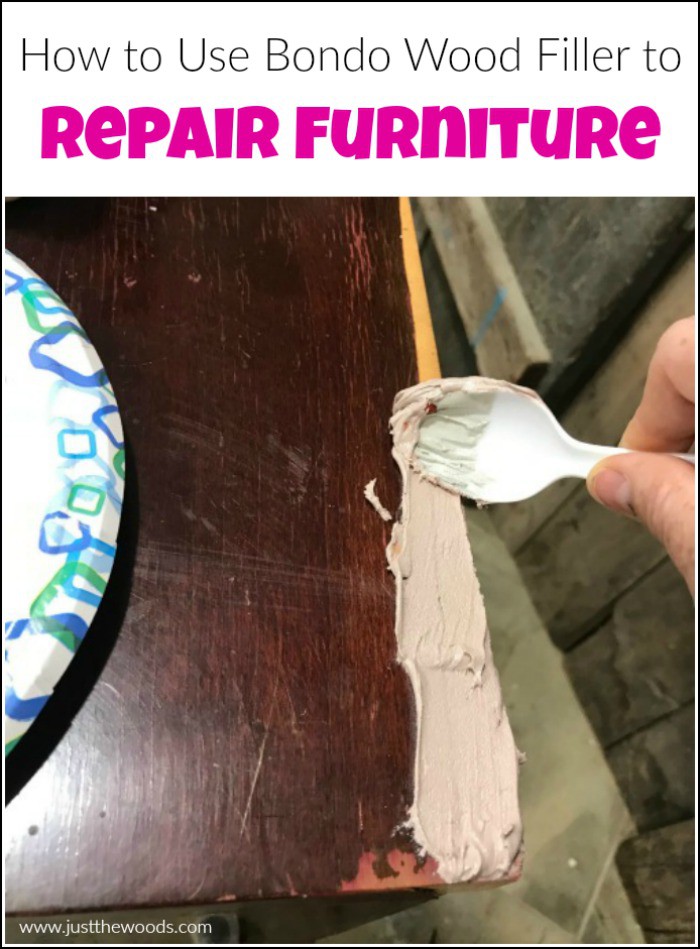
Next, spread your bondo wood filler onto the area that you are repairing. Make sure to apply it thick enough to fully cover the area but try to smooth it out as much as possible. Remember you will need to sand this smooth. This is where the plastic spreader would work better than my plastic spoons. 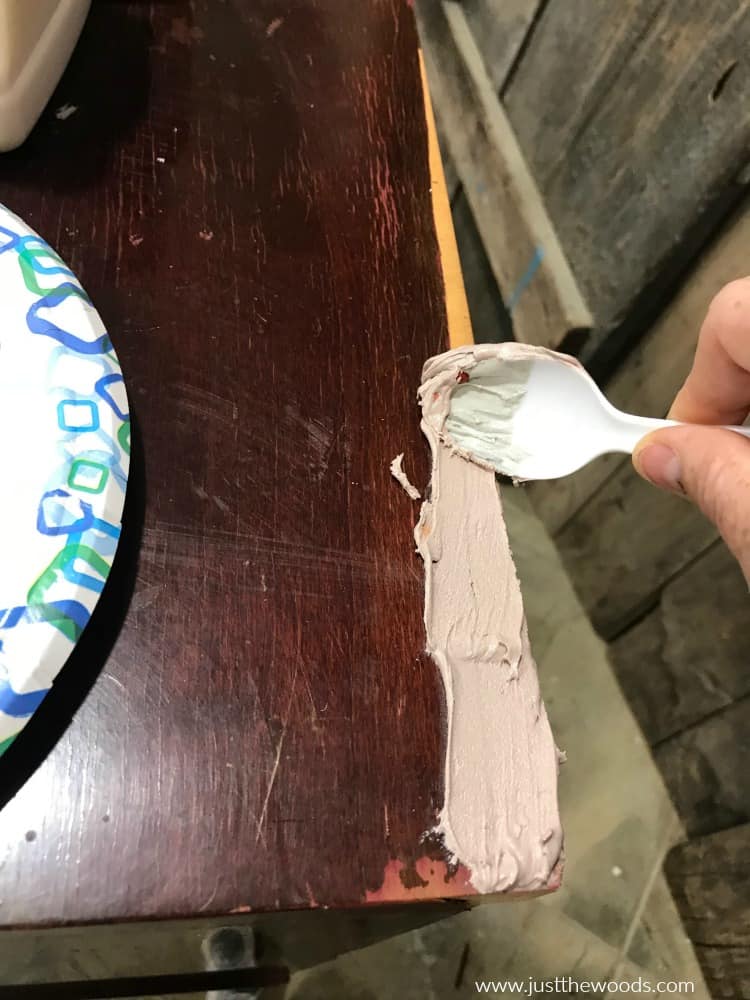
Once your bondo wood filler is dry you will need to sand the area smooth. This is a sandable wood filler, but be warned that it dries very hard. If you glob it on you will regret it because you will need to get that sanded back down. If it is on thick, you may want to grab your orbital sander to speed up the process. This is the sander that I use and love HERE. 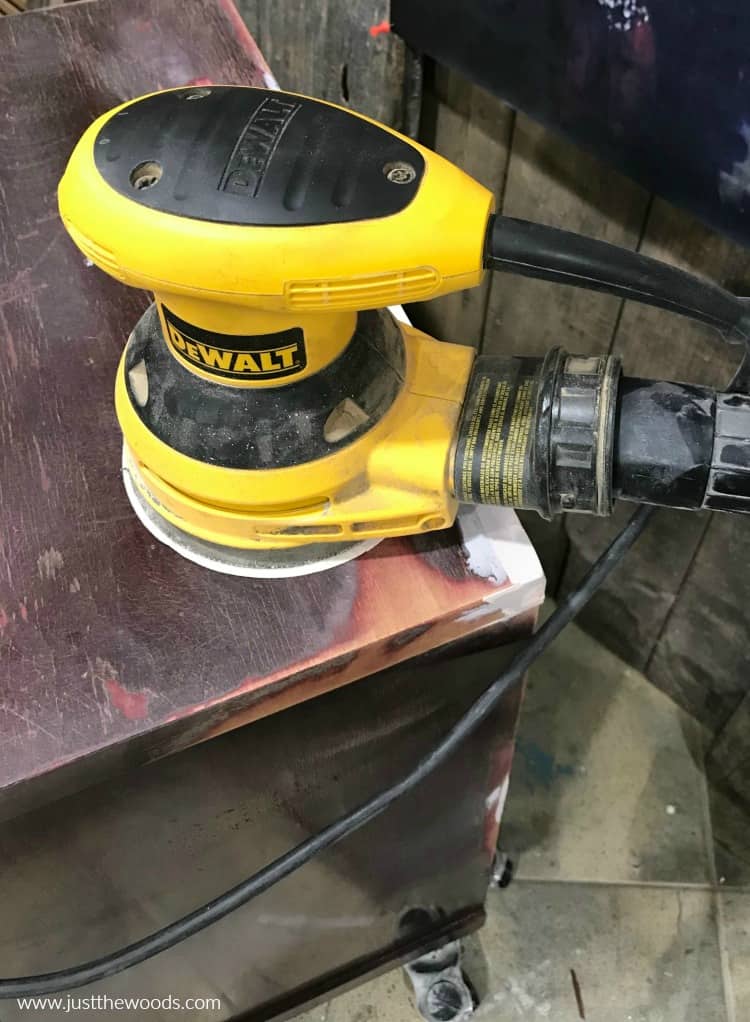
At this point, you will need to reassess and determine whether or not you need to add a second coat of wood filler. Sometimes I find that there are little spots that need to still be filled where I may have missed the first time around. So you can basically repeat the same process of adding your bondo filler, let it dry and sand again. For the second time around I often grab my bondo glazing and spot putty. 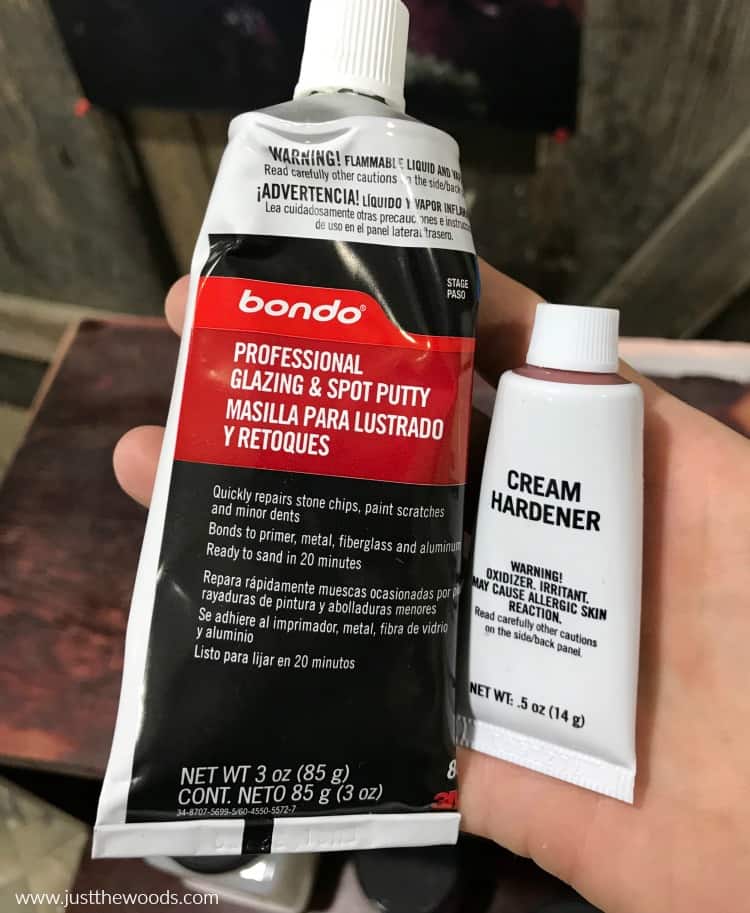
You will mix the spot putty and hardener the same exact way as the larger can of bondo all-purpose putty. 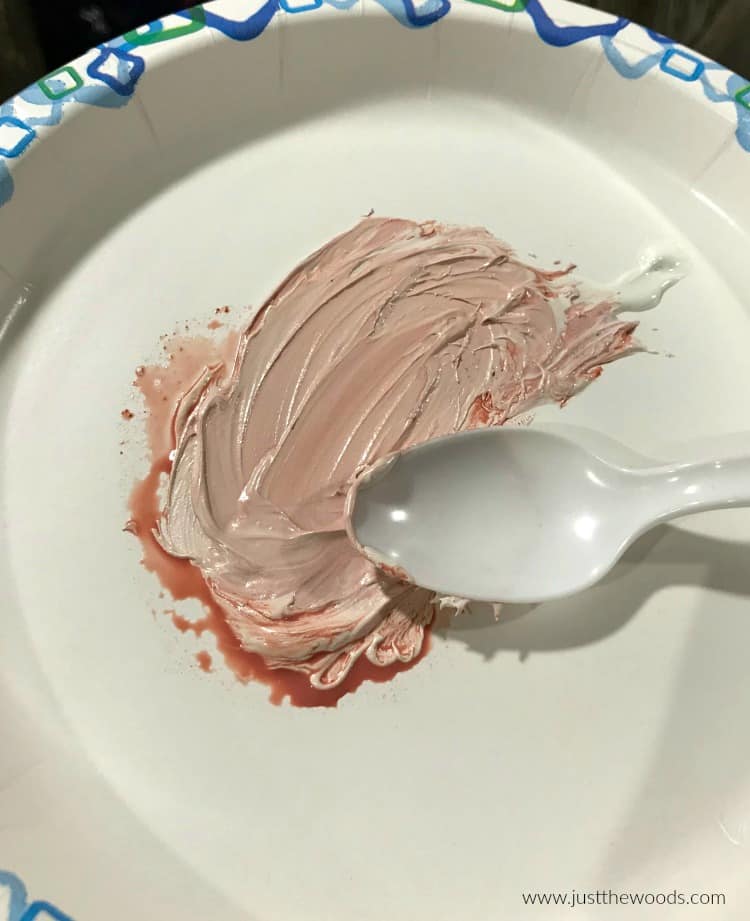
Dry and sand. By this time your area should be filled in and nice and smooth. 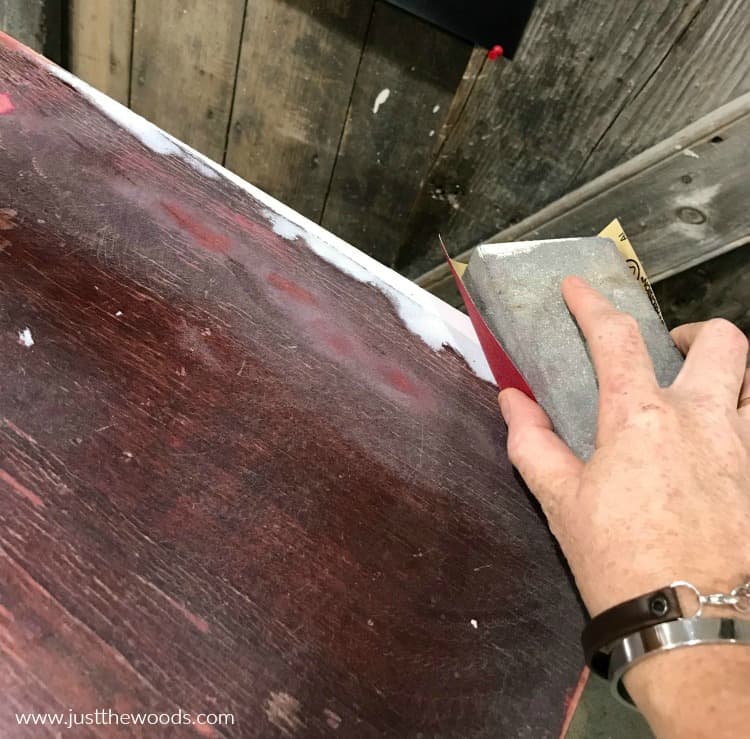
To see this full project for the missing veneer repaired with bondo wood filler click here: How to Decoupage Hand Painted Furniture. 
Click HERE to Pin this post for later
What Else is Bondo Wood Filler Good For?
Believe it or not, bondo also works great to strengthen repaired wood. Let me explain. This table top has a decorative trim along the top, but the trim is damaged and broken off in areas. What a mess this is right? 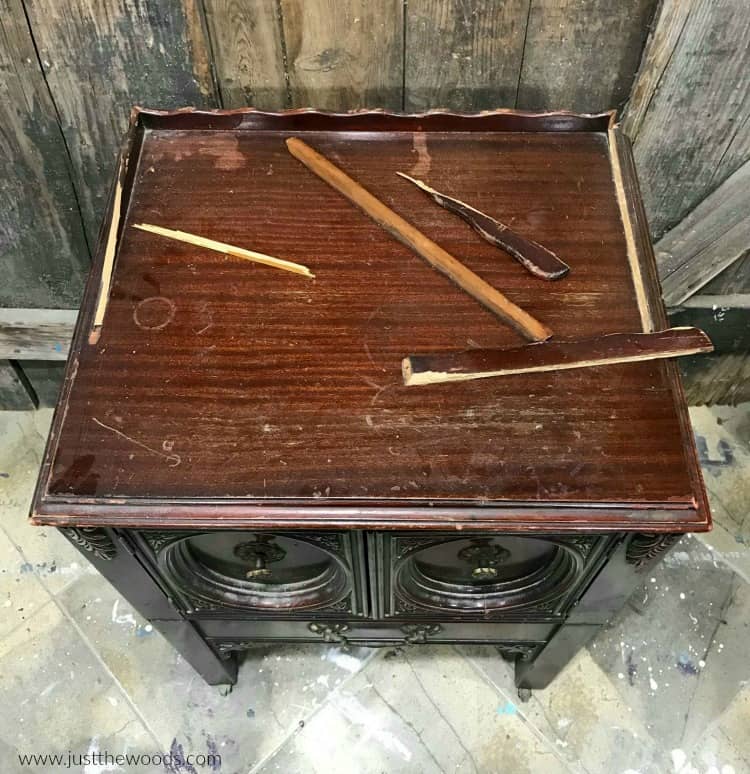
To repair wood furniture with this much damage we need more than just wood glue. Of course, we secure the decorative pieces with wood glue but then we need to strengthen and reinforce them. This is where we need our bondo wood filler. 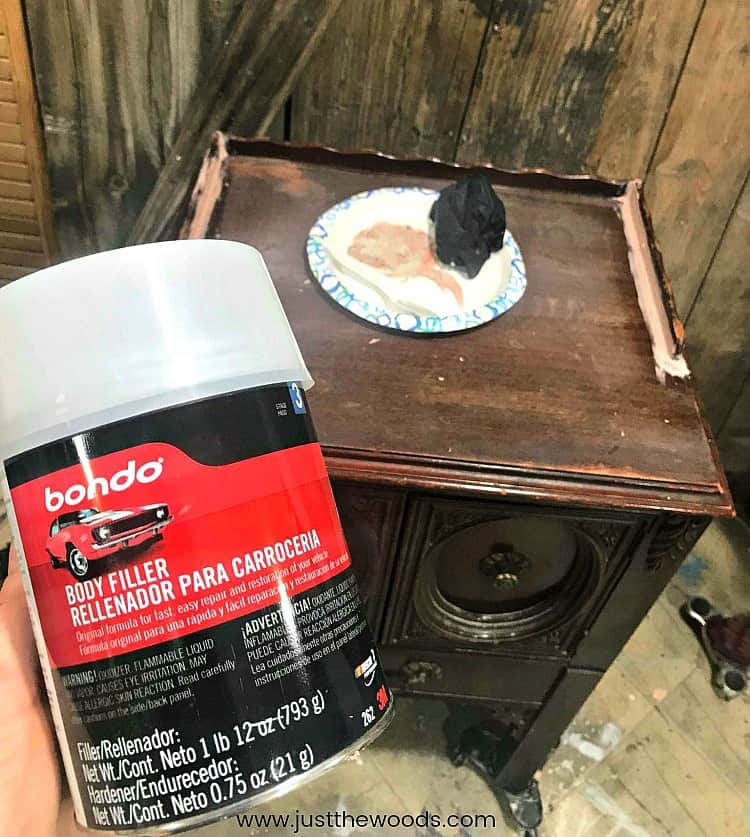
The decorative pieces are strengthened by adding bondo on both sides of the pieces, wearing the disposable gloves allows me to use my finger to smooth along the crease area as much as possible. 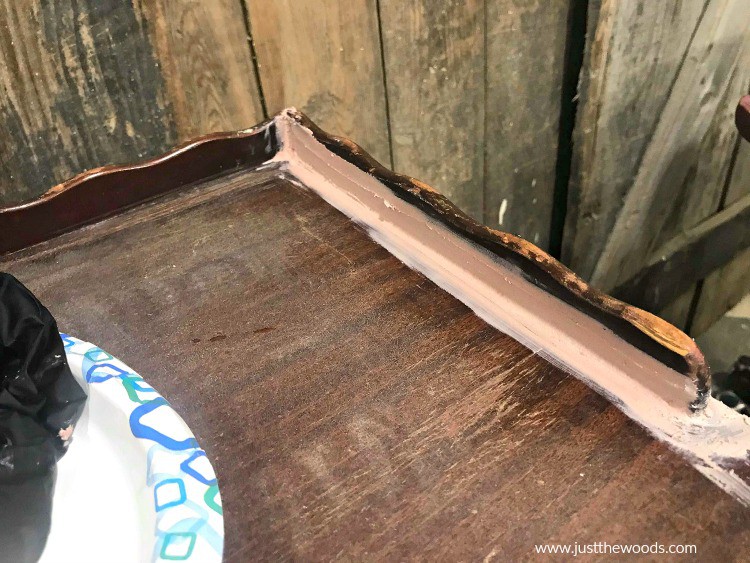
Due to the bondo being added on the inside crease I use my handheld Dremel to sand in the corners once dry. You can get a similar Dremel sander online here. 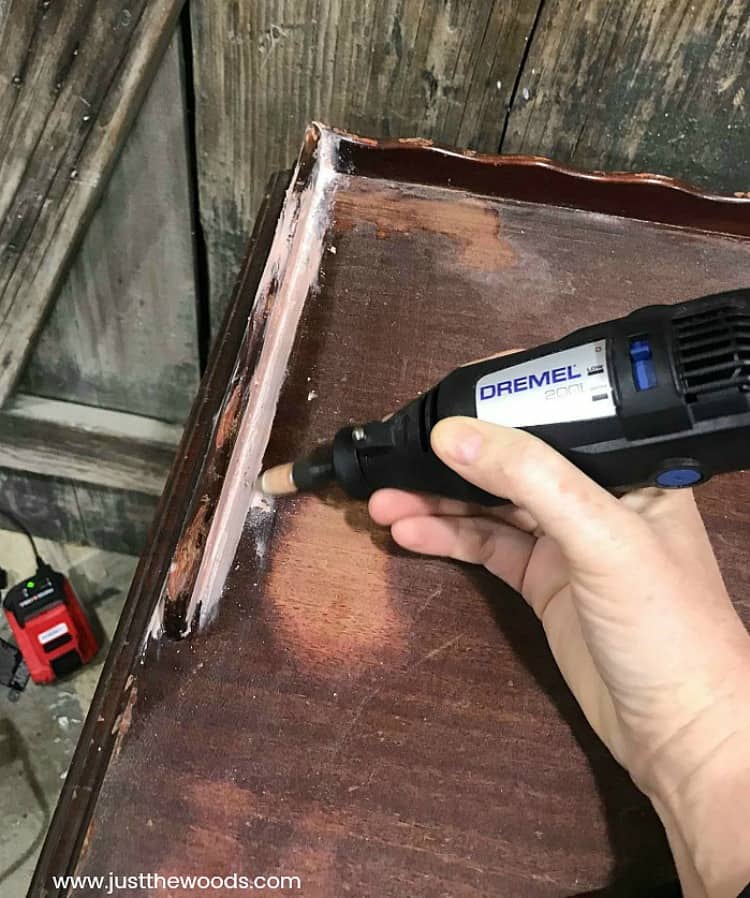
Reassess again, and go back for a second coat as needed. You can use your spot putty like before. 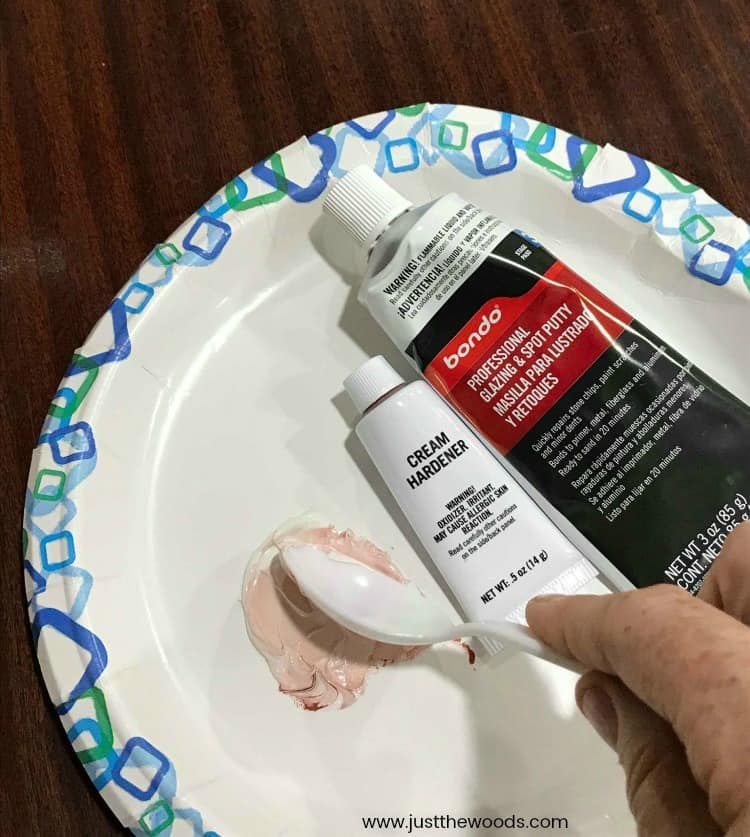
With the added strength of the bondo wood putty, those decorative pieces are now nice and secure. You can check out that entire makeover here: How to Paint Furniture with a Paint Sprayer. 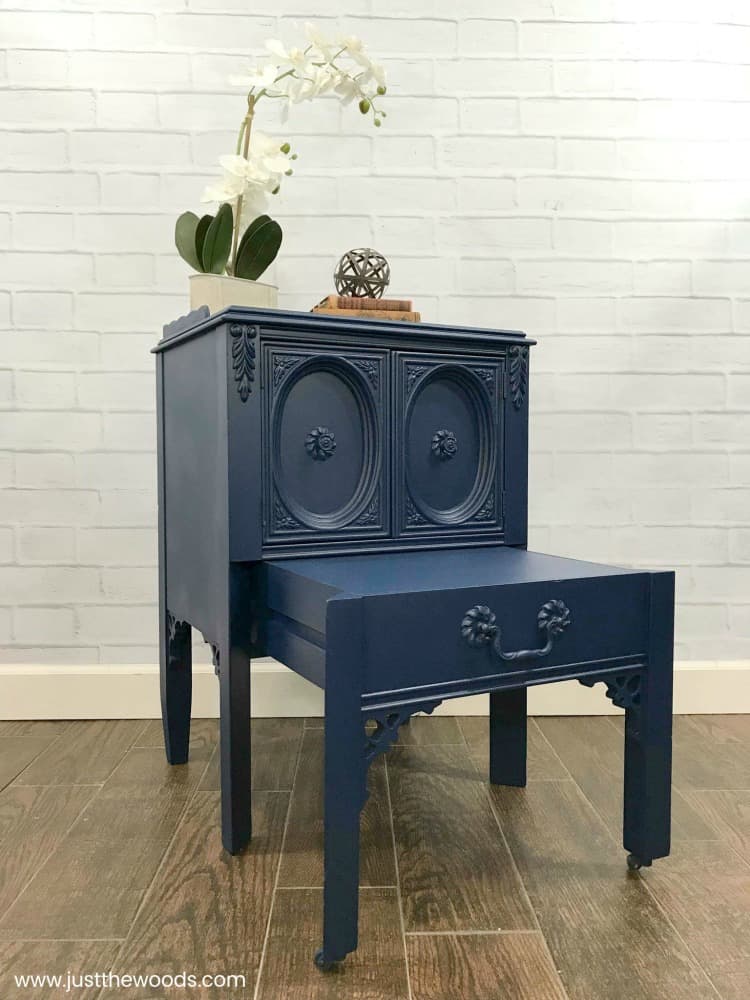
How to Fix Chipped Wood with Bondo
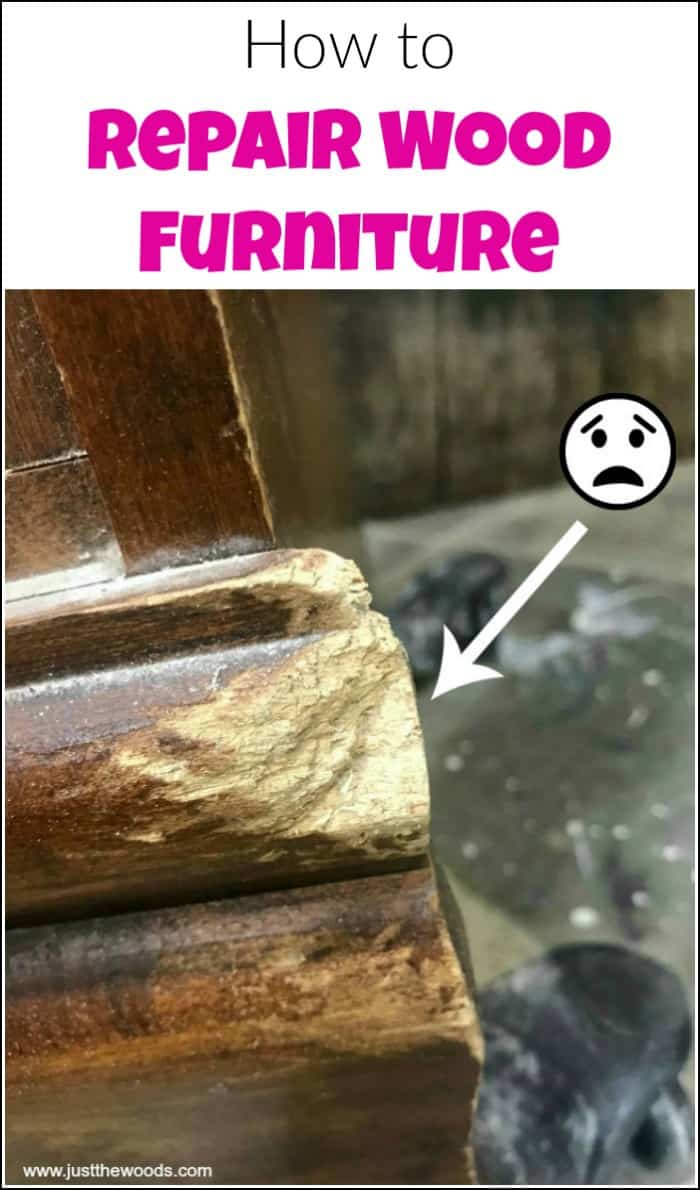
Here is another project where the wood itself has been either worn away or possibly chewed by a pet over time. The bottom portion of the chest is just plain worn away and gone. 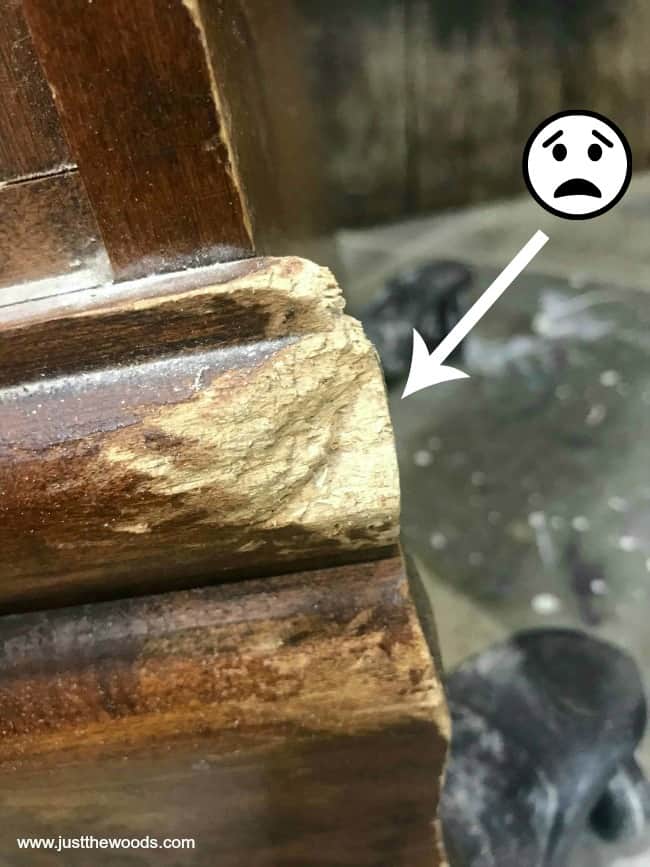
Sure, if we are feeling a little lazy I’m sure you could sand this smooth and move on like it never happened. But that would leave a bad feeling in your gut knowing that you cut corners and you deep down know that you need to fix this the right way. Besides, it’s not even hard to do, so let’s get to it. With a little bondo repair and sanding in the same manner as above, you can repair this damaged wood with confidence. 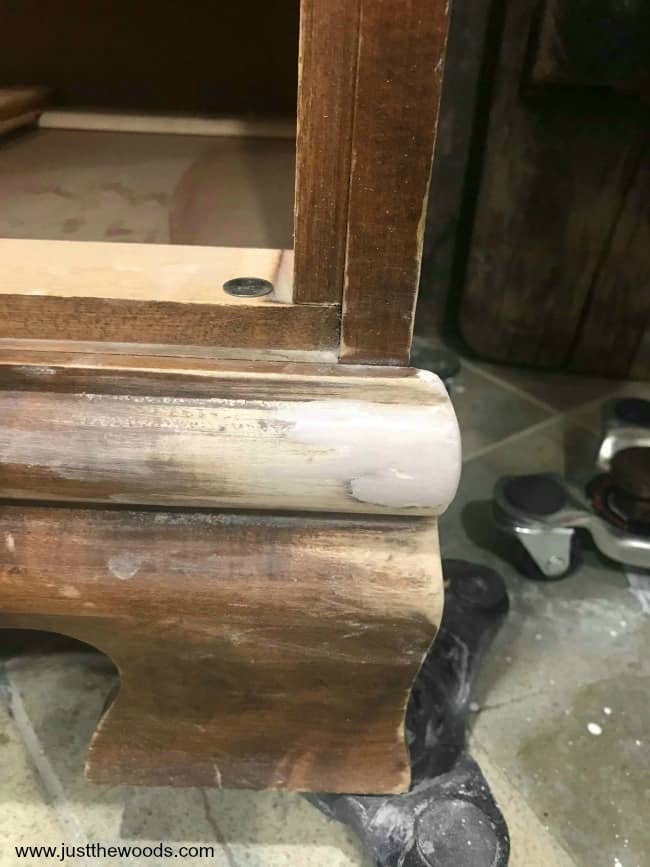
See the whole makeover of this piece here: How to Paint Layers on a Tall Lingerie Chest. 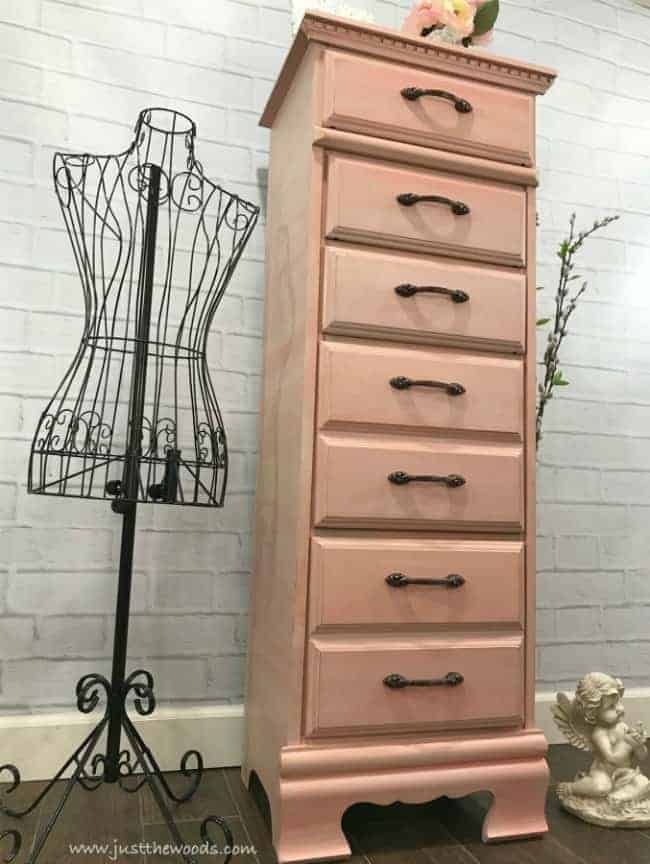
Click HERE to Pin this post for later
How to Use Bondo to Repair Cracks and Holes in Wood
Need a wood crack filler? Bondo works for that! Wood hole filler? Yep, that too. This bookcase has a few minor issues that need to be addressed. One is that the wood is cracked and starting to split on the lower front area, and the other is that there is a bizarre hole on top that needs to be filled. Here is a close up of the split/crack on the wood. 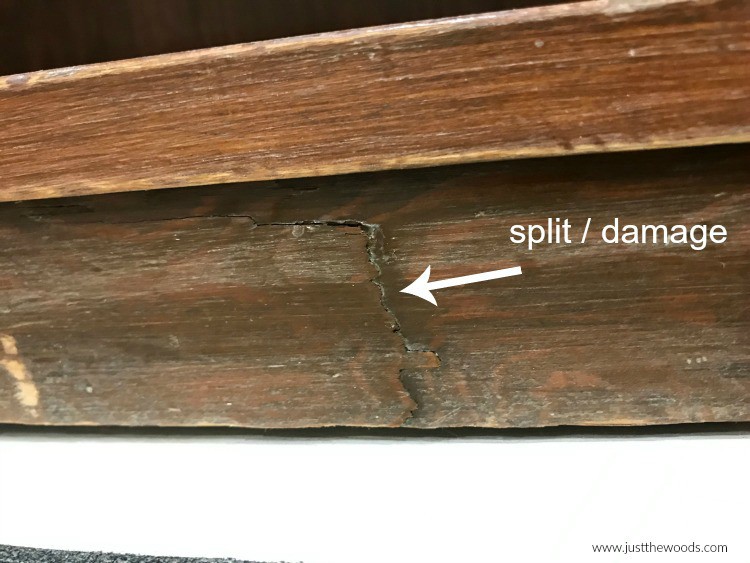
Here is the hole in the wood that needs to be filled. Even though this hole is on the top of the bookcase you can use bondo wood filler for both filling large holes in wood and hardware holes as well. If you need to know how to fill holes in wood furniture before painting grab your bondo. 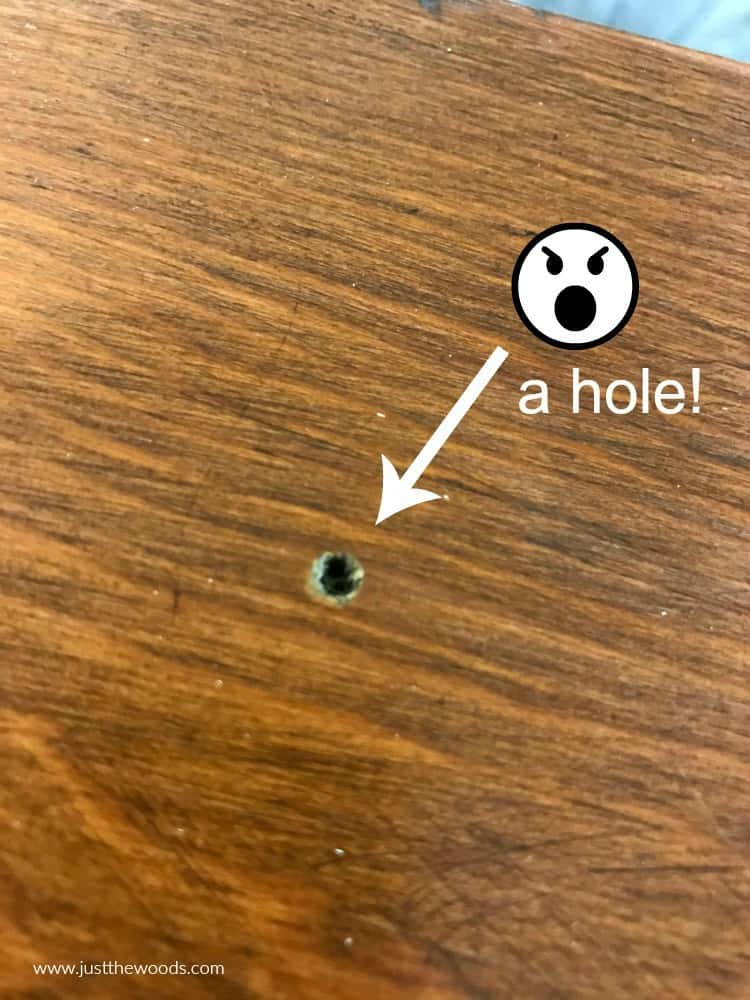
When filling hardware holes, make sure to place a piece of tape on the inside first. This will prevent your wood filler from falling through the hold into your drawers. 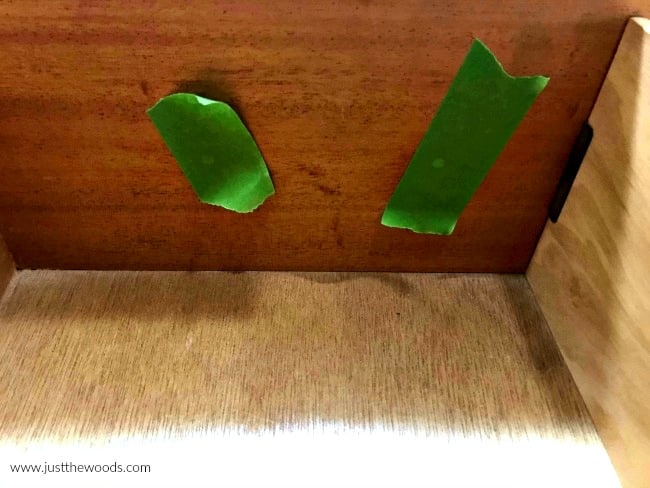
Back to the bookcase, mix your bondo putty as mentioned and apply to your cracks and holes as needed. 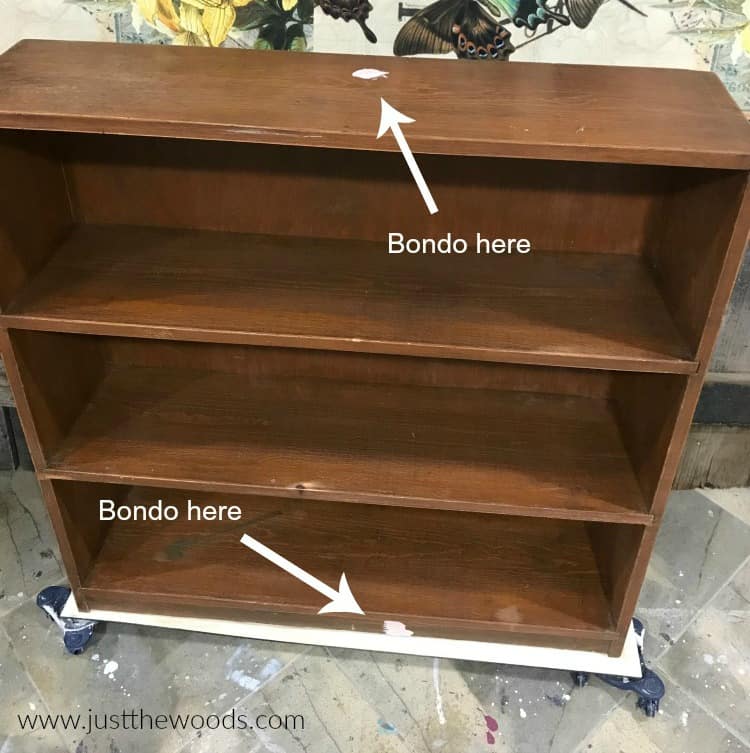
Make sure to sand the wood filler putty smooth once it is dry. 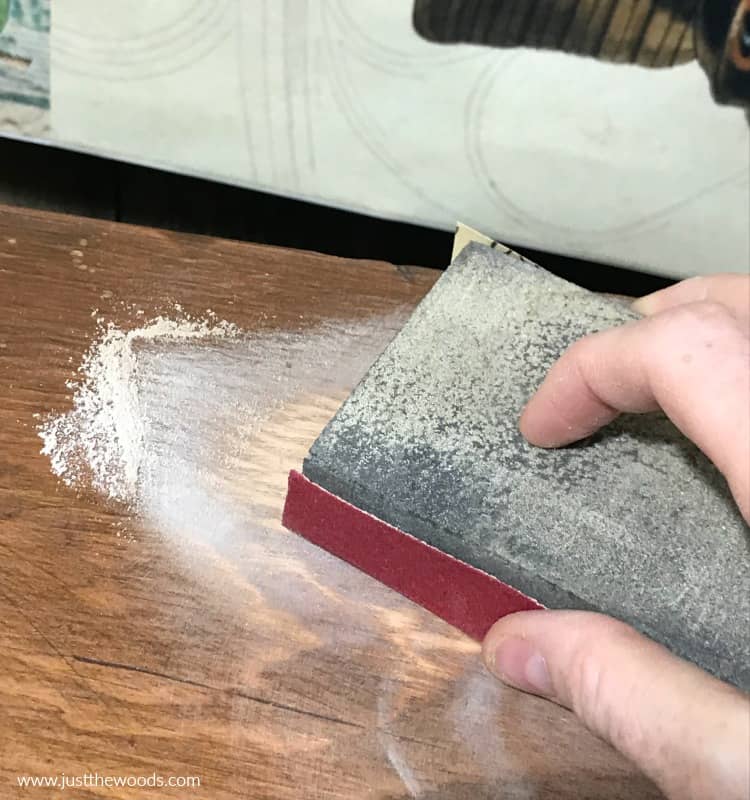
Also, make sure to remove the dust that is created from sanding the bondo. You always need to remove the dust before painting anyway. You can see the entire bookcase makeover project here: The Best Decoupage Paper & How to Apply it to Painted Furniture. 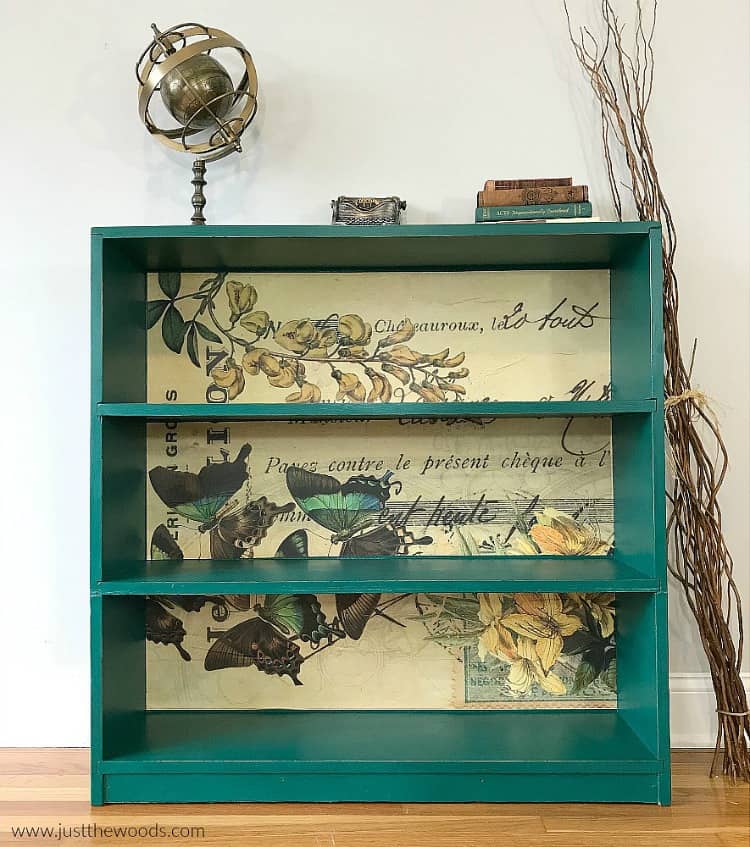
Covering Holes and Hardware
One last way for using bondo on wood is for covering up screws and hardware that you don’t want to be left visible. Of course, I’ll explain. In the case of this cedar chest, the entire base is made of presswood and is literally falling apart. The whole base will be rebuilt to save the chest. First, the old bottom is removed and the new bottom is rebuilt using wood. 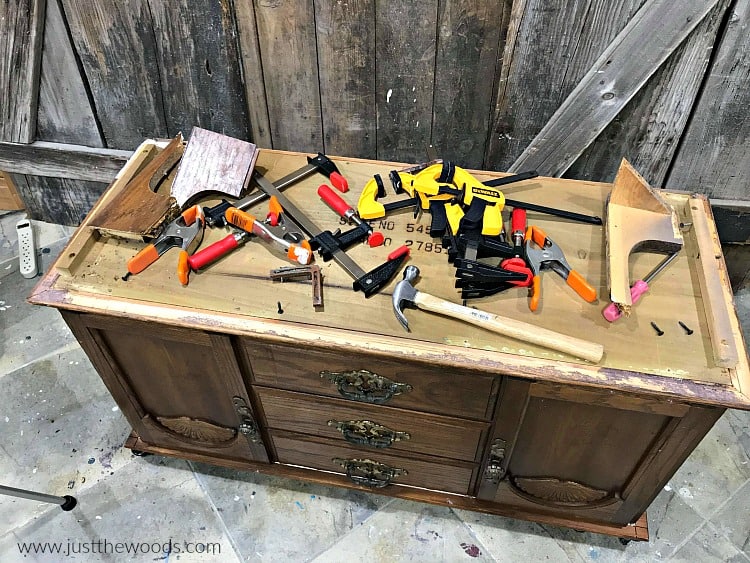
When securing the new wood bottom to the cedar chest we use a combination of wood glue and wood screws. 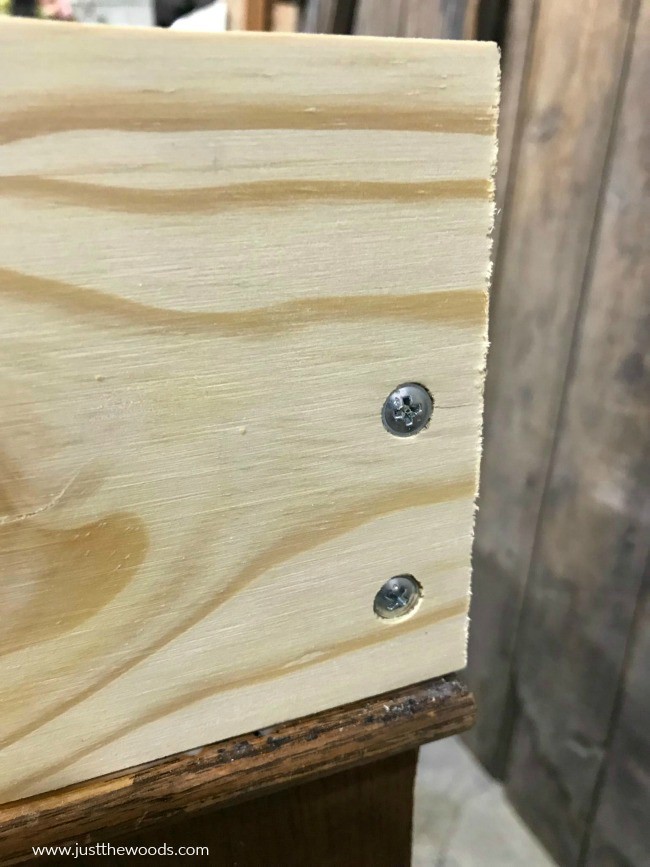
These screws are an eyesore and we need to hide them. Since we will not need access to them again we can cover them up with bondo wood filler. 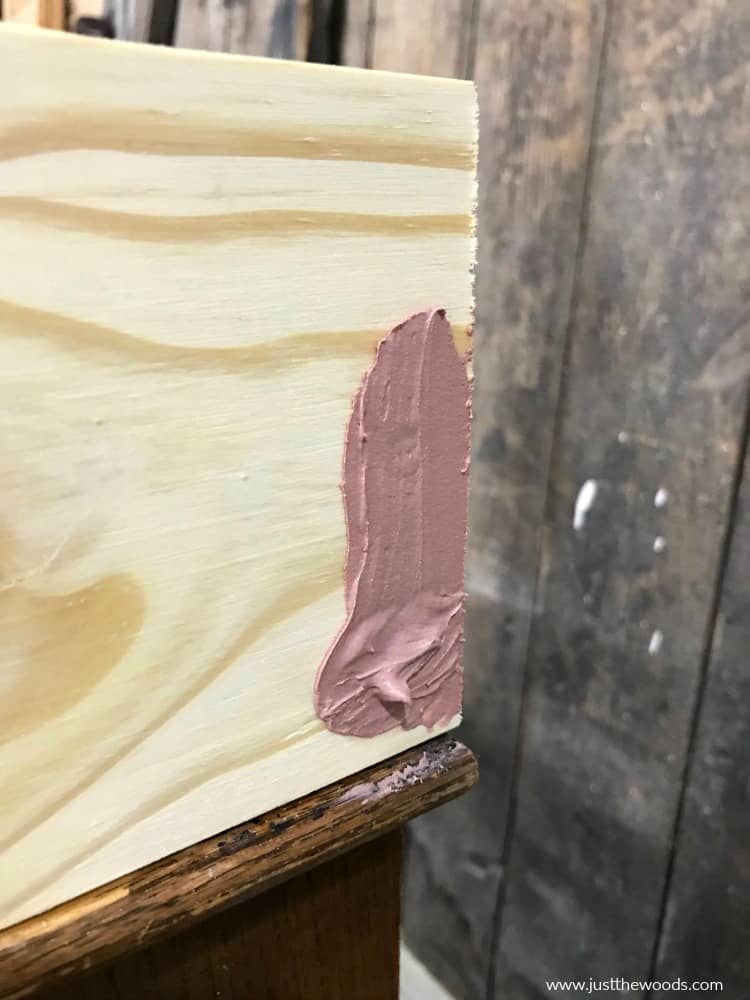
As always, make sure to sand the bondo smooth before painting. See the whole repair tutorial here: How to Save & Repair Furniture. Then make sure to check out the makeover here: Lane Cedar Chest Makeover. 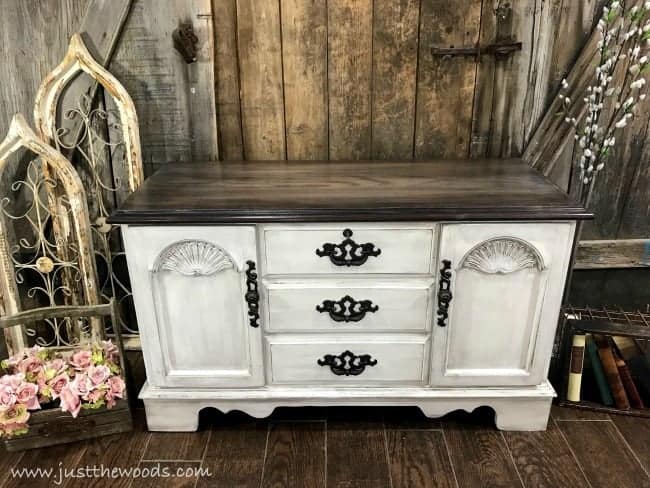
Click HERE to Pin this post for later
More Tips & Tricks
For more tips and tricks for painting furniture, you will need to check out: All the Tips and Secrets You Need to Know for Painting Furniture. 
Click here or more painted furniture ideas and inspiration:
Don’t Forget – Follow Just the Woods and Share this post to Inspire others:
FACEBOOK * INSTAGRAM * PINTEREST
Stay connected! For more tips and tricks sign up here : [mc4wp_form id=”1340″]

Click HERE to Pin this post for later


Marie says
Would this product work to repair a broken leg on my antique bergere chair. It was snapped off by careless movers. I gasped when I saw it in two pieces. My concern is, will it be sturdy enough after the repair or does it more than that.
kandice kullmann says
Im so sorry about your chair. To be honest, I think it would probably need a bit more 🙁