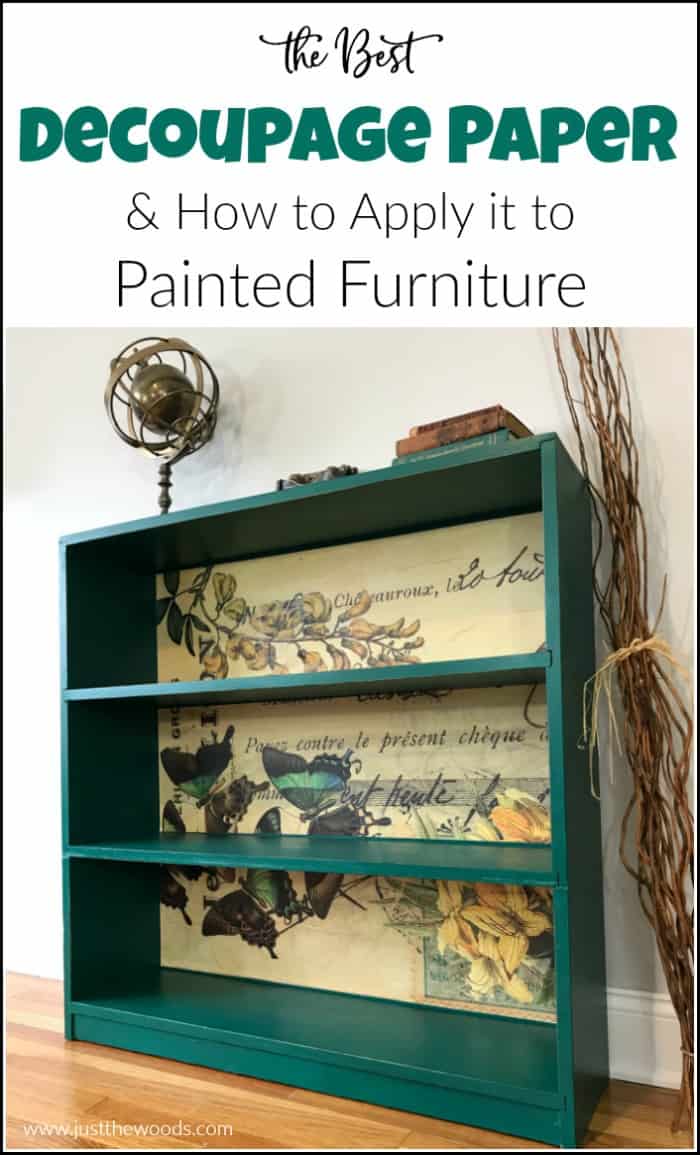
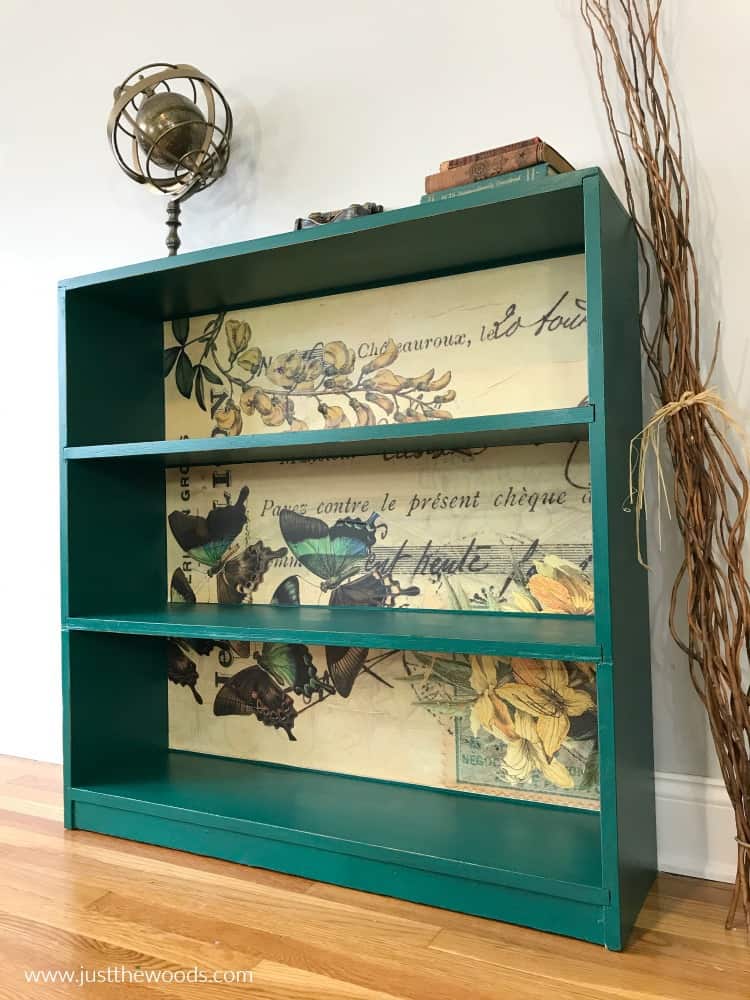
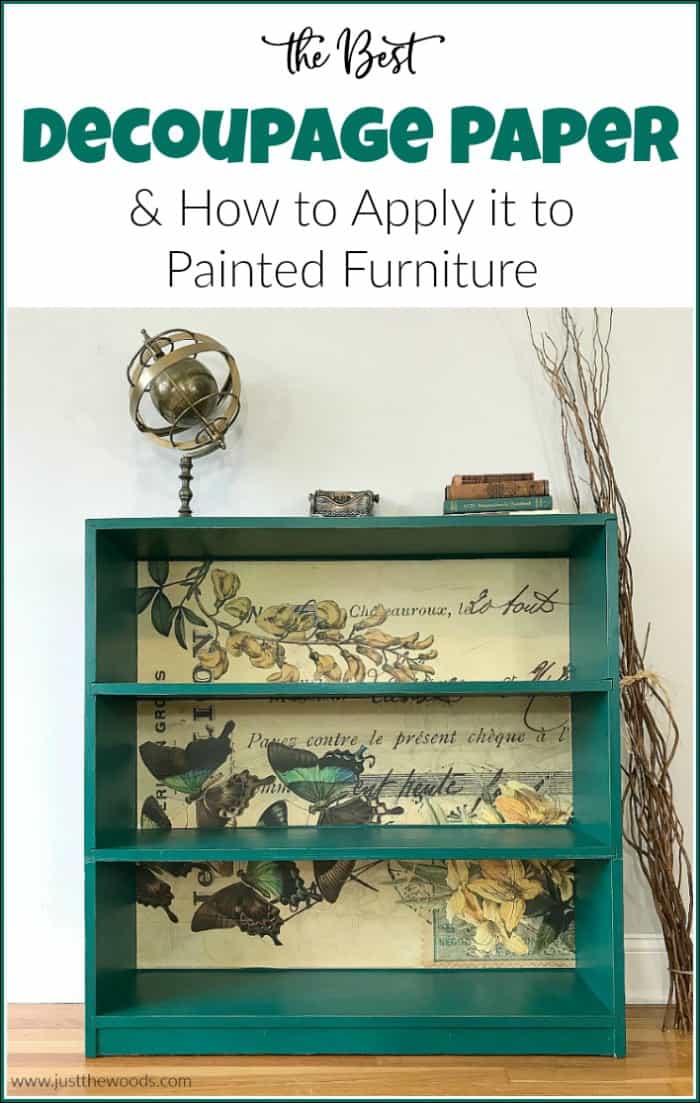
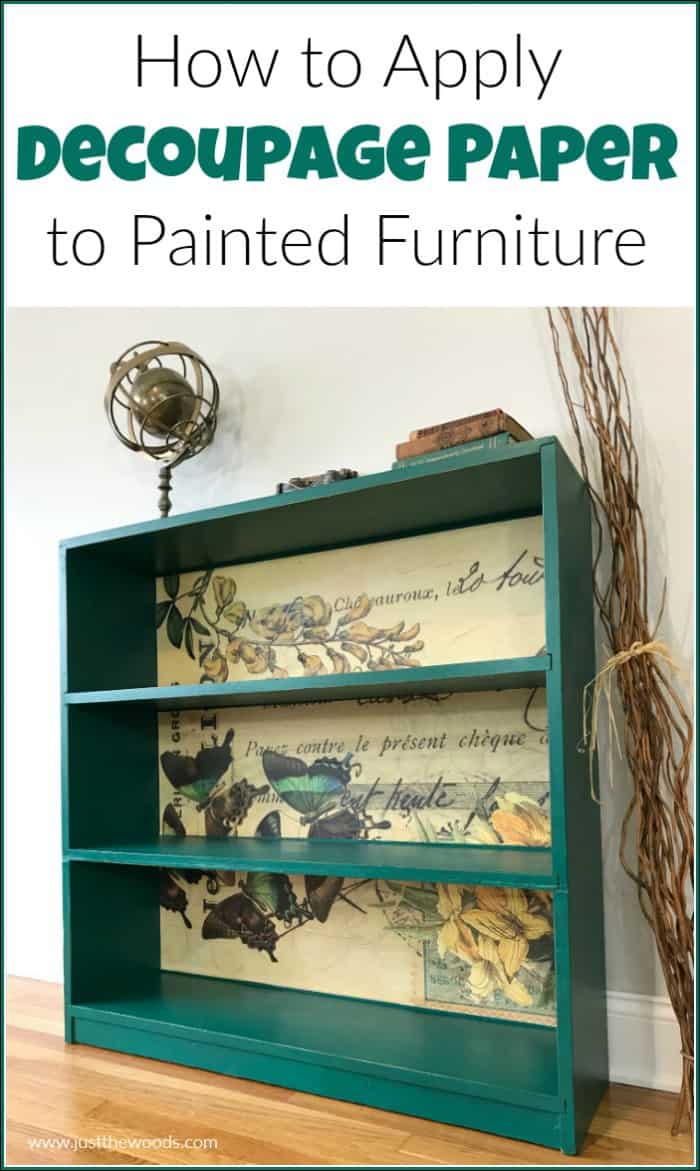
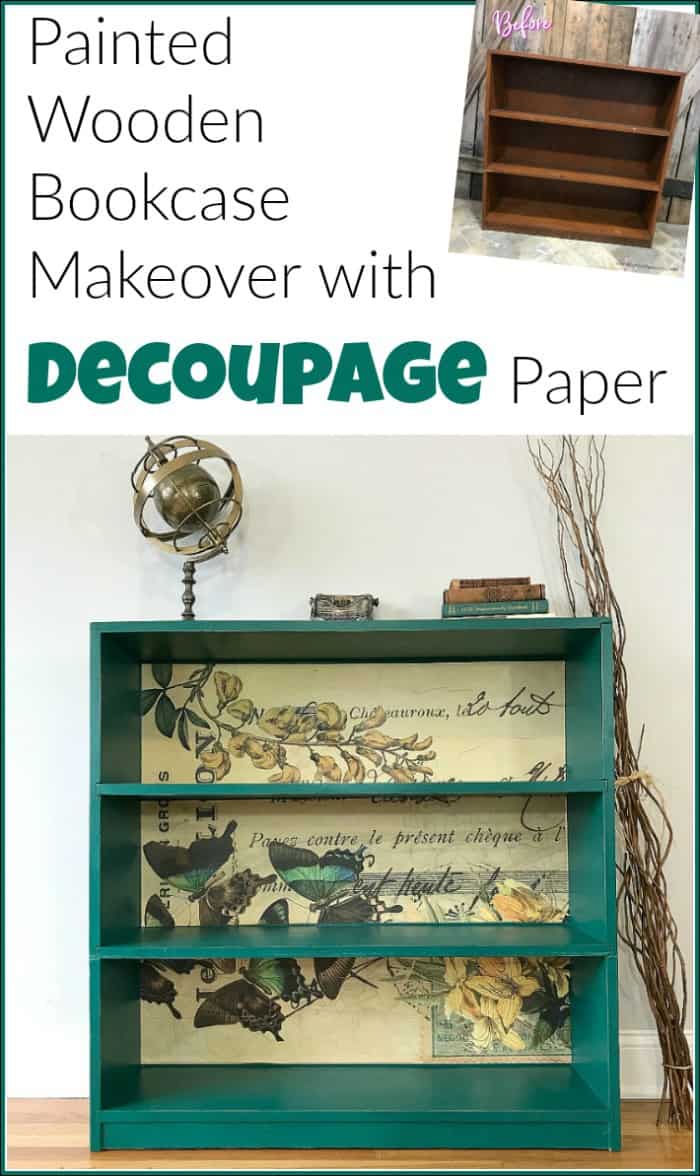
Decoupage paper is a gorgeous and affordable way to add that extra va-va-voom to your painted furniture projects. I feel like I have been a decoupaging everything lately. There are so many options when you want to decoupage on wood with decorative paper, tissue paper or even wallpaper. This gorgeous green painted bookcase is no exception. The vintage style butterfly decoupage paper really makes the piece itself stand out, don’t you think?
Disclosure: This decoupage paper to painted furniture post contains affiliate links for your convenience. Click here for my full disclosure policy.
Supplies & Tools Needed to Decoupage Paper to Painted Furniture
Before we begin, this butterfly decoupage paper on painted furniture project is part of our monthly Furniture Fixer Uppers share. You know what that means! Make sure to stick around all the way to the end for more great painted furniture before and after projects.
Materials Needed / Source List:
Tools
- Zibra Paint Brushes
- Furniture Tri Wheelies
- Sandpaper
- Bondo
- Mod Podge
- Measuring Tape
- Fiskars Cutting Mat
- Exacto Knife
- Decoupage Tissue
- Paint Brush
- FIFO Squeeze Bottles
- Shop-Vac
- Lint Free Cloth
- Find all of my favorite tools and products on my Amazon Page here
Paint
Unfinished Wooden Bookcase
A friend of mine that I went to the Police Academy with reached out to me and offered to drop off this bookcase. He was cleaning out some things and didn’t need it anymore. It’s solid wood so of course I said yes, please and thank you. He came by, we chatted and played catch up and the bookcase is mine to do with what I please. (Though not at all related to painted furniture, if you didn’t know that I am a retired NYPD detective you can read about that here.)
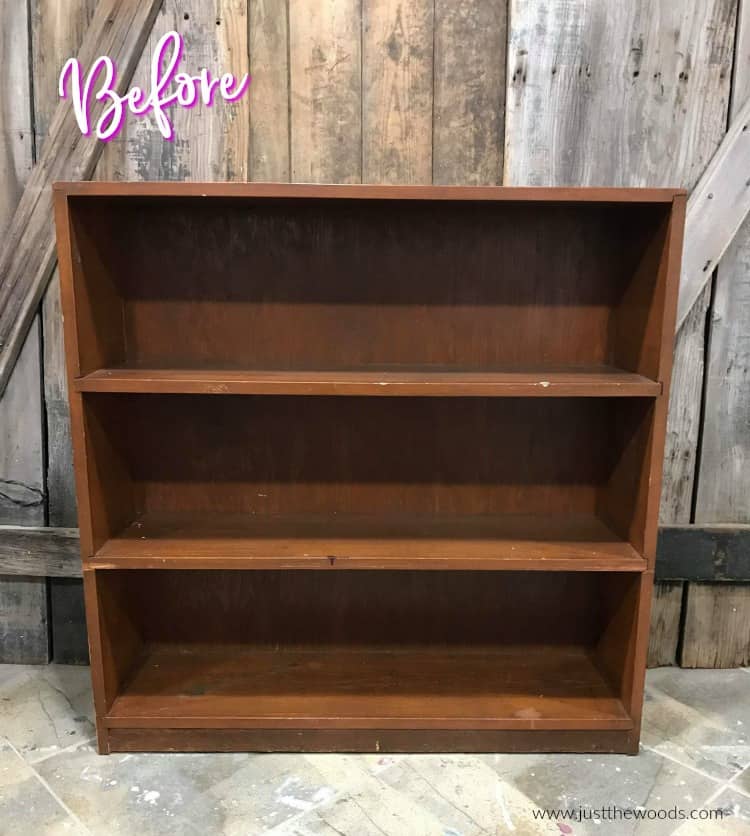
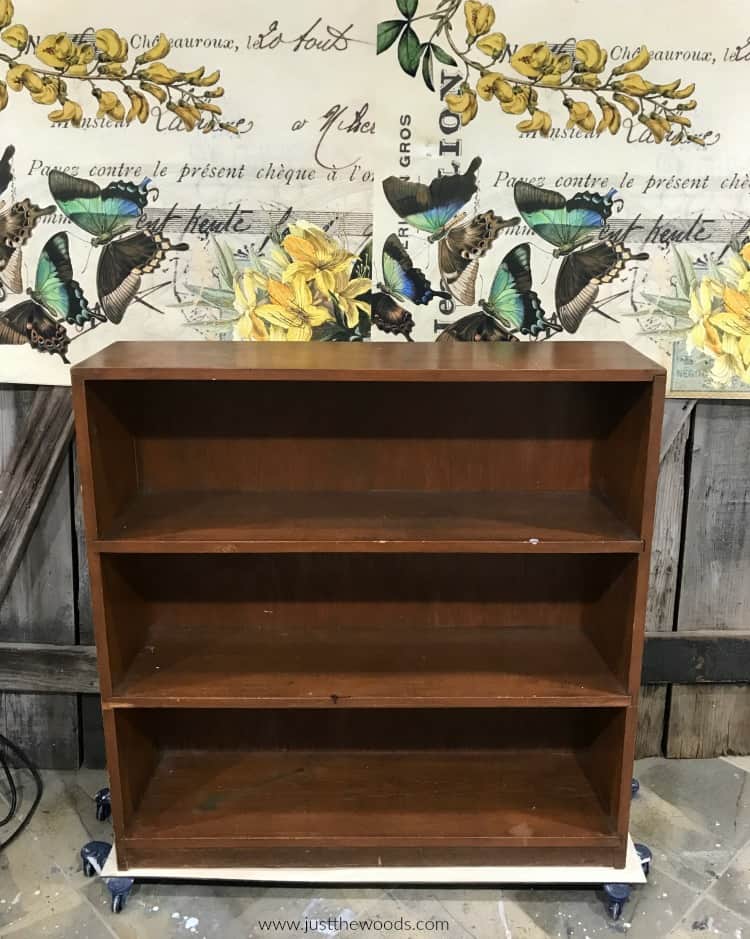
There are big plans in store for this bookcase, can you picture it? But first, let’s prop the bookcase up onto my tri-wheelies with a piece of scrap wood. These furniture wheelies are great for propping your furniture on when painting. They make it easy to move your piece around, you can get them online HERE.
Preparing the Bookcase for Paint and Decoupage
Just like all painted furniture makeovers, we need to thoroughly prep our furniture piece. Let’s start by grabbing our sandpaper. I like to wrap my sandpaper around a sanding block. This is the easiest way to sand flat surfaces by hand.
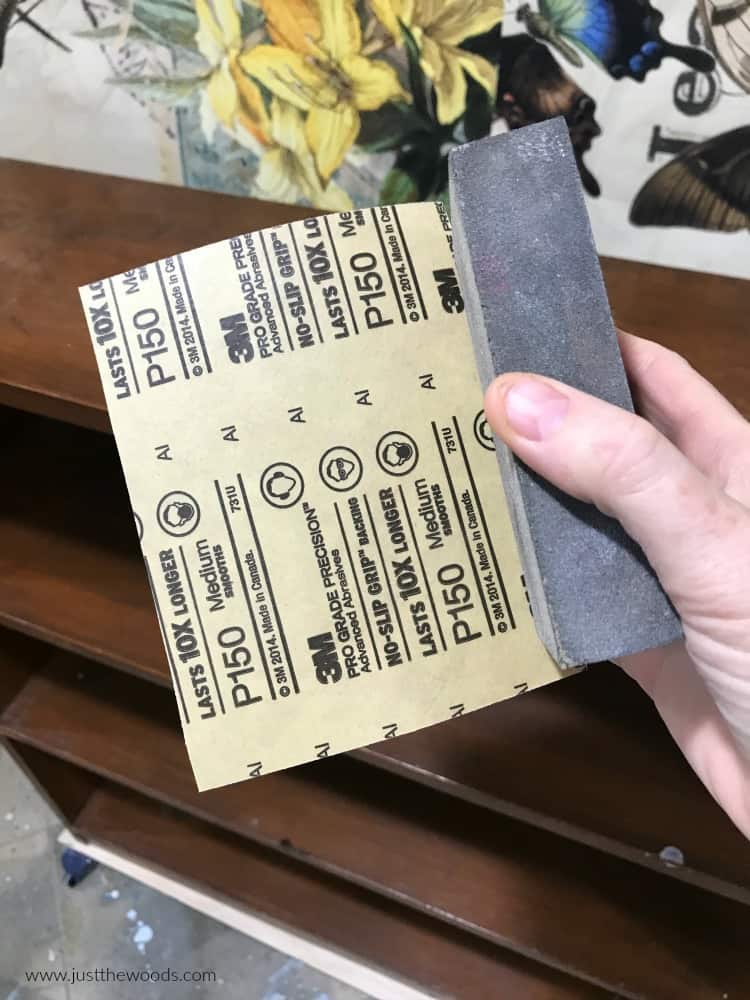
Go ahead and give the entire bookcase a quick sanding to scuff the surface. I know most of the furniture paint brands out there say that you don’t need to prep or you don’t need to sand. But whether that may be true or not, I still feel more comfortable giving each piece of furniture a thorough cleaning and prep. You will never regret a thorough prep, but you may regret skipping it. This is my standard process for How to Prep Painted Furniture.
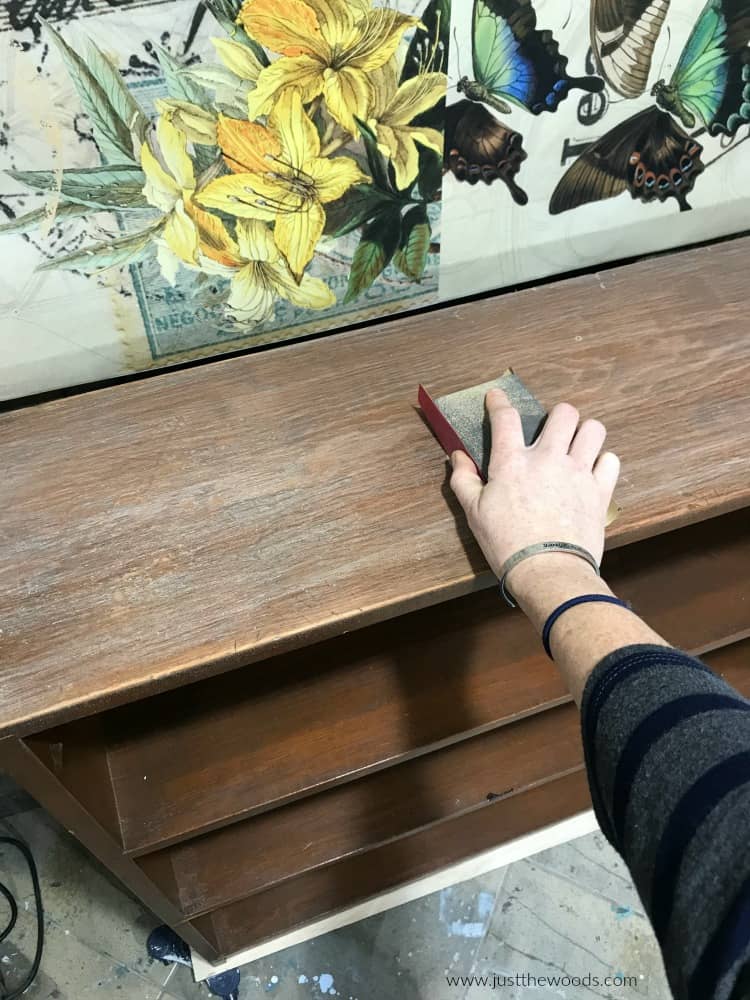
After you sand, make sure to clean the piece thoroughly. Sand and clean the entire wood surface. Don’t cut corners on this step.
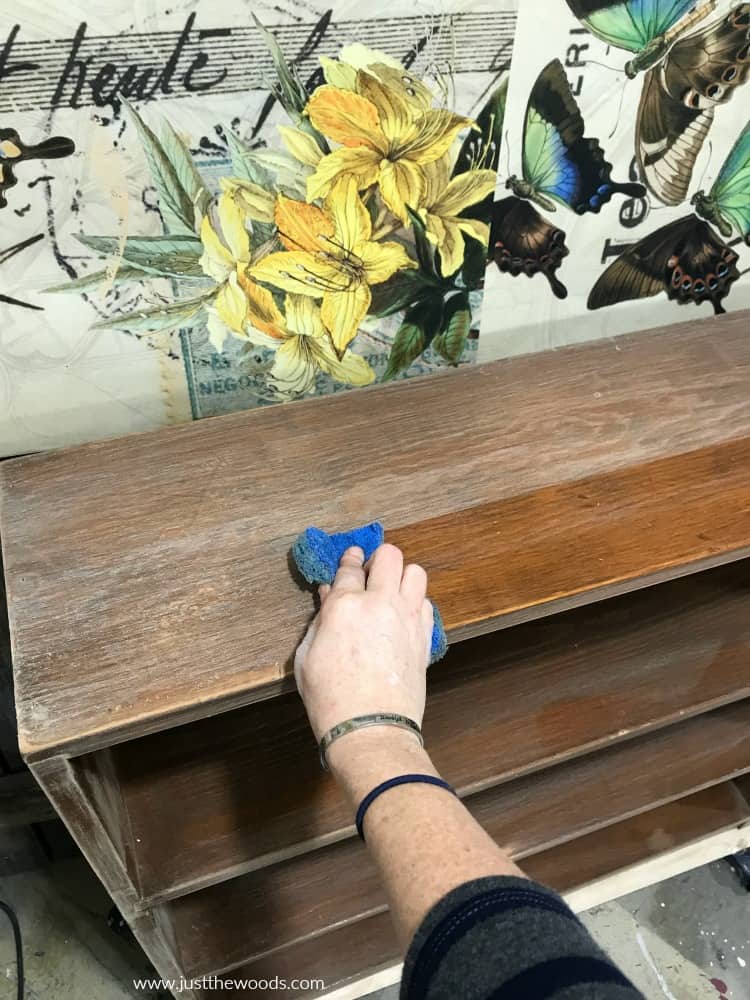
The sanding will kick up a bit of dust and grime that you need to be sure to remove. Yuck! Often I suck up most of the dust with my shop vac before cleaning just to minimize the mess.
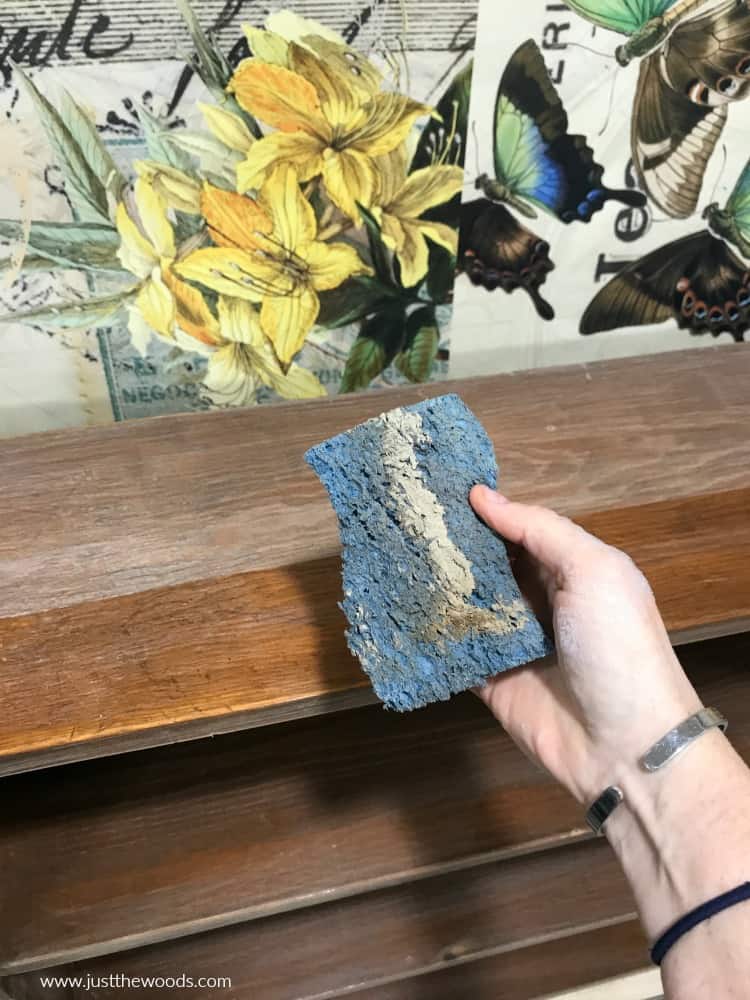
Also, make sure to give the piece a wipe down to remove any last residue from cleaning. This may sound like a lot, but it really shouldn’t take you very long. And this is an absolutely necessary step in the furniture painting process. Trust me, you won’t regret prepping your piece first.
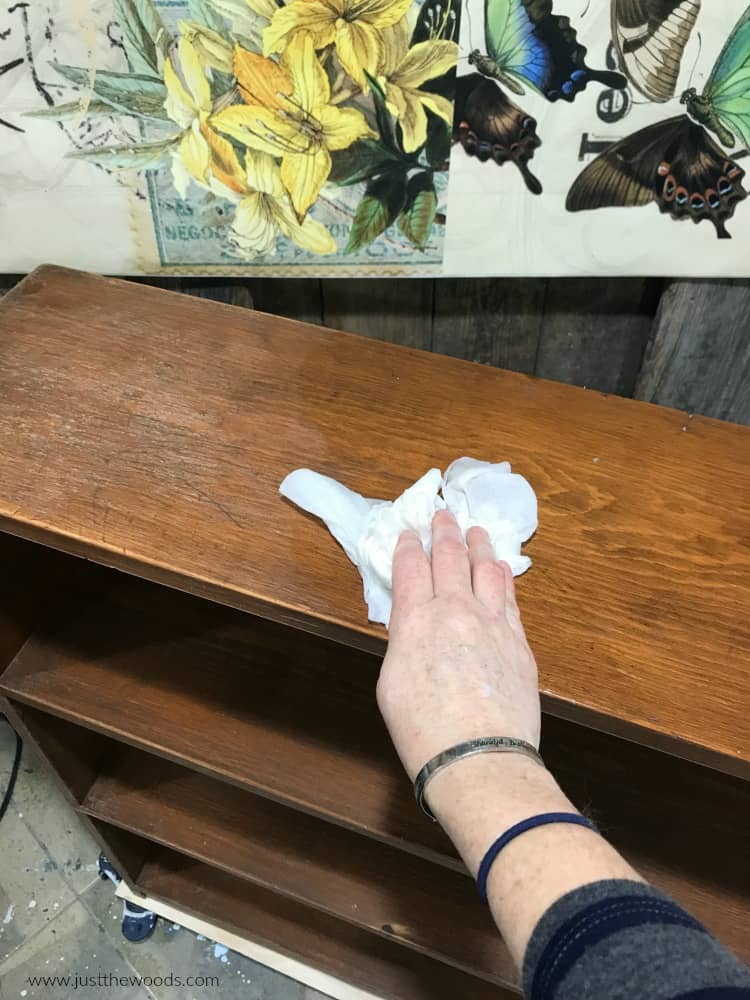
Damaged Wood
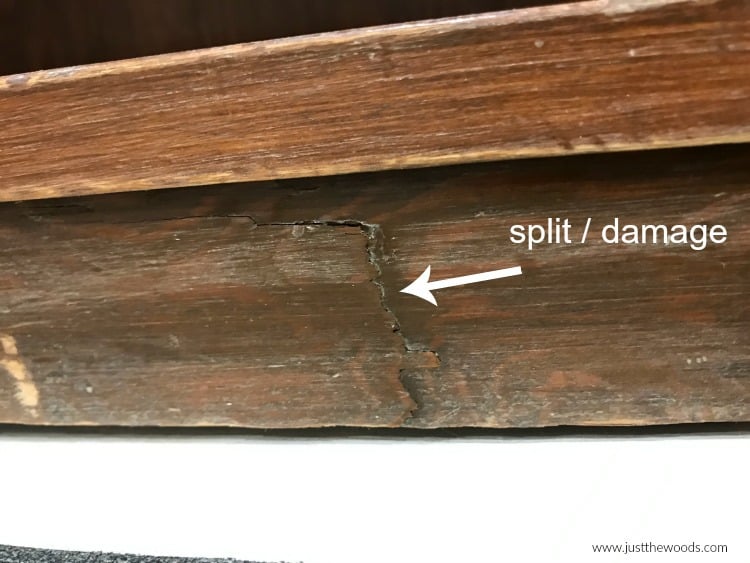
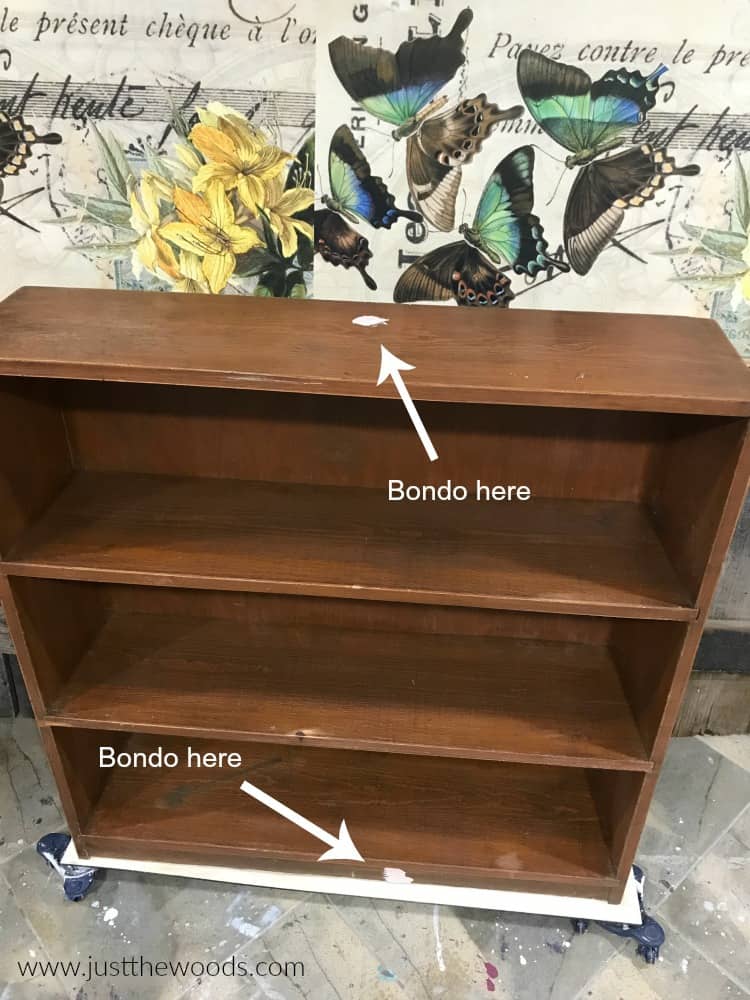
One good thing to note about the cleaning and prep process is that you will (or should) notice any damage requiring repair during this step, if you hadn’t already. It’s better to find the damage during the cleaning and prep than during the furniture painting process. This way we can address and repair it before we break out the furniture paint. While prepping this bookcase I see there is a small split in the wood towards the bottom of the piece.
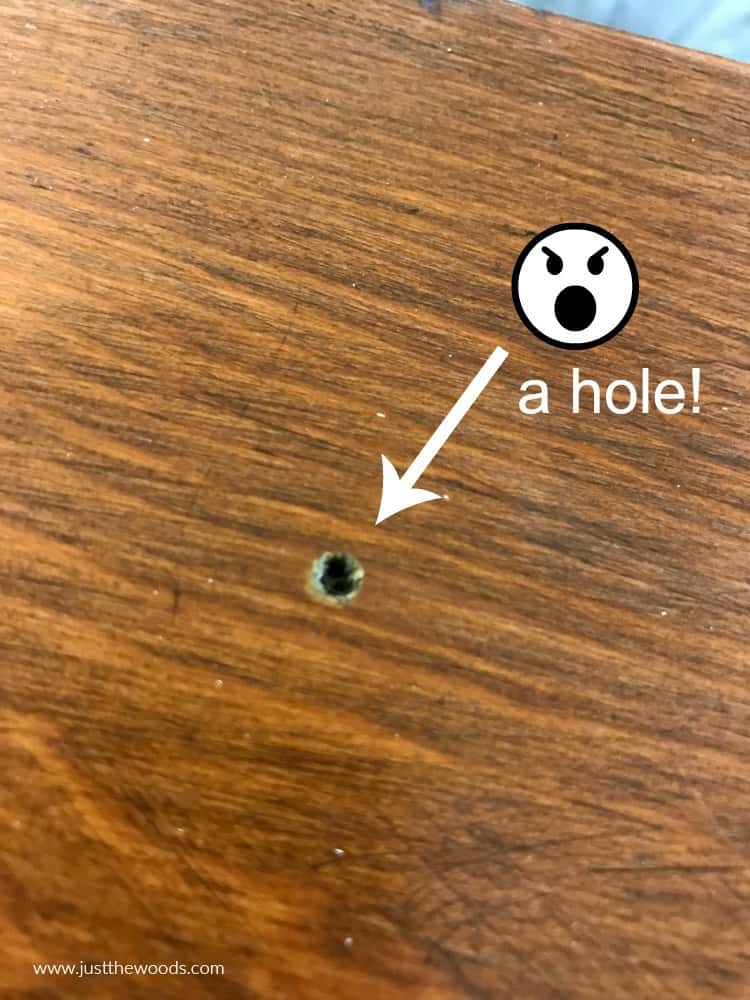
And right on top, for some odd reason, there is a hole. We should fix these. I still wonder how that hole got there.
Repairing Damaged Wood
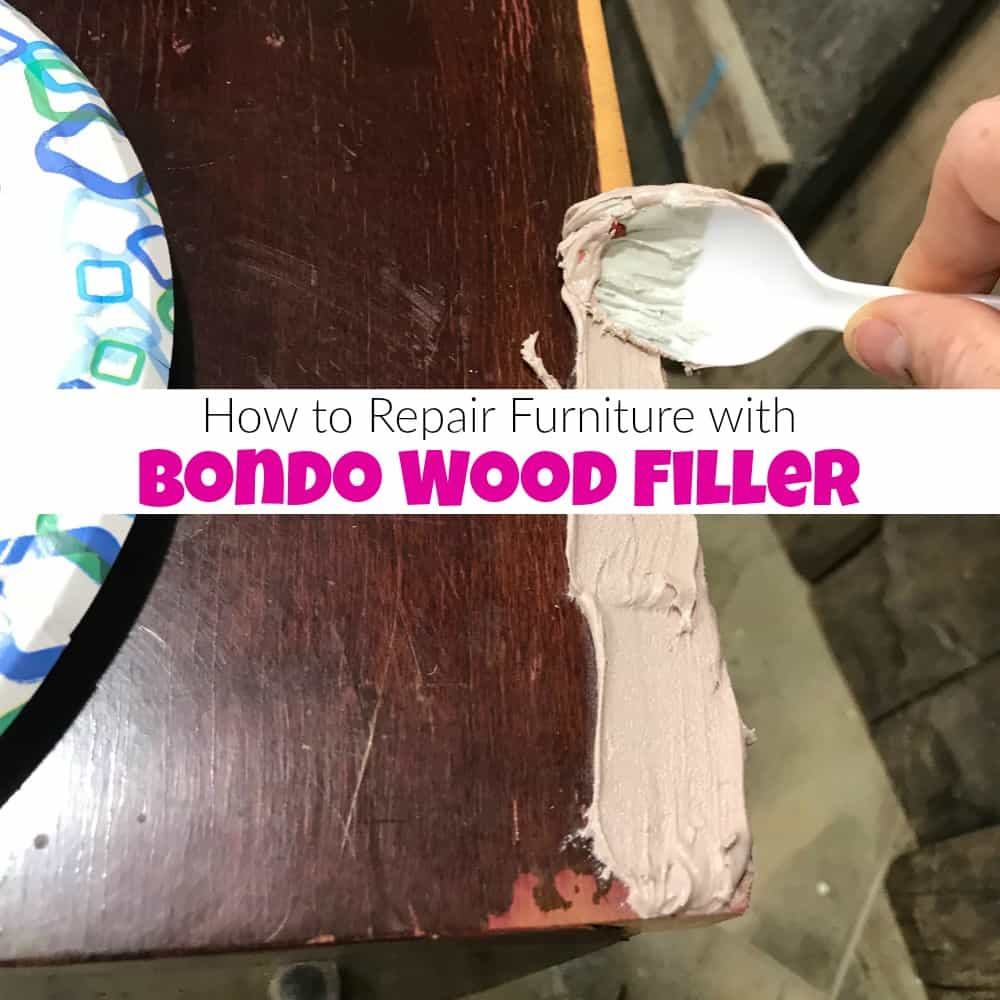
To do this we need to break out a wood filler, or Bondo. I really like this Bondo spot putty for small repairs. You can see where I used this stuff to repair missing veneer on a pretty pink table makeover with floral decoupage here: hand-painted furniture. You can also get this spot putty online HERE. Just make sure to use it in a well-ventilated area because the odor could become strong.
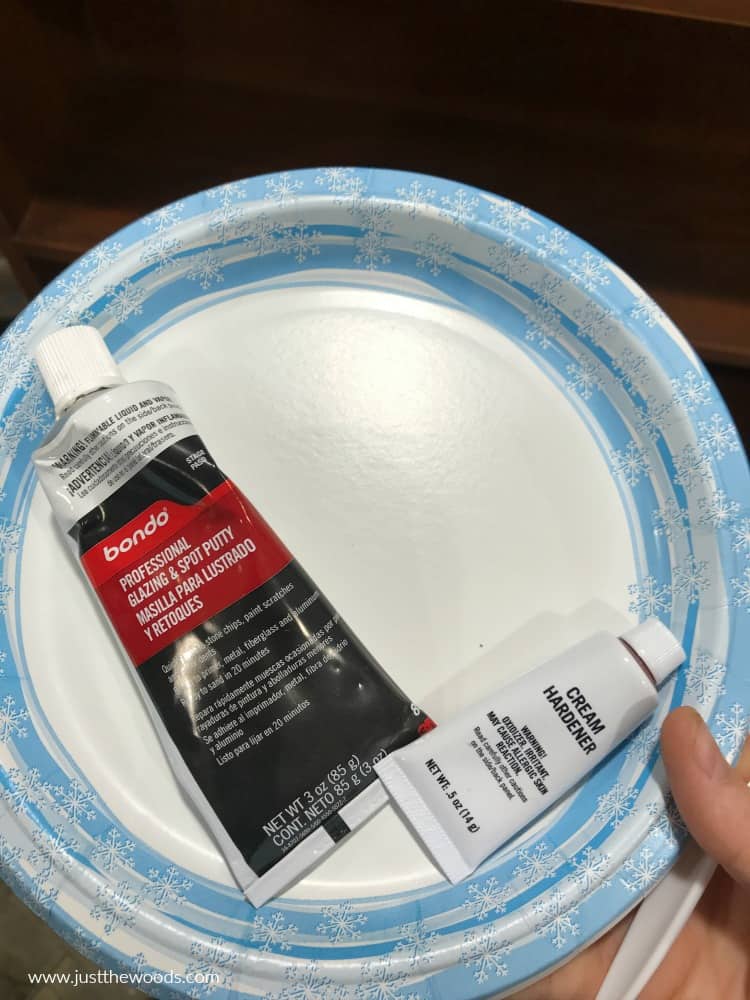
Mix the bondo on your paper plate and apply to the damaged area.
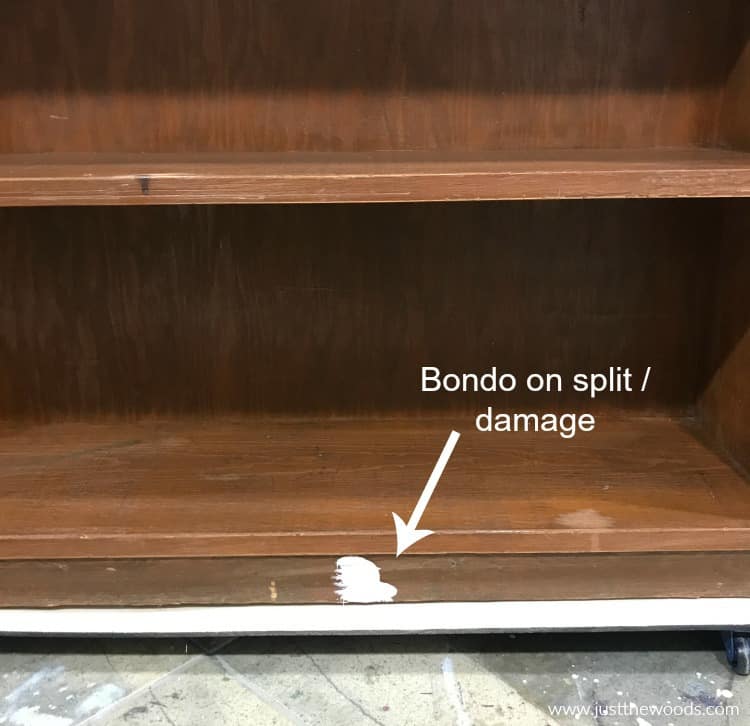
You don’t have to to go crazy, but just enough to fill and cover the area. This stuff dries very hard and you will have to sand it, so don’t use more than you need.
Sand Again
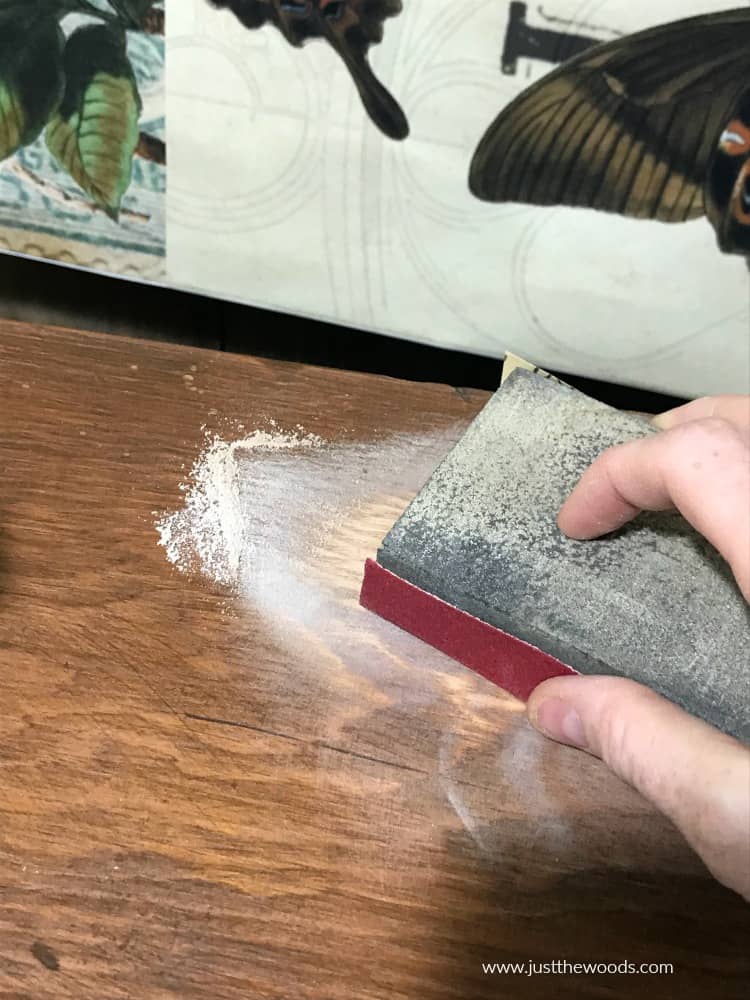
Once the Bondo is dry you will need to sand the area smooth with sandpaper. If you used a bit more than necessary or if the area is large, you may want to use an orbital sander for this part.
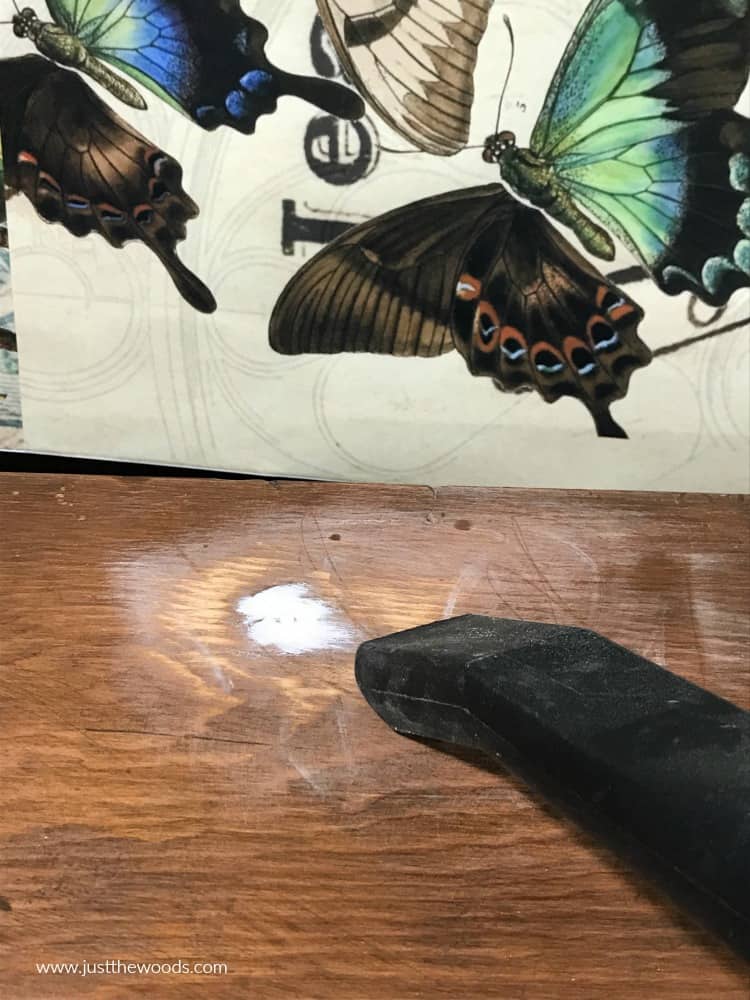
Go ahead and clean up the dust mess. Again, I break out the shop vac for this part.
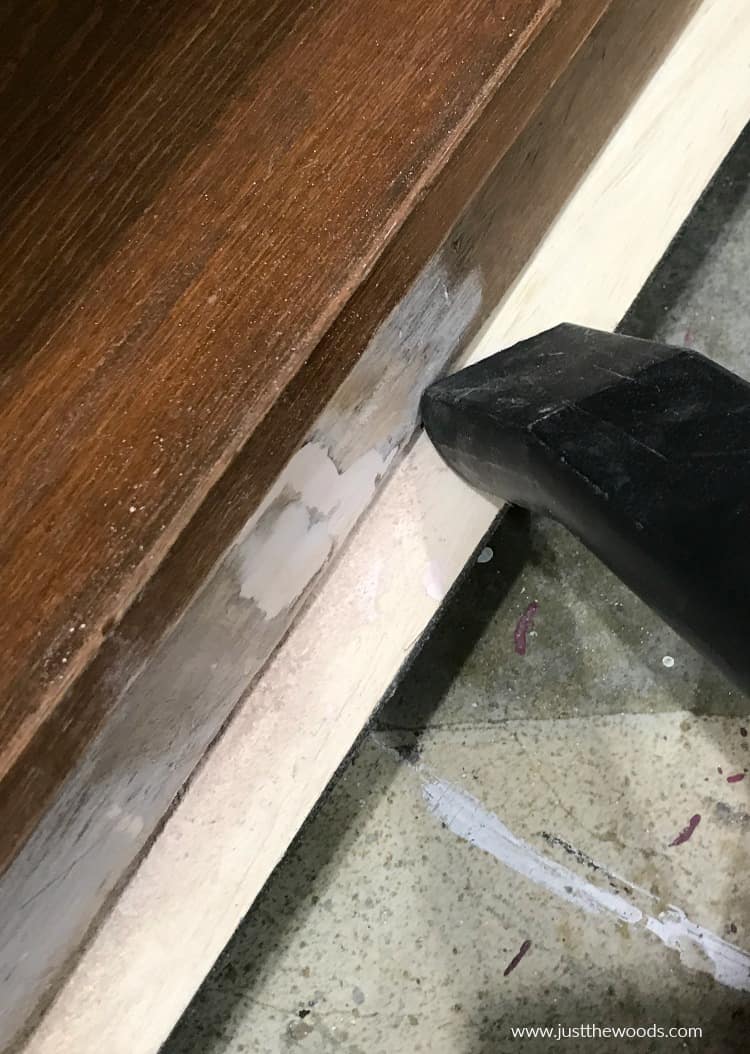
You may need to follow up with a second coat of Bondo and sand again to get the area completely full and smooth. If you are lucky it will only require one coat. Either way, make sure to remove the dust and wipe the area clean before we grab the paint.
For more projects and ways to use Bondo to repair furniture, make sure to check out How to Repair Furniture with Bondo Wood Filler.
Click HERE to Pin this post for later.
Gather Decoupage Supplies
It just so happens that I have found an amazing source for decoupage paper. I recently ordered this fantastic vintage style butterfly decoupage paper with gorgeous greens and yellows. Green painted furniture is so underrated if you ask me. So naturally, I plan to use green furniture paint with this pretty paper and some decoupage glue to create a one of a kind makeover. Want to know my source for where to buy decoupage paper? This is where I found this particular paper along with a few others that I have used on other decoupage furniture projects HERE.
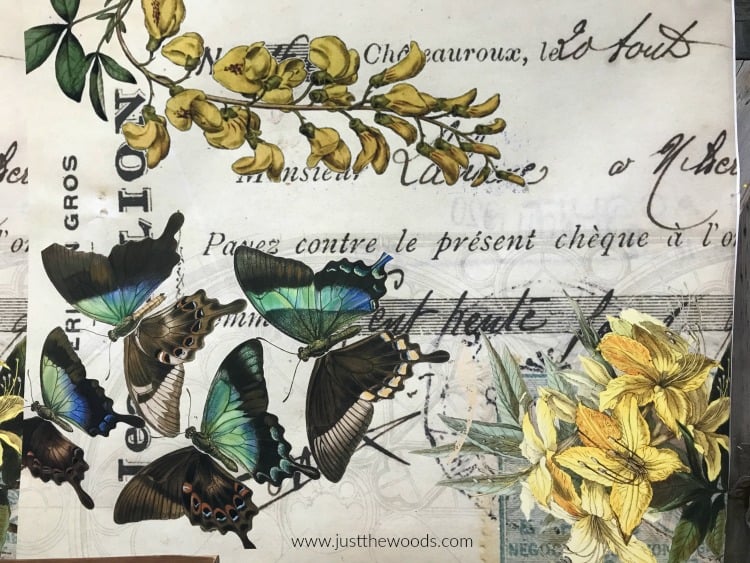
Along with amazing decoupage paper, you will need a few more decoupage supplies. You can get an idea of all of the supplies I use here in Decoupage Supplies to make your Life Easier.
In short, here are a few decoupage supplies you will need, at least for this project:
- decoupage paper – find some HERE
- you can use wrapping paper, paper napkins, scrapbook paper, rice paper, and more
- decoupage medium / glue – find it HERE
- cutting mat – I have this one HERE
- Exacto knife – HERE
- clear Cling wrap
- basic paintbrush or silicone glue brush – get one HERE
Choosing Furniture Paint Colors for Your Project
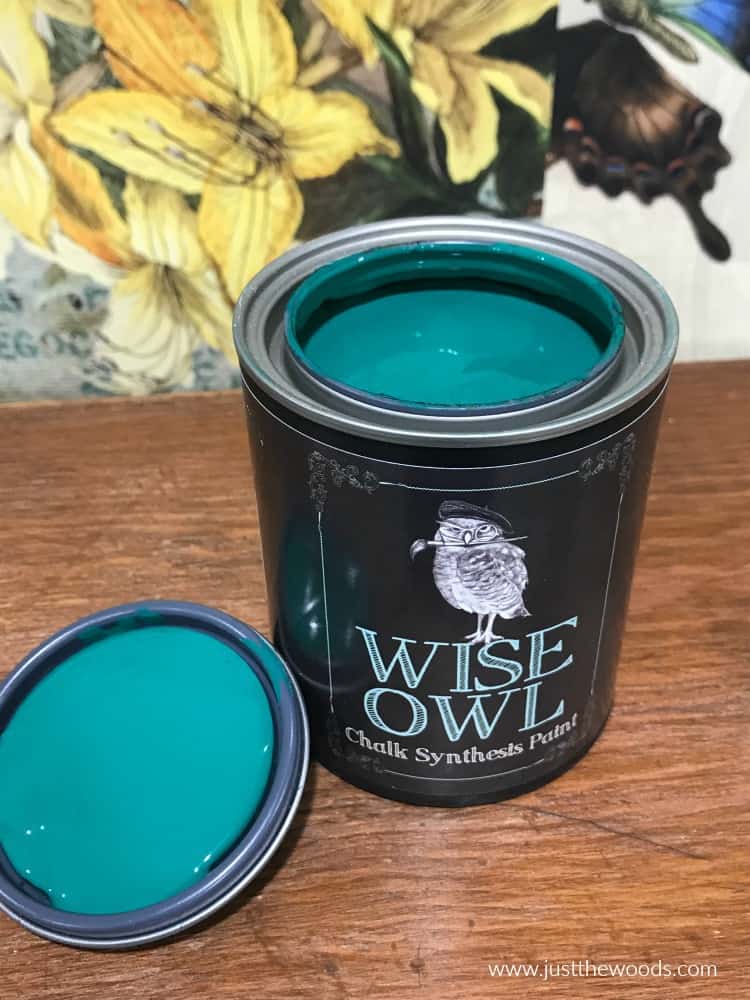
Now that we have our decoupage paper and decoupage supplies we can choose our paint. As I mentioned I want to pull from the gorgeous green in the paper, so I am going with Emerald City by Wise Owl. You can get all of the Wise Owl Paint colors and products online here. My plan is to paint the bookcase in this gorgeous green chalk paint color and then paint the outside of the bookcase in Charleston Green, which is a super deep dark green furniture paint. But you know how plans go, they don’t always go as planned. 😉
If you are new to furniture painting and want to learn how to update old furniture with paint you can always start at the beginning with How to Paint Furniture – a Beginners Guide.
Applying Furniture Paint to a Bookcase
Moving forward, grab your favorite brush and make sure it’s clean. I am using my flat Cling On brush, but like to swap back and forth between Cling Ons and Zibra brushes. They both have soft bristles, are easy to work with and clean up well. (I abuse my brushes) To be honest, I like them both. Zibra brushes are a bit more affordable and can be ordered online (HERE). Cling Ons can be ordered online (HERE).
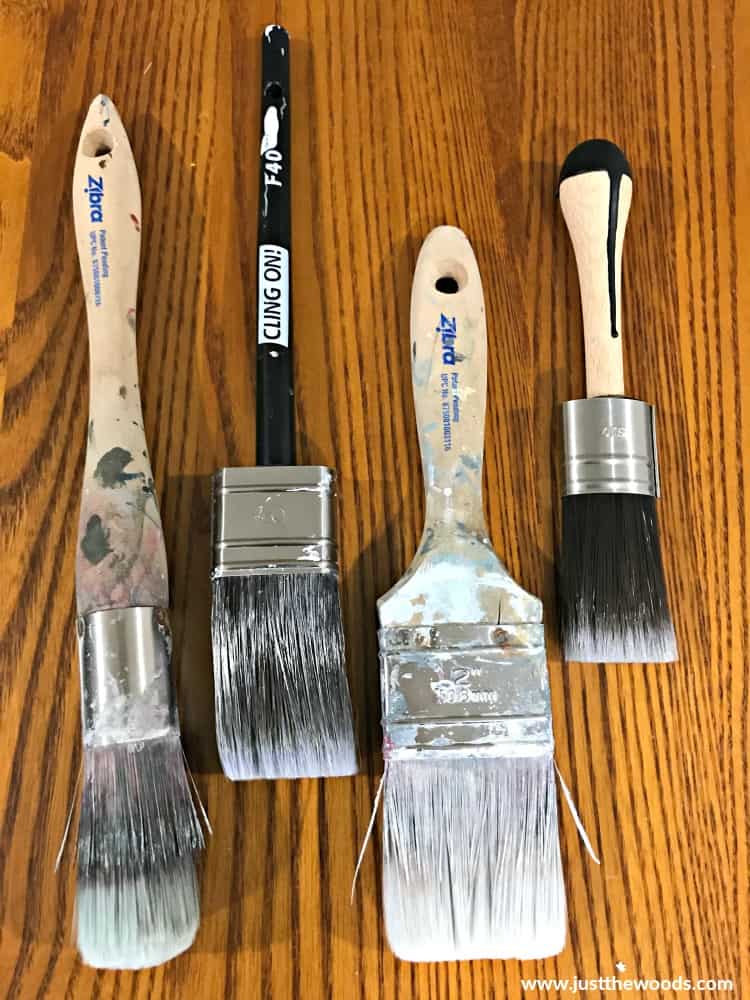
Let’s go ahead and paint our bookcase in Emerald City using your favorite brush.
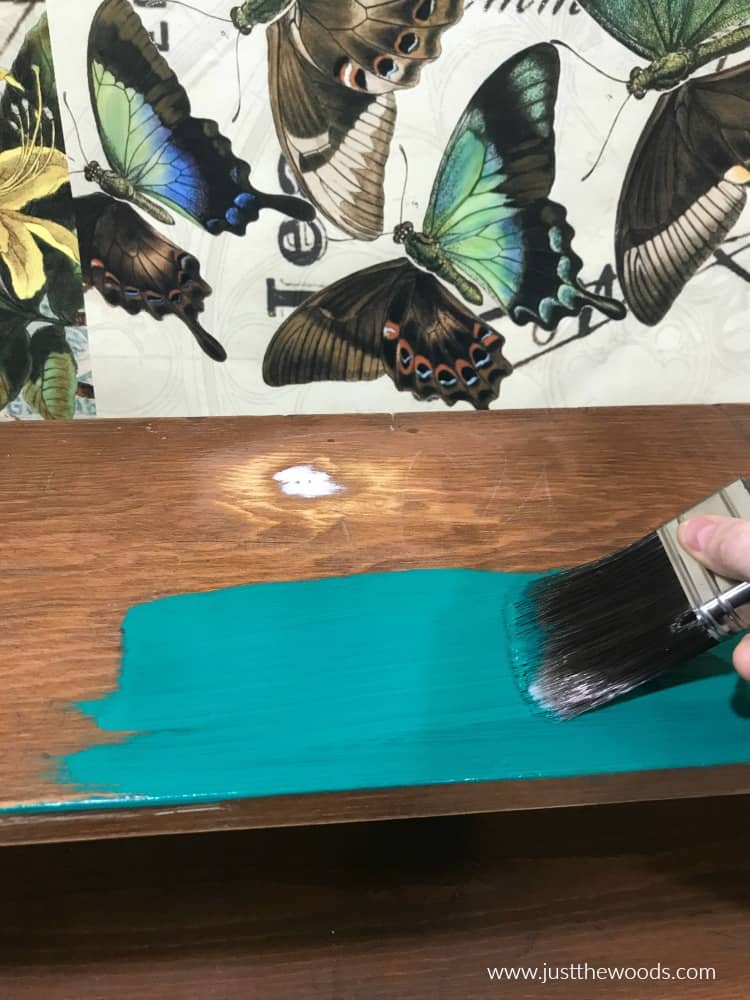
For some reason, I paint the outside first. Keep in mind that your first coat may not look great. This is common, but the second coat will look amazing!
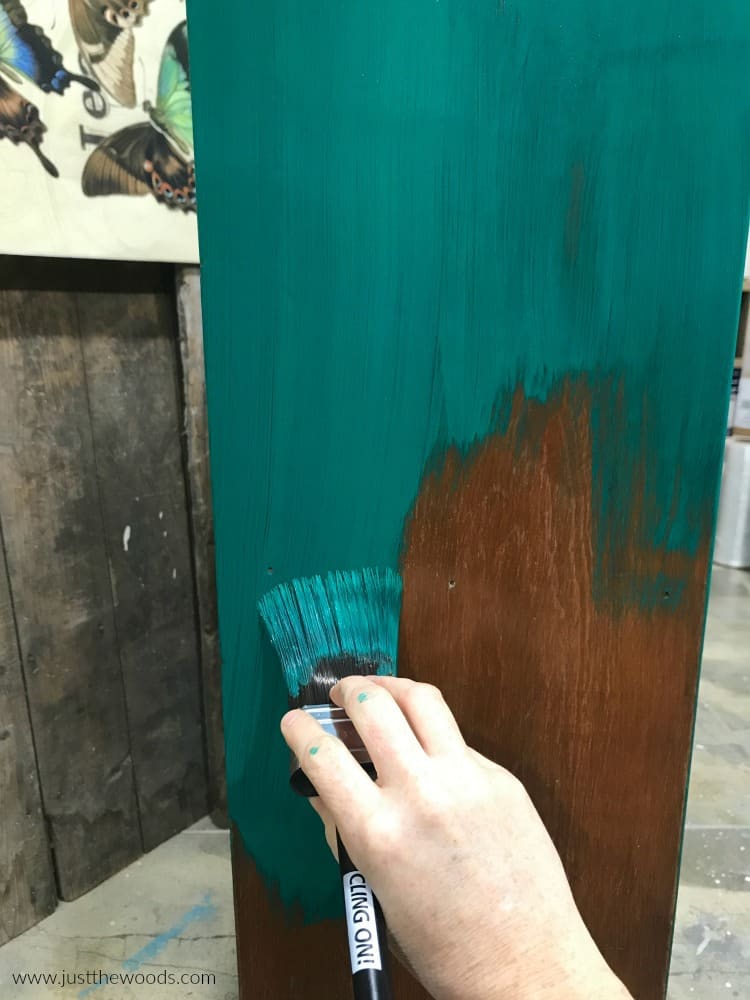
The first coat of furniture paint is looking good so far. You can already see how well it works with the decoupage paper, and we haven’t even started that part of the project yet.
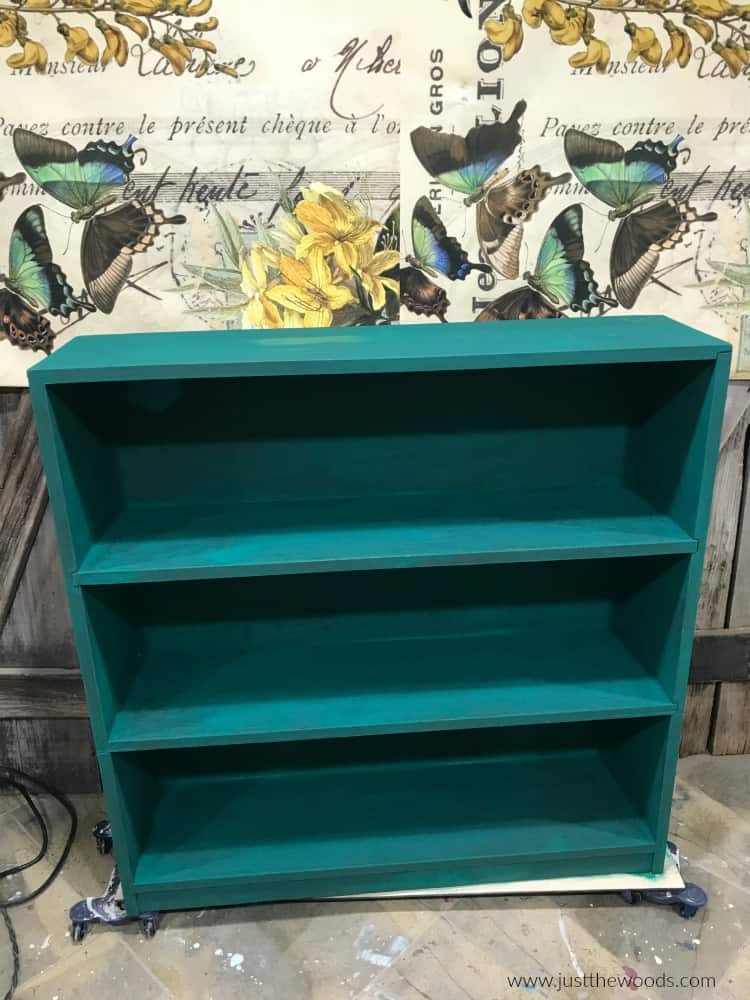
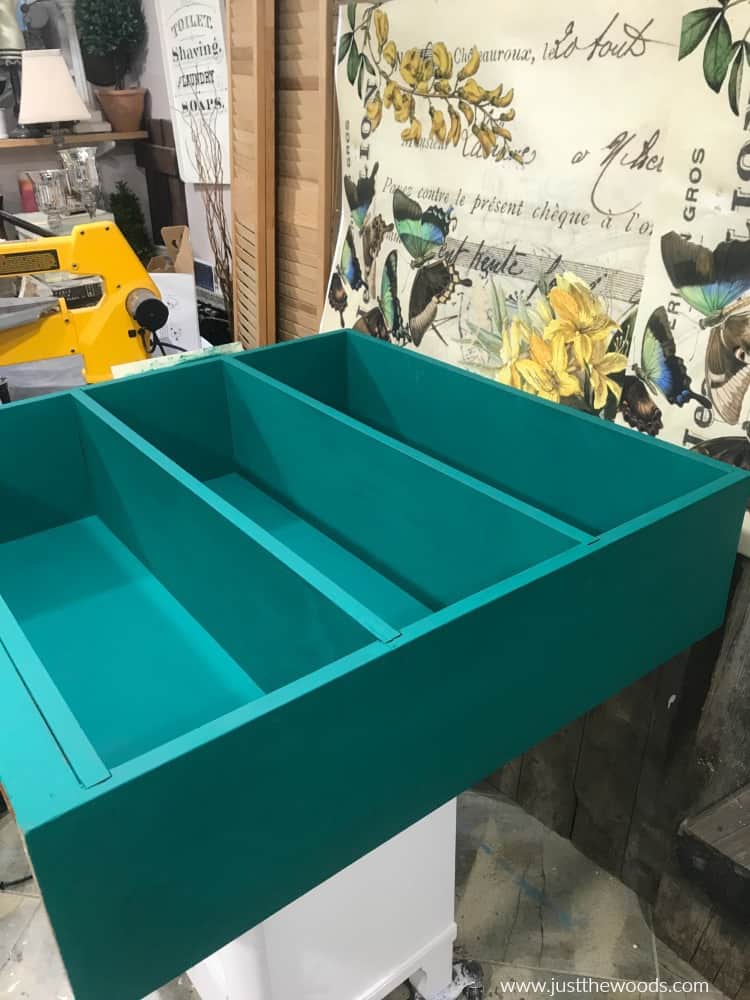
To make sure you get the inside area, under the shelves and in the corners, you can prop the bookcase up onto something. I start off hoisting it up onto another table. Apply two coats of chalky finish paint to your bookcase.
Prepping Your Decoupage Paper
While your furniture paint dries you can get your decoupage paper cut, trimmed and ready. First, you will need to measure the area inside the bookcase where we will apply the decoupage paper. Then lay your paper out on your cutting mat. Using a cutting mat allows you to cut through the paper cleanly without damaging the floor, or a table underneath. It also prevents damage to the cutting blade. This is the mat that I use (HERE), I like that it comes with the clear acrylic ruler.
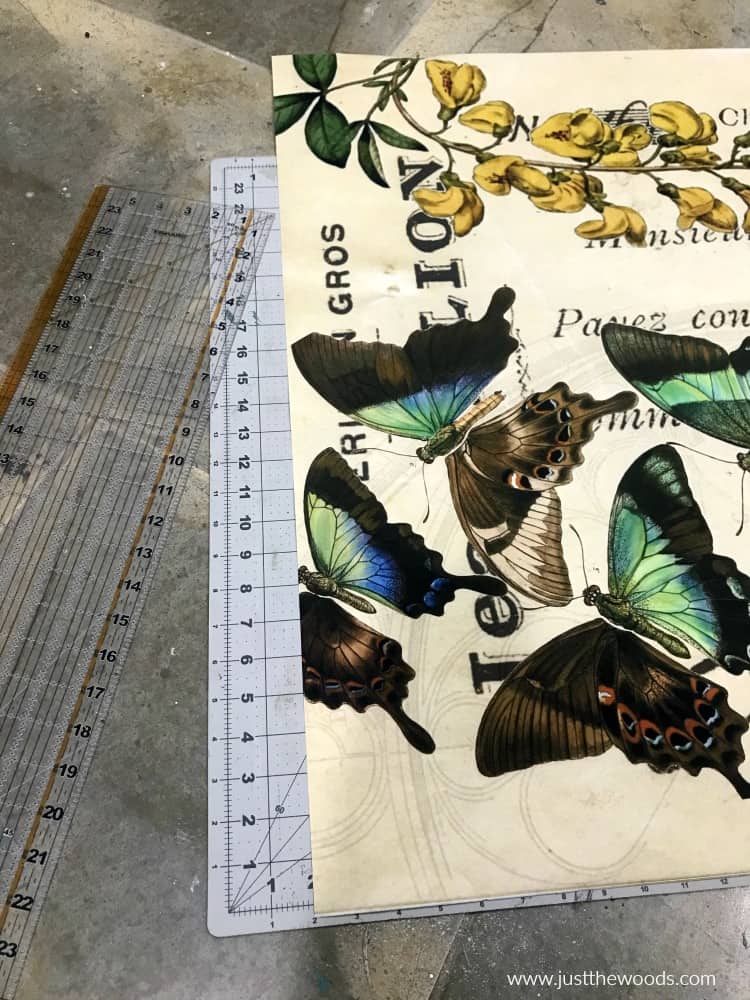
Measure and mark your paper. This is why I like to always make sure to have extra decoupage paper or tissue. In case of a mistake, I want to be able to continue with my project. Never order ‘just enough’, always get a little more than you need. That’s my ‘tip of the day’ 😉
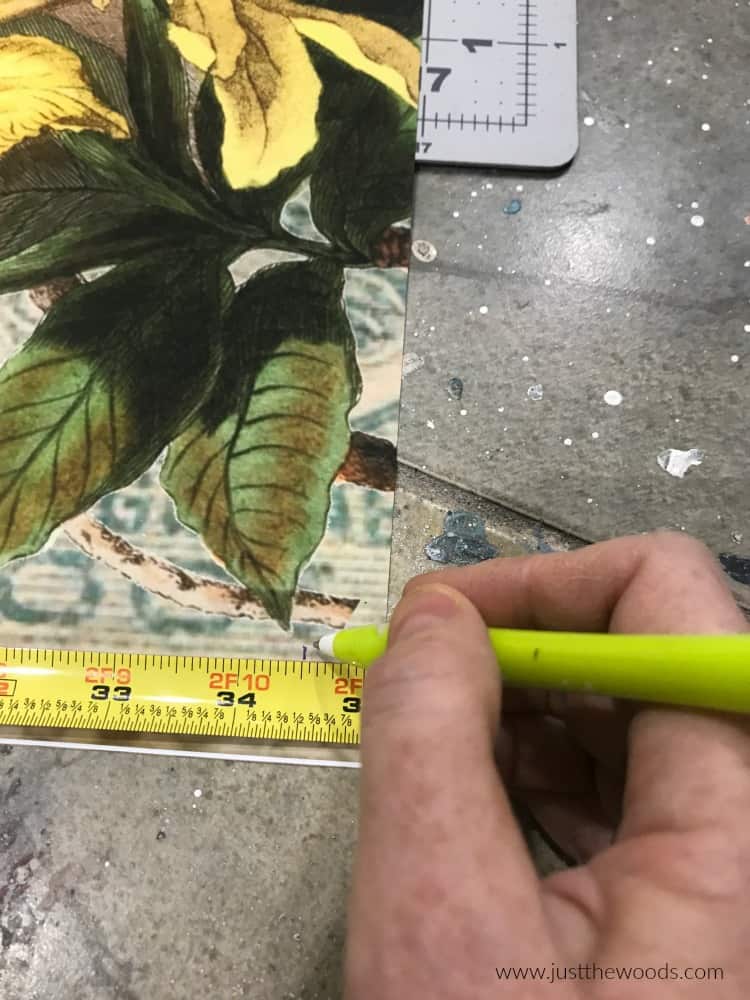
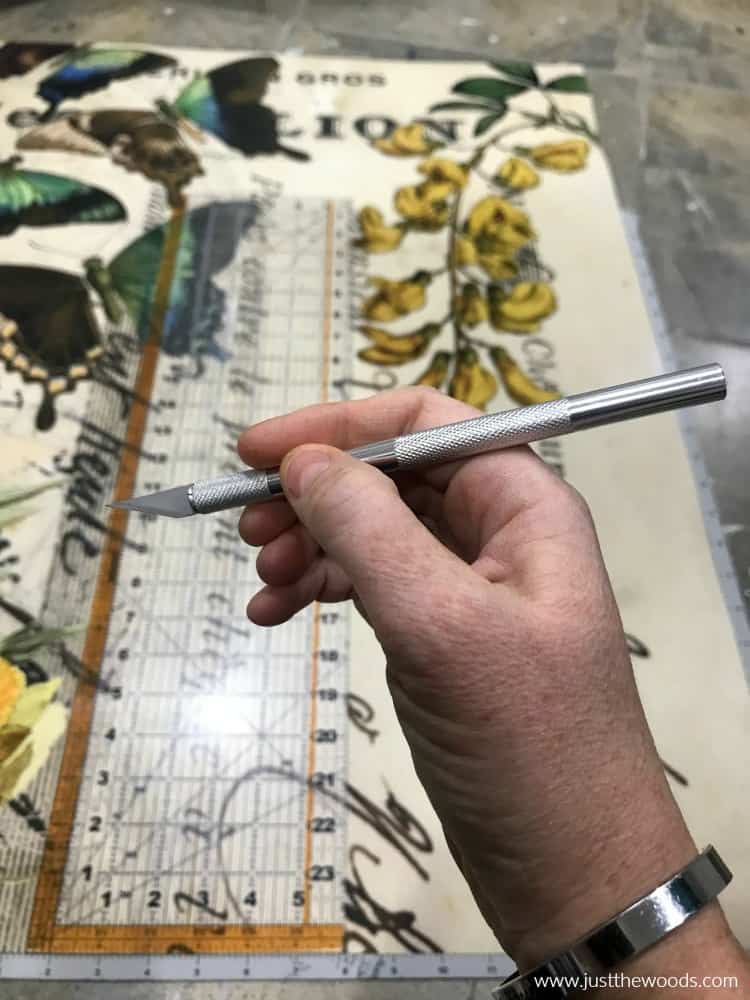
Carefully trim your decoupage paper with a sharp Exacto or craft knife. I love this one that I found because it comes with multiple spare blades which are perfect. There is nothing worse than being in the middle of a project and realizing that your only Exacto blade is dull or covered in paint or glue. Having spares is golden! You can find them online HERE.
Click HERE to Pin this post for later
Tips for Trimming Your Decoupage Paper
Always start on the larger end and work smaller. Meaning, when you trim your decoupage paper don’t over trim. You can always adjust and make the piece of paper smaller until it fits, but you can’t make it larger if you trim too much. By the end, I find myself trimming tiny hairline pieces off the sides to make the paper fit just right. BUT, this is also why you paint the piece of furniture where the paper will be applied. If you do happen to trim too much, this way you will see the paint and not the bare wood allowing the paper to blend in. I hope that makes sense.
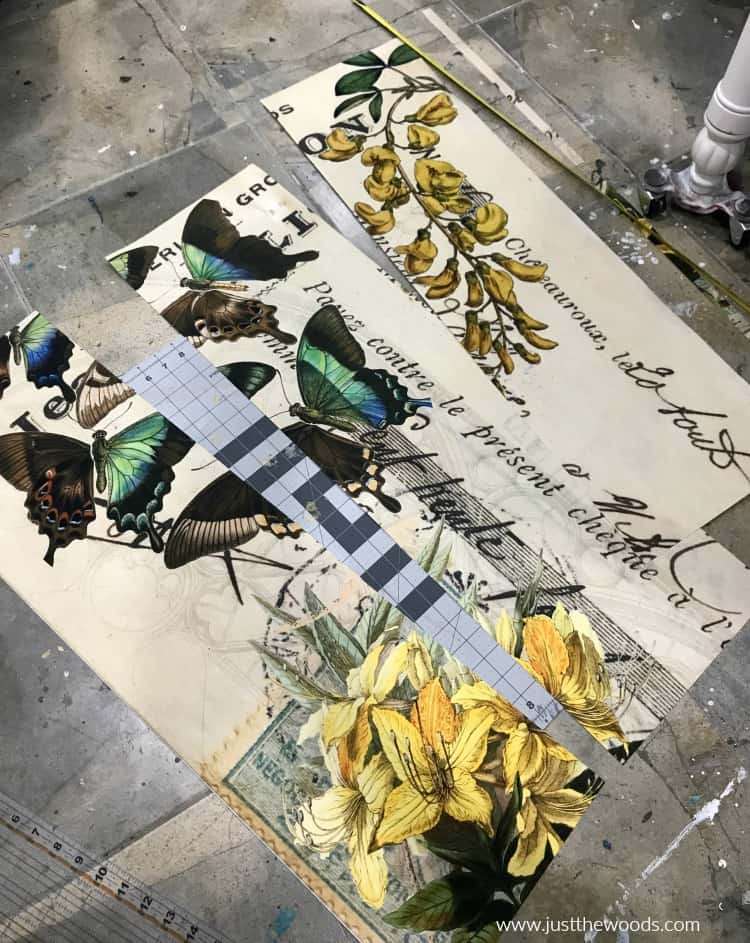
You will want to lay your decoupage paper into the spaces first to check a few things:
- make sure that the decoupage paper fits properly
- ensure the images are in order and not mismatched
- make sure that none of the images are upside down
- if you did trim too much, will you see wood or paint (if wood, make sure to paint that spot to cover the wood)
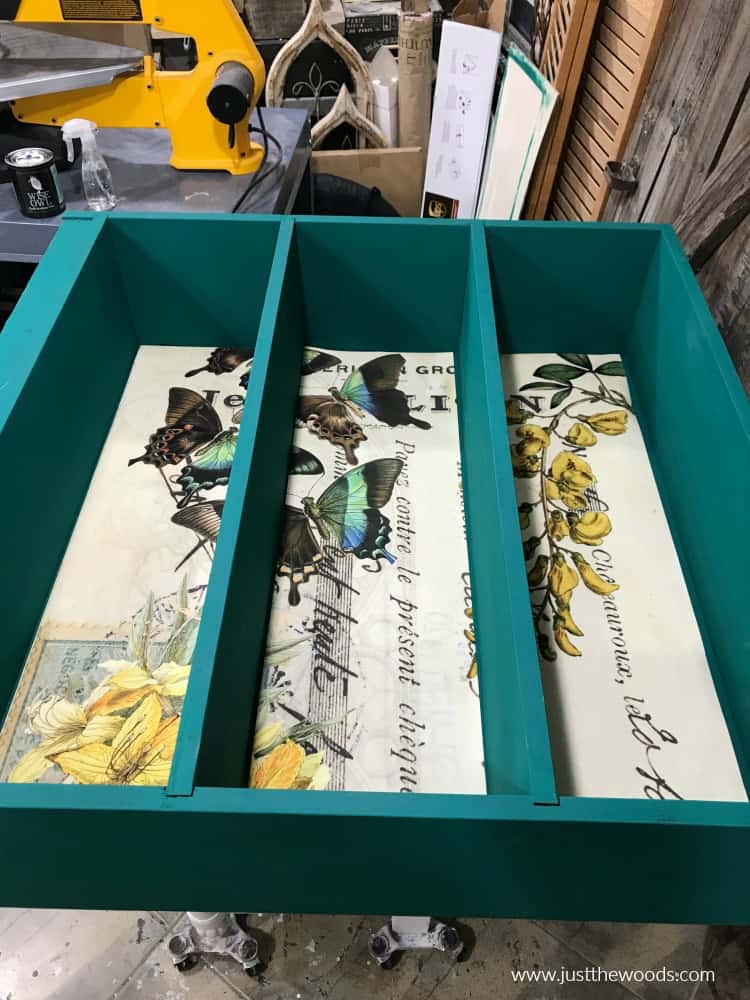
How to Decoupage on Wood Furniture
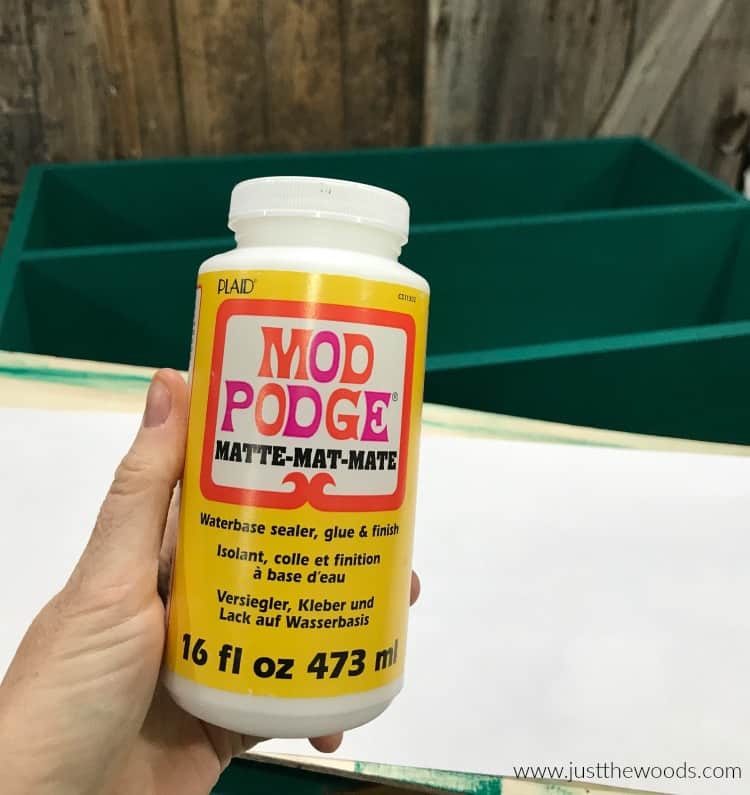
Now that we are satisfied with our painted bookcase and the cut pieces of paper we can apply the decoupage paper. Grab your decoupage glue, I am using matte Mod Podge. You can get Mod Podge at your local craft store or online HERE.
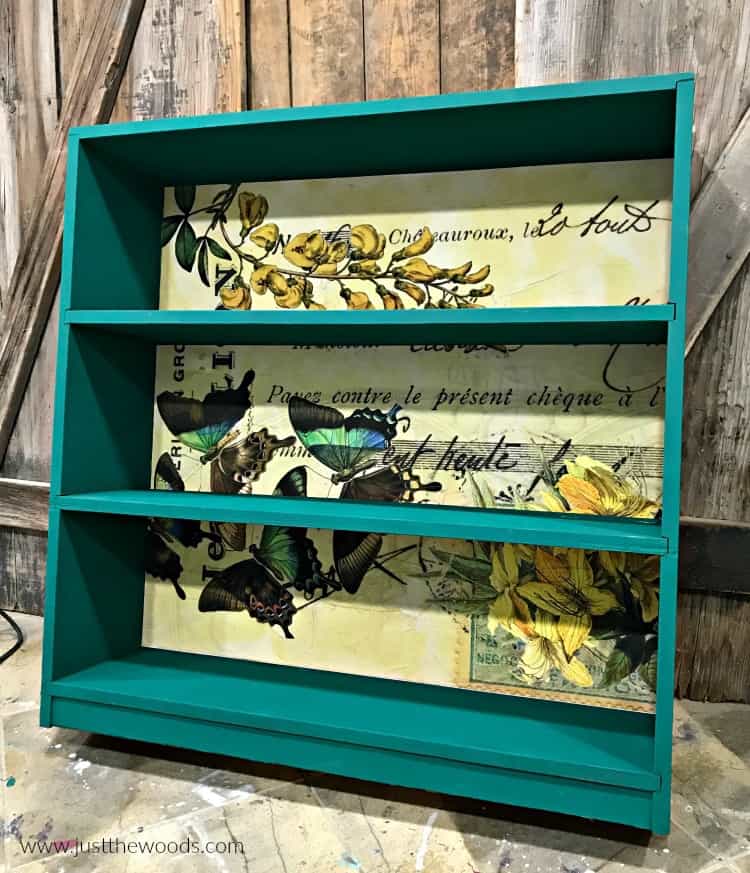
Slowly, and carefully apply your decoupage glue to the wood and then press your decoupage paper down. This process is easier when you work in sections, decoupaging one small portion at a time. I prefer to apply the glue to the furniture and not the back of the paper. Carefully smooth out any air bubbles as you apply the paper. When working with different materials, keep in mind, thicker paper tends to be easier than thin paper to work with. You are more likely to get creases and air bubbles with tissue or rice decoupage paper than with a thicker type of paper. If this is your first time, then it would probably be best to start with a thick material for best results.
Video Tutorial for How to Apply Decoupage Paper to Wood Furniture
Here is a video showing you how to decoupage painted furniture.
Click HERE to Pin this post for later
Decisions to Make
I admit that the original plan included adding this deep dark green (called Charleston Green) to the top, sides, and trim of the bookcase. But I am loving the Emerald City so much I am not sure if I should leave it alone, or add the dark green. As you can see the Charleston Green is gorgeous, looks great with the butterfly decoupage paper and is rather dark. There would be no going back if I add the dark green. What do you think?
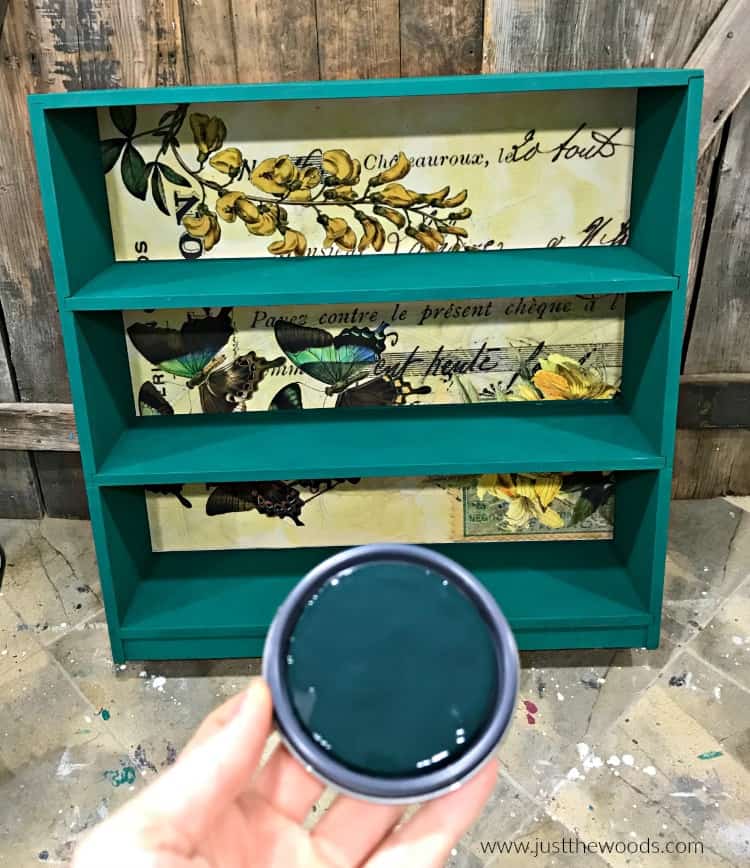
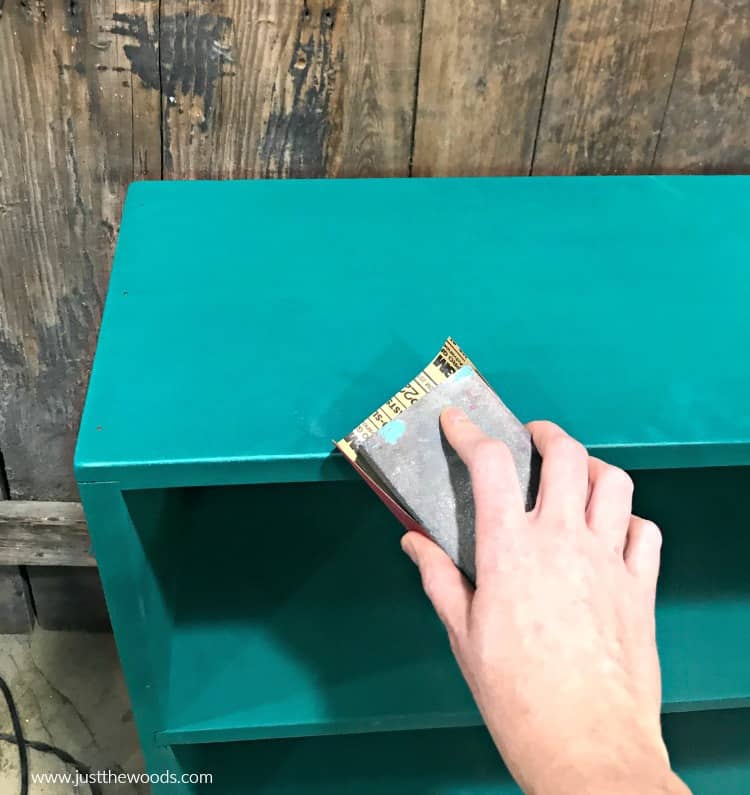
I think it’s safe to say that I am going to chicken out and not add the dark green to the sides of the bookcase. It just looks so pretty without it. But I will lightly sand the piece and distress the edges with sandpaper.
Sealing a Painted Bookcase and Decoupage Paper
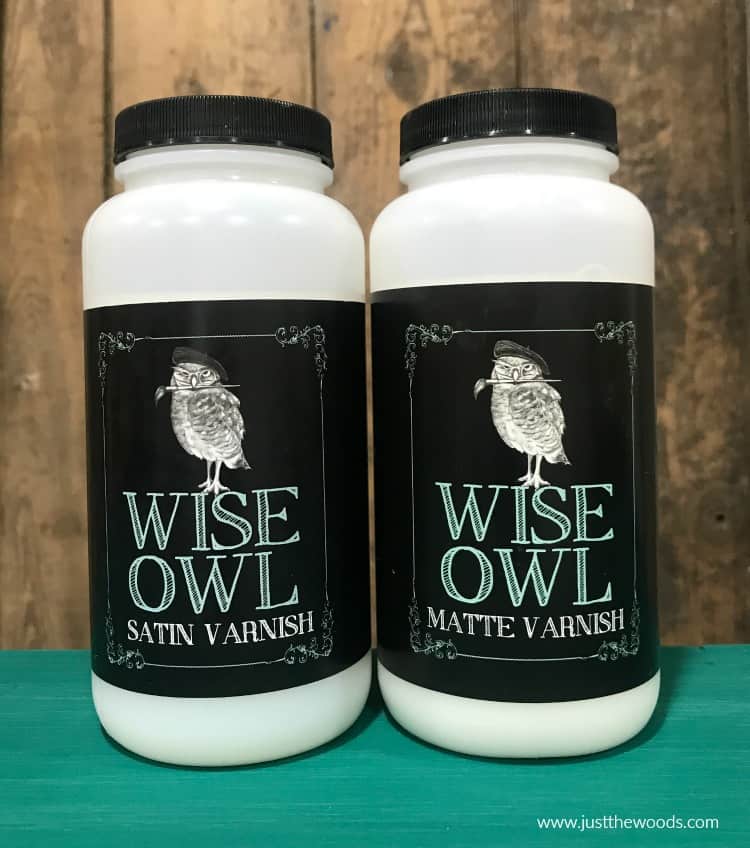
Next, we need to make sure to seal the painted bookcase as well as the decoupage paper. Grab your clear coat sealer, I am using clear satin varnish from Wise Owl.
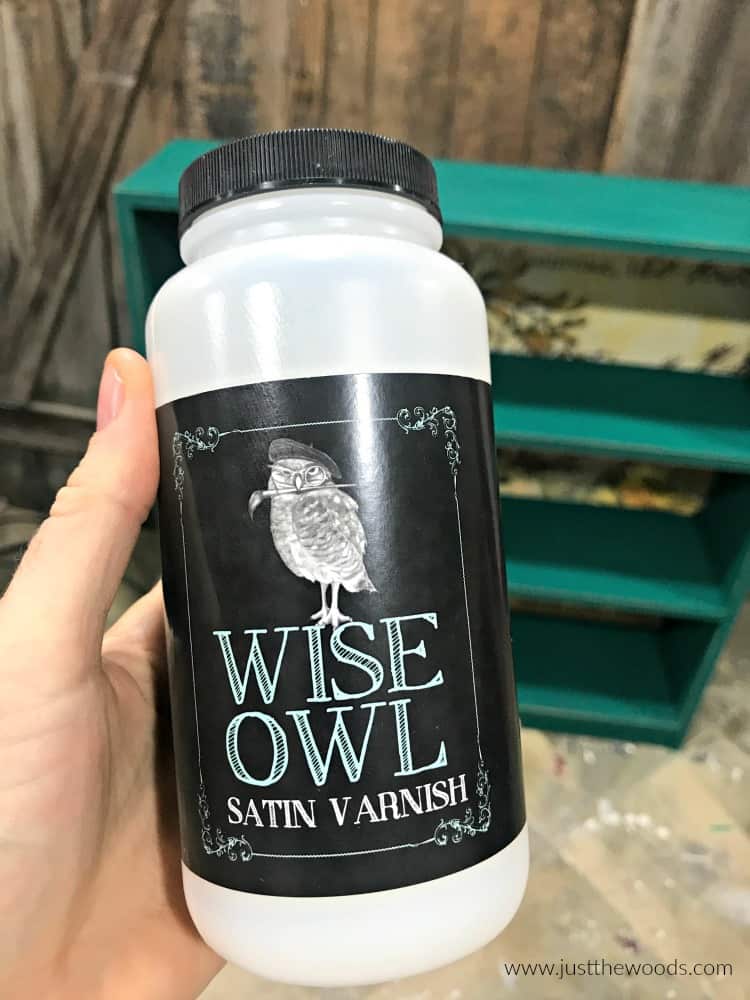
Actually, for no particular reason, I am going to mix a little of both the matte and the satin. Sometimes I mix both when I can’t decide which finish I want, or if I have no real preference. You can get both or either of these clear varnish sealers online HERE.
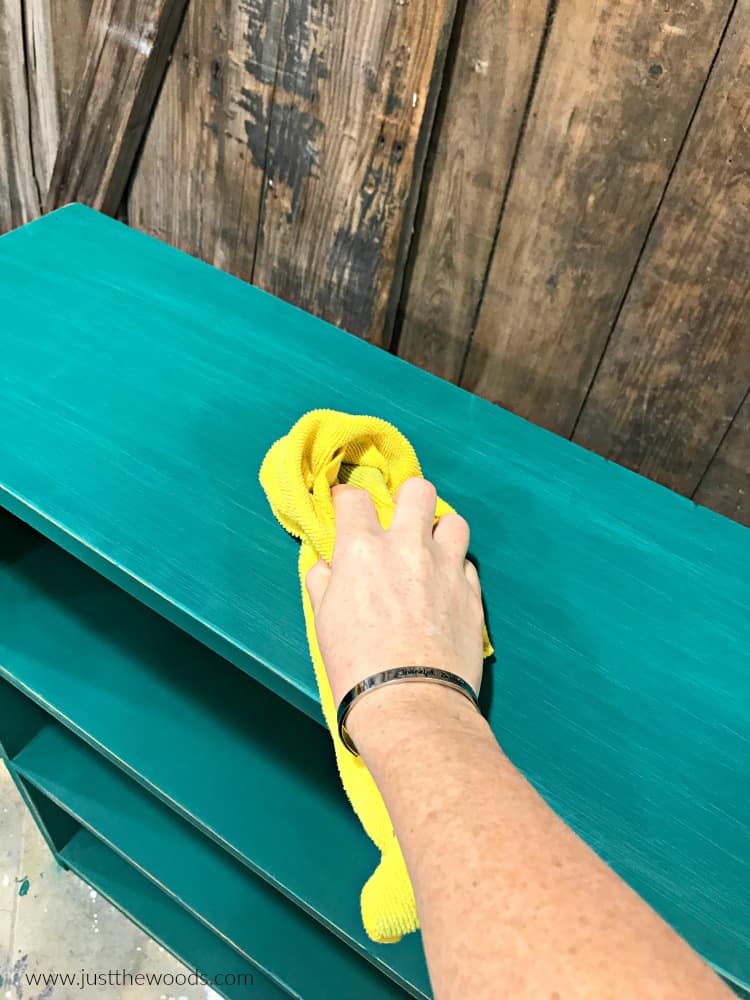
Regardless of which finish you decide to go with, make sure to wipe your piece down with a lint-free cloth first. The dry cloth will remove any dust, especially since we gave the piece a light sanding to smooth and distress it. I keep a bucket of these handy cloths in my shop, you can get some online HERE. They get tossed into the laundry after each project and are re-used often.
Scoop or pour you clear sealer onto a paper plate. I am also propping my bookcase back up again so that I have full access to the entire inside area. This time I am placing the bookcase up on my sawhorse to make sure that it’s stable and secure. You can get a sawhorse online, this is the one that I have HERE.
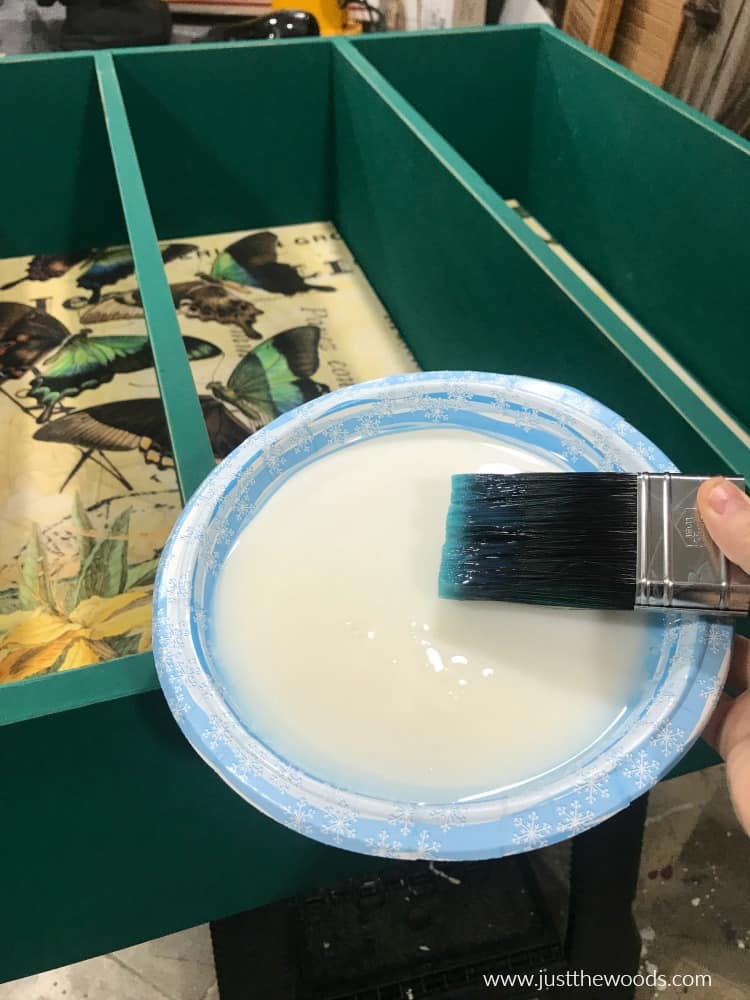
Brush your clear sealer onto your decoupage paper as well as your painted surface to seal and protect the piece.
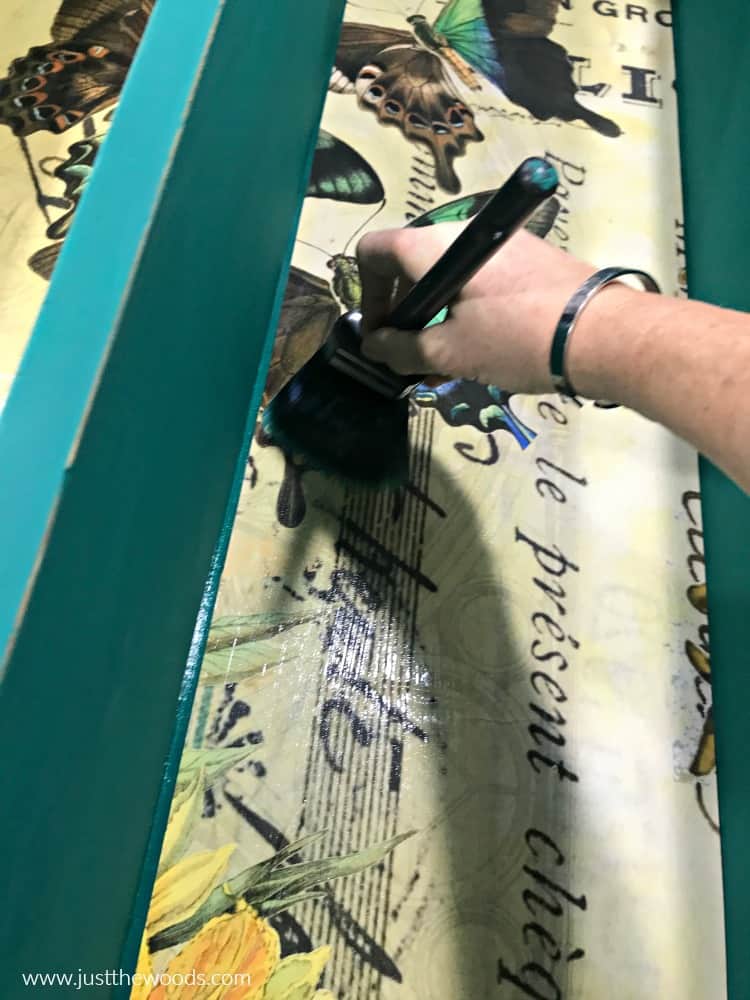
If you are a slightly messy painter like myself, you might want to do what I do and seal the decoupage paper first. Then seal the inside of the bookcase area, and lastly seal the top and sides of the painted bookcase. This way if you lean over and accidentally touch the sides or top of the bookcase you don’t mess it up. Leave that part for the end. I hope that makes sense.
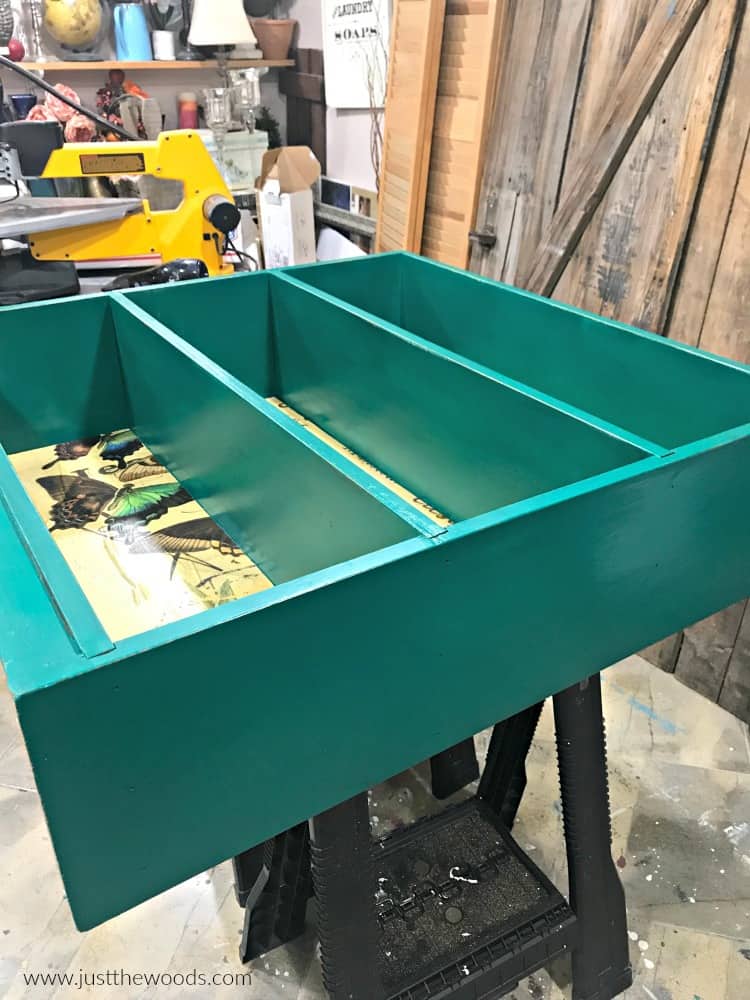
Leave the bookcase to dry completely before standing it back up again. If you ever have questions about sealing your painted furniture project you can find a full tutorial with video on how to apply clear sealer here: Sealing Painted Furniture
Storing Your Chalk Style Paint
Once the painted bookcase is dry you can take it down off the sawhorse and stand it upright. In the meantime, let’s move the paint from the can to these nifty FIFO bottles. Wise Owl, like many chalk paint lines, come in metal cans, which is fine. But when you pour your paint it can get a little stuck in the rim. I don’t know about you, but this drives me nuts.
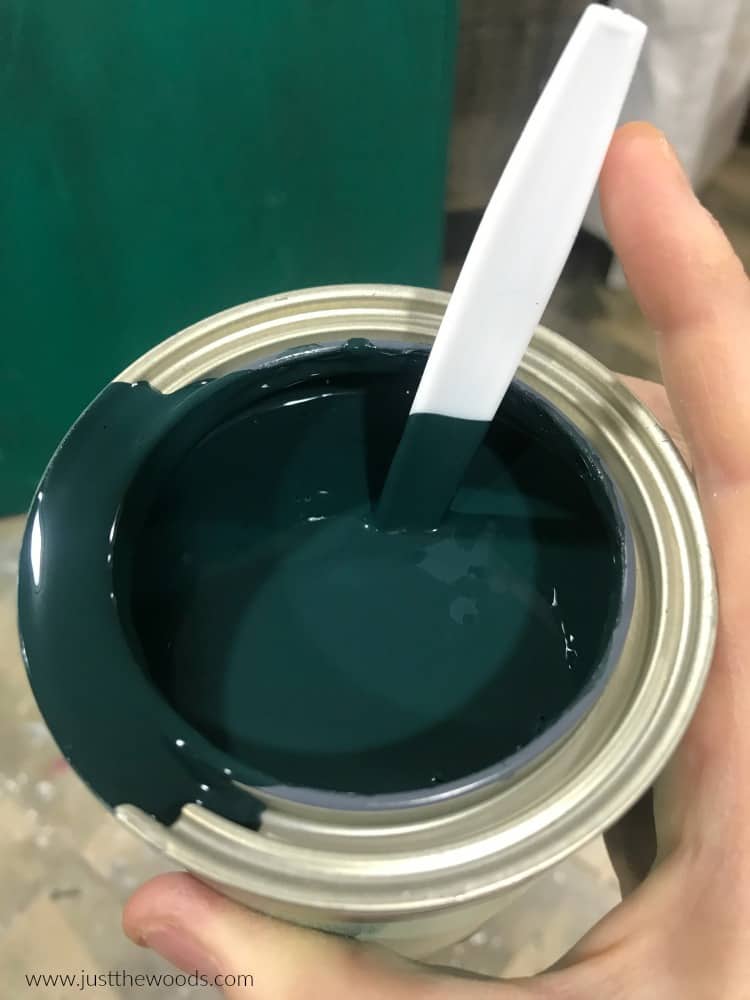
Since the paint comes in a can, I decided to transfer to this nifty FIFO squeeze bottle. You simply squeeze your paint out like a ketchup bottle – no mess! You can get these bottles online HERE.
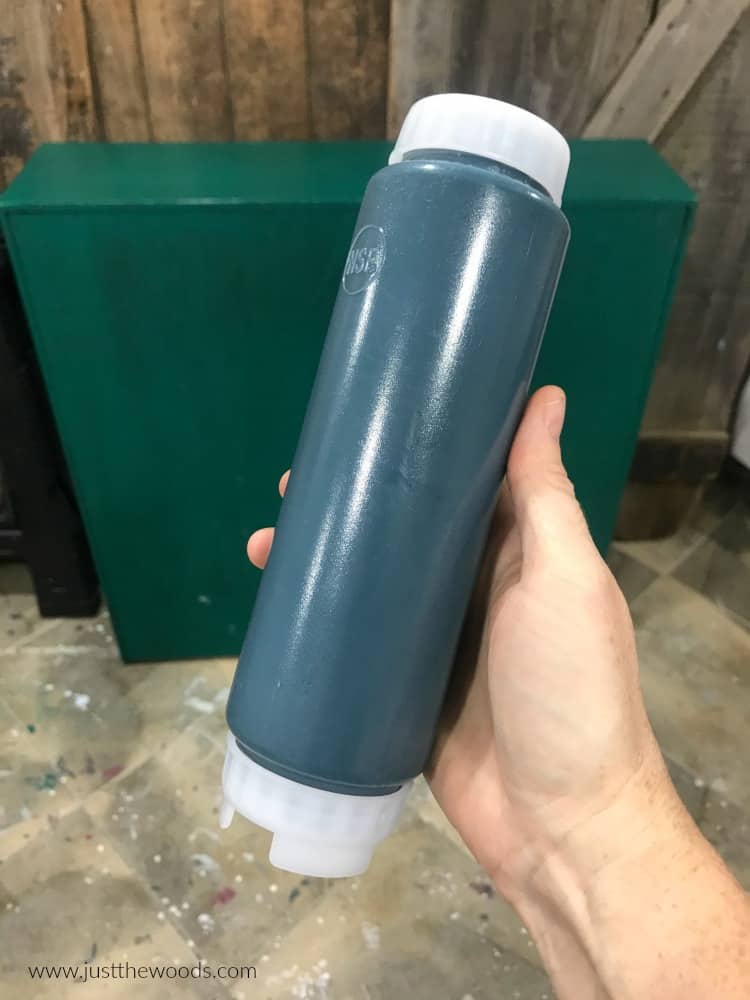
This way when you need paint you simply squeeze some out onto a plate. I find that I don’t waste much paint this way either, because I squeeze out a little at a time. You can easily squeeze out more as you need it.
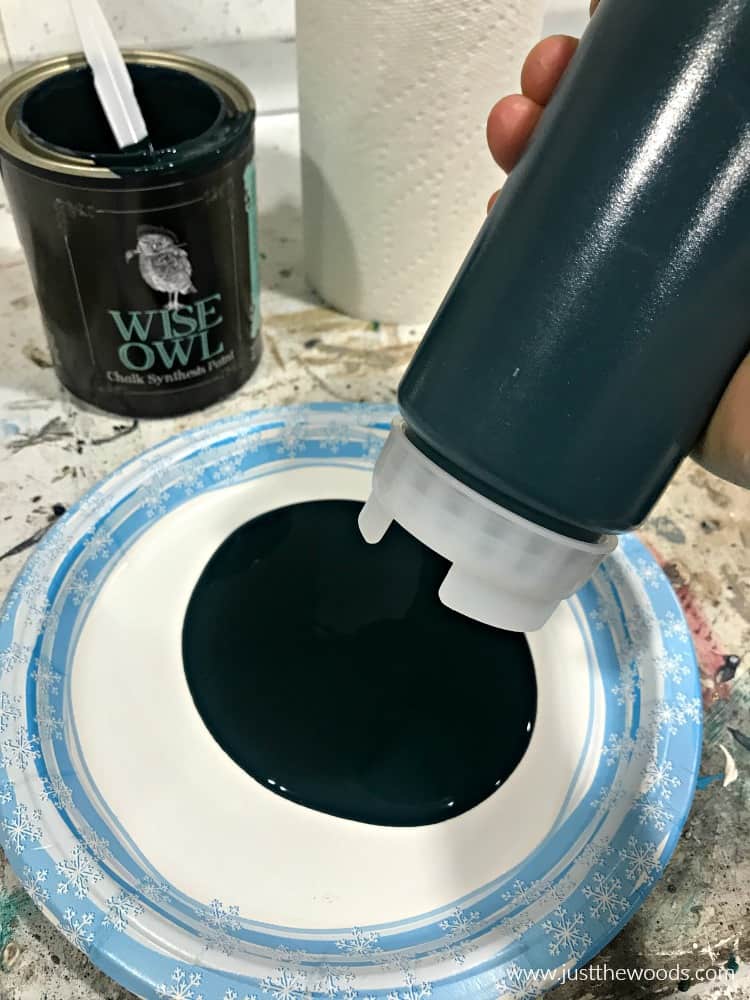
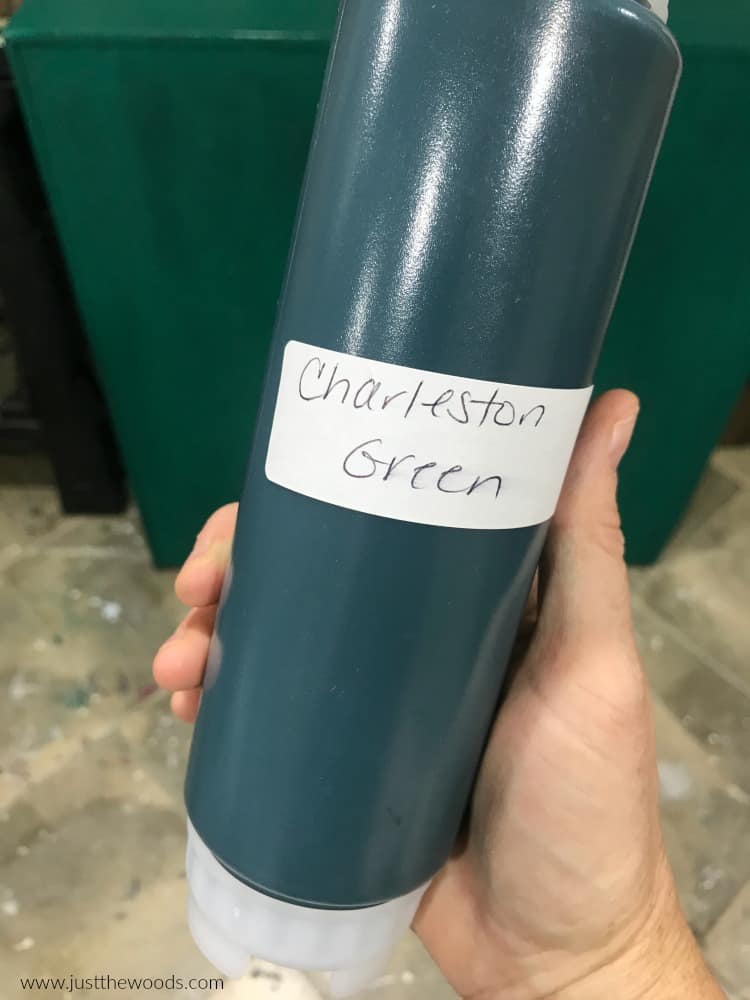
Don’t forget to label your FIFO bottles, nothing fancy here.
Click HERE to Pin this post for later
No Prep Test
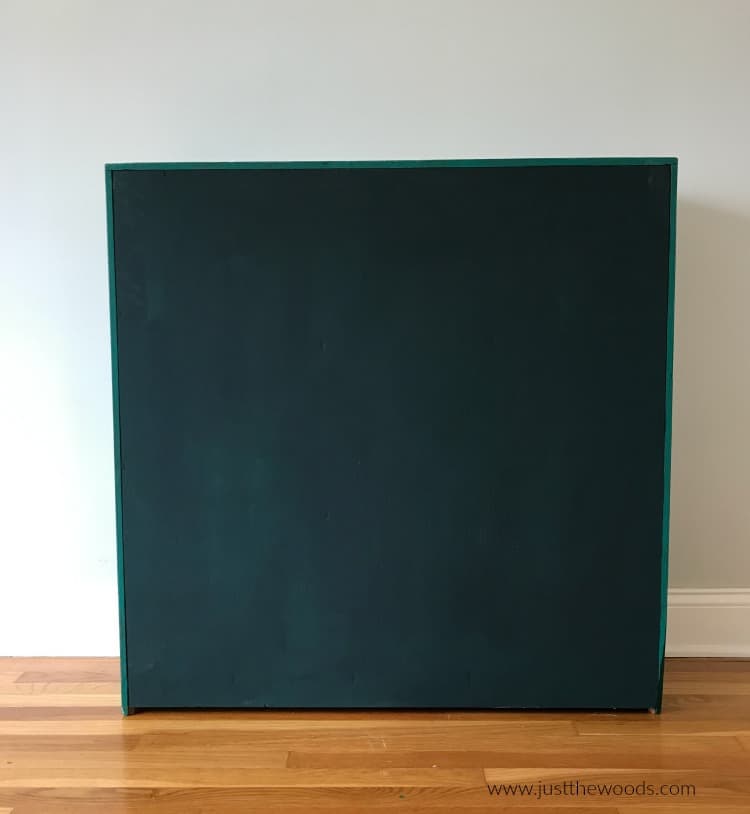
You know how I always insist on a thorough prep? Well, just for fun I also decided to do a bit of a test. The back of this bookcase is not prepped. It’s not even cleaned. Seriously, I didn’t even wipe away the dust!
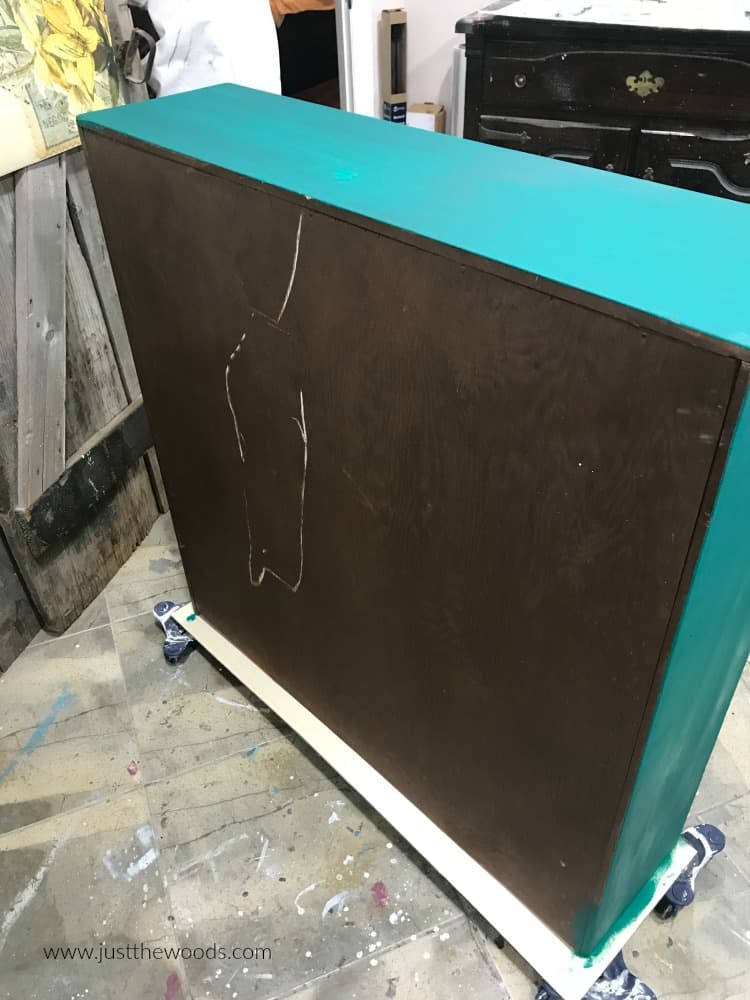
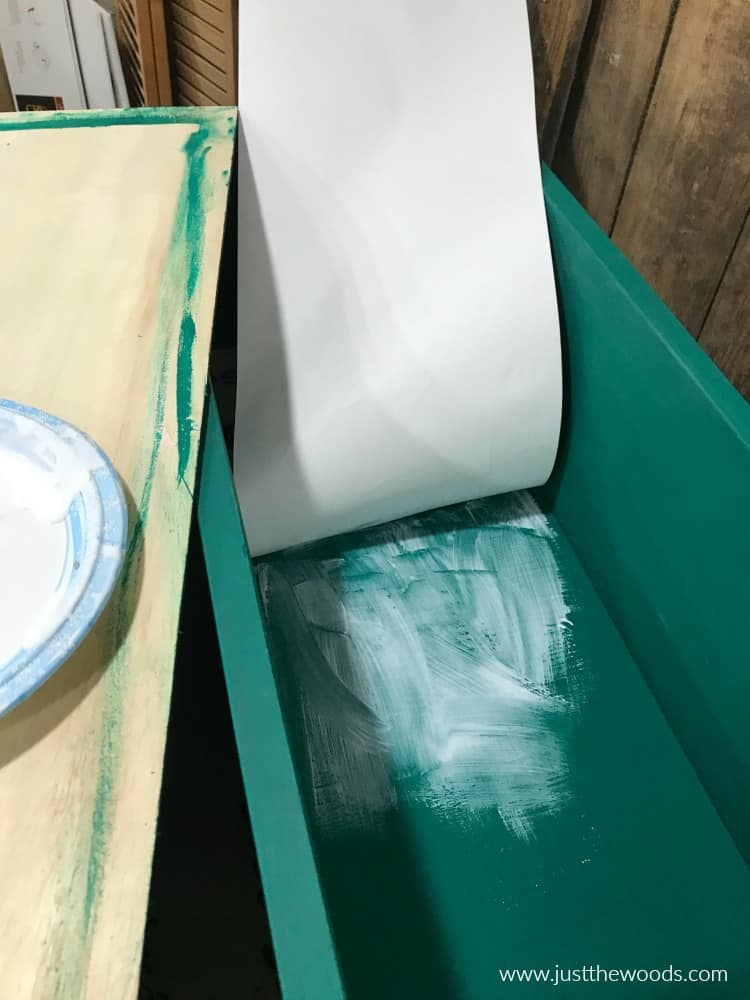
To do this little test I am painting the back of this bookcase with zero prep. I would never do this on the front of a piece, but ehhh it’s the back so… This is one coat of Emerald City. It’s still a bit wet here, but not too shabby considering that weird white drip of something on the back.
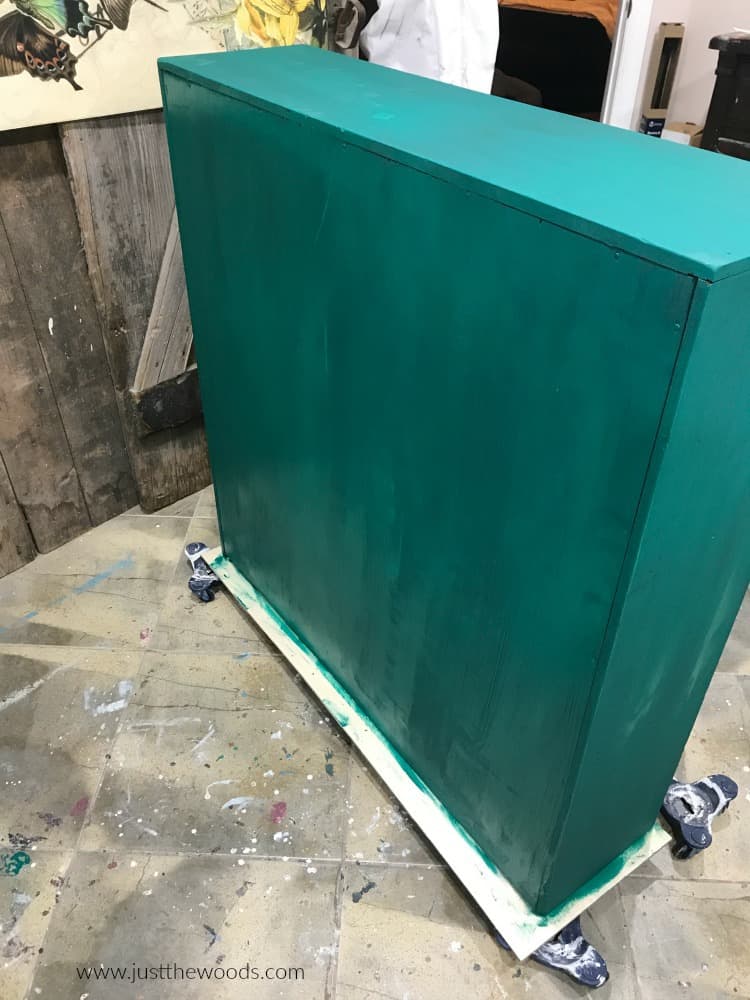
Next, I am painting the back of the bookcase with that super dark Charleston Green. Even though I don’t get to use this deep dark color on the front, I couldn’t resist trying it out on the back.
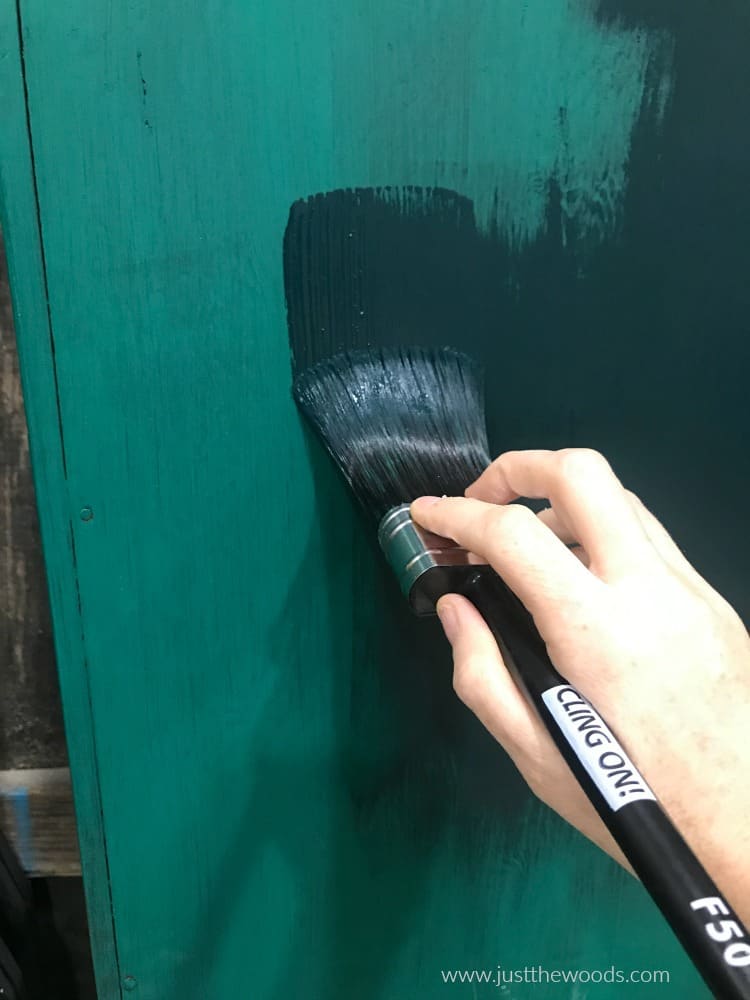
Woah, considering there was no prep this looks fantastic. Even that white drip thing is completely covered up.
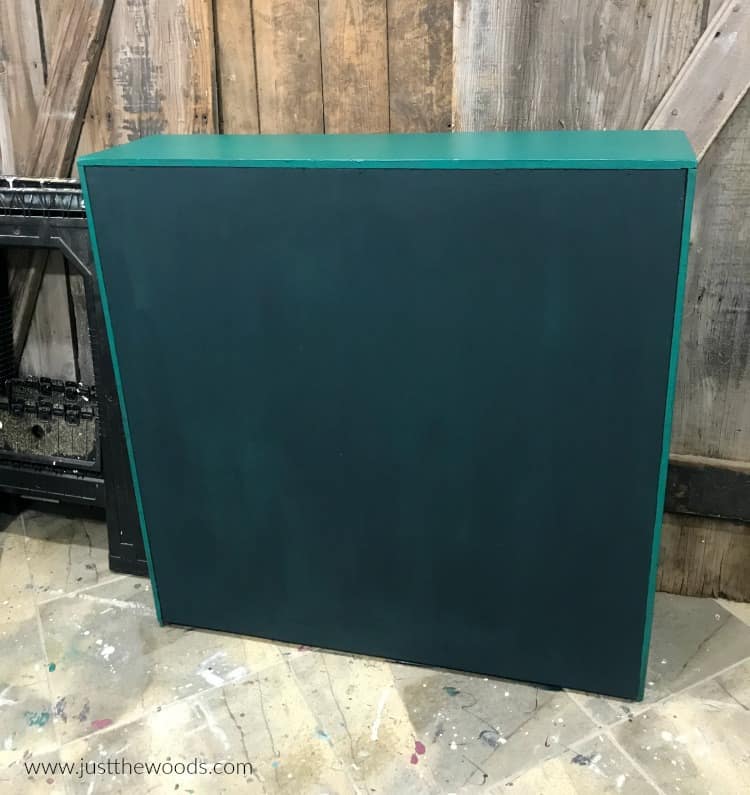
Well, I have to tell you that I still won’t skip the sanding, cleaning, and prep because it’s just not in my nature. But this little no prep test surely let me know that I don’t need to get so OCD about it. But I most likely still will. 🙂
Check out all of my furniture projects with over 90 painted furniture makeovers: Stunning painted furniture ideas.
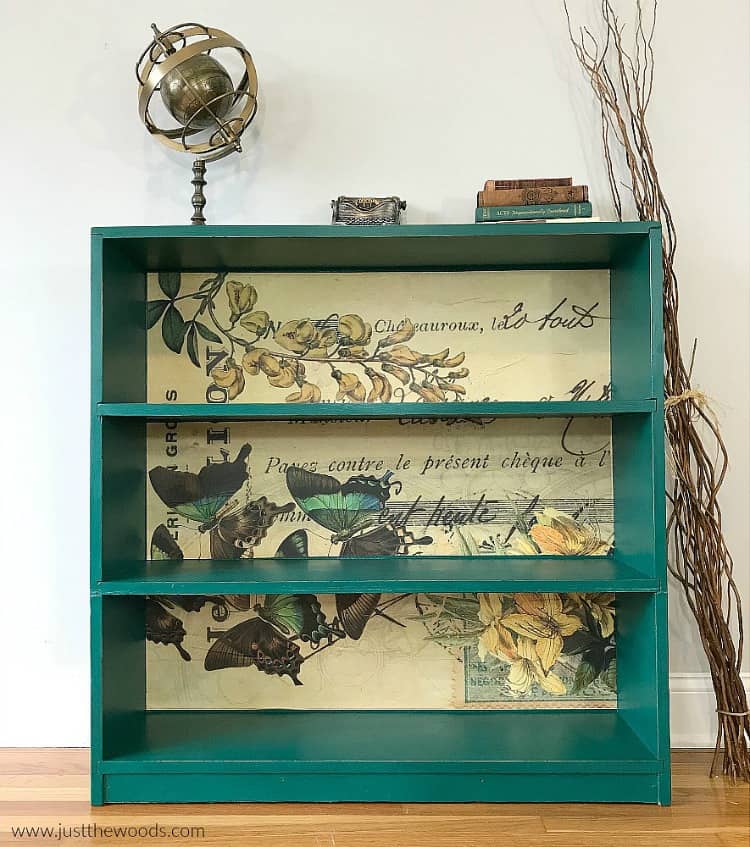
Painted Bookcase with Butterfly Decoupage Paper Results
This project, like many of my makeovers, has been donated to a local school to help with their fundraising efforts. Click here to see all of my projects that have been donated to support local fundraisers, schools, and charities: Donation Projects. Using these decoupage techniques on your painted furniture is a great way to add a unique touch to home decor projects.
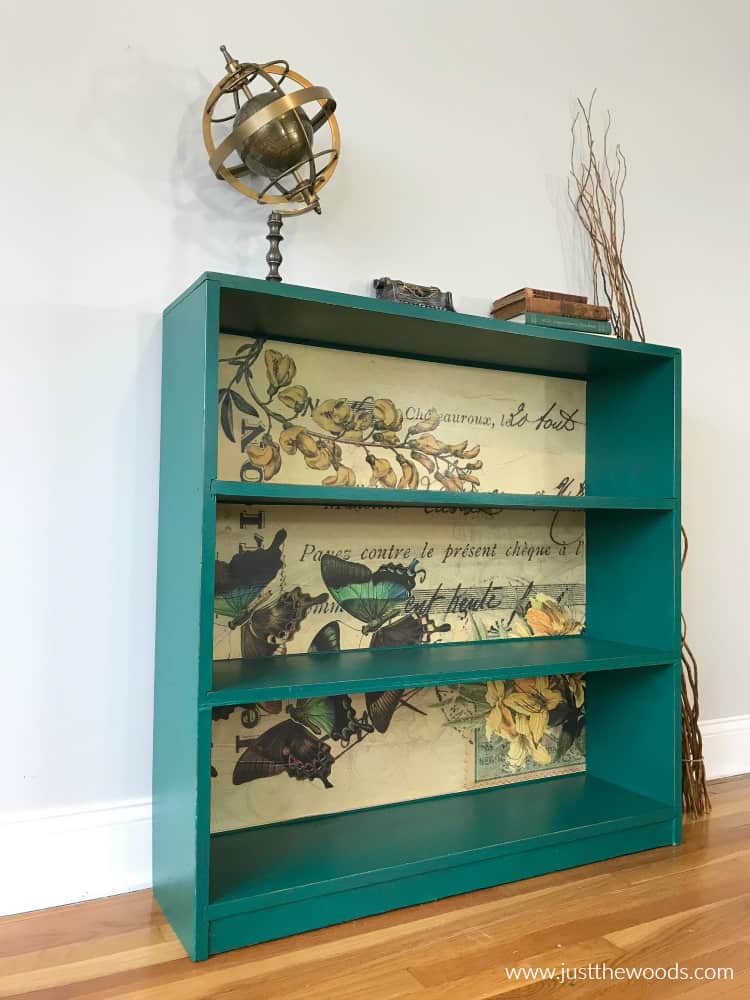
What would you put on these shelves?
Click HERE to Pin this post for later
You can get find all of these Wise Owl products and more online here: Wise Owl.
Love decoupage? Check out all of these other projects to get more decoupage furniture ideas for both furniture, small projects, and crafts: Decoupage Projects.
Furniture Fixer-Uppers
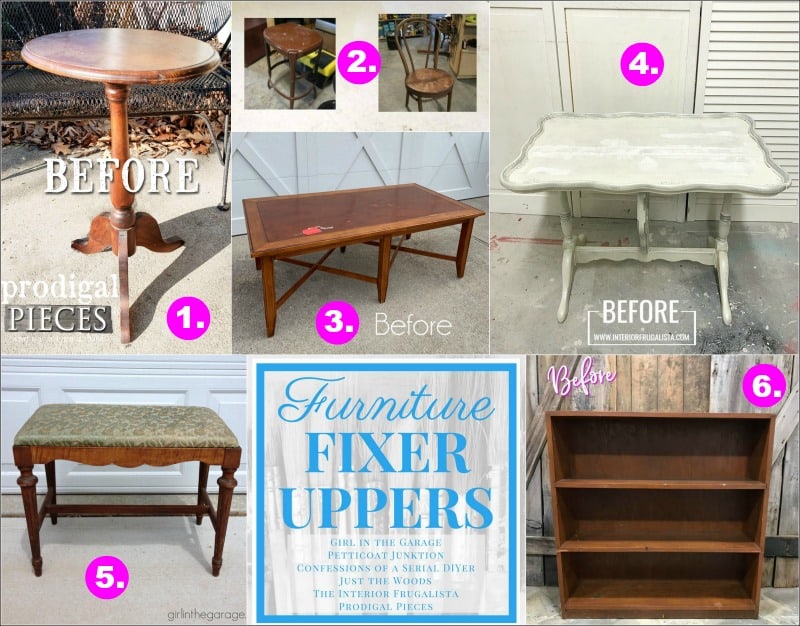
Its that time again where a few of my creative and talented blogger friends and I have joined together in our monthly Furniture Fixer Uppers share. Let’s see what my friends are up to! Make sure to click the links below the image to check out all the amazing projects that my bloggy girls are working on this month.
3. Confessions of a Serial DIYer
6. Just the Woods (you are here)
Don’t Forget – Follow Just the Woods and Share this post to Inspire others:

FACEBOOK * INSTAGRAM * PINTEREST

Click HERE to Pin this post for later





Larissa ~ Prodigal Pieces says
It’s amazing what some paint and paper will do. Beautiful makeover, Kandice.
Denise Zdziennicki says
I had no idea you were a retired NYPD detective! 🙂 The bookshelf looks amazing and that paper is gorgeous Kandace. 🙂
kandice kullmann says
thanks so much Denise!
Christy James says
I love the print you used here, Kandice! I also love the tip about using the ketchup-type bottles for your paint! XOXO
Patty Soriano says
Very nice! We don’t see bookshelves very often in paint DIY’s. I’m a big believer in bookshelves….mainly because I have a lot of books! I’d hate to hide the pretty paper, so I might let some peak through between book piles, alternating with other decor items.
Marie says
Wow, Kandice your bookcase is gorgeous! Did you show your friend? The butterfly paper is stunning and I’m digging the Emerald City paint color too! I like the darker paint on the back, even though it was just to test the paint, it looks like an intentional extra touch.
Colette says
Beautiful! I love the decoupage tissue. Thank you for another one of your detailed tutorials.
Kathy Owen says
Wow, I love the paper and the color! Looks like turquoise was the color of the month, lol.
Lee says
What a nice job you did– love the fun color and the paper. I will never look at a bookcase the same way again, thanks to you! I’m curious to know how wide the bookcase is? I was going to order the paper for a dresser I’m working on, but the drawers are 36″ wide which means I would have to seam the paper– not sure how that would work, or if it would, lol!
kandice kullmann says
I actually think it was also 36″. There wasnt much trimming needed on the ends. 🙂
Jen @ Girl in the Garage says
Very pretty bookcase makeover, Kandice! There definitely is a shortage of green painted furniture out there 🙂
lee says
Thanks!
Amy Giannini says
Was that Zazzle’s 20″x30″ size decoupage tissue? Or is there something larger? I can’t figure out how people are doing these whole large surfaces with that size, what am I missing? Thanks.
kandice kullmann says
Some of the super large pieces are multiple sheets lined up just right. 😉
Connielynn McMaugh says
The decoupage paper use her is described as tissue. It looks much thicker. What happens to a ZAZZLE printed tissue paper over a dark blue chalk painted piece of furniture? Are the light colors of the tissue going to go dark? thanks. Waiting to hear before I start my piece.
kandice kullmann says
hi! If the paper is thin I always suggest painting a light paint color underneath first to avoid the paper darkening.
Karen says
What is the purpose of the Cling Wrap in the decoupage supplies list? Beautiful project, by the way
kandice kullmann says
When smoothing down the paper I wrap my finger in cling wrap .. It lets me smooth it out easier and the paper is less likely to crinkle