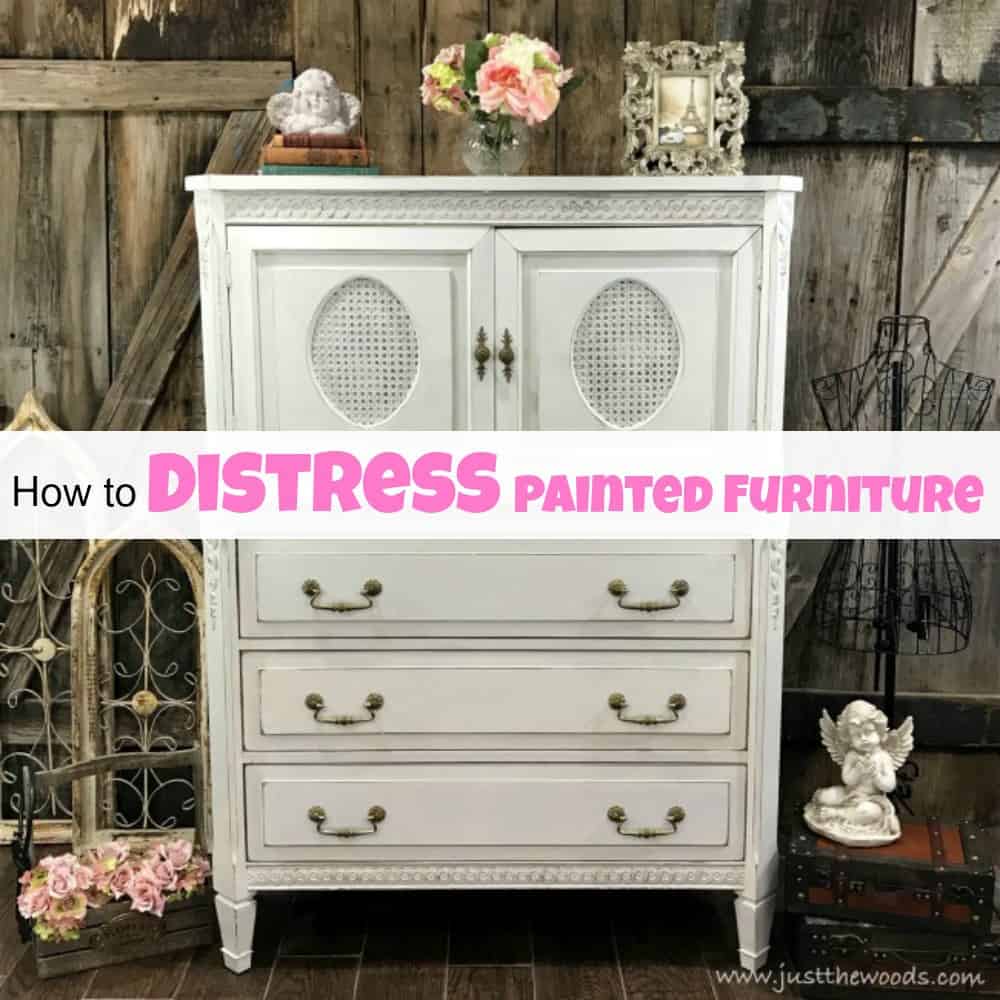
How to Distress Painted Furniture for a Beautiful Worn Look
Learn distressed furniture painting techniques and learn the easy furniture painting technique of distressing chalk paint to give your painted furniture that worn look. See how to distress painted furniture.
When painting furniture, one of the most popular furniture painting techniques is distressing. But did you know that there are different methods for how to distress painted furniture? Luckily, distressing painted furniture is very easy no matter which method you choose to use. You can use the wet distress method or this sandpaper method. It’s also Furniture Fixer Upper day so make sure to stick around to the bottom of the post to find my friends great projects too!

Disclosure: This how to distress painted furniture post contains affiliate links for your convenience and I may be compensated if you make a purchase after clicking on my links. Click here for my full disclosure policy.
How to Distress Painted Furniture
Materials Needed / Source List
- Cling On Paint Brush
- Daddy Vans Furniture Polish
- Scrub brush for hardware
- Lint Free Cloth
- Yellow Detailer Sponge
- Sandpaper
- 320 Grit
- 220 Grit
- 150 Grit
- Painters Tape
- Primer (I’m using this one: Bin Primer)
- Shop Vac
- Find all of my favorite tools and products on my Amazon Page here
Unfinished Vintage Tallboy
This vintage tall dresser is solid wood with 5 drawers and great details and cane doors. The customer is requesting a white distressed painted furniture makeover with a subtle glaze to give that worn aged look.

Not so obvious from the photo is the extent of prep work required on this piece. Before being brought to me, this dresser had been hanging out in a garage for a good amount of time leaving a layer of dirt and grime on the piece. This dresser gets an extensive cleaning and sanding in the same nature that I always prep painted furniture. Use a shop vac to vacuum the dust from inside the dresser once drawers are removed.
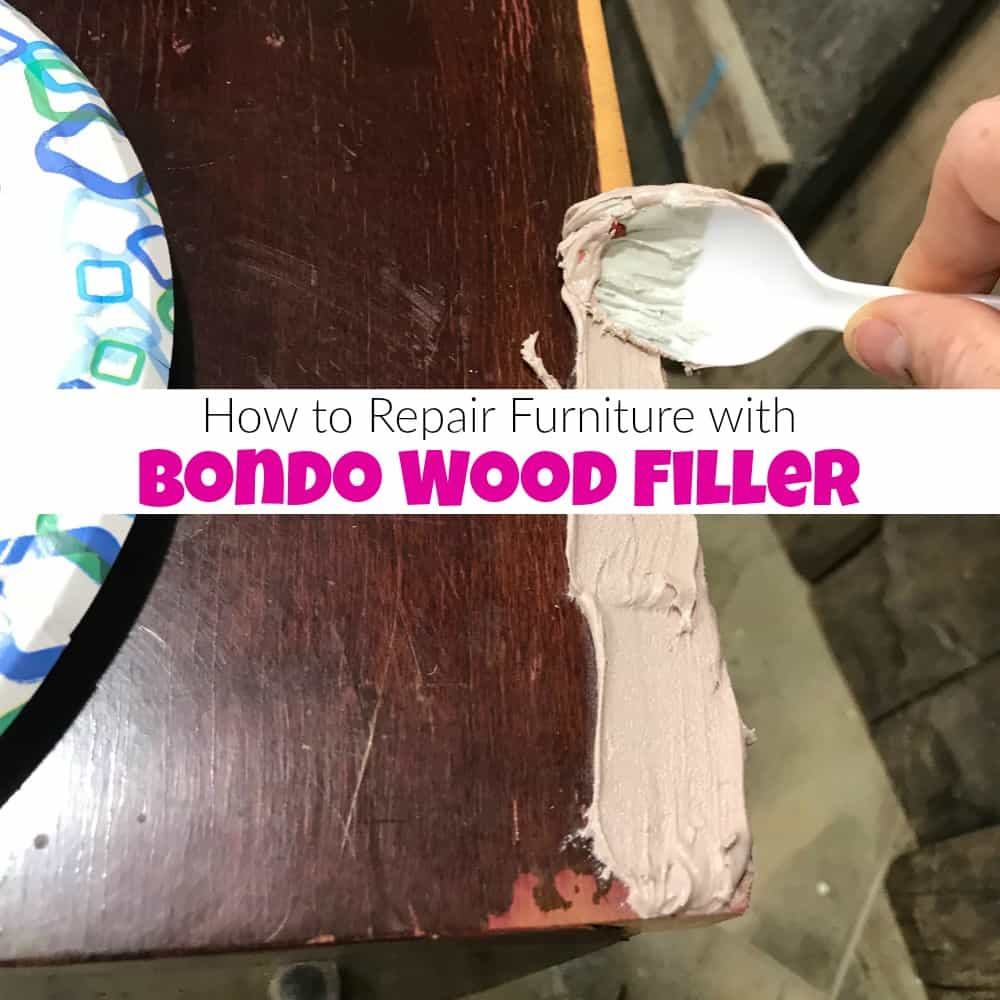
A few minor repairs are also addressed. You can make these repairs will wood filler, plastic wood or even bondo.

For more projects and ways to use Bondo to repair furniture, make sure to check out How to Repair Furniture with Bondo Wood Filler.
Next, tape off the dresser drawers to prevent paint from getting on the sides of the drawers. Make sure to add painters tape behind each hardware hole to prevent paint from dripping through the hole into the drawer.

Vintage Hardware
When it comes to hardware, you may choose to paint, replace or simply clean. We are keeping the original hardware, but like the dresser, the hardware needs a good cleaning. The hardware is all cleaned the same way that I always clean, prep and paint hardware, but without the paint step.

A good boiling and scrubbing with a scrub brush will remove all the dirt and grime. The original hardware left in its original (cleaned) finish is perfect for this distressed furniture makeover since the original coloring has a bit of an aged look to it as well.

If you prefer to paint your hardware check out these projects where the hardware is painted: Painted hardware

Priming when Painting White Distressed Painted Furniture
When painting furniture white distressed, I prefer to prime first to play it safe. You never know when a piece will bleed through and primer can help avoid that obstacle, like in this farmhouse white painted dresser. I always prime with a shellac based primer to seal the piece before painting, this is the primer that I use (HERE). And here are examples of other painted furniture projects where primer is used: PRIMER.

If you are just starting out you can always start at the beginning with How to Paint Furniture – a Beginners Guide.

Painting a White Vintage Dresser
Next paint your piece, I’m using an off-white chalk type paint. You can find a variety of paint colors online HERE.

Make sure to paint the drawer fronts behind the cabinet doors for a clean fresh look.

Distressing Furniture
Time to distress painted furniture. Here is a quick video showing you how to make furniture look distressed, and if you are curious as to where to distress when distressing painted wood I go over that too:
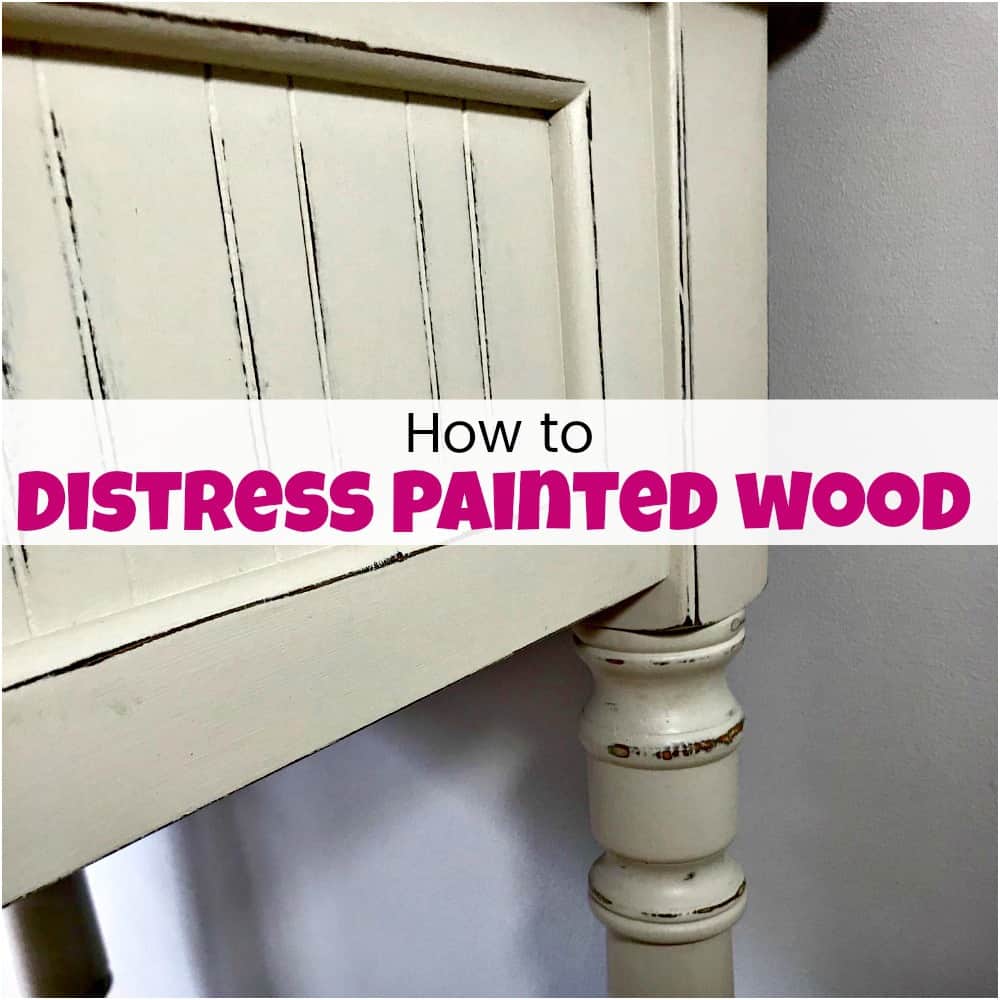
As mentioned in the video above, when I distress painted furniture I also like to sand the entire flat surface using 320 grit sandpaper to create a smooth finish.

For another tutorial on distressing painted wood make sure to check out How to Distress Painted Wood Furniture.
Sealing Distressed Painted Furniture
Once all of your distressing is complete you must still seal your piece of distressed painted furniture. This distressed painted dresser will be getting a very subtle glaze for a worn and antiqued finish. The antiquing glaze, over white sometimes adds a slightly grungy aged feeling. Since the glaze on this piece will be subtle, I am opting to seal with a clear matte sealer first, followed by the antiquing glaze. Squirt your glaze on a paper plate and apply with the yellow detailer sponge. I absolutely LOVE this sponge for applying sealers and glazes. If you don’t have one you can get one (HERE) By using such a light glaze, it simply tones down the “whiteness” of the white paint.

Here is a full tutorial with VIDEO showing how I seal my painted furniture projects: Sealing Painted Furniture

Putting your Vintage Painted Dresser back Together
When dealing with old wood furniture, you may run into sticking drawers. Even though these drawers don’t stick I still make sure to rub down all the tracks with Daddy Van’s furniture polish to make sure that they glide smoothly.

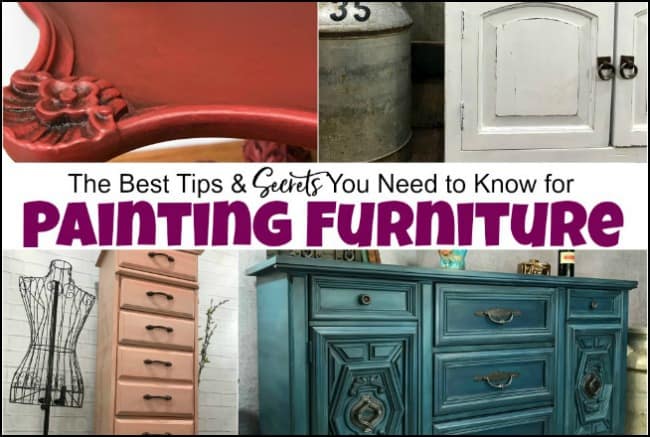
This is just one of the many tips and hacks you can find in my Secrets for Painting Furniture post.
Distressed White Painted Furniture
Whether you are wanting to know how to distress white painted furniture or how to paint and distress furniture regardless of the color you choose, you can’t go wrong with basic sandpaper.

Check out all of my furniture projects with over 90 painted furniture makeovers: Stunning painted furniture ideas.


If you find that your project is a bit more distressed than you prefer you can always go back and touch up a few spots to lessen the distressed look. If this happens to you then check out How to Touch Up Paint on Painted Furniture.

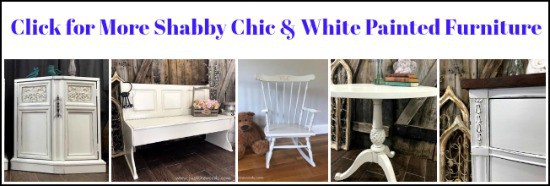


You May Also Like:
Love the look of distressed furniture but prefer not to do the work? Check out this selection of distressed furniture for sale under $500 (HERE)

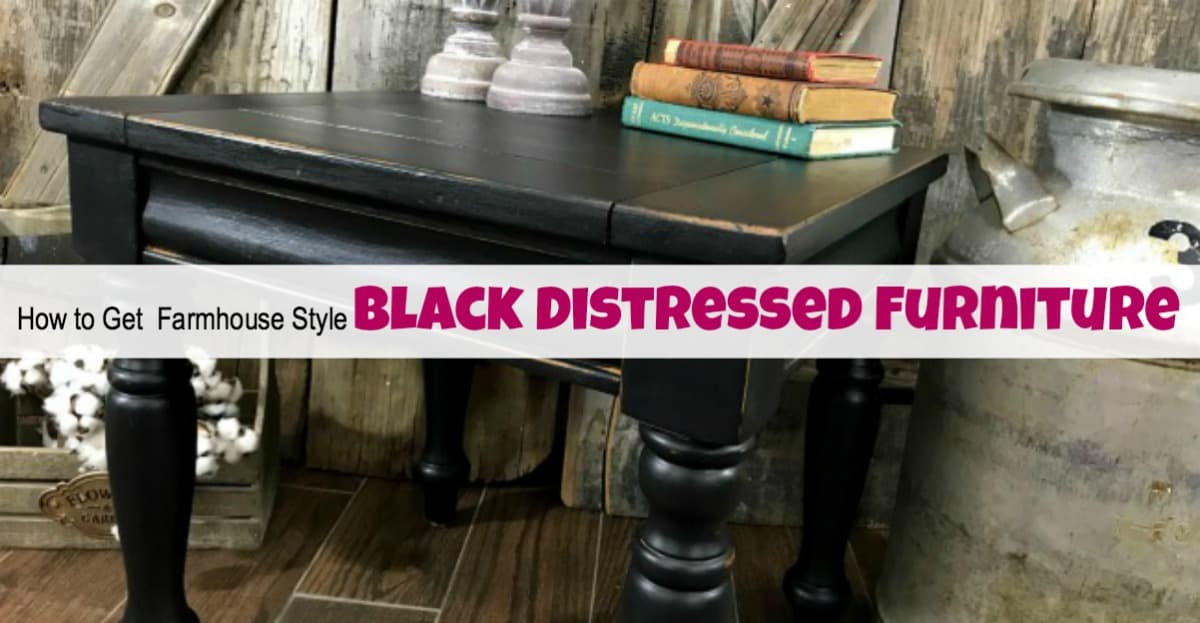
If you like this post you will also enjoy How to Paint Black Distressed Furniture.
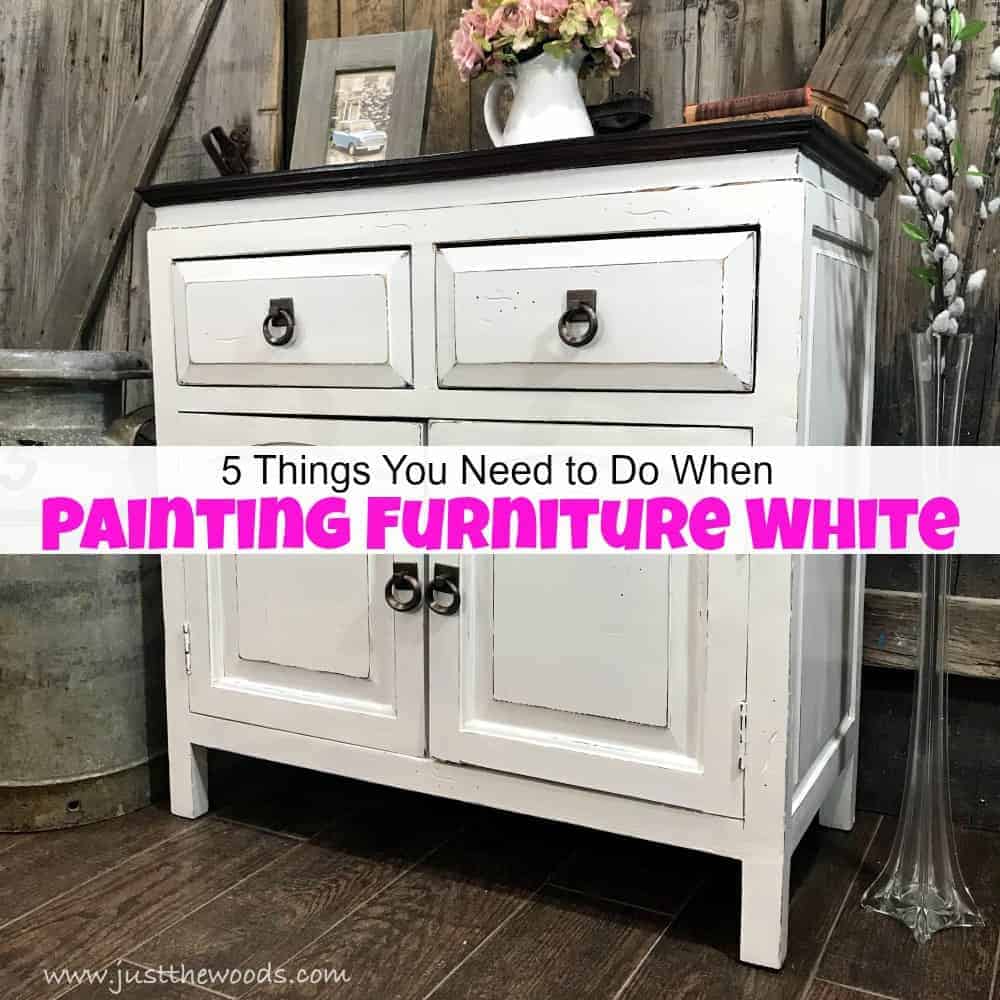
Not as concerned about distressing painted furniture but more so interested in painting furniture white? Check out these Tips for Painting Furniture White.
Wait! Don’t Go! It’s that time of the month again for:
Furniture Fixer-Uppers
A few of my creative and talented blogger friends and I have joined together in our monthly Furniture Fixer Uppers share. Let’s see what my friends are up to! Make sure to click the links below the image to check out all the amazing projects that my bloggy girls are working on this month.

- Confessions of a Serial DIYer
- Prodigal Pieces
- Girl in the Garage
- Petticoat Junktion
- Interior Frugalista
- Just the Woods (you are here)

Don’t Forget – Follow Just the Woods and Share this post to Inspire others:
FACEBOOK * INSTAGRAM * PINTEREST
Subscribe to our mailing list here: [mc4wp_form id=”1340″]


What a refreshing new look, Kandice. I love the detail on this one and how you made it pop. Sweet!
thanks Larissa!
So much fresher and brighter! Who would have guessed there was such a lovely piece of furniture under that dated finish?
right? 🙂 thank you so much Marcie!
What sweet details on this tall boy and now they really pop with a fresh coat of white paint and highlighted with distressing. I bet your client was tickled pink with it!
thank you Marie 🙂
Beautiful piece, and you did a great job, Kandice! <3
thanks Lora!
The distressed white and glazed finish look so gorgeous on this piece, Kandice! xo
thanks Jen!
Hello Kandice, great job on the dresser! And thanks for the tip to polish the drawer tracks. I’m working on a dresser and although the drawers don’t stick it’s a good idea.
hi MaryJean! I used to only rub down the tracks when they stuck but now I do it all the time just as a precaution. Im glad I was able to help 🙂
This looks amazing now, Kandice! I love all those pretty details, especially the cane inside! Nice job! XO
thanks Christy!
Wow! I learned so many new tips from this post!! I love how it turned out and the distressting was just right!
Hairdryer for dust as an extra precaution – love this!
Sponge for glaze – no more rags. Awesome tip!
And the furniture polish for the drawer tracks. genius! I use soap but I think the furniture polish would work better
Thanks for sharing – love the blog!!
Shannon
Was this piece by chance made by Gardener and Schumacher? We have one very similar in setup just different detail. I found their stamp in the bottom drawer. The finish on ours is a really light wood that is not my taste. I really enjoyed seeing a similar piece done in white! I love it.
hey Mel, to be honest, Im not really sure. I dont remember seeing a stamp on it. xoxo
It turned out great, and I’m always a sucker for white-painted furniture.