A Creative Curio Cabinet Makeover You’ll Love
Curio cabinet, china cabinet, bedroom set or rocker. All too often we have a piece of furniture with sentimental value. Maybe it’s been passed down within the family for generations, or holds value simply because there’s a memory attached to it. To someone else, it may seem like just a piece of furniture, but to one person it means so much more. For example, I have a rocking chair in my bedroom that has been in my family for years, I was rocked to sleep in it as a baby, and I’ve rocked my babies to sleep in it. I removed multiple layers of paint from it nearly 20 years ago, sanded and stained it. I will never get rid of it simply for the sentimental value. Do you have something in your home that means the world to you?
Disclosure: This post contains affiliate links for your convenience. Click here for my full disclosure policy.
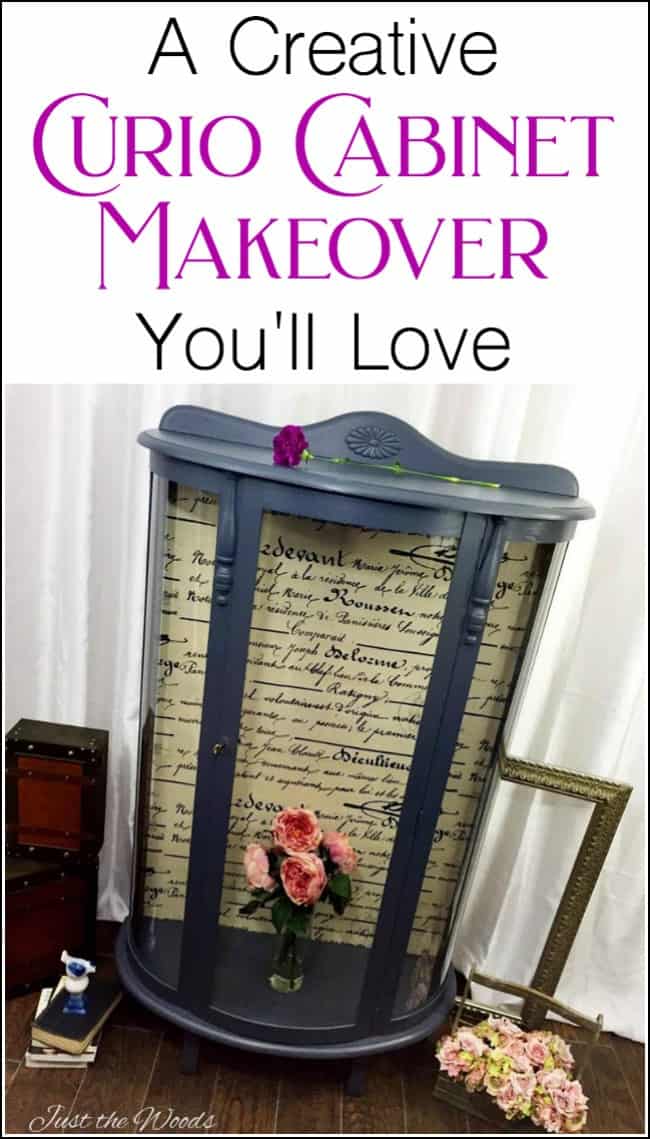
This is the case with my customer’s grandmother’s curio cabinet. She has been holding on to this vintage bow front curio cabinet for some time. She loves it and it has sentimental value, but it simply didn’t go with anything in her home. The plan is to come up with a curio cabinet makeover with an updated look while still keeping a piece of her family history. By doing this she essentially gets a custom curio cabinet with personal history attached.

Grandma’s Vintage Curio Cabinet Makeover
Materials Needed:
Staging / Home Decor:
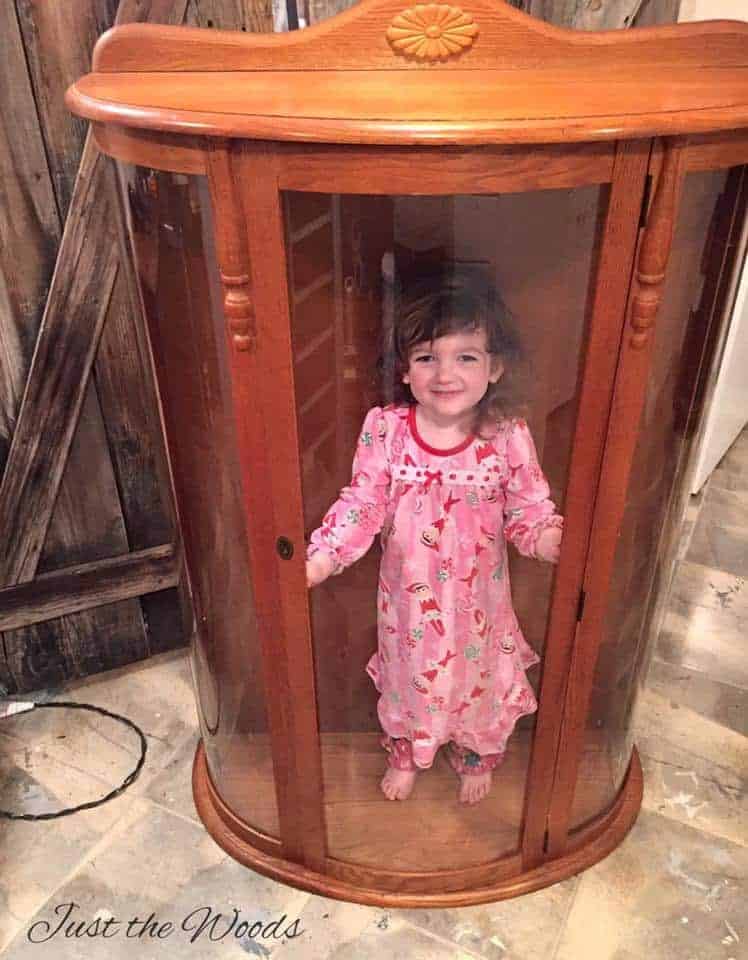
Vintage Bow Front Curio
My three-year-old daughter, on the other hand, had other things in mind. She insisted on getting inside and closing the door. I think she looks a bit like a living doll inside a doll case.
The Process – Prep for Paint
Once I was able to kick my little darling out of the curio cabinet I was able to get started by removing the glass, the inside light, and the back panel. Uh oh. Not again.

More often than not when the back panel is removed from these old pieces it seems to break apart. I can actually count on one hand where the back piece did not break and require replacement. This was no different, it was attached with staples and broke in many places requiring a complete replacement of the piece. So off to Home Depot to get a new piece of plywood cut.
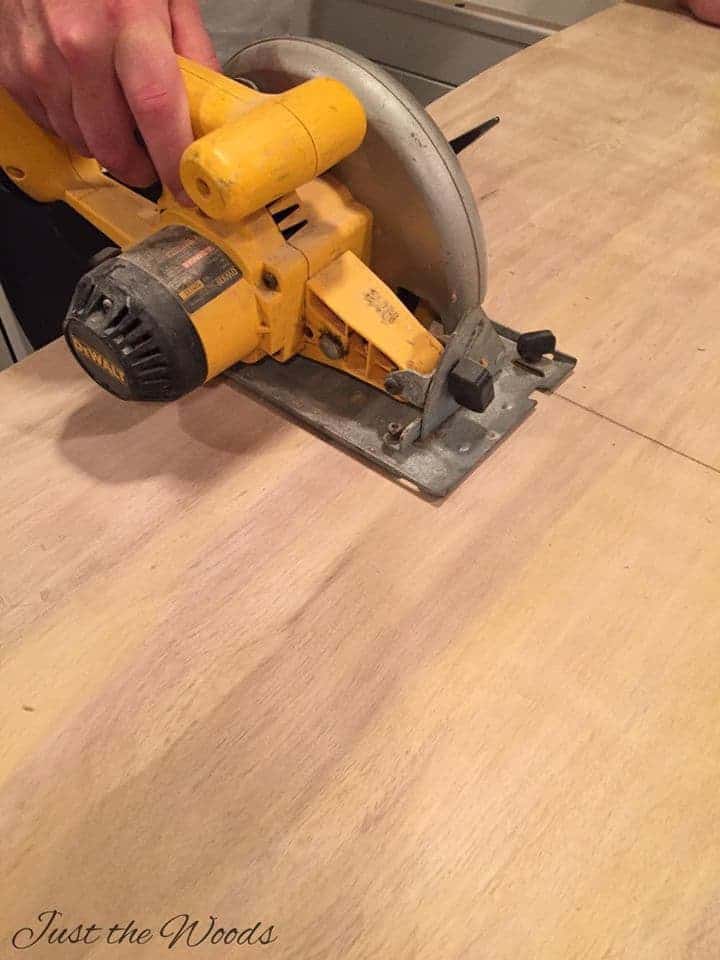
To ensure I had the exact right size I placed the old backing against the new piece of plywood to mark and measure for a new piece to be cut with my circular saw.
In addition to taking the piece apart, I made sure to fully prep for paint, this is my full process for How to Prep Painted Furniture.
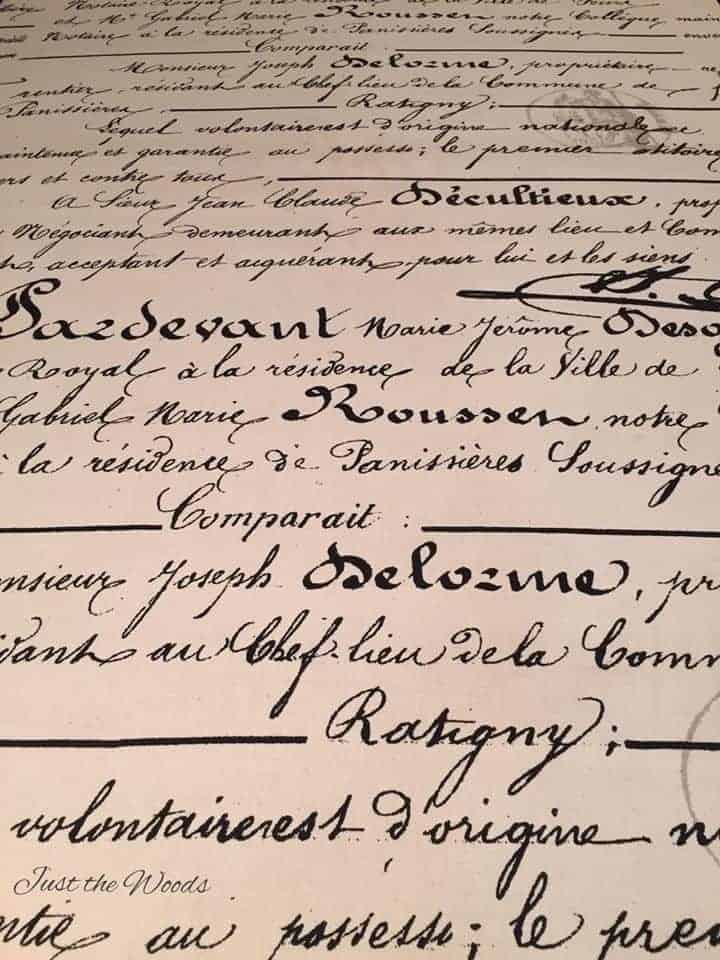
The Fabric – French Script Fabric
Once the new piece was cut and the edges sanded smooth it was time to attach the fabric. My customer chose this gorgeous fabric online, and I didn’t realize just how nice it was until it arrived and saw it in person. WOWZA!

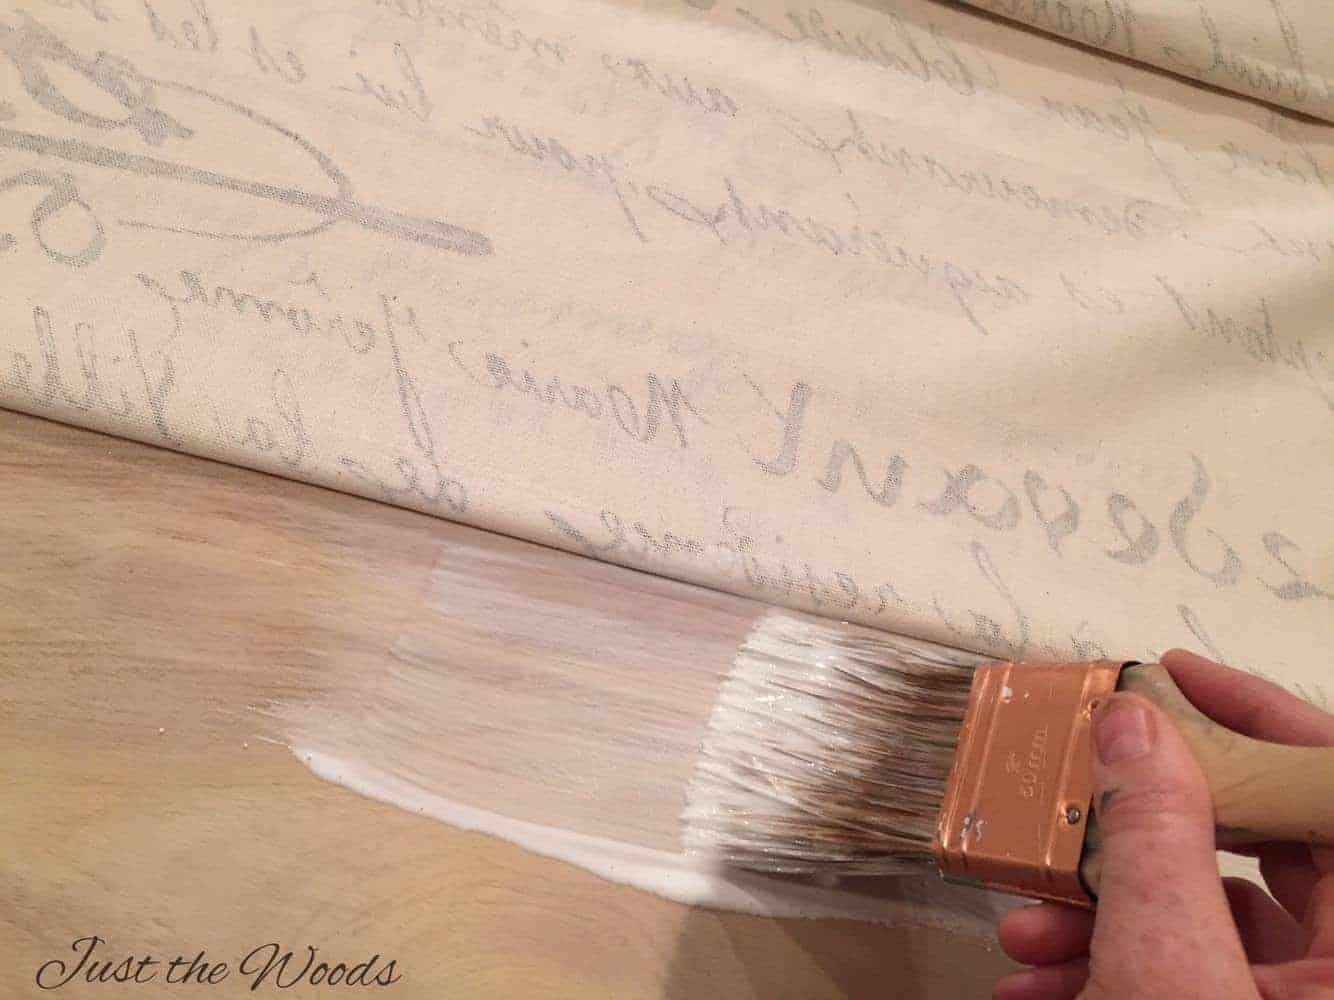
I made sure to lay out the fabric first, find the proper placement, ensuring the lettering was straight and level and then I glued the fabric down. Make sure to work in small sections and smooth the fabric out slowly. The fact that this particular fabric is on the thicker side made it much easier to prevent any bubbles.
The fabric was left to dry overnight and then thoroughly sealed the next day. How pretty it that French script? Click here for more decoupage inspiration: DECOUPAGE
Drilling a Hole for the Light
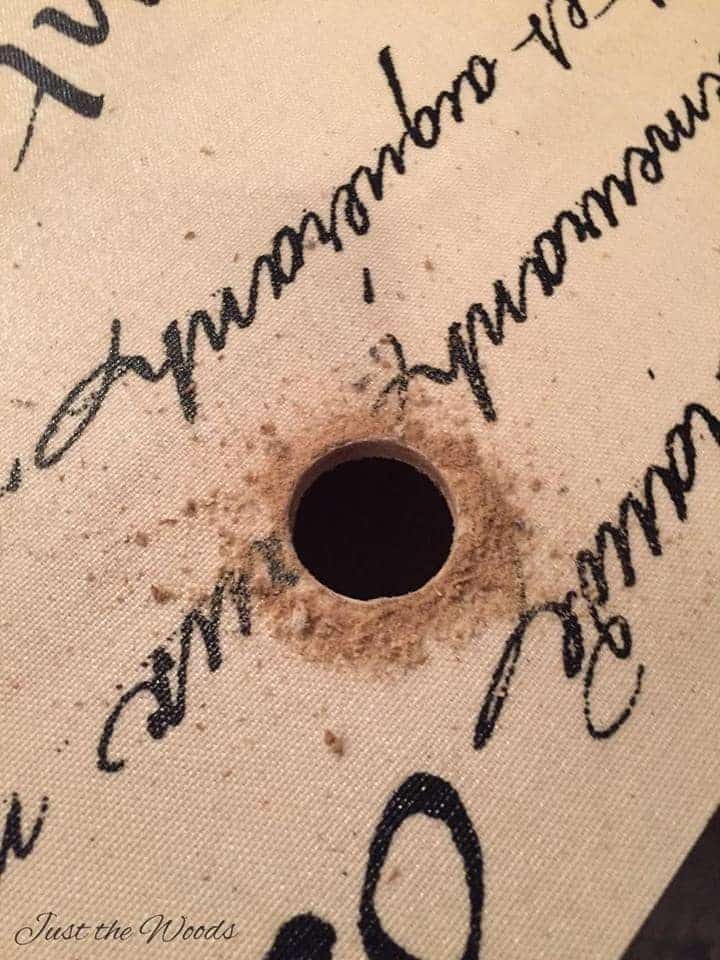
Remember I mentioned that I had to remove a light from inside the cabinet? Well, now it’s time to get that light back in. The original backing had a hole for the plug to fit through so that it could be plugged in. Break out the hole saw, this is a first for me. My next step was to measure the placement for the hole by placing the old backing on the new and pencil marking the area. I then grabbed my drill and hole saw and cut a perfectly round hole in the back.

Since the fabric had been thoroughly sealed and dry the cut was clean with no loose fabric strings. There’s nothing worse than wild fabric strings!
Finishing Touches
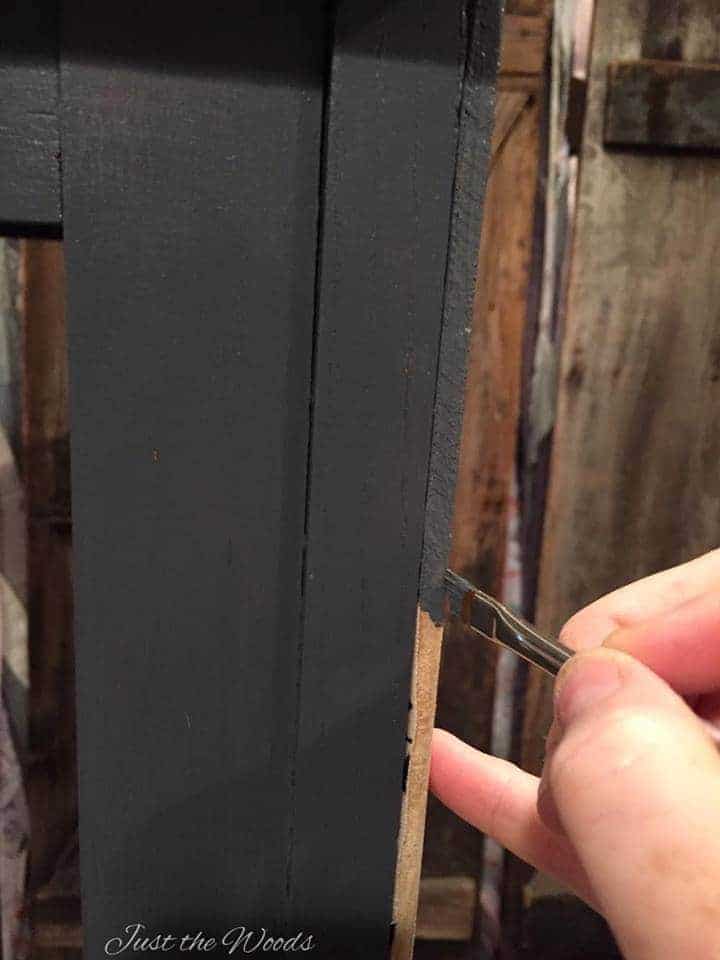
The frame or base of the curio cabinet was painted a custom mixed charcoal gray and sealed for protection without any distressing for a clean smooth look. You can find great paint color options online HERE. Once I reattached the back to the curio cabinet I used a small artist brush to touch up the edging of the plywood since it lies flush with the sides. Click here for another charcoal painted makeover: Charcoal China Cabinet
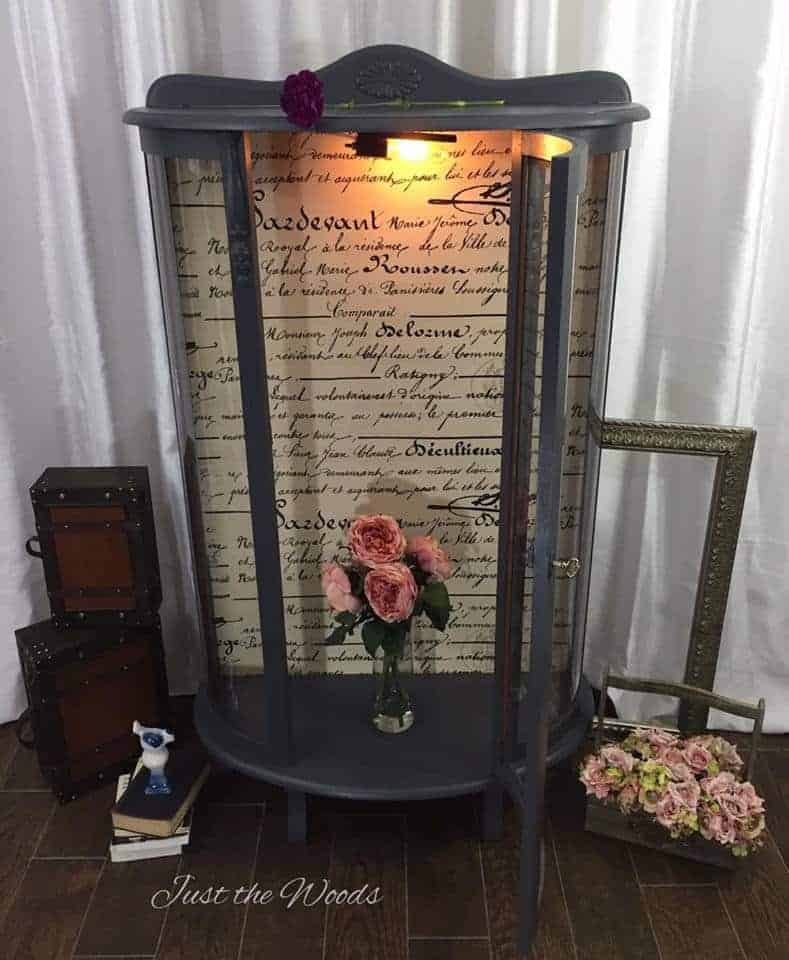
I have to admit that the hardest part about photographing something with glass is the reflection. This beauty is ready to head home where the glass shelves can be placed back inside (the owner held on to them for the project but they will be added back once returned home).
The Result – Painted & Decoupaged Curio Cabinet
A restyled curio cabinet ready to be used as it was intended.. to display the things she holds dear in a piece that she holds dear.

Looking for a curio cabinet but prefer not to DIY? There are a wide variety of gorgeous curio cabinets for sale online (HERE)

Check out all of my furniture projects with over 90 painted furniture makeovers: Stunning painted furniture ideas.


If you enjoyed this makeover then you may also like:
Don’t Forget – Follow Just the Woods and Share this post to Inspire others:
FACEBOOK * INSTAGRAM * PINTEREST
Subscribe to our mailing list here: [mc4wp_form id=”1340″]
PIN IT!




Jeanette Shoemaket says
I would like to know what you used to glue the fabric down and then sealed with what?
Kandice says
Its glued down with mod podge. http://amzn.to/1KeWa0D
Rose says
How do you paint the inside so neatly?
kandice kullmann says
Carefully 🙂
Brooke Riley~Re-Fabbed says
Gorgeous. Love the fabric. Thank you for sharing at The DIY Collective!
Kandice says
thank you !! 🙂
Debrashoppeno5 says
This is lovely. The color is perfect and the fabric sets it off.
Kandice says
thank you so much 🙂
Denise Hardy says
This is lovely Kandice – I like the grey and love the fabric – they make a nice ‘duet’ 🙂
Kandice says
thank you so much Denise <3
Cynthia - Clockwork Interiors says
Gorgeous! I saw that fabric on Spoonflower .. now I’m wishing I had ordered it! Beautiful transformation.
Kandice says
thank you so much. the fabric is even nicer in person.. seeing it on a screen doens’t do it justice
Jolena says
Nice job! I love those old pieces and seeing them brought into the 21st century with some paint, creativity and elbow grease makes me smile and inspires me. Hopping over from The Chelsea Project and Friday’s Furniture Fix. ~Jolena
Kandice says
hi! Thank you so much! its amazing how much a piece can transform sometimes 🙂
Maxine White says
Hi Kandice,
I just found your blog over on Friday’s Furniture Fix…. I just love this curio cabinet. The fabric idea in the back is fantastic. I’ve done it with paper before but the fabric gives it more depth and texture!
Great Job!
Maxine at StudioPaintDesign.com
Kandice says
hi! thank you. I love working with fabric.. its a little bit of my ‘go to’ 🙂
Liz says
Beautiful redo! I totally agree with you, you little girl does look like one of those dolls in a display case. 🙂 So what are you going to keep in it for real? Liz
Kandice says
she’s a handful that one lol
Kandice says
oh, its not mine.. it belongs to a customer, she picked it up yesterday 🙂
Harriett says
The paint color is beautiful. Is is chalk paint or just semi-gloss enamel and what is the brand and color name. thanks so much.
Kandice says
Thank you! This is a chalk acrylic paint and I custom mixed it with black and light gray
Susie@TheChelseaProject says
Kandice,
What a lovely piece. The paper in the back is genius. And the color on the wood is perfection. THanks so much for linking to Friday’s Furniture Fix.
Kandice says
thank you so much 🙂
Ann Marie @ Iris Abbey says
Wow. This cabinet looks terrific. The charcoal gray color seems to move toward blue in certain kinds of light. Very cool. I love the fabric — great choice. I saw your link at the Fab Friday Link Party.
Kandice says
thank you so much! and thanks for stopping by 🙂
Arlie Wulfe says
It has a great finish on it. You say you used a sealer. Can you please tell me what kind of sealer you used? Was it satin or flat, etc. and was it a spray? Spray would be easier I would think. Thanks.
Kandice says
Spray would certainly be easier but I torture myself it seems and hand paint everything with a brush almost always. Its sealed with a clear varnish and has a slight sheen. 🙂
Our Home of Many Blessings says
This is soooo beautiful! You did a great job! I would love it if you would link up to my Monday of Many Blessings Link Up!! Also I’m gonna add this to my Thrifty Crafty Vintage post.Its very pretty and creative!
Kandice says
Thank you so much!! I’ll head over now to link up and join the party! 🙂
Our Home of Many Blessings says
Hey,You came over!! Thank you,Have a great day and I hope to see you link up again!
Tuula @ Thrifty Rebel Vintage says
What an absolutely beautiful piece Kandice! Love the fabric you used. Thanks so much for sharing your fabulous curio cabinet at Vintage Charm.
Kandice says
thanks again 🙂 🙂
Melanie says
You are a true professional! That was quite a bit of work, but it turned out lovely. The fabric adds a really unique touch, and your little one is a cutey 🙂 Thanks for linking up to Friday’s Furniture Fix!
Kandice says
thank you so much!! 🙂
Cecilia MyThriftStoreAddiction says
Just stunning! I love to see a fresh look for a traditional piece–great job!
Kandice says
thank you 🙂
Betty says
Absolutely stunning! I have been trying to figure out how to redo my curio cabinet, and you’ve provided the inspiration. So very glad I found your website.
Kandice says
thank you so much!! 🙂
Anita says
This is an amazing idea! Thanks for sharing. Hi, I’m Anita visiting from The Pin Junkie Pin Party.
Kandice says
thank you and thanks so much for stopping by!
Peggy says
Ohhh , that is sooooooo deliciously sweet , lucky grandma !
Nancy says
I love your work and this curio is beautiful – but – the photo with your daughter is the BEST!
kandice kullmann says
thank you Nancy! I have my hands full with that little one lol
Maggy says
The piece looks stunning! I have a similar one, but the curvy glass is cracked. Do you know anyone that sells small curvy glass for a reasonable price?
kandice kullmann says
thank you Maggy. Id check out the local mirror and glass guys. They may be your best bet
Christina Candelaria says
Hi I just purchased this piece at my local restore and would love to know how old it is. Any ideas? Thanks
Jaclyn says
By any chance do you know the name brand of this particular curio cabinet? Yours is absolutely beautiful
kandice kullmann says
Im sorry I don’t 🙁