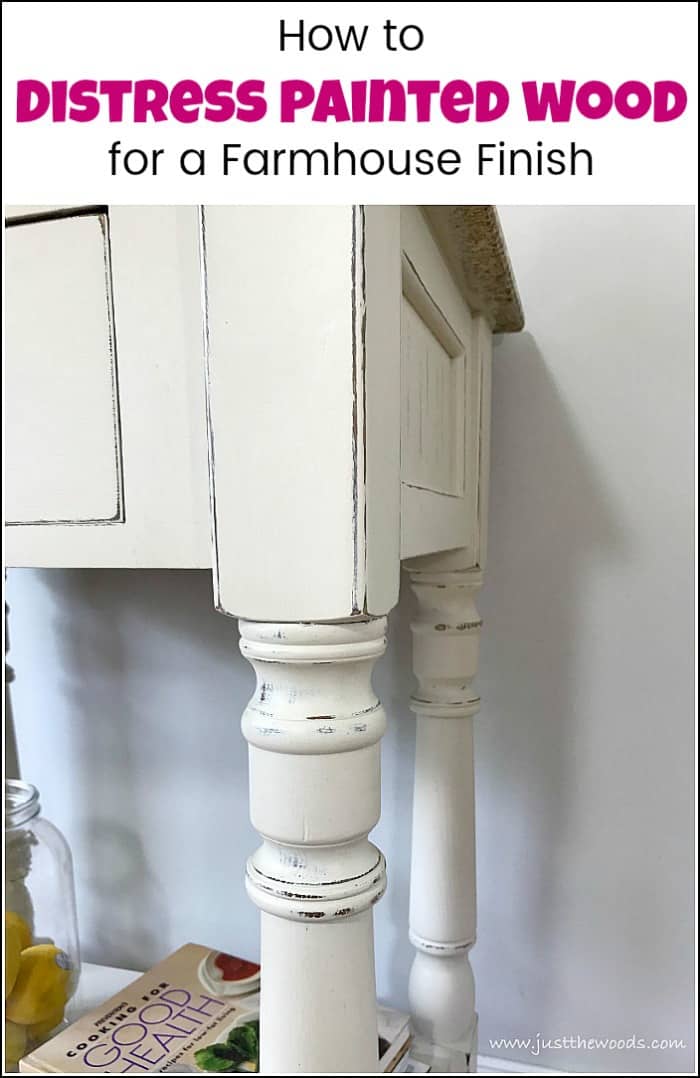
Are you interested in how to distress painted wood, or more specifically how to distress white painted wood to achieve that farmhouse finish that we all love? There are in fact multiple techniques for distressing painted furniture. One furniture painting technique that you may have heard of is wet distressing. Others may prefer to distress furniture with paint. But this method for how to make wood look old and get that distressed furniture appearance is my favorite. We are going to distress painted wood with sandpaper.
Make sure to stick around all the way to the end, its Furniture Fixer Upper time where my fellow furniture painting friends join in and share their amazing projects.
Disclosure: This distress painted wood post contains affiliate links for your convenience. I may be compensated if you make a purchase after clicking on my links. Click here for my full disclosure policy.
Supply List for Painting & Distressing Wood Furniture
What You Will Need
Tools
- Zibra Paint Brushes or Cling On Brushes
- Chip Brushes
- Water Sprayer
- Lint Free Cloth
- Flexible Sandpaper
- Yellow Applicator Sponges
- Find all of my favorite tools and products on my Amazon Page here
Paint
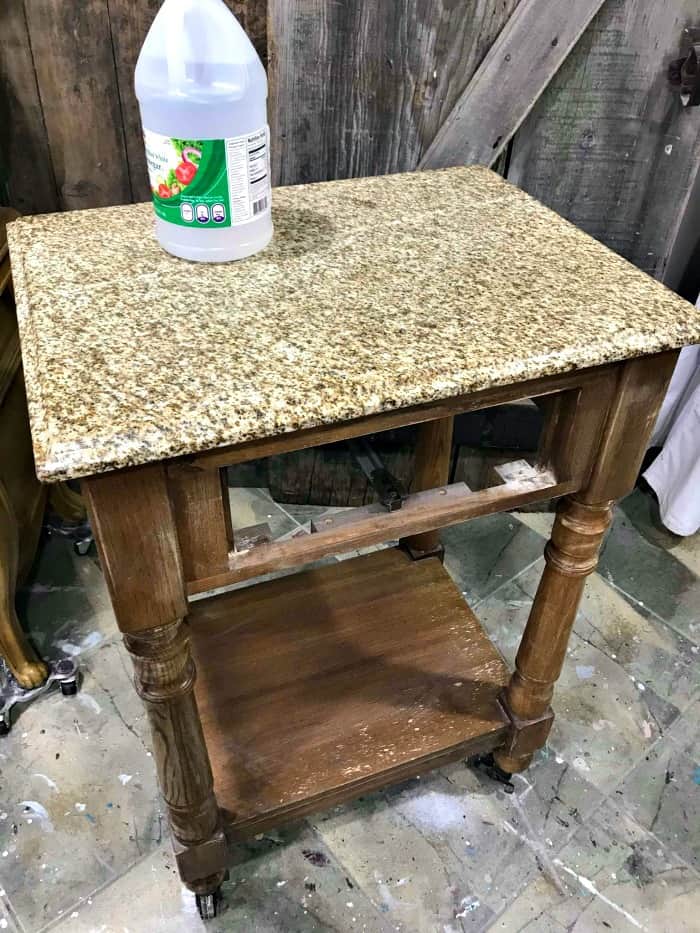
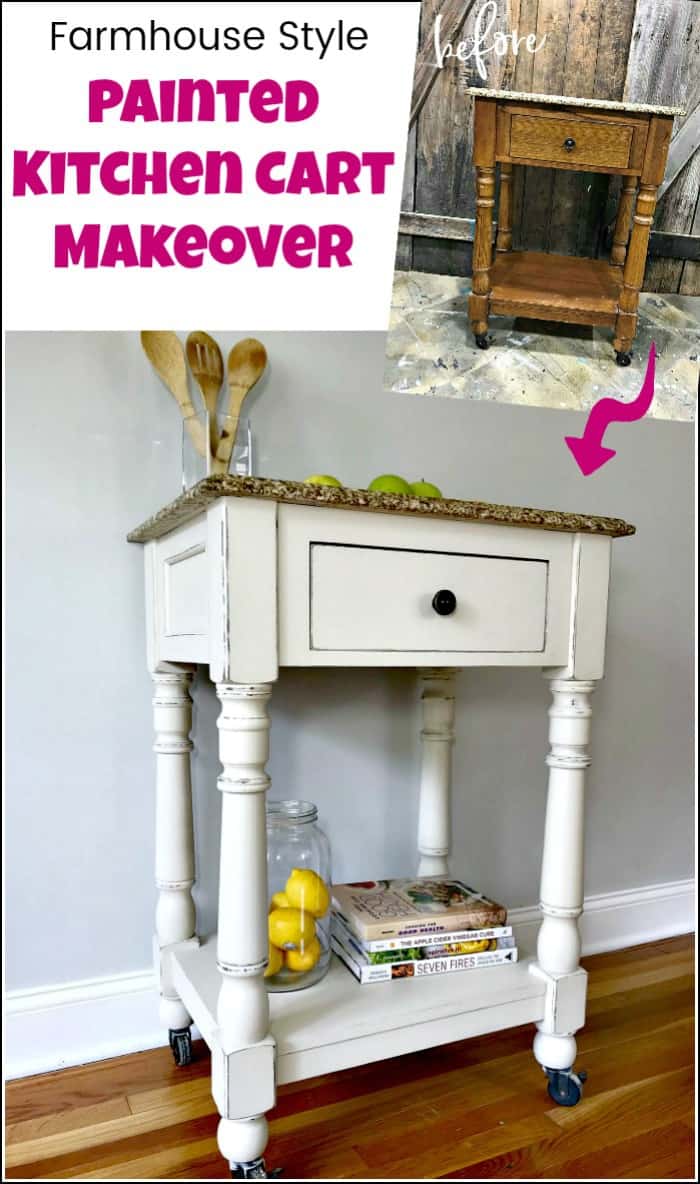
Unfinished Wooden Kitchen Cart
Lately, I have been using many of the pieces of furniture that I give makeovers to just to create tutorial posts for you and then I donate the finished furniture piece to a local charity. They, in turn, use the piece as a raffle or in an auction to raise money for their events. Thankfully, a reader saw that I do this and she offered this piece to me for free. Here are a few reasons why this oak kitchen cart is perfect:
- it’s free!
- quality – the kitchen cart is solid wood
- mobility – it is mobile with wheels/casters under each table leg
- sturdy – there is a stone top on this cart
- storage – this kitchen cart has a drawer
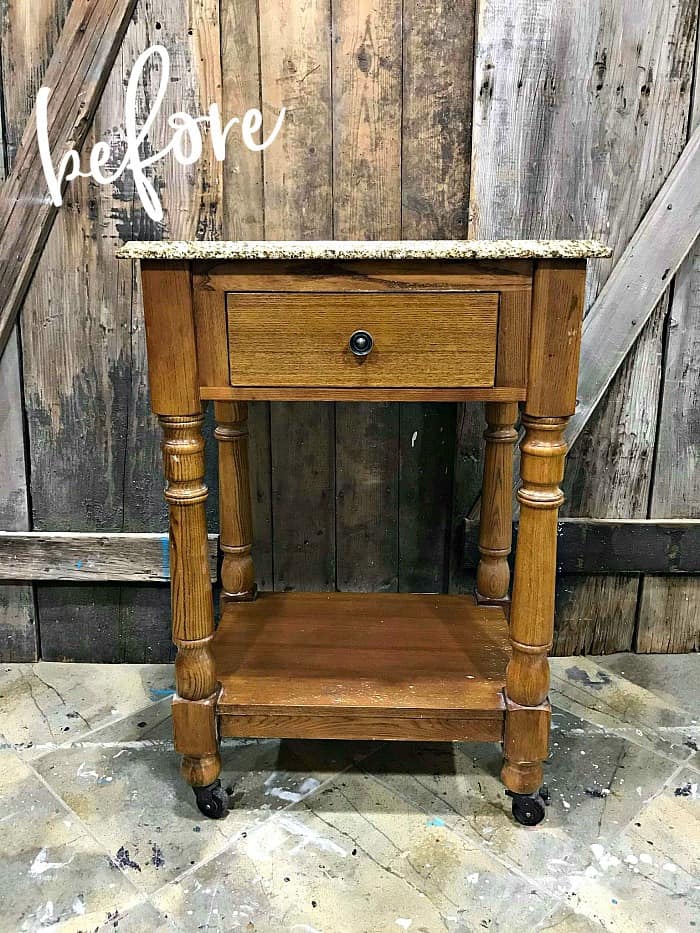
I should mention that the stone top is both a positive and negative for me. It’s great because of quality but it makes the project difficult by limiting what colors I can use for the makeover. I will confess that I tend to overthink certain things when it comes to design and this is a prime example of that.
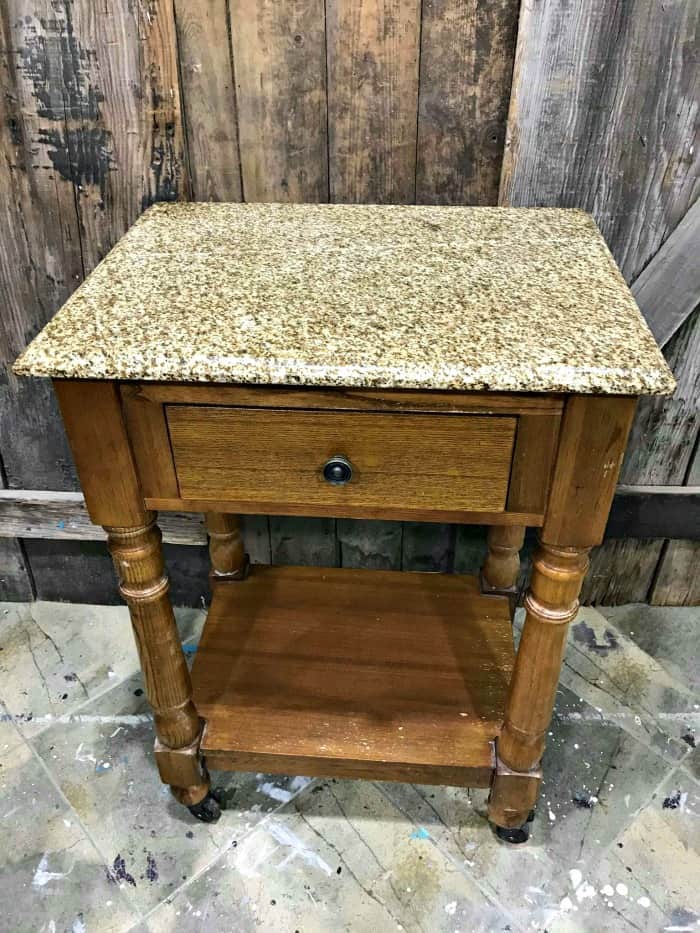
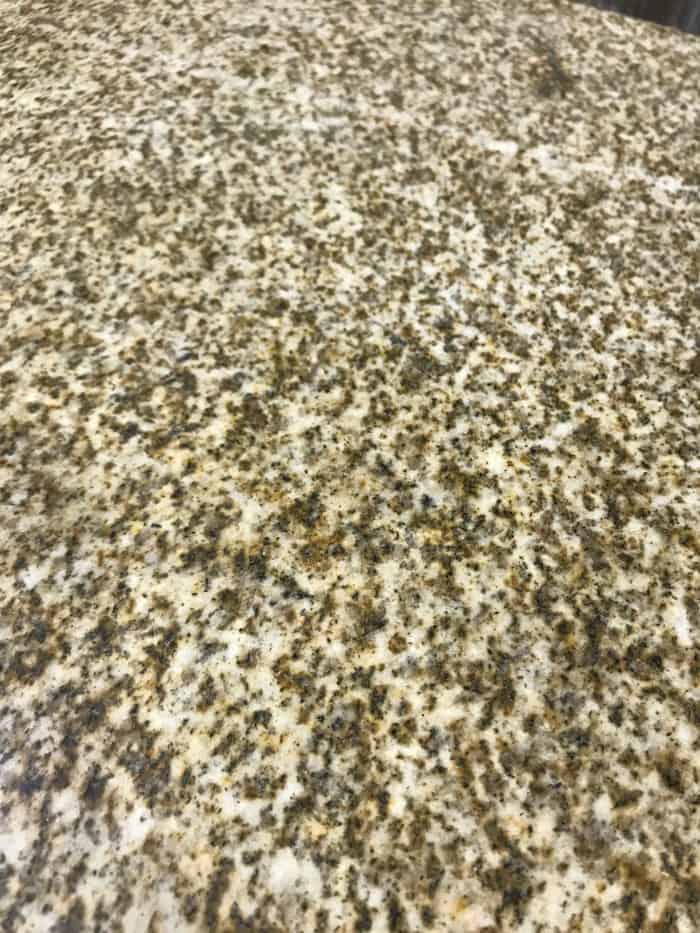
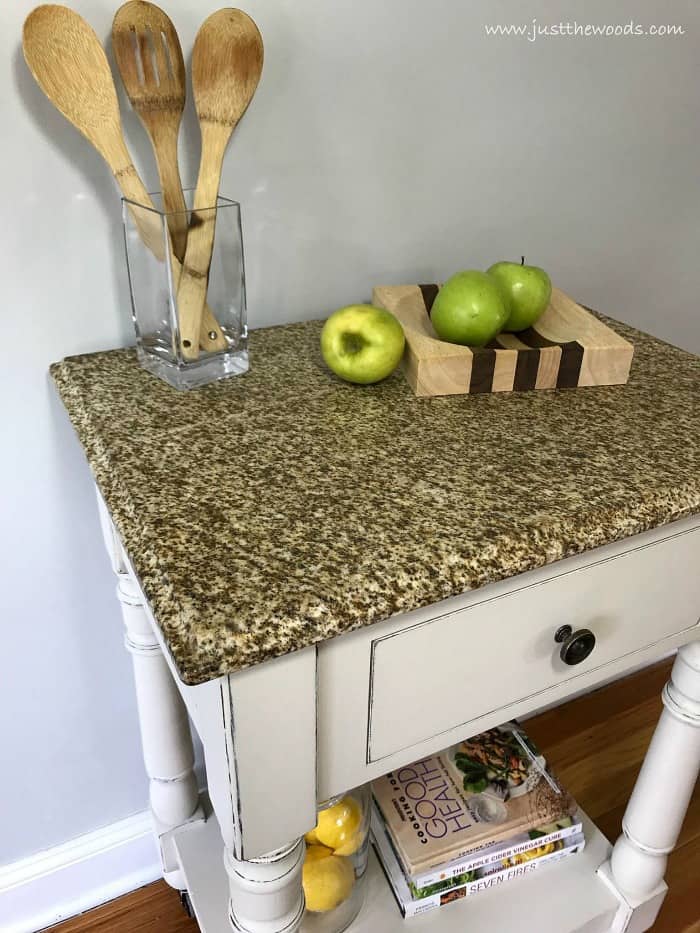
Keeping in mind that there is already a lot going on as far as color in the stone I want to keep the painted wood portion of the kitchen cart simple. If the cart is painted using a layering technique, the project would look too busy in my opinion. But a solid paint color with distressed painted wood would be perfect, especially with the chunky legs on the cart. Here is a close up of the stone top.
Prepping the Oak Kitchen Cart for Paint
Like all of my painted furniture projects, make sure to thoroughly prep your piece. Remove the drawer to lightly sand and clean the entire kitchen cart. This is my full process for How to Prep Painted Furniture.
I give the cart a little sanding to scuff the surface. The bottom area has some worn areas that I make sure to lightly sand.
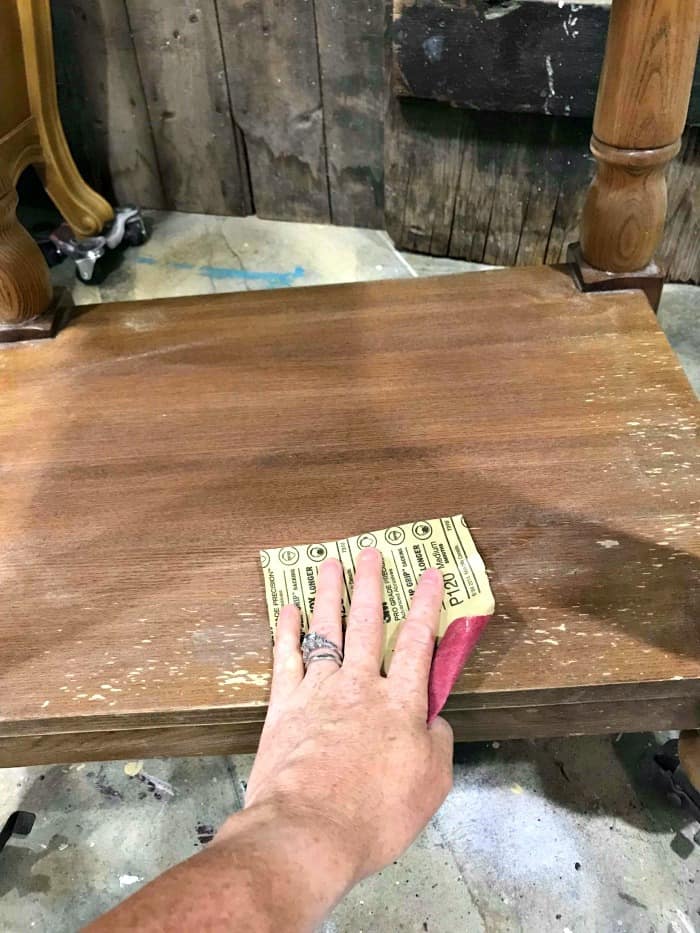
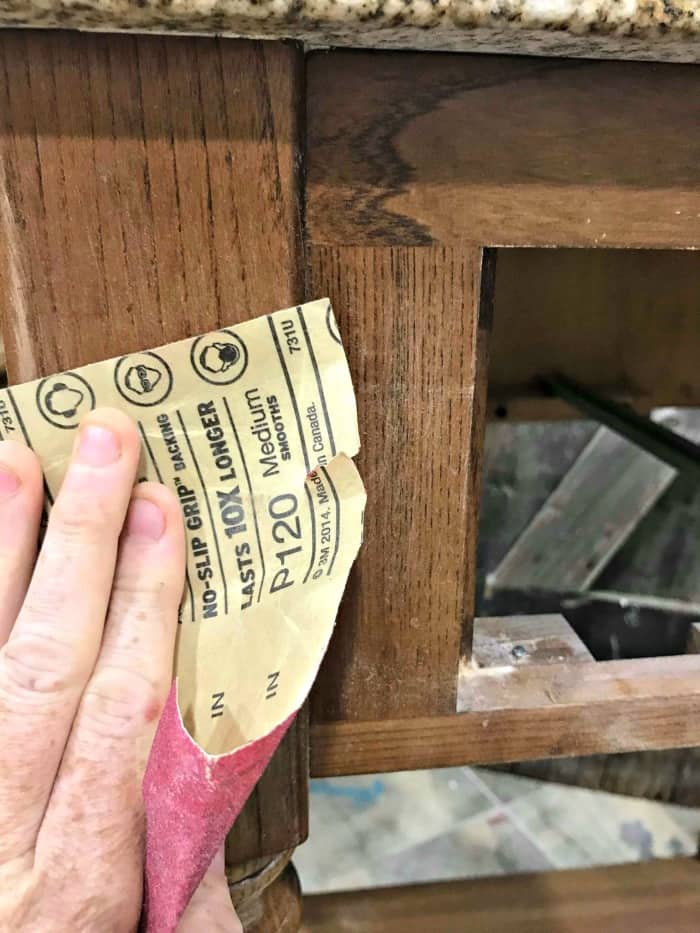
Don’t forget to sand the areas that don’t have visible damage as well. Just give the entire piece a quick sanding. Don’t sand the stone top, we aren’t painting that part.
Painting a Farmhouse Style Kitchen Cart
First Coat
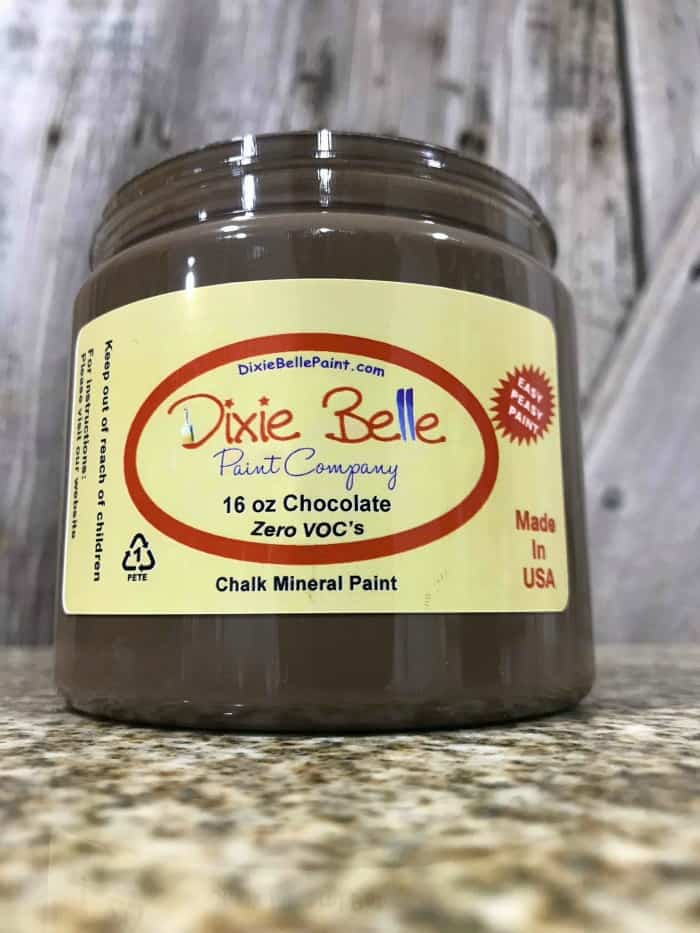
I will walk you through the entire project, showing you my first choice decision and then the second choice. Sometimes we start a project and things just don’t look right or don’t go as planned. So we have to make changes. I can’t and won’t pretend that it doesn’t happen. Initially, when you look at the colors in the stone there is a combination of neutral colors, from whites, creams, and browns. I want to pull from that espresso brown and paint the cart using Chocolate from Dixie Belle. You can find all of Dixie Belles paint and products HERE.
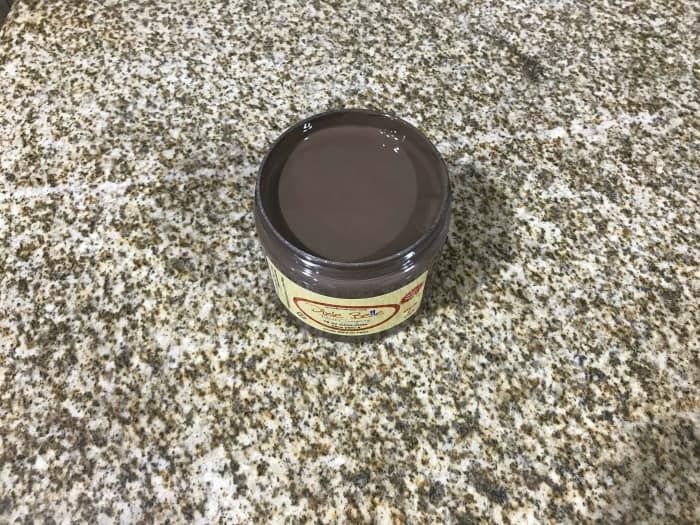
Chocolate is literally that, a rich chocolate brown. Normally, I would not paint brown wood brown, but this choice made sense at the time.
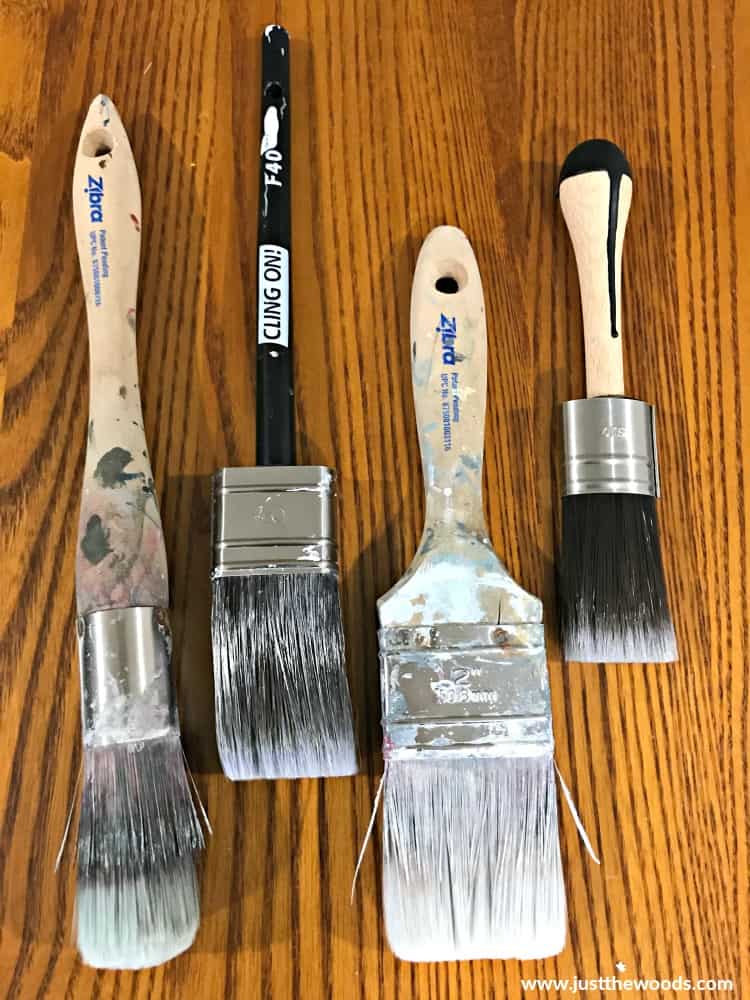
Grab your favorite brush. Personally, I like to swap back and forth between Cling Ons and Zibra brushes. They both have soft bristles, are easy to work with and clean up well. (I abuse my brushes) To be honest, I like them both. Zibra brushes are a bit more affordable and can be ordered online (HERE). Cling Ons can be ordered online (HERE).
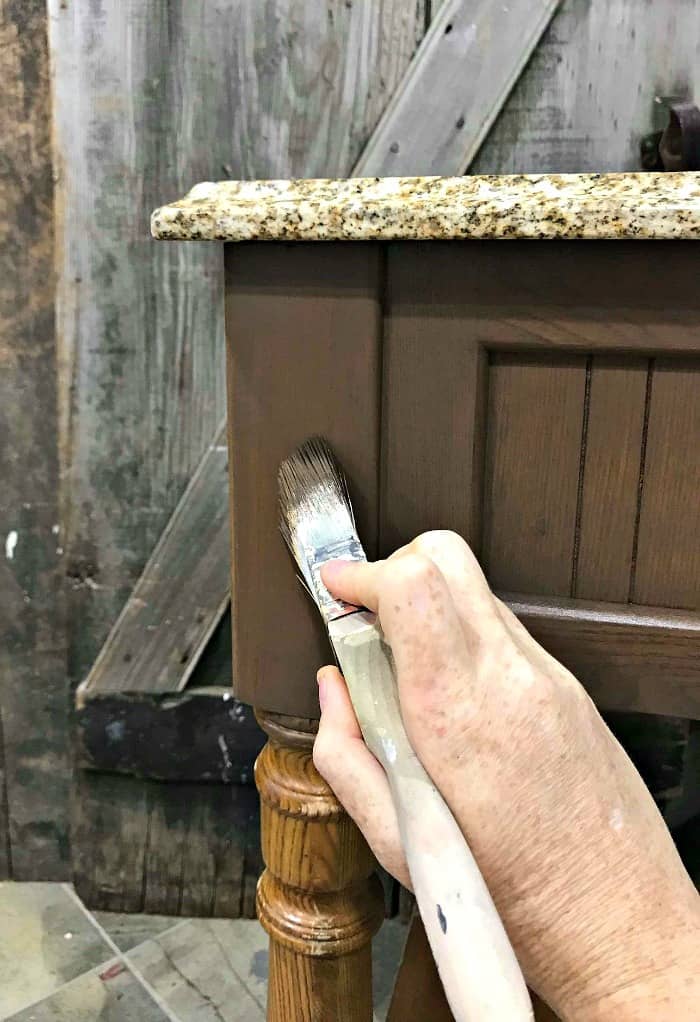
For this project, I paint the entire base of the kitchen cart chocolate brown using my Zibra paintbrush.
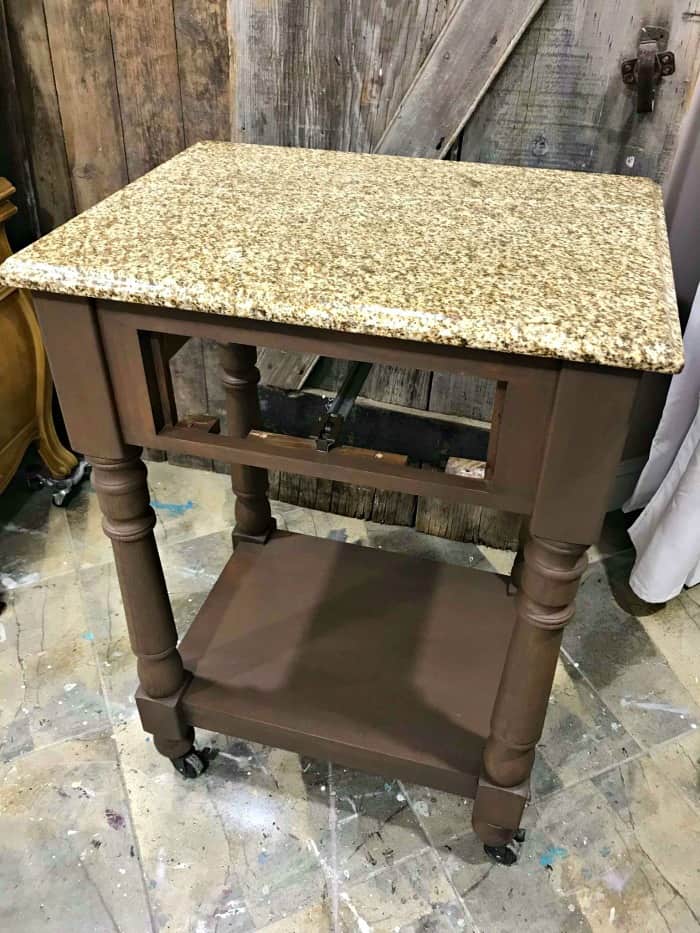
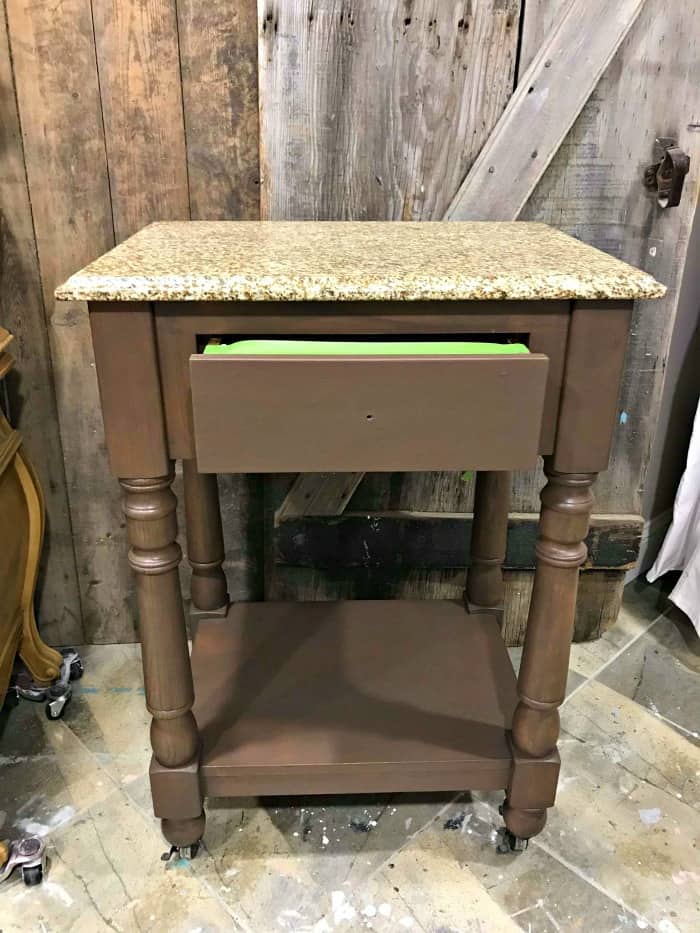
When applying the brown paint over the wood I made sure to apply a very thin coat. The original plan is to create a dark espresso stain type finish. This shows how the brown paint alters the appearance of the wood but not drastically.
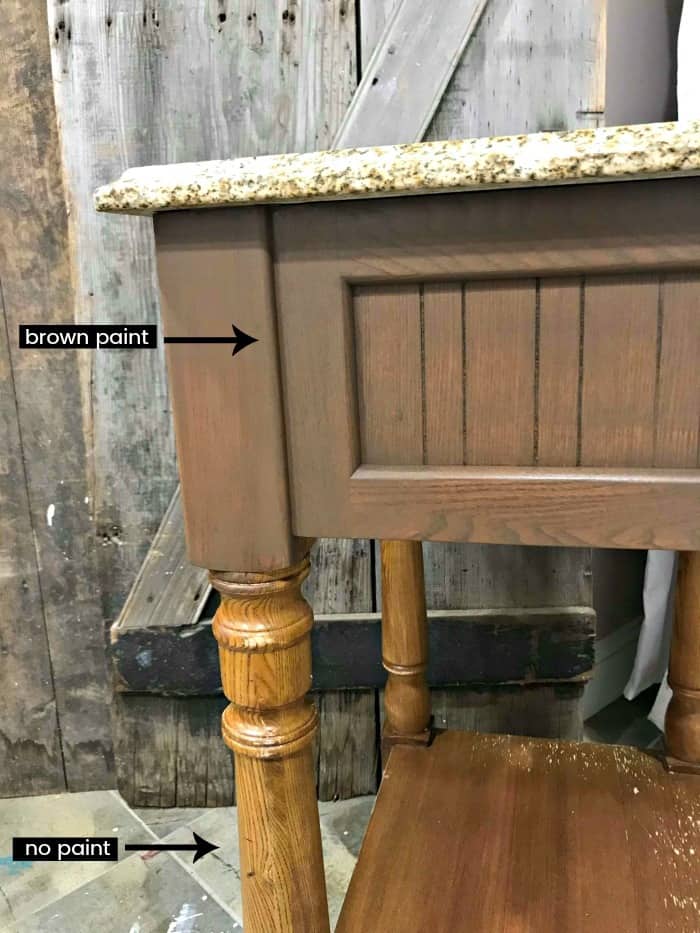
The brown painted kitchen cart is missing something.
Second Coat
Next, we are going to add a black glaze to deepen that chocolate brown.
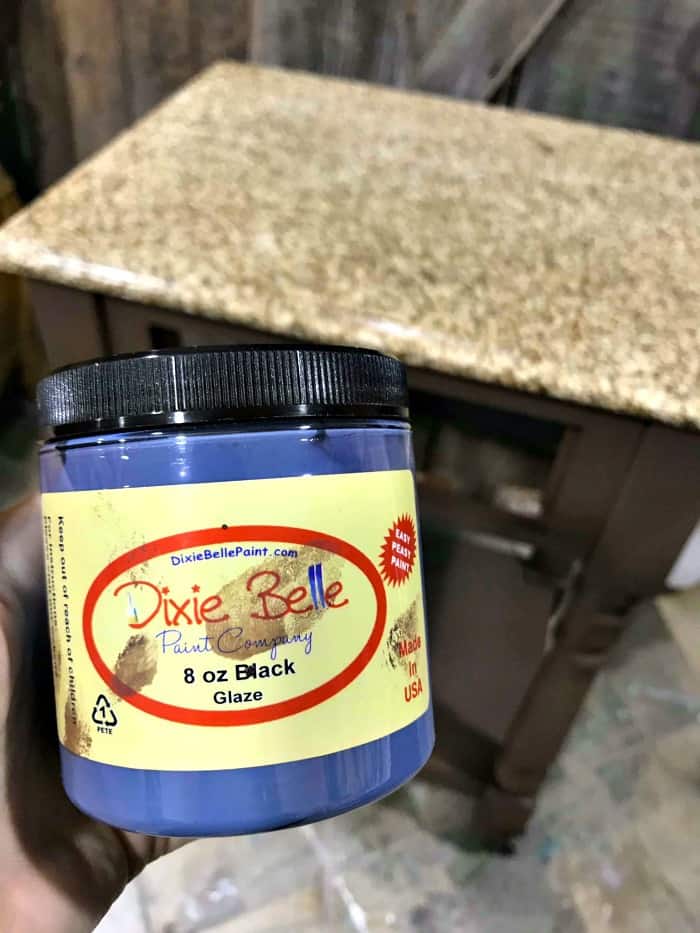
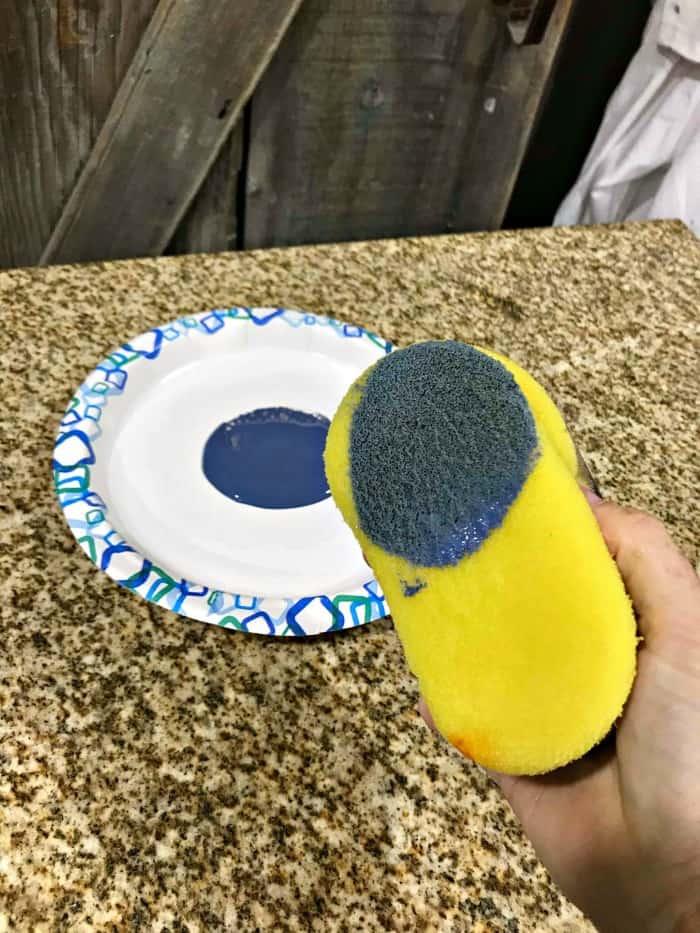
Grab your yellow applicator sponge if you have one. If you don’t you can get them HERE. These are my absolute favorite for applying glaze and sealers to painted furniture. I like to spoon a little glaze onto a paper plate and work from the plate rather than work from the container.
Simply apply the glaze with the sponge over the painted surface. Come back with a chip brush to remove any excess that may pool up in crevices or corners.
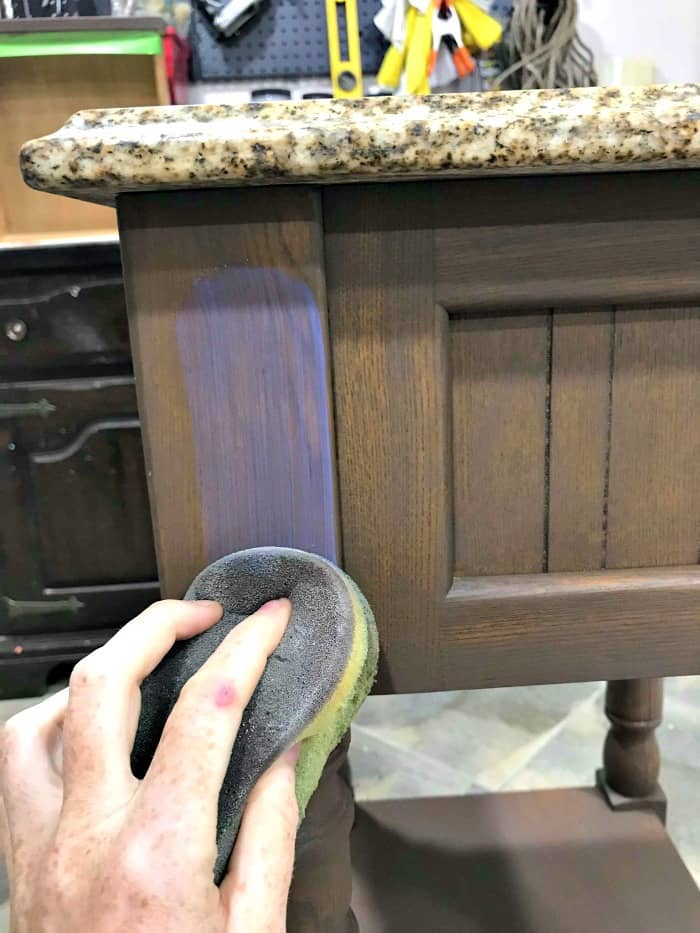
Something still isn’t right. But we can work with this. Time to re-evaluate.
Change of Plans for The Farmhouse Kitchen Cart
When you have a stone top on your furniture there aren’t many color options left. I grab my off-white paint to see if this may be a better way to go. Dag nabbit, I think it is.
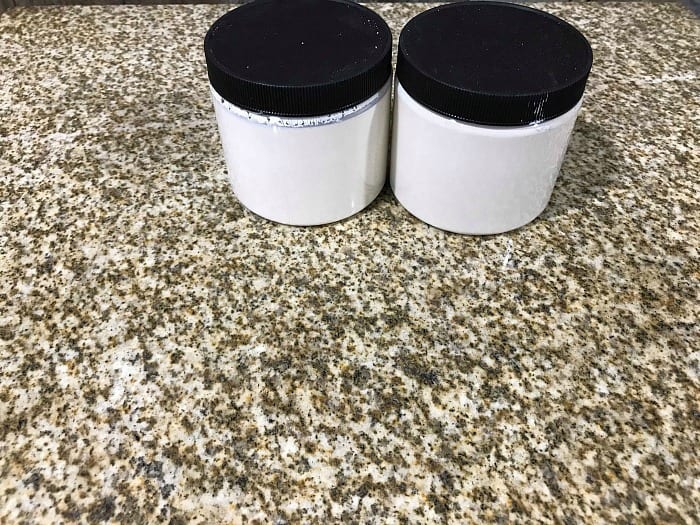
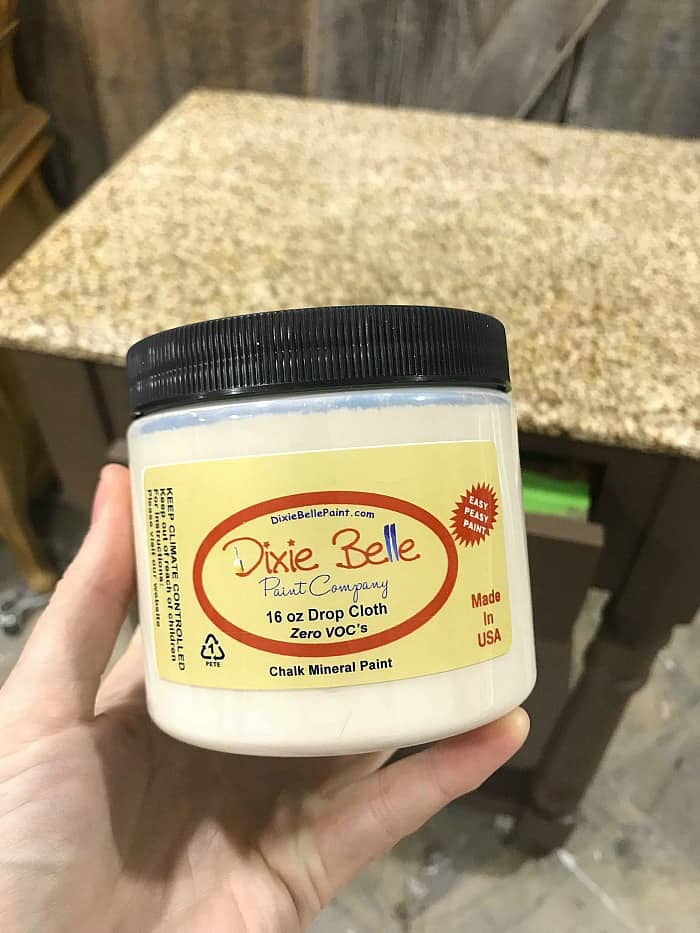
We are going to paint over the brown with Drop Cloth from Dixie Belle. The great thing about this is that when we distress the painted wood we can distress back to reveal the dark chocolate underneath. Revealing the dark brown will enhance the distressed details creating a fabulous farmhouse finish.
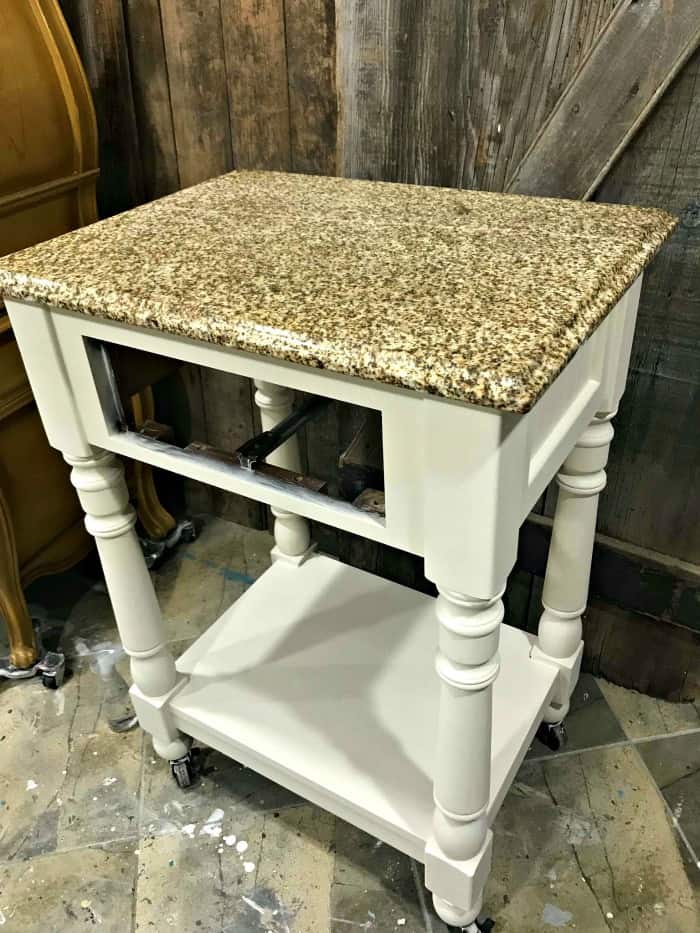
Go ahead and paint your off-white over your brown paint to lighten up the feel of the entire piece. What a huge improvement! And we haven’t even begun to distress the paint yet.
Click here to Pin this post for later.
How to Distress Painted Wood
Now that the table is painted in a creamy off-white with a chocolate base underneath we can move on to distressing chalk paint or chalk type paint. For this particular distressing technique you will need a few things:
- flexible sandpaper (find it HERE)
- sanding block
- lint-free cloth (I use these HERE)
- water spray bottle
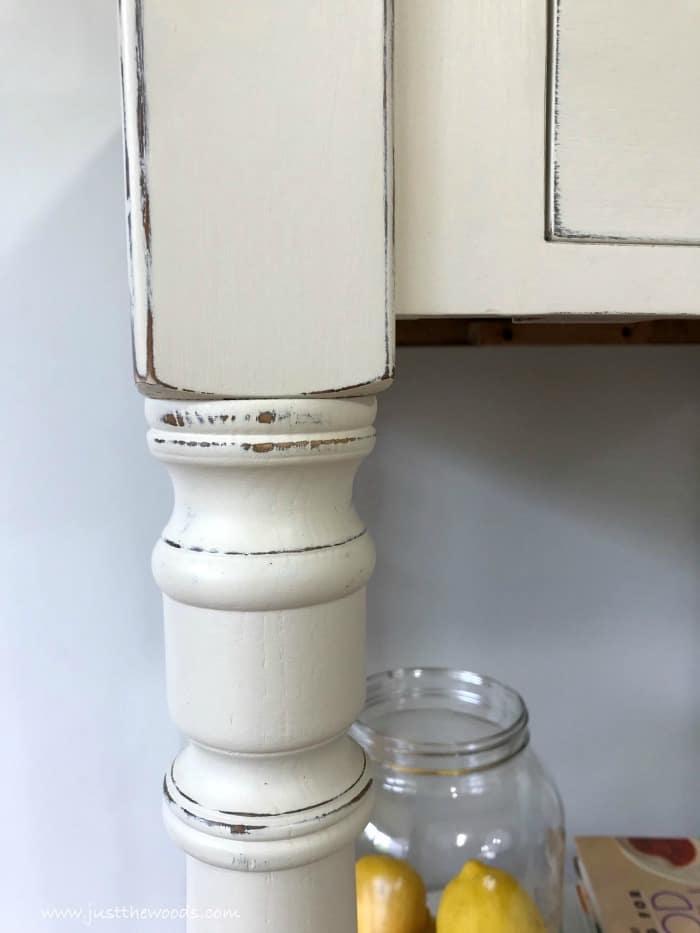
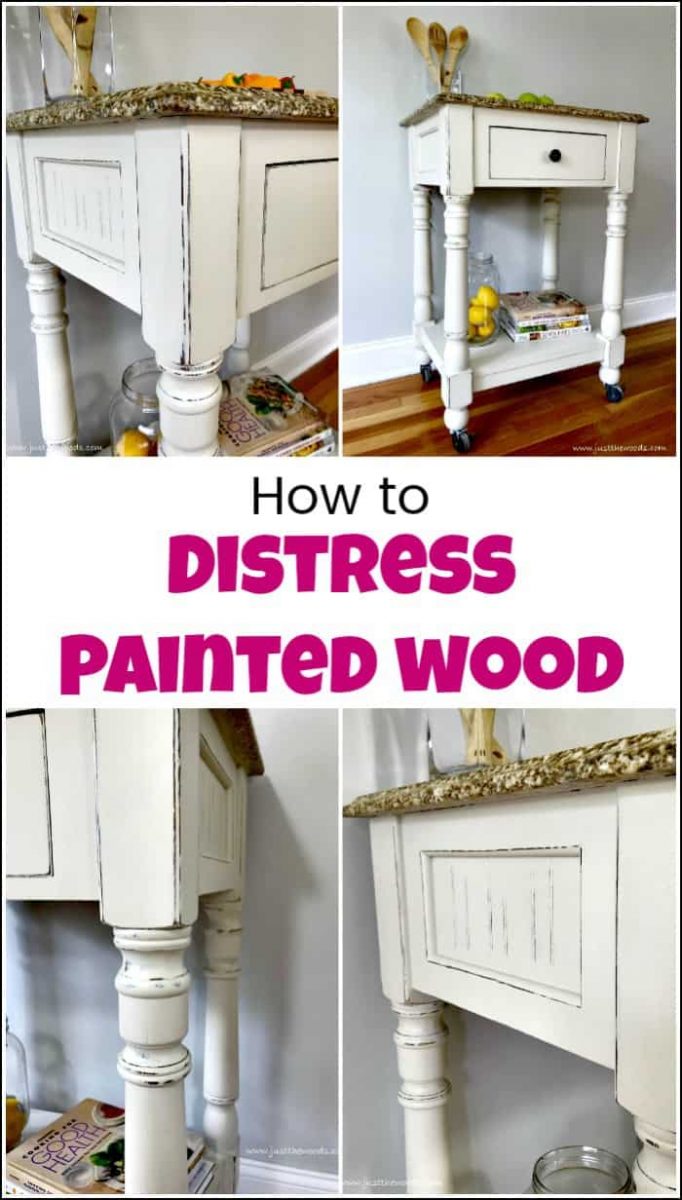
Here is how your distressed paint will look using this technique. I love that when you distress painted wood with a dark paint underneath you get more contrast in your distressing. Don’t you agree?
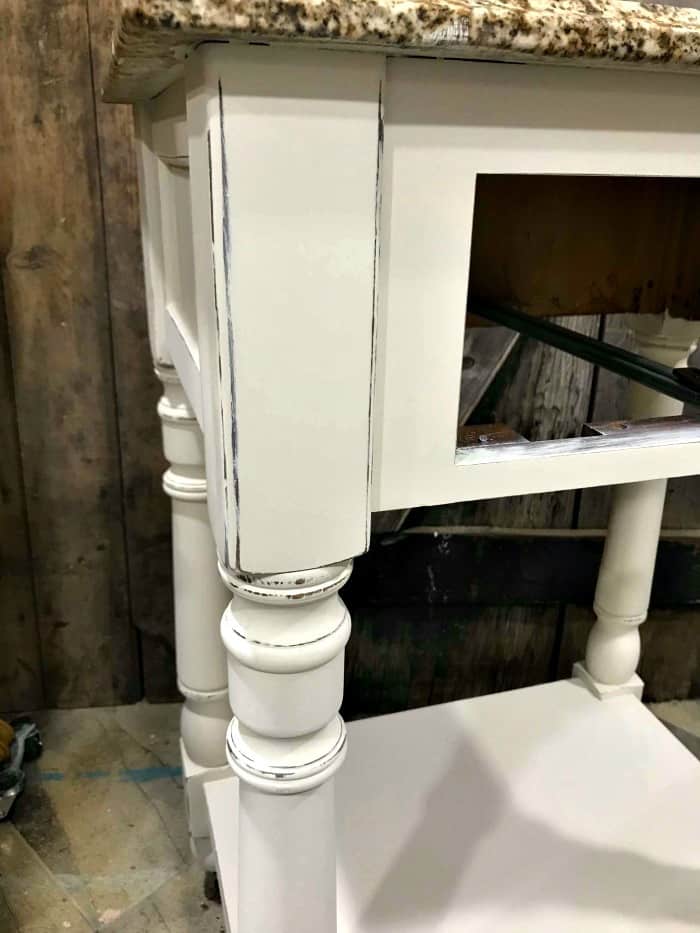
Here is a short video showing how to distress painted wood to achieve this farmhouse style distressed furniture look.
These are the steps with a simple explanation as to how to distress wood painted furniture:
- lightly spray your flexible sandpaper with water
- wrap your sandpaper around a sand block
- dab dry to make sure your sandpaper is damp but not soaked
- apply light pressure to sand away paint along edges
- use the cloth to wipe away distressed paint and dust
- continue until you achieve the level of distressing that you desire.
Click here to Pin this post for later
Things to Remember When Distressing Furniture
When you distress painted wood you want to keep in mind you can easily distress more as needed. Don’t apply too much pressure and distress too much at a time. Slow and steady creates a gorgeous distressed furniture finish. Also, try to only distress areas that would naturally distress over time. Areas like raised details and edges are perfect for distressing paint. I would avoid distressing flat areas since those parts normally don’t wear away if that makes sense. You want your distressed painted furniture to look as natural as possible.
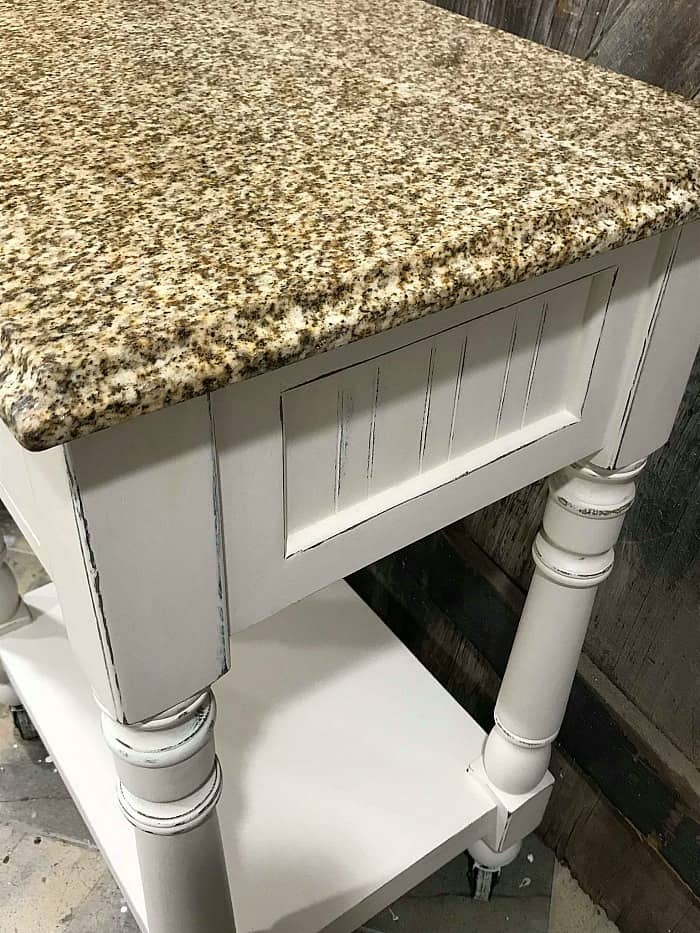
Sealing Your Distressed Painted Wood
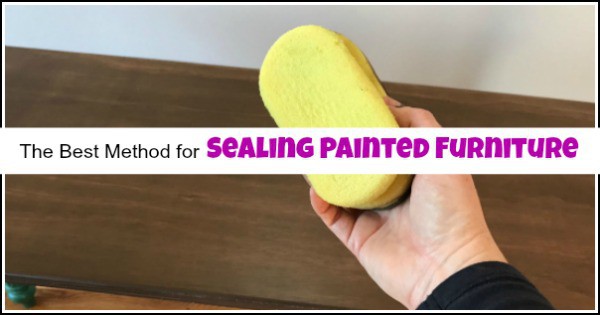
Make sure, like any painted furniture project, including when you distress painted wood, that you seal the paint. Grab the same yellow sponge applicator that you used to apply the glaze. If you aren’t confident that you thoroughly cleaned your sponge, then use a different one. Maybe keep one for glazes and one for clear products. They are so inexpensive you may as well. Use your sponge to apply a clear matte or satin sealer on your painted surface.
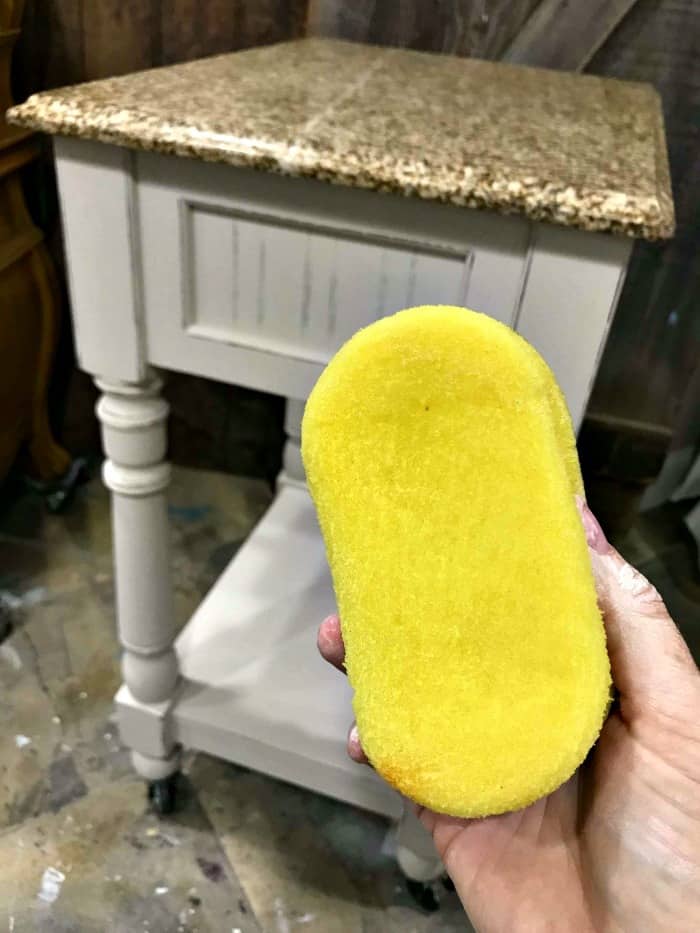
This table is sealed using Dixie Belles clear satin sealer. If you have questions about sealing your painted furniture project you can find a full tutorial with video on how to apply clear sealer here: Sealing Painted Furniture
Farmhouse Distressed Wood Kitchen Cart
When all is complete you should be left with a gorgeous distressed painted wood cart. You can also see that not every project follows a set plan, but you can always find a way to create something beautiful with what you have. This painted kitchen cart has been donated to a local school for one of their fundraiser events. Click here to see all of my projects that have been donated to support local fundraisers, schools, and charities: Donation Projects.
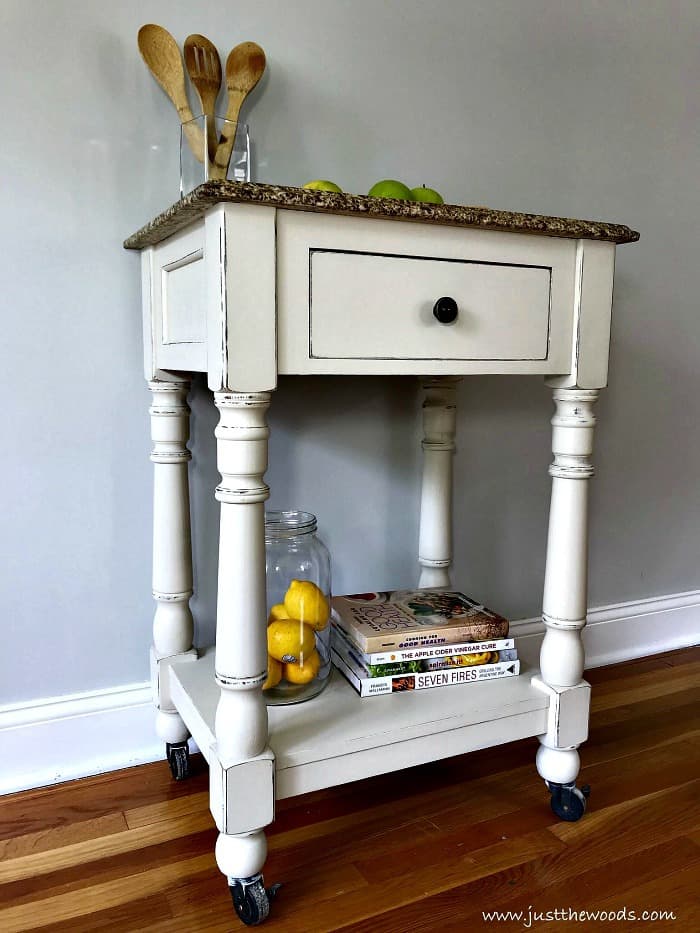
If you are looking for a mobile kitchen cart for your home and prefer not to DIY you can find a wide variety of great kitchen carts online HERE.
Check out all of my furniture projects with over 90 painted furniture makeovers: Stunning painted furniture ideas.
Click here to Pin this post for later
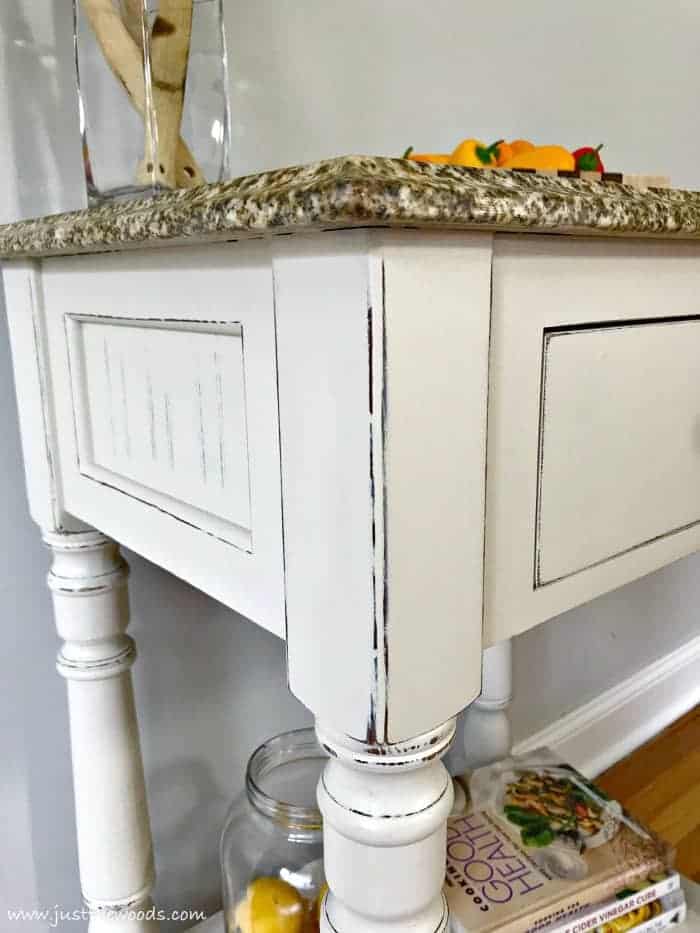
If you find that your project is a bit more distressed than you prefer you can always go back and touch up a few spots to lessen the distressed look. If this happens to you then check out How to Touch Up Paint on Painted Furniture.
Wait! Don’t Go! It’s that time of the month again for:
Furniture Fixer-Uppers
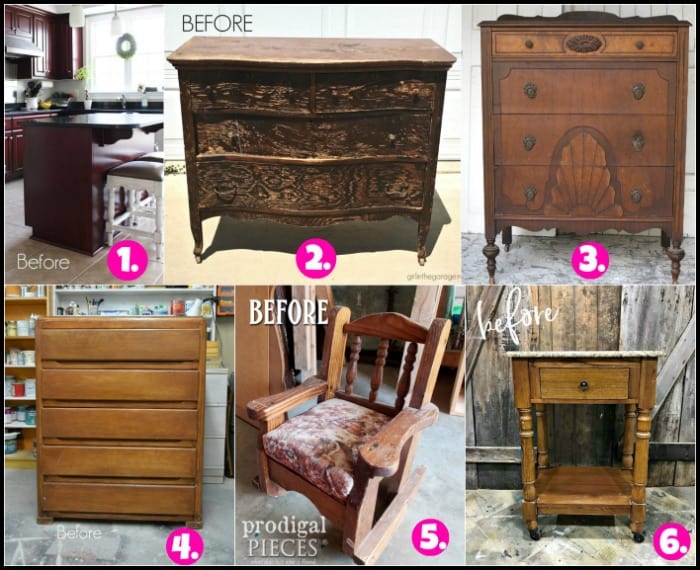
Its that time again where a few of my creative and talented blogger friends and I have joined together in our monthly Furniture Fixer Uppers share. Let’s see what my friends are up to! Make sure to click the links below the image to check out all the amazing projects that my bloggy girls are working on this month.
You Might Also Like:
If you like this post make sure to check out all of the tips & secrets that I wish someone told me when I started painting furniture here: Painting Furniture Secrets
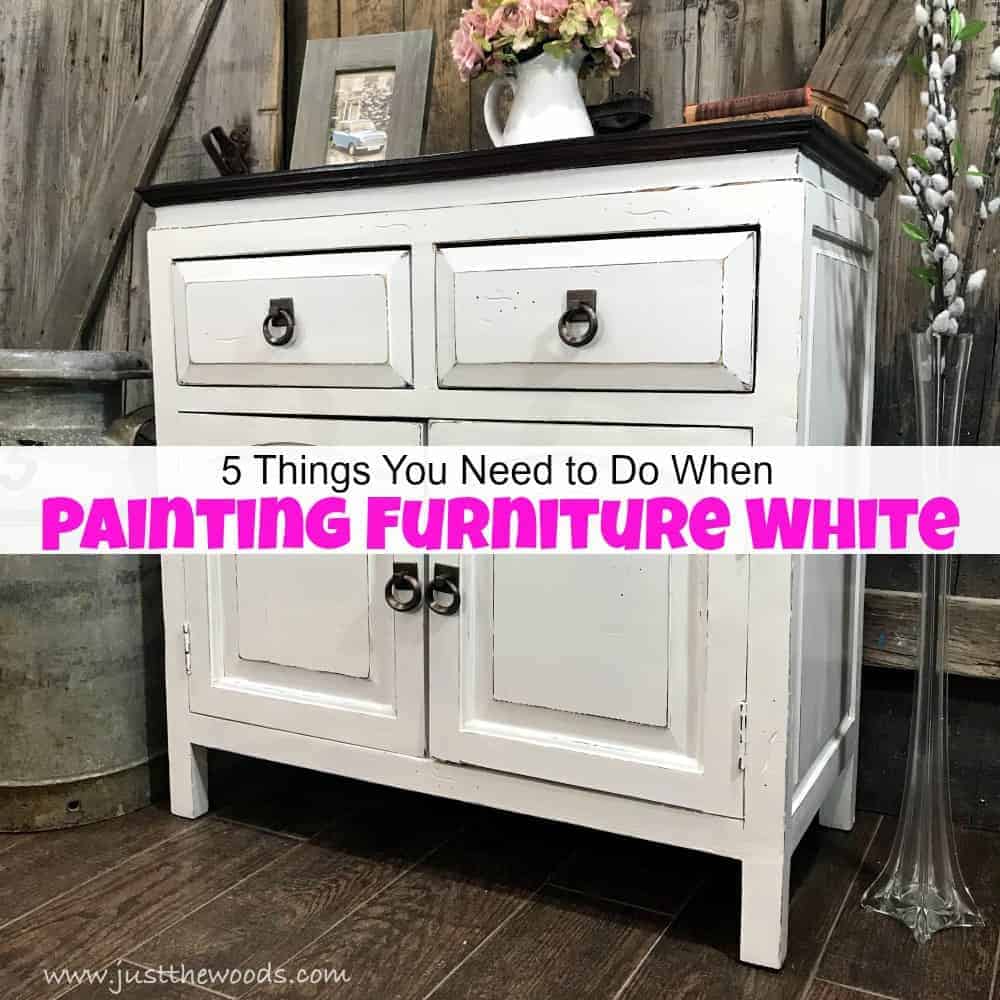
If you love white painted furniture and distressed white furniture then check out my 5 Tip for Painting Furniture White.
Don’t Forget – Follow Just the Woods and Share this post to Inspire others:
FACEBOOK * INSTAGRAM * PINTEREST





Larissa ~ Prodigal Pieces says
Those carts are so handy and I”m glad you gave this worn out one new life. Love the new look!
Marie-The Interior Frugalista says
That’s awesome that you donate your tutorial pieces to charity, Kandice! Some lucky person will enjoy this lovely kitchen cart for many years. Great tutorial 🙂
Amy says
I am curious as to why you use wet sandpaper to distress, as opposed to dry?
TIA.
kandice kullmann says
the wet is a bit gentler. I wanted to be able to keep the dark paint underneath and let it be visible. If i was just distressing to the wood then Id probably use dry
susan says
WOW! What a difference! I wouldn’t have even looked twice at that piece because of the stone top but game changer! Going to get some of those sponges too ????
Jen @ Girl in the Garage says
I love the new finish, especially with the rich brown underneath. Beautiful job, Kandice!
Christy says
So much better, Kandice! And good call on switching directions…the lighter color was just what this piece needed! XO
Teri says
I love how these turned out…thank you for doing such beautiful work…Gotta LOVE some Dixie Belle!!!
Beverly says
Just curious as to how long you let the brown coat dry before applying the off white coat. Also, how long do you let the off white coat dry before distressing? I am new to this and still have a huge learning curve. Thanks so much.
kandice kullmann says
hi Beverly. Yes I let each coat dry before moving on to the next, The paint dries rather quickly so by the time I work my way around the previous layer is usually dry anyway 🙂
Tracy says
Hi Kandice, thanks for this helpful article! Quick question for you…I’ve heard that often pieces need to be re-painted in a few years when using chalk paint. Is this true? Does the sealer you use make it more of a permanent finish? Thanks!
kandice kullmann says
I have pieces in my home that I painted years ago and they still look great. Honestly, I think it depends on how much or how little you “abuse” your furniture – just like any furniture. I have yet to have to ‘re-do’ anything (except for my coffee tables where I took a chance knowing it may not hold up and then my family abused the hell out of them, lol)
Katelyn says
I want to get this exact look with a desk and side-table I just built. Do I need any kind of primer between the brown coat and the white coats? This will be my first time using chalk paint!
kandice kullmann says
hi Katelyn, no, you do not prime in between coats. Primer would always be your first layer only.
Kayla says
Hi! I’m am wanting to create this look on a desk I have. It is already stained a dark color which I want to show through when I distress it. Would I still need to sand everything down before I put the white paint on?
kandice kullmann says
You should be fine if you just give a quick scuff before you paint. I always like to scuff before I paint
Paige says
Can I use a dark brown stain under instead of paint? If so, do I have to do anything different?
kandice kullmann says
Sure. I don’t see why not. It would most likely have the same results. I wouldn’t do anything else differently . Good luck with your project!