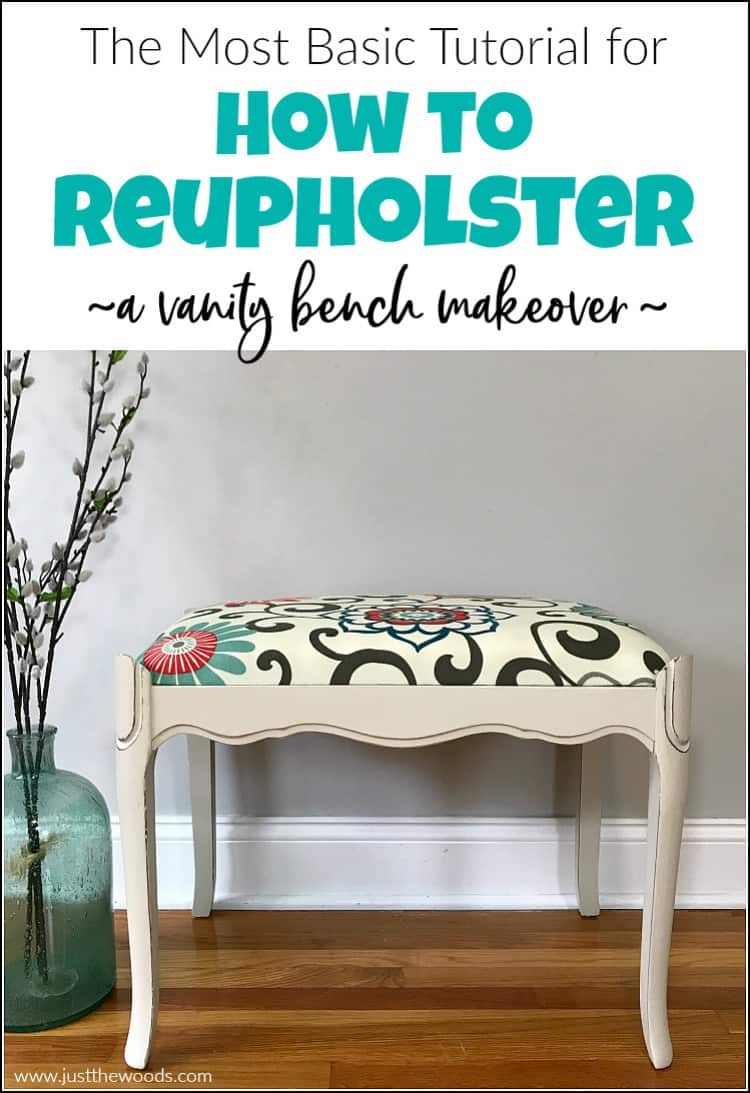
Do you know how to reupholster? Personally, I feel like reupholstering is an art and skill in itself. I’m not sure I would ever tackle a large reupholstery project but the small ones I can certainly handle. This is going to be the most basic tutorial for how to reupholster. It may not be fancy but it works for me, and I’m sure it can work for you too.
Disclosure: This how to reupholster a vanity bench post contain affiliate links for your convenience. Click here for my full disclosure policy.
Supplies & Tools Needed to Paint & Reupholster a Vanity Bench
Materials Needed / Source List:
Tools
- Zibra Paint Brushes or Cling On Brushes
- Furniture Tri Wheelies
- Sandpaper
- Orbital Sander
- Shop-Vac
- Lint Free Cloth
- Find all of my favorite tools and products on my Amazon Page here
Paint
Before we begin, this basic reupholstery project is part of our monthly Furniture Fixer Uppers share. You know what that means! Make sure to stick around all the way to the end for more great painted furniture before and after projects.
Check out all of my furniture projects with over 90 painted furniture makeovers: Stunning painted furniture ideas.
Unfinished Vanity Bench
The vanity bench, I must confess, actually came with a gorgeous curvy desk that I gave a metallic makeover to. For no particular reason, I am splitting them up and creating two very separate projects out of them. By splitting them up I am able to create different finishes on each piece. So, in turn, it’s double the fun. Since they get donated to local fundraisers and charities they are also going to be able to help support 2 causes rather than one. Win-win.
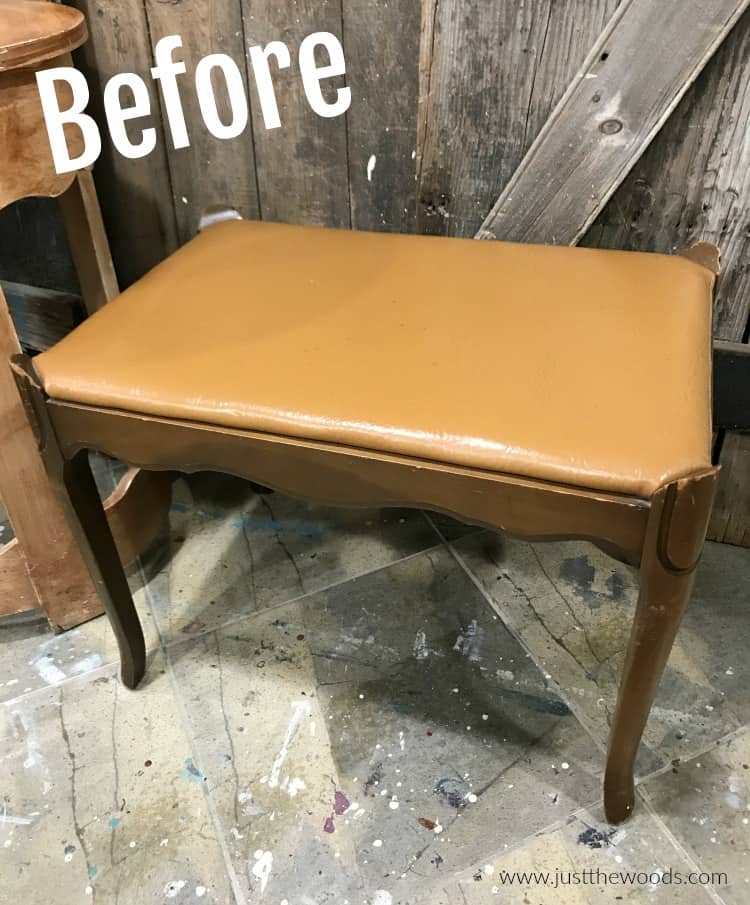
The vanity bench also comes with a weird camel colored leather which at first leaves me slightly baffled. Do I leave it alone? Do I paint the leather? Should I try to remove it and replace it? So many questions! Of course, since we are here, I am opting to remove the old leather fabric and reupholster the bench.
Removing Old Leather Fabric on a Vanity Bench
First, we need to flip the bench seat over and remove the seat from the rest of the bench. Thankfully, all this entails is the removal of a few screws. So far, so good.
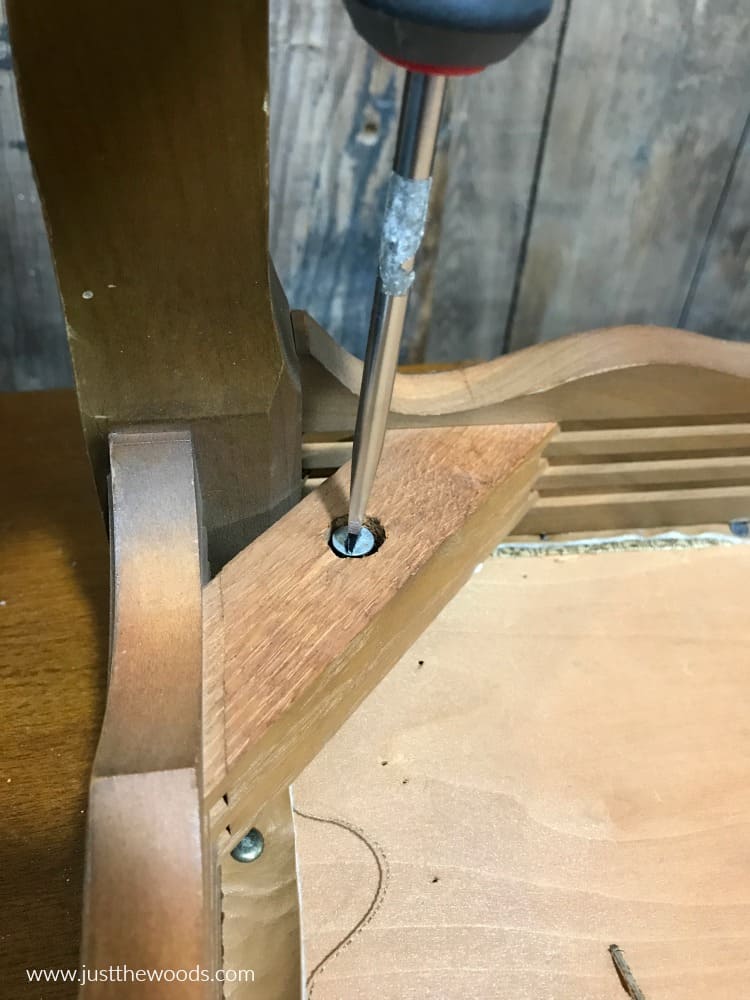
Now that the seat pops off nice and easy we can check out exactly how that ugly leather is affixed to the wood. hmmm.
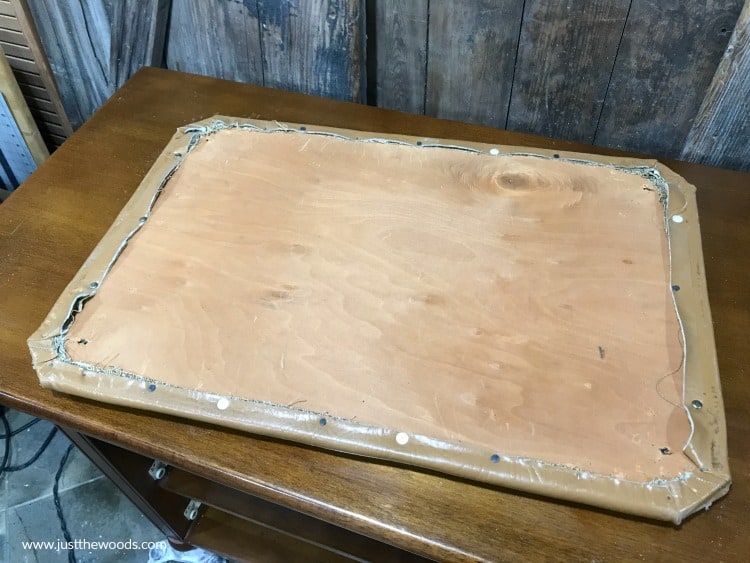
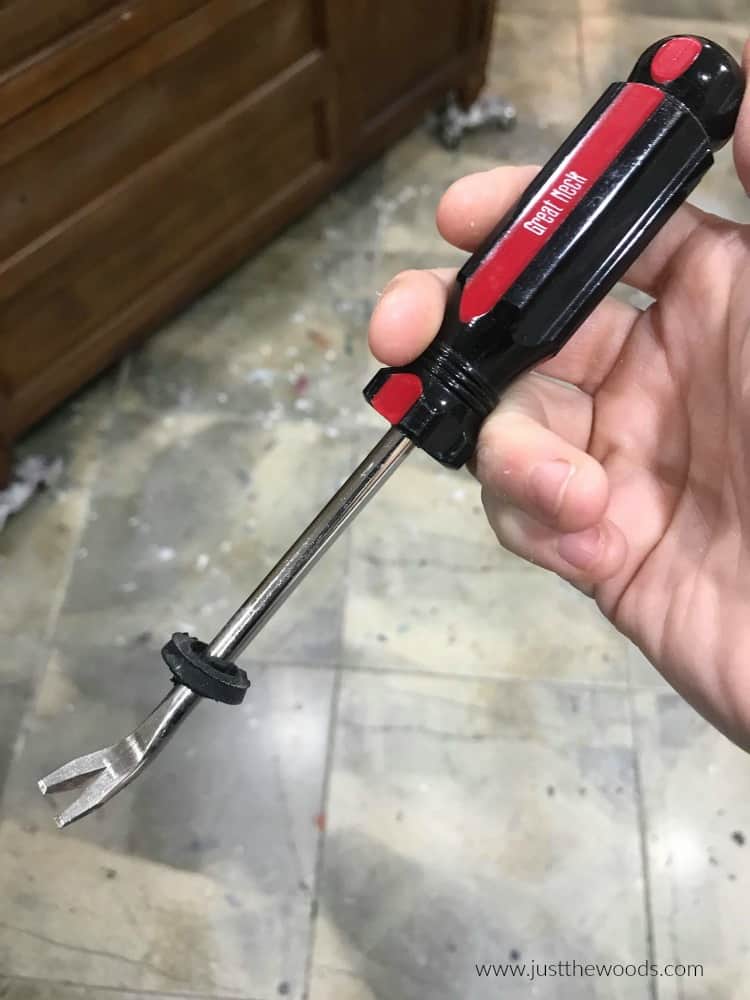
It seems there are nails, and tacks holding that leather to the wood. Using a combination of a flat head screwdriver and an upholstery tack lifter I am able to remove all of the pins, nails, and tacks. The tack lifter is designed to lift tacks, nails, and pins so it definitely comes in handy. This is the one I have HERE.
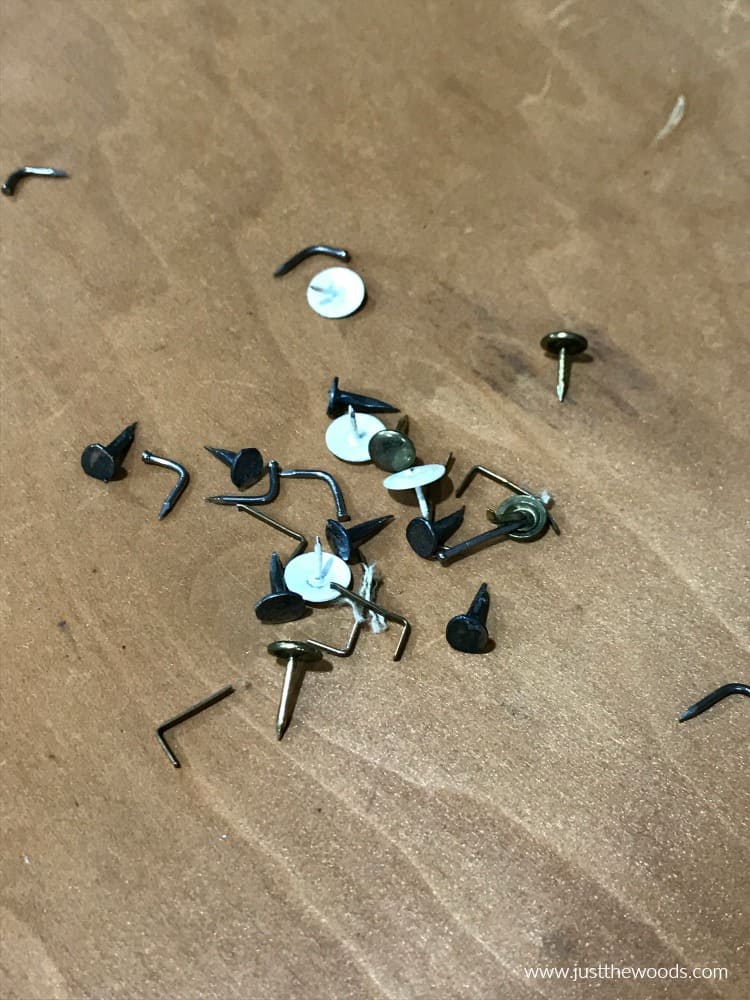
These are all of the random things that I manage to pull from the vanity seat.
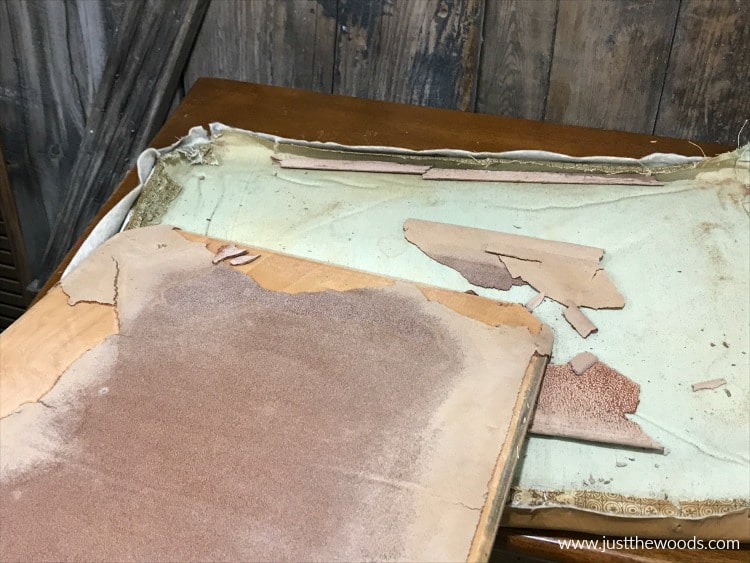
What I find underneath that leather covering is actually pretty gross.
Tackling What’s Underneath – Vanity Bench
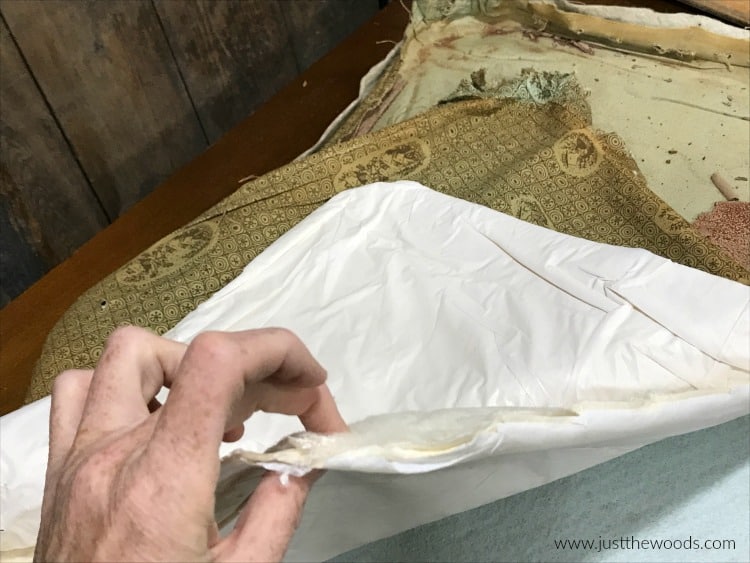
As I peel away the layers of what is hiding underneath the leather I first find some old ugly fabric. I can only imagine how old this may actually be.
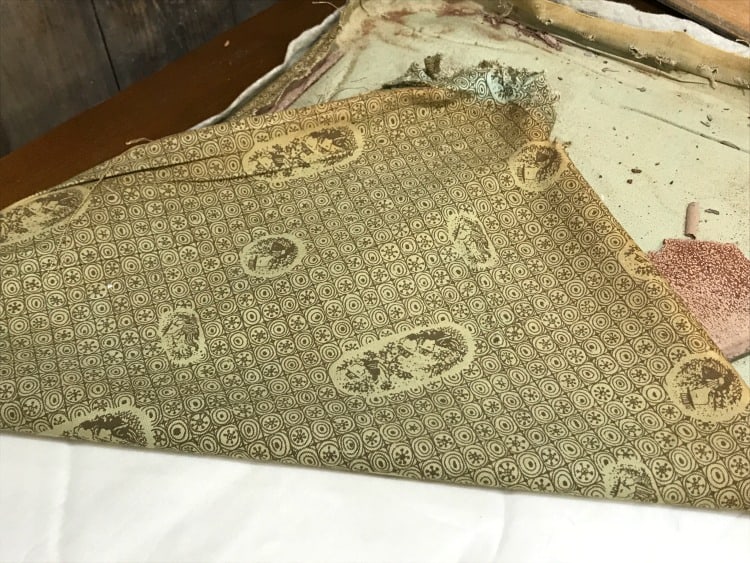
But the weird part is still to come. The only sort of cushioning, if you can even call it that, is this small layer of plastic-lined cotton stuff. The only thing that comes to mind is that piddle pad stuff you would put down when house training a puppy. This makes no sense at all. But I am glad we are replacing and reupholstering this seat.
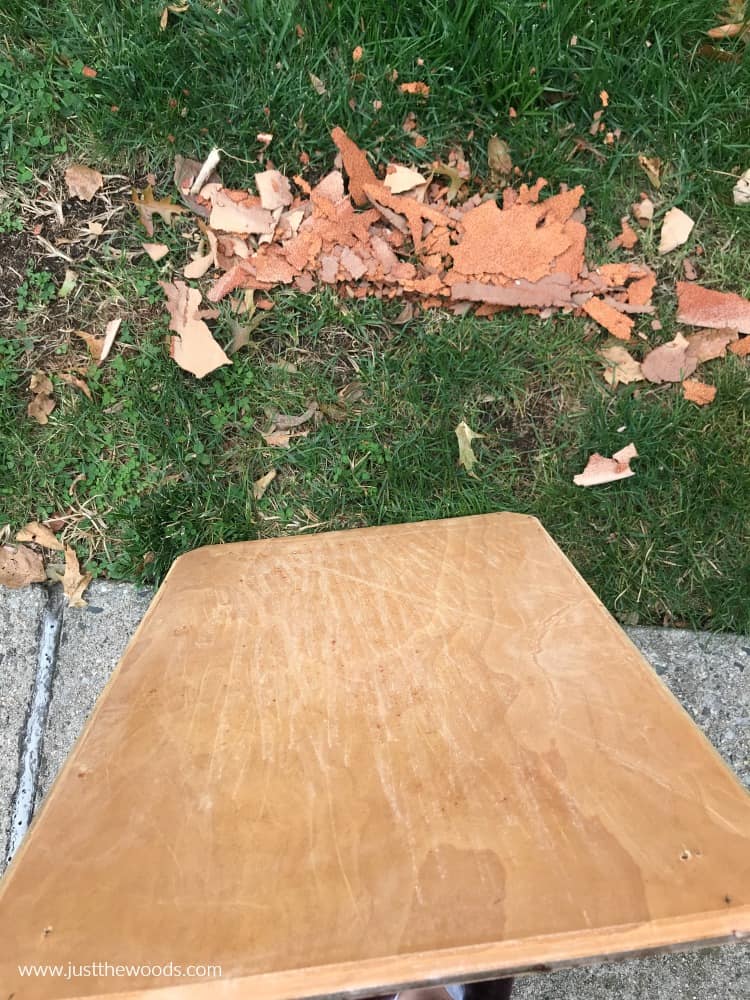
There is also something on the wood that is all dried up and crumbling off. I’m taking this outside to scrape it all off and not make a mess in my shop. I seriously have no idea what this is. But it scrapes off quite easily.
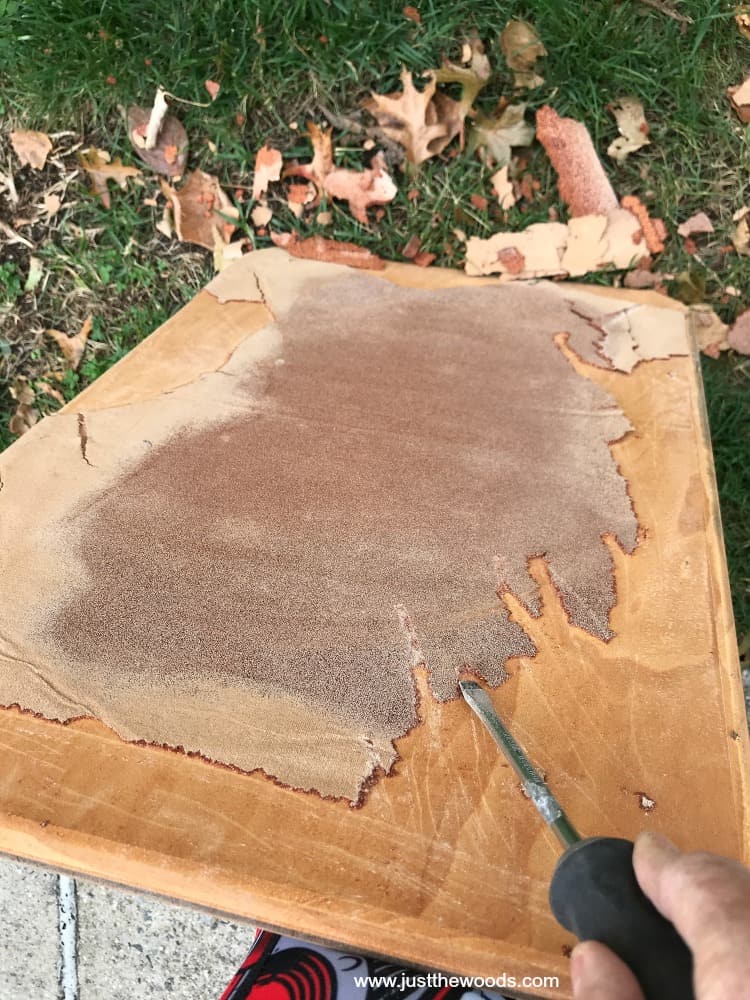
I’m so glad this stuff isn’t all over my shop floor!
Prepping Wood for Paint
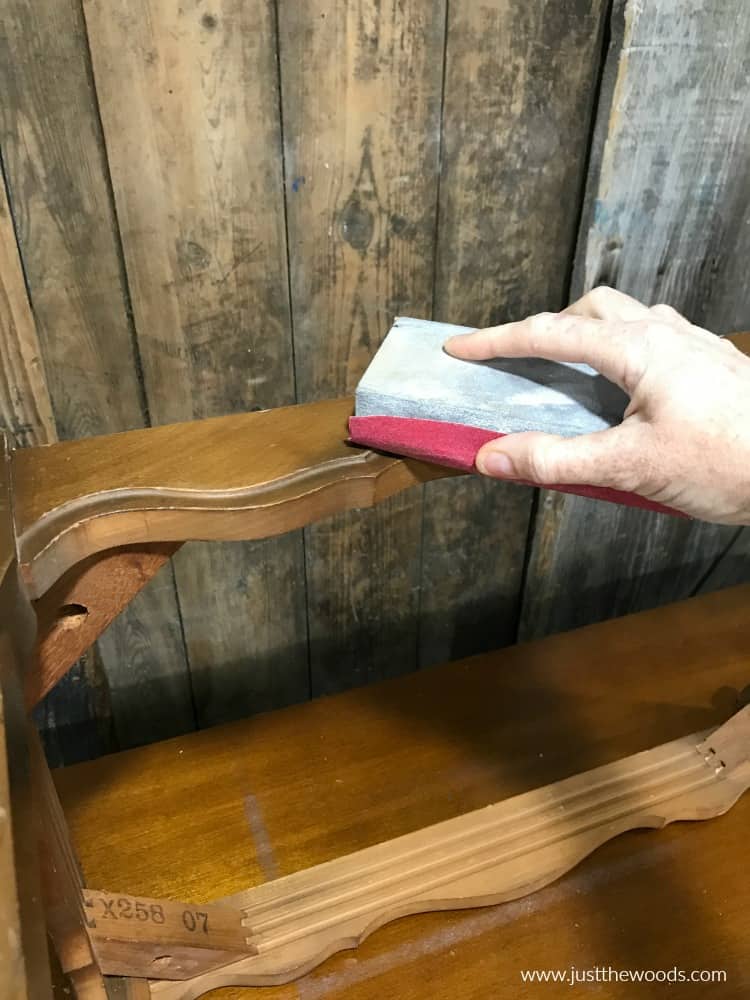
Before we can reupholster a vanity seat we are going to prep and paint the base. Let’s start by giving the wood a quick sanding to scuff the surface.
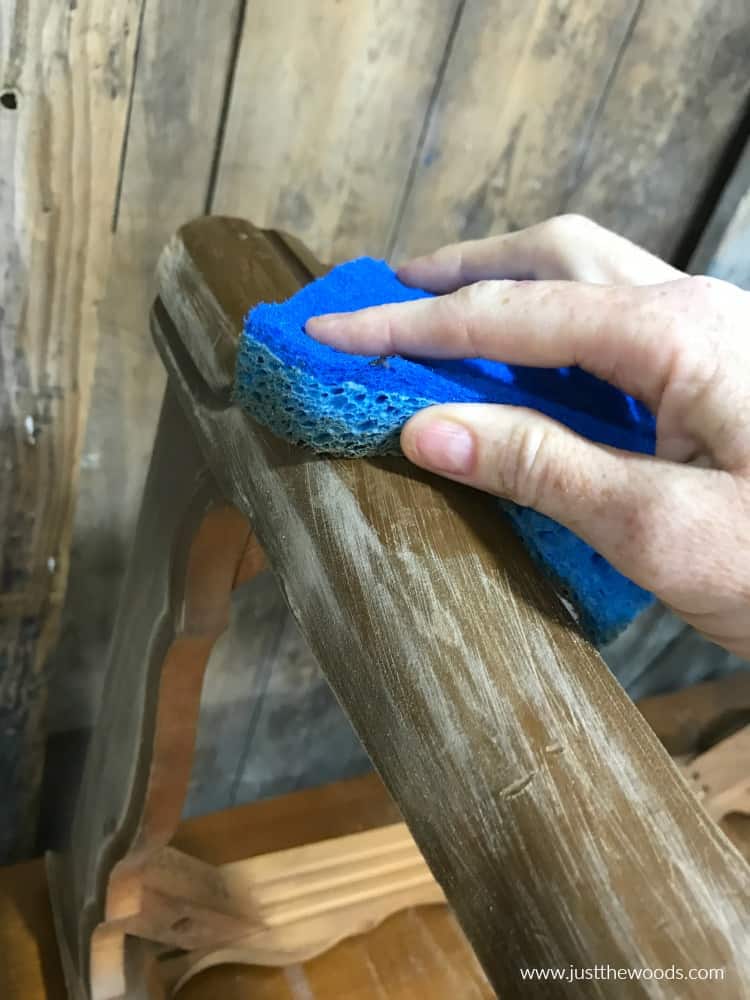
Next, go ahead and clean the entire surface with a scrubby sponge to remove the dirt and dust.
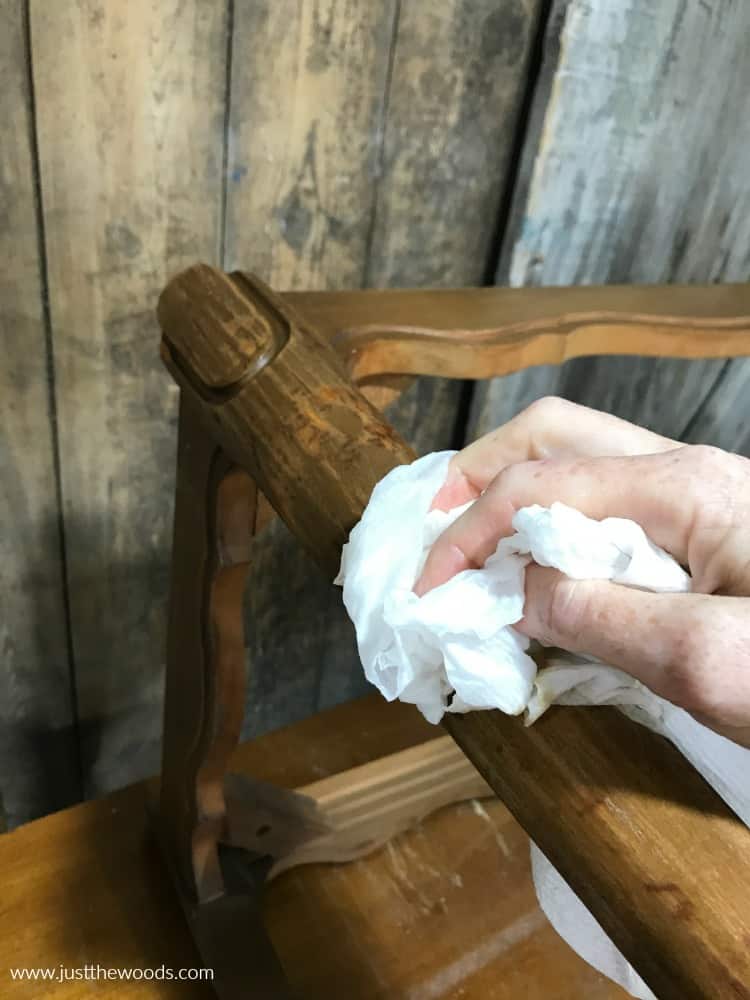
Lastly, give the piece a wipe down with a clean damp cloth to remove any remaining dirt or residue.
Priming Wood Before Paint
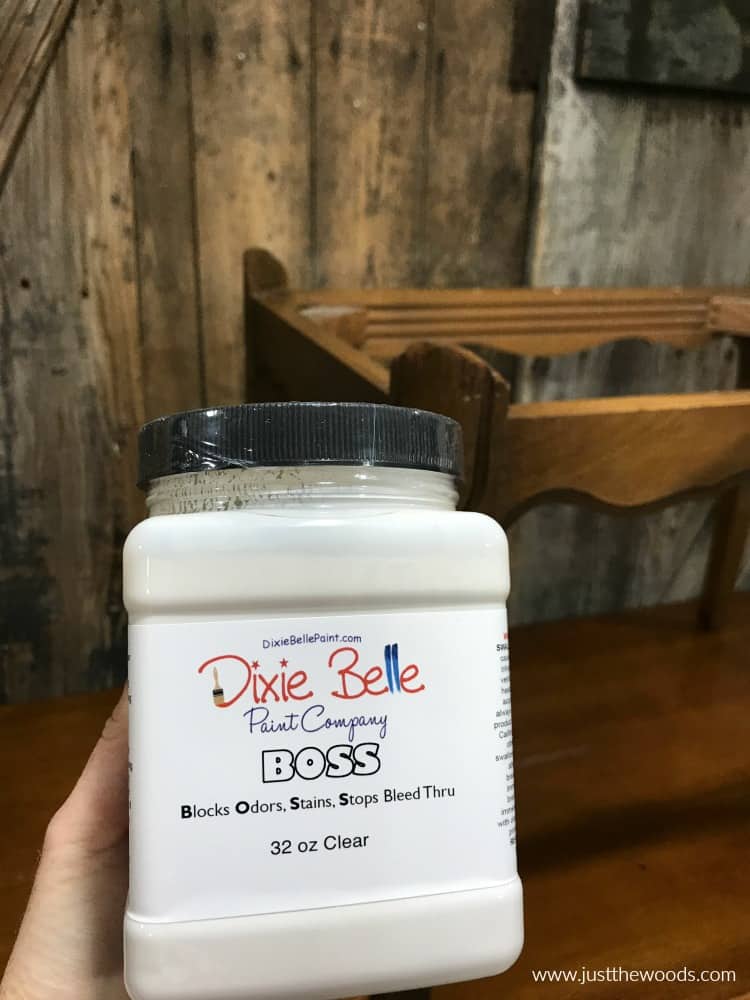
Because I am using a light-colored paint I am going to take the precaution and prime. We often hear about chalk paint and furniture paint products not needing a primer. And that may be true. But I always like to play it safe. I always feel that you may not need to use primer, but you will never regret taking the extra step and using it. No one ever looks back and says “I should have skipped the primer” lol. So, I am using Dixie Belle’s BOSS Primer. BOSS blocks odors, stains and stops bleed through. You can find this primer online HERE (it comes in white and clear).
Now, grab your favorite brush and make sure it’s clean. I like to swap back and forth between Cling Ons and Zibra brushes. They both have soft bristles, are easy to work with and clean up well. (I abuse my brushes) To be honest, I like them both. Zibra brushes are a bit more affordable and can be ordered online (HERE). Cling Ons can be ordered online (HERE).
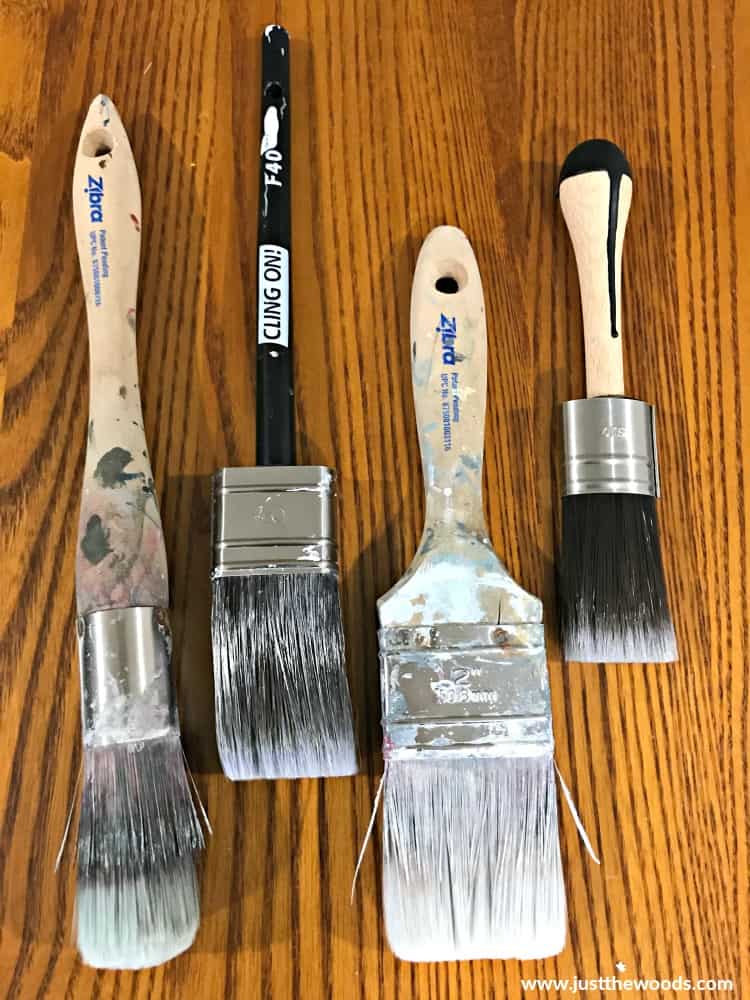
For this vanity bench makeover and reupholstery project, I am using my Cling On mini brush.
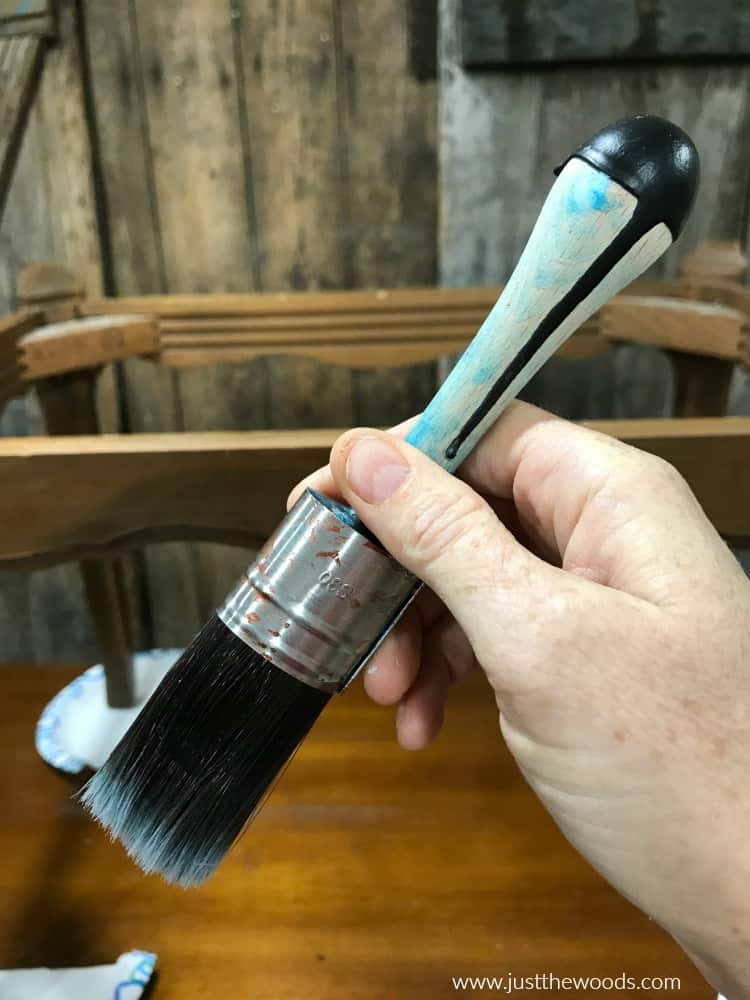
Using your brush go ahead and apply your primer.
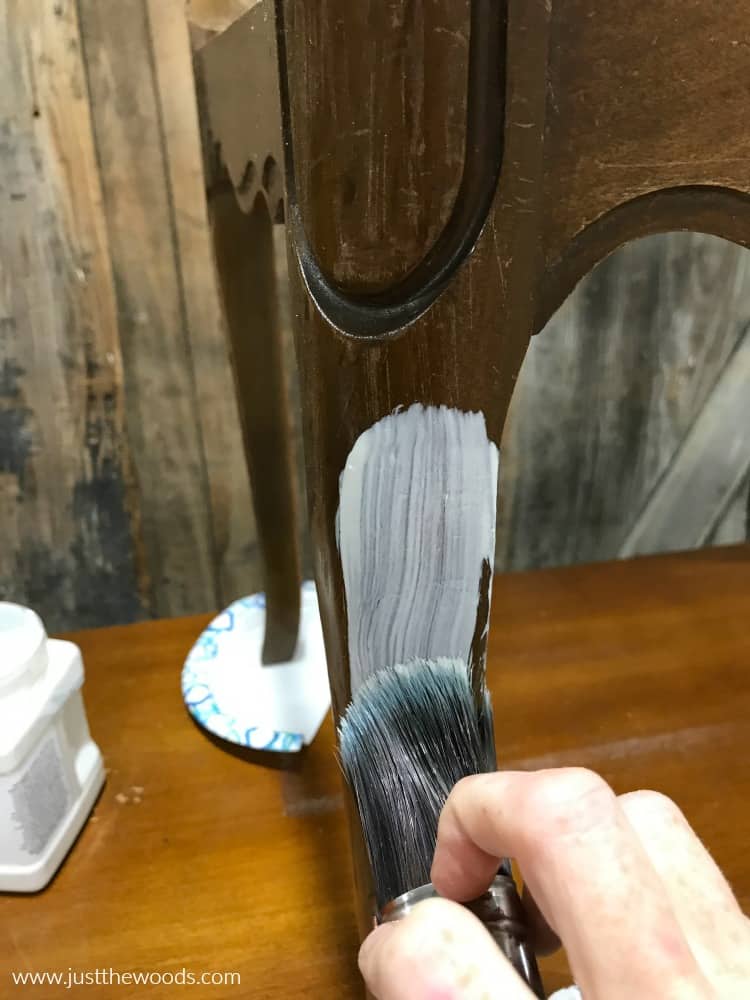
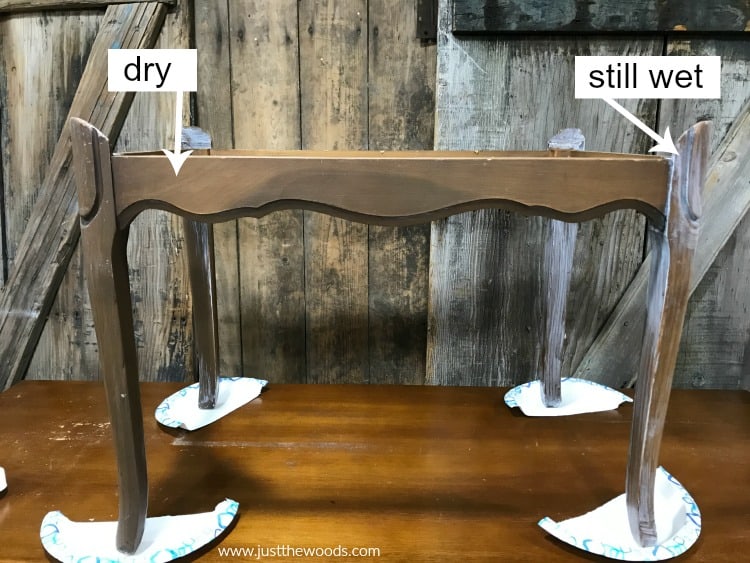
As you can see, the primer goes on white.
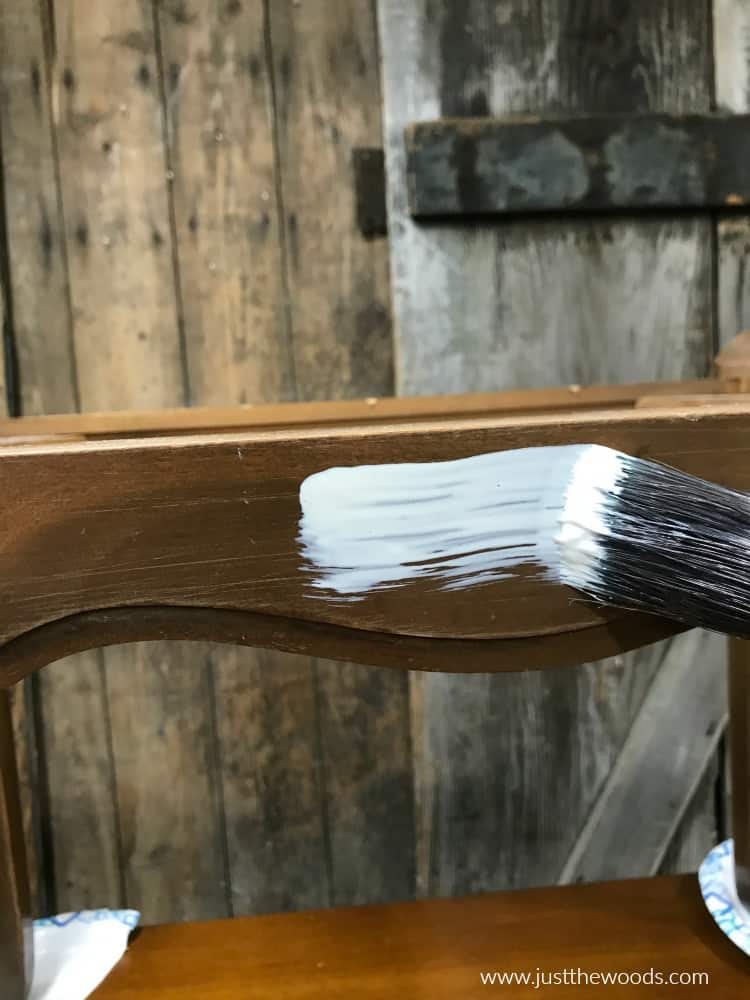
As it dries, it starts to turn to clear.
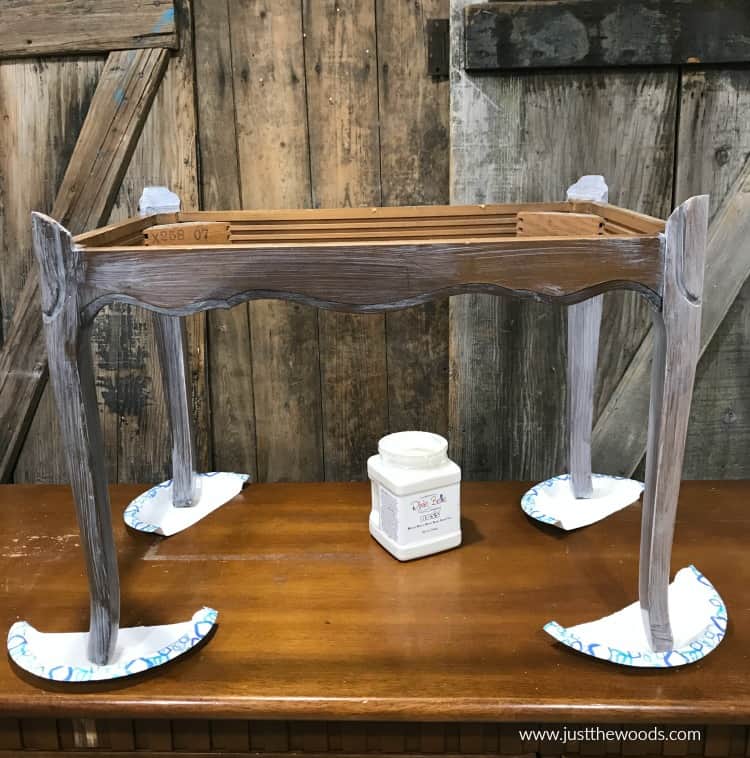
Then the primer is completely clear once it is completely dry. See…
If you are new to furniture painting and want to learn how to update old furniture with paint you can always start at the beginning with How to Paint Furniture – a Beginners Guide.
Painting a Vanity Bench
For this vanity bench makeover, I am using a neutral soft white chalk paint called Drop Cloth from Dixie Belle. This is such a great color when you want to keep things neutral. You can also see it on a farmhouse kitchen island here: How to Distress Painted Wood, and also on a pair of curvy end tables here: Painted End Tables with Lined Drawers.
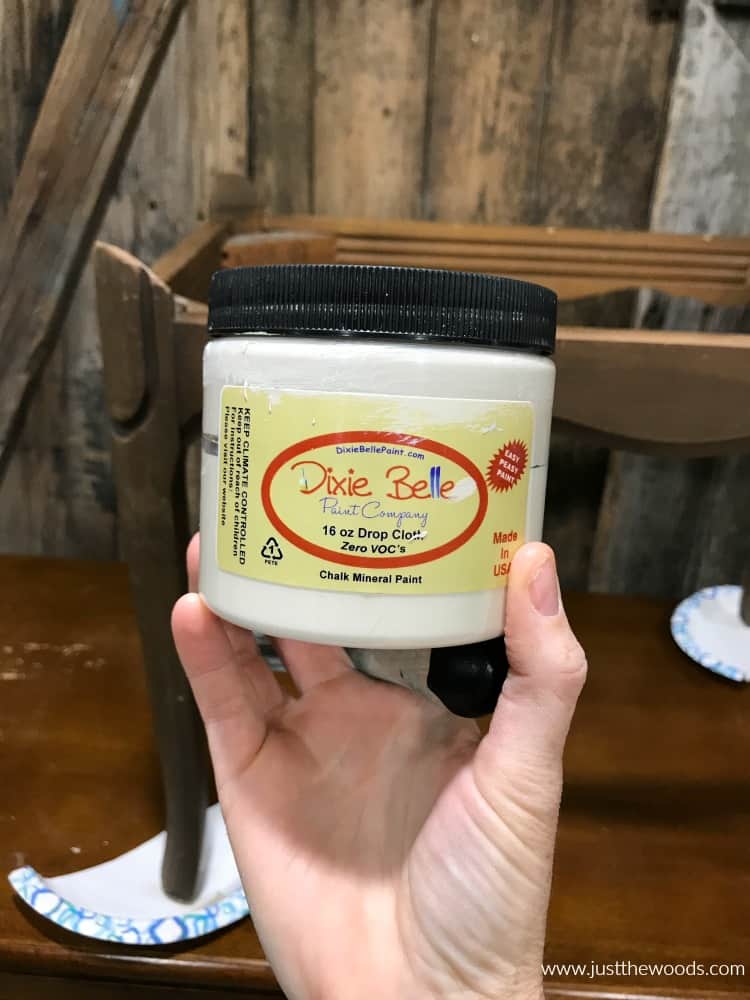
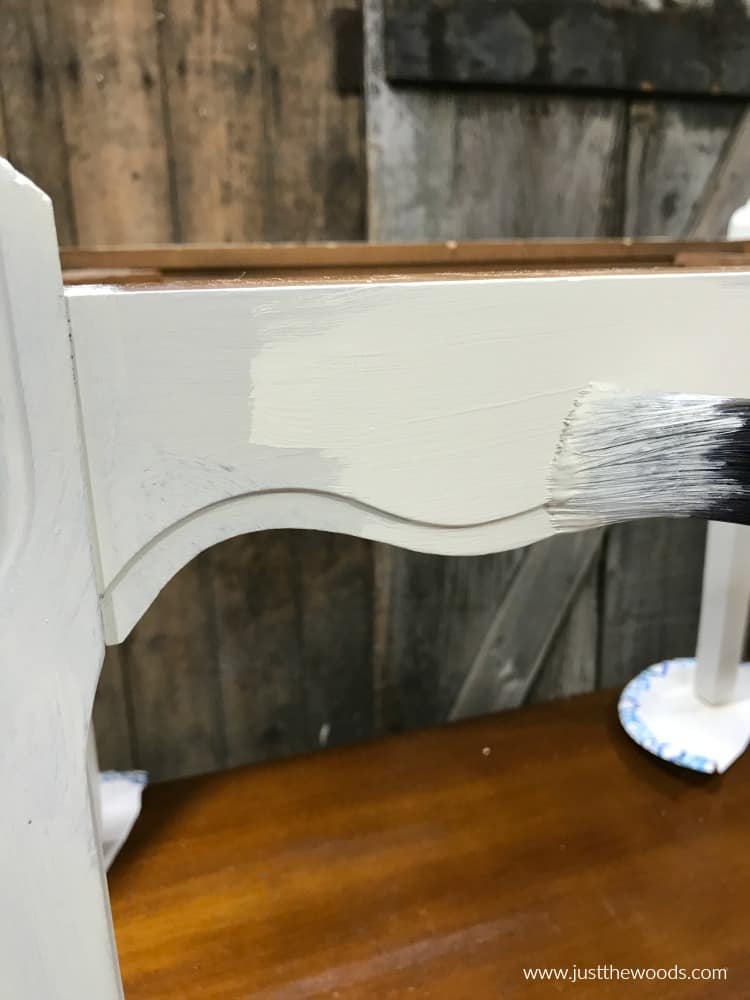
Grab a clean brush, I am using the same mini Cling On brush again. Go ahead and apply your off white paint to the wood surface of the vanity bench.
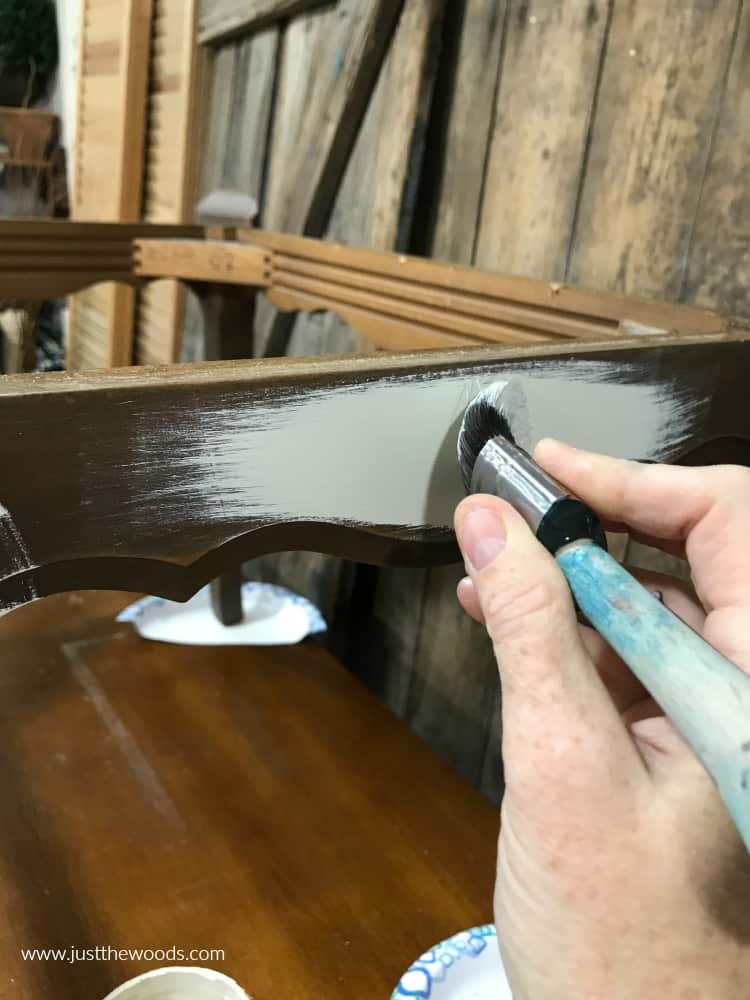
Because we start with the BOSS primer, our first coat is looking great with no bleed through.
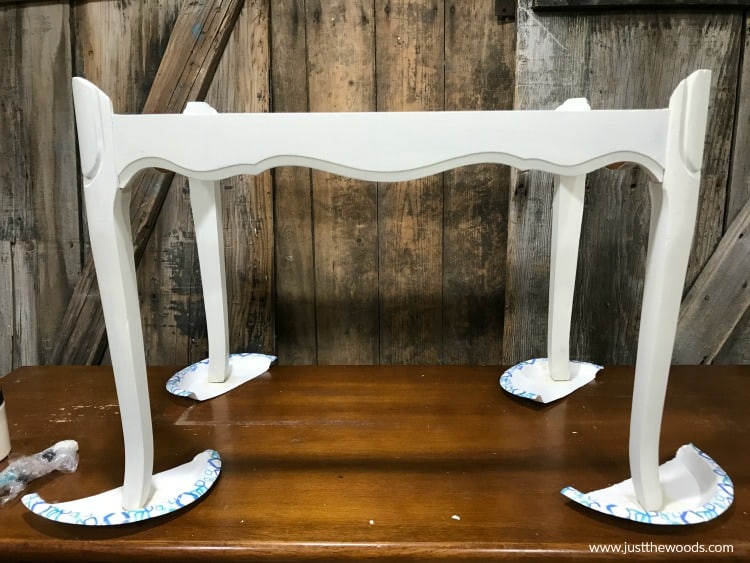
Just for good measure, let’s add a second coat. Just like prep and priming – I feel like you will never regret adding a second coat even if the first coat looks pretty darn good!
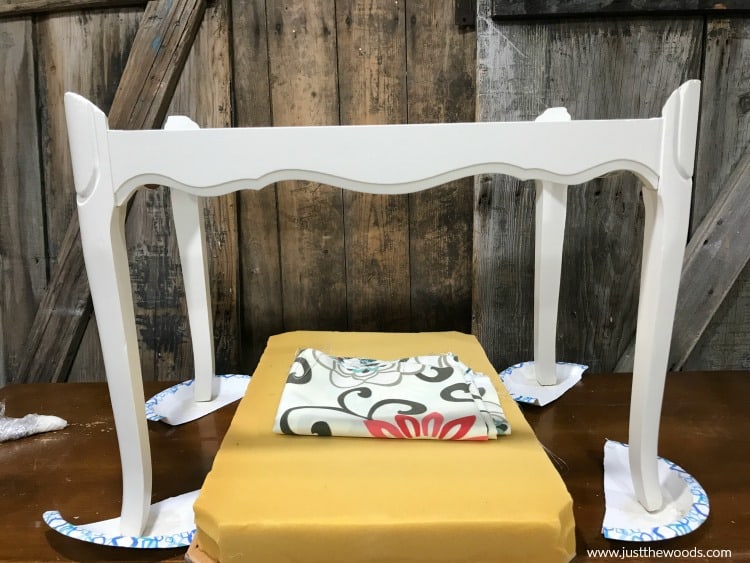
I let this sit to dry and will come back to it later. But you can see the fabric and new cushion is all ready and waiting for the next step.
For more tips on using white chalk paint, check out 5 Things to Do When Painting Furniture White.
Sanding and Distressing Painted Furniture
Before we start to reupholster the vanity bench cushion we are going to finish up the painted portion of our project. Grab a piece of sandpaper. I am using 120 grit.
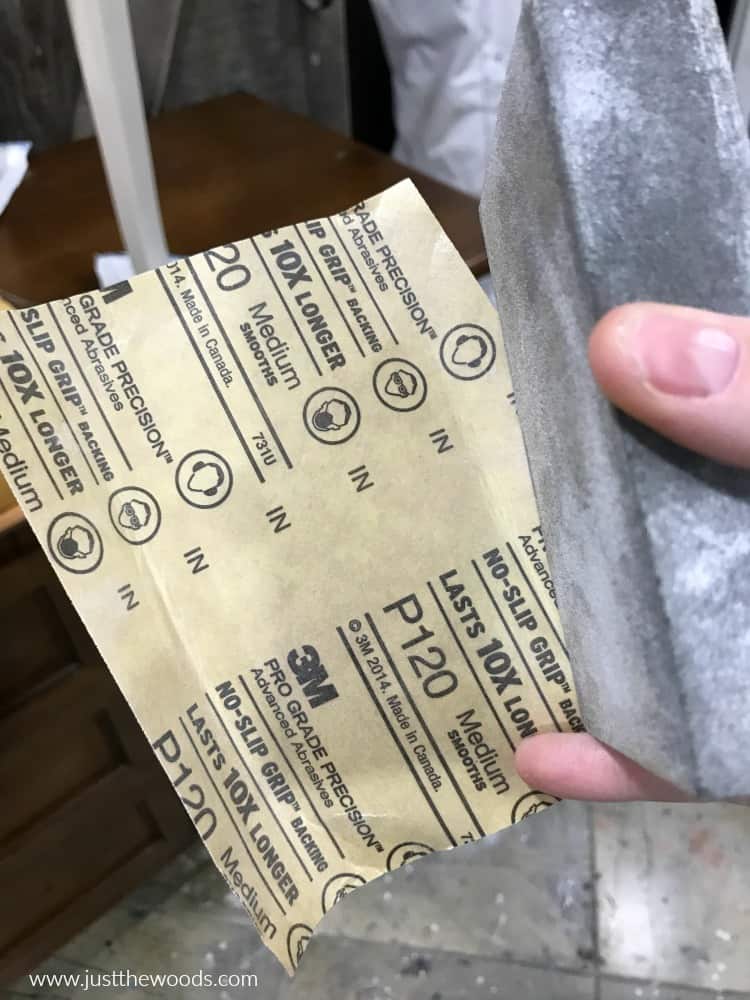
Wrap your sandpaper around a sanding block and gently distress the edges of your painted vanity bench. Use a little more pressure to distress edges and reveal the original wood underneath. Use less pressure on the flat areas to simply smooth the surface without distressing. You want to distress the paint away so that it looks natural and how it would distress overtime on its own.
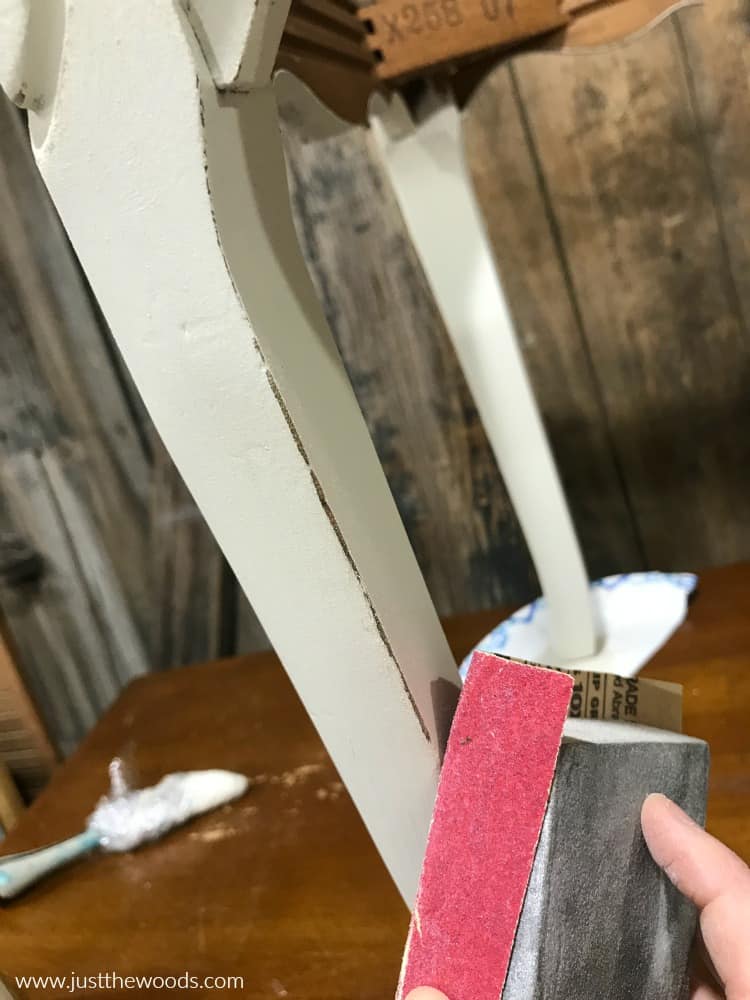
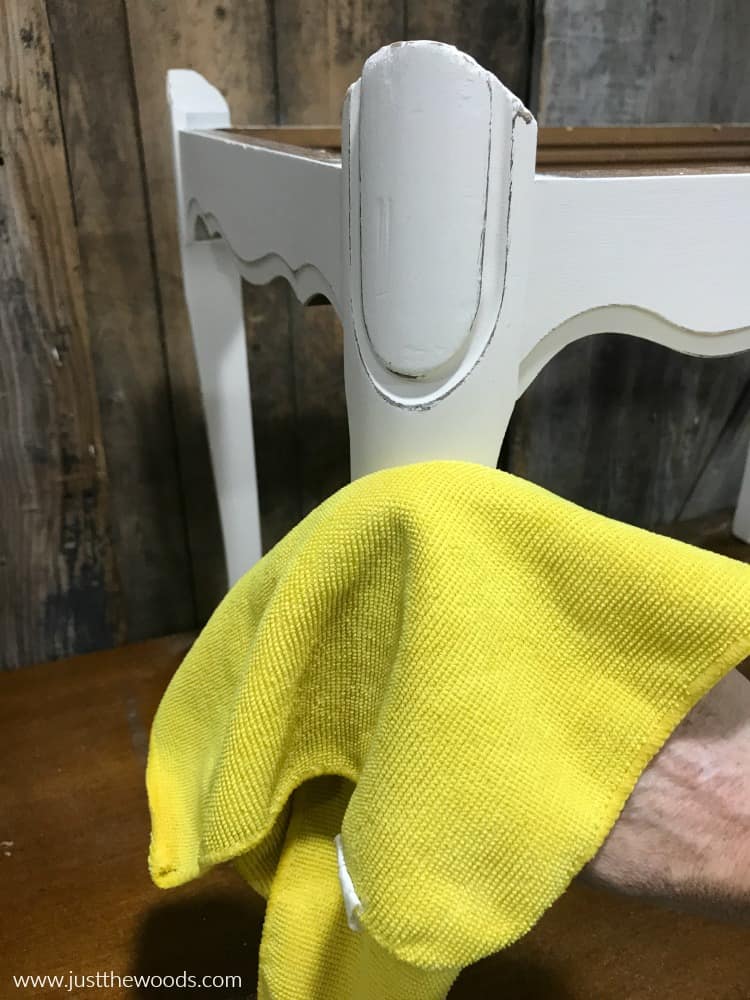
Once you finish the distressing make sure to go over the piece with a lint-free cloth to remove any sanding dust. I keep a bucket of these handy cloths in my shop, you can get some online HERE. They get tossed into the laundry after each project and are re-used often.
Click here to PIN this post for later.
Sealing Painted Furniture
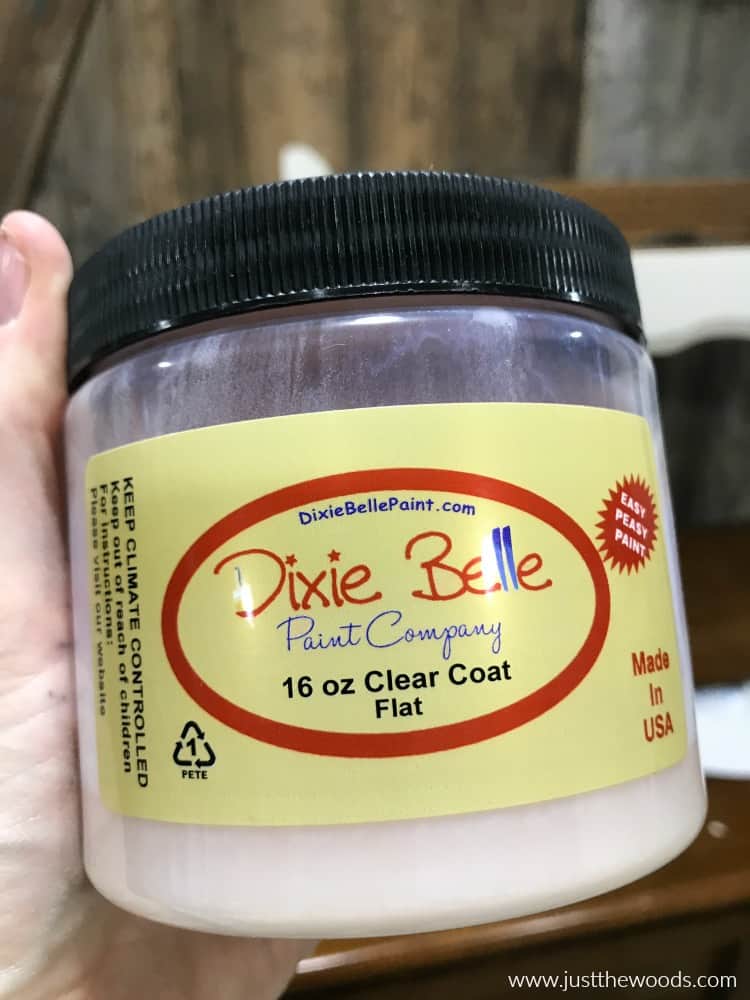
Nest, we are going to apply a clear sealer to our painted vanity bench. I am using Dixie Belle’s clear topcoat for this step. You can find this sealer online HERE.
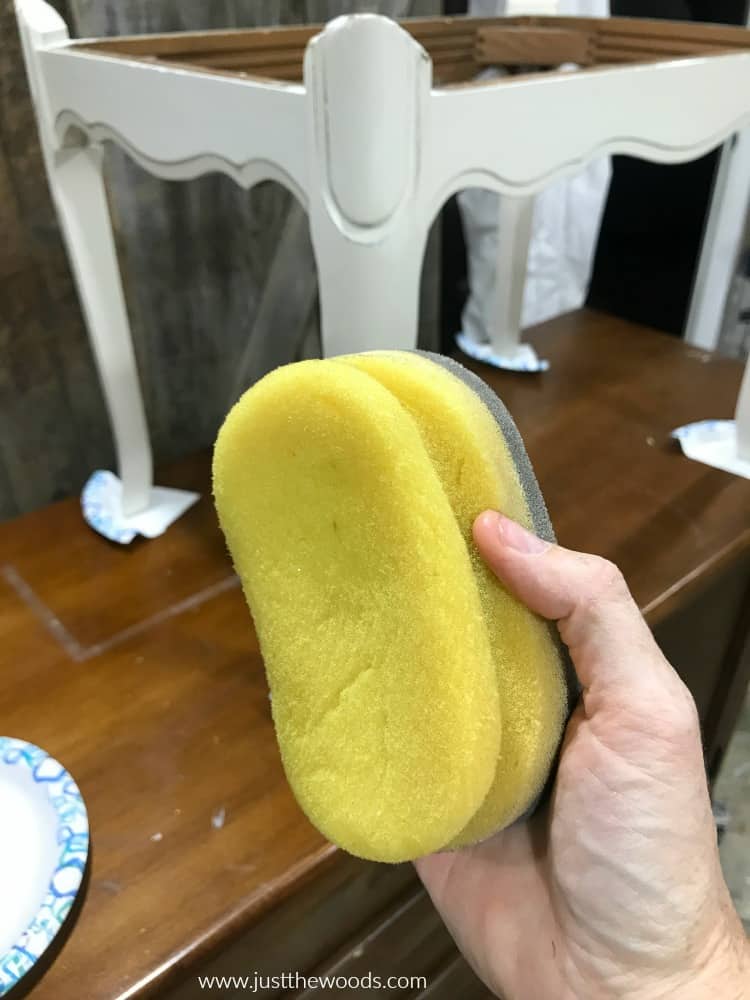
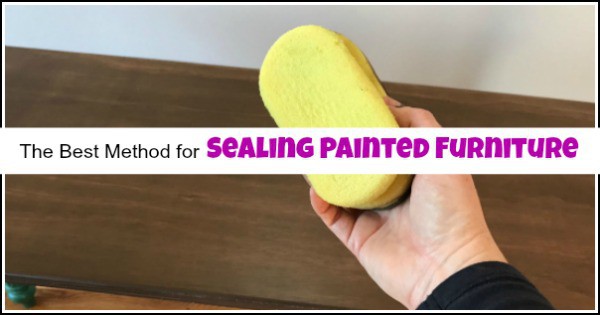
To apply the sealer I am using my all-time favorite yellow applicator sponge. You can get these online HERE. They do tend to go in and out of stock, so when they are in stock I grab a few because I have yet to find an alternative that I like as much as these.
If you ever have questions about sealing your furniture makeover project you can find a full tutorial with video on how to apply clear sealer here: Sealing Painted Furniture
How to Reupholster a Bench Seat
-
Upholstery Tools
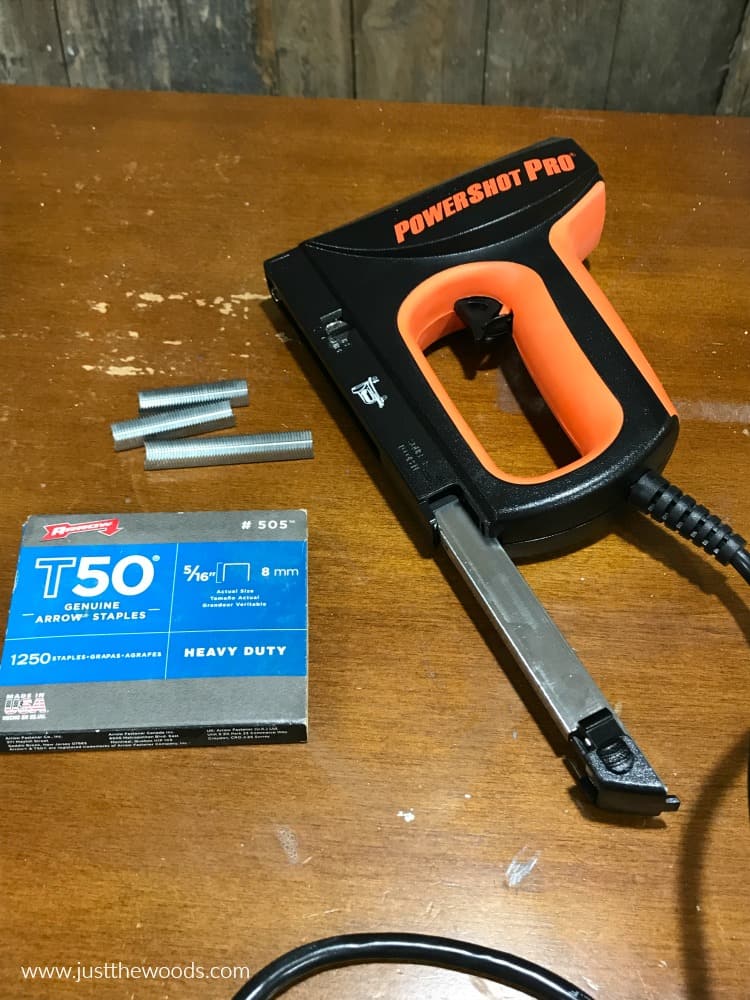
It’s finally time to break out our reupholstery tools and get to replacing that fabric while adding some much-needed cushion. This is the electric stapler that I have and always use for reupholstery projects. You can find it online HERE. You can also use an upholstery nailer like this one HERE if you have one.
-
Fabric Placement
Next, grab your upholstery foam cushion and make sure to cut it to size. You can find reupholstery foam online HERE. (just make sure to check the measurements.) To do this, lay the foam on top of the wood and trim around the wood. Lucky for me, the foam cushion that I have only needs the corners trimmed to match the wood base for the vanity seat.
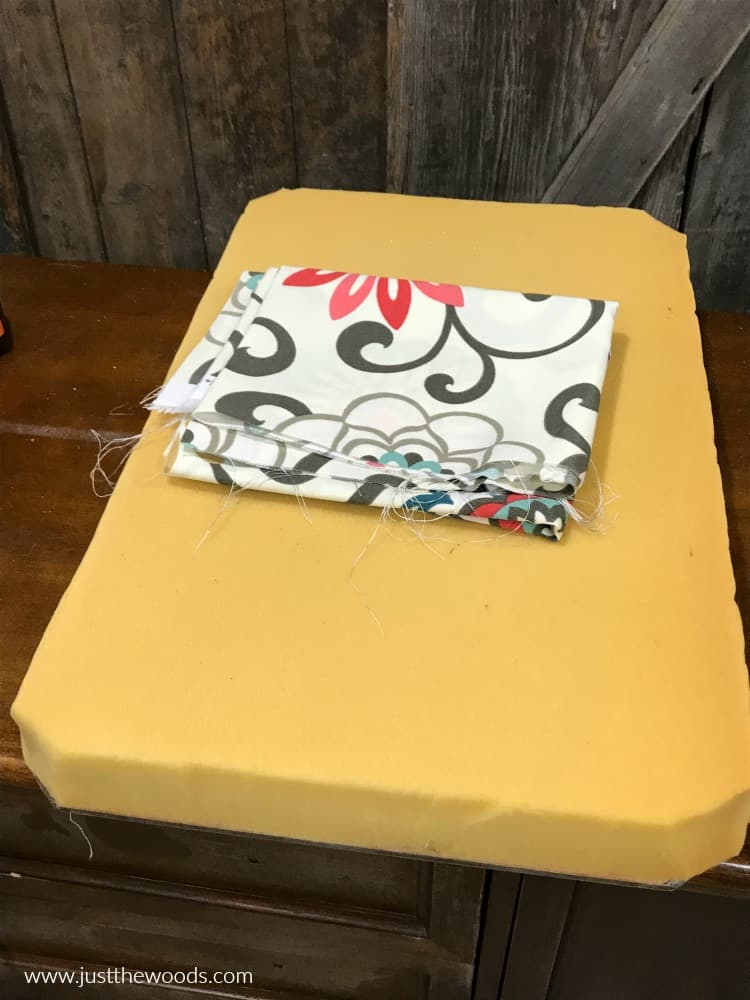
Also, grab your fabric of choice. Not sure where to buy reupholstery fabric? You can buy fabric to reupholster your small projects online. My favorite is fabric.com. But you can also use old curtains (if the project is small), or even score some fabric at the local thrift store. I am actually using fabric that I purchased online a few years ago.
Click here to PIN this post for later.
Now make sure you have a clean space to lay down your fabric. Since I do not have a clean spot in my shop I lay down a throw blanket to work on. You will need to decide how you want the fabric to cover the cushion. Do you want the pattern to be centered, off-centered, vertical, etc? Get an idea before you start cutting.
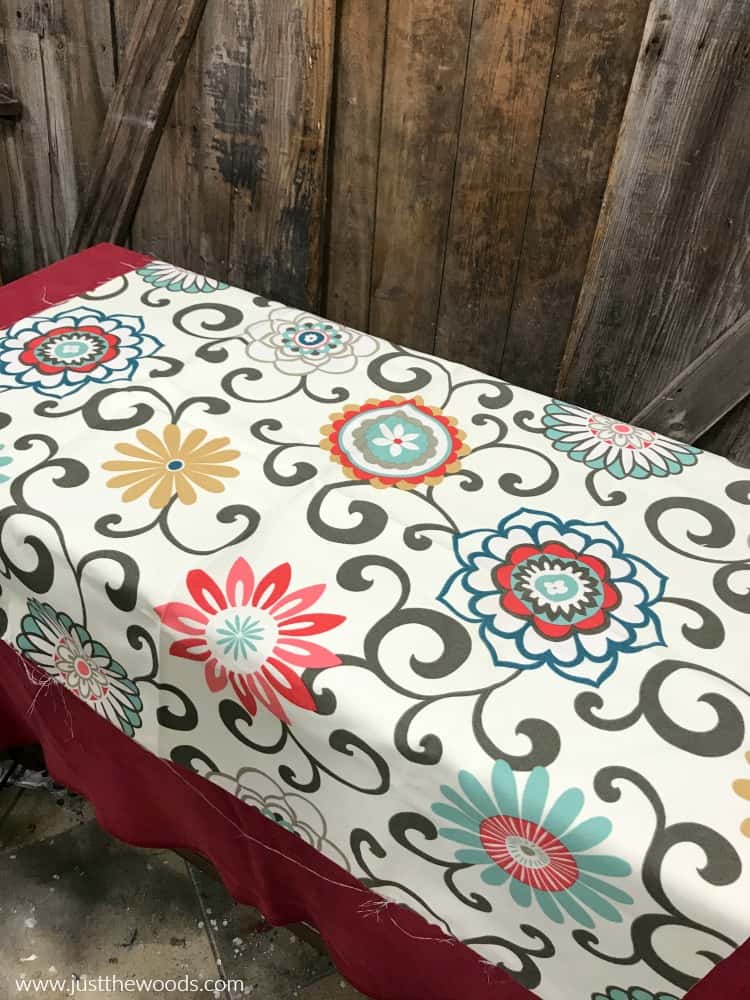
Now flip the fabric over and lay your cushion in place over the fabric. Make sure that there is enough fabric on each side to wrap all the way to the base. You don’t want to come up short on one end and realize halfway through.
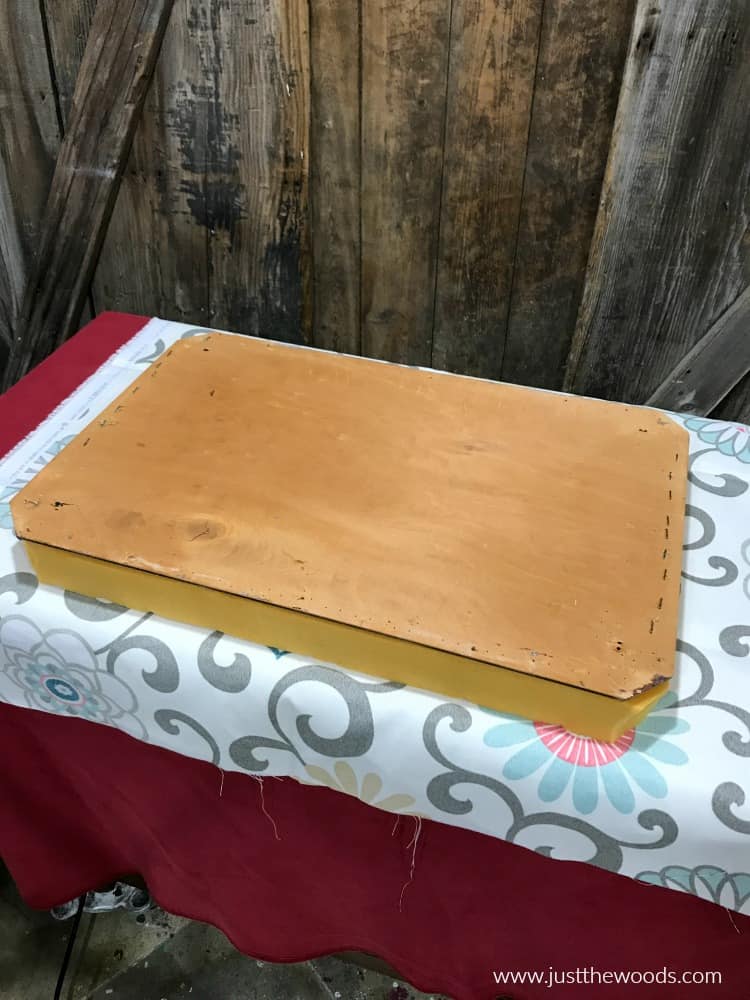
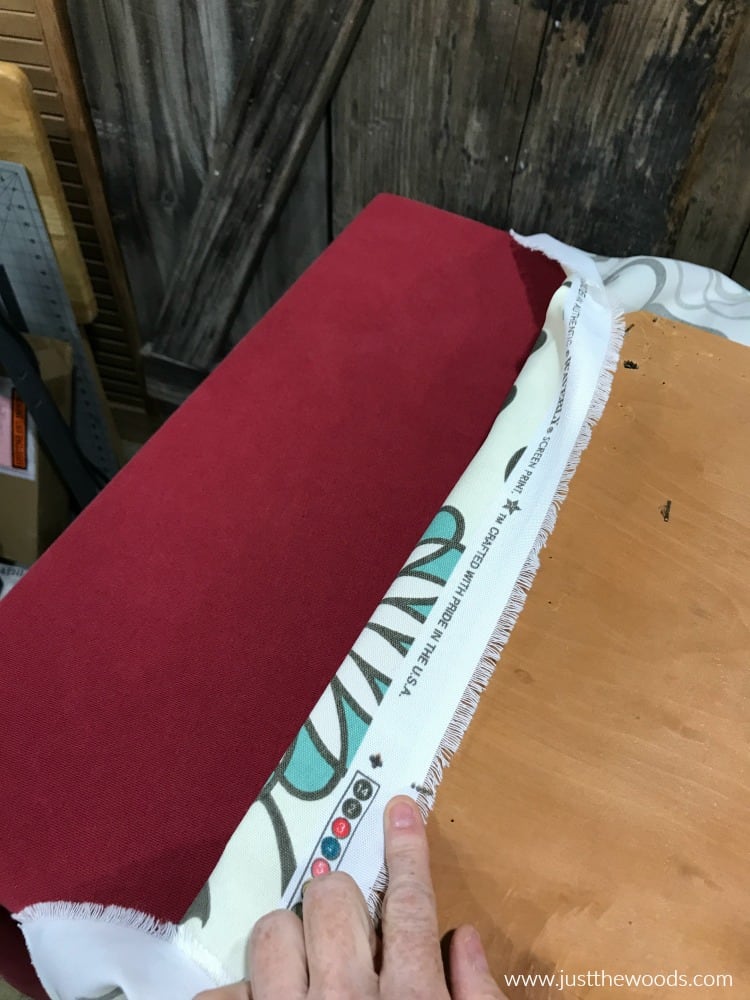
Pull your fabric around on all sides to make sure you have enough fabric. If there is print on the edge make sure the print will NOT be visible once secured.
-
Securing Fabric to Seat Base
Once you know that you are all clear, pull the fabric tight (or taught?) in the center of one of the sides.
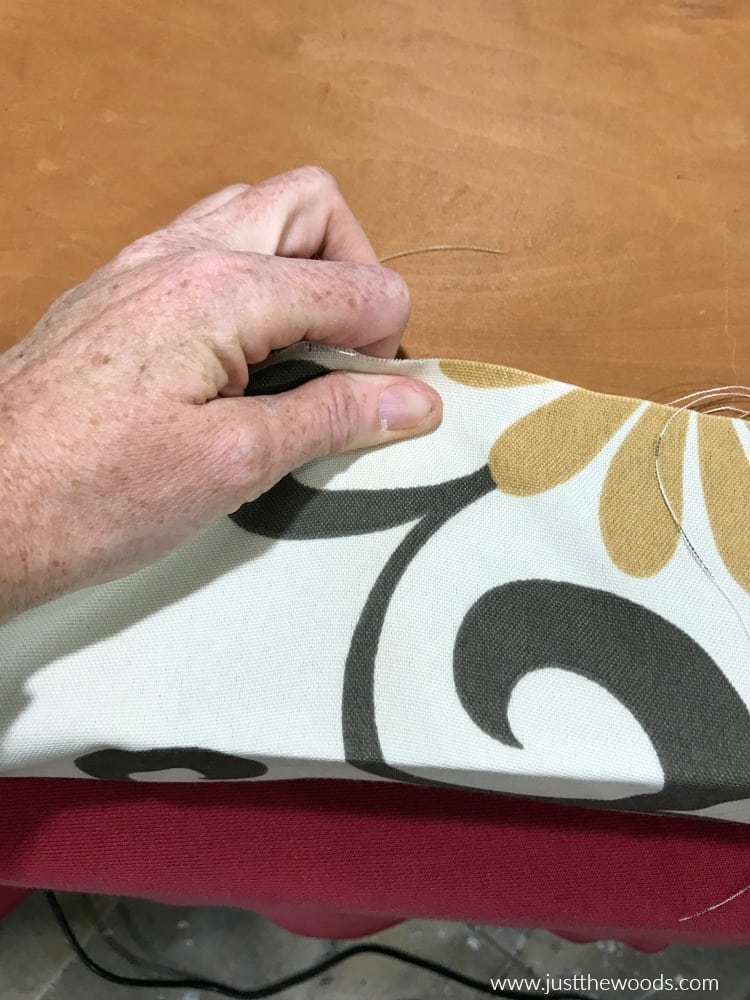
Secure the fabric with your electric stapler.
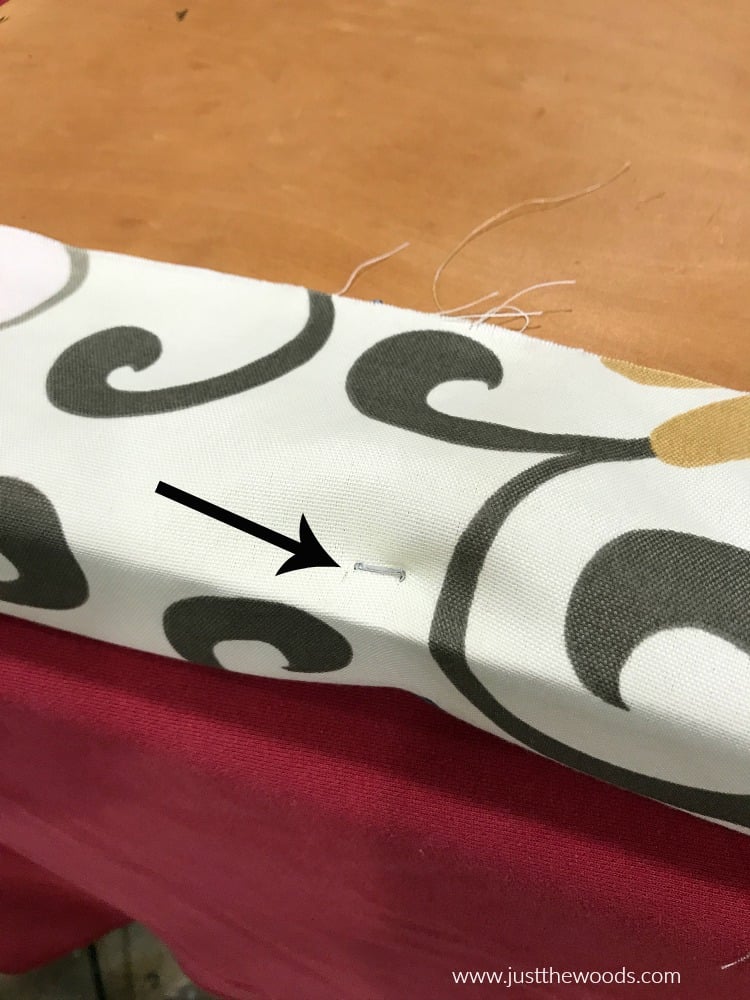
Go ahead and work your way around the seat to upholster the fabric to the wooden base.
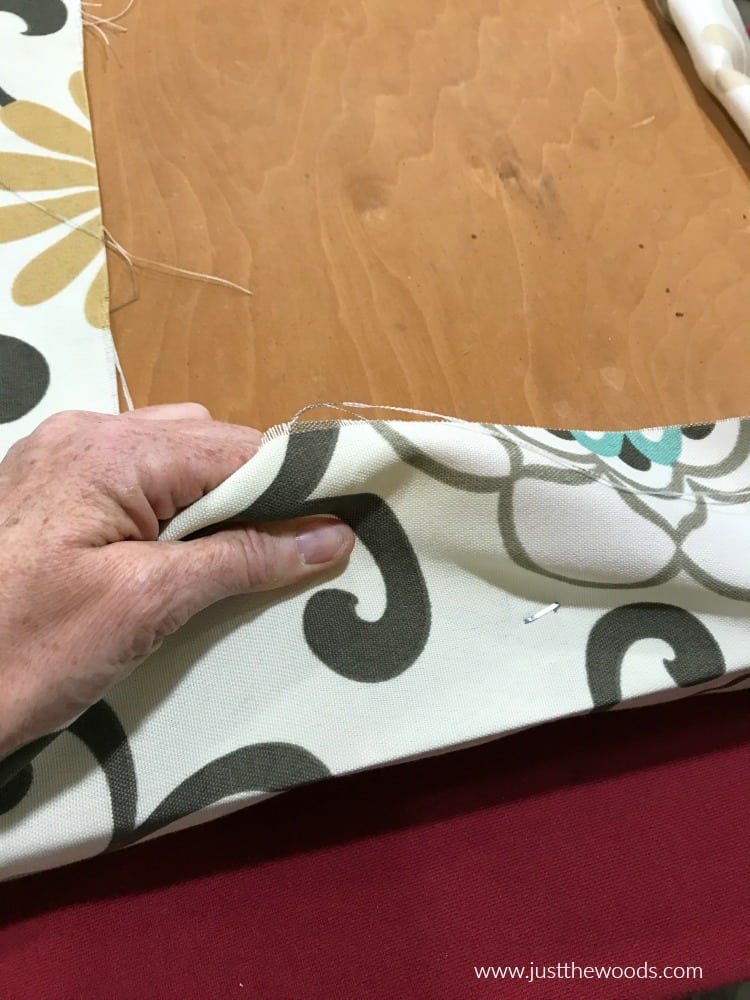
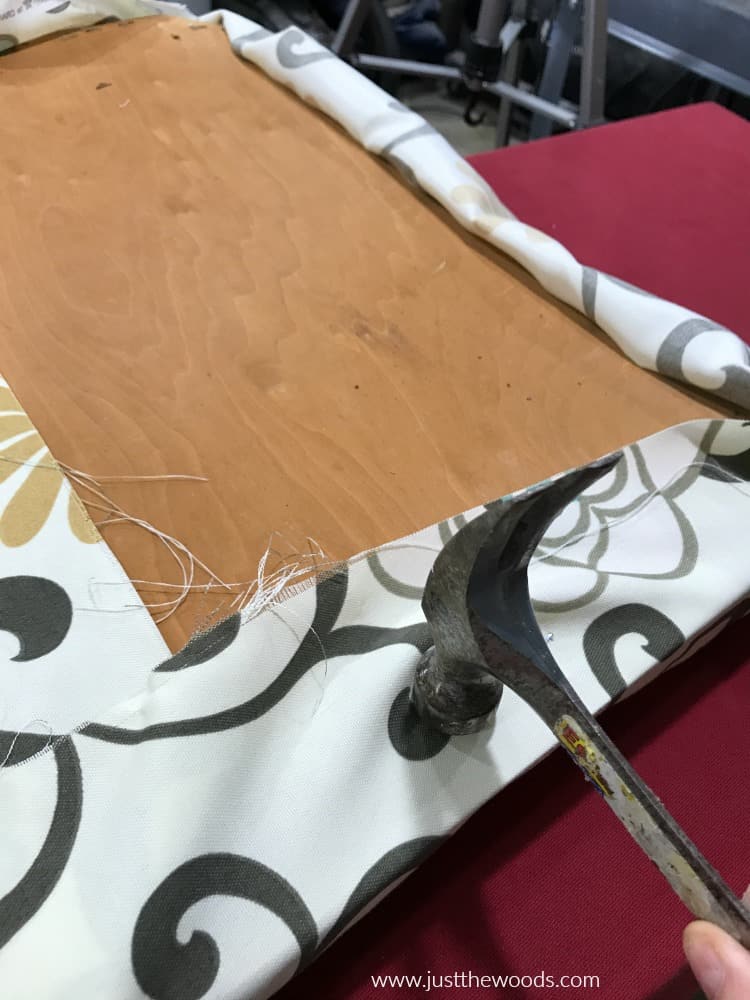
If at any time your staple doesn’t go all the way into the base you may be using the wrong length staple, or you may not be keeping the staple gun fully flush. Or, who knows, whatever reason. Feel free to give it a whack with a hammer to make sure the staple is all the way in. As I mentioned, there may be a better way but this simple DIY reupholster method works for me 😉
-
Trim Excess Fabric
Now that you have the fabric secured around the sides you can trim the excess fabric. It’s always better to have more then you need than to fall short.
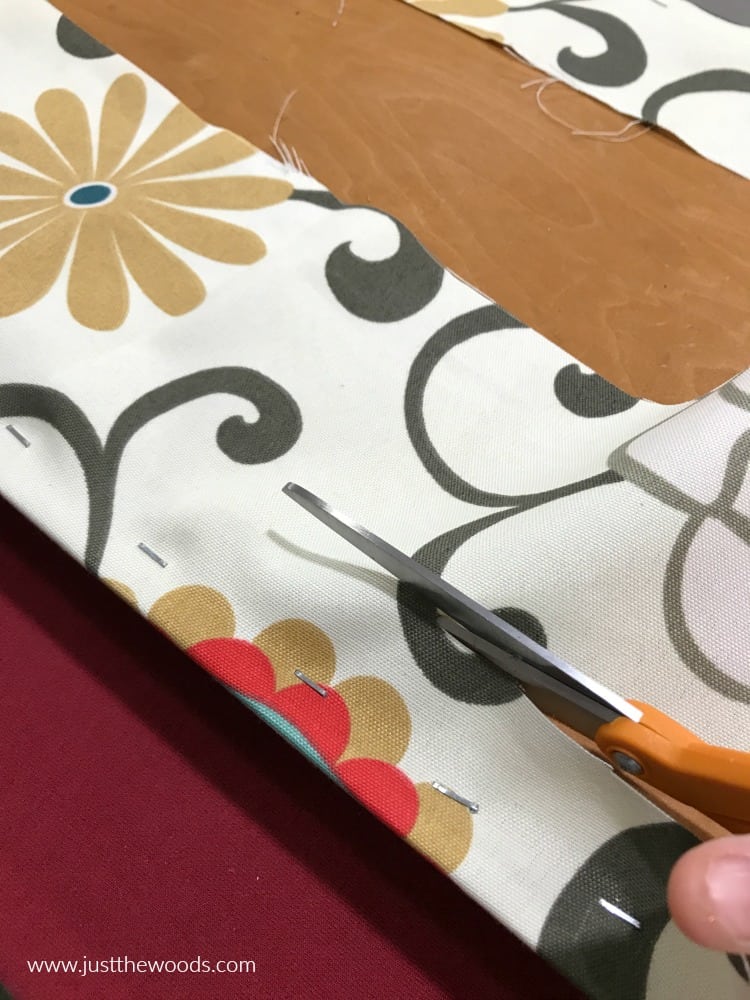
Try to keep the corners neat. Wrap the corners as neatly as possible and add as many staples as you may need. (No one will see this part underneath)
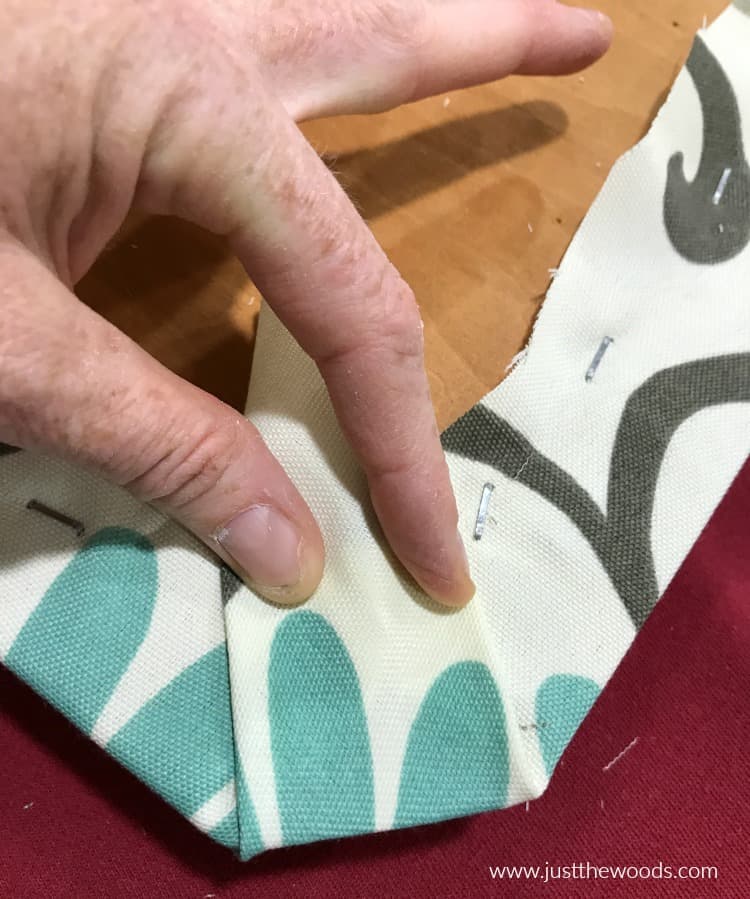
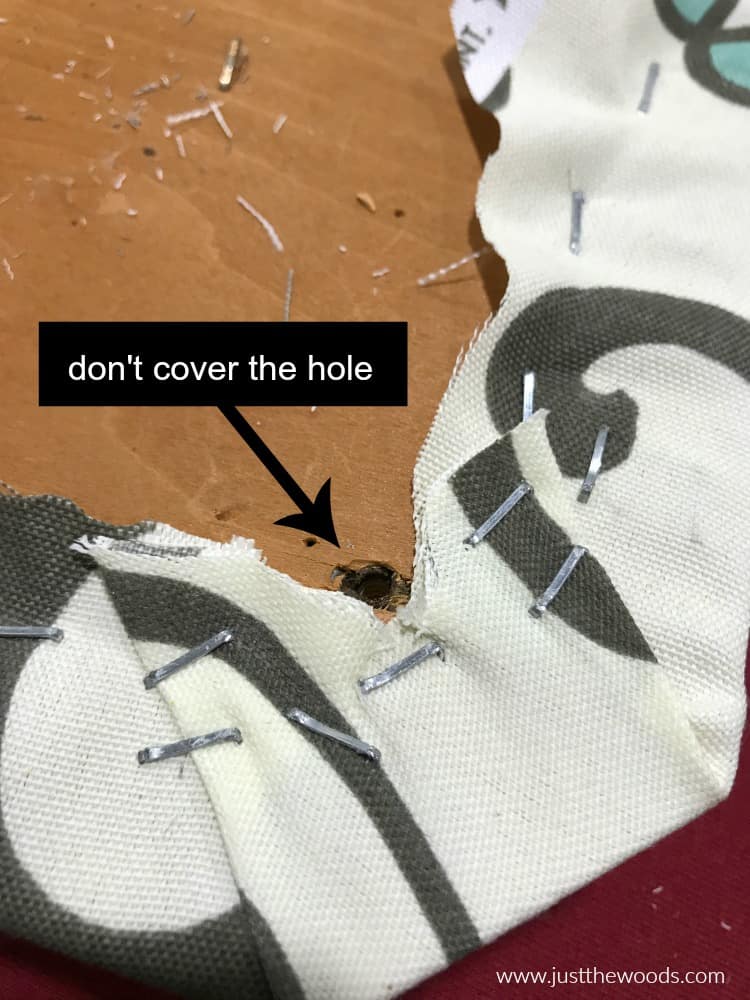
When trimming the fabric, make sure to be mindful of the holes in the base where the seat will reattach to the legs. Do not block these holes. You do not want to struggle trying to force your screws through the fabric when resecuring the bench seat to the legs base.
Resecuring the Reupholstered Bench to the Base
Before you reattach the reupholstered cushion seat to the base lets try a ‘dry fit’ first to see how it looks. Grab your bench base frame.
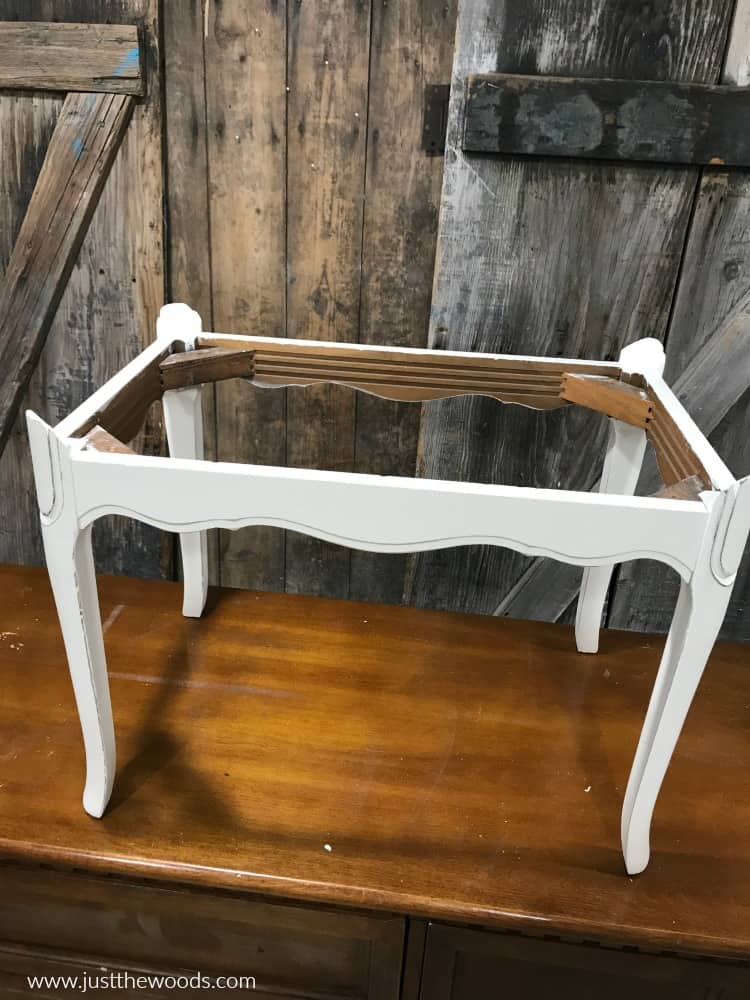
So far, so good.
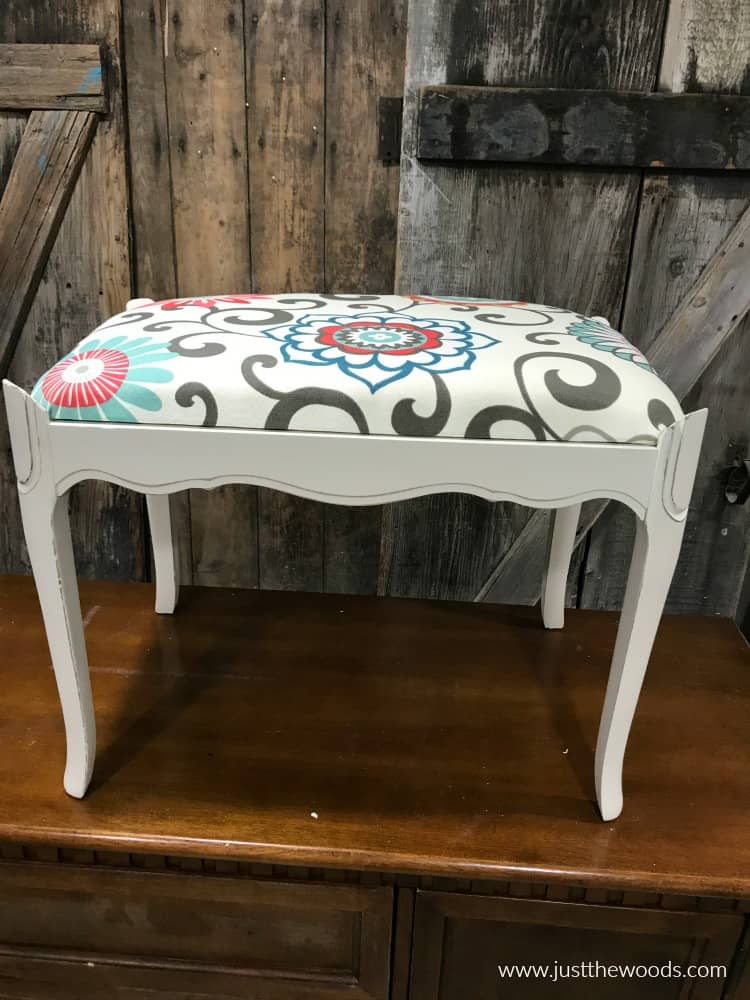
Next, go ahead and flip your vanity bench over and get those screws that we pulled out back when we started the project.
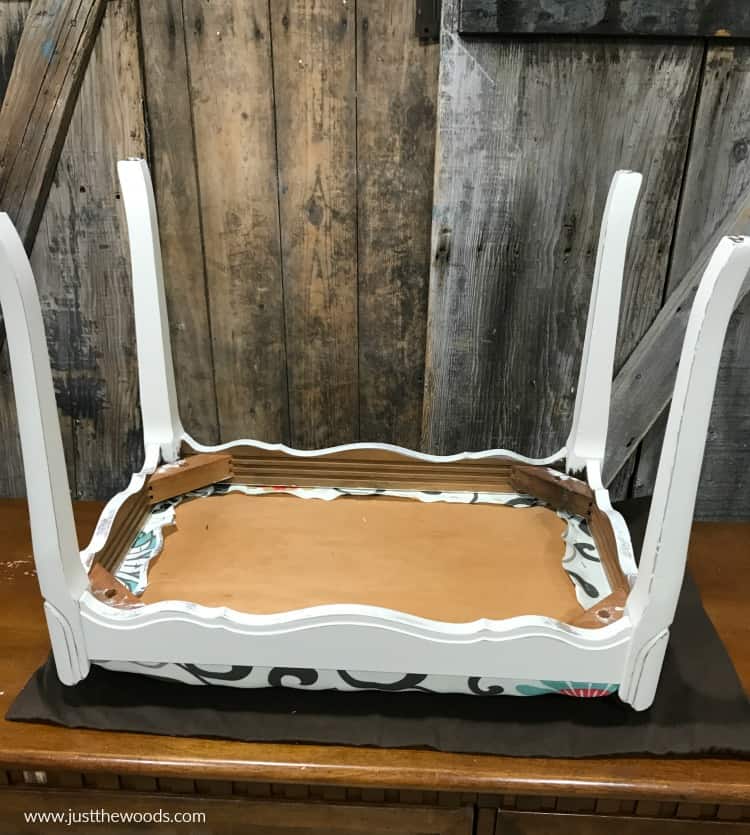
Line up the opening with the holes in the bench and put your vanity seat back together. Aren’t you glad you didn’t cover them with fabric? Make sure the cushion seat sits flush and is not wiggling around.
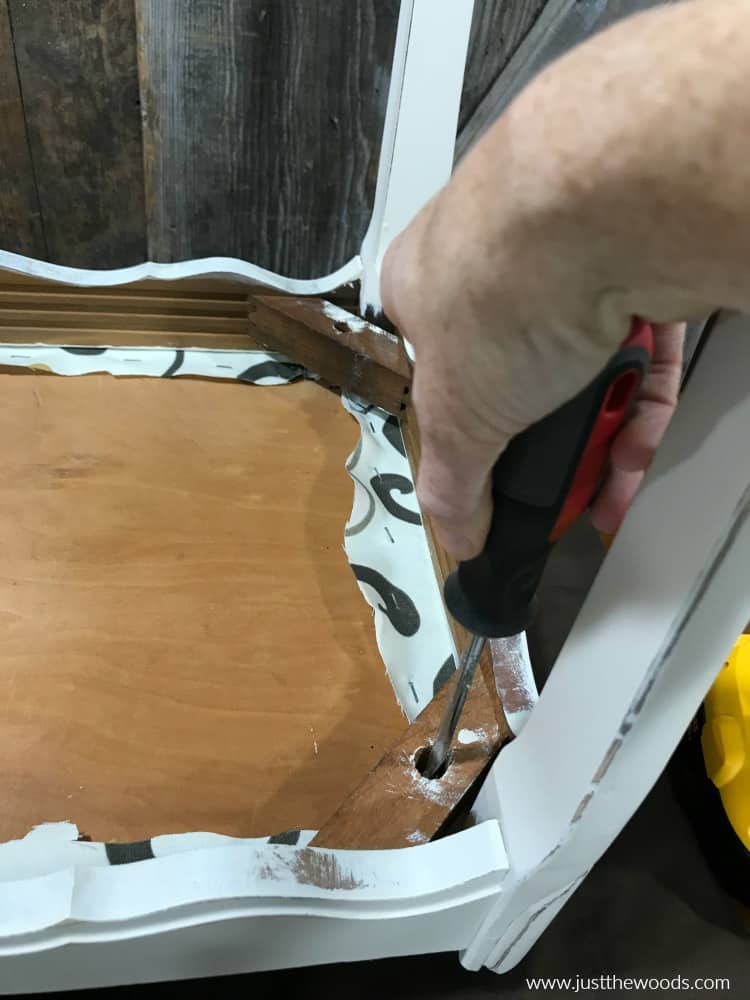
Click here to PIN this post for later.
Video Tutorial
Prefer video? You can follow the project via video here. If you are unable to see the video you may need to turn off ‘ad-blockers’ on your site. The video may also autoplay within the tutorial post.
Painting Furniture with Fabric Reupholstery
Personally, I wouldn’t consider myself ready to reupholster a couch or anything fancy like that. But if you can reupholster a vanity seat I think you can reupholster a chair, maybe a dining chair. As long as there isn’t any fancy trim or beading. I can only handle reupholstery 101. If you can tackle larger projects I give you major credit! Our vanity bench makeover is complete and this project, like many of my makeovers, is being donated. Most of my projects are donated to a local school, church, animal rescue or charity to help with their fundraising efforts. Click here to see all of my projects that have been donated to support local fundraisers, schools, and charities: Donation Projects.
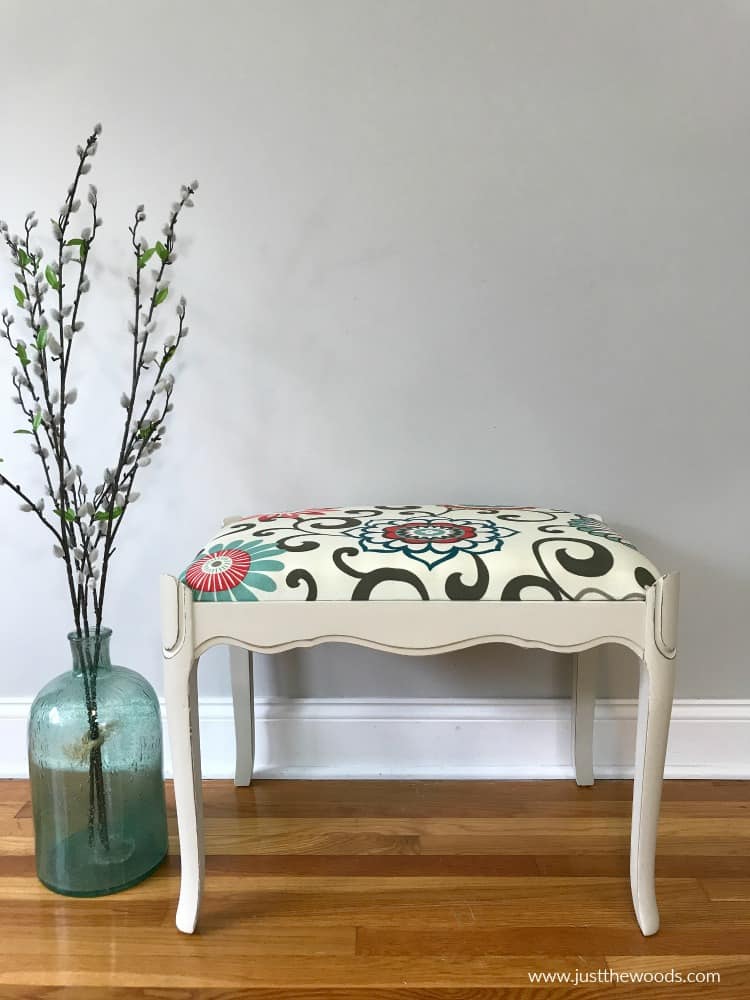
Check out all of my furniture projects with over 90 painted furniture makeovers: Stunning painted furniture ideas.
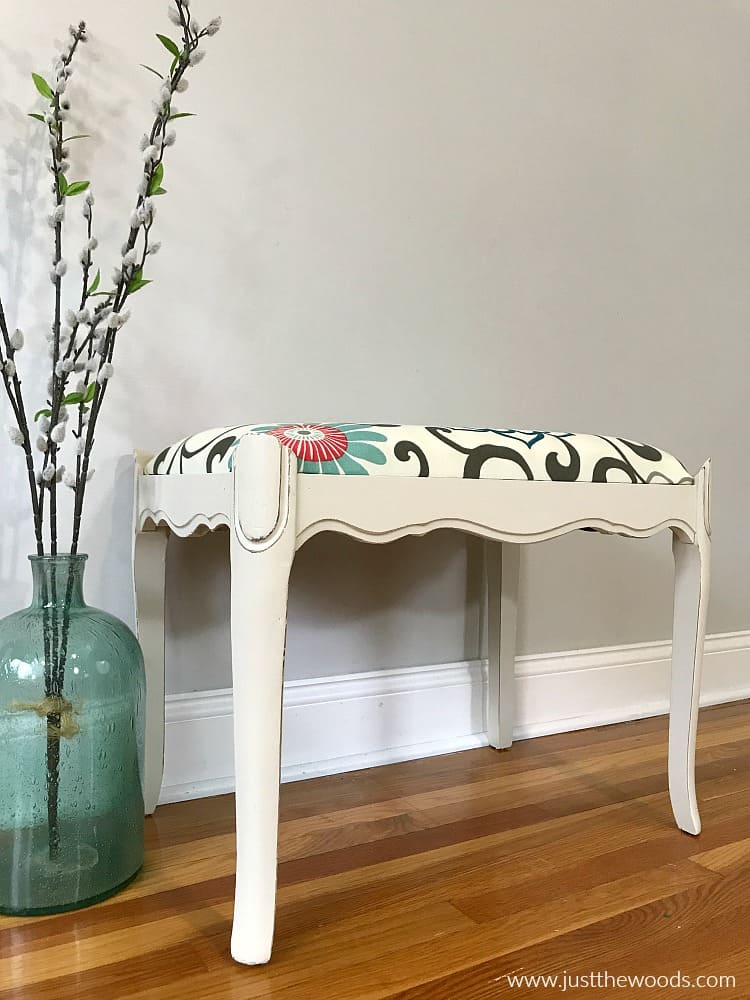
Click here to PIN this post for later.
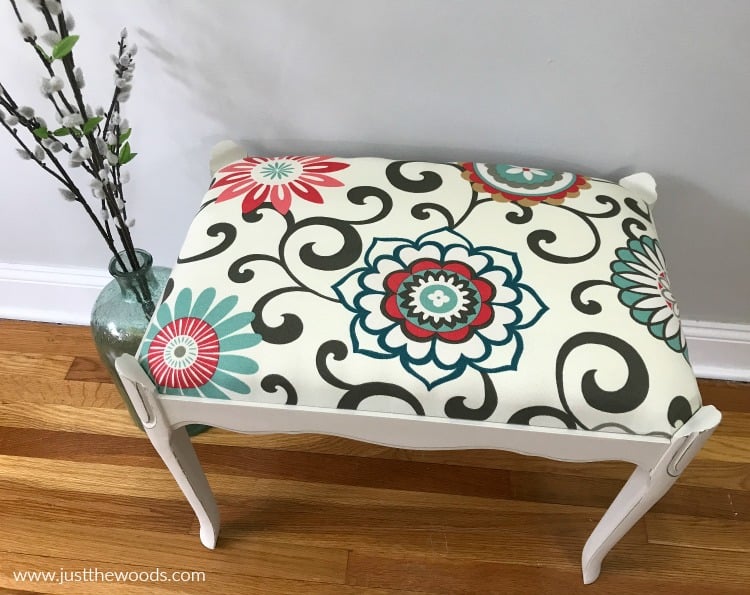
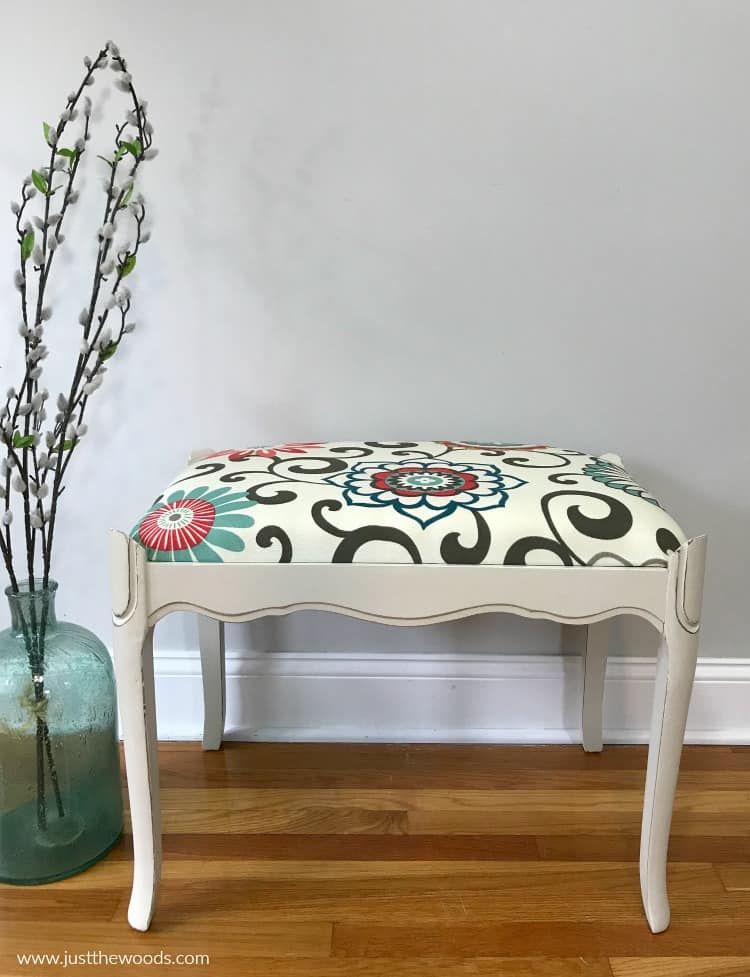
Grab any of the prime, paint, sealer products used for this project as well as many others online HERE.
Furniture Fixer-Uppers
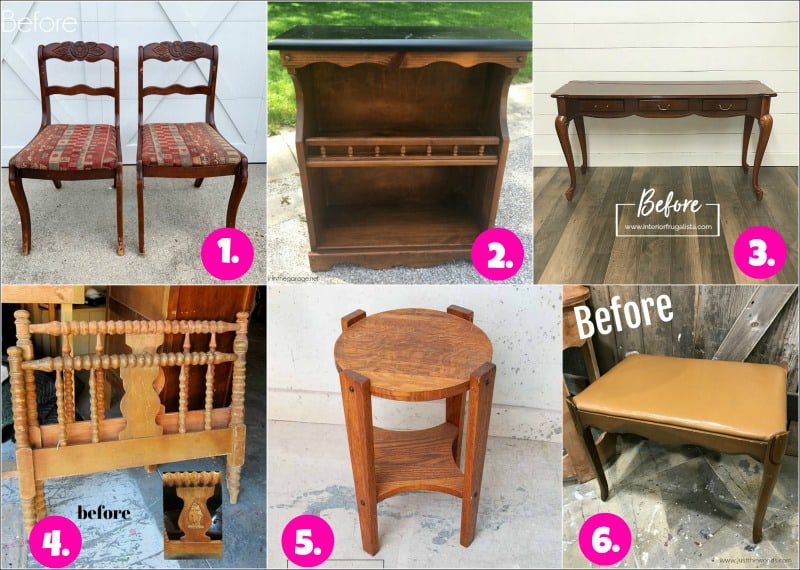
It’s that time again where a few of my creative and talented blogger friends and I have joined together in our monthly Furniture Fixer Uppers share. Let’s see what my friends are up to! Make sure to click the links below the image to check out all the amazing projects that my bloggy girls are working on this month.
1. Confessions of a Serial DIYer
6. Just the Woods (you are here)
More Reupholstery Projects & Ideas
Reupholstery Projects & Ideas
Here are a few more reupholstery projects from a few of my fellow DIY blogger friends. No matter what your project is I think they have got you covered!
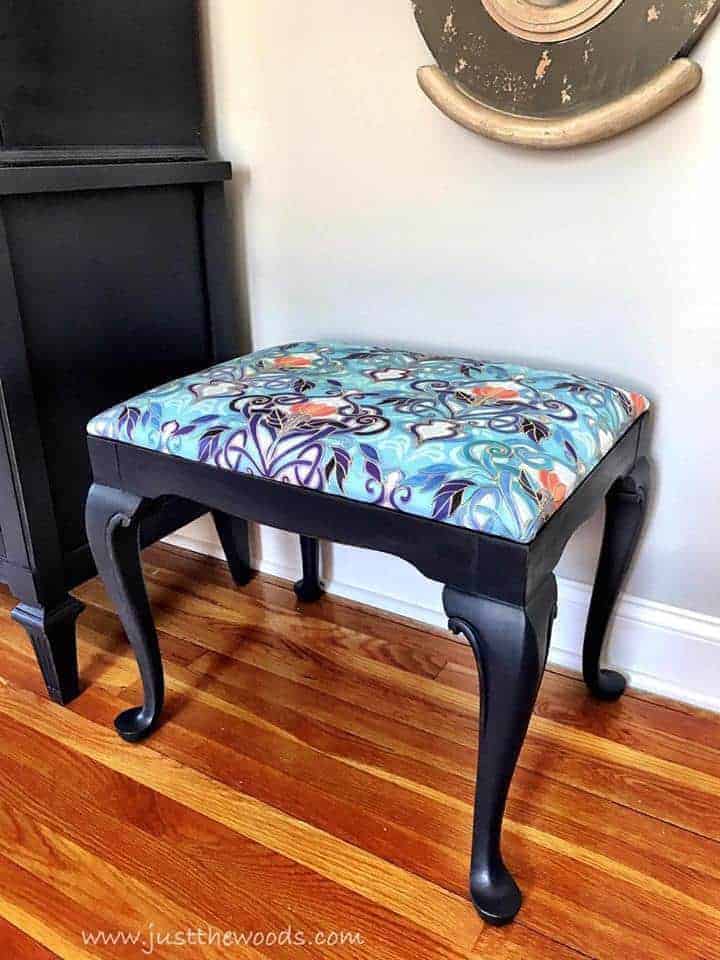
A reupholstered and painted vanity seat makeover is a perfect addition to an entire living room makeover. This painted vanity seat is actually my first DIY reupholster project.
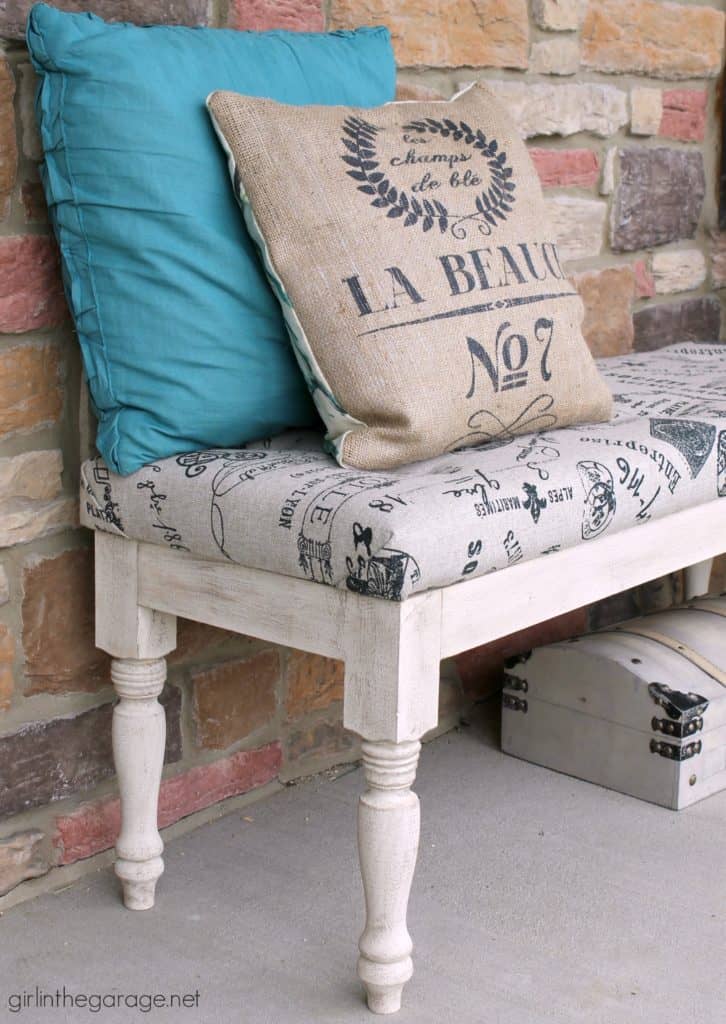
Jen shows you how to save and reupholster a tufted bench.
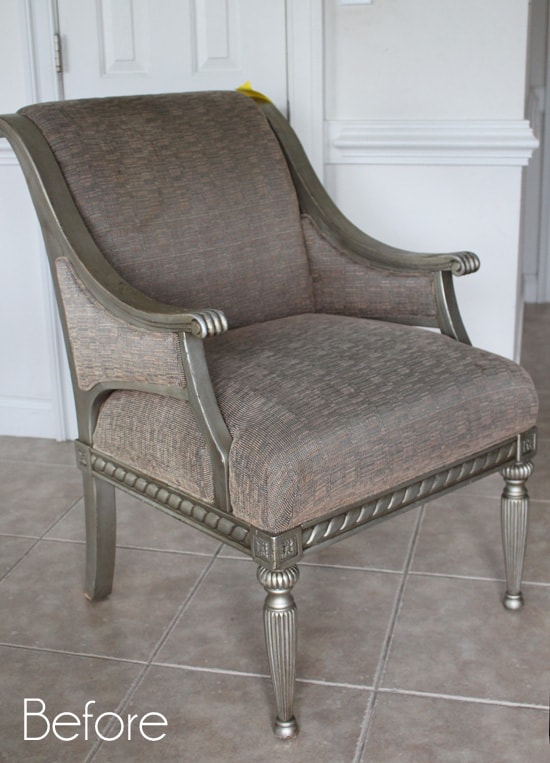
See how to reupholster a chair with Christy's awesome tutorial.
Keep things simple with Larissa's easy footstool upholstery makeover.
Tackle what I am too scared too and see how to reupholster a couch without spending a fortune.
This is up my alley, nice and easy tutorial for how to reupholster a chair seat. Easy peasy.
Don’t Forget – Follow Just the Woods and Share this post to Inspire others:

FACEBOOK * INSTAGRAM * PINTEREST
Stay connected! For more tips and tricks sign up here : [mc4wp_form id=”1340″]

Click here to PIN this post for later.





Denise - Salvaged Inspirations says
NIght and day makeover Kandice! And that plastic ??? Whaaaat? That stumped me as well…lol. Pinned! XOXO
Marie says
Love the pretty fabric, Kandice. What a difference between the before and after! More often than not there always seems to be some lovely surprises hidden under the old upholstery. I’ve had a few that made me gag. LOL
Larissa ~ Prodigal Pieces says
This looks so beautiful, Kandice. I adore the upholstery ????????
Jen @ Girl in the Garage says
Beautiful bench redo, Kandice! I’m amazed sometimes at what I find underneath when reupholstering old chairs!
Jenn says
Thanks so much! I found your site today and love your entries for furniture makeovers. I may have the confidence to redo my living room chairs and paint a few huge pieces of furniture. That’s rad you have a work space. I’ll have to figure that one out.