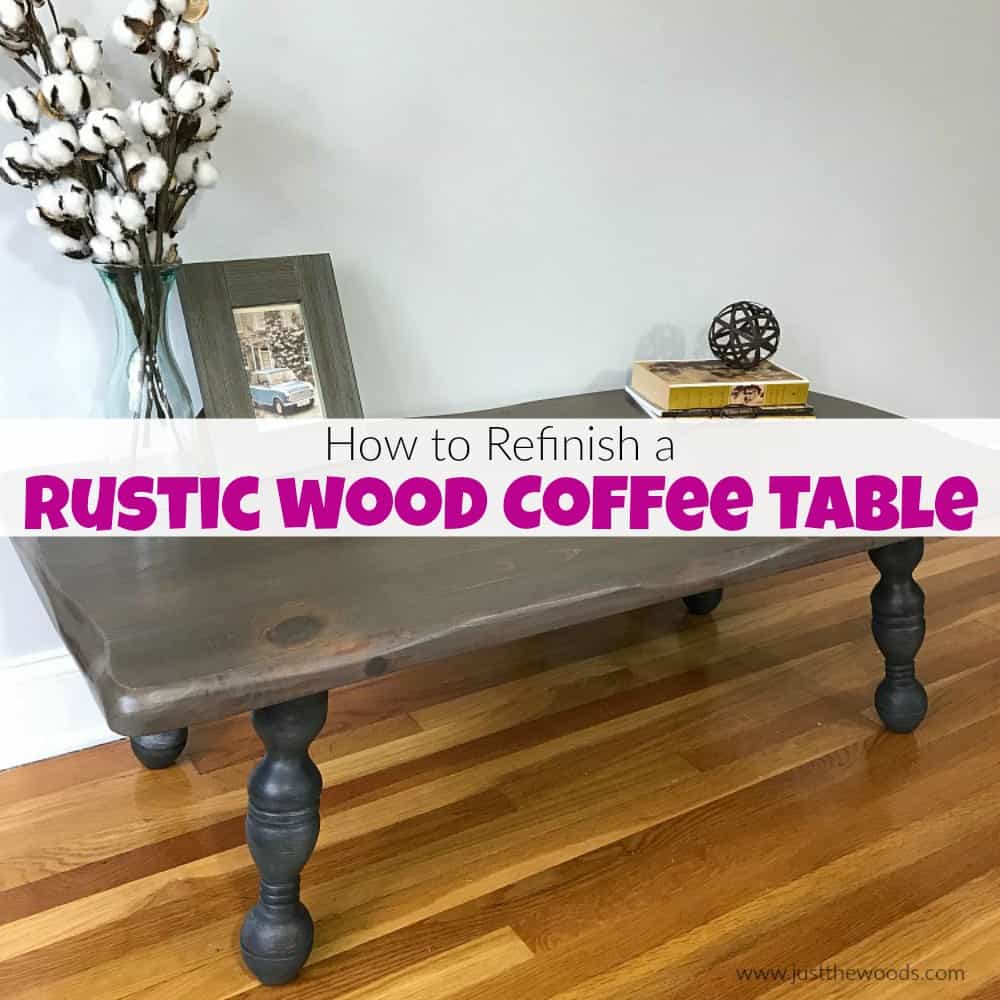
How to Refinish a Rustic Wood Coffee Table with Beautiful Results
Would you love to own a rustic wood coffee table for a fraction of the cost? All too often an all wood coffee table with a gorgeous rustic finish may cost a fortune. But rest assured it doesn’t have to. See how you can create your own rustic coffee table in just a few simple steps.

Disclosure: This rustic wood coffee table makeover post contains affiliate links for your convenience. Click here for my full disclosure policy.

Supplies & Tools Needed to Refinish a Rustic Wood Coffee Table
Materials Needed / Source List:
Tools
- Zibra Paint Brushes
- Sandpaper
- Dewalt Orbital Sander
- Shop-Vac
- Lint Free Cloth
- Find all of my favorite tools and products on my Amazon Page here
Paint
This rustic wood coffee table project is also part of the monthly Power Tool Challenge. Make sure to stick around through to the end to find all of my Power Tool Challenge team friends’ creative upcycle projects. This months challenge is themed ‘repurposed’. The project must be a repurpose and use at least one power tool. The best part of this months project is that we are opening it up to YOU. You can enter to win a $100 Amazon gift card and a HomeRight Super Finish Max with a Large Spray Shelter. Find more info at the bottom of the post.
How to Refinish a Wood Coffee Table
Let me start off by letting you know how I acquired this wooden coffee table. I was driving home with the kids and saw it sitting on the sidewalk in front of a second hand/antique store. The items in the store range in price from $5 to $500. So, not knowing where this wooden beauty would fall I called the store first and asked how much for the coffee table outside. The store owner replied “$30”. With that, I pulled a quick U-turn and found a spot right out front. I ran inside, tossed him some cash and we loaded the table up in a flash. Wouldn’t the legs on this wood coffee table make you look twice? And, yes I took a quick photo from my truck as I passed by (in my defense I was stopped at a red light).

Score!

Once the table is in my shop I get a closer look.

Not too shabby right? But wait .. uh oh.

No wonder this wood coffee table had been sitting outside on the curb. The top has some serious damage.

It’s ok. This table is solid wood and we can work with this. If you ever wanted to know how to refinish a table or have interest in refinishing wood furniture aside from just using all paint, here we go.
Sanding Damaged Wood Coffee Table
When refinishing a table with this much damage on top we want to sand away as much of the damage as possible. In the case of this small wooden table, the wood is rather thick so you don’t have to worry about sanding too deep. If the table were made of wood veneer over presswood or MDF I wouldn’t feel so comfortable. To sand this type of damage you will want to use a quality electric sander. I use and love my Dewalt orbital and you can get one online HERE. My sander is just one of my few favorite must-have DIY tools for making stuff.

My shop is downstairs in my basement so I use this little trick for sanding indoors. If you work indoors and want to keep the sanding dust to an all-time low without fancy exhaust fans then you will love this. You attach the shop vac hose to your sander and voila. If you need a visual there’s a quick video tutorial of this in my Tips and Secrets for Painting Furniture.

Sanding this table takes a little extra effort. To address the damage you may want to opt for a rougher grit. I am using both a 60 grit to start followed by a 150 grit to get the finish smooth. We will use a finer grit again later on.

Here is the wood table top after a good sanding. Big difference, huh?

Considering the extent of the damage on this small wood table I think the top looks pretty darn good now.

Painting Rustic Wood Coffee Table Legs
Now that the table is sanded down on our wooden table we can actually flip it over to paint the underside. Before we can put paint to brush we need to prep the table for paint. This is my standard process for How to Prep Painted Furniture.

The underside of this rustic wood coffee table is being painted in a charcoal black called Midnight Sky from Dixie Belle. The color is somewhere between black and charcoal. Midnight Sky is not a true black, but if you want a true black you need to check out the color Caviar instead. You can find these furniture paints online HERE.

The legs are painted in this rustic charcoal paint color using my soft bristle Zibra brush. You can get Zibra brushes online HERE.

Depending on your preference you can also paint the entire underside of the wooden table. Painting the entire underside of the table gives a fully finished look to your furniture upcycle. The table is already flipped over, so go ahead and paint it all.

If you are new to furniture painting and want to learn how to update old furniture with paint you can always start at the beginning with How to Paint Furniture – a Beginners Guide.
Creating a Rustic Finish on Wood Coffee Table Legs
Now that our underside is completely painted we can add a subtle rustic finish to the table legs. To do this, we are using a light gray furniture paint called Manatee Gray from Dixie Belle.

Here is a short video showing how to dry brush a soft subtle gray onto the charcoal for a rustic painted finish on your wooden coffee table.
Click here to Pin this post for later.
Next, go ahead and lightly distress your coffee table legs with a piece of fine grit sandpaper.

Sealing Rustic Painted Coffee Table
Make sure to seal your painted coffee table legs before flipping it back over. I am sealing with Dixie Belle’s clear coat.

This is my favorite applicator sponge to apply the sealer. (I order these on Amazon, they tend to go in and out of stock. You can check here)

Make sure to follow up behind the sponge with a dry chip brush to make sure that no excess sealer remains or pools in the crevices.

Applying Furniture Stain to Your Wood Table Top
Next, flip your rustic wood coffee table back over to apply furniture stain to the wood table top.

Before staining a table you need to wipe it down with a lint-free cloth to remove any dust first. I keep a bunch of these lint-free clothes in my shop, you can get some here.

Grab your furniture stain, I am starting with Tobacco Road gel stain.

Squirt some brown furniture stain onto a paper plate and grab your yellow applicator sponge. I find that applying stain, as well as the sealer with the sponge, works much better than a brush.

Working in the same direction of the wood grain go ahead and apply your furniture wood stain to the table top.

The wood stain will absorb beautifully into the wood. Make sure not to use too much or too little stain.

At this point, you can leave the wood table top in this rich brown wood stain or we can continue to create an even more worn rustic wood coffee table. Let’s keep going.

Staining a Table with Rustic Wood Stain
We are going to keep going and add a worn rustic wood stain finish to this coffee table. Before you add a second coat of wood stain you need to lightly sand your tabletop with a fine grit sandpaper. I am using 320 grit.

After you sand the wooden coffee table top make sure to wipe off the dust again with a lint-free cloth.

Next, we will apply a gray wood stain to our rustic coffee table. I am using ‘Up in Smoke’ gel stain from Dixie Belle. Make sure to give your wood stain a good shake.

Just like with the brown wood stain, go ahead and apply your gray stain with the applicator sponge.

The gray stain creates a worn and weathered wood finish. It acts similar to a whitewash over the brown stain.

These steps may seem repetitive, but we need to lightly sand again with the fine grit sandpaper.

Click here to Pin this post for later.
And, yes, you guessed it – wipe again with the lint-free cloth.

Staining a Rustic Wood Coffee Table
To tie this rustic wooden table makeover together we are adding one more coat of furniture wood stain. This time we will mix a little of the brown tobacco road wood stain with black glaze.

Apply the wood stain and glaze, and again lightly sand and wipe with a lint free cloth just like before. This will create a weathered rustic wood stain with hints of gray mixed in with the brown.

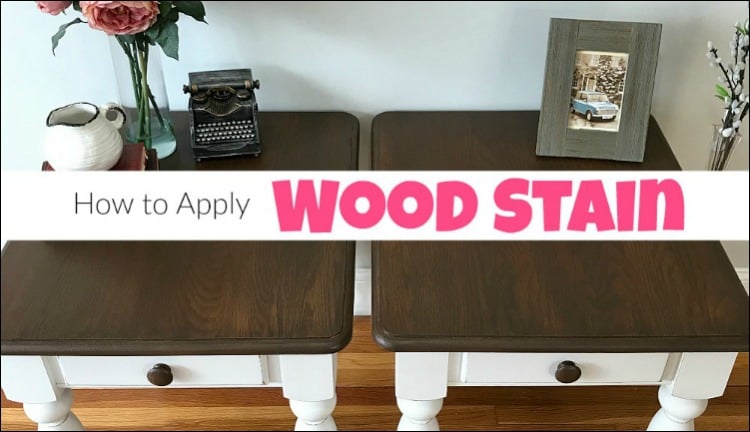
You can find another detailed tutorial here for How to Apply Wood Stain to your DIY furniture makeovers.
Sealing Your Coffee Table Makeover
Since this is a wood coffee table and will most likely see more action than a dresser, for example, we will need to make sure that it will hold up. I prefer to seal table tops with Gator Hide because it is water repellant. Gator Hide is the top coat in my son’s wood table that he uses to display his Lego creations and holds up beautifully. If it can hold up to an 8-year-old boy’ and his Lego’s then Im sure it can hold up to almost anything. Within reason, of course.

Apply your Gator Hide clear sealer over the entire wood table top the same way you have been applying your wood stain with the sponge applicator.

Allow your clear sealer to dry completely and apply a second coat.

If you have questions about sealing your refinished furniture project you can find a full tutorial with video on how to apply clear sealer here: Sealing Painted Furniture

Rustic Wood Coffee Table Refinish
I admit that I am glad that no one else could see the potential in that golden wood coffee table as it sat on the sidewalk. Being able to upcycle and transform it into a weathered rustic coffee table despite the damage on the top is a testimony to one man’s trash is really is another man’s treasure.

Check out all of my furniture projects with over 90 painted furniture makeovers: Stunning painted furniture ideas.

Click here to Pin this post for later.


Power Tool Challenge Team
This is a power tool challenge project where a few of my fellow bloggers and myself get together and create a project based on one theme. This months theme is ‘upcycles’. Each project must be created using at least one power tool. Make sure to check out these other projects. Links to each project are below the image.

Anika’s DIY Life DIY Bar Cart
Virginia Sweet Pea Tennis Racket Basket
H2OBungalow DIY Rolling Bench From A Work Table
My Repurposed Life Twin Bed Bench
Just The Woods DIY Rustic Wood Coffee Table Refinish
Designed Decor Repurposed Bed Frame Shelf
Domestically Speaking Repurposed Chalkboard Sign For Fall
Contest Details:
Now it’s your turn. Here’s the scoop on the reader challenge. We ask you to share a picture of your repurposed project that you built using at least 1 power tool. You can submit it directly to the linky below or share a picture on our Facebook pages and we can add the pic to the linky from there. The challenge is open until Nov 1st at midnight. 3 entries per person max. Must be 18 or older. Open to USA and Canada residents. Prize package $100 Amazon gift card and a HomeRight Super Finish Max with a Large Spray Shelter.

Don’t Forget – Follow Just the Woods and Share this post to Inspire others:
FACEBOOK * INSTAGRAM * PINTEREST
Stay connected! For more tips and tricks sign up here : [mc4wp_form id=”1340″]


The top of that table is beautiful! What a save!
I grew up with a coffee table just like that one! You made it look so much better!
thank you so much!
Beautiful makeover! I love the combination of stained top and painted legs.
Your rustic coffee table came out gorgeous! I love the black with all that rustic goodness on top. I’ve fallen in love with the Applicator Sponge. My topcoats have never been smoother or more even. No more streaks!! Thank you for the tip on using it to apply stain – which is something I struggle with getting done evenly, without splotchiness – even if I use pre-stain conditioner. Will the Applicator Sponge work as well with oil and water-based stains as it did with the gel stain? If so then maybe my tribulations with staining are finally over. I’m in awe of the stain job you did! It’s so perfect.I learn something new from you each time I pay your site a visit.
I’ve learned that when I find the sponge for sale at a good price to buy 5 or more at a time. Those things are precious!
thank you so much! Im so glad you love the sponges. I have to laugh because even the reviews on Amazon mention that I recommended them hahahaha. I’ve used them for water-based stains but not oil based. I’d be curious how they do with oil based. And I agree, buy a few at a time, my hubby used up my last one a while back and I had him replace them 3 fold 😛
Kandice,
Thanks so much for the tutorial.
Your tutorials are all so informative and interesting.
But I would also like to complement you on the way you present your information. Everything is so well organized. I enjoy seeing the finished featured piece of furniture, items needed and then the shared tutorial. And your font size! Thank you! Not too big and not too small, just right!
What an awesome tutorial and table save! I’ve heard good things about Dixie Belle Paints 🙂 Pinned and saved to my favorite furniture technique board!
Wow! What a transformation! I need to remember to use a sponge next time I stain… great idea!