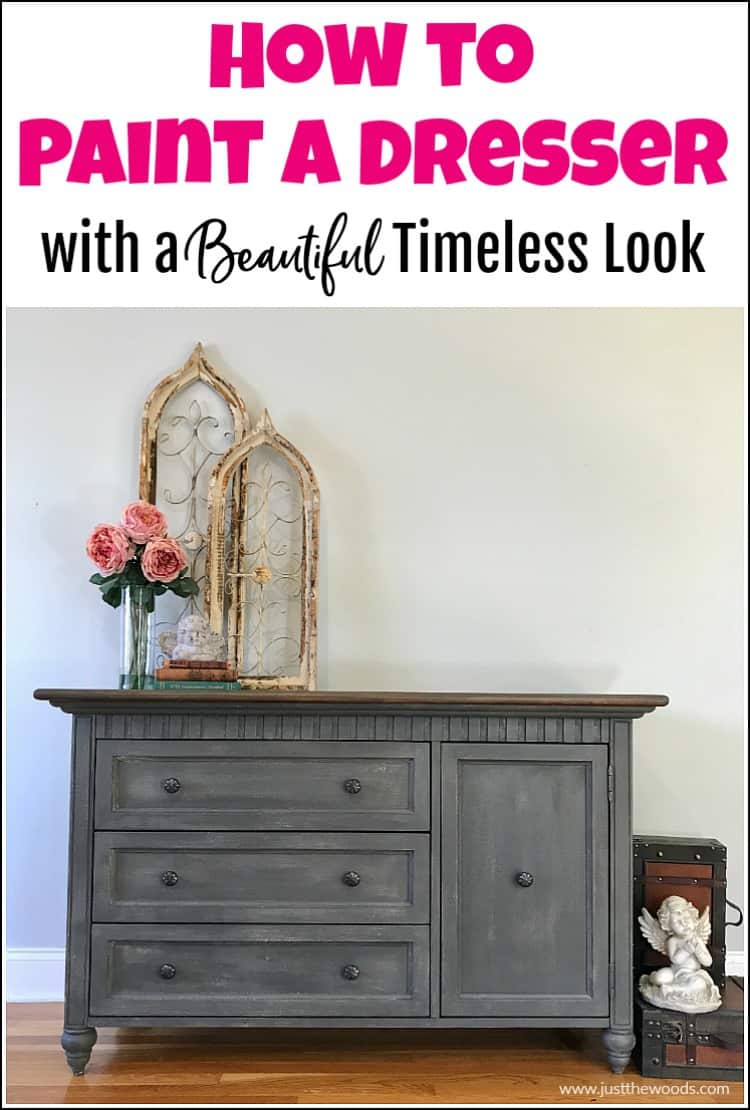
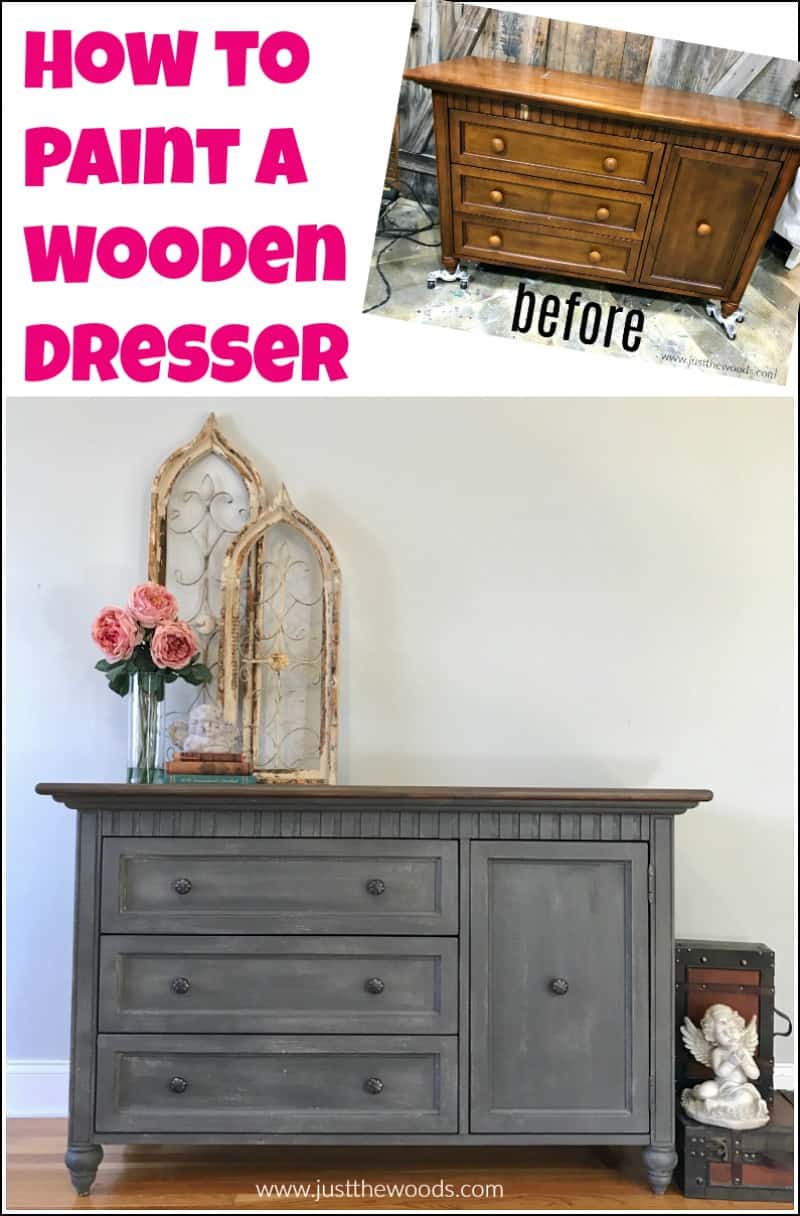
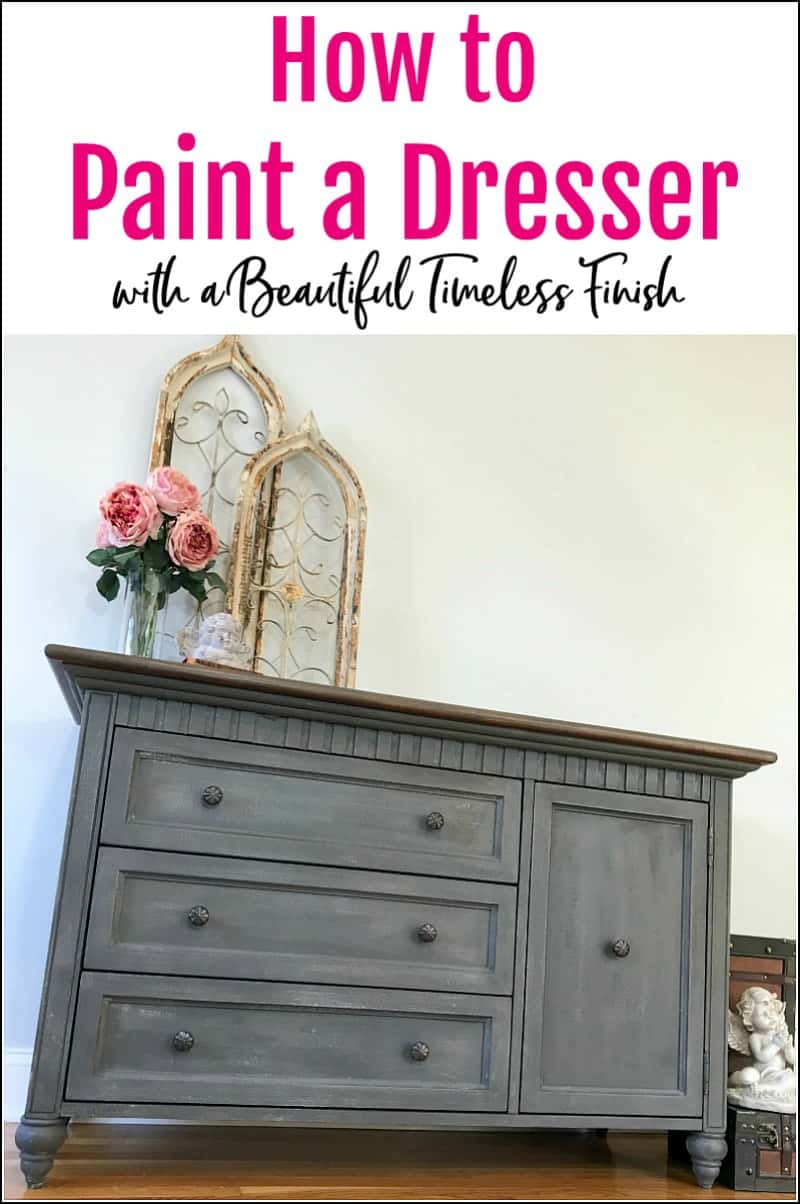
When painting furniture you may want to know how to paint a dresser. Painting a dresser gives your furniture a whole new look and can be as bold or timeless as you choose. Today I am sharing how to paint a wood dresser with a combination of texture, paint and stain for a timeless look.
Disclosure: This how to paint a dresser post contain affiliate links for your convenience. Click here for my full disclosure policy.
Supplies & Tools Needed to Paint a Wood Dresser
Materials Needed / Source List:
Tools
- Zibra Paint Brushes or Cling On Brushes
- Furniture Tri Wheelies
- Sandpaper
- Orbital Sander
- Salt Wash
- Shop-Vac
- Lint Free Cloth
- Find all of my favorite tools and products on my Amazon Page here
Paint
Before we begin, this painted dresser project is part of our monthly Furniture Fixer Uppers share. You know what that means! Make sure to stick around all the way to the end for more great painted furniture before and after projects.
Check out all of my furniture projects with over 90 painted furniture makeovers: Stunning painted furniture ideas.
Unfinished Original Wood Dresser
Believe it or not, this dresser actually is not that old. Well, about 10 years old to be exact. This dresser was my son’s dresser and changing table up until we updated his room a few months ago. The dresser itself comes from Babies R Us, and truth be told it is very well made. Which is why I couldn’t bear to see it go to the curb or anywhere else for that matter. My youngest was a big helper in updating her big brother’s room. 😉
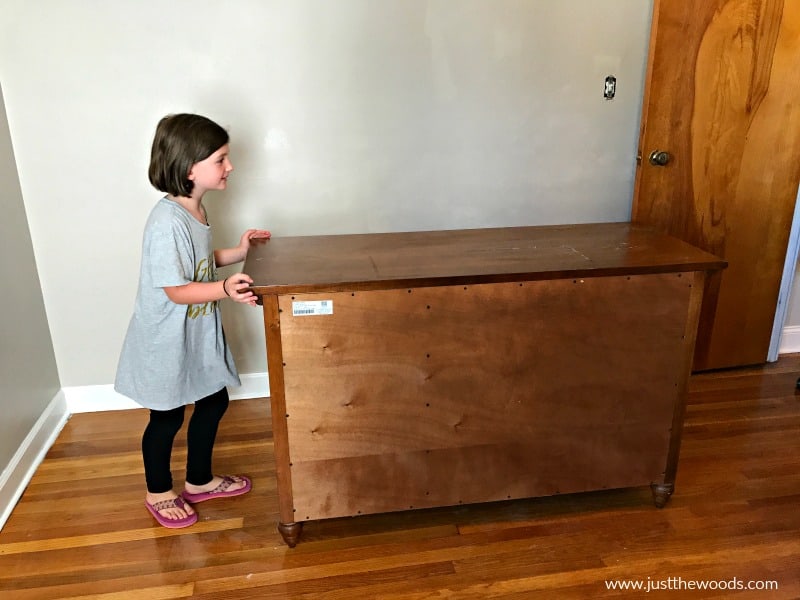
We managed to get the dresser down into my shop. (We = myself and my hubby, not my daughter lol) As you can see the dresser is not perfect, but it looks pretty great for being 10 years old.
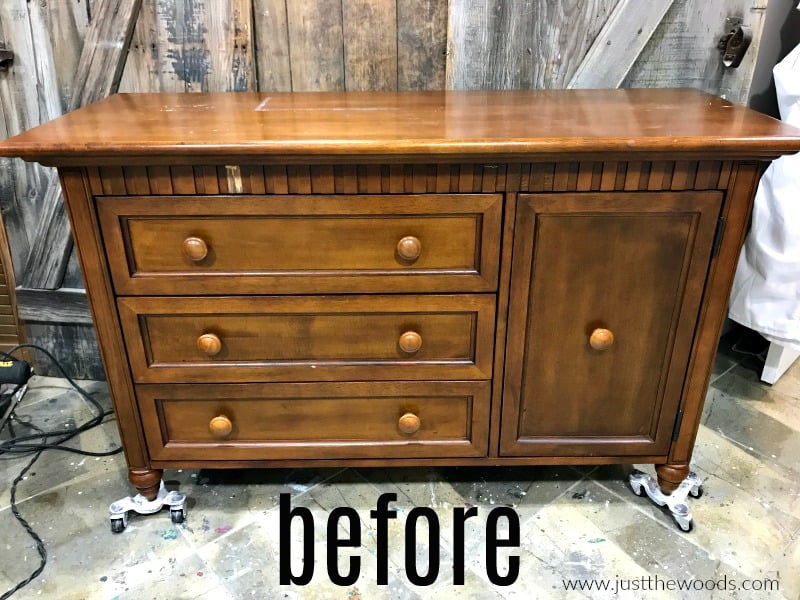
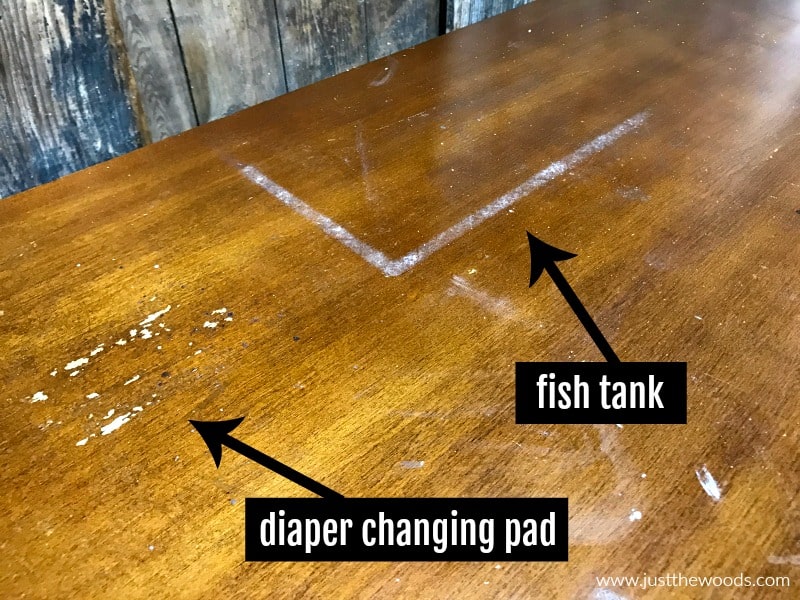
The top has some marks from the changing pad and then a fish tank sitting on it. But we can work with this.
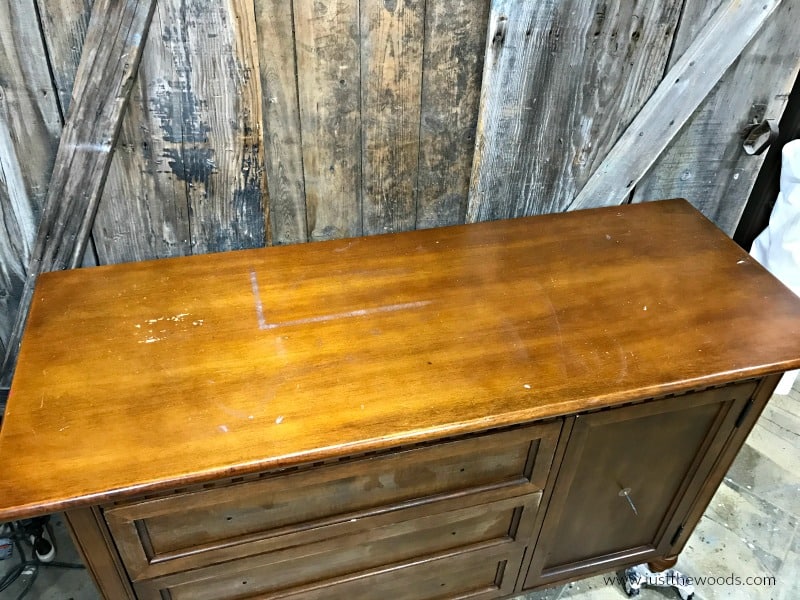
Here is a close-up where you can see the damage from the diaper changing pad and the fish tank. Not horrible but certainly not perfect either.
Refinishing a Dresser
Before we can really get started with refinishing a dresser we need to take a few necessary steps. First and foremost, let’s remove the hardware. I am using my handy ratchet screwdriver from Rolgear to remove the hardware. If you plan to keep the hardware make sure to put it somewhere safe. But if you plan to replace the hardware then I guess it doesn’t really matter where you stash it. 😛

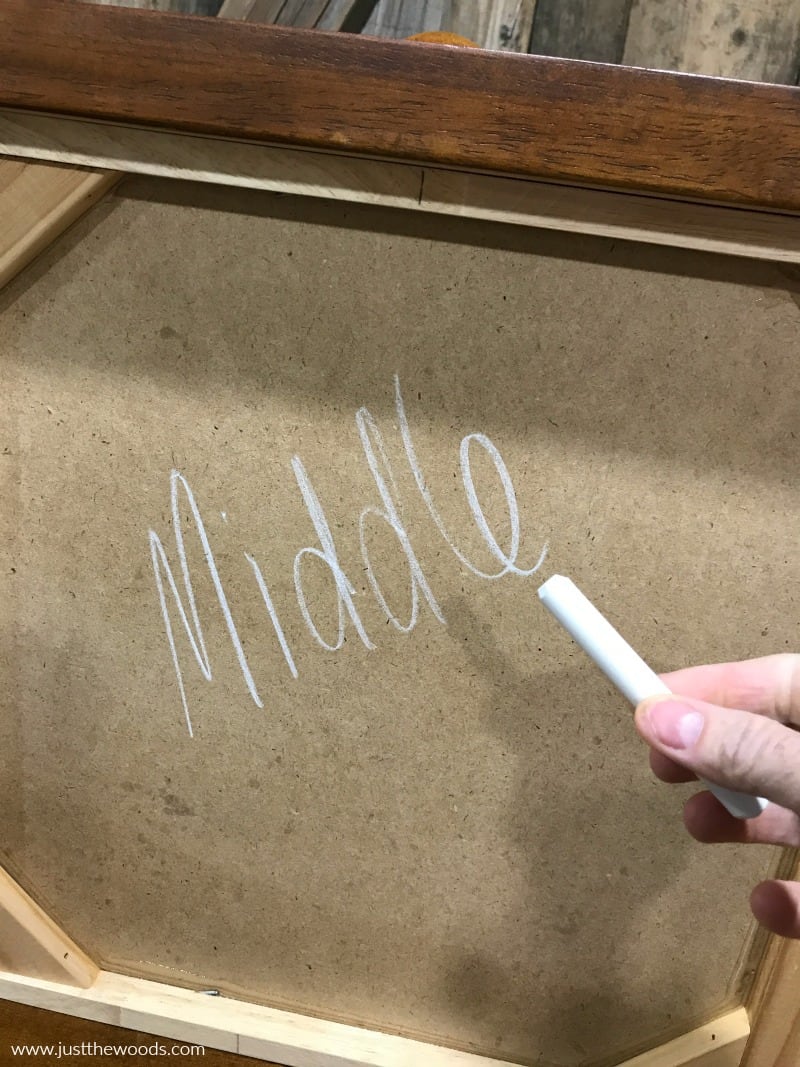
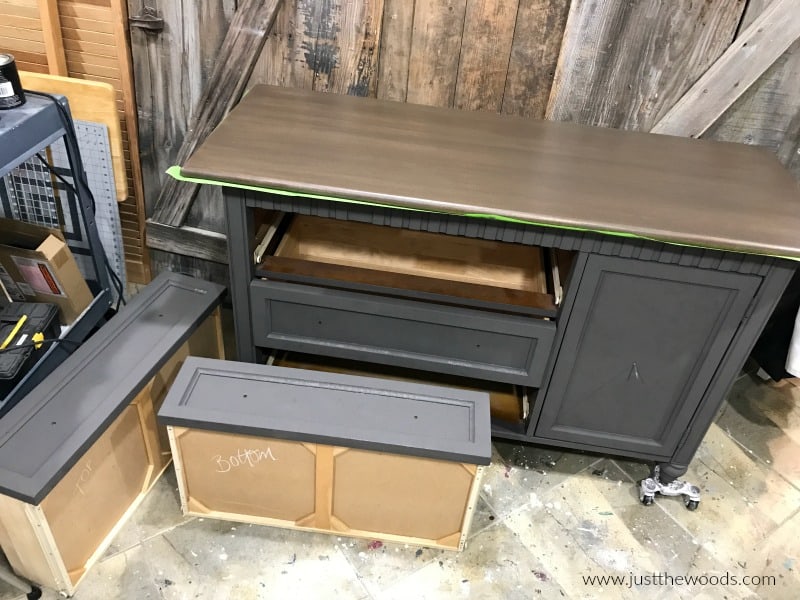
Another helpful tip is to label the underside of each drawer as you remove them from the dresser. A simple piece of chalk does the trick. This makes it easy to put all the drawers back in the right spot when your project is finished. This is one of the many secrets I share in my Tips for Painting Furniture.
Prepping Furniture for Paint
Although many people want to know about painting furniture without sanding I will tell you that I just about always sand first. When it comes to how to sand furniture before paint there are two basic methods that I like to use. One is with an electric orbital sander and the other is with simple paper sandpaper. For the top of this dresser, I will be sanding with my favorite orbital sander like this one here: Dewalt.
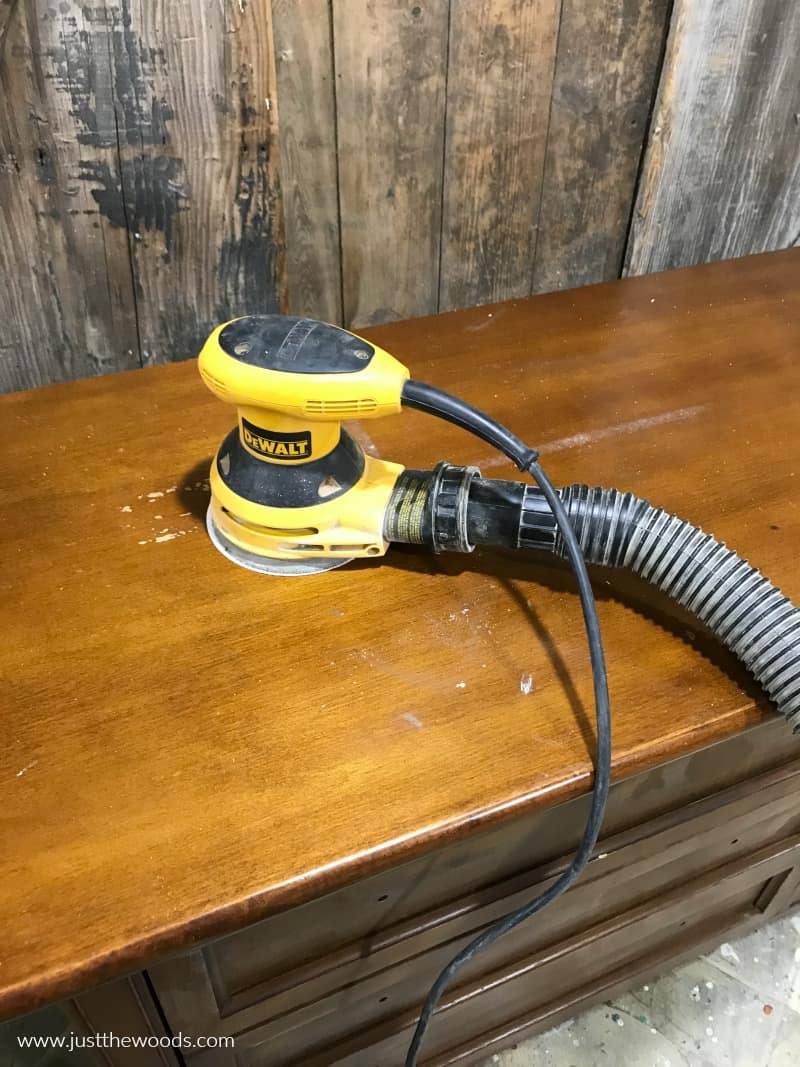
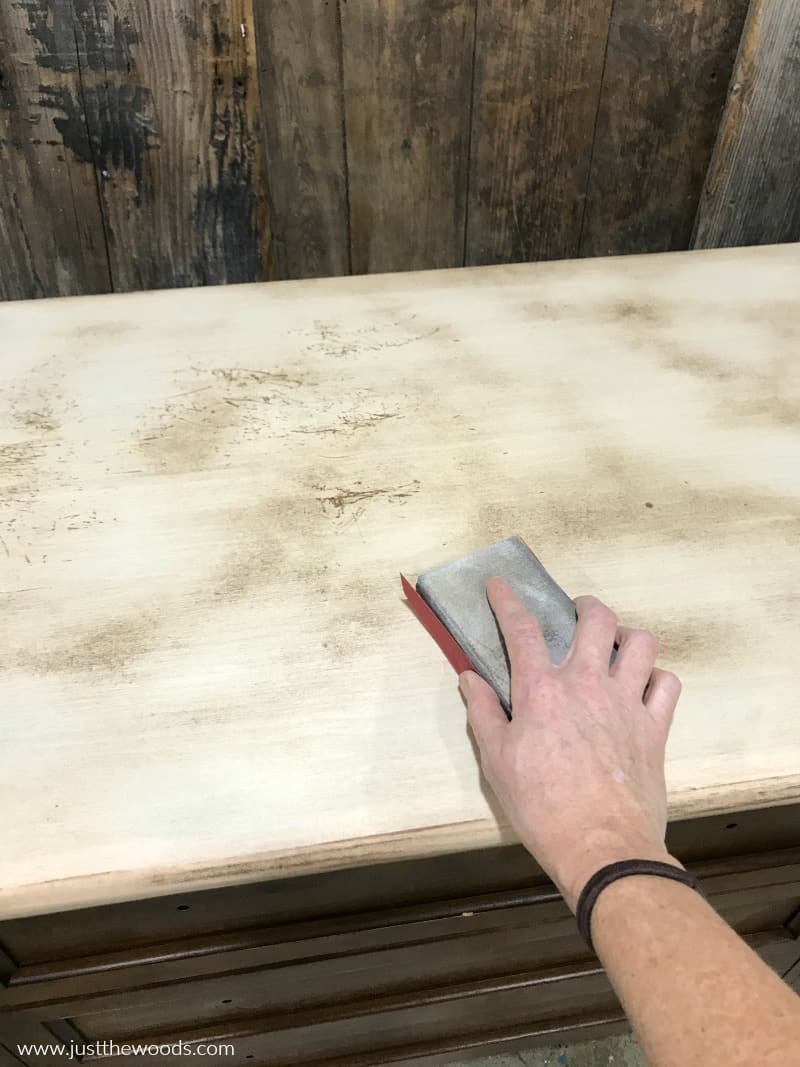
Go ahead and sand the top of the dresser in its entirety. I show you how easy it is to sand indoors without making a mess in my Painted Furniture Tips & Tricks post.
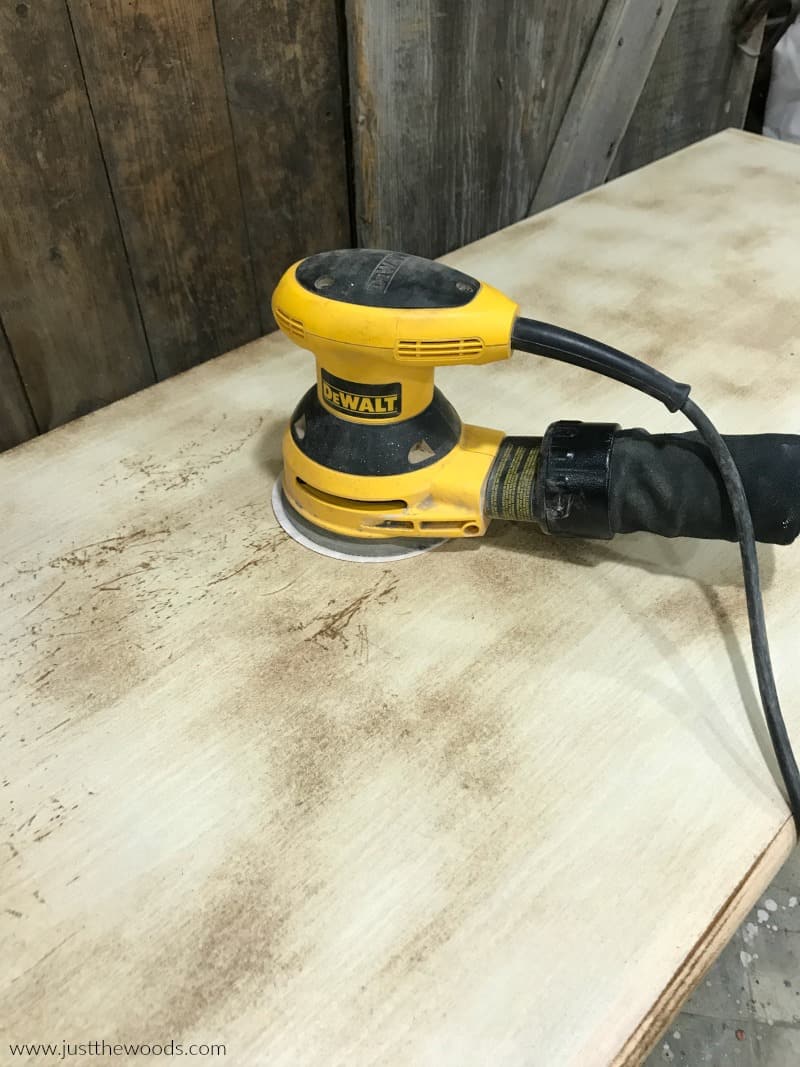
Next, give the top a quick once over with a fine-grit piece of sandpaper to smooth out any rough spots or bumps.
How to Stain a Dresser
-
Choose Your Wood Stain
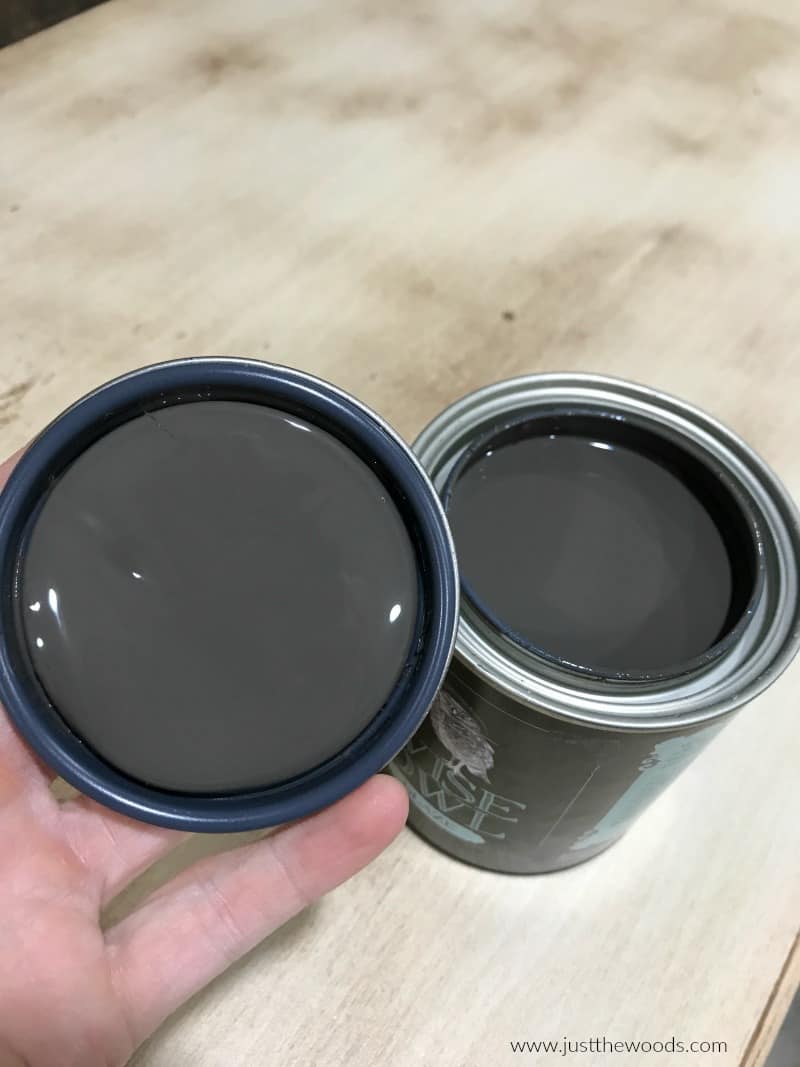
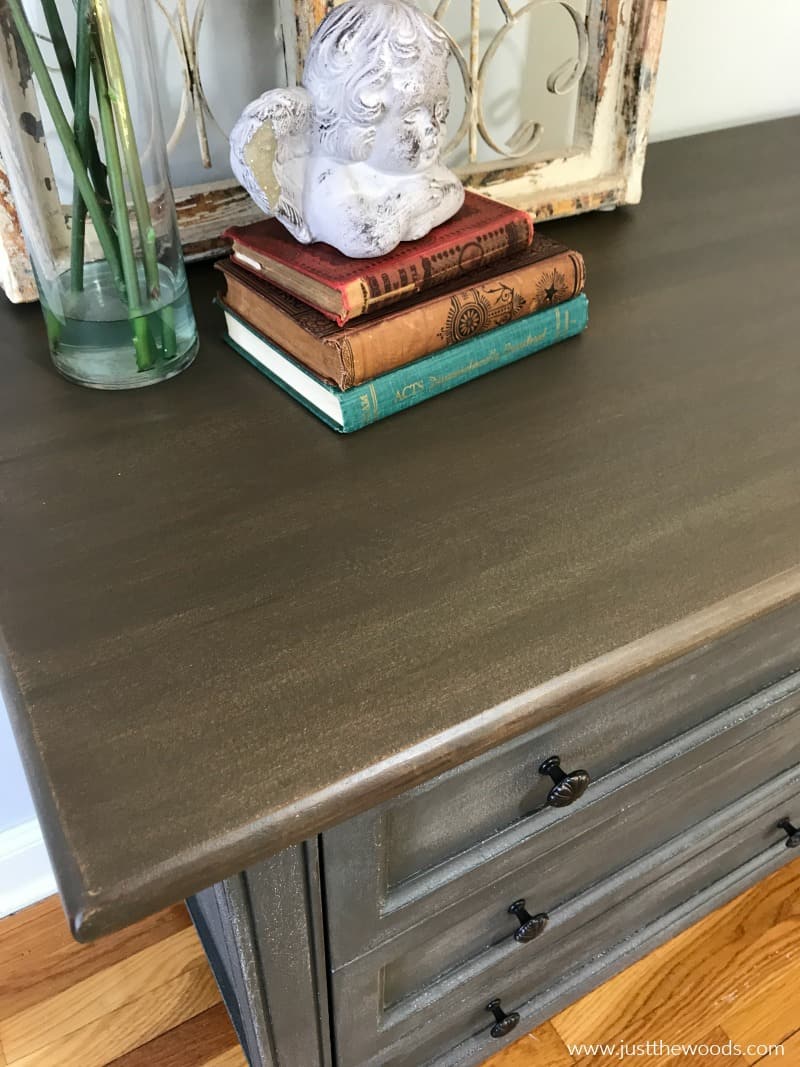
Now we will be using a combination of both paint and stain on this dresser makeover. Let’s continue on with the top and see how to stain a dresser with this rich black walnut glaze by Wise Owl. This product can be used as a glaze or a stain as you can see. It can be found online here: Glaze.
The color is dark without being black, which is exactly what we are going for.
-
Apply Your Wood Stain
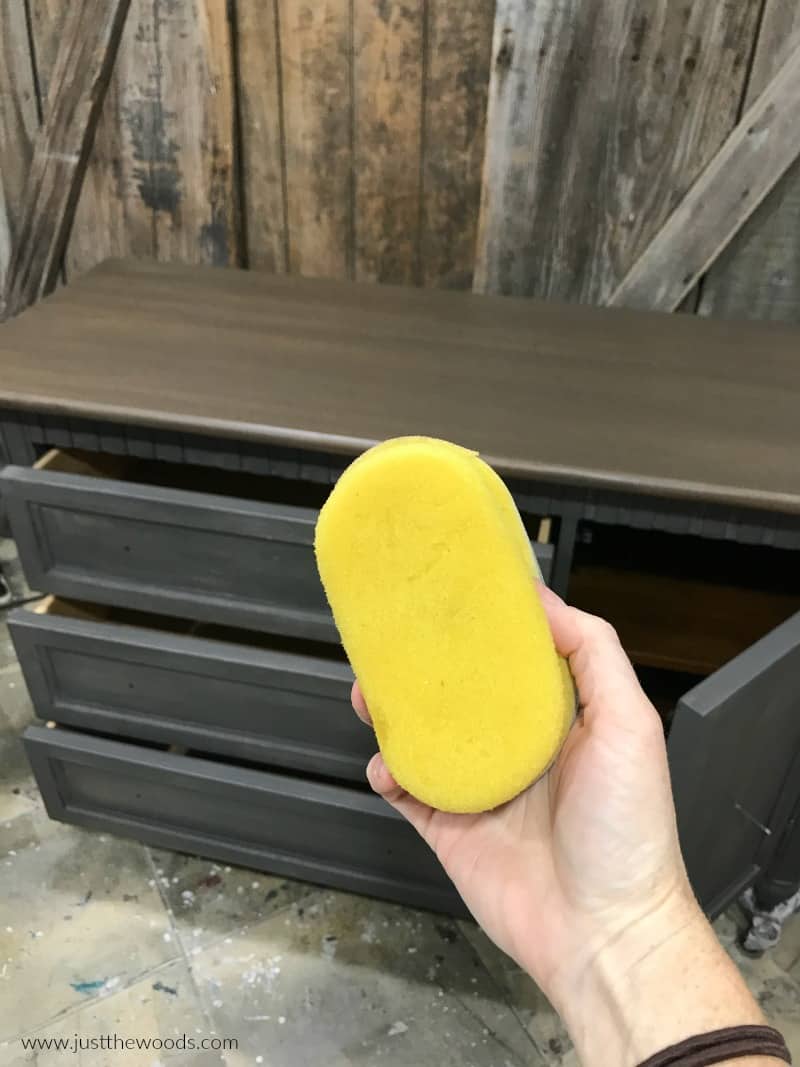
As always, I am using my favorite yellow sponge to apply the glaze aka wood stain. You can get these online HERE. They do tend to go in and out of stock, so when they are in stock I grab a few.
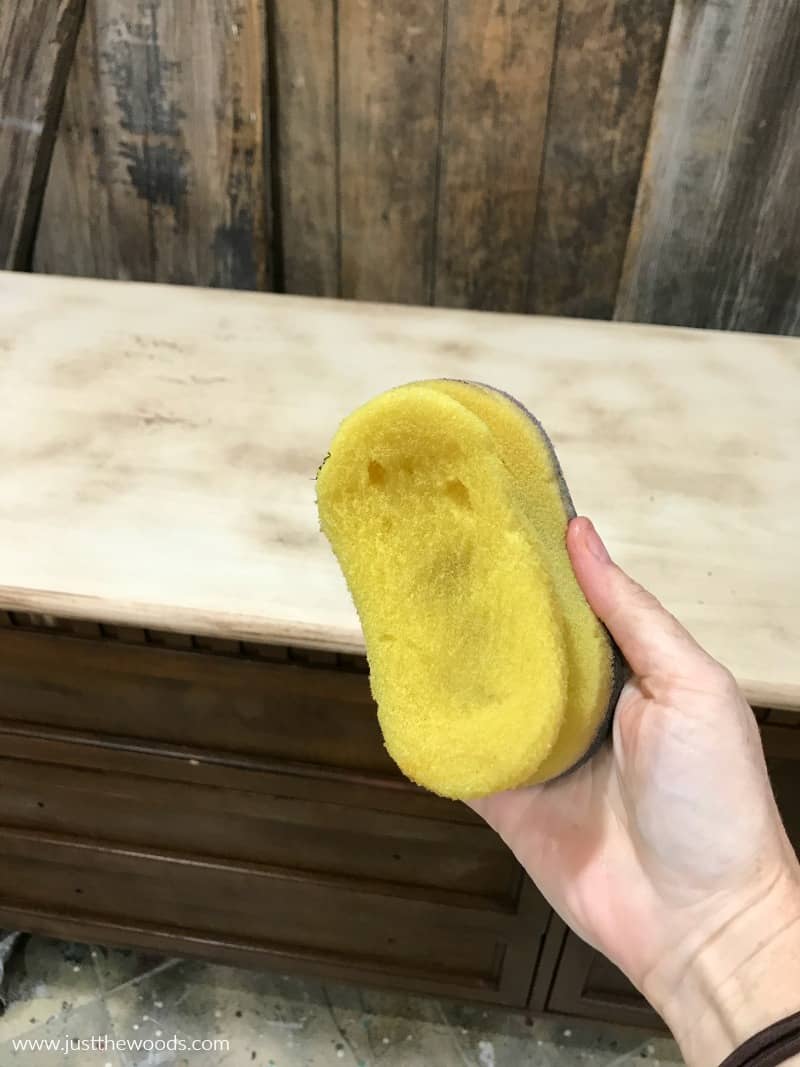
When refinishing furniture, my favorite method to apply wood stain is to scoop a little at a time onto a paper plate and not work straight from the container.
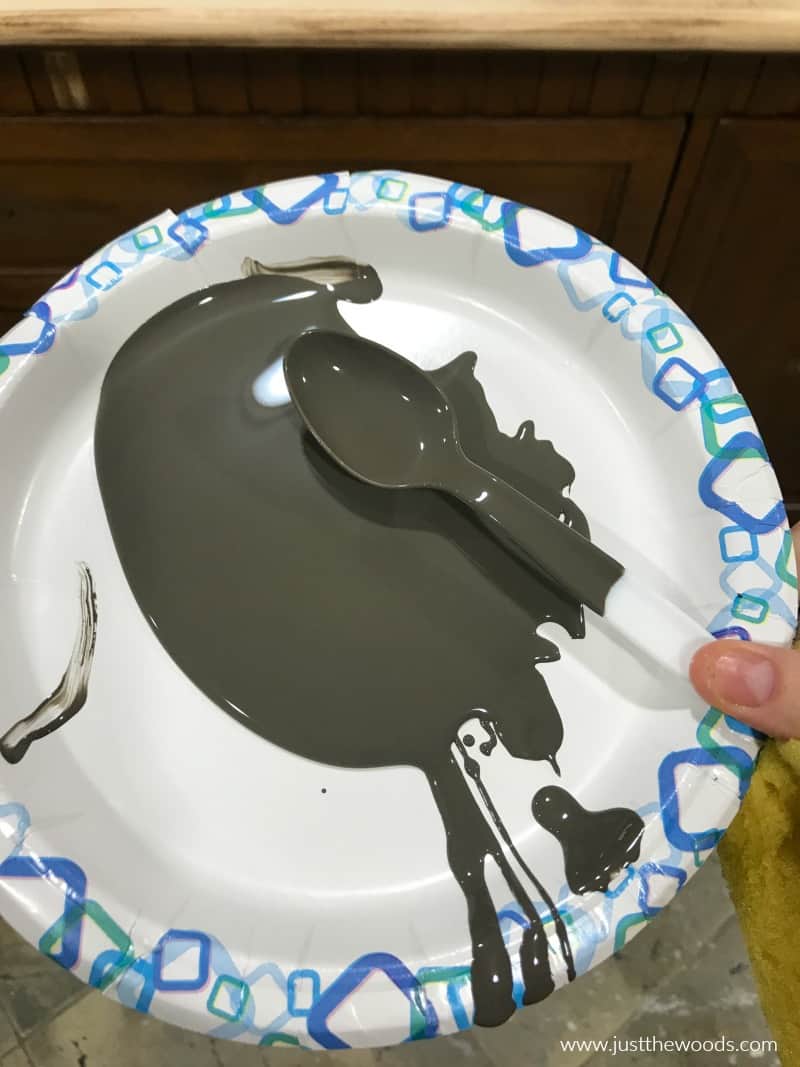
Now you can dab your applicator sponge onto the plate and wipe any excess glaze back onto the plate edge as necessary. Since we are applying the wood stain to a large surface (the dresser top) I am not wiping away excess this time.
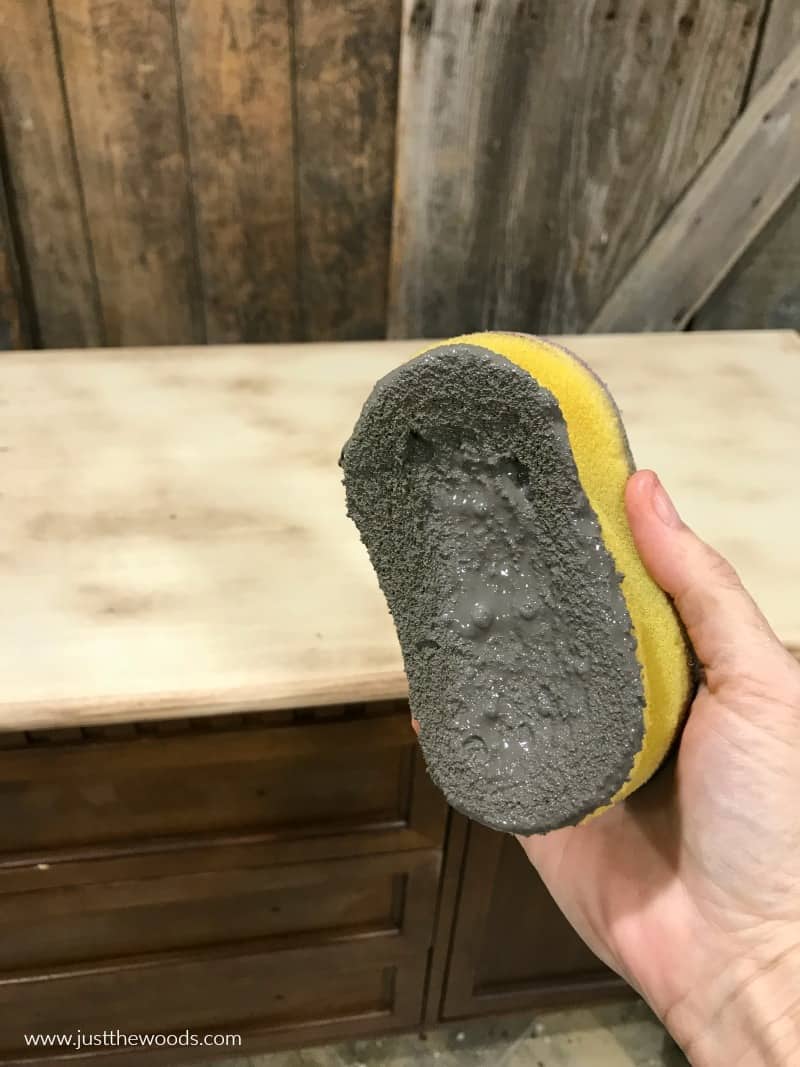
Work with the wood grain and apply the wood stain in even, long, straight strokes.
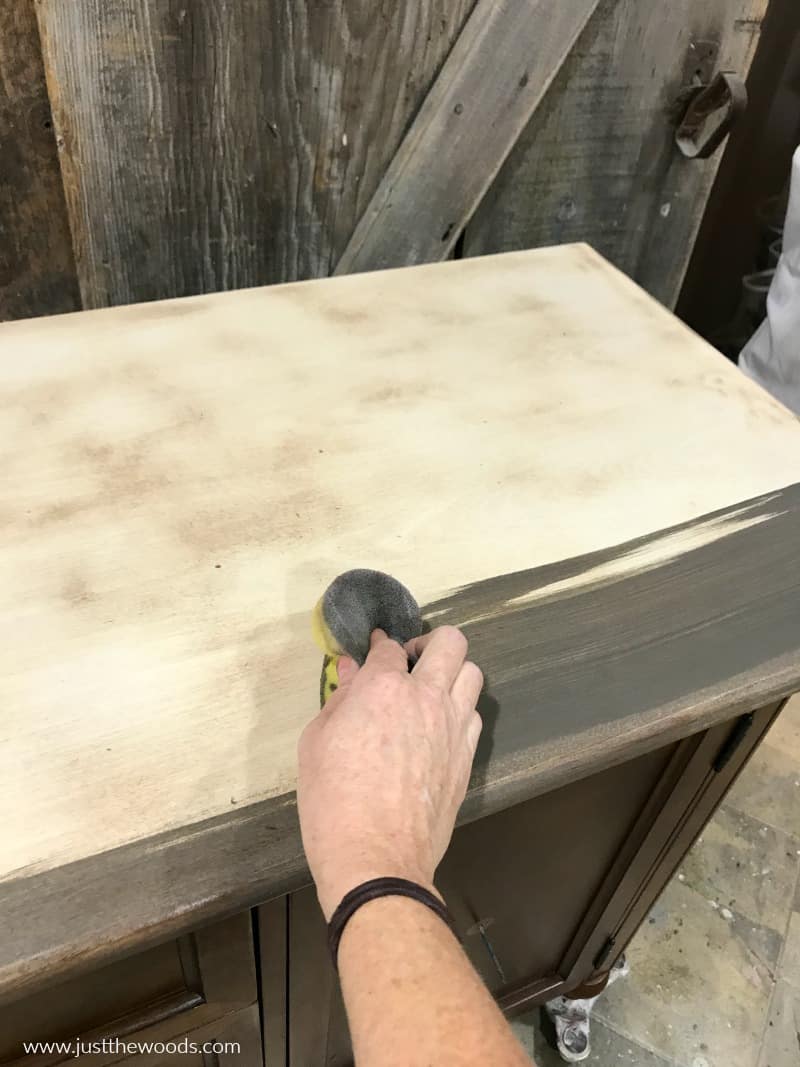
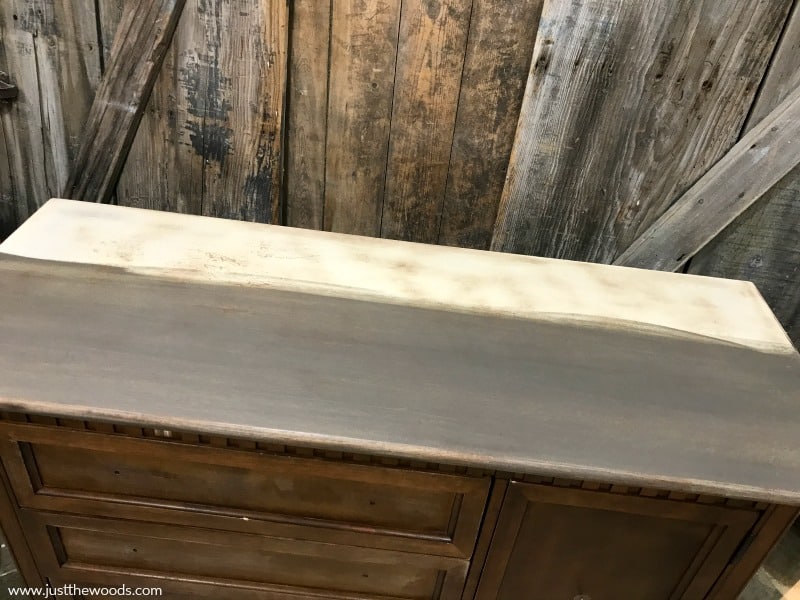
Do not overwork the product. You can and should apply a second coat to even out any imperfections from the first coat.
-
Sand Between Coats
Once the first coat of stain is dry you can grab a piece of fine-grit sandpaper. I am using 400 grit.
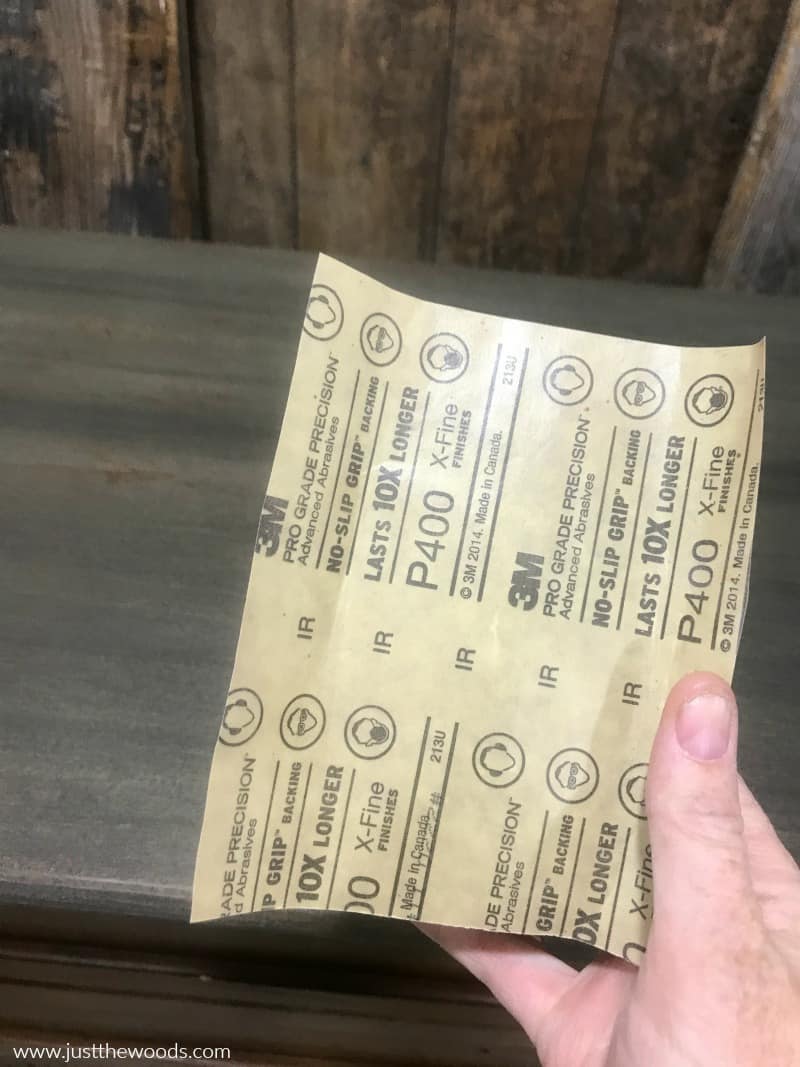
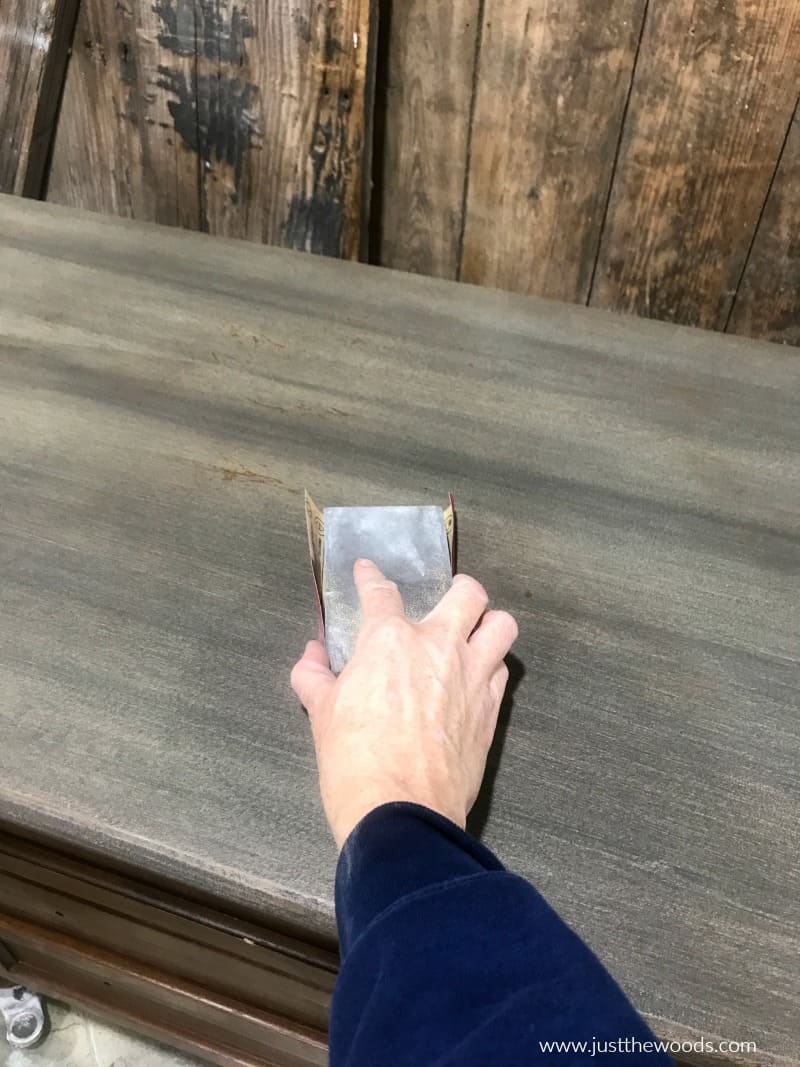
Give a quick sanding over the wood stain to knock down any slight bumps or rough spots. This will create a super smooth finish to the top of your painted dresser.
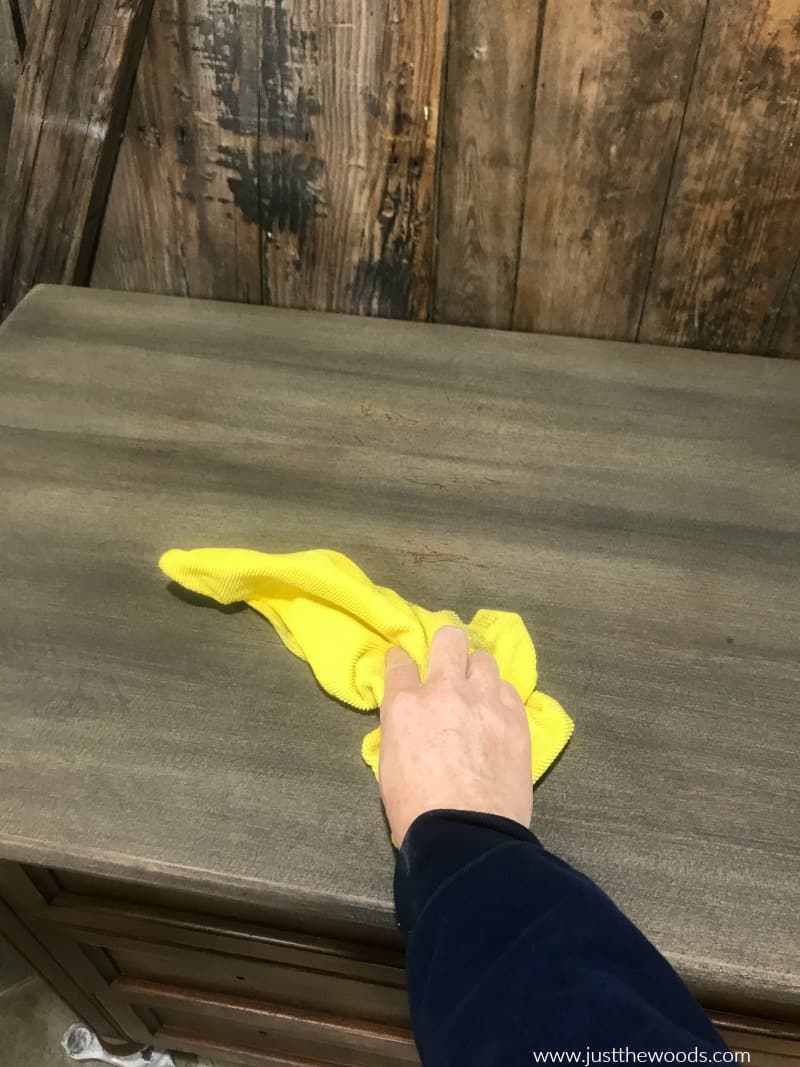
Next, make sure to wipe the surface with a lint-free cloth to remove any dust particles after you sand and before you apply another coat.
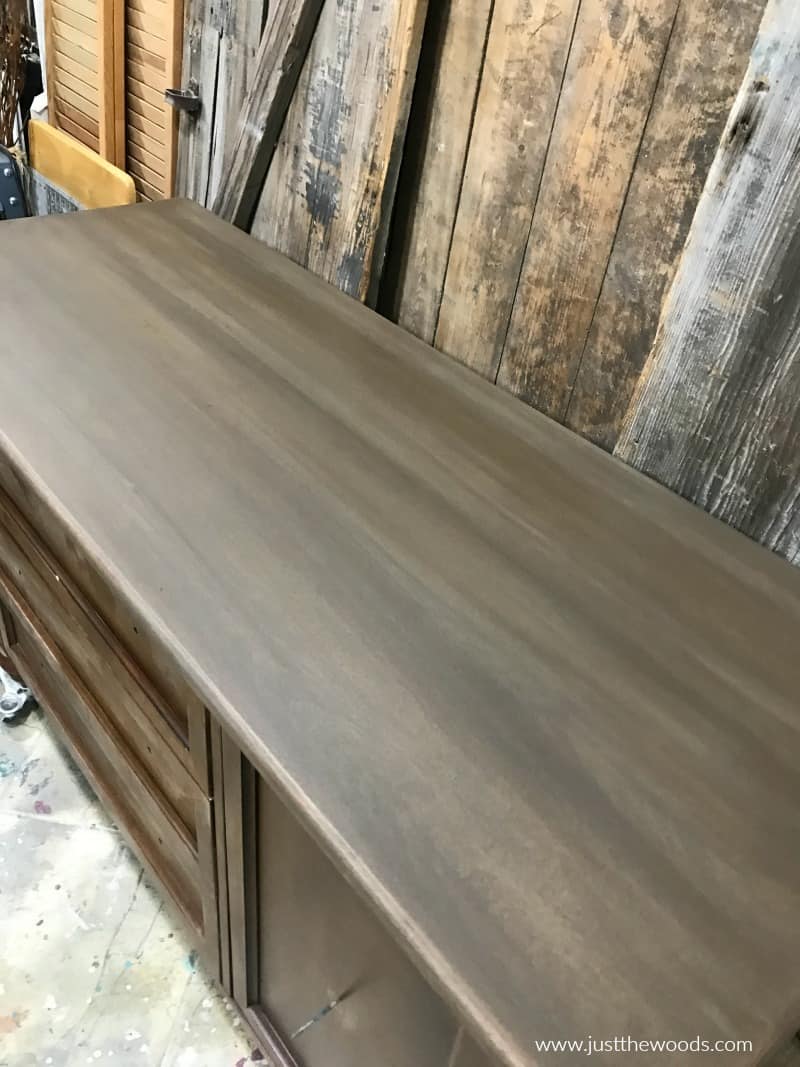
Apply as many more coats of wood stain that you would like until you are in love with the results. Make sure to lightly sand between coats and wipe with a lint-free cloth each time. You may get different results depending on the original wood grain, how much or how you little you initially sand. Don’t be limited by just one stain color either, feel free to mix one or two stain colors if you’d like a little variation or depth.
You can find a full tutorial on applying wood stain to your painted furniture projects here: How to Apply Wood Stain
-
Sealing Your Dresser Top Stain
Now that our dresser top is pretty we need to apply a topcoat. I am using Wise Owls satin varnish. You can find it online here: VARNISH.

I like to scoop my varnish onto a paper plate and add a little drizzle of the black walnut glaze to it. This is just my preference. To be honest, I almost always tint my sealer with the color(s) that I am sealing.
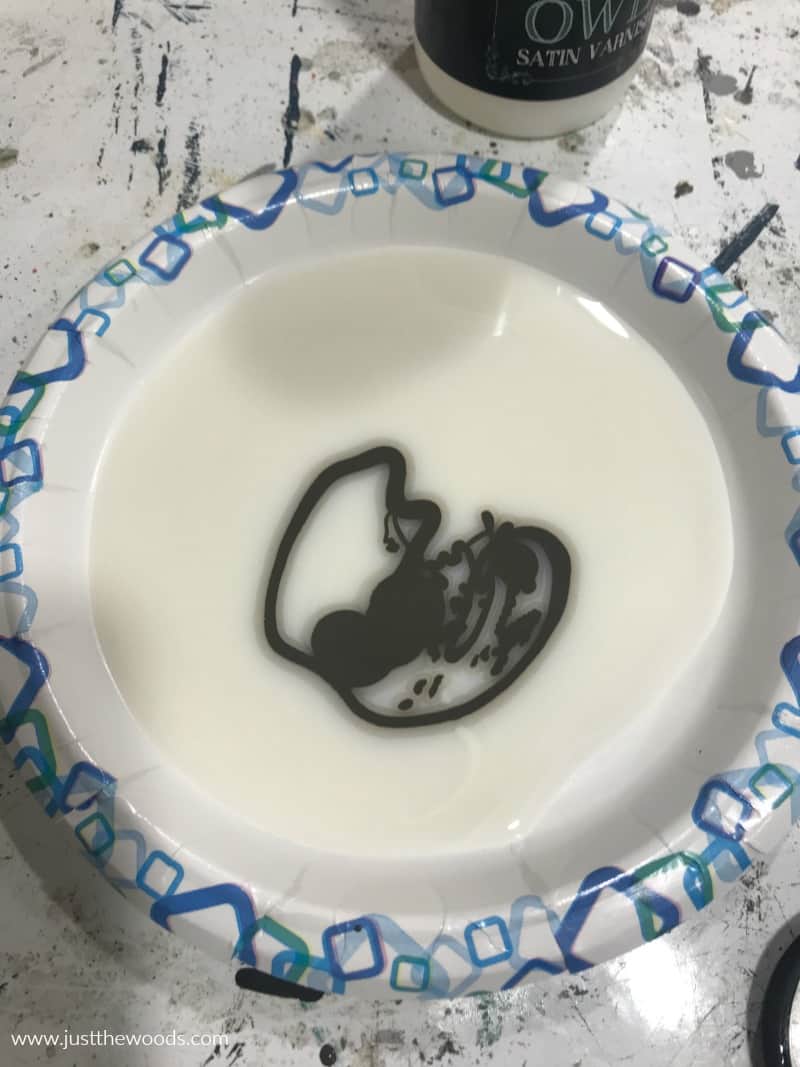
Just like before, grab your yellow applicator sponge and dab it into the tinted varnish.
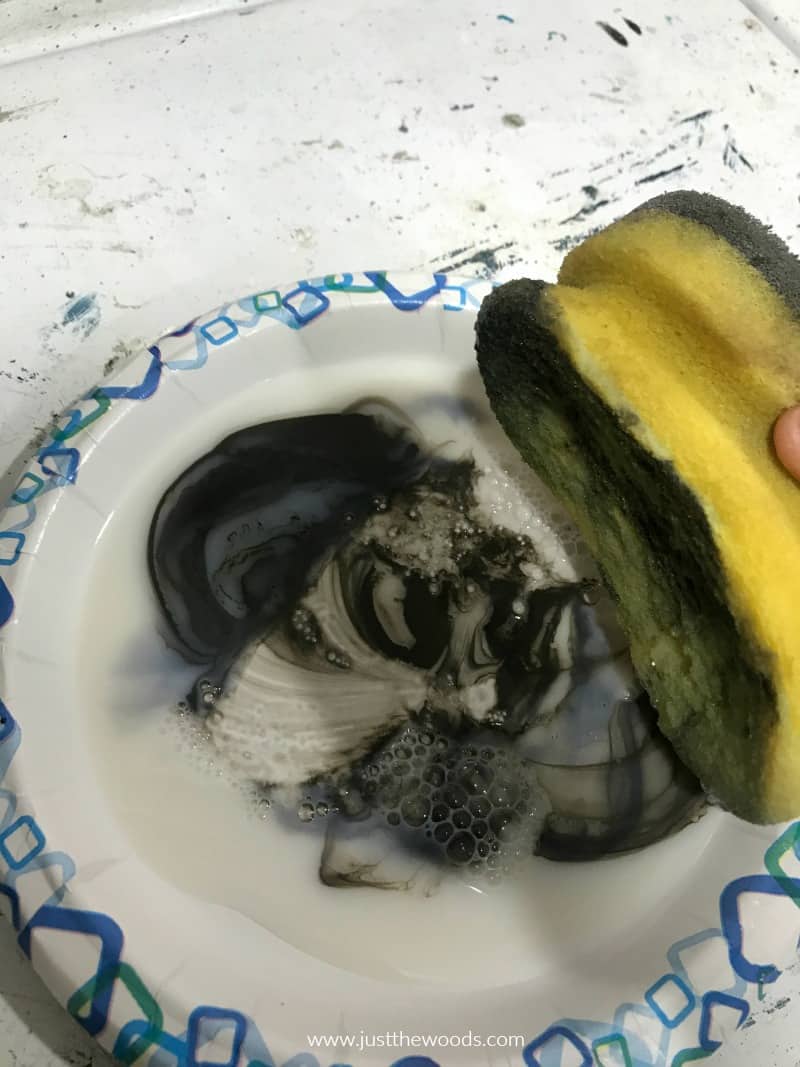
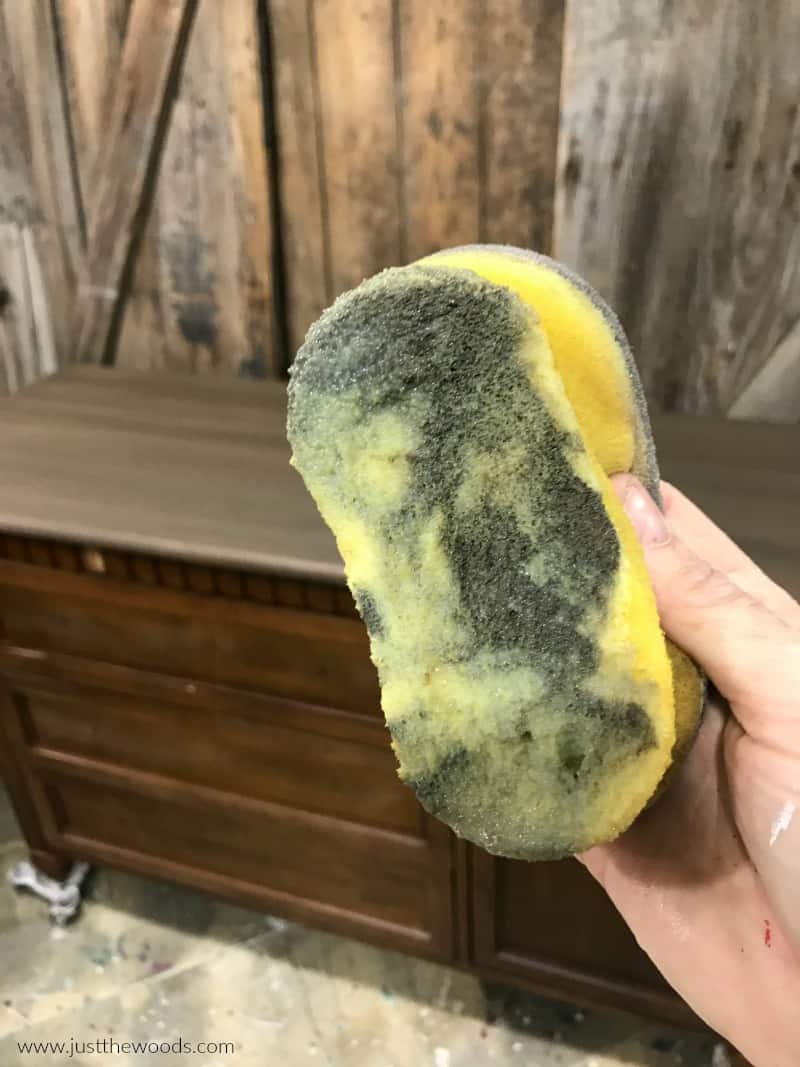
Apply the varnish in the same manner that you apply the stain.
How to Paint a Dresser
-
Furniture Paint
Now that we handled that top of the dresser we can move on to the fun part. Let’s see how to paint a dresser with timeless beautiful results. The best part about painting a dresser is that its unlikely to see the same painted dresser twice. There are so many colors, furniture painting techniques and styles out there that everyone can put their own personal touch on their painted dresser makeover. For this particular dresser redo project, I am starting with a neutral gray-brown called Weathervane from Wise Owl. You can find this furniture paint color as well as many others online here: Paint.
Next, for some added texture I am using Saltwash. You can find Saltwash online here: Salt Wash.

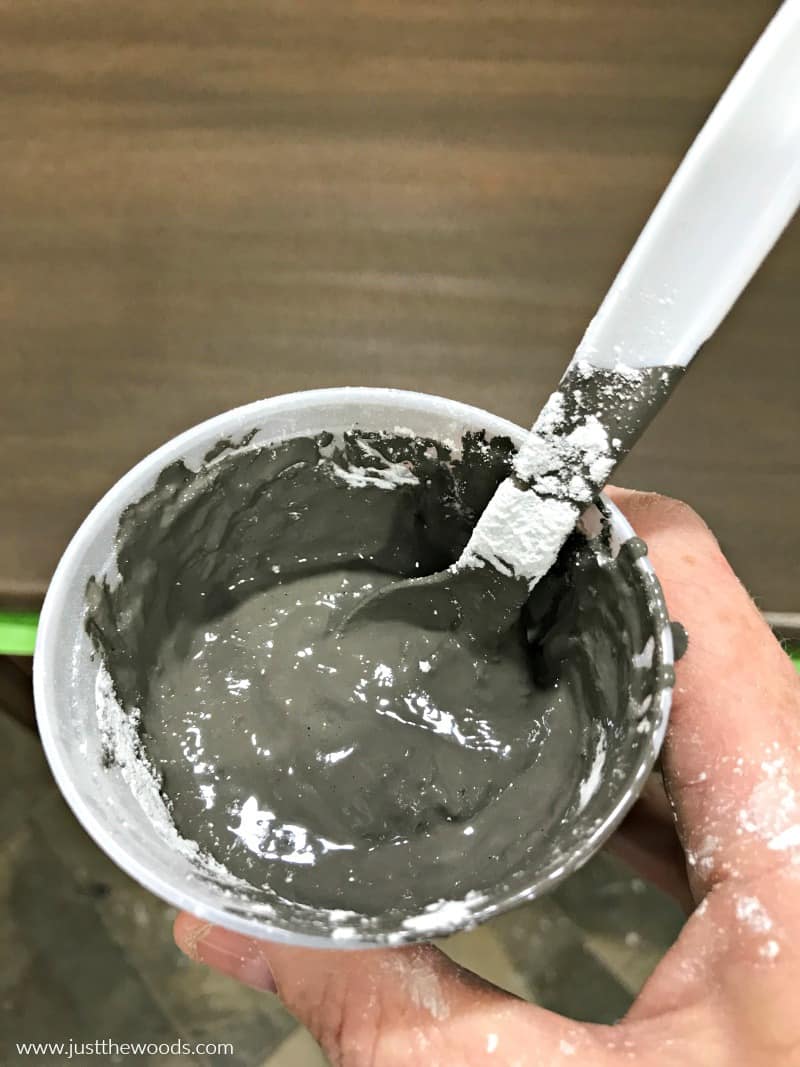
To use Saltwash you simply mix the powder with your paint. I like to scoop some paint into a plastic cup, then add some Saltwash powder to the paint. Mix until you have the consistency of cake icing – thick but not chunky. There is no magic method or formula to this, I don’t follow a specific ratio, I just kind of play around until I get a nice consistency.
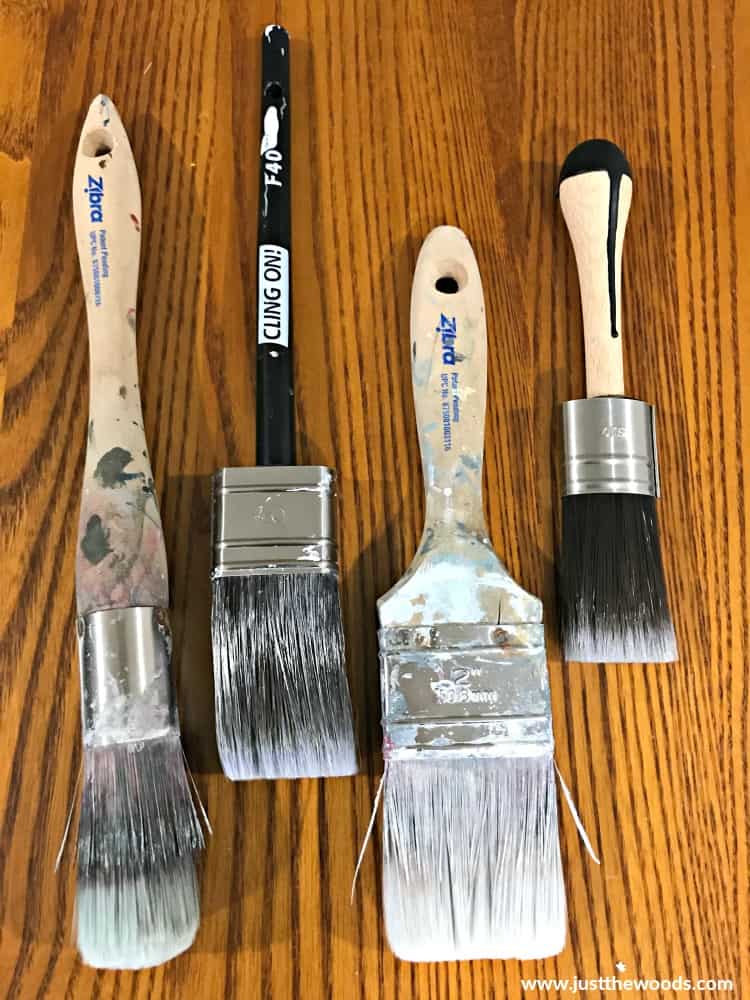
Now grab your favorite brush and make sure it’s clean. I often like to swap back and forth between Cling Ons and Zibra brushes. They both have soft bristles, are easy to work with and clean up well. (I abuse my brushes) To be honest, I like them both. Zibra brushes are a bit more affordable and can be ordered online (HERE). Cling Ons are always awesome and can be ordered online (HERE).
Use your brush to apply the paint in a stippling manner. Basically, dab the brush on and off of the surface. This will create a unique texture with rough peaks in your paint.
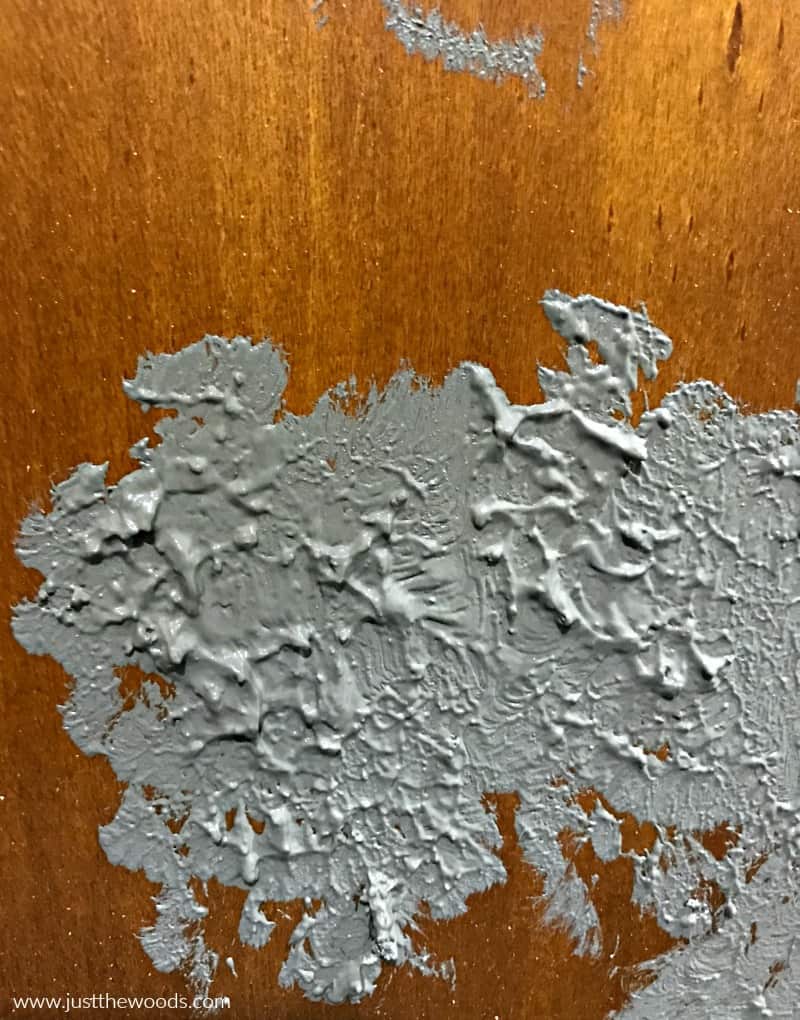
Do this over the entire surface of your dresser.
For a full tutorial using Saltwash additive make sure to check out: How to Create Textured Paint on Furniture with Salt Wash.
-
Dry Brushing Layers
Because I don’t always have a specific plan when painting furniture I am going to add some layers to this painted dresser. For this step, we will be using a lighter neutral furniture paint called Bone by Wise Owl.
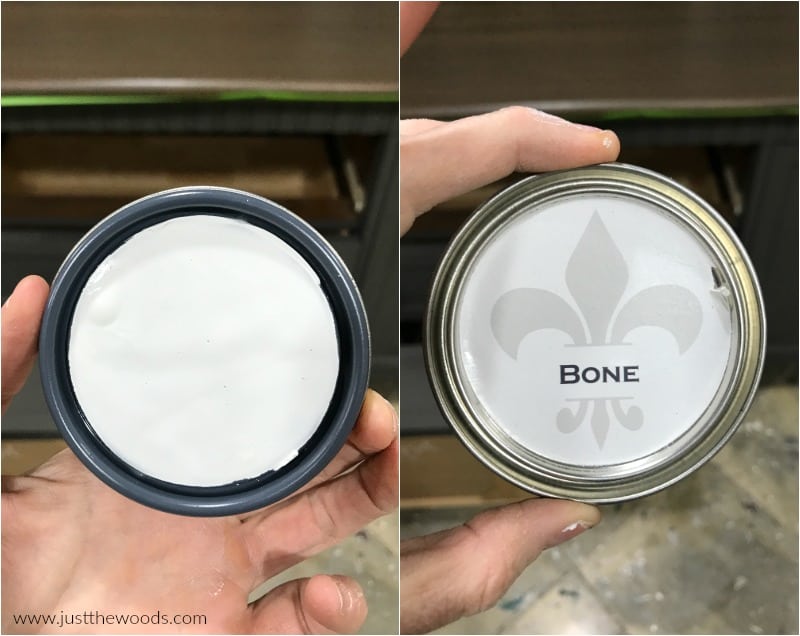
Scoop some furniture paint onto a paper plate.
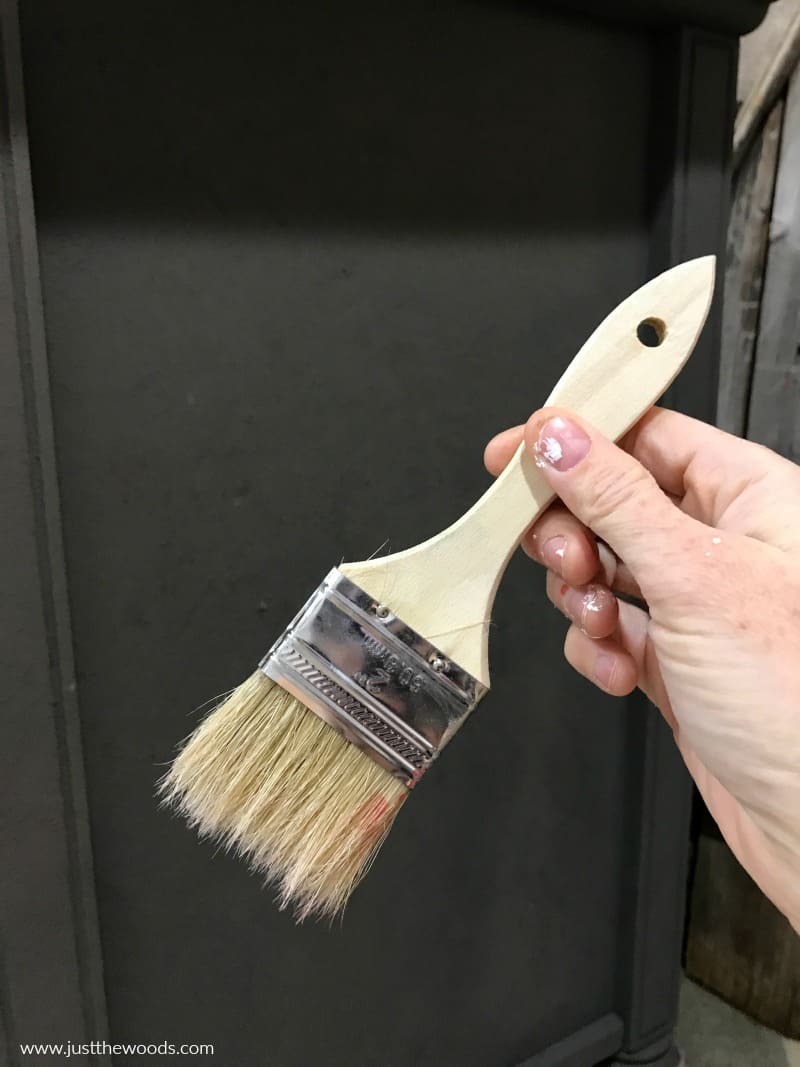
And grab a cheap, clean chip brush. Since we are going to add this color with the dry brushing technique, you will need a simple cheap paintbrush. You can find a bunch online here: Chip brush.
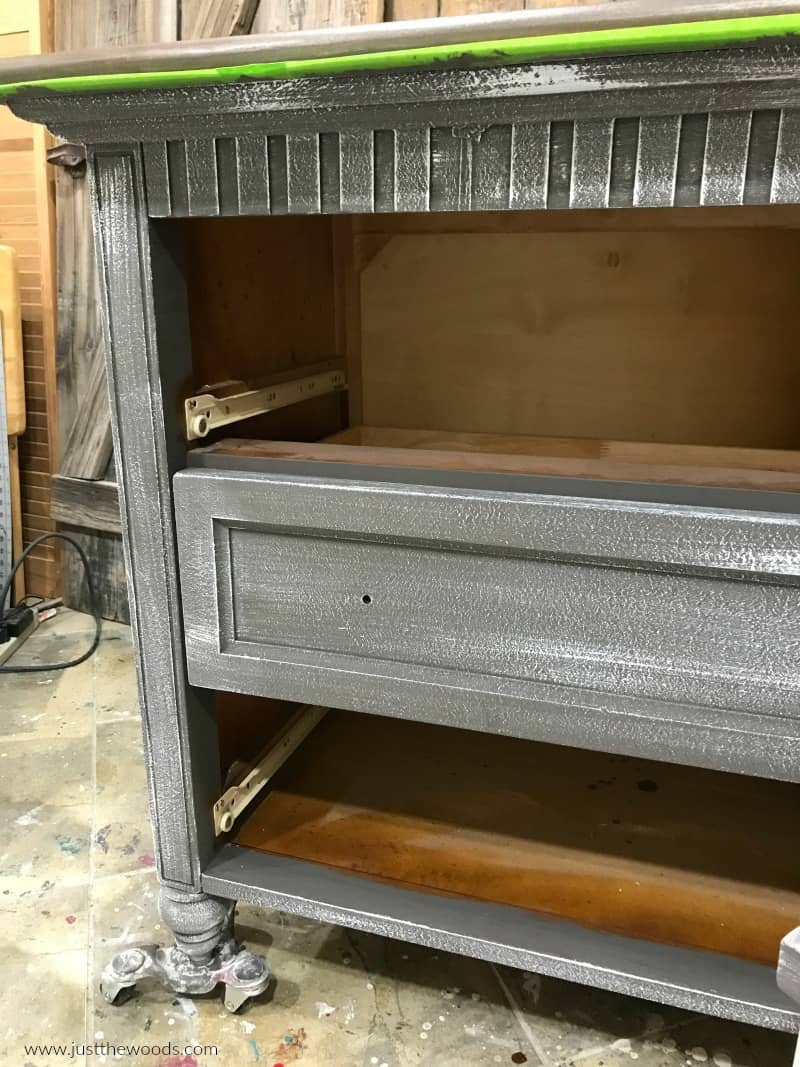
Using your chip brush go ahead and dry brush a light layer of paint onto your painted dresser. Basically, dab a small amount of paint to the tips of the brush, wipe away excess and lightly brush the paint along the surface. You can find a full tutorial on how to dry brush here: Dry Brushing Technique.
Next, we will use the same technique with a slightly darker neutral paint color called Gray Linen, also from Wise Owl.
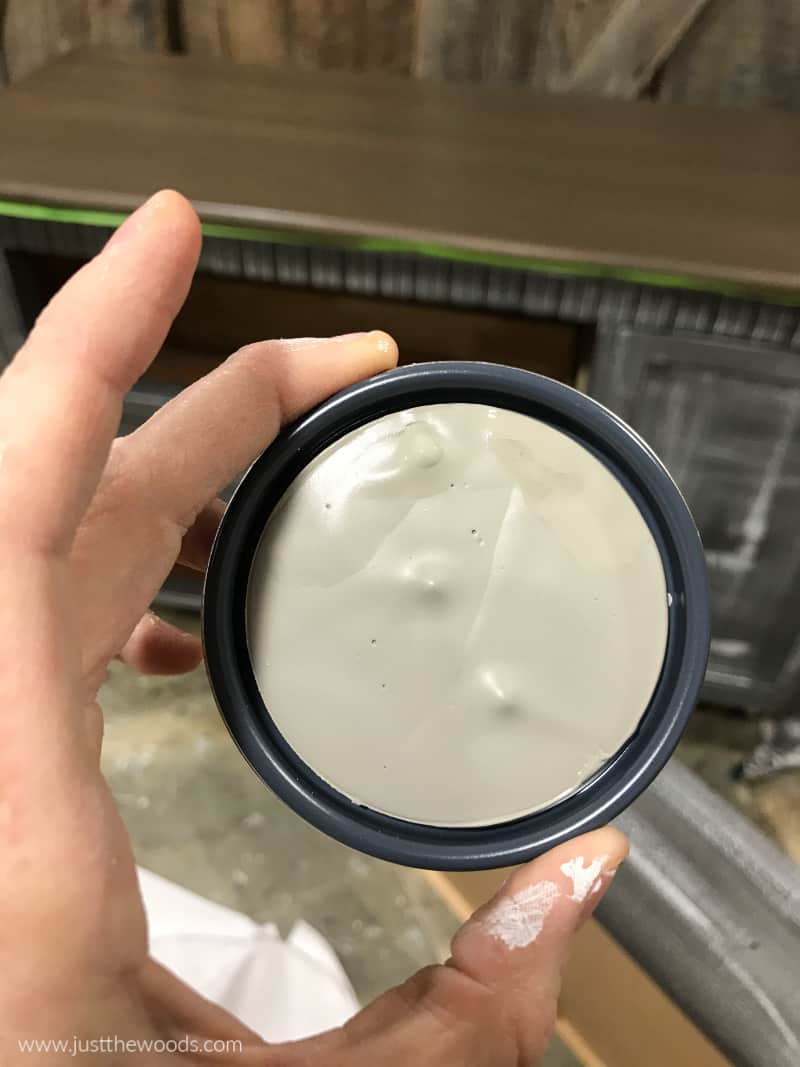
When dry brushing layers onto my painted furniture projects I always like to go back and forth between dark and light shades of furniture paint.
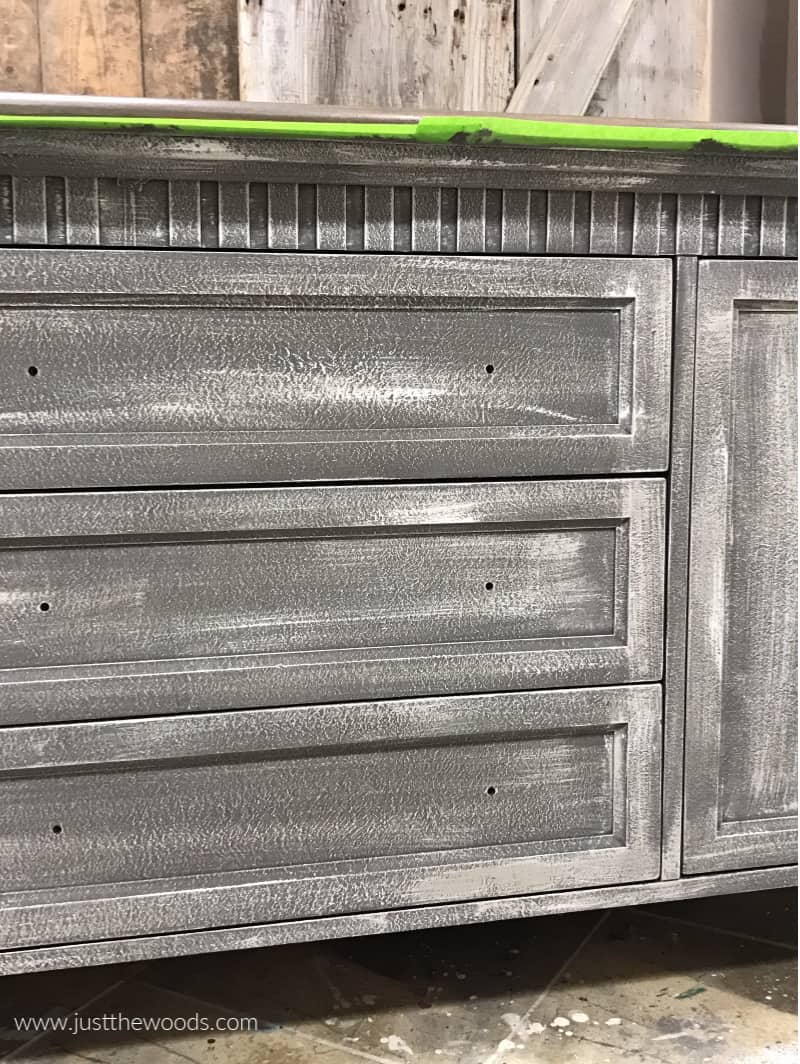
Here is a close up of the light layers on the painted dresser. It has a great texture but something just isn’t ‘right’.
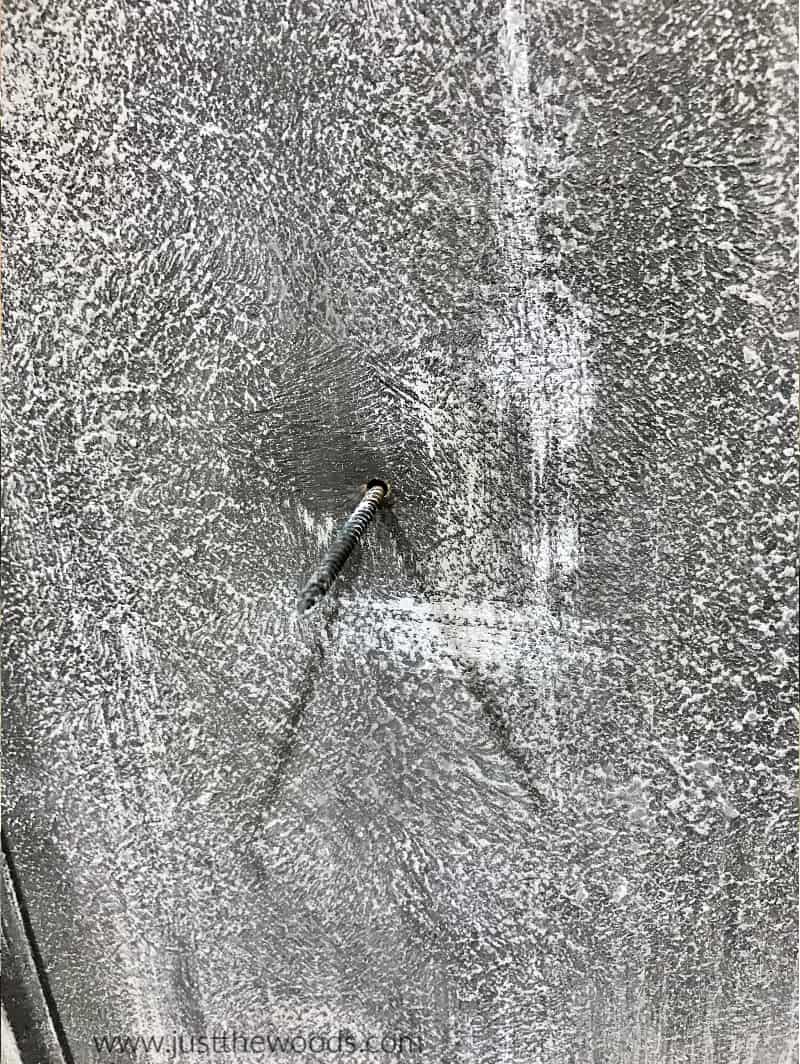
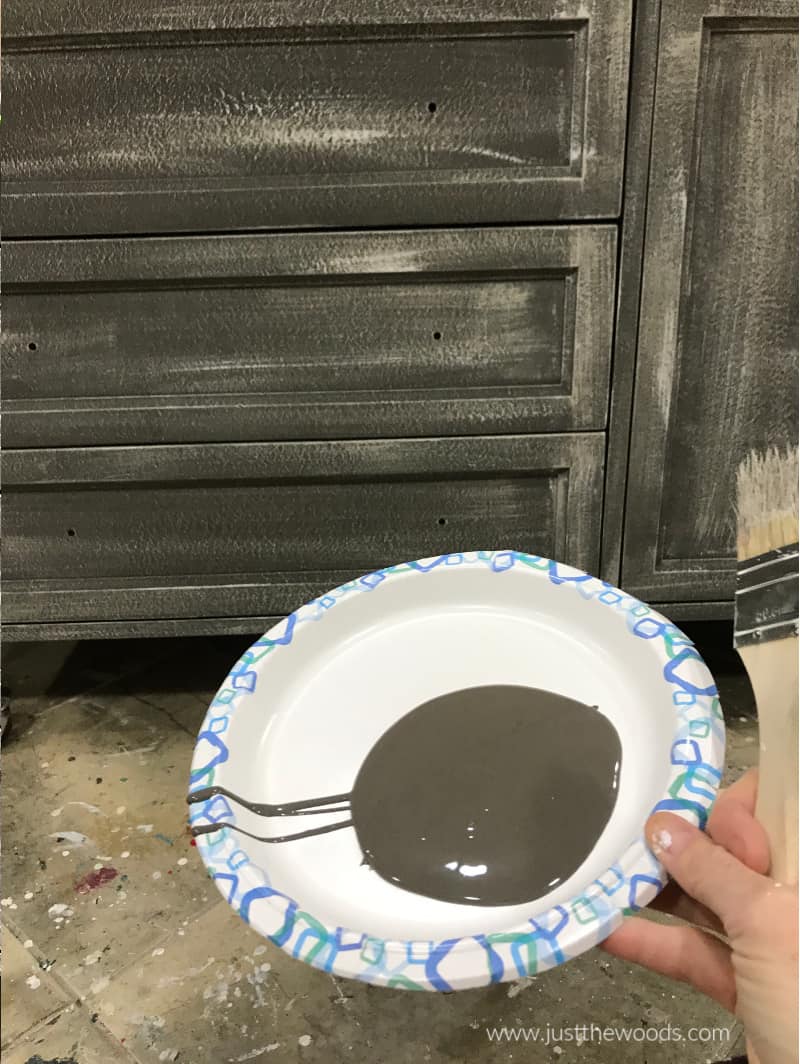
When you are painting a wood dresser sometimes you get your vision for the piece midway through the project. In this case of this DIY painted dresser I realize after adding the layers that I prefer the look of the dark furniture paint over the light layers. There is no rule that says we can’t change our mind. BUT, having these light layers will help with the texture and depth of the end results. Let’s go back to the gorgeous color that we started with – Weathervane!
-
Adding a Paint Wash
To darken the painted dresser up without completely losing the light layers that we have we are going to add a paint wash. At this point we can actually ditch the paper plate and scoop some furniture paint into a cup. Next, add a bit of water to the paint. Make sure to add the water slowly and continue to stir until you get a slightly watery consistency. You want slightly watery but not too watery because you don’t want your paint wash to drip. (Unless, maybe you do). If I had to guess, I would say I use a ratio of 60:40 paint to water. But use your own discretion.
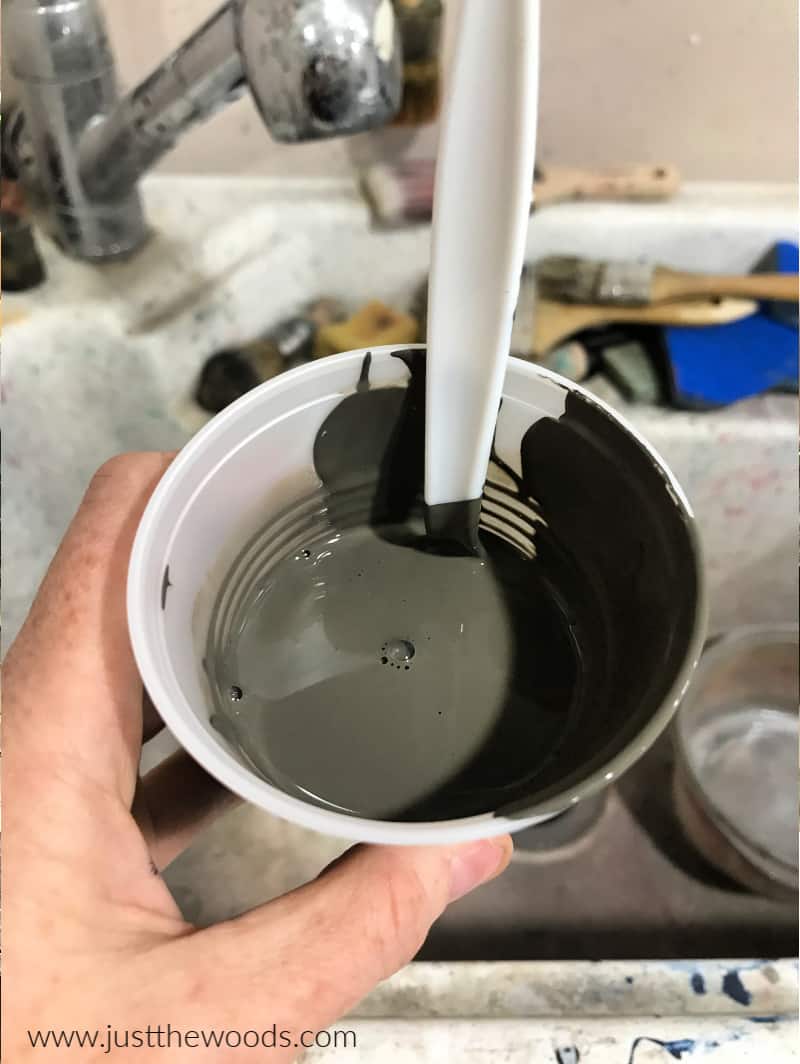
Now, using a better brush than a chip brush – something more like a Cling On go ahead and apply your wash over the entire dresser. It is perfectly fine if you miss a small spot here and there. This will add to your texture. As you can see my wash is not 100% coverage.
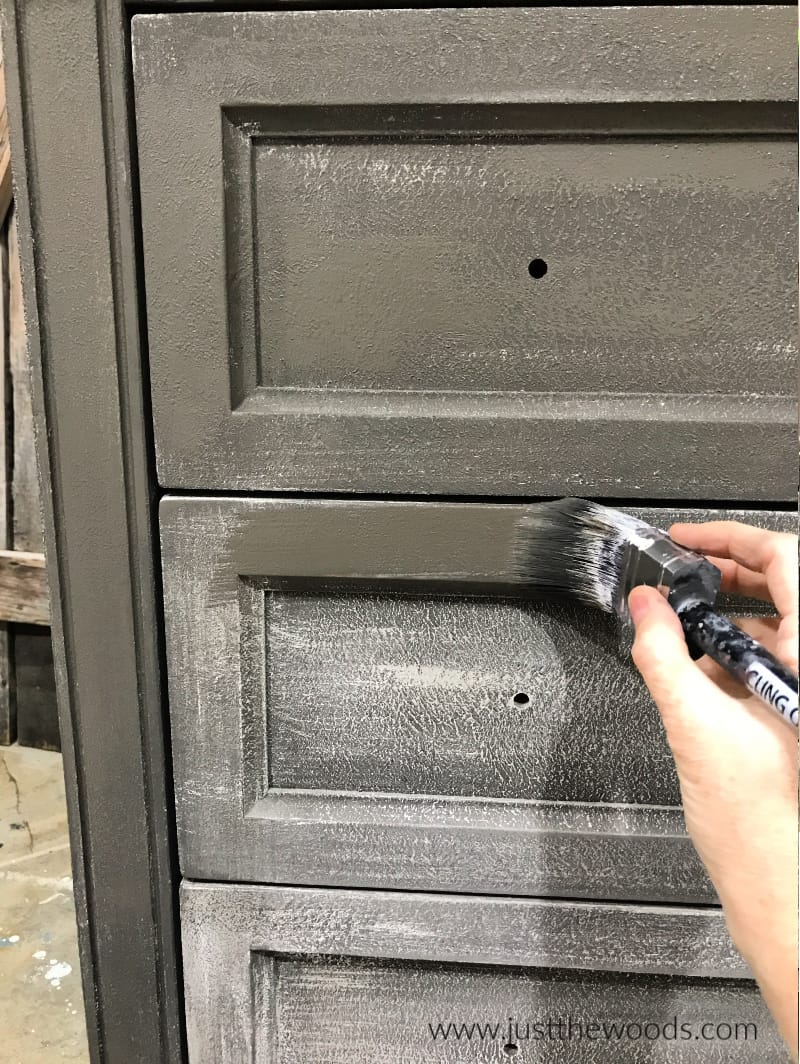
Make sure to paint the side trim of the dresser drawers.
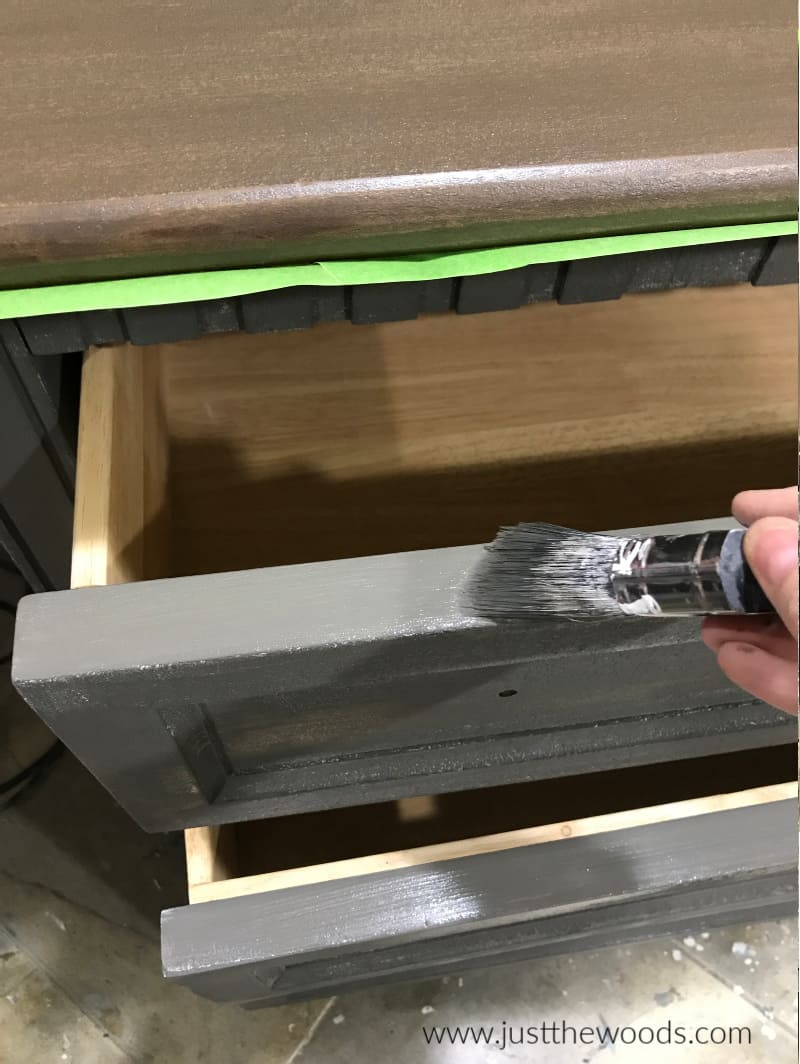
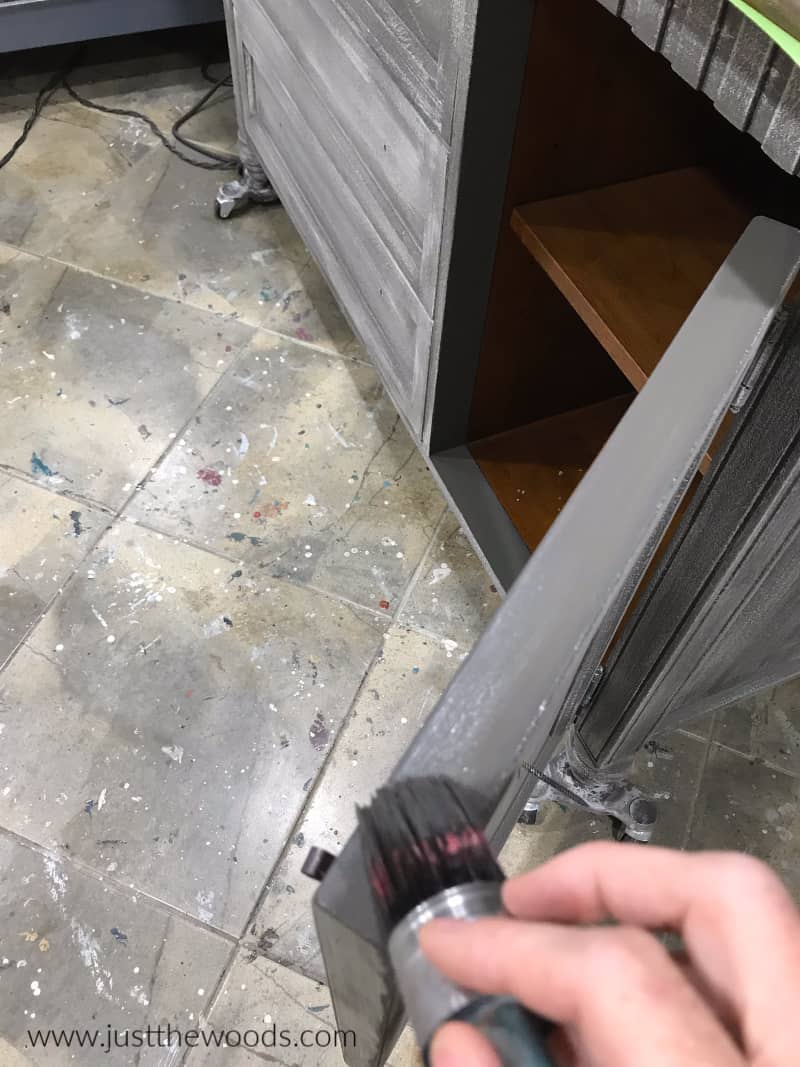
And the cabinet door edges. This gives your painted dresser a clean finished look.
-
Creating a Texture Look on the Painted Dresser with Gray Wash
Now that you have a full wash over your painted dresser you can see that the coverage is not a solid coverage. This is what we want.
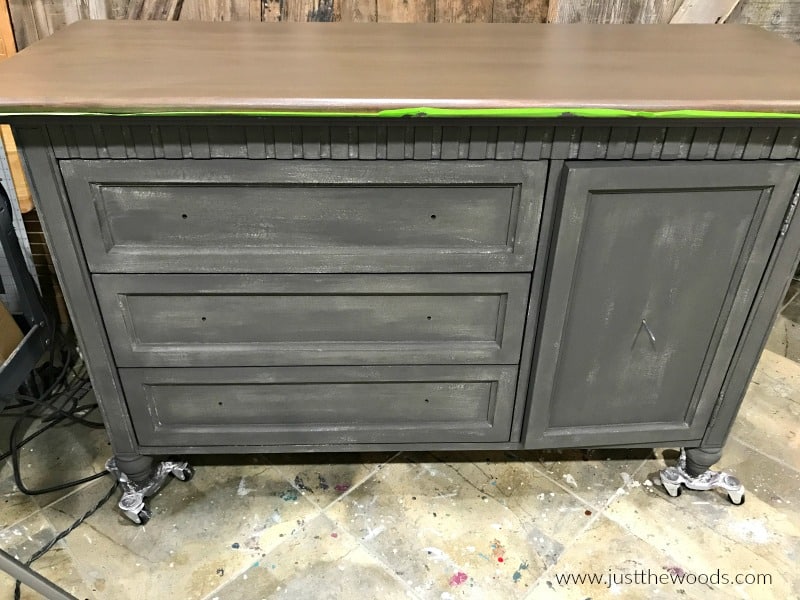
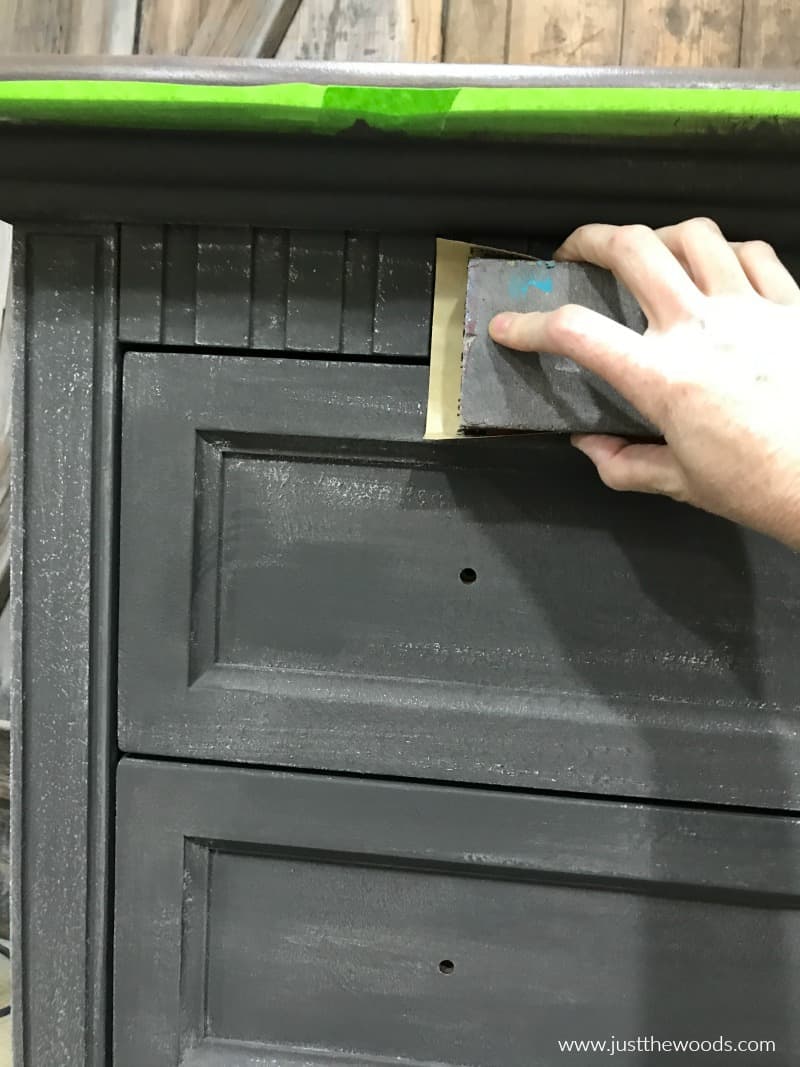
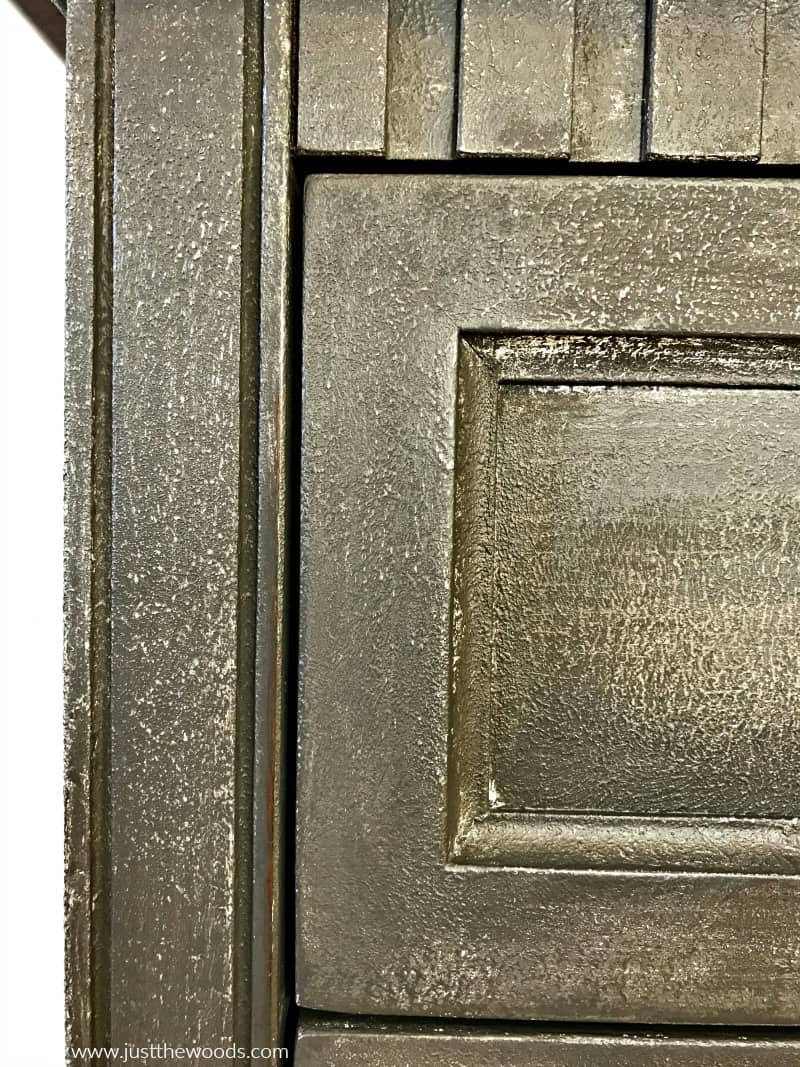
Next, you will grab a piece of sandpaper and sanding block. Wrap the sandpaper around your sanding block and lightly sand the entire painted dresser. By sanding the dresser with light pressure you will reveal the light texture underneath the dark wash.
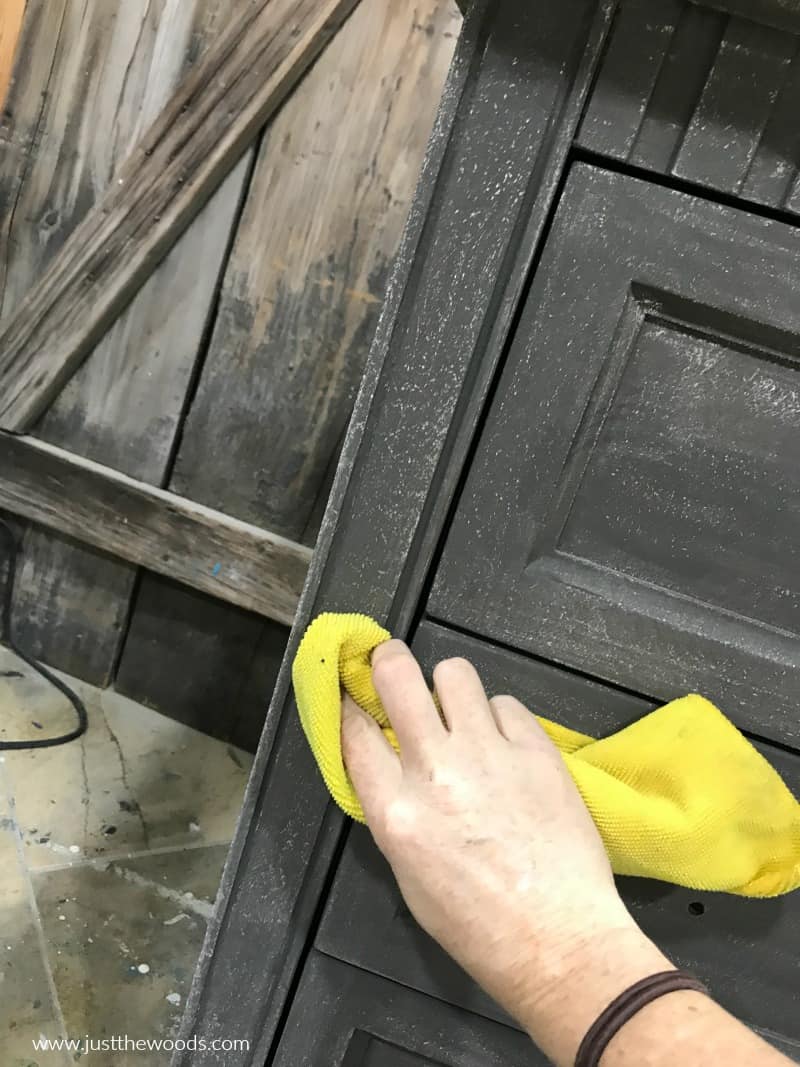
Make sure that you wipe the entire surface with a lint free cloth to remove any dust created during the light sanding.
Sealing Your Painted Dresser
When you are looking for the best protective finish for painted furniture you should definitely consider Wise Owls varnish. The varnish comes in both satin or matte. I am using the clear matte varnish to protect this painted dresser. You can get some online here: VARNISH.
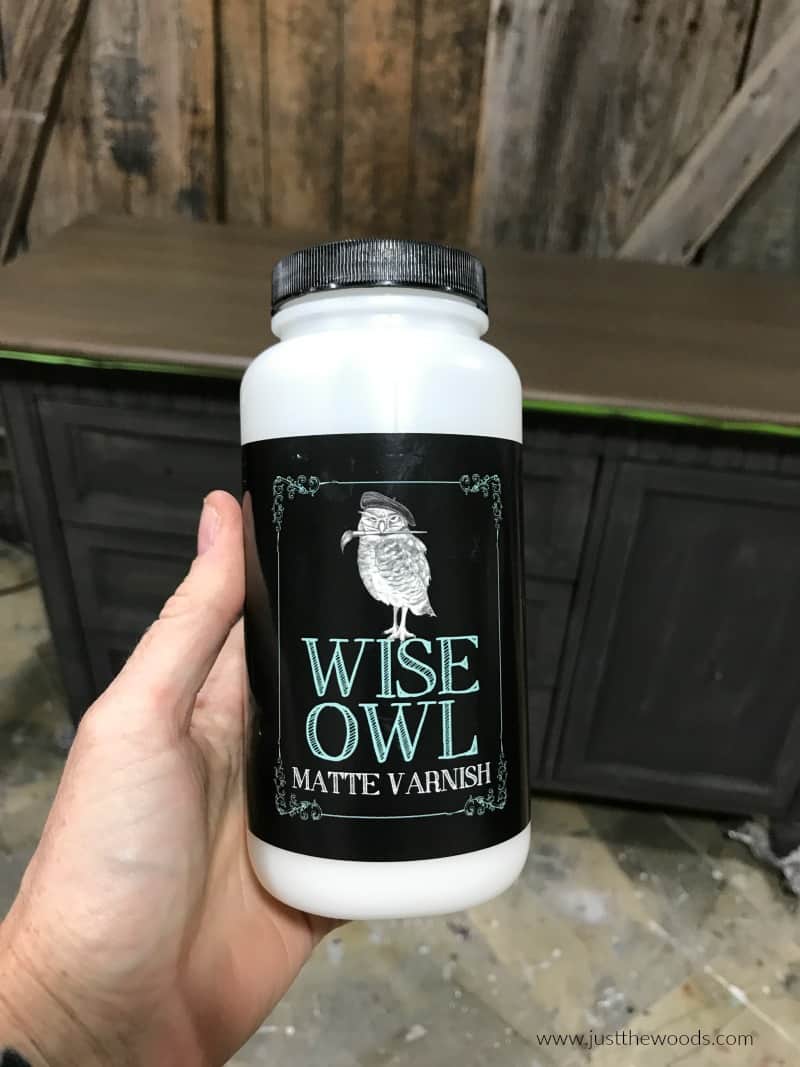
As always, I grab my favorite yellow applicator sponge to apply the varnish to the gray painted dresser.
Changing Hardware on Painted Furniture
Of all the furniture painting techniques out there, no matter what you decide your hardware can sometimes make or break the final look. This painted dresser needs something better than the original wooden knobs but still minimal and timeless. I am going with these simple oil rubbed bronze knobs that I found online here: Knobs.
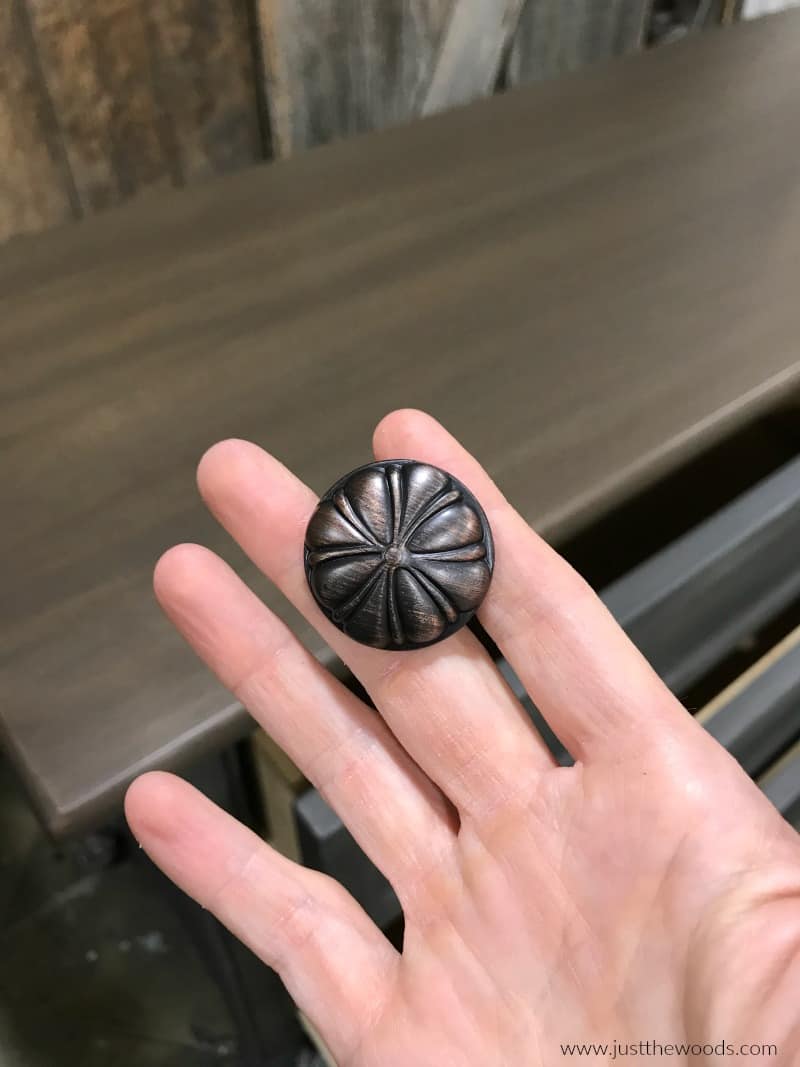
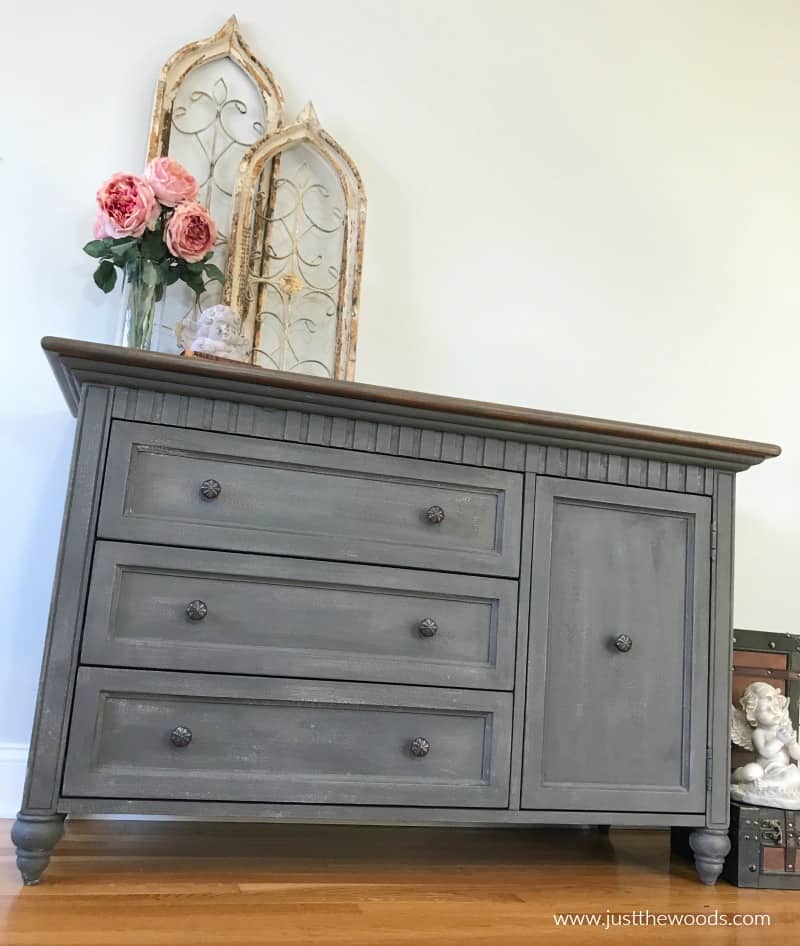
The knobs are dark with a hint of bronze that work beautifully with the dark grays of the body and the deep browns of the stain top.
Inside the Drawers
When you are refinishing old furniture sometimes you have to decide what to do with the inside of the piece and the inside of the drawers. You have a few options:
- paint the inside of the drawers
- line the drawer with decorative paper: How to Add Drawer Liners
- save and refresh the drawer with salve: Save Drawers with Furniture Salve
- line the drawers with felt liner: Wise Owl Painted Table with Felt Liner
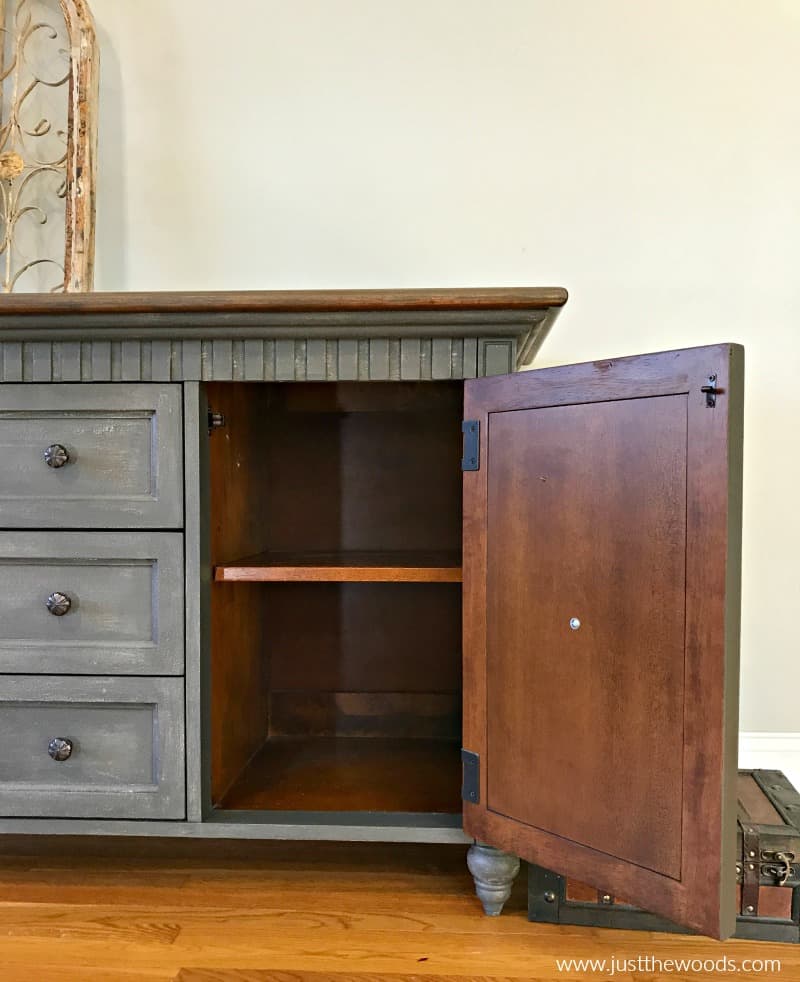
Luckily, when it comes to this particular painted dresser the inside is in great shape and I am able to leave it alone. Other than the basic cleaning, the drawers are left untouched on the inside and the side cabinet is also left alone. The original brown wood finish looks great with the painted finish of the dresser. Win win.
How to Paint a Dresser with Paint & Stain
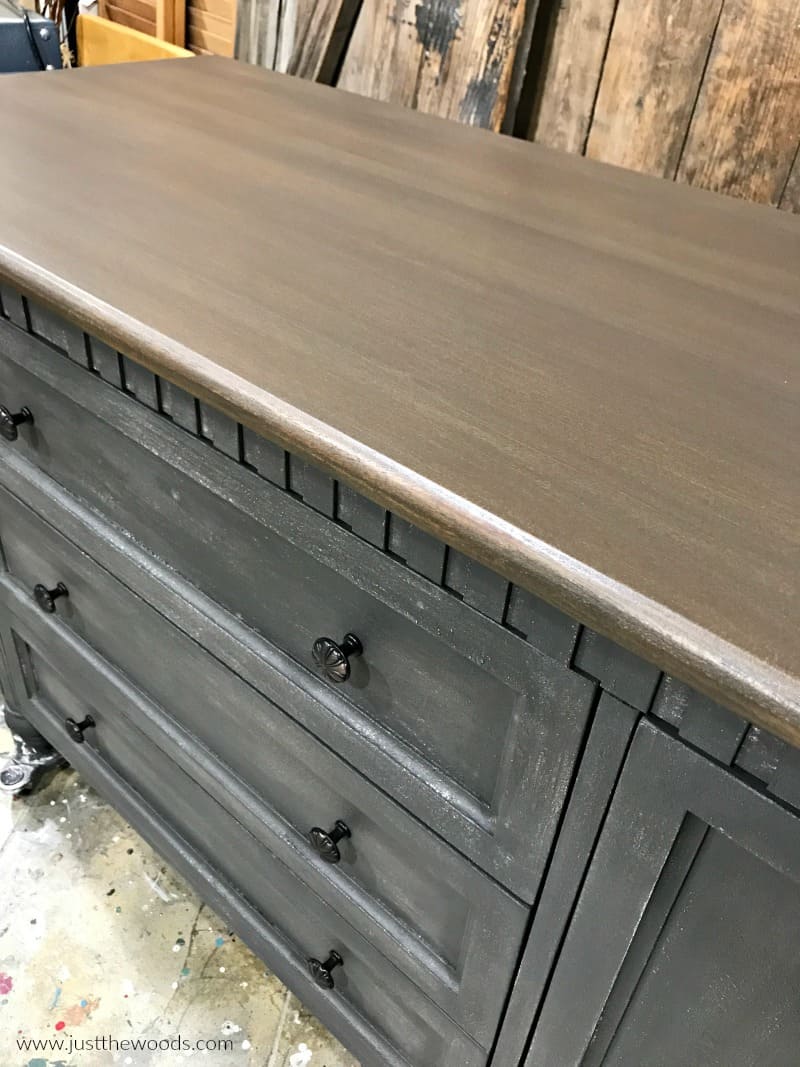
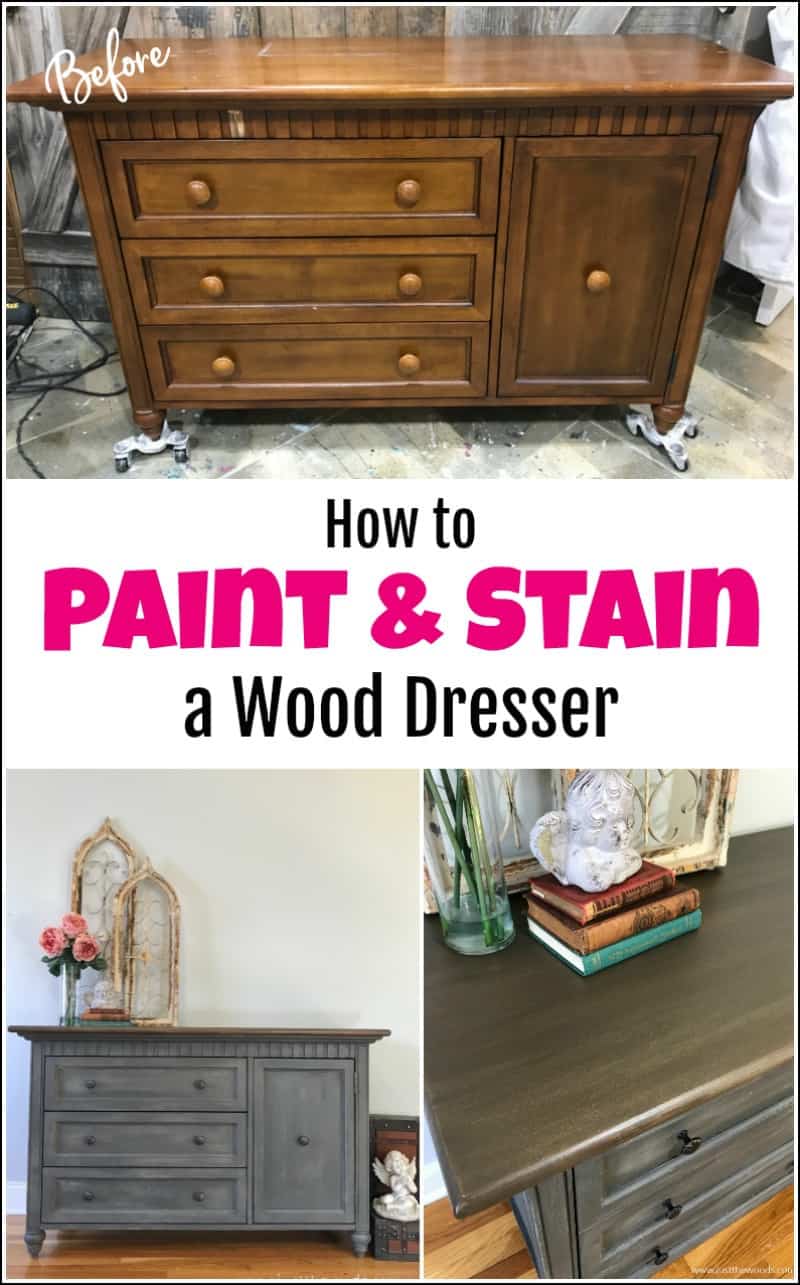
Now you know how to paint a dresser with a paint and stain combo. But at the end of the day, the options are truly endless and you can put your own personal spin on your DIY painted dresser project however you’d like. Our painted dresser is all finished.
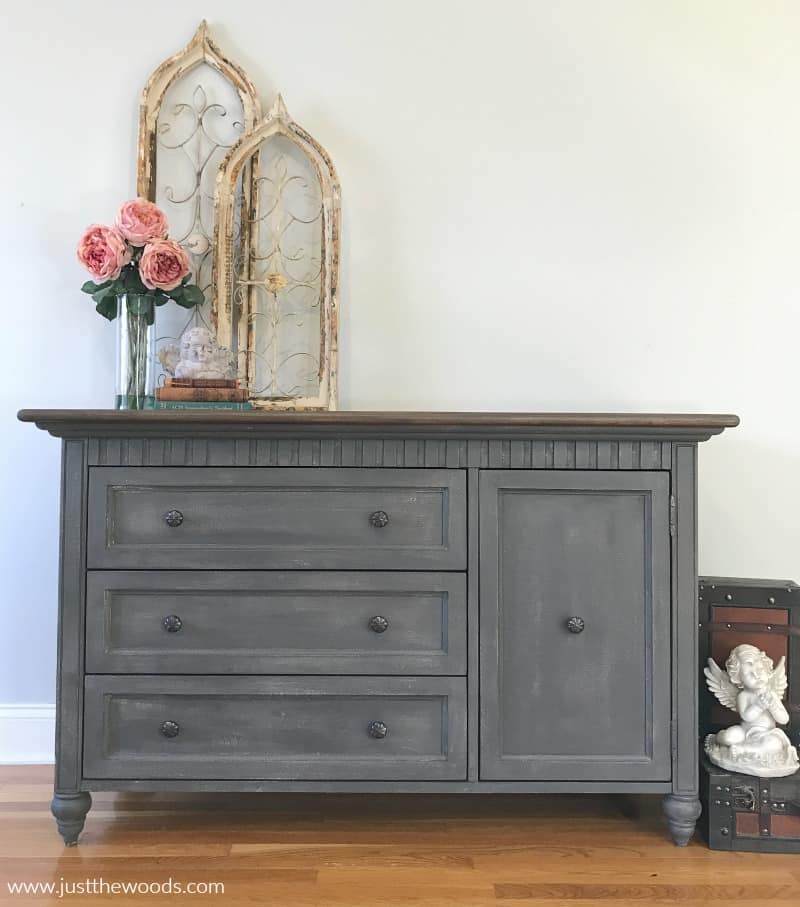
Check out all of my furniture projects with over 90 painted furniture makeovers: Stunning painted furniture ideas.
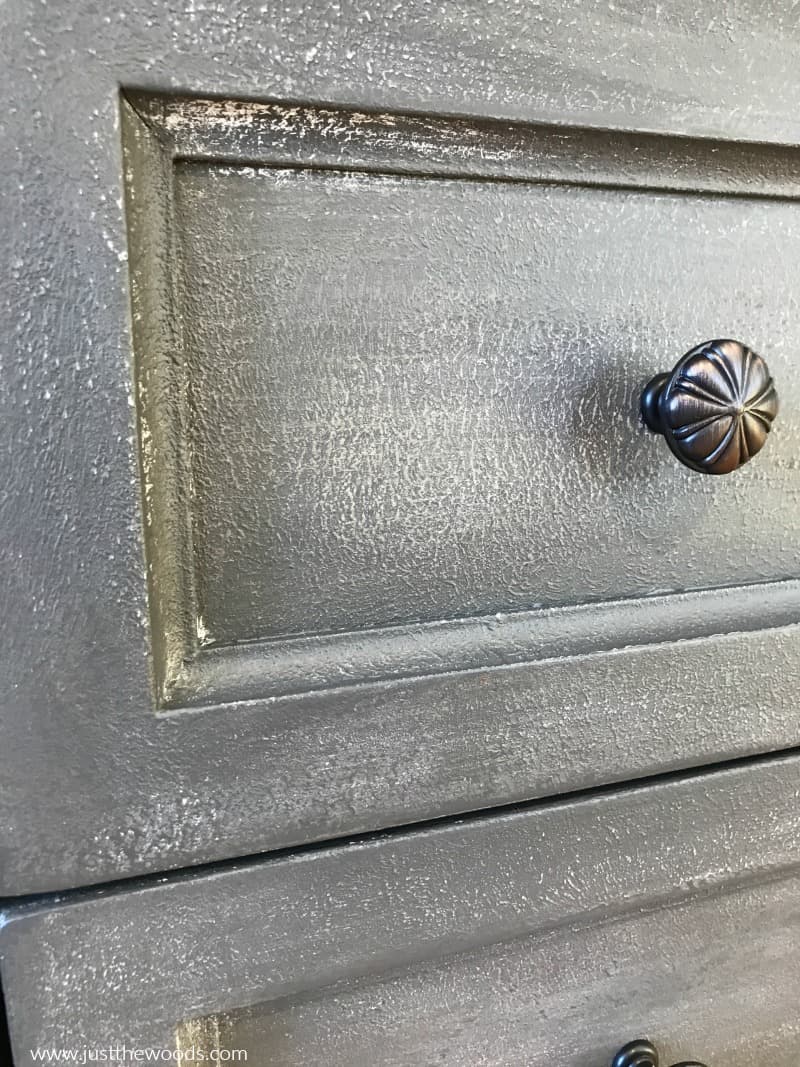
Here is a close up of the detail and texture created by the combination of the Saltwash and the light layers underneath the gray wash.
Donation Projects – Painted Dresser Donation
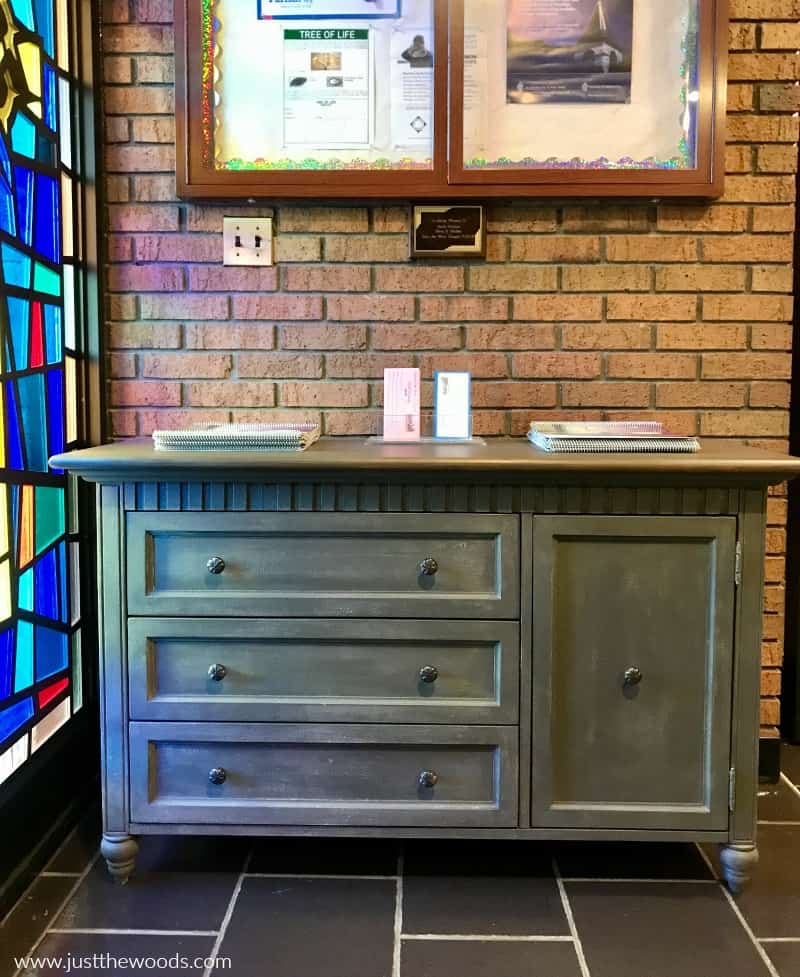
This project, like many of my makeovers, is being donated. Most of my makeovers are given to a local school, animal rescue or charity to help with their fundraising efforts. But this timeless painted dresser is going to our church where it will sit in the lobby entrance. Click here to see all of my projects that have been donated to support local fundraisers, schools, and charities: Donation Projects
Ready to Get Started?
Not sure where to buy Wise Owl Paint? You can get find all of these Wise Owl products and more online here: Wise Owl.
Furniture Fixer-Uppers
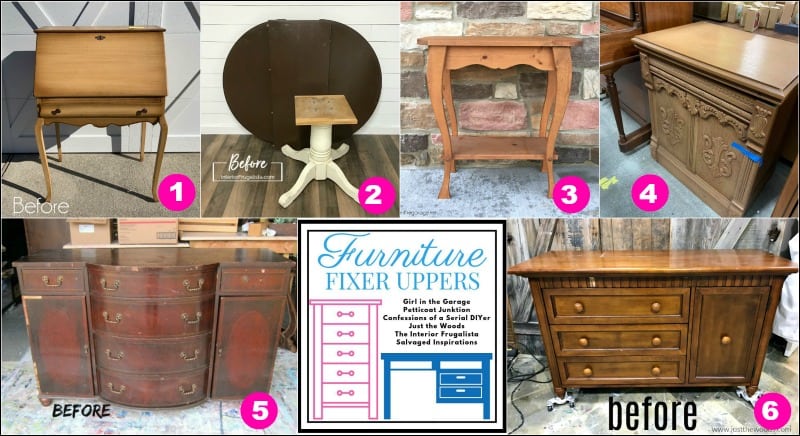
It’s that time again where a few of my creative and talented blogger friends and I have joined together in our monthly Furniture Fixer Uppers share. Let’s see what my friends are up to! Make sure to click the links below the image to check out all the amazing projects that my bloggy girls are working on this month.
1. Confessions of a Serial DIYer
6. Just the Woods (you are here)

Don’t Forget – Follow Just the Woods and Share this post to Inspire others:

FACEBOOK * INSTAGRAM * PINTEREST
Stay connected! For more tips and tricks sign up here : [mc4wp_form id=”1340″]



Christy James says
Funny…now it looks like it is made for a ten-year old’s room! Maybe you had that in the back of your mind subconsciously haha! xoxo
Marie says
How exciting is that to have your awesome dresser on display in your church lobby. Talk about a night and day transformation! It doesn’t even look like the same dresser.
p says
I do love your work ! Great tips / techniques.
The grey finish on this dresser is beautiful ! Great job.
I so wish I could Pin your info / instructions. I do sometimes have an issue w my MacBook.
Guess I need to research for a fix.
Oddly tho – I’m able to pin from the other Furniture fixer upper sites.
Thanks for sharing ! Your work is inspiring.
kandice kullmann says
thank you so much!! Im working on fixing that Pin it issue. week
Denise - Salvaged Inspirations says
Night and day makeover Kandice! I’m loving all that yummy texture and dry brushing. XOXO
Jen @ Girl in the Garage says
Kandice, the update with the paint and stain is both beautiful and a masculine, if that’s possible. 🙂 How special to see your handiwork at church all the time!