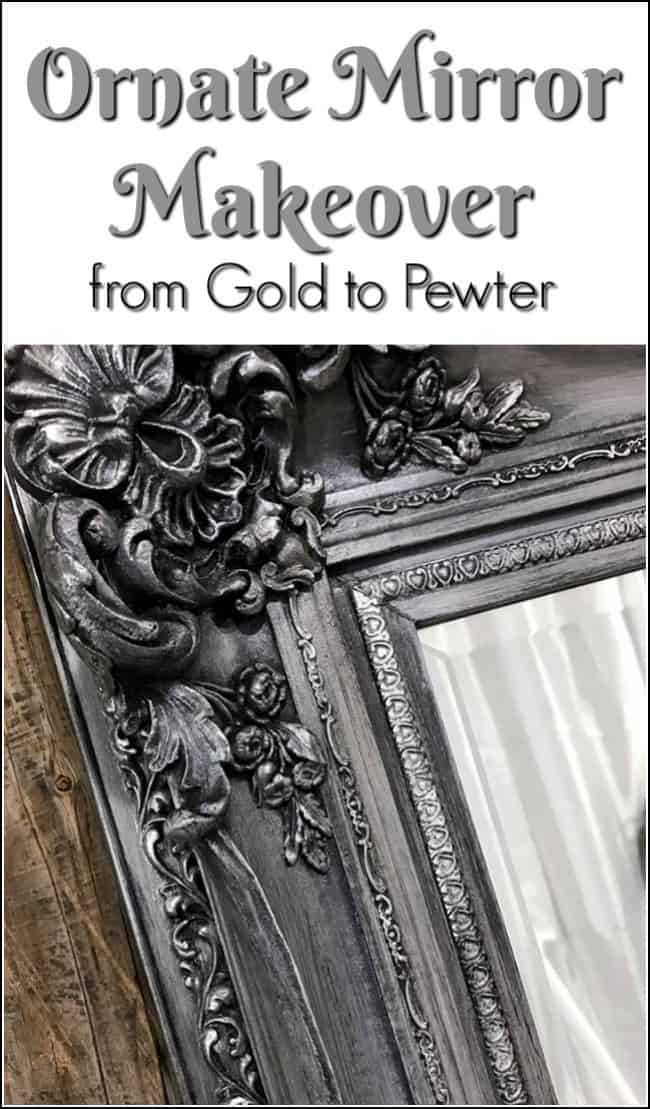
Elegant Ornate Mirror Makeover from Gold to Pewter
Ornate Mirror with an Elegant Metallic Pewter Makeover
I have to confess that this ornate mirror is a little intimidating. It’s grandiose size, it’s ornate details. It’s just plain gorgeous and makes you hold your breath while your heart skips a beat for but a second. When it comes to ornate vintage mirrors this one is breathtaking.
Disclosure: This pewter elegant ornate mirror post contains affiliate links for your convenience.
Materials Needed / Source List:
The Before – Grandma’s Vintage Ornate Mirror
This ornate mirror belongs to my customer and before that it belonged to her grandmother. It’s gorgeous ornate details exude a presence no matter what color it is, but my customer wants to change the mirror from gold to pewter to better match her home. You can see that leaned up against the wall it is a full-length ornate mirror.
When the mirror was dropped off at my shop I decided to put it on my sawhorse due to its enormous size. I fear that photos just aren’t able to truly capture the size of this large framed mirror. 
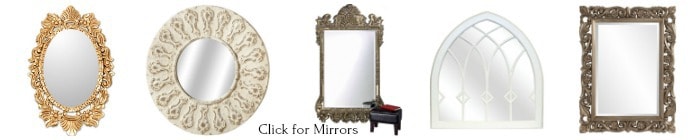
If you adore this style of mirrors then click here for a variety of available ornate mirrors: HERE
The Process – Painting a Vintage Ornate Mirror
First, and foremost I made sure to protect the mirror itself by taping off the mirror and then covering the whole thing with brown paper. I know many people who don’t cover the mirror but rather paint and then scrape off any paint with a razor. But I know myself and I am very messy when I work, so I prefer to play it safe and cover the entire surface.

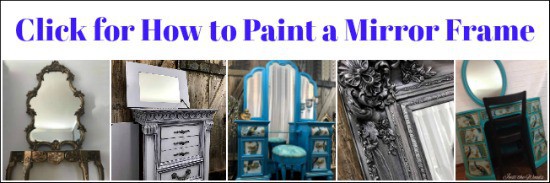
Click here for more options and How to Paint a Mirror Frame the Easy Way

To clean and prep the mirror I lightly sanded and then used an old toothbrush to get in the nooks and crannies.
Once prepped for paint, the entire mirror is painted black. It took two coats to cover up all of the gold on this large ornate mirror. 
Once the gold is all covered up I decided to seal the black paint in with black sealer. Again, just a little extra measure. I would hate to distress later in the makeover and reveal the gold again, so the sealer adds a protective layer to the black.
Layering Paint to Bring out the Details
Moving on, the next step is to brush the details with a light gray paint. Oh my! I’m speechless.
 The gray over the black makes the details POP!
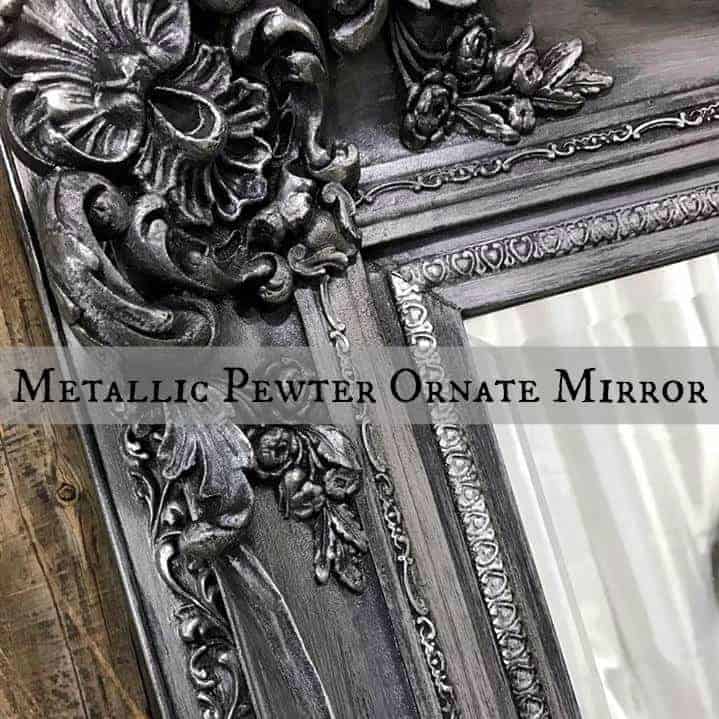
After this step, I layered metallics using silver and onyx. Once the layers were complete the raised details were all kissed with a hint of silver before being sealed for protection. I must’ve used every paintbrush in my shop to get different textures, add layers and get into crevices, or lightly brush raised details.
The Result – Painted Pewter Mirror
When I forwarded a few photos to my customer before staging I had a lump in my throat and a tightness in my chest waiting to hear back from her on whether she liked it or not. Once she responded that she loves it I felt like I could finally breathe again. Then my mother in law came by to see the kids and said: “that mirror looks great, it looks like a pewter” .. which is exactly what we are going for, so another sigh of relief there. If you are trying to get a similar metallic painted finish as this mirror I would suggest using Modern Masters Metallic Paints in Black Pearl, Pewter and Sterling Silver – find them all HERE. 


For more painted furniture before and after projects, and makeovers, make sure to check out all of my chalk paint furniture tutorials with over 90 projects here: The Ultimate Guide for Stunning Painted Furniture Ideas


Love this metallic makeover? If you adore projects using metallic paint then make sure to check out some of these great makeovers.
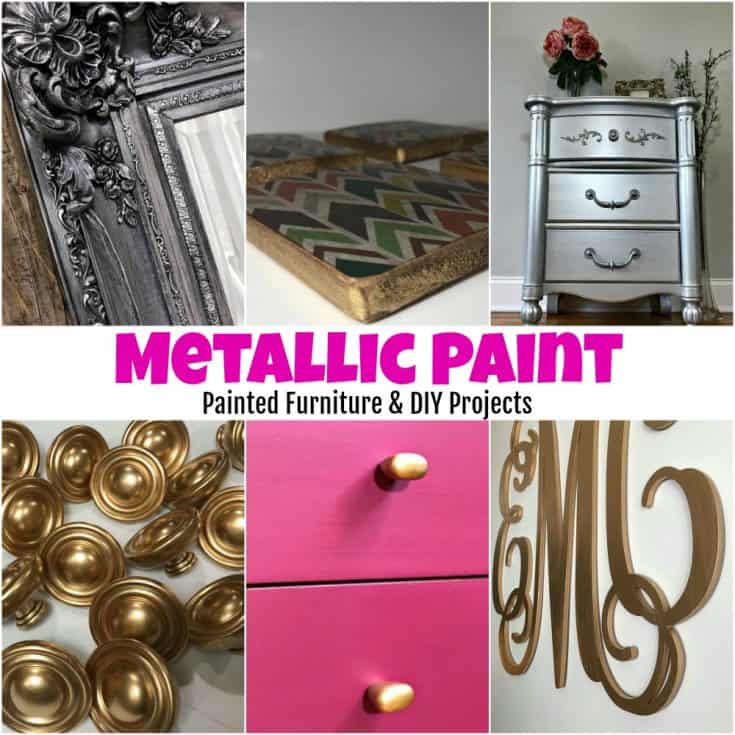
Painted Furniture Ideas & DIY Projects using Metallic Paint
Because adding metallic paint to your furniture makeover is always a great idea! Here are 10 more DIY projects using metallic paint.
How to Paint Furniture with the Best Silver Metallic Paint
This metallic painted table is stunning with its silver paint finish.
How to Paint Furniture with Modern Masters Metallic Paint
Modern Masters metallic paint is perfect for painting metallic furniture.
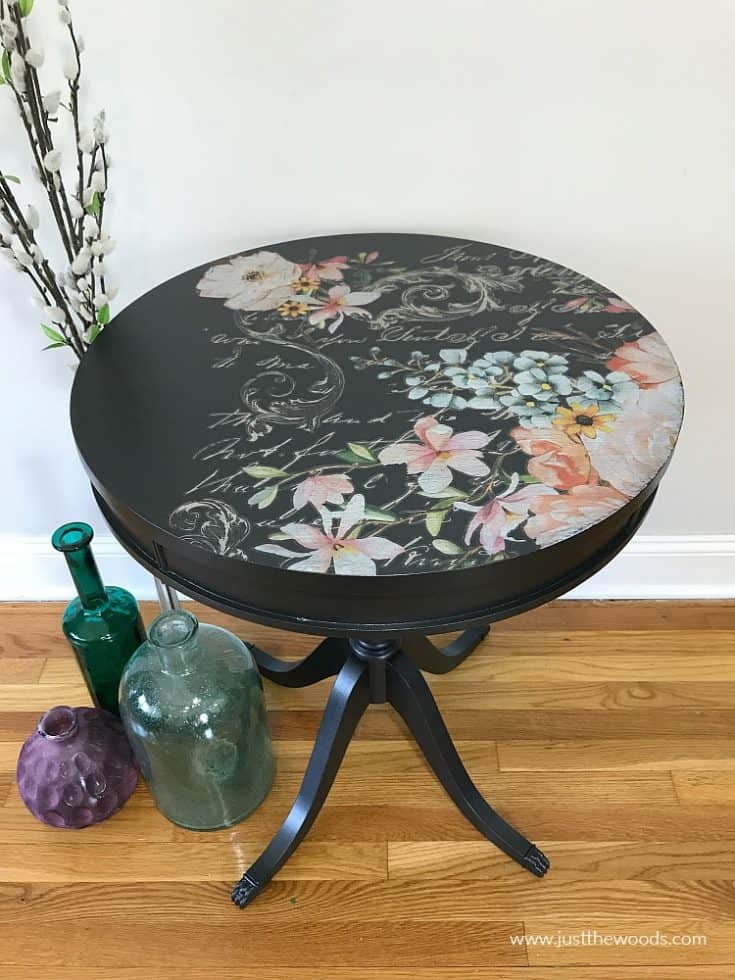
How to Refinish a Table with Metallic Paint and Fabulous Florals
This gorgeous painted table is sporting dark silver metallic glaze as well as a floral furniture transfer
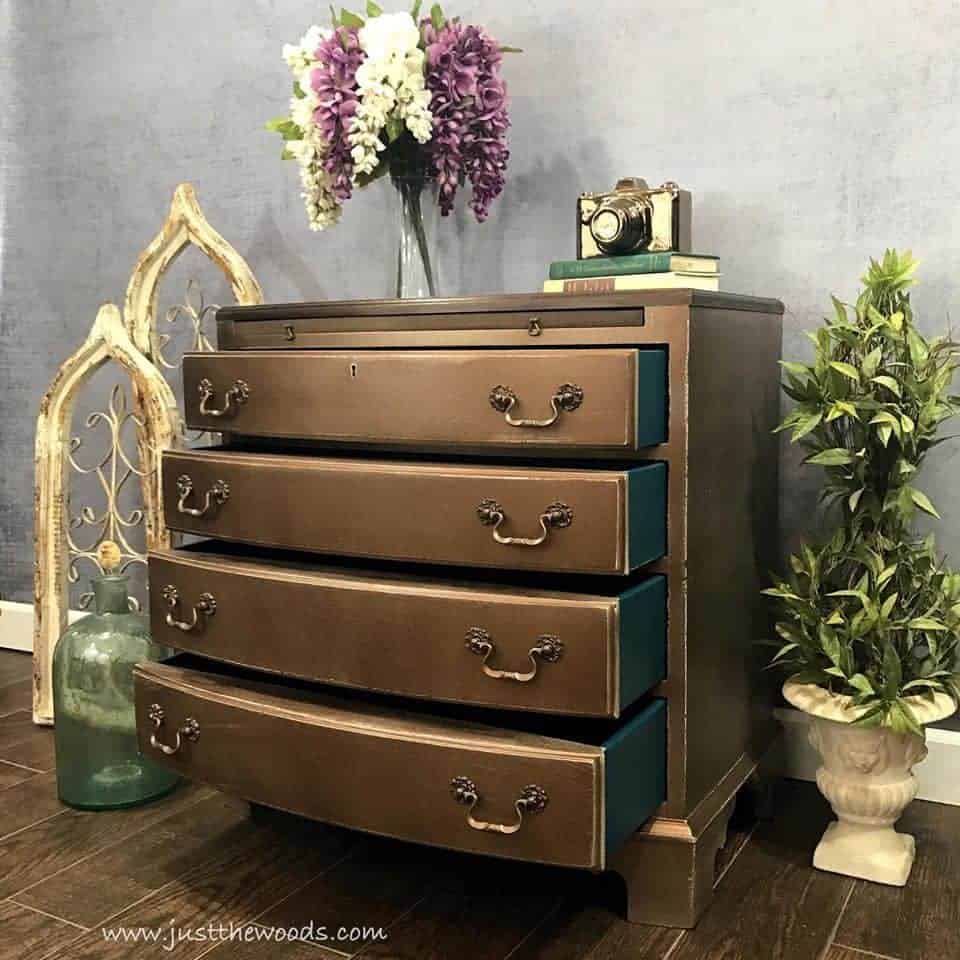
How to Add Bronze Metallic Glaze to Painted Furniture
This painted dresser is given an added metallic bronze glaze and it looks fabulous... like a bronze penny.
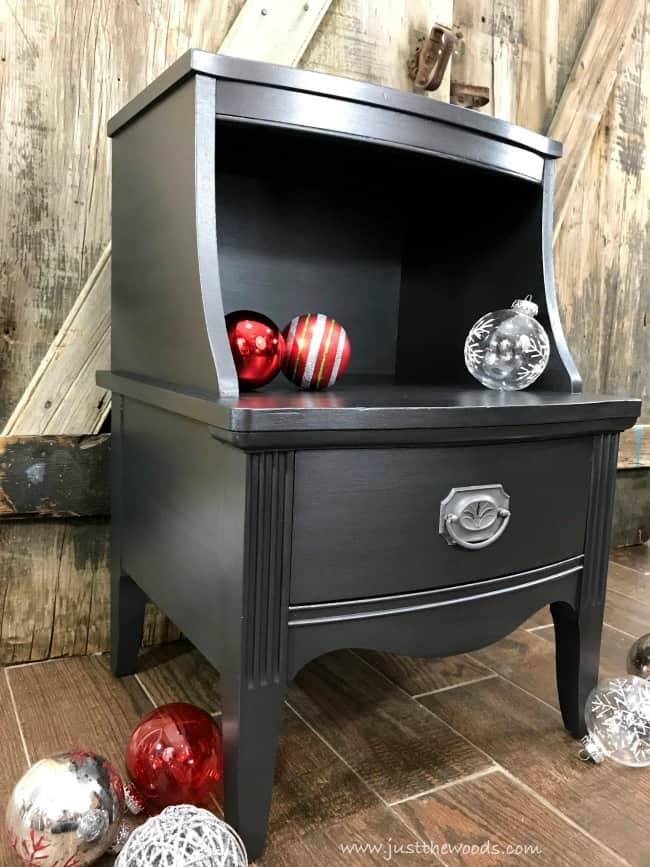
How to Paint Glamorous Furniture with Metallic Paint
See how this painted table is finished with a custom mixed dark silver metallic paint.
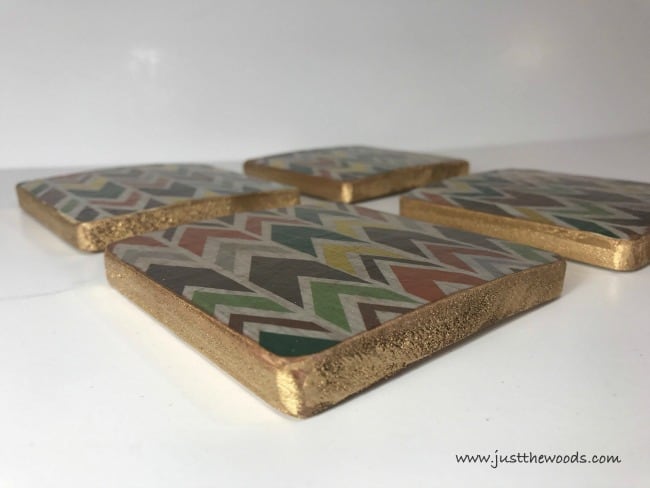
How to Make the Best DIY Coasters with Gold Leaf
This adorable DIY coaster project shows you how to decoupage your own coasters with added liquid gold paint on the edges.
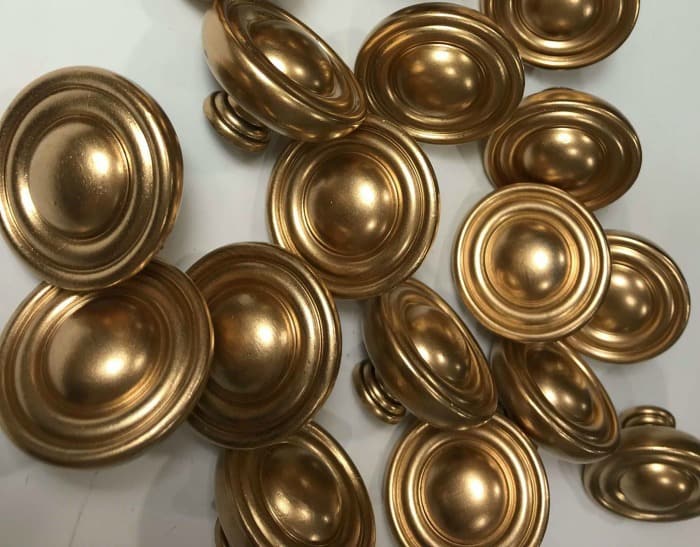
How to Update Your Hardware with the Best Gold Paint
Furniture hardware both young and old look great with a little updating. See how to update hardware with gold paint.
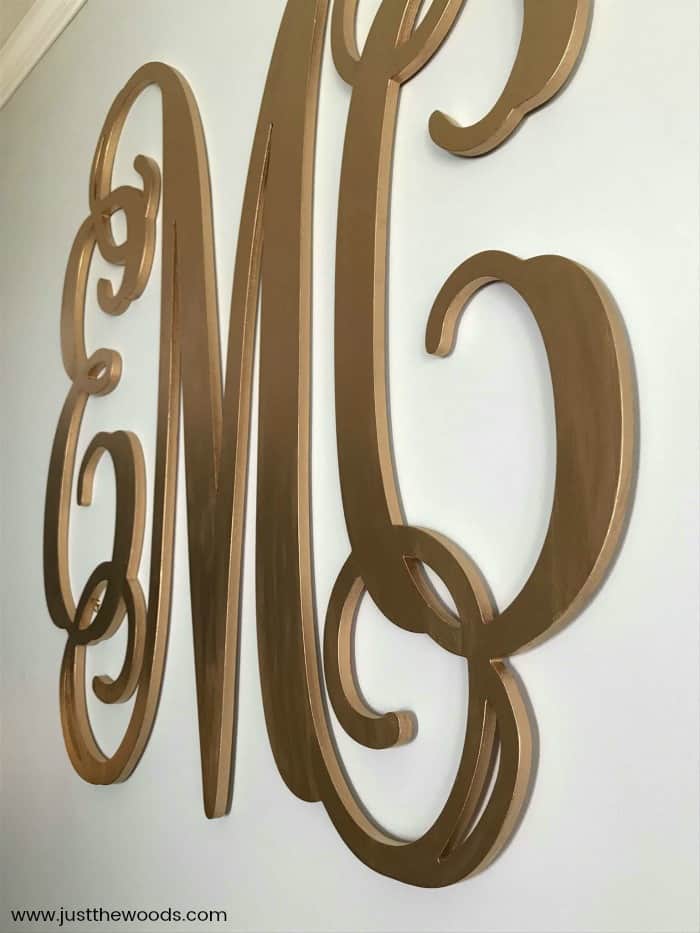
How to Update Your Decor with the Best Metallic Gold Paint
Wall decor can be transformed easily using metallic gold paint.
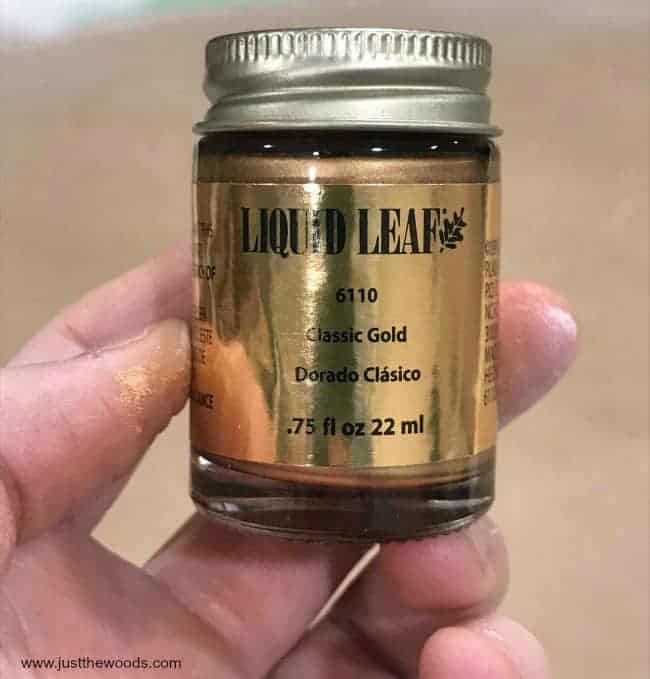
Need Gold Paint? This is the Best Liquid Gold Leaf Ever
An oversized vintage mirror is transformed using the best liquid gold leaf paint in this painted mirror project.
10+ of the Best DIY Projects Using Metallic Paint
For more metallic paint projects, here are both painted furniture ideas as well as smaller DIY projects using metallic paint.
Don’t Forget – Follow Just the Woods :
FACEBOOK * INSTAGRAM * PINTEREST
PINTEREST PIN READY TO SHARE


Wow, it’s truly breathtaking. Amazing job! Even though you explained it…I still have NO IDEA how you did that! I’m going to call it magic. 🙂 –Kat
lol thank you so much Katherine. thats an awesome compliment
So much better! I love it.
thank you so much!!
This mirror is so much more elegant and modern now. Beautiful refurbishing. I have pinned it.
Kandice, girl you slayed that finish! Really made this piece a stunner! Thanks for sharing it at Friday’s Furniture Fix!
hey! thank you so much! So glad you took over the party and will be keeping it going!
Stunning! Absolutely stunning! I currently am in possession of a large ornate mirror that I recently salvaged. Oval and ornate yet not as finely detailed as yours, I set it aside to debate it’s new look. It too is gold…..But it has a gothic look that I want to enhance without simply painting it black. This is just the look it needs.
thank you so much!
I love the make over! You must have nerves of steal to change that gorgeous antique piece.
thank you! it was a little intimidating 🙂
Love your work….amazing how many layers you do and end up with that beautiful depth….
thank you! Sometimes I have to stop myself from going too far 🙂
I have that same antique mirror and have been wondering how to achieve just that look. Thank you for posting this!
That is a perfect transformation. I have some 50 year old bathroom light fixture with ornate fold stuff around them. I have been wanting to redo in just this kind of a color. Thanks for sharing.
Can you provide the name / color / brand of metallic paint you used after the light gray color? I absolutely love this and want to make sure to create it as close to possible.
Thank you!
Mary
Wow…this turned out beautiful. I wish you lived close by so I could just hire you to do the same to my mirror!!! Instead, I’m going to try it myself. Thanks for the details. I will also likely purchase your layering tutorial before I get started. A small investment to make sure I don’t mess it up. Thanks again!
what is the value of the mirror? I have one just like it in the original gold color and because I had it for over 25 years I have no Idea what it’s worth.
to be honest, I dont know.
Nice job
I’m definitely doing this. I have almost an identical mirror. I’m ready!! Thank you.