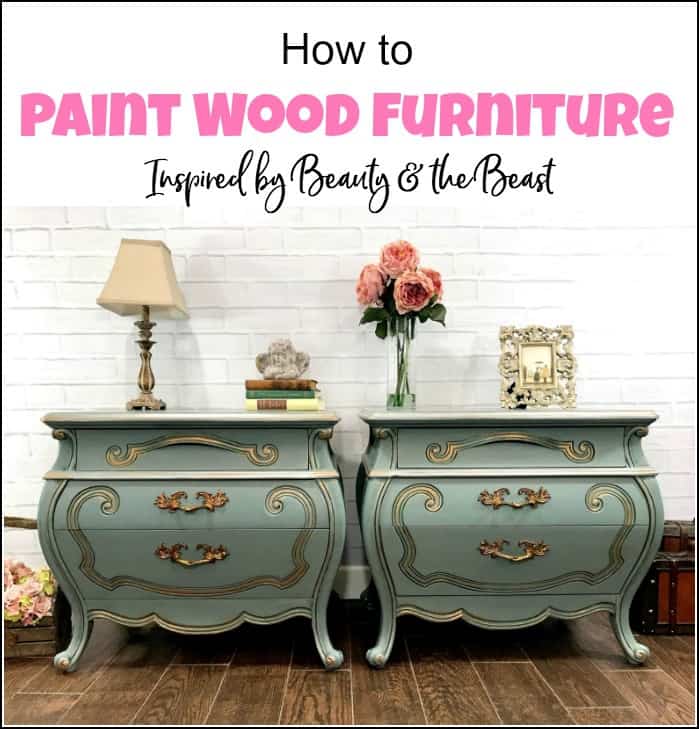
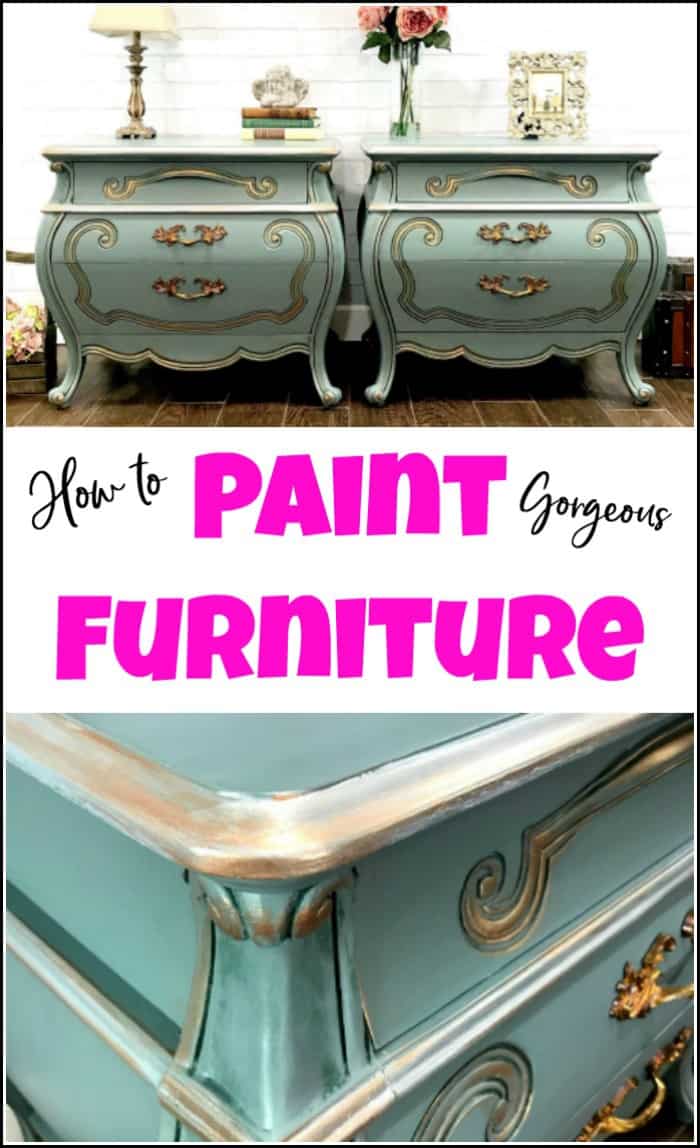
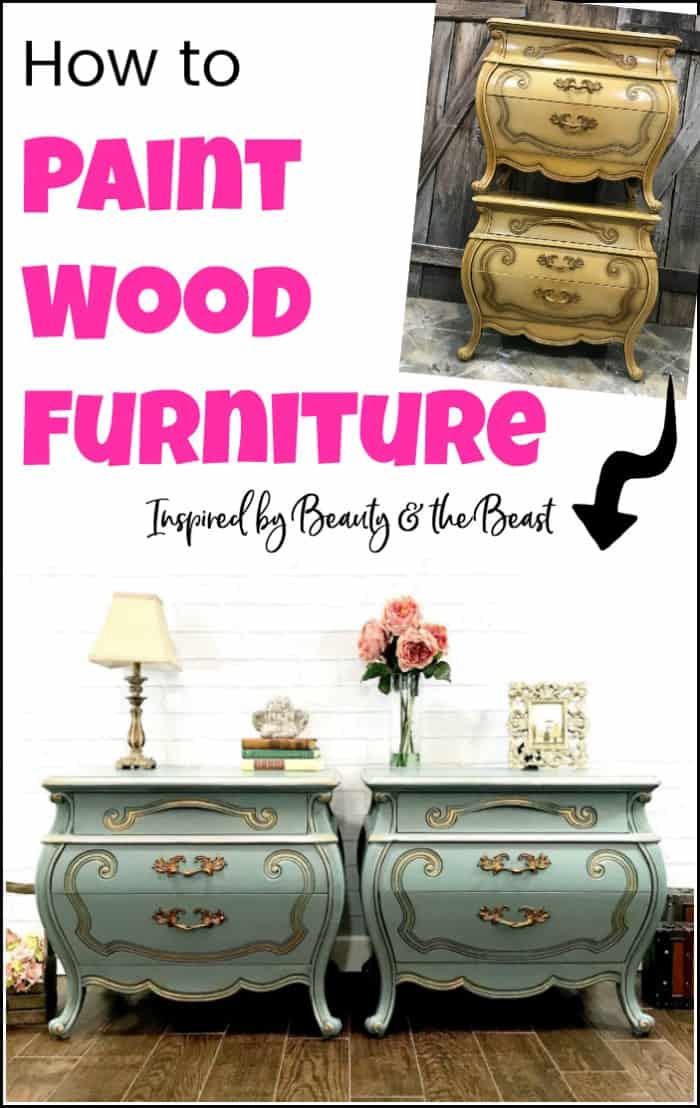
So you want to paint wood furniture? It’s not often that I paint furniture inspired by a movie. But, there’s always a but right? I have been watching Beauty and the Beast with the kids and I absolutely fell in love with the furniture. You know those gorgeous blue-ish, green-ish, gray-ish pieces of furniture with metallic highlights. So when I scooped up this pair of chubby wood bombe chests it just clicked. I need to be painting wood furniture like the furniture in Disney movies! Because if its good enough for Belle its good enough for me. Belle is the princess in Beauty and the Beast, right? I don’t want to mess up the Disney princesses haha.
Disclosure: This how to paint wood furniture post contains affiliate links for your convenience. I may be compensated if you make a purchase after clicking on my links. Click here for my full disclosure policy.
Supply List for Painting Wood Furniture
What You Will Need
Tools
- Zibra Paint Brushes
- Straight Razor
- Rolgear Screwdriver
- Artist Brushes
- Shop-Vac
- Water Sprayer
- Lint Free Cloth
- Flexible Sandpaper
- Yellow Applicator Sponges
- Wise Owl Lemon Verbena
- Find all of my favorite tools and products on my Amazon Page here
Paint
Make sure to stick around all the way to the end of this project because it’s our monthly Furniture Fixer Uppers day. You know what that means? You get a whole bunch of furniture painting projects to enjoy. 🙂
Unfinished Wooden Bombe Chests
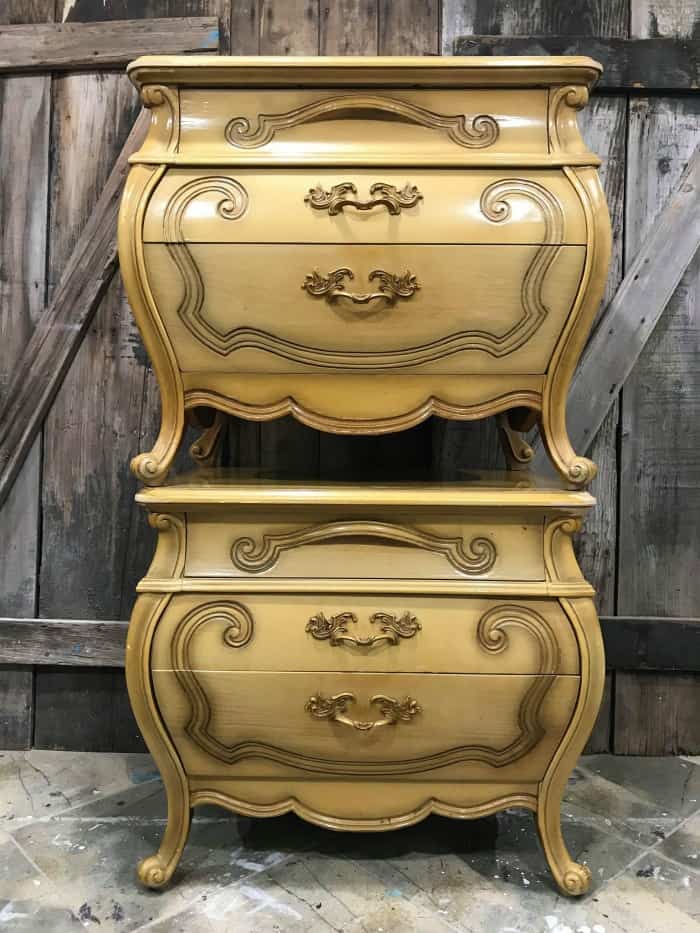
I scooped up these chubby bombe chests for the simple reason of “I have to have them”. They have such great curves and detail I just know that they will look amazing painted. And they are made of all wood! Great shape and solid build – that’s a double score. I admit that they say in my shop for quite a while before getting to them, so I stacked them very carefully to take up as little space as possible.
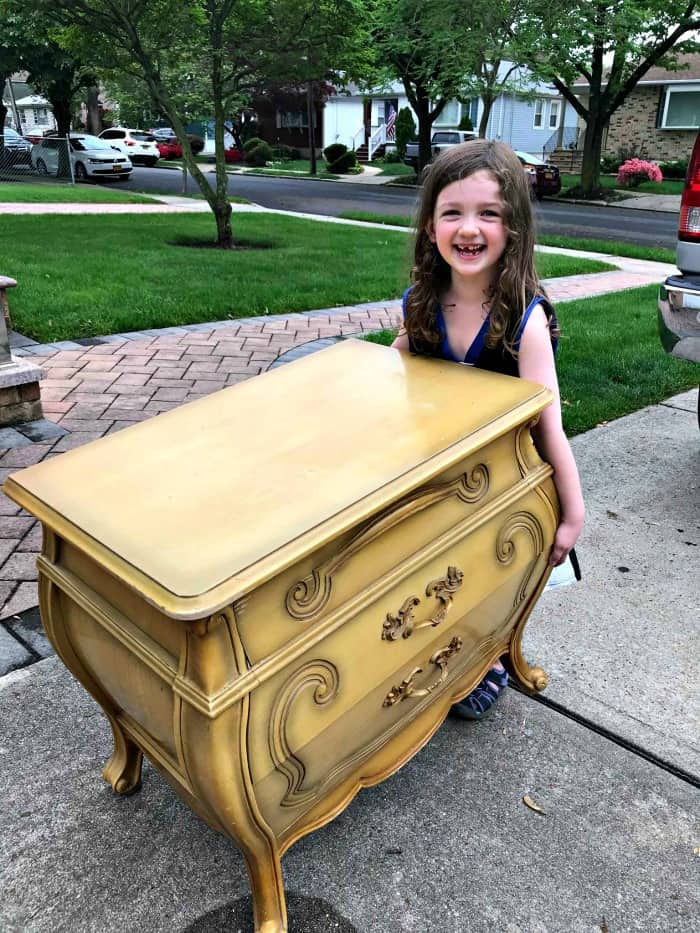
Lucky for me, I have a little helper 😉
Make sure to stick around all the way to the end, its Furniture Fixer Upper time where my fellow furniture painting friends join in and share their amazing projects.
Prep-work and Cleaning Before You Paint Wood Furniture
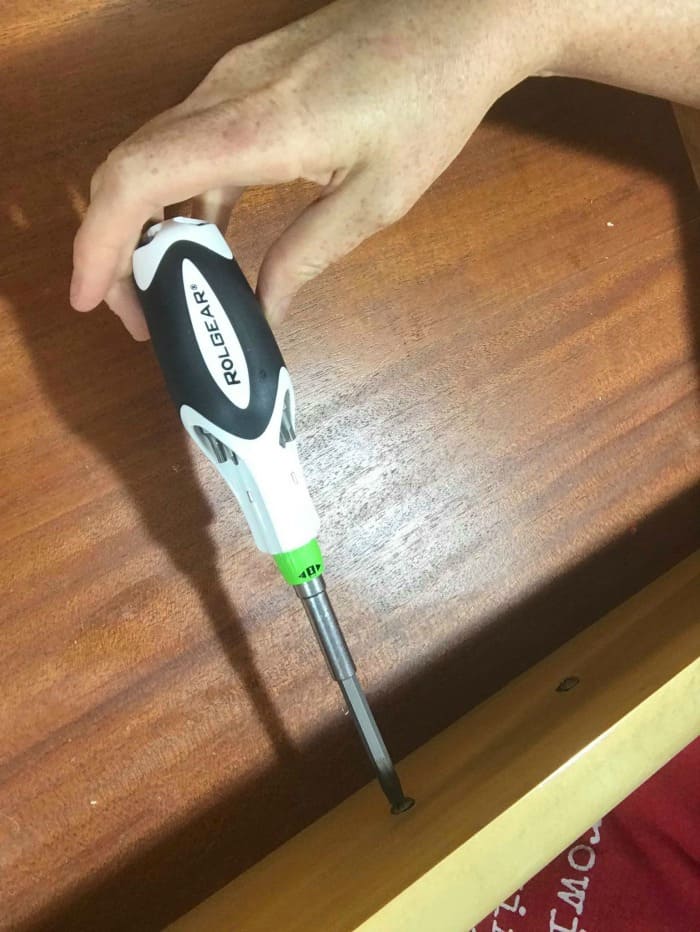
As always, these bombe chests will get the same thorough prep and cleaning as every other project. (This is How I Prep Painted Furniture) The first thing to do is pull out the drawers and remove the hardware. I love my Rolgear screwdriver because it’s a ratchet screwdriver with exchangeable bits. You can find one HERE. Make sure to set your hardware aside where you won’t lose it because we will be keeping those.
To get better access to the feet for sanding and cleaning I leave the bombe chests stacked with the feet upwards and then flip them to do the other. This falls somewhere between genius and lazy.
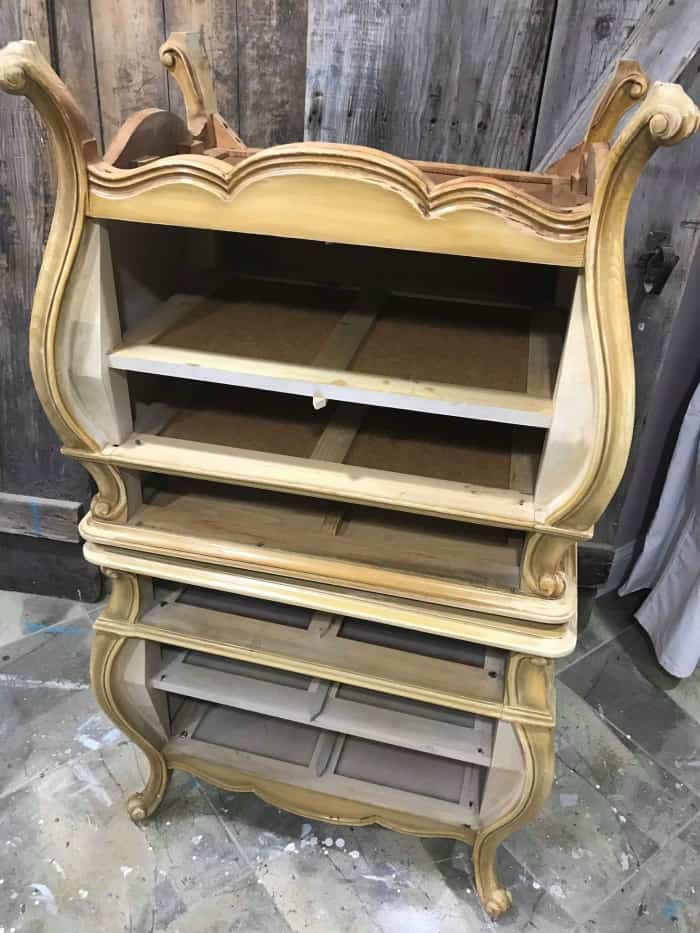
This allows you to really get the underside areas that you normally wouldn’t see nice and clean. There’s no harm in being thorough 😉
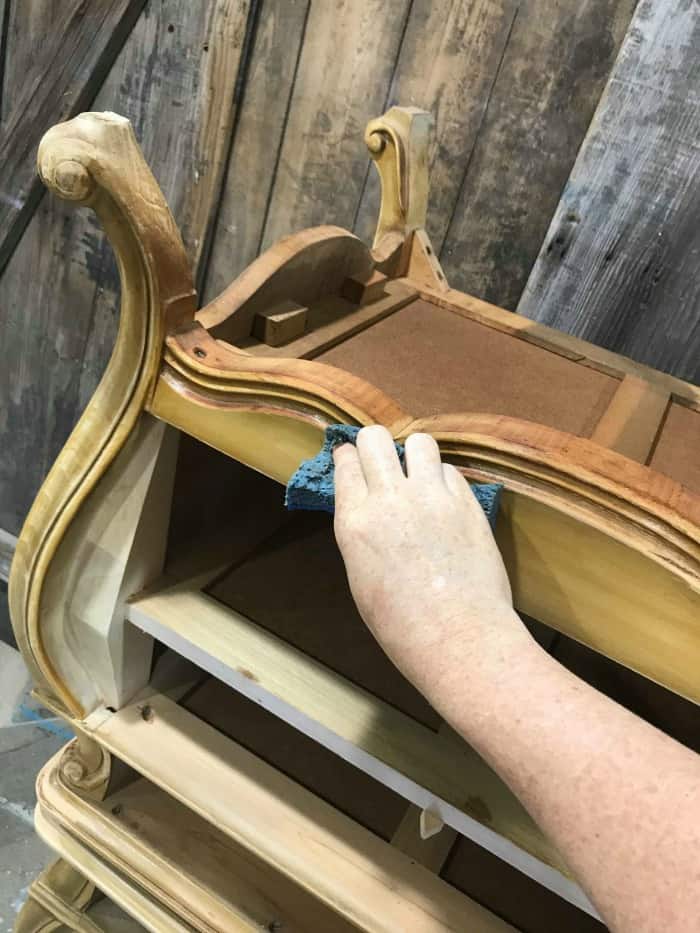
Once the feet and underbelly are addressed you have to separate your chests to get to the tops and the rest. I give the tops a light sanding to scuff the surface before cleaning.
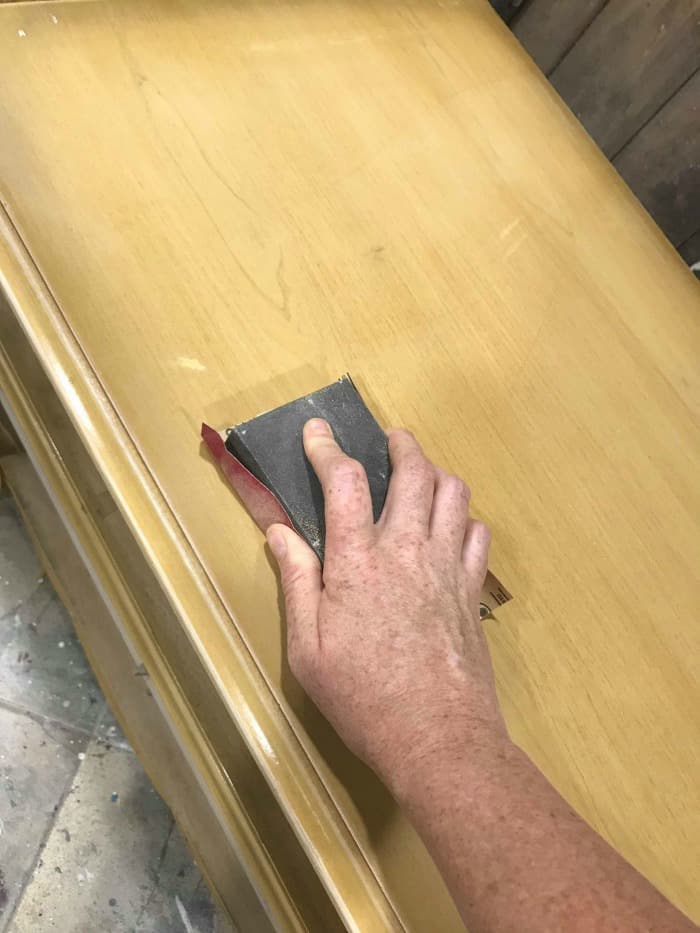
I even geek out a little when prepping furniture for paint. Actually, I geek out a lot!
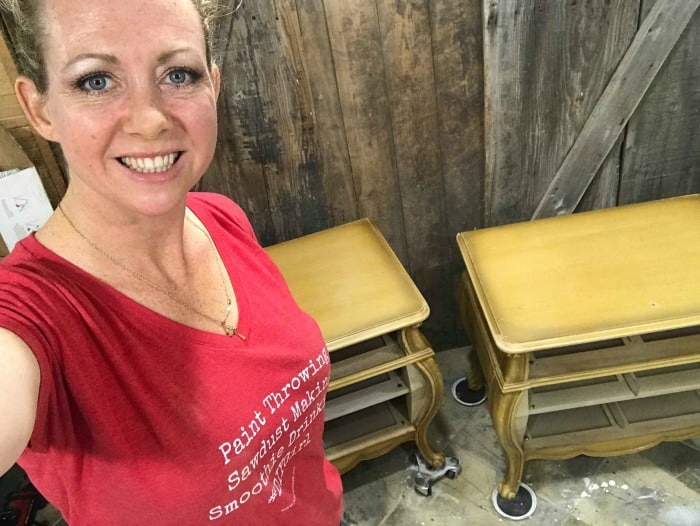
Inside the Drawers
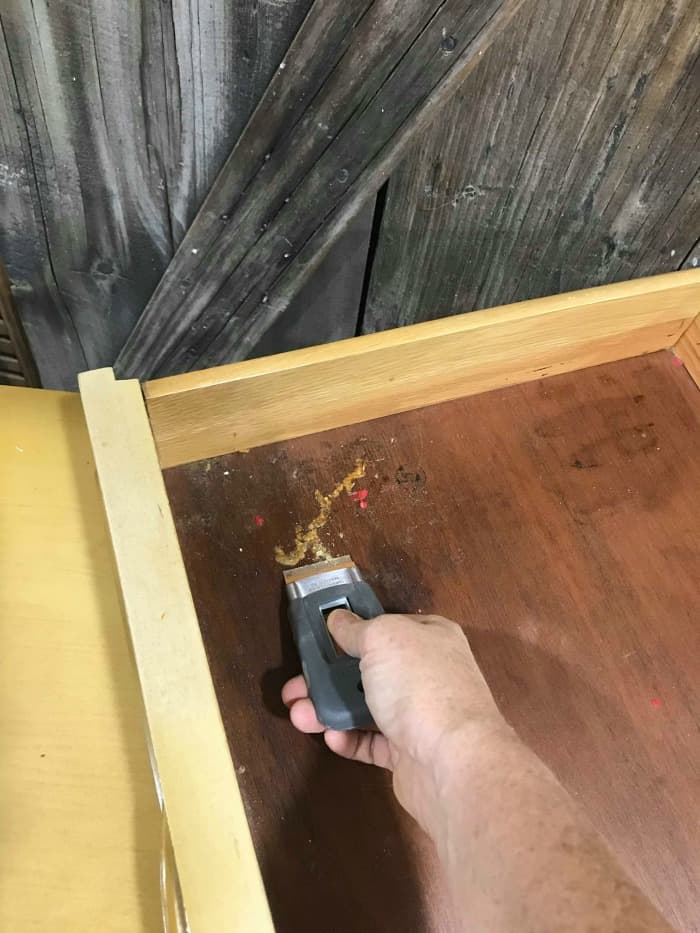
When we refinish furniture or paint furniture we often need to decide what to do with the insides of the drawers. There are always the options to paint inside the drawers like in this little girls vanity makeover or line the insides of the drawers like in this vintage painted lingerie chest. But for now, we need to clean them first. Most of the drawers are in decent shape, but there are a few that need a little bit more attention. This drawer, for example, needs a little straight razor to remove whatever it is that is stuck in there. Yuck.
This one has a little less gunk.
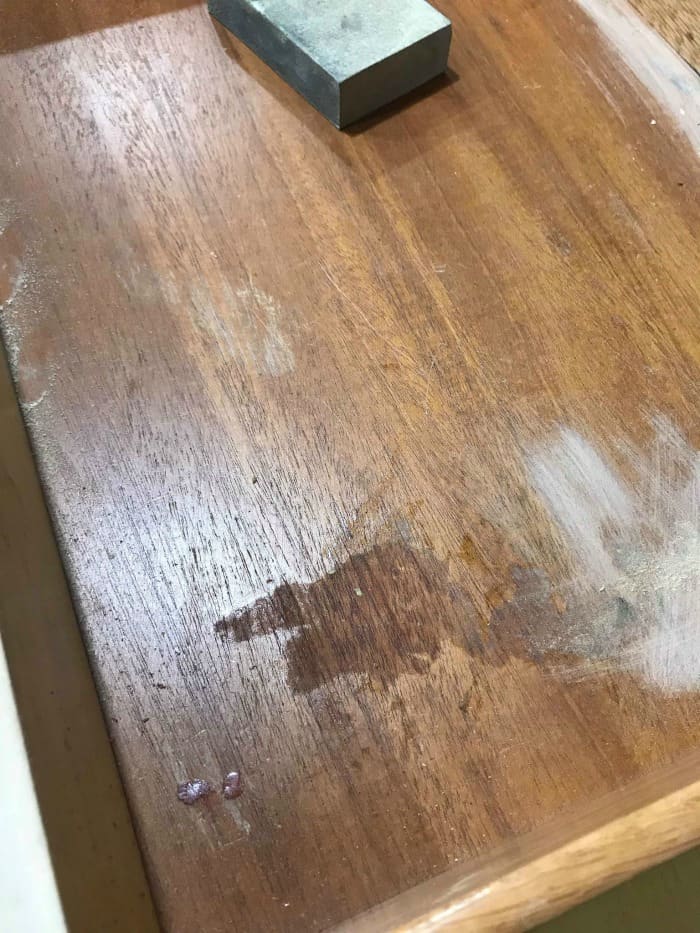
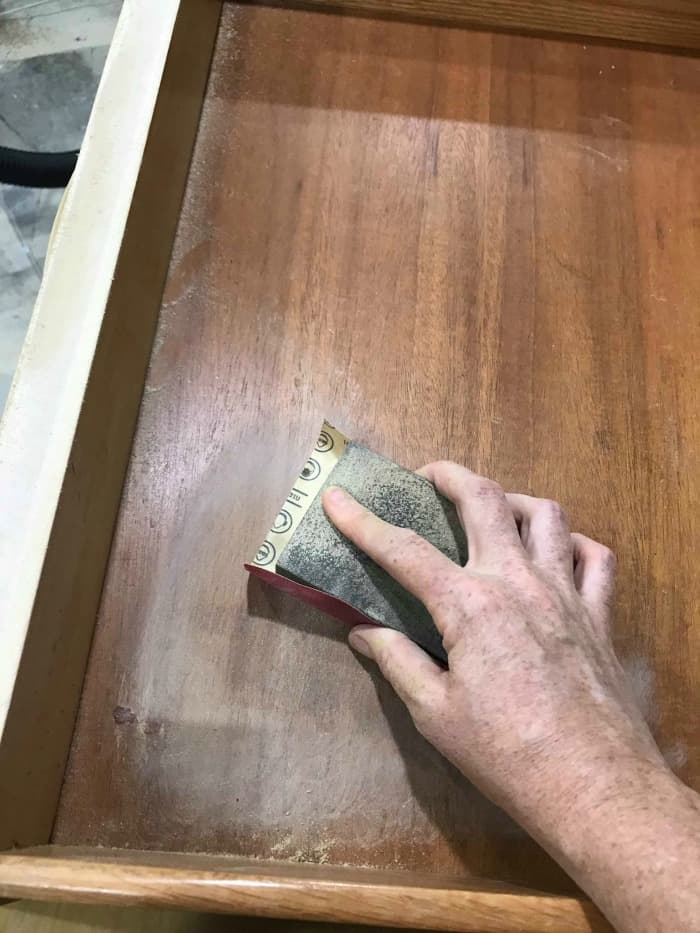
The drawers are all sanded to address their issues.
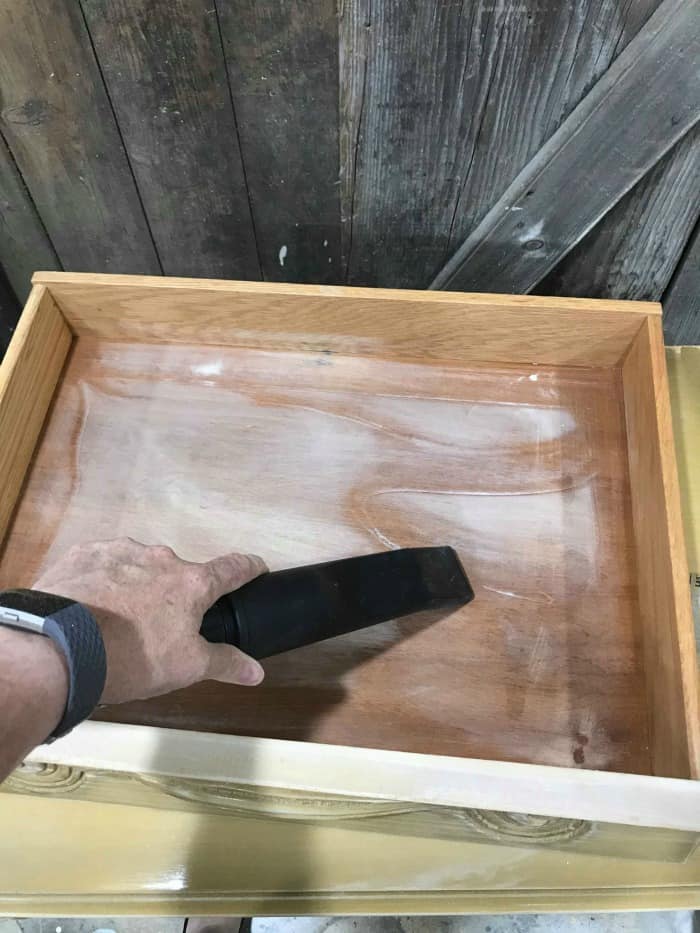
Next, they are vacuumed to remove the dust with my shop vac. This thing really comes in handy more often that I would like to admit. You can find one HERE.
Before Painting Wood Furniture
Now that the bombe chests are sanded and cleaned I am taking an extra precaution ‘just because’ and using Slick Stick which acts as a primer. When you paint wood furniture the extra steps never hurt. Slick Stick is primarily used for when you want to paint slick or shiny surfaces. It actually works great for painting laminate furniture. (You can see where I used it to paint a brand new bookcase here: painting laminate furniture).
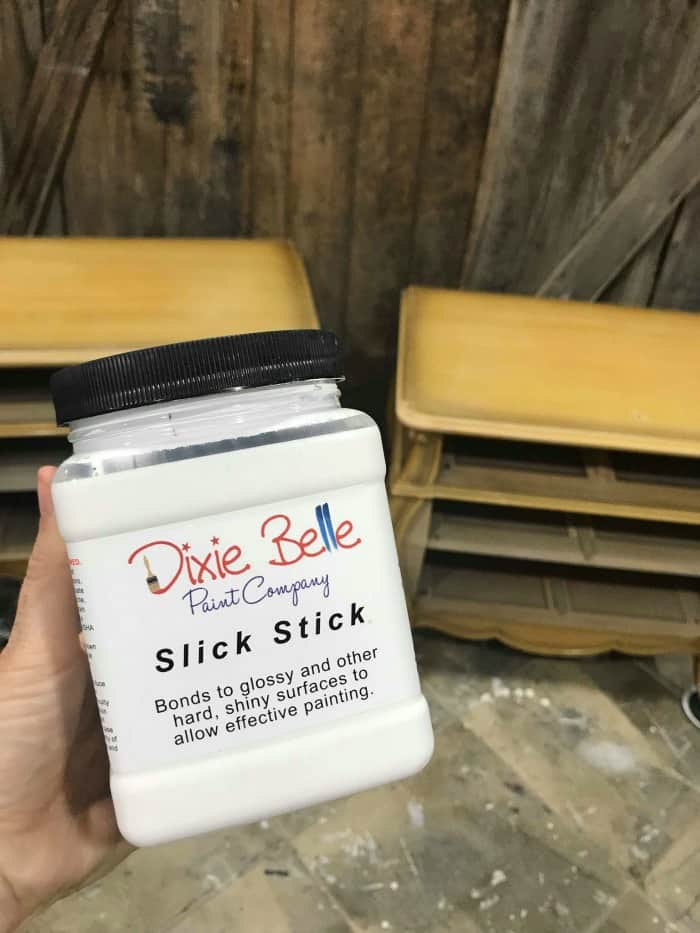
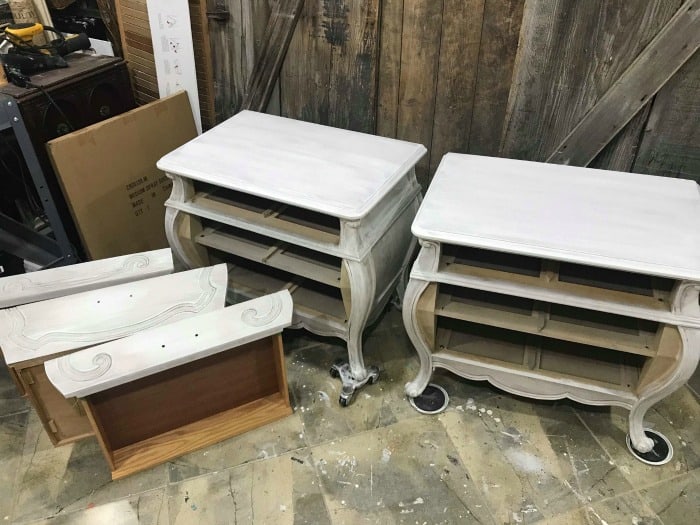
Sometimes I do things when I paint wood furniture for no reason other than I feel like it or I just want to take an extra step to err on the side of caution. It’s only when I paint for myself that I cut corners and get lazy 😛 The wooden bombe chests are painted, or primed rather using slick stick. You can find Slick Stick HERE.
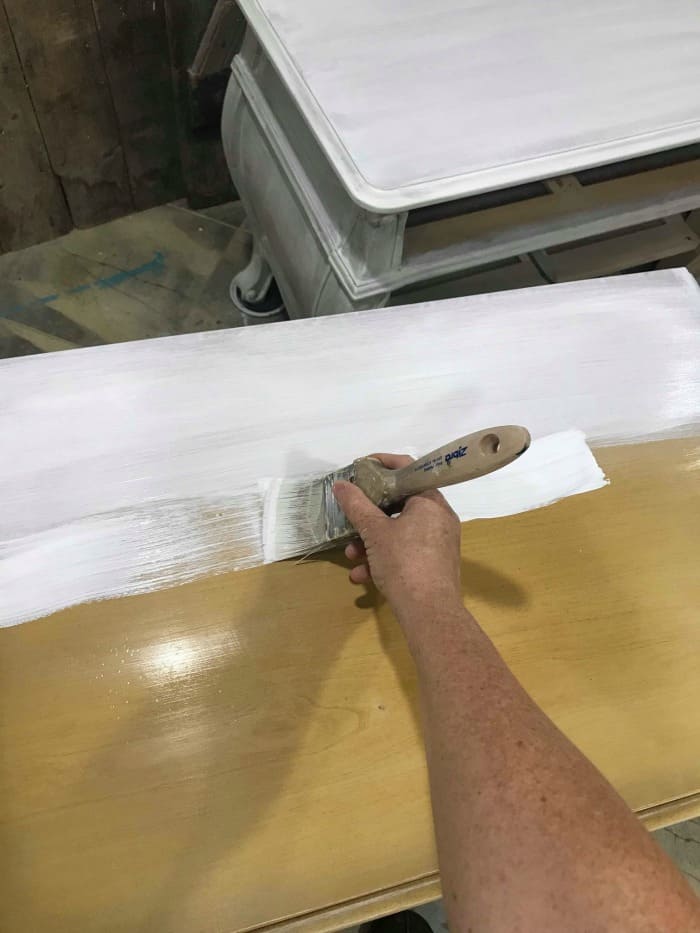
Since the tables really aren’t slick or shiny I am only using one coat of slick stick. But if you are painting furniture that is shiny or super smooth then I would suggest using two coats just to be safe.
If you are new to furniture painting and want to learn how to update old furniture with paint you can always start at the beginning with How to Paint Furniture – a Beginners Guide.
Time to Paint Wood Furniture
My inspiration for these wooden bombe chests come from the furniture in Beauty and the Beast. You know the large pretty walking and talking armoire ;). Being inspired by this gorgeous armoire from Beauty in the Beast means that I am using it as a guide with hopes to add my own personal twist to it. So similar, but not exact I guess you could say?
For my first coat, I am applying a deep green called Palmetto.
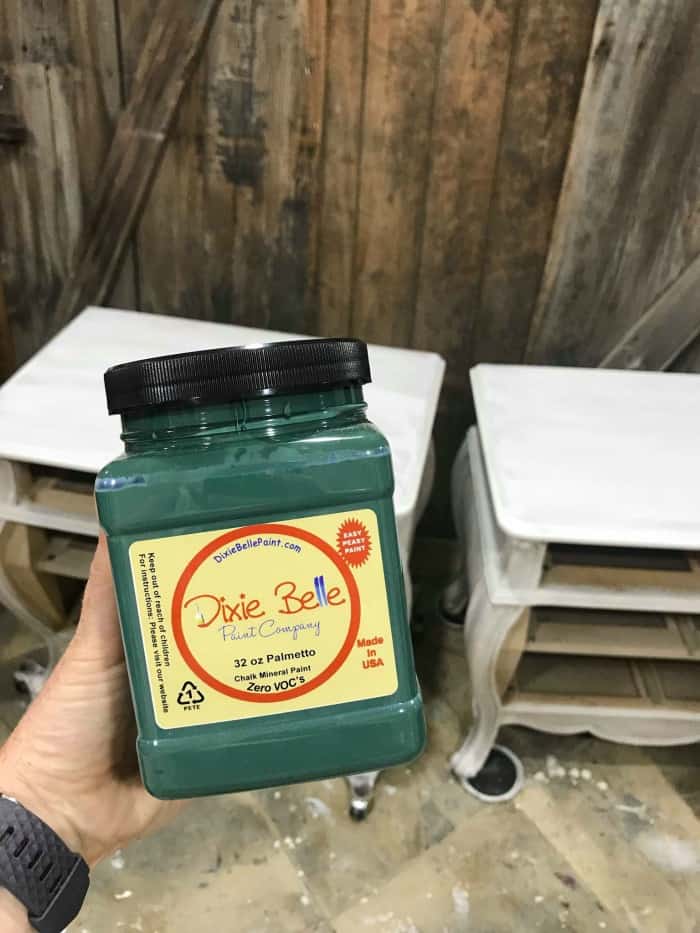
This gorgeous green is painted all over the bombe chests using one of my Zibra brushes. You can find these soft white brushes online HERE. The dark green paint will act as a great base color before we add lighter paint colors.
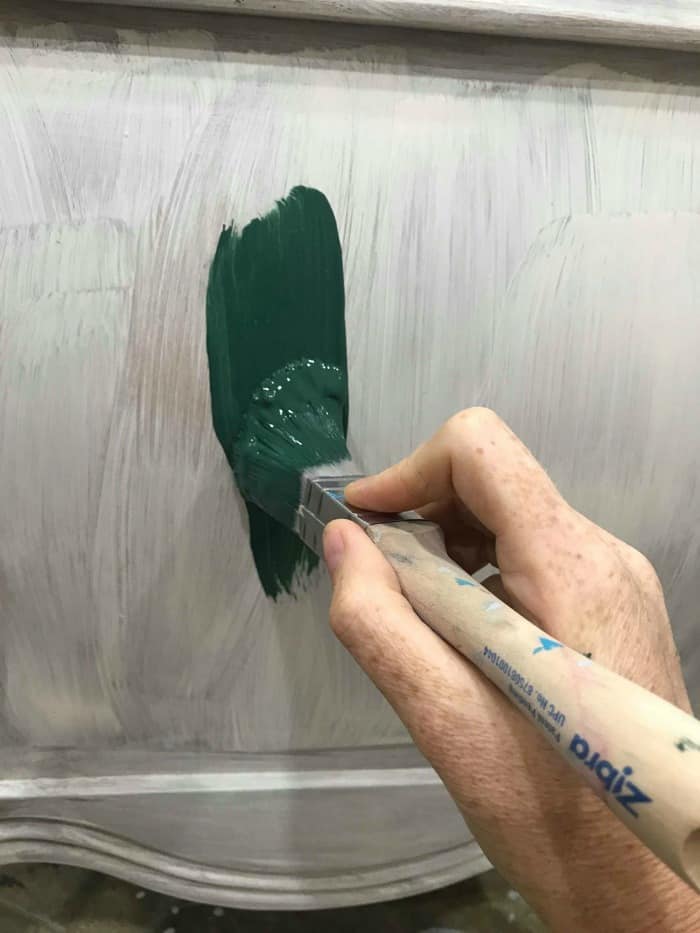
I want to make sure to get the furniture paint into all of the corners and crevices.
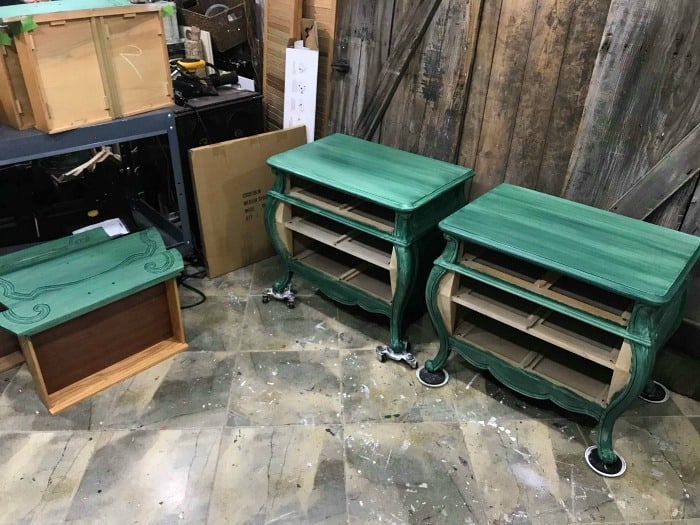
Next, we will lighten it up a bit with Vintage Duck Egg.
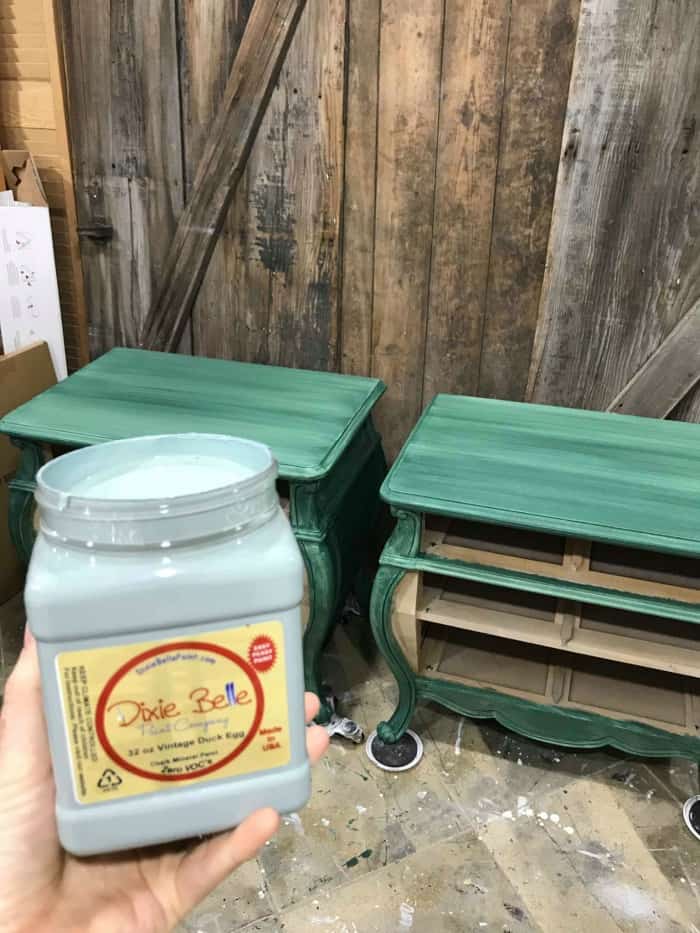
This much lighter blue-green is painted over the dark green base.
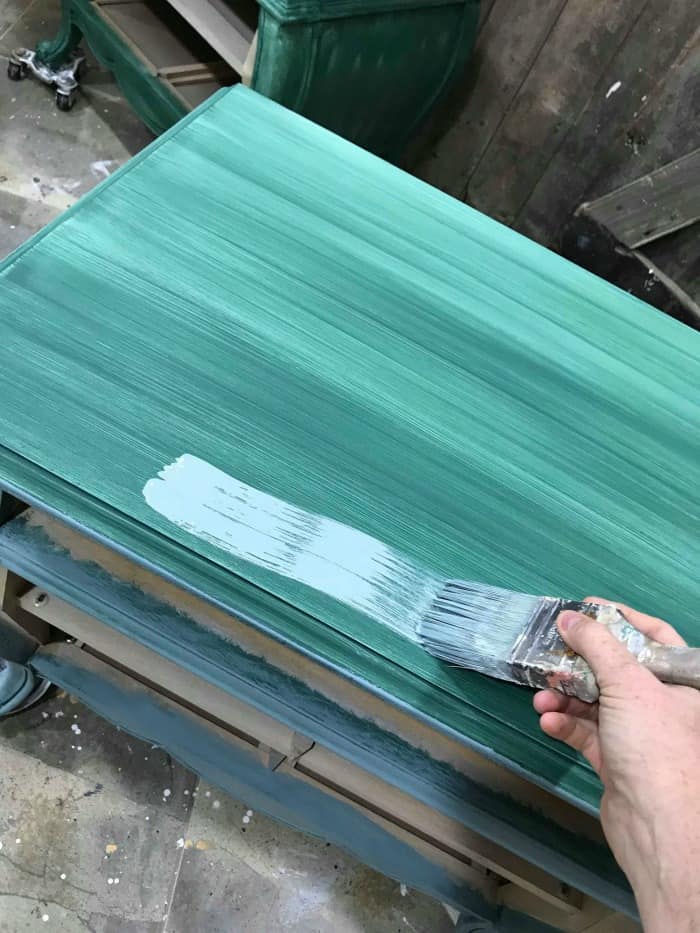
I want to make sure NOT to fill in those crevices and corners with the lighter color paint. Here is a video where I walk you through and show you how I apply the lighter colored furniture paint over these bombe chests.
Once the lighter color dries you can see how the dark green still sits in the crevices and details. There are still some areas where the green is visible but muted. When you paint wood furniture and want to add depth, layering paint in this manner will help you achieve that look.
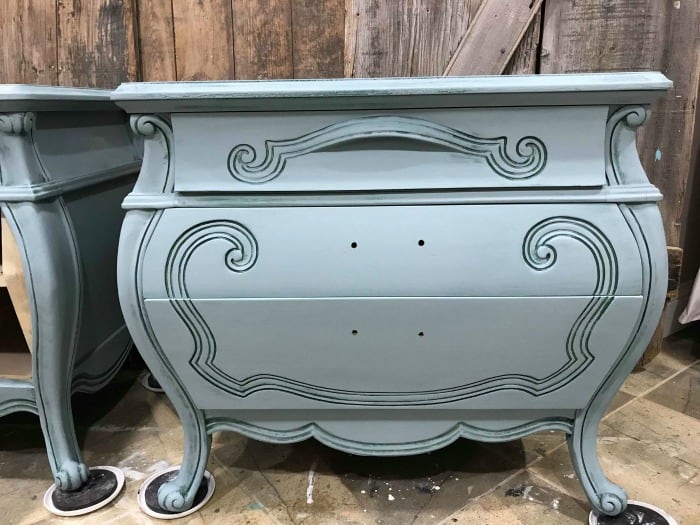
I like to lightly sand between coats as well. 😉
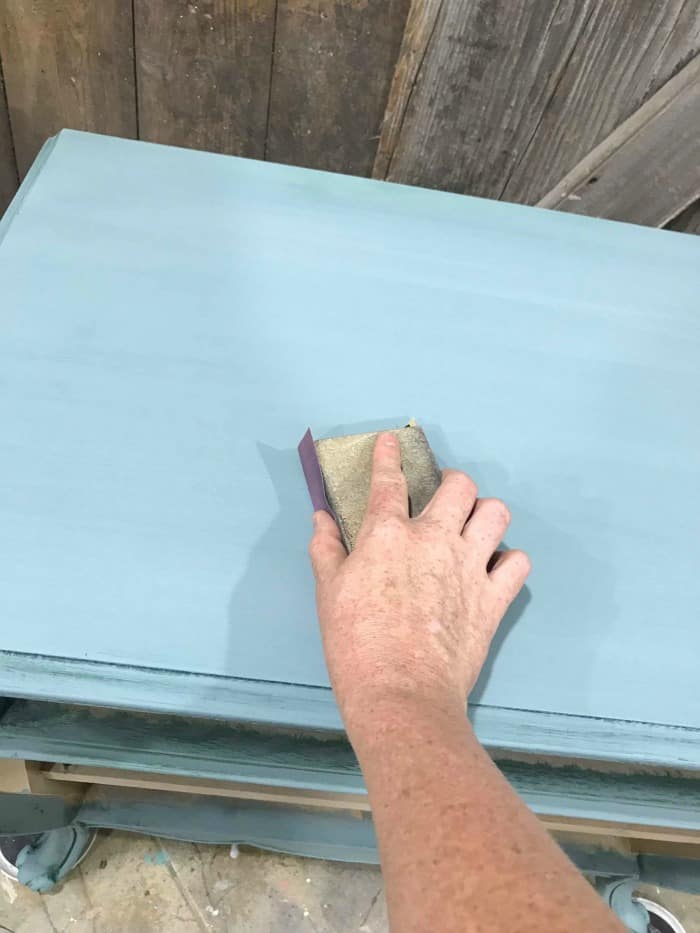
Love the painted layers look?
Click here to Pin this post for later.
Adding a Wash to Painted Furniture
When deciding on what color wash to apply I am torn between going darker and going lighter. Stormy seas is a darker blue-gray, while sea glass is a light sea glass green. Being undecided I choose to use both.
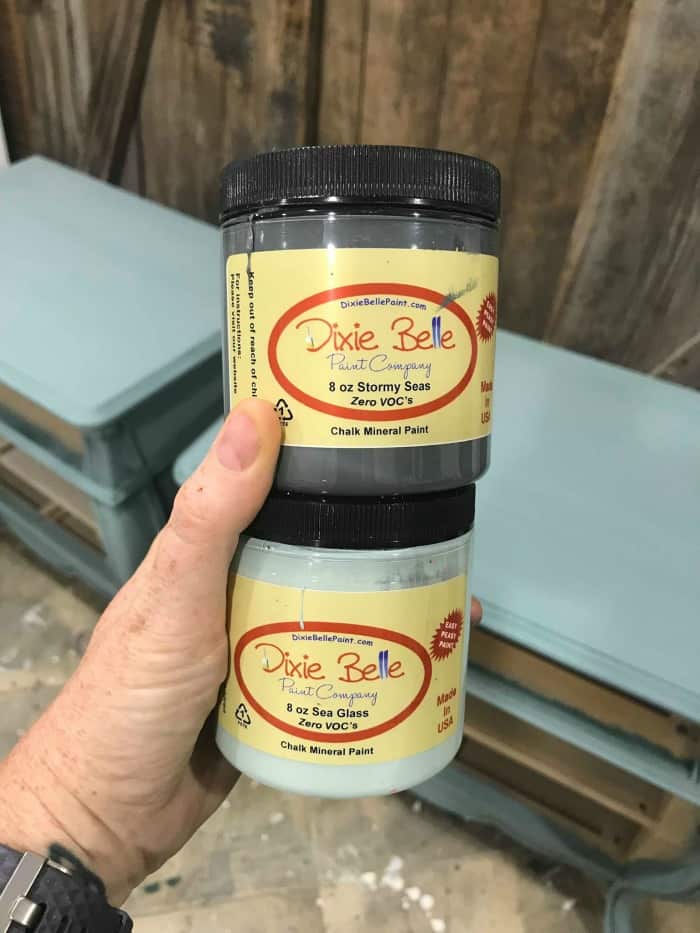
I play around and mix the two colors together because you don’t have to be limited by the color in the container. Sometimes your perfect shade of furniture paint is a combination of more than one.
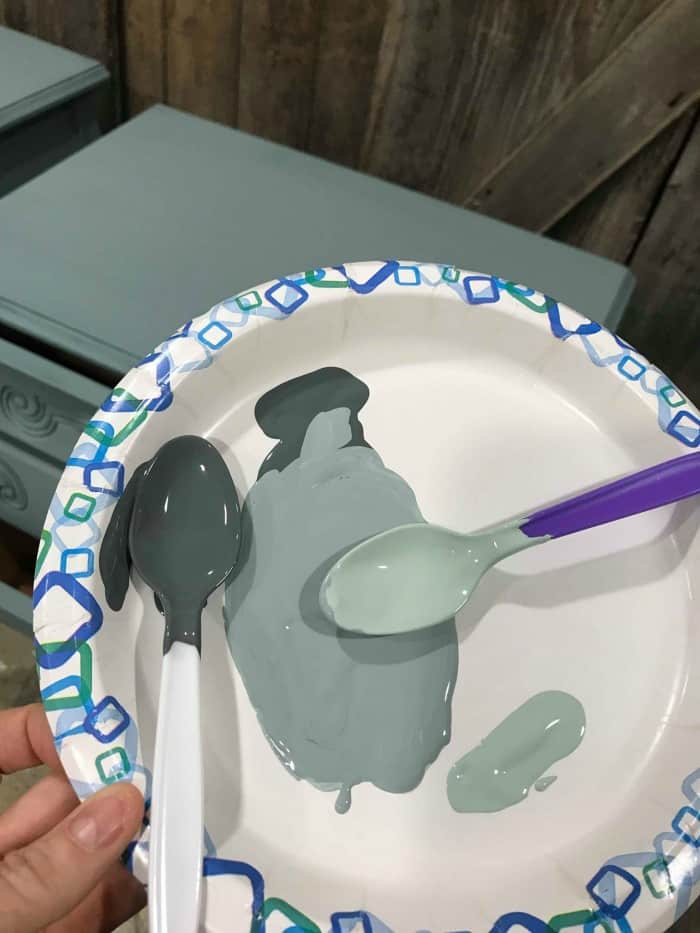
Mixing the two colors of furniture paint creates a pretty light blue-gray, similar to what is on the bombe chests already but with more of a blue and a little less of the green shade. To make this color into a wash I want a much thinner consistency so you simply add water to your paint.
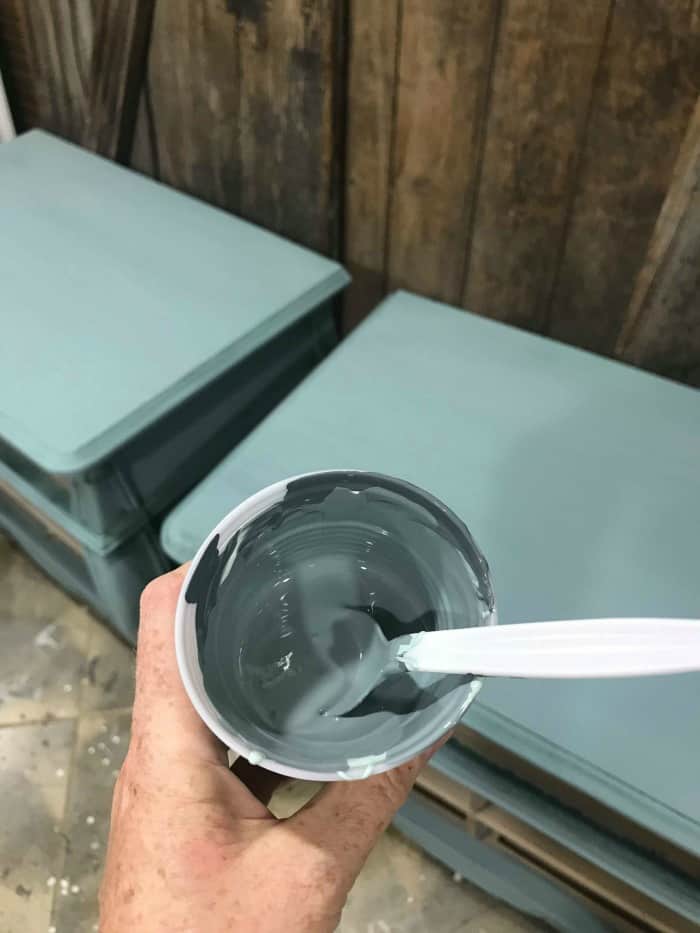
Here is a video showing how to apply the wash to your painted furniture.
You can see how the drawer looks before applying the wash.
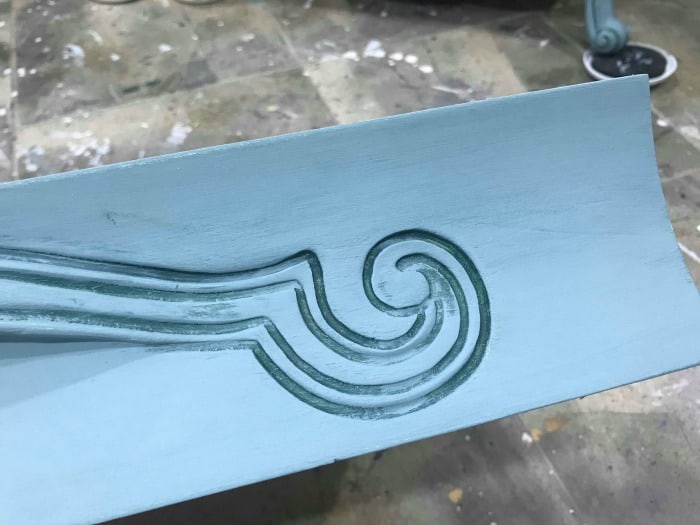
Here is the drawer after the wash. The change is very subtle, but the wash softens the appearance as well as ties the finished look together.
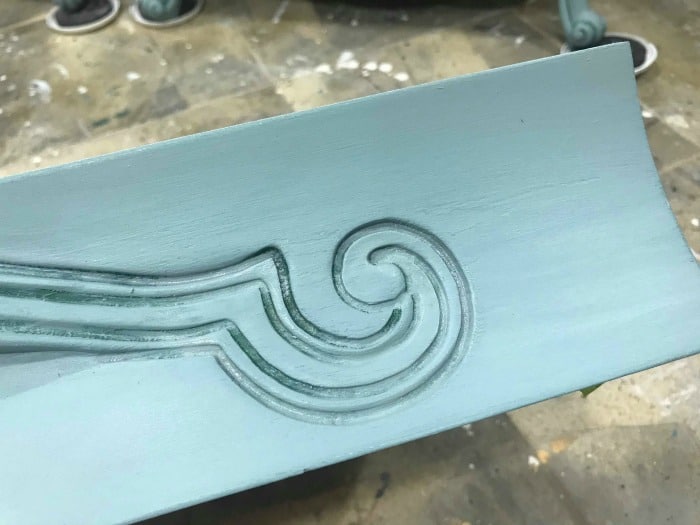
Here is another example showing the subtle difference the wash makes on the top of the bombe chests.
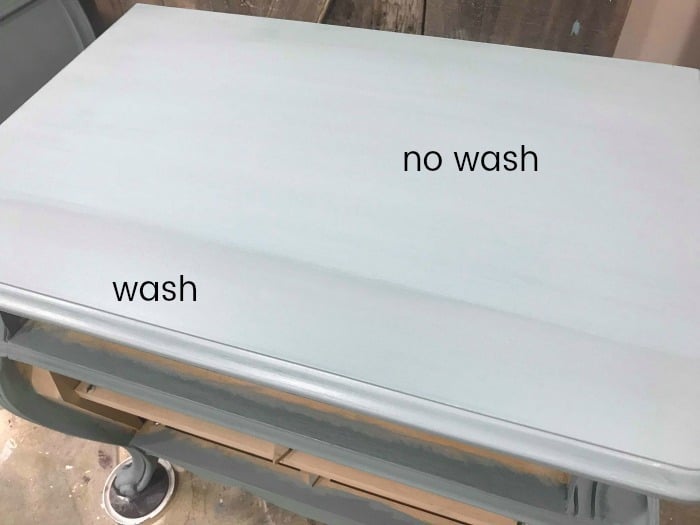
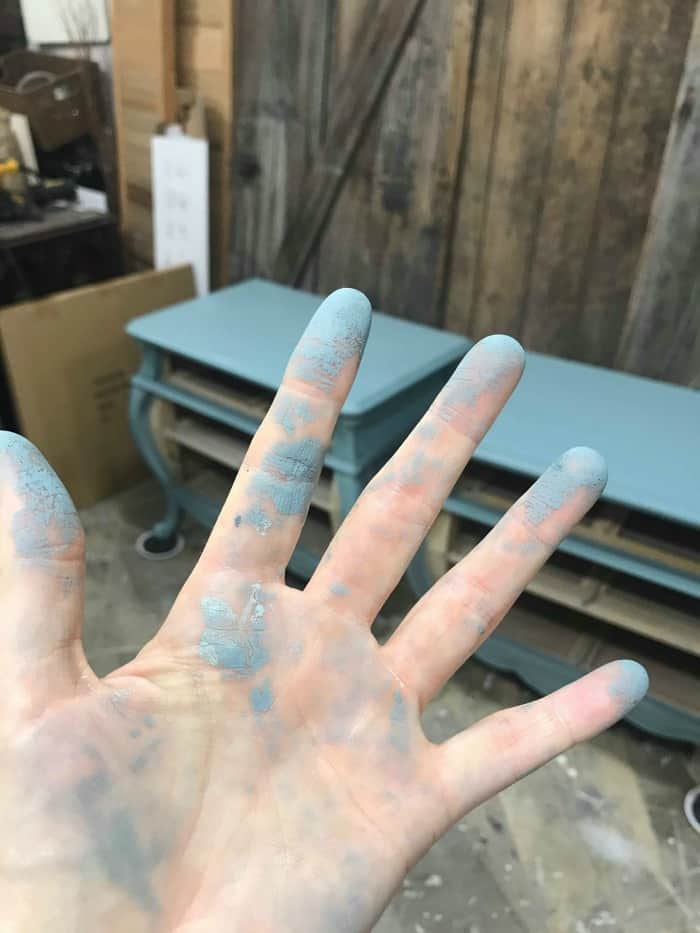
This always happens. I can never stay clean 🙂
Adding Silver Metallic Trim to Painted Furniture
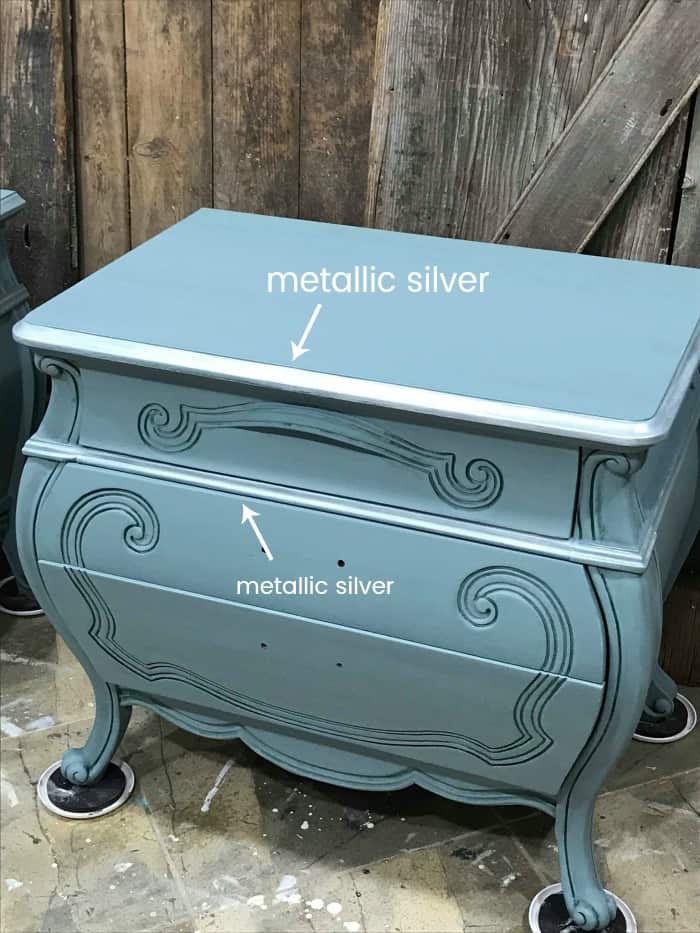
Now that our bombe chests are painted I want to start adding metallic highlights. First, I will add a silver metallic paint to the trim of the chests using a metallic silver base coat.
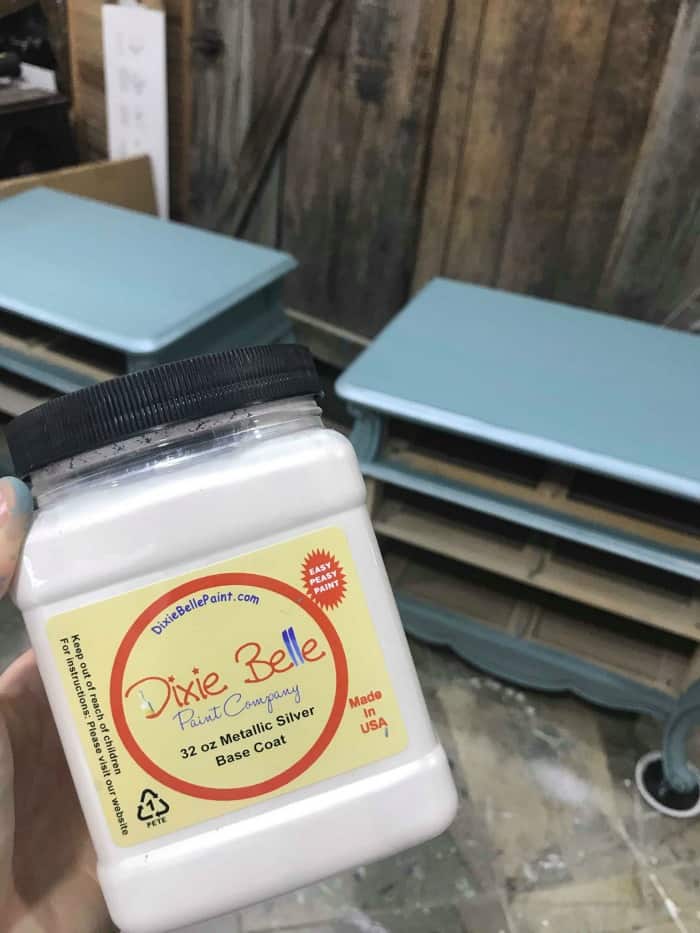
Simply, paint the metallic silver along the rim of the chests using a small artist brush. I like to use makeup brushes, you can get some HERE.
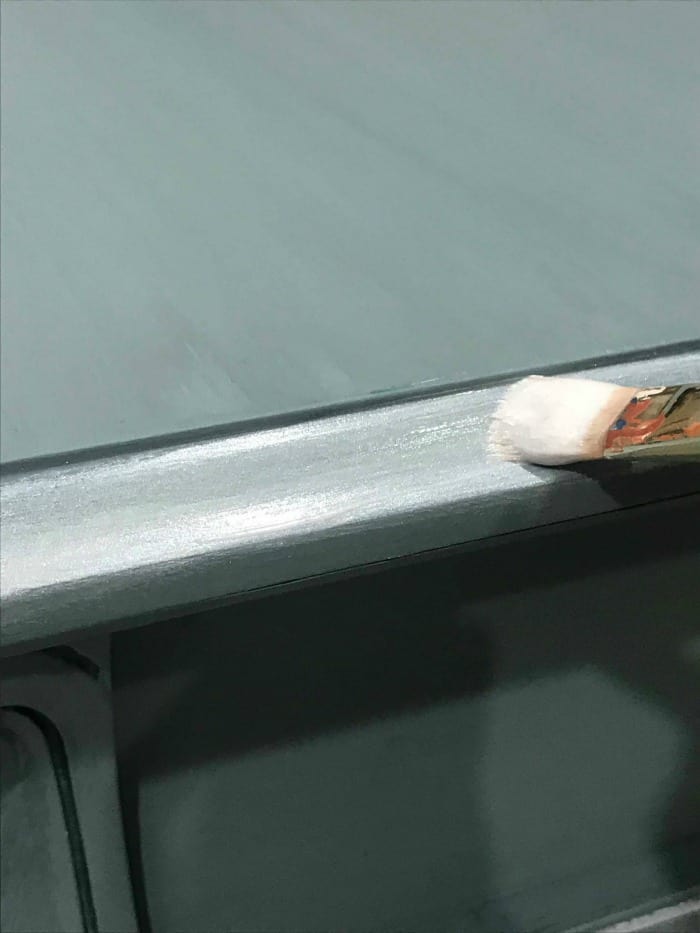
Next, follow up with the silver metallic top coat.
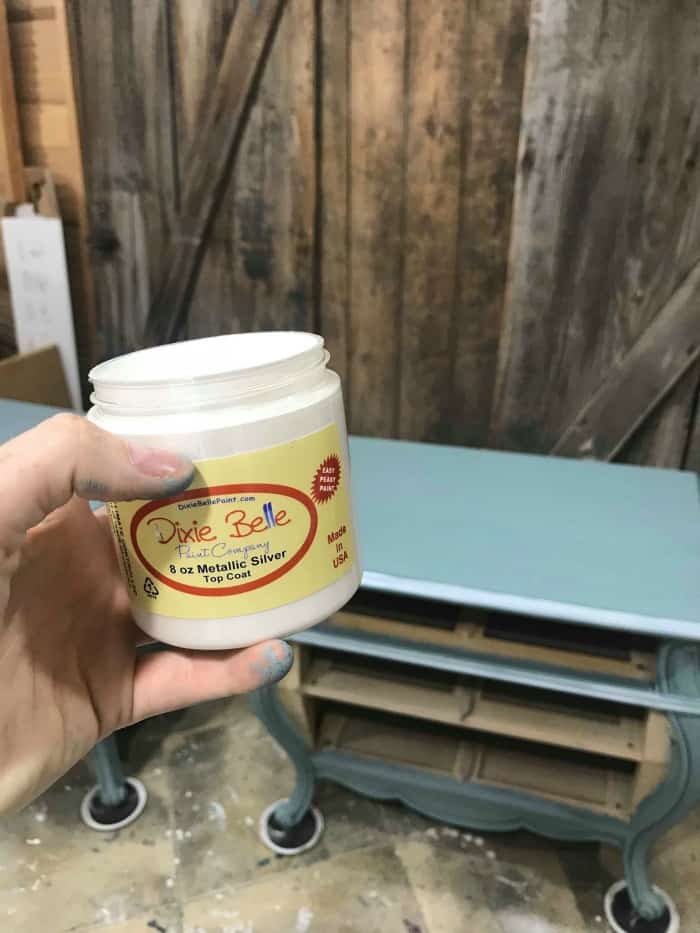
Apply the top coat of the metallic silver paint the same way you apply the base coat.
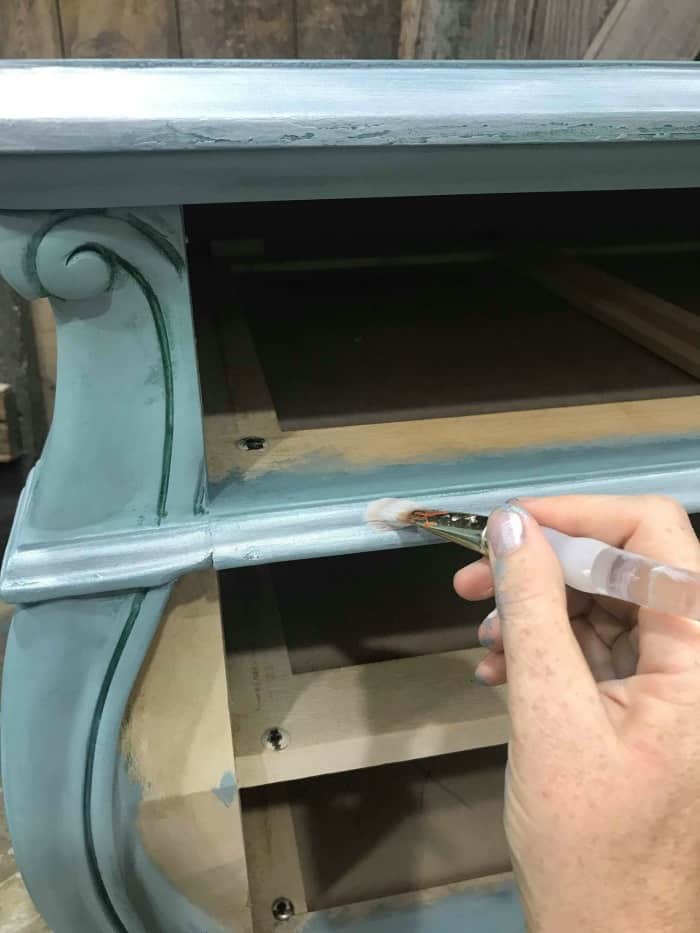
The metallic silver paint is applied to the rim and trim of the bombe chests.
Sealing Painted Furniture
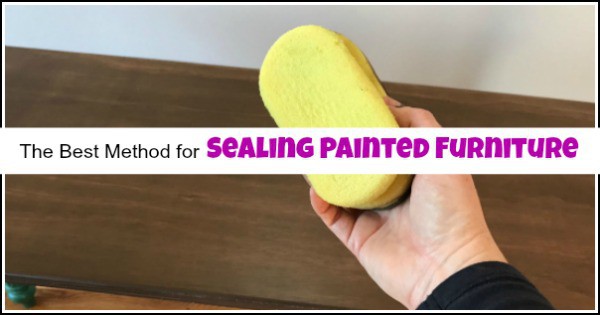
Because I also intend to use gilding wax to highlight the painted wood furniture I want to seal my painted bombe chests first. When you paint wood furniture or paint any furniture you always want your wax (if you are using it) to be your last coat. Personally, I choose not to seal my painted furniture with wax but merely use wax to highlight details. (You can see where I used black wax to highlight details here: How to Get Beautiful Results with Black Furniture Wax) With that, I am sealing these painted bombe chests with a clear satin sealer using my favorite yellow applicator sponge. You can get these online HERE. I also add Gator Hide on the tops of the bombe chests for extra protection since Gator Hide is waterproof.
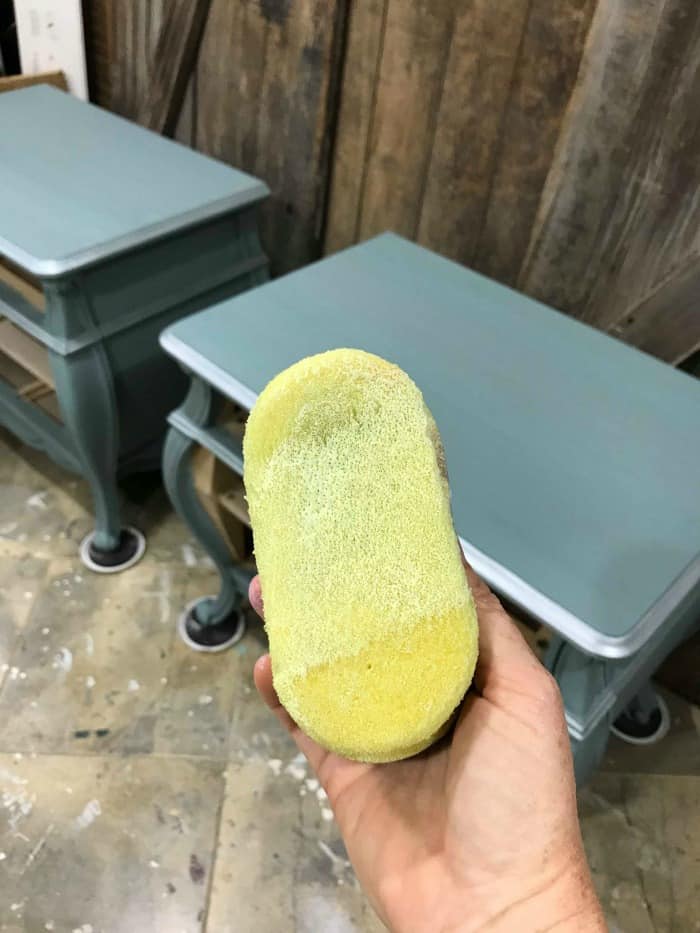
If you have questions about sealing your painted furniture project you can find a full tutorial with video on how to apply clear sealer here: Sealing Painted Furniture
Adding Metallic Highlights with Gilding Wax
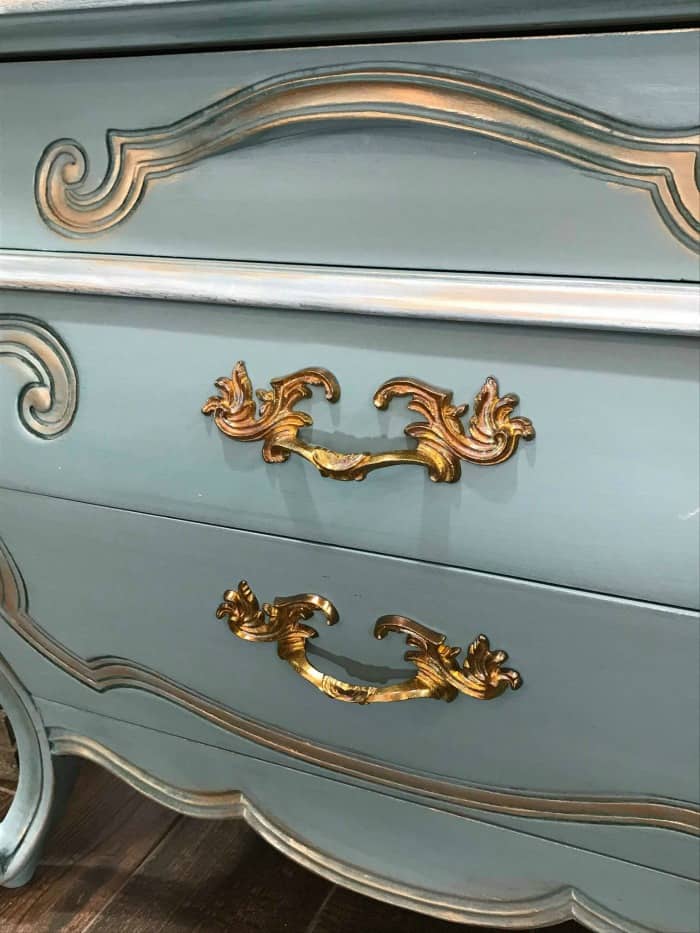
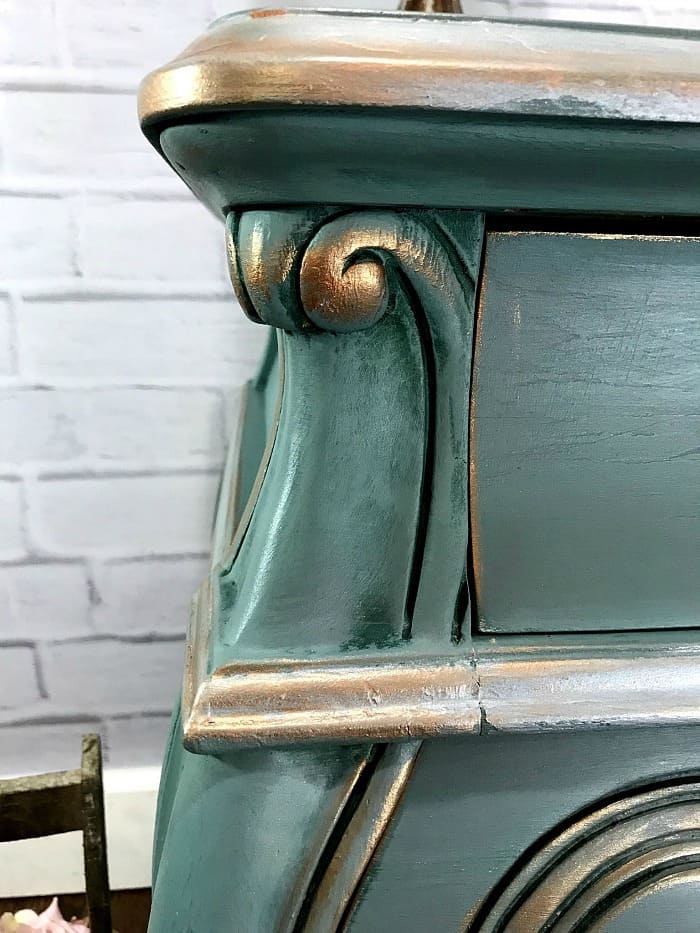
Now that we are nearing the end of the project we can highlight the details to really achieve that Beauty and the Beast look that we’re going for. Fingers crossed. To get this look I am using Bronze Gilding Wax. Here is the curved drawer handle on the chest before gilding wax.
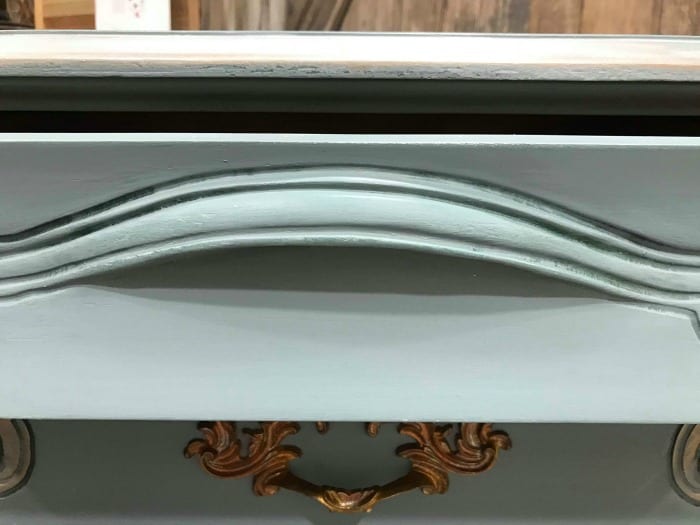
And here is what the painted bombe chest looks like after gilding wax. You can see another project with gilding wax is added for highlighting on this Painted Tall Lingerie Chest.
Need a visual? Here is a video showing how to apply the gilding wax for this soft fairytale look.
Cleaning Vintage Hardware
Let’s rewind just a second to the hardware. I’m sure you can see why this hardware is perfect for these chests and there is no need to replace them. But, they started off with an ugly mustard colored paint on them.
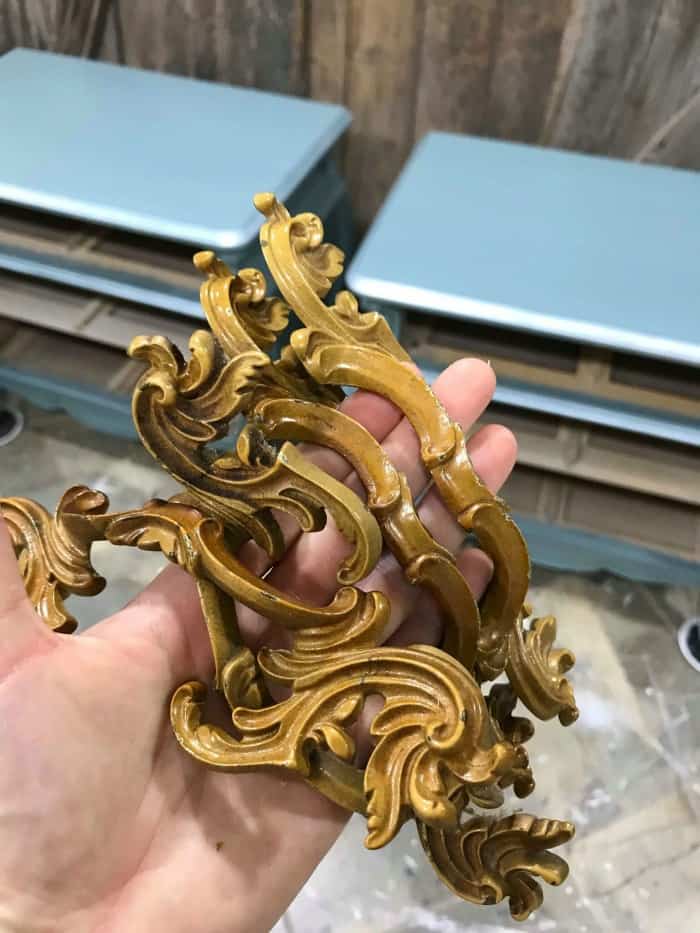
We need to get these clean. So I take them up to the kitchen and boil them the way I always clean my hardware. This is how I remove the paint and Clean Brass Hardware. I had full intentions of painting these handles.
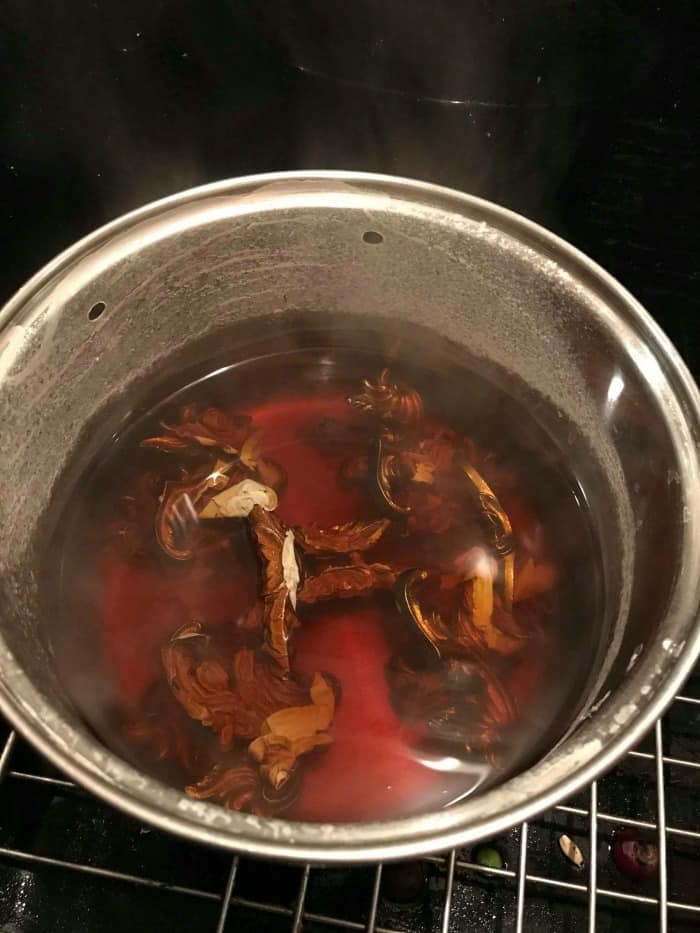
By boiling these vintage hardware pulls the old mustard paint began to fall right off.
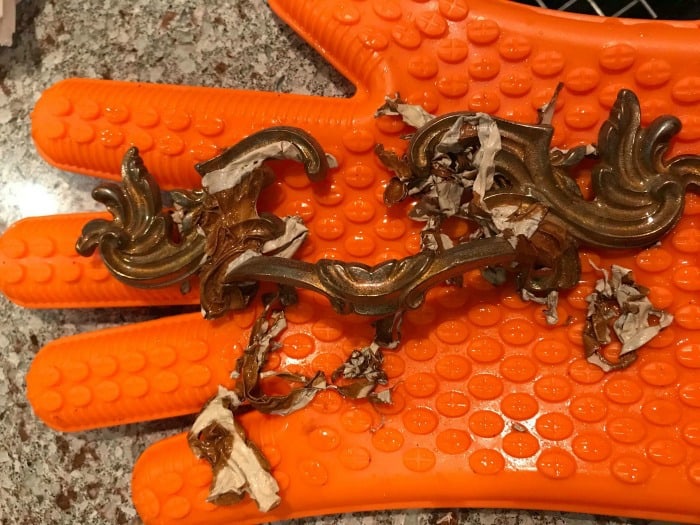
I grab an old toothbrush and scrub brush and start to scrub the hardware clean.
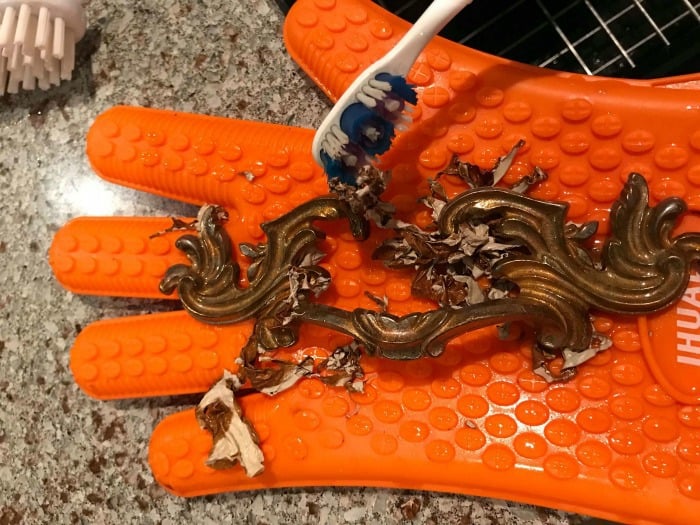
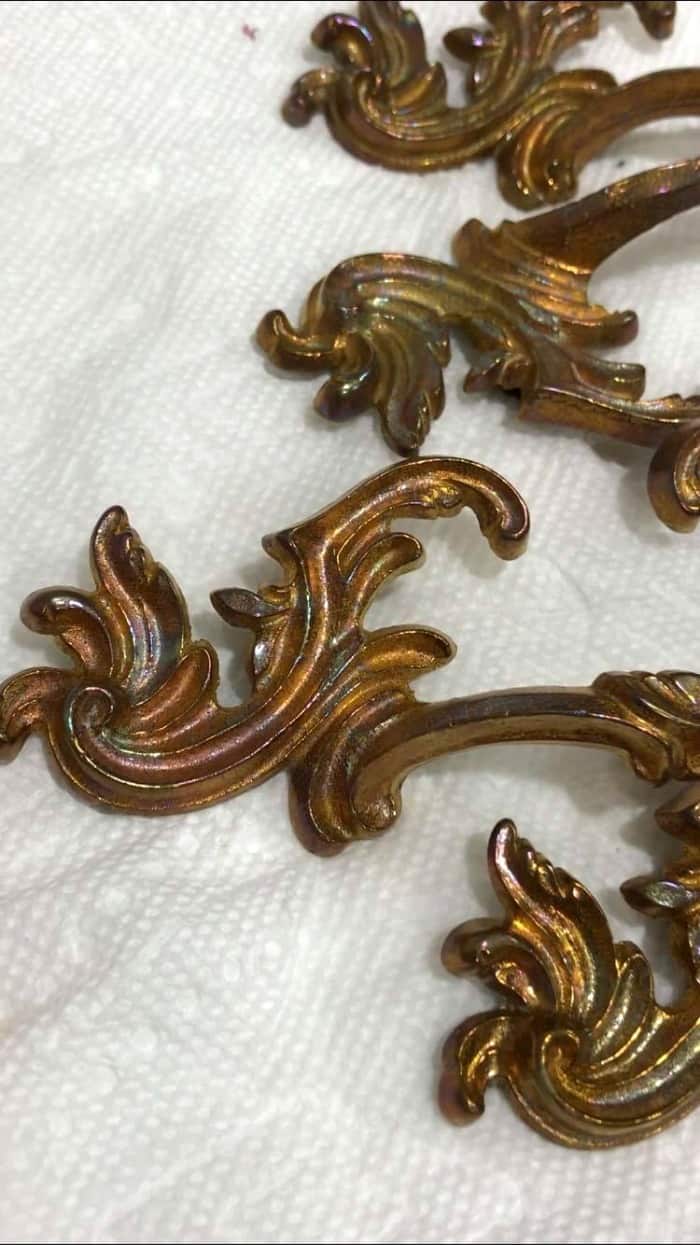
Oh, my! Can you believe how well these vintage hardware pulls clean up? There is a slight iridescent to them. Can you see the little bit of blue and purple in the details? I can not bring myself to paint these. They are too gorgeous as is.
Inside of the Drawers
We can’t possibly paint wood furniture and make the outside of these chests gorgeous and not address the insides of the drawers. Remember we cleaned and lightly sanded inside of these drawers. They are ok but they can be better.
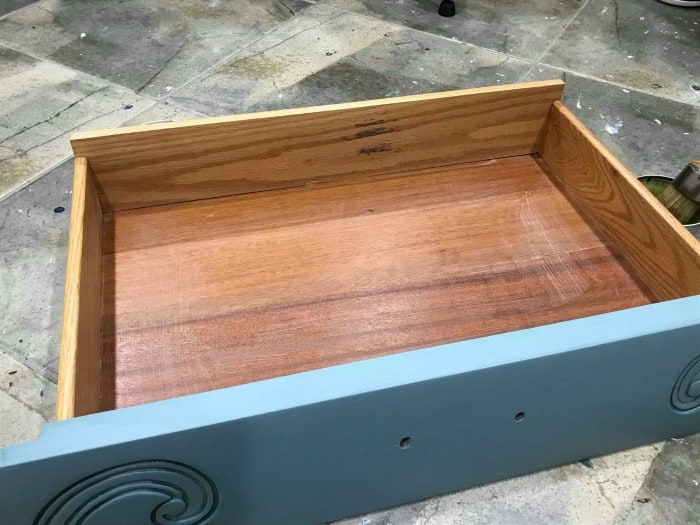
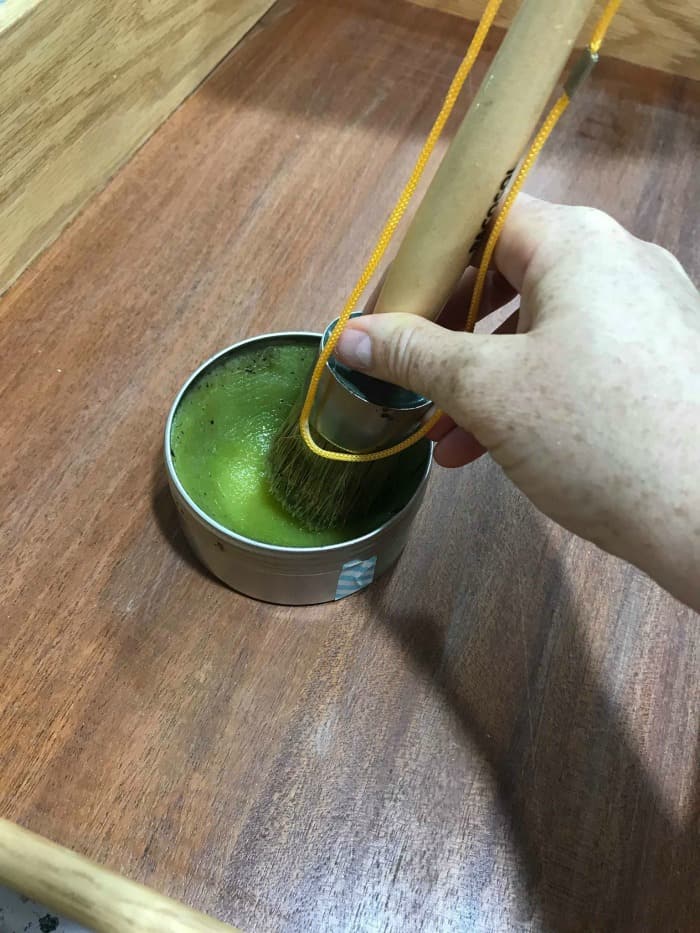
Since the drawers are not in horrible shape I just want to freshen them up. I’d hate to cover the wood with paint or liner. So I am using lemon verbena salve from Wise Owl. You can find it online HERE. (It also comes in lavender and white tea scents)
Using a wax brush like this one HERE I apply the salve to the wood.
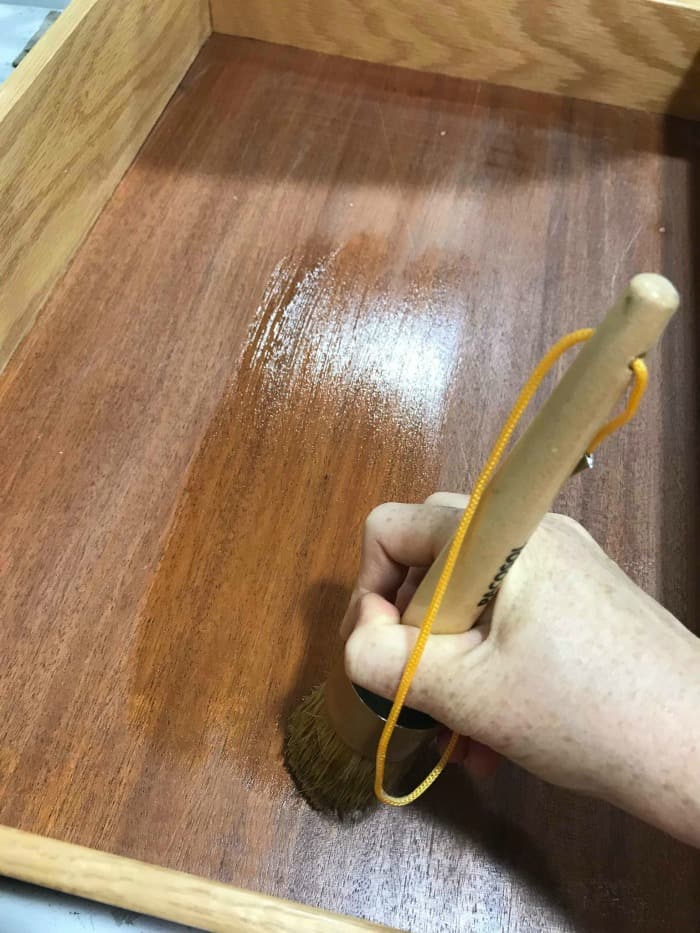
Once you apply the salve to the wood you can go ahead and wipe it with a lint-free cloth or old T-shirt. I like to think that I am rubbing the salve into the wood as a conditioner.
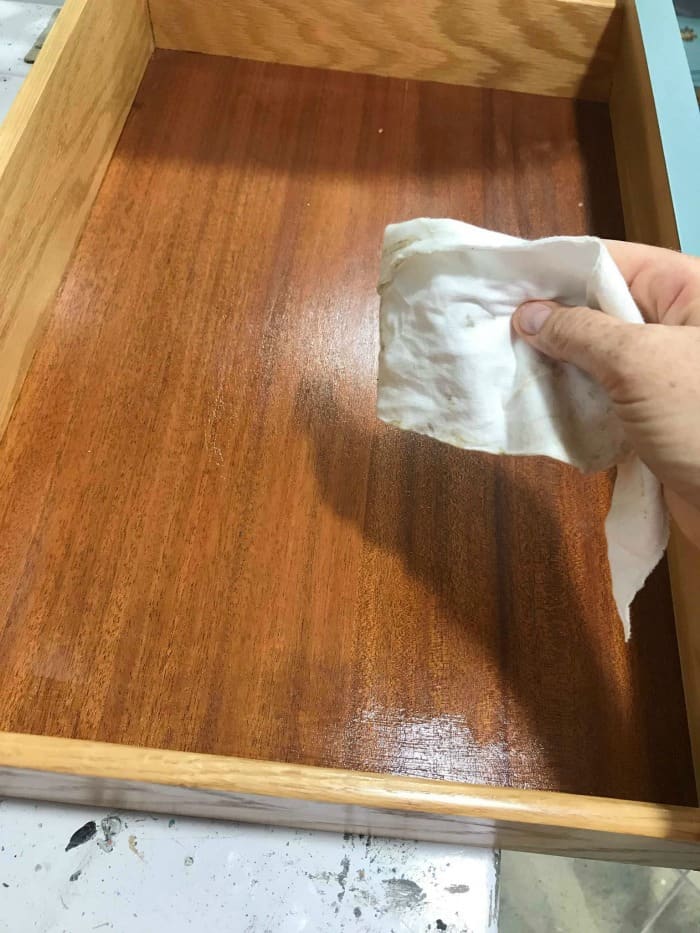
The wooden drawers are now much better off and this takes less time and effort than painting them. It’s nice to have options and sometimes it’s also nice to keep a little bit of the originalness (is that even a word?) of the furniture. Painting wood furniture can also incorporate preserving part of the original furniture too.
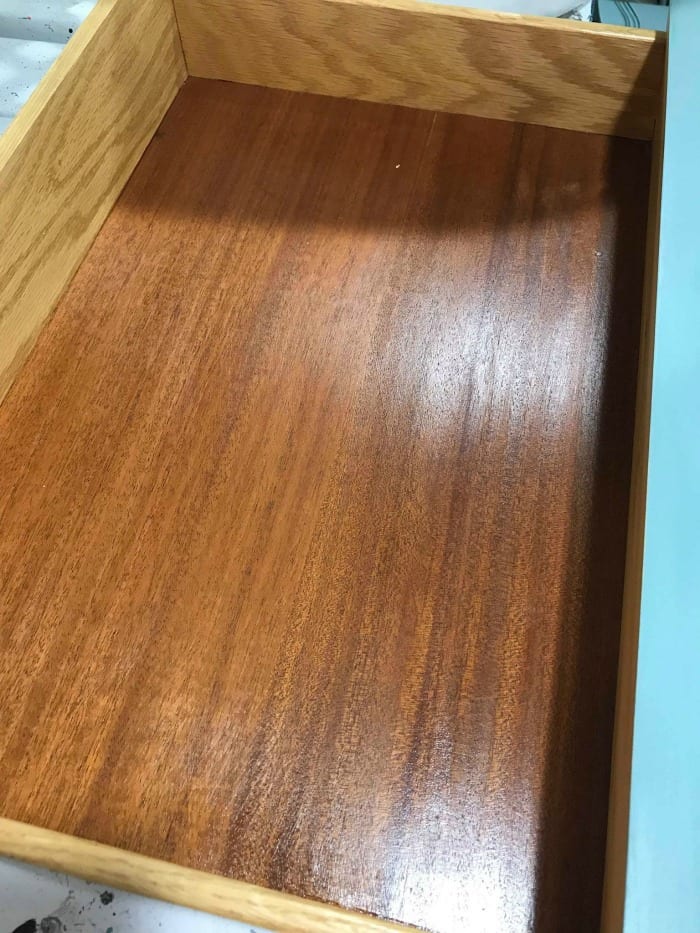
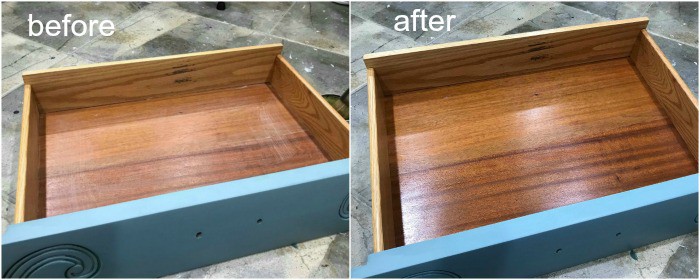
Here is a little side by side action showing the improvement. You can order the lemon verbena salve online HERE. You can also see how I used this to completely restore an antique steamer trunk from Italy here: How to Restore a Steamer Trunk. When you paint wood furniture but want to preserve the wood drawers you can also find a video tutorial and more details here: How to Save Wooden Drawers with Lemon Verbena.
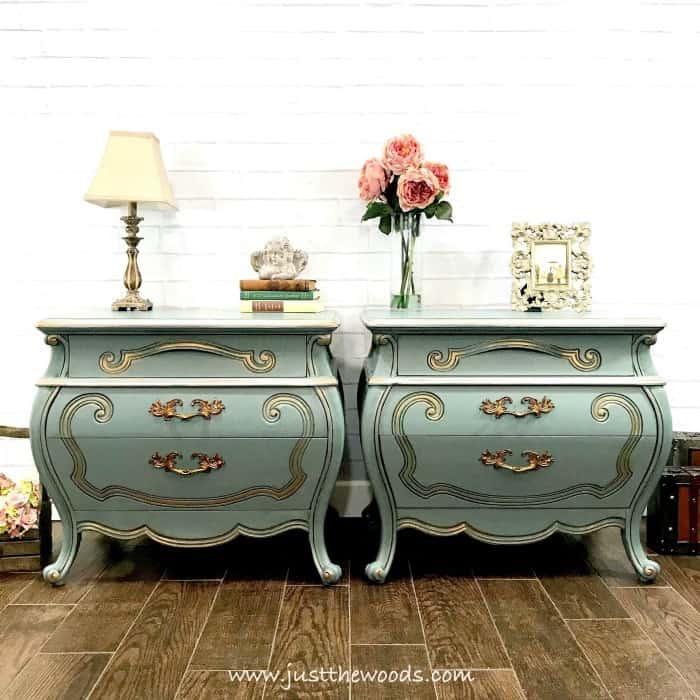
Painted Bombe Chests Inspired by Beauty and the Beast
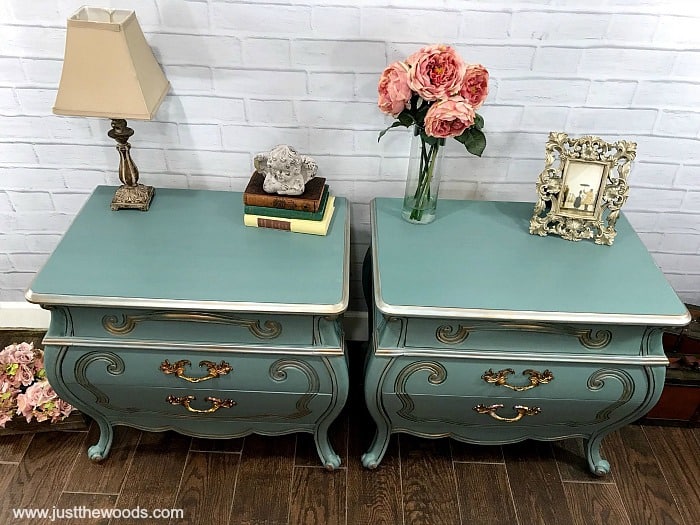
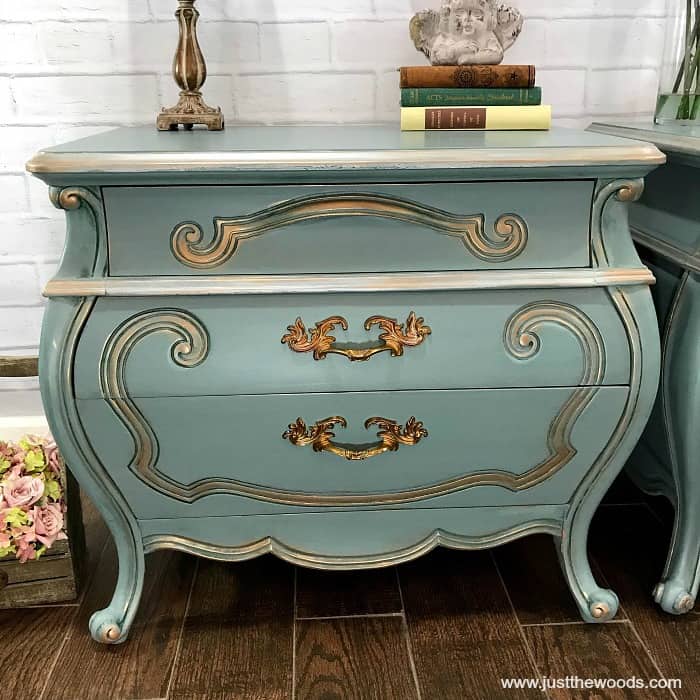
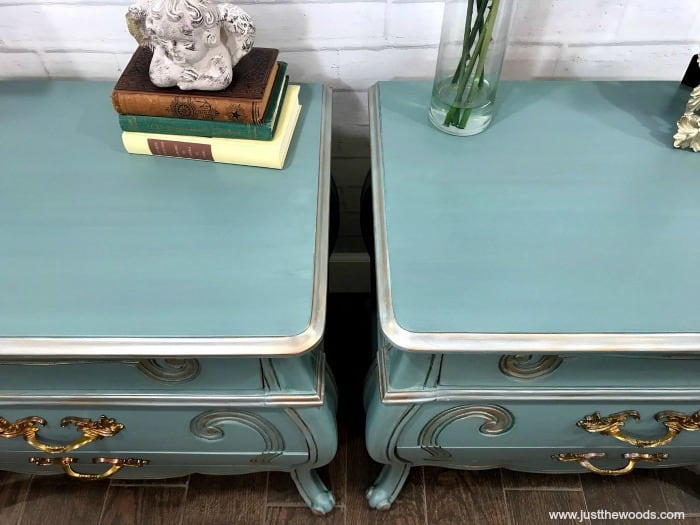
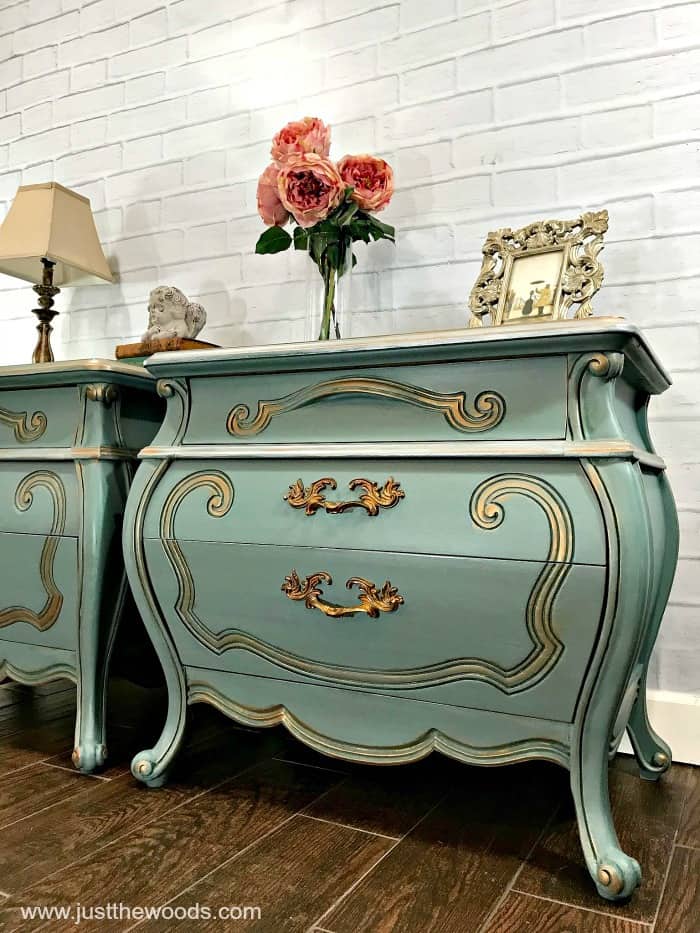
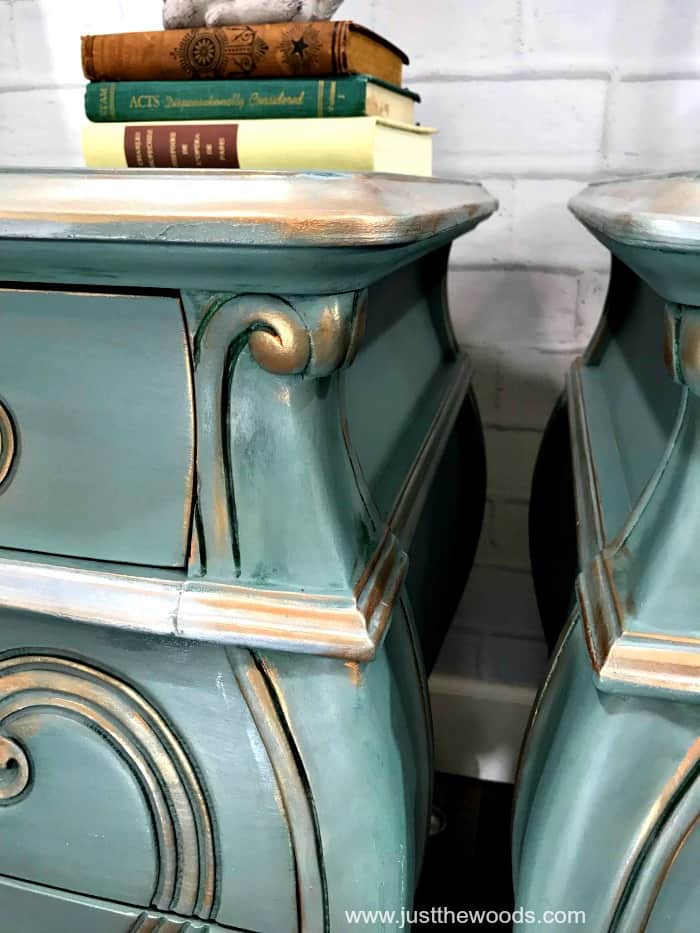
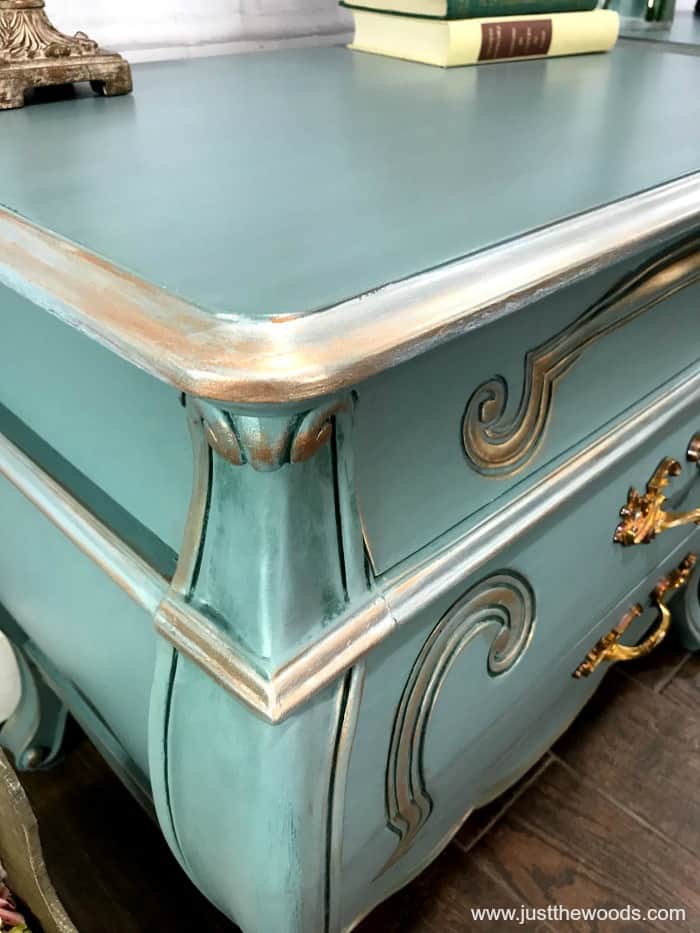
Now you know how to paint furniture inspired by Beauty and the Beast. What Disney movie can we watch next for inspiration? hmmmm Please sit back, relax and enjoy being bombarded with finished photos. These painted nightstands have been donated and raffled off at my kids’ school annual holiday Christmas fair and fundraiser. Click here to see all of my projects that have been donated to support local fundraisers, schools, and charities: Donation Projects.
Click here to Pin this post for later.
Check out all of my furniture projects with over 90 painted furniture makeovers: Stunning painted furniture ideas.
Wait! Don’t Go! It’s that time of the month again for:
Furniture Fixer-Uppers
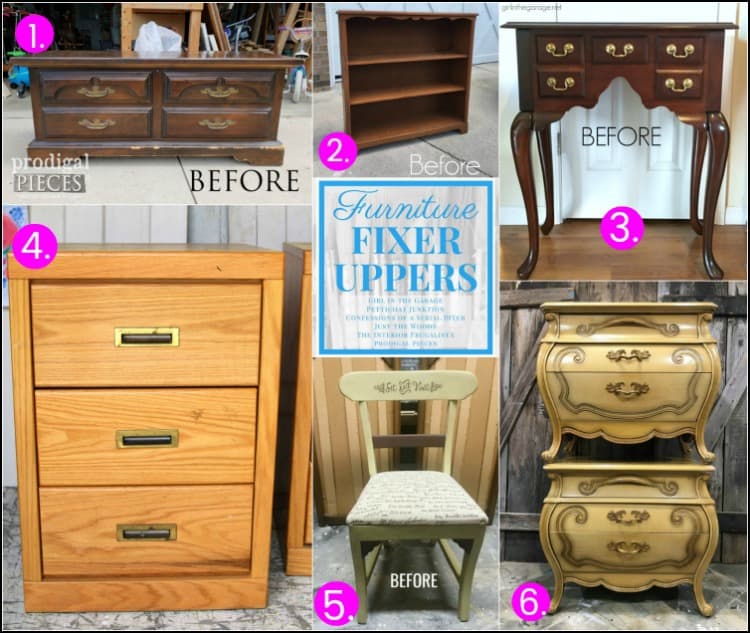
Its that time again where a few of my creative and talented blogger friends and I have joined together in our monthly Furniture Fixer Uppers share. Let’s see what my friends are up to! Make sure to click the links below the image to check out all the amazing projects that my bloggy girls are working on this month.
Don’t Forget – Follow Just the Woods and Share this post to Inspire others:
FACEBOOK * INSTAGRAM * PINTEREST
Stay connected! For more tips and tricks sign up here : [mc4wp_form id=”1340″]





Larissa ~ Prodigal Pieces says
Just WOW! That dated yellowish finish wasn’t a match for your gorgeous new color treatment. Fantastic job, Kandice!
Marcie Lovett says
Wow! That was a lot of work, with a fabulous result, Kandice. I like seeing the drawers brought back to life with some lustre, too.
kandice kullmann says
thank you so much Marcie!
Marie Blackburn says
Wow Kandice, you are the Queen of layered paint finishes – these are gorgeous!
Jerri says
Gorgeous tables. Initially on seeing them in original state I was unimpressed with the tables. They turned out beautifully. Love the colors.
Christy says
These are gorgeous, Kandice!!! XOXO
Christie says
Stunning! No other word describes them. BTW~ I turned my mom on to the applicator sponges you use for topcoats. She just needed to topcoat an outdoor Christmas statue but she fell in love. Can you believe the cost of the on Amazon has gone up to over $12 !?!?! I should have bought more a few months ago when I thought of it. They are worth the price though, considering how easy they make it to apply poly!
Jen @ Girl in the Garage says
Kandice, these are amazing pieces and they turned out gorgeous! I have a couple of similar pieces (very fancy and old, made in Spain) that are topless… LOL. They used to have curvy marble tops but someone removed them before they found their way to me. It’s going to be a huge project someday, that’s why sadly I’ve had them a few years already. You’ve given me some inspiration though! xo
Joan says
You are an artist! What a perfect job you did! Gorgeous
,
Teri says
Absolutely LOVE these pieces……Super pretty!!!
Jasmin says
Wow what an amazing transformation! Great job!
Alanna says
Wow what a gorgeous piece, I LOVE it!!
Barbara Warner says
AH-MAZING! What a beautiful job updating these gorgeous bombe chests You worked a miracle! I love the color and would have had no idea to layer on so many finishes. I love the salve you used on the inside of the draers. I’d say you are a true professional. Such gorgeous pieces of furniture deserve to be treated so royally! Just love them